
MXP-2
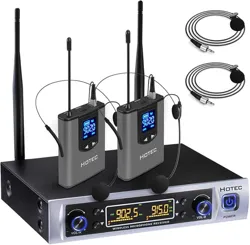
Mixer With Dual Wireless Microphones

English
FEATURES
• The dual-channel home theater wireless microphone system comes with Ultra-High Frequency (UHF)
and is interference free.
• The HDMI Audio Return Channel (HD ARC) on the MXP-2 receiver allows you to connect a smart TV
via HDMI ARC to the receiver through one HDMI cable (not included) and make the setup a breeze.
• 1/8" (3.5mm) input and output for instant Karaoke fun.
• Compatible with an array of devices including TV, Smart TV, Blu-Ray player, smartphone, iPad, tablet,
home theater, receiver, speaker, etc.
• The portable receiver and audio mixer supports up to two wireless microphones (included) and two
wired microphones (not included).
• Music Pitch Control: Shifts the key of your background music up or down by up to 4 semitones (±4)
without affecting tempo. Perfect for matching any song to your vocal range.
• Vocal Cut Mode: Cuts the vocal part of the incoming audio source to isolate the music
• Adjustable echo and tone mic controls for more customization.
• Easy to set up with up to 8 selectable frequencies and independent volume controls.
• Up to 100 feet line-of-sight operation range. Perfect for Karaoke, DJ music and house parties.
* Connecting a smart TV to the MXP-2 receiver through HDMI requires your smart TV to have an HDMI ARC
port. Most TV manufacturers offer ARC output over only one HDMI port instead of all three or four ports on the
set. This is usually indicated by a label on the set itself. If the HDMI ports aren’t clearly labeled, you can check
the TV manual, which should indicate which HDMI port to use.
IN THE PACKAGE
• 1x MXP-2 receiver/mixer
• 2x Handheld wireless microphones
• 1x Power adapter (5V/1A)
• 1x USB-A to USB-C Power Cable
• 1x Optical cable
• 1x 3.5mm/3.5mm audio cable
• 1x 3.5mm/2RCA audio cable
• 1x User manual
1
English
MIXER (RECEIVER)
Front Panel
2
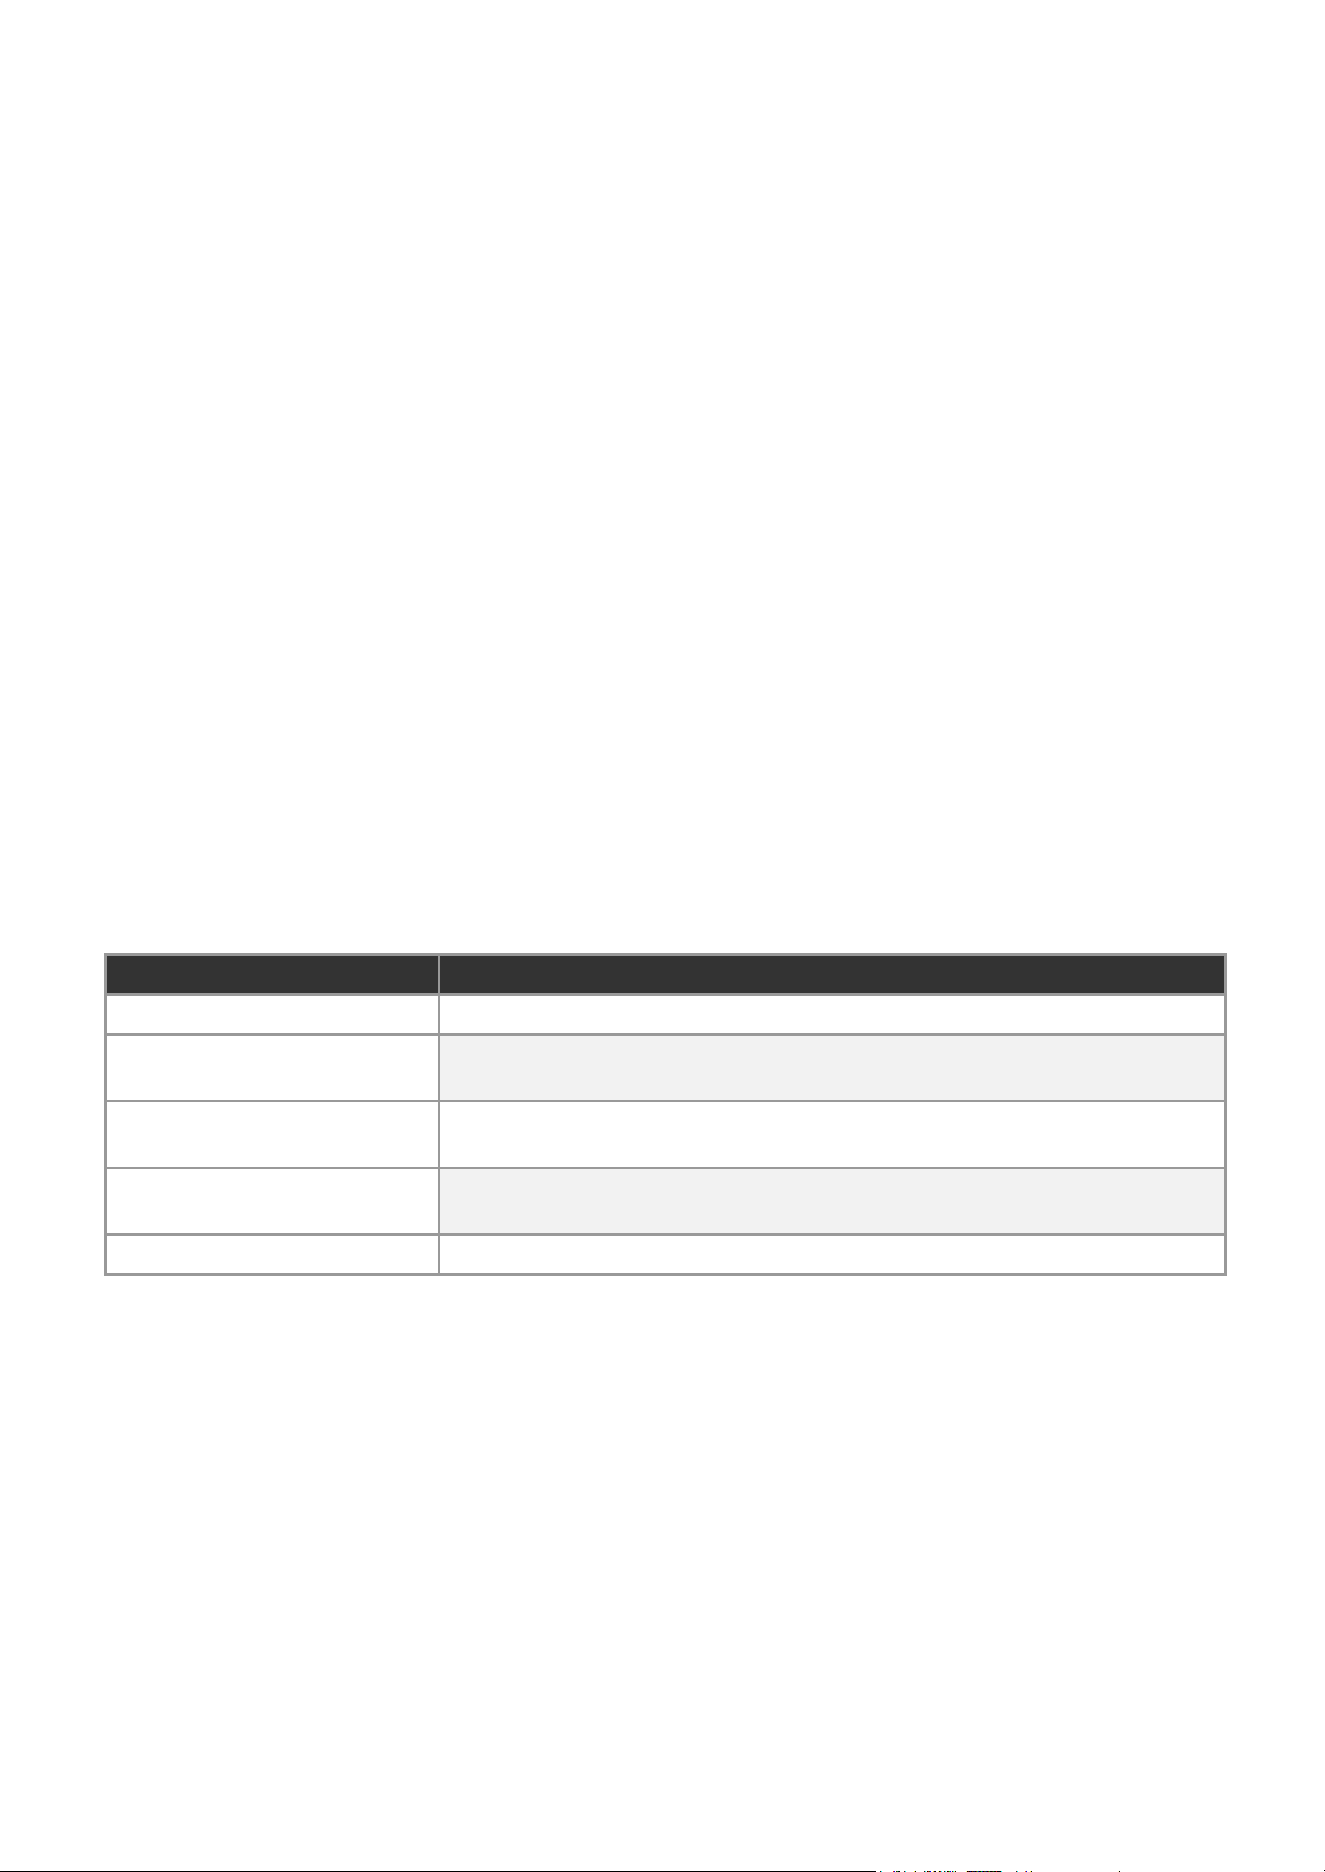
Control
Function
1. ECHO
Adjusts the echo/reverb effect on the microphone audio.
2. TONE
Adjusts the treble/bass tone of the microphone audio.
3. MUSIC PITCH
Shifts background music key: -4, -3, -2, -1, 0, +1, +2, +3, +4 semitones.
Center (0) = original key.
4. Mic A & MIC B VOLUME
Rotate to adjust volume of wireless MIC A and MIC B or the volume of the
signal from 1/4" jack inputs (#5) which can be used for wired mics or other
instrument inputs.
5. Mic A & MIC B INPUTS
Two 1/4" mono jacks are provided for wired dynamic mic inputs, and they can
also support inputs for other music instruments such as electric guitars.
6. MUSIC VOL / POWER
Rotate this knob clockwise to turn on the unit. The LED will light up red.
Continue rotating the knob to adjust the music volume. Rotate it fully
counter-clockwise to turn off the unit.
English
Rear Panel
BLUETOOTH PAIRING
The receiver comes with built-in Bluetooth function and you can choose to pair the receiver with your
Bluetooth device (smartphone, tablet, laptop, etc.).
1. Once you power on the receiver, the receiver will become discoverable as “GEARCHAMP MXP-2”.
2. In the settings of your Bluetooth enabled devices, set it to ‘discover’. From the Bluetooth device list.
Select the “GEARCHAMP MXP-2” device. The LED will light up blue/purple when connected.
3
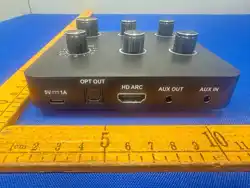
Port
Description
1. 5V 1A
Power input. Connect the included 5V/1A power adapter.
2. OPT OUT
Connect optical audio output to the input of soundbar, AV receiver, amplifier,
or powered speaker.
3. HD ARC
Connect your smart TV which comes with the HDMI ARC port (Audio Return
Channel) to this receiver’s HD ARC port using an HDMI cable.
4. AUX OUT
3.5mm audio output to powered speakers, soundbar, amplifier, stereo
receiver, etc.
5. AUX IN
3.5mm audio input from phone, tablet, or laptop, etc.

English
WIRELESS MICROPHONE (TRANSMITTER)
MICROPHONE OPERATION
1. Connect the receiver to a power outlet through the power adapter provided and turn on the receiver.
2. Put two alkaline AA batteries (not included) into the battery compartment of the microphone. Please
ensure the positive and negative ends are positioned in the correct direction.
3. Press and hold the POWER button to turn on the microphone. In case of any frequency interference,
short press the POWER button again and the microphone will be turned to a different frequency.
There are up to eight frequencies for you to choose. Press and hold the POWER button to power off.
4. For VOCAL CUT control, pressing the SET button will turn on or off the vocal cut function, the
receiver power LED will light up yellow/white when it is on.
5. Please note that it will take a few seconds for the receiver to automatically syndicate the frequency
with the microphone each time the power button is pressed.
ADDITIONAL INFORMATION
1. After 90 seconds of use in the power-on state, only the battery status and launch status will be
displayed. While the frequency is not displayed, Touch the SET\POWER button to activate the display
frequency and channel.
2. ID pairing: When the wireless microphone is turned off, press the SET and POWER button at the
same time for 5 seconds, the microphone will display 'ID' on the screen, quickly press SET button, the
antenna symbol will flash, ID pairing status will be entered. Then turn the receiver power off and on
within 3 seconds. When pairing on the receiver light will become orange/pink. After 10 seconds, the
pairing process will automatically exit, or press the SET button to exit the pairing process. (Note that if
you press ID pairing and do not match the receiver, the wireless microphone won’t work. Re-pairing
can be used. CHA and CHB are independent ID).
3. Note: Even if you match ID, the same frequency can’t be used at the same time. (you need choose
different frequency)
4. When the battery symbol is flashing, replace the battery.
4

English
QUICK START GUIDE
1. Connect Your Audio Source
Connect your TV, phone, tablet, or computer to the MXP-2 receiver using one of the following methods:
● HD ARC: Connect an HDMI cable (not included) from your TV’s ARC port to the receiver’s HD ARC
port. Most TVs offer ARC output over only one HDMI port. Check your TV’s labels or manual if unsure
which port supports ARC.
● BLUETOOTH: The receiver appears as “GEARCHAMP MXP-2” in your Bluetooth settings once
powered on.
● AUX IN (3.5mm): Use a 3.5mm audio cable to connect any device with a headphone jack.
2. Connect Your Speaker
Connect the MXP-2 receiver to your speaker or sound system using one of the audio outputs:
● AUX OUT (3.5mm): Connect to powered speakers, soundbars, or home theater systems.
● OPT OUT: Use a digital optical cable for higher-quality audio output.
3. Power On the Receiver
Plug in the included 5V/1A USB power adapter. Rotate the MUSIC VOL / POWER knob to power on the
receiver. The LED will light up red.
4. Turn On the Wireless Microphones
Insert two AA batteries (not included) into each wireless microphone. Press and hold the POWER button on
the microphone to turn it on. The receiver LED will turn orange/pink once connected.
5. Start Singing!
Use the Echo, Tone, and Music Pitch controls on the receiver to customize your karaoke experience. Adjust
Mic A/B volume knobs to set each microphone’s level independently. Adjust the music volume knob to set the
karaoke backing track volume.
5

English
CONNECTION DIAGRAM
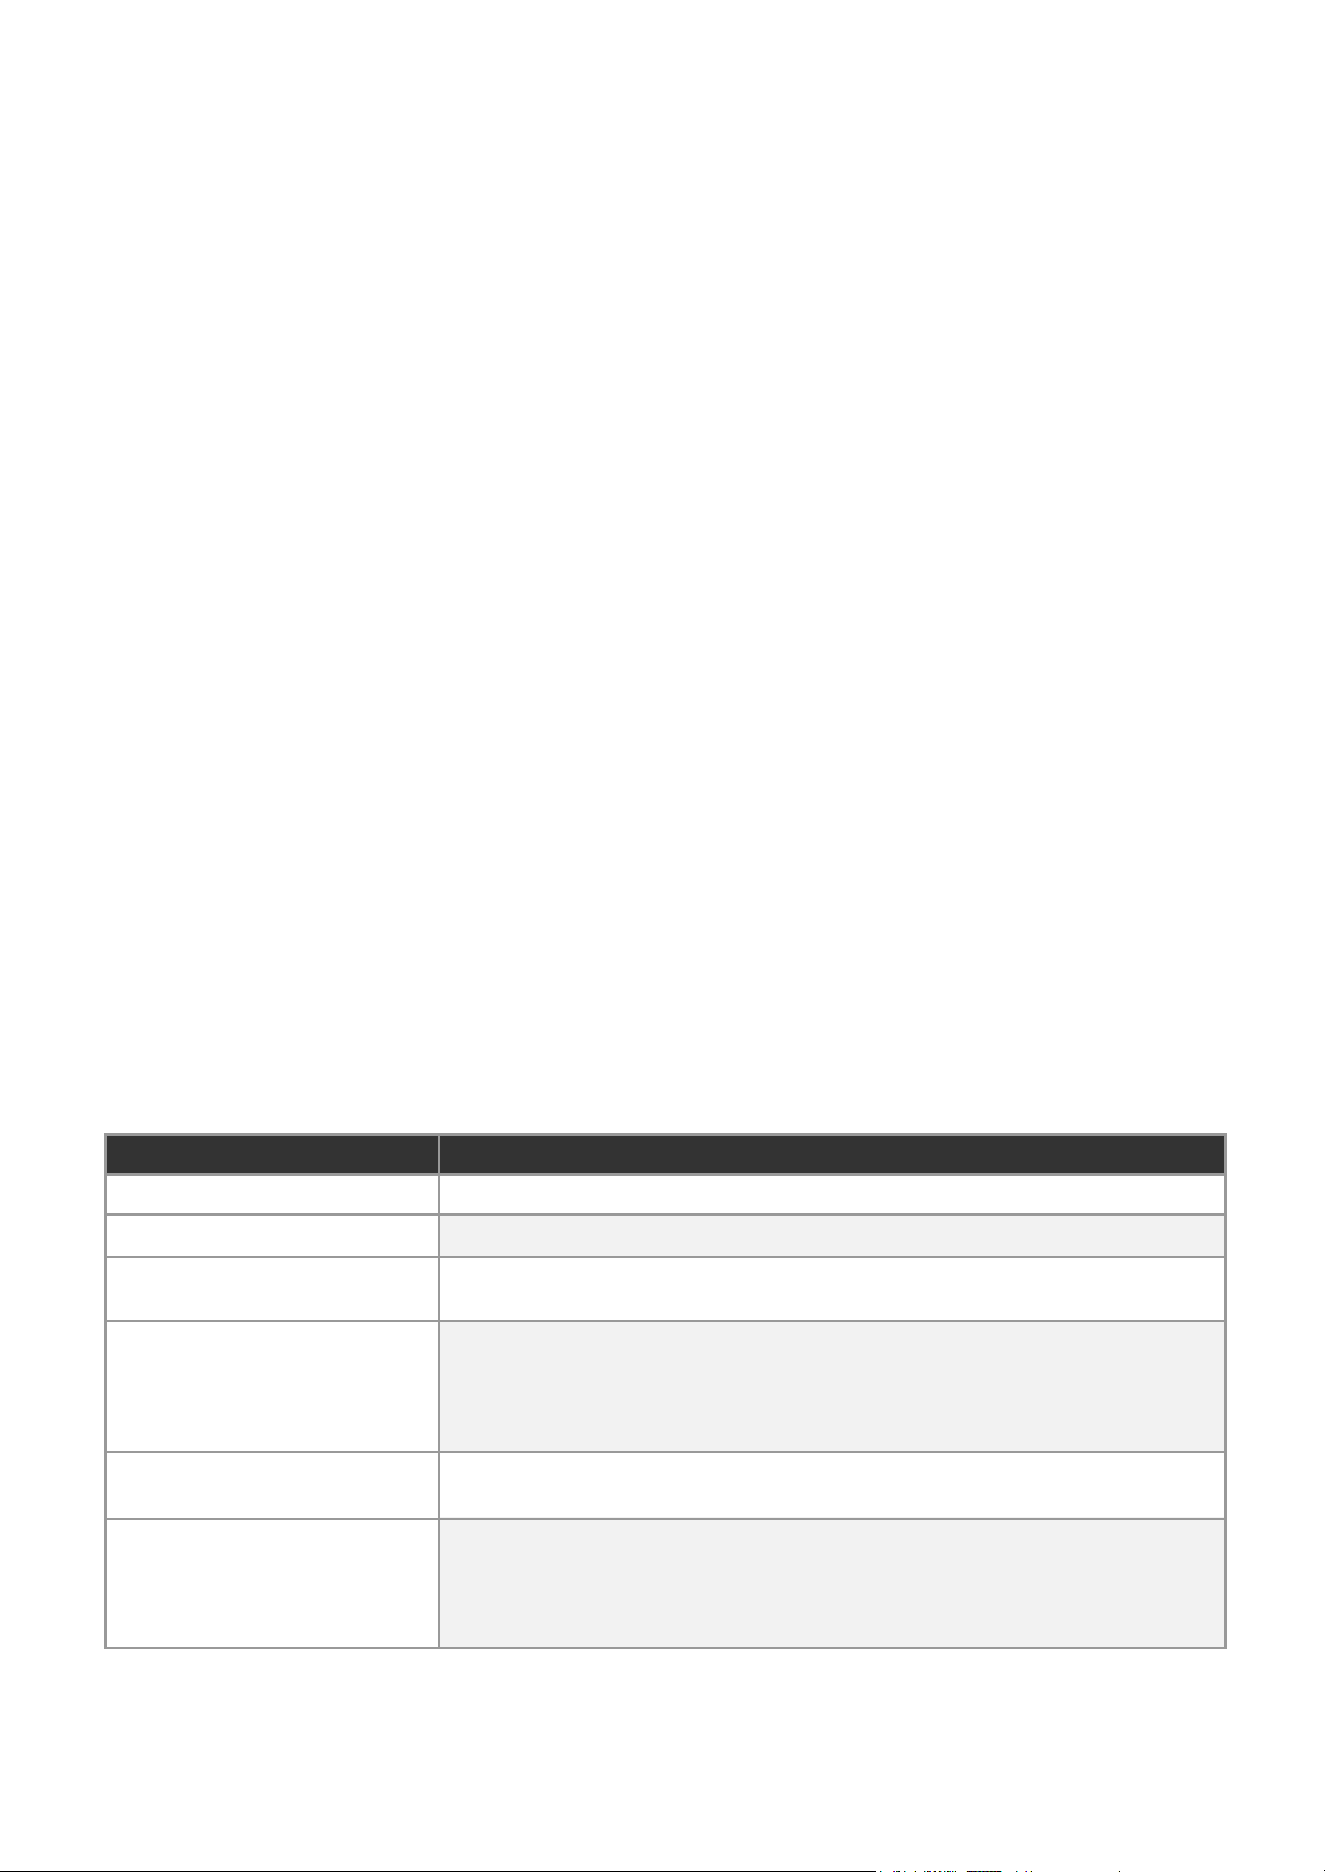
SPECIFICATIONS
6
Parameter
Value
Frequency
UHF
HDMI
HDMI 1.4
S/N Ratio
-96dB
T.H.D.
<0.2%
Frequency Response
30Hz–18KHz
Working Distance
100 Feet
Typical Tone Control
±12dB @10KHz
Microphone Max Gain
±30dB
Spurious Emission
>60dB

English
TROUBLESHOOTING
HDMI ARC Not Working
● If you're connecting the MXP-2 to your TV via HDMI ARC, you may need to change two settings on
your TV:
● Turn on HDMI-CEC. This allows your TV to send audio through the HDMI cable to the MXP-2. This
setting has different names depending on your TV brand:
○ Samsung: Anynet+
○ LG: SimpLink
○ Sony: BRAVIA Sync
○ Vizio: CEC
○ TCL/Hisense/Roku TV: HDMI-CEC
● Change audio output to PCM. Go to your TV's sound/audio settings and change the audio format from
"Auto" or "Bitstream" to PCM. Without this, you may get no sound or distorted audio.
Faint Sound or No Sound
• Verify connections to the PA system.
• Adjust channel volume knobs on the receiver/mixer.
• Turn on the handheld microphone and check that batteries are installed correctly.
• Charge or change batteries.
• Verify the power adapter is plugged securely into the outlet.
• Check that receiver unit is powered
Audio Interference, Artifacts, or Dropouts
• Identify and remove sources of interference: mobile phones, signal processors, electronics, etc.
• Charge or change batteries.
• Move the system away from metallic surfaces.
• Provide line-of-sight from handheld microphone to receiver unit antennas.
Distortion
• Lower channel volume.
• Charge or change batteries.
• Verify fidelity of signal cable to PA.
• Change the distance or placement angle between mic and speaker
If you are still experiencing issues after following this troubleshooting guide, please email
[email protected] for expert assistance.
7

Spanish
CARACTERÍSTICAS
• El sistema de micrófono inalámbrico de doble canal para cine en casa utiliza Frecuencia Ultra Alta
(UHF) y es libre de interferencias.
• El canal de retorno de audio HDMI (HD ARC) del receptor MXP-2 permite conectar un Smart TV
mediante un solo cable HDMI (no incluido), facilitando la instalación.
• Entrada y salida de 3.5 mm para disfrutar karaoke al instante.
• Compatible con múltiples dispositivos: TV, Smart TV, reproductor Blu-Ray, smartphone, iPad, tablet,
cine en casa, receptor, altavoces, etc.
• El receptor portátil y mezclador de audio admite hasta dos micrófonos inalámbricos (incluidos) y dos
micrófonos con cable (no incluidos).
• Control de tono musical (Pitch): Ajusta la tonalidad de la música de fondo hasta ±4 semitonos sin
afectar el tempo.
• Modo Vocal Cut: Elimina la voz de la fuente de audio para dejar solo la música.
• Controles ajustables de eco y tono para mayor personalización.
• Fácil configuración con hasta 8 frecuencias seleccionables y controles de volumen independientes.
• Alcance de hasta 30 metros (100 pies) en línea de vista. Ideal para karaoke, DJ y fiestas en casa.
* Conectar un televisor inteligente al receptor MXP-2 a través de HDMI requiere que su televisor inteligente
tenga un puerto HDMI ARC. La mayoría de los fabricantes de televisores ofrecen salida ARC a través de un
solo puerto HDMI en lugar de los tres o cuatro puertos del set. Esto generalmente se indica con una etiqueta
en el propio conjunto. Si los puertos HDMI no están claramente etiquetados, puede consultar el manual del
televisor, que debe indicar qué puerto HDMI utilizar.
CONTENIDO DEL PAQUETE
• 1x Receptor/mezclador MXP-2
• 2x Micrófonos inalámbricos de mano
• 1x Adaptador de corriente (5V/1A)
• 1x Cable de alimentación USB-A a
USB-C
• 1x Cable óptico
• 1x Cable de audio de 3.5 mm a 3.5
mm
• 1x Cable de audio de 3.5 mm a 2
RCA
• 1x Manual de usuario
8
Spanish
MEZCLADOR (RECEPTOR)
Panel Frontal
9
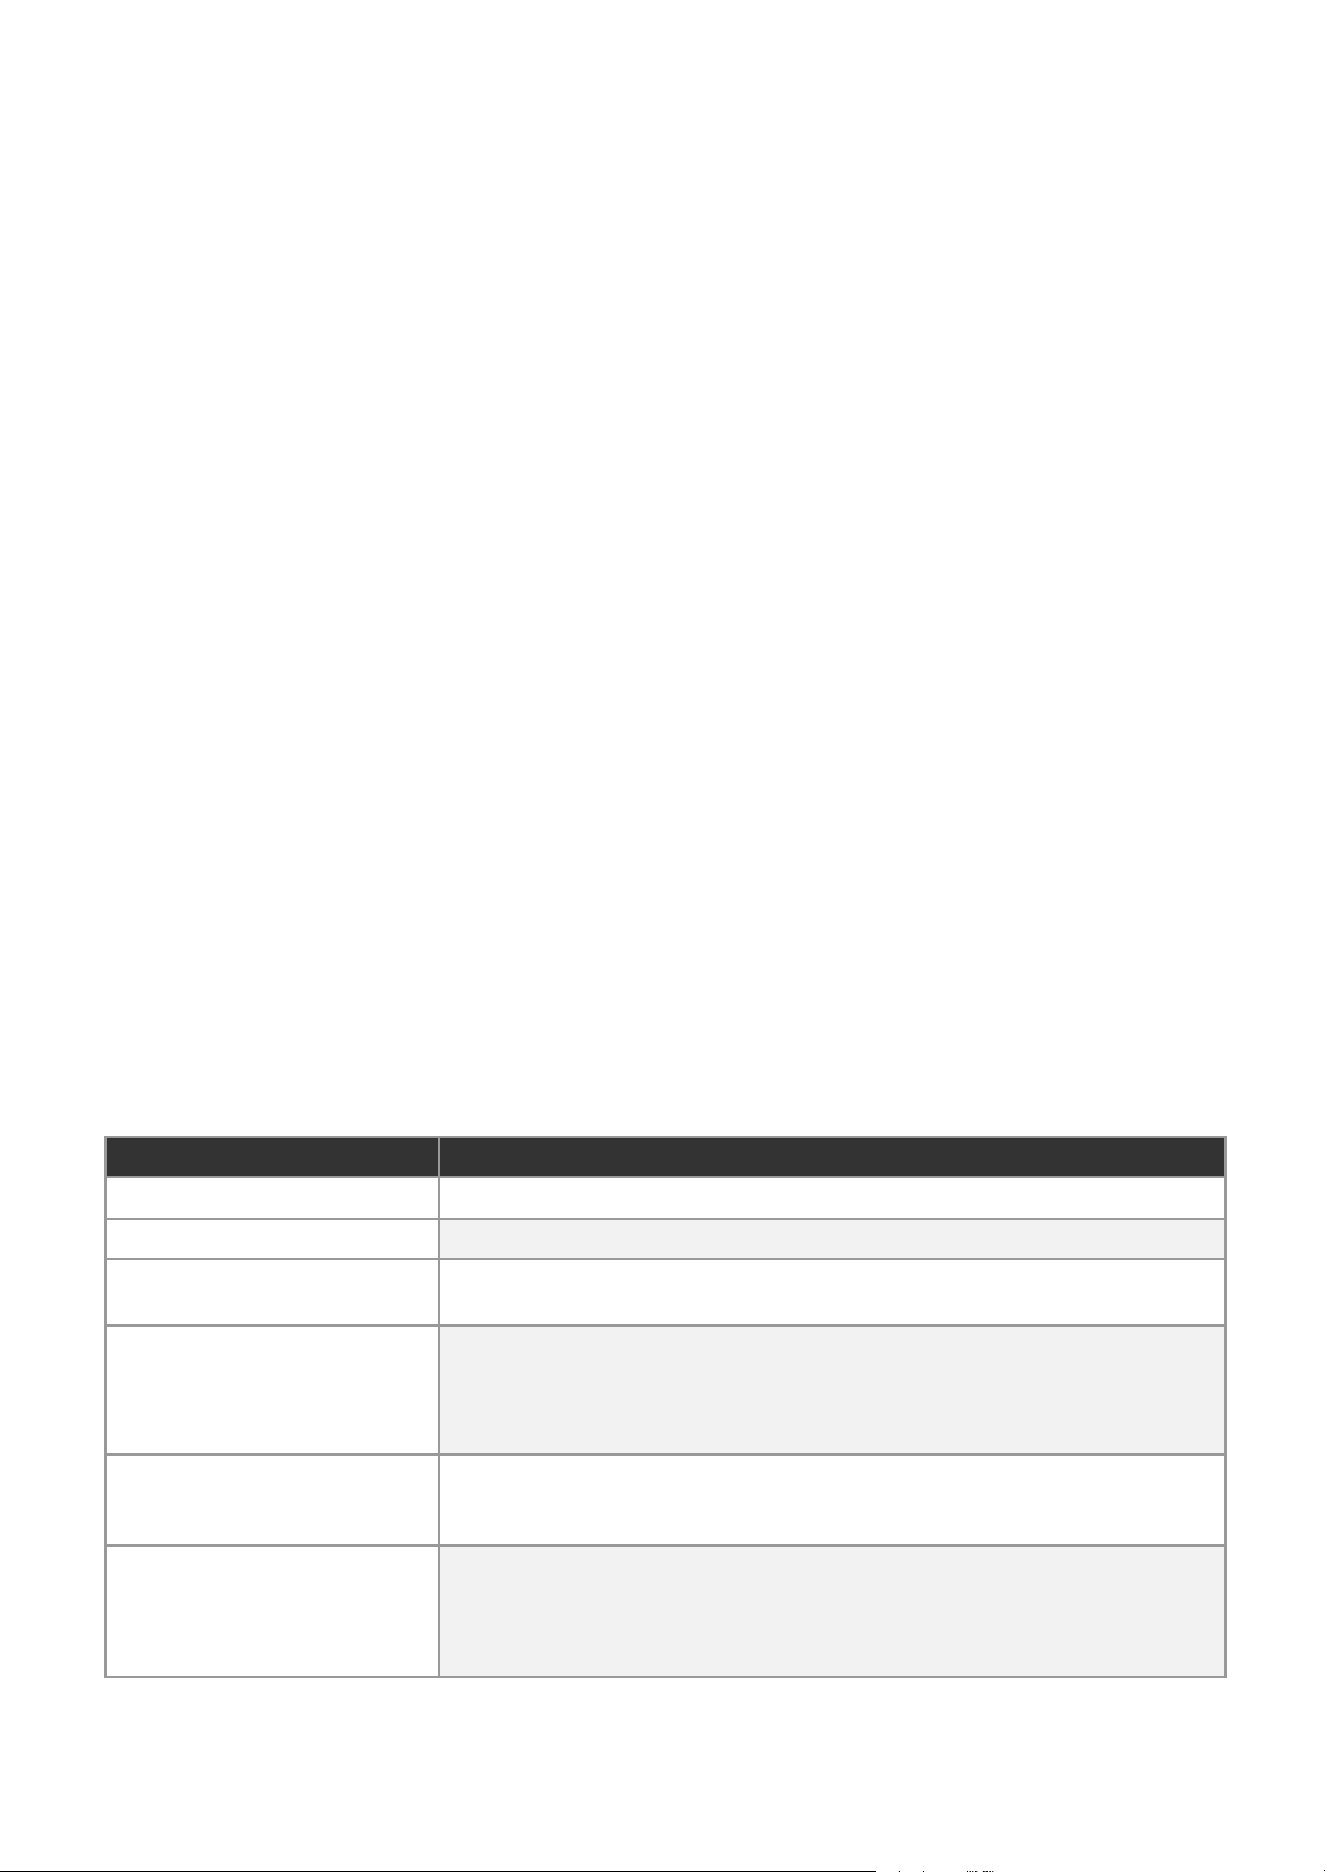
Control
Function
1. ECHO
Ajusta el efecto de eco/reverberación del micrófono.
2. TONE
Ajusta los graves y agudos del micrófono.
3. MUSIC PITCH
Cambia la tonalidad de la música de fondo: -4, -3, -2, -1, 0, +1, +2, +3, +4
semitonos. Centro (0) = tonalidad original.
4. Mic A & MIC B VOLUME
Gire para ajustar el volumen de los micrófonos inalámbricos MIC A y MIC B o
el volumen de la señal de las entradas de 1/4" (#5), que pueden usarse para
micrófonos con cable u otros instrumentos.
5. Mic A & MIC B INPUTS
Se proporcionan dos conectores mono de 1/4" para micrófonos dinámicos
con cable, y también pueden admitir instrumentos musicales como guitarras
eléctricas.
6. MUSIC VOL / POWER
Gire esta perilla hacia la derecha para encender la unidad. El LED se
iluminará en rojo. Gírela más para ajustar el volumen de la música. Gírela
completamente hacia la izquierda para apagar la unidad.
Spanish
Panel Trasero
EMPAREJAMIENTO BLUETOOTH
El receptor cuenta con función Bluetooth integrada y puede emparejarse con su dispositivo (smartphone,
tablet, laptop, etc.).
1. Al encender el receptor, aparecerá como “GEARCHAMP MXP-2”.
2. En la configuración de su dispositivo Bluetooth, seleccione este nombre de la lista. El LED se
iluminará en azul/morado cuando esté conectado.
10
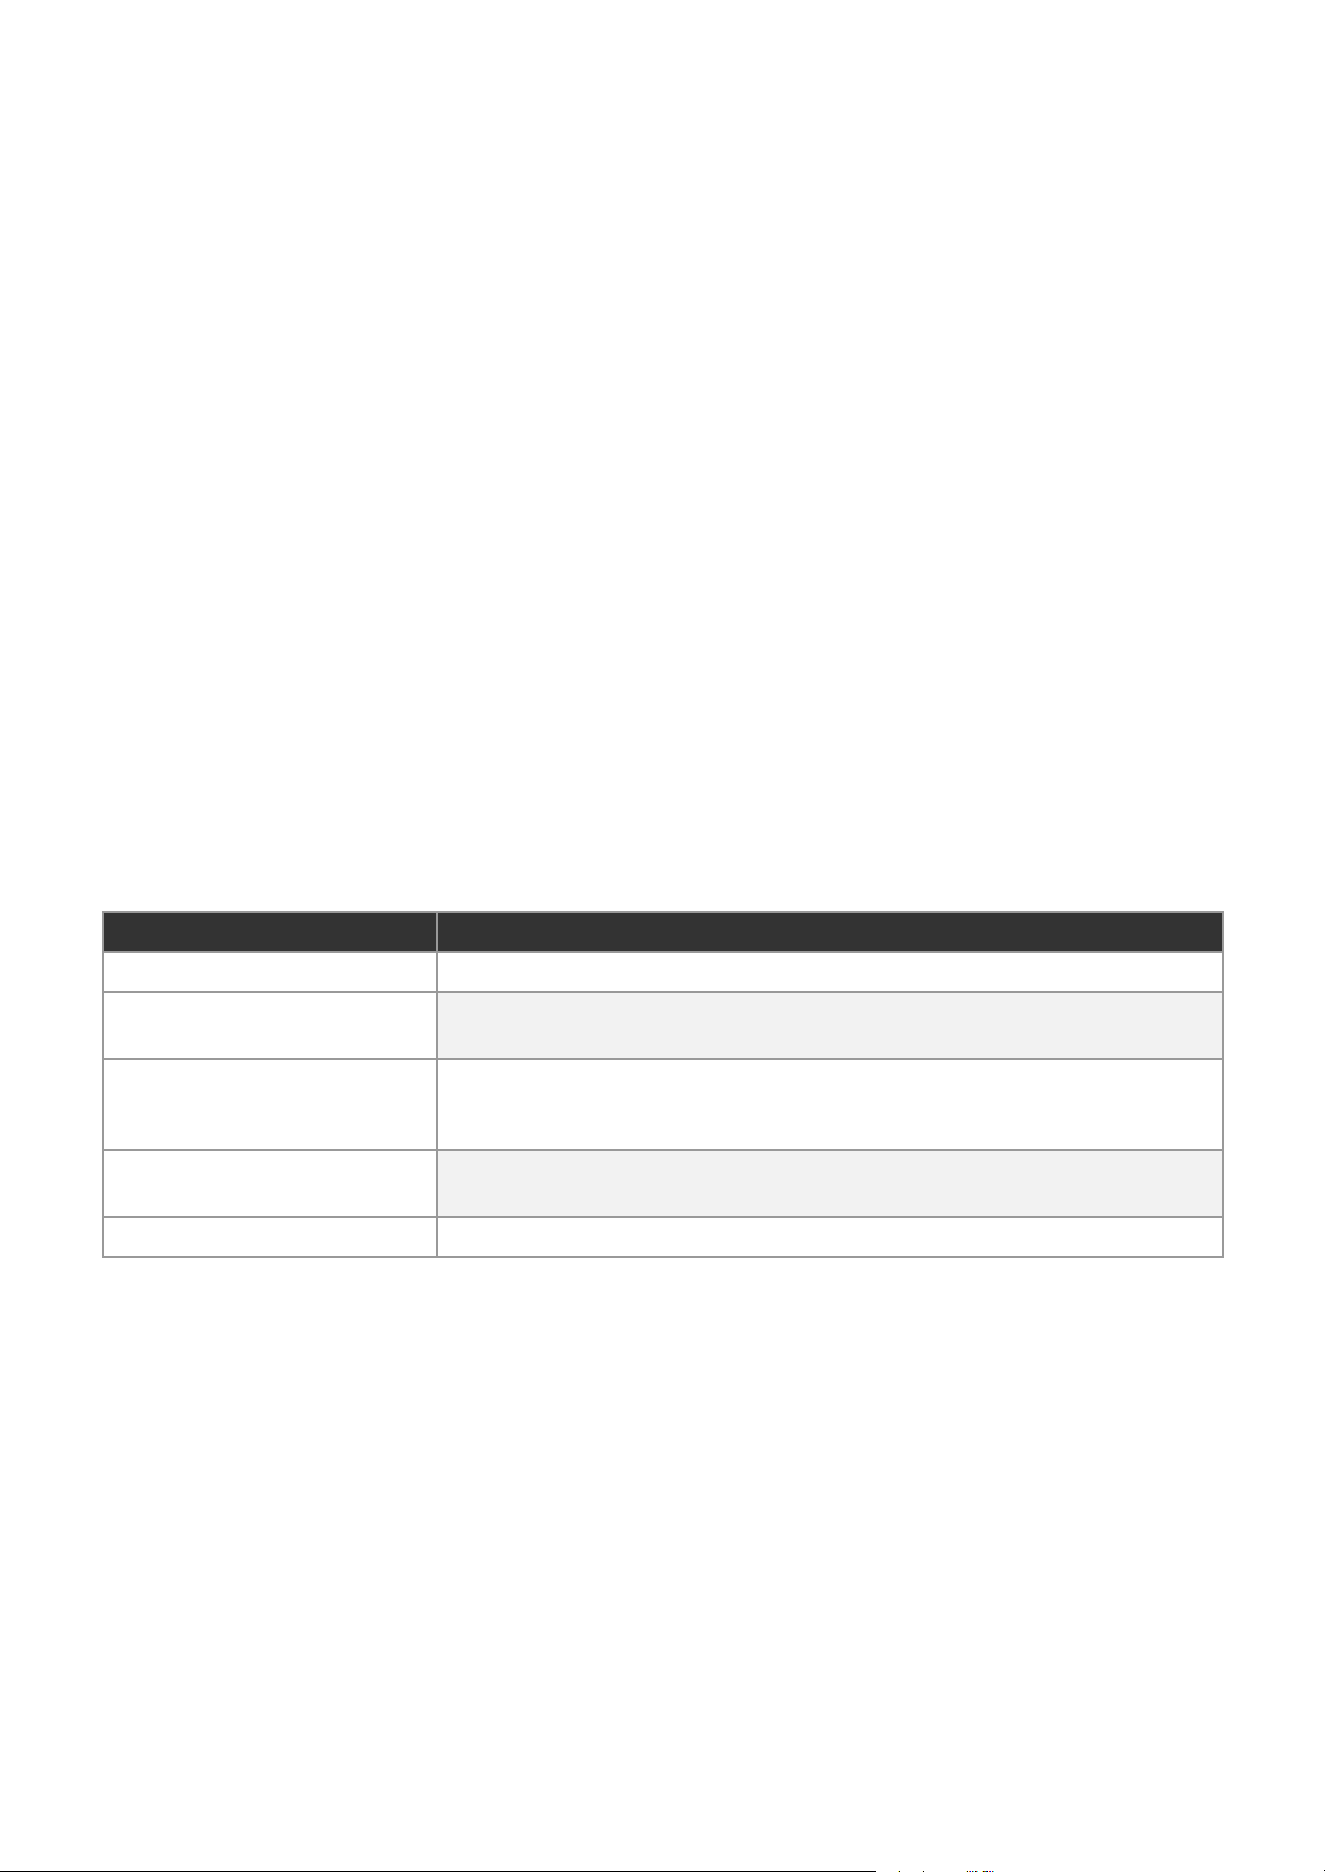
Port
Description
1. 5V 1A
Entrada de alimentación. Conecte el adaptador incluido de 5V/1A.
2. OPT OUT
Conecte la salida de audio óptica a una barra de sonido, receptor AV,
amplificador o altavoz activo.
3. HD ARC
Conecte su televisor inteligente, que cuenta con un puerto HDMI ARC (canal
de retorno de audio), al puerto HDMI ARC de este receptor mediante un
cable HDMI.
4. AUX OUT
Salida de audio de 3.5 mm hacia altavoces, barra de sonido, amplificador,
receptor estéreo, etc.
5. AUX IN
Entrada de audio de 3.5 mm desde teléfono, tablet o laptop.

Spanish
MICRÓFONO INALÁMBRICO (TRANSMISOR)
OPERACIÓN DEL MICRÓFONO
1. Conecte el receptor a la corriente con el adaptador incluido y enciéndalo.
2. Coloque dos baterías AA (no incluidas) en el micrófono, asegurando la polaridad correcta.
3. Mantenga presionado el botón de encendido para encender el micrófono. Si hay interferencia,
presiónelo brevemente para cambiar de frecuencia. Hay hasta 8 frecuencias disponibles. Mantenga
presionado nuevamente para apagarlo.
4. Presione el botón SET para activar o desactivar la función de eliminación de voz. El LED de
encendido del receptor se iluminará en amarillo/blanco cuando esté encendido.
5. El receptor tardará unos segundos en sincronizar automáticamente la frecuencia con el micrófono
después de encenderlo.
INFORMACIÓN ADICIONAL
1. Después de 90 segundos encendido, solo se mostrarán el estado de la batería y de transmisión.
Toque el botón SET/POWER para mostrar la frecuencia y el canal.
2. Emparejamiento ID: Con el micrófono apagado, mantenga presionados SET y POWER durante 5
segundos hasta que aparezca “ID” en la pantalla. Presione SET rápidamente; el símbolo de antena
parpadeará y entrará en modo de emparejamiento. Apague y encienda el receptor dentro de 3
segundos. La luz del receptor se volverá naranja/rosa durante el emparejamiento. Después de 10
segundos, el proceso finalizará automáticamente o puede salir presionando SET. Si activa el
emparejamiento ID y no sincroniza el receptor, el micrófono no funcionará. Puede volver a
emparejarlo. CHA y CHB tienen ID independientes.
3. Nota: aunque los ID estén emparejados, no se puede usar la misma frecuencia al mismo tiempo.
Seleccione frecuencias diferentes.
4. Cuando el símbolo de batería parpadee, reemplace la batería.
11

Spanish
GUÍA DE INICIO RÁPIDO
1. Conectar Fuente de Audio
Conecte su TV, teléfono, tablet o computadora al receptor MXP-2 utilizando uno de los siguientes métodos:
● HD ARC: Conecte un cable HDMI (no incluido) desde el puerto ARC de su televisor al puerto HD
ARC del receptor. La mayoría de los televisores solo ofrecen salida ARC en uno de los puertos
HDMI. Consulte las etiquetas de su TV o el manual si no está seguro de cuál puerto admite ARC.
● BLUETOOTH: El receptor aparece como “GEARCHAMP MXP-2” en la configuración de Bluetooth
una vez encendido.
● AUX IN (3.5 mm): Utilice un cable de audio de 3.5 mm para conectar cualquier dispositivo con salida
de audífonos.
2. Conectar el Altavoz
Conecte el receptor MXP-2 a su altavoz o sistema de sonido utilizando una de las siguientes salidas de
audio:
● AUX OUT (3.5 mm): Conecte a altavoces activos, barras de sonido o sistemas de cine en casa.
● OPT OUT: Utilice un cable óptico digital para obtener una salida de audio de mayor calidad.
3. Encender el Receptor
Conecte el adaptador de corriente USB de 5V/1A incluido. Gire la perilla MUSIC VOL / POWER para
encender el receptor. El indicador LED se iluminará en rojo.
4. Encender los Micrófonos Inalámbricos
Inserte dos baterías AA (no incluidas) en cada micrófono inalámbrico. Mantenga presionado el botón
POWER del micrófono para encenderlo. El LED del receptor se iluminará en naranja/rosa una vez conectado.
5. ¡Comience a Cantar!
Utilice los controles de Echo, Tone y Music Pitch en el receptor para personalizar su experiencia de karaoke.
Ajuste las perillas de volumen Mic A/B para controlar el nivel de cada micrófono de forma independiente.
Ajuste la perilla de volumen de música para controlar el volumen de la pista de acompañamiento.
12

Spanish
DIAGRAMA DE CONEXIÓN
ESPECIFICACIONES
13
Parámetro
Valor
Frecuencia
UHF
HDMI
HDMI 1.4
Relación S/N
-96dB
T.H.D.
<0.2%
Respuesta de frecuencia
30Hz–18KHz
Distancia de operación
100 pies
Control de tono
±12dB @10KHz
Ganancia máxima del micrófono
±30dB
Emisión espuria
>60dB

Spanish
SOLUCIÓN DE PROBLEMAS
HDMI ARC No Funciona
● Si estás conectando el MXP-2 a tu televisor mediante HDMI ARC, es posible que necesites ajustar
dos configuraciones en tu TV:
● Activa HDMI-CEC. Esto permite que el televisor envíe el audio a través del cable HDMI hacia el
MXP-2. Esta función puede tener diferentes nombres según la marca del televisor:
○ Samsung: Anynet+
○ LG: SimpLink
○ Sony: BRAVIA Sync
○ Vizio: CEC
○ TCL/Hisense/Roku TV: HDMI-CEC
● Cambia la salida de audio a PCM. Ve a la configuración de sonido/audio de tu televisor y cambia el
formato de audio de “Auto” o “Bitstream” a PCM. De lo contrario, es posible que no haya sonido o que
el audio se escuche distorsionado.
Sonido Bajo o Sin Sonido
• Verifique conexiones
• Ajuste volúmenes
• Revise baterías
• Verifique alimentación
Interferencia de Audio
• Elimine fuentes de interferencia
• Cargue baterías
• Evite superficies metálicas
• Mantenga línea de vista
Distorsión
• Baje el volumen
• Revise cables
• Ajuste distancia micrófono/altavoz
Si sigues teniendo problemas, escribe a: [email protected]
14

This device complies with part 15 of the FCC Rules. Operation is subject to the following
two conditions: (1) this device may not cause harmful interference, and (2) this device
must accept any interference received, including interference that may cause undesired
operation.
Any changes or modifications not expressly approved by the party responsible for
compliance could void the user's authority to operate the equipment.
NOTE: This equipment has been tested and found to comply with the limits for a Class B
digital device, pursuant to Part 15 of the FCC Rules. These limits are designed to provide
reasonable protection against harmful interference in a residential installation. This
equipment generates, uses and can radiate radio frequency energy and, if not installed
and used in accordance with the instructions, may cause harmful interference to radio
communications. However, there is no guarantee that interference will not occur in a
particular installation.
If this equipment does cause harmful interference to radio or television reception,
which can be determined by turning the equipment off and on, the user is encouraged
to try to correct the interference by one or more of the following measures:
-- Reorient or relocate the receiving antenna.
-- Increase the separation between the equipment and receiver.
-- Connect the equipment into an outlet on a circuit different from that to which the
receiver is connected.
-- Consult the dealer or an experienced radio/TV technician for help.
The device has been evaluated to meet general RF exposure requirement. The device can
be used in portable exposure condition without restriction