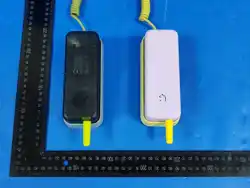

Waffle HOME
Model: WFL001GRA-GLB/WFL001MNT-GLB/WFL001PUR-GLB
Quick Start Guide
2
Power On
Press and hold the # key on the phone for 3 seconds to power on the
device . You can download the Waffle APP from the app store to configure
the phone . Once configured , the phone will be ready to use .
Configure Telephone
[ Configure Using The Waffle App ]
I. Adding equipment
On the main screen, click the "+Pair New Device" button to begin the
pairing process. This process consists of 5 steps; please follow the prompts
to complete it.
Step 1: ADDRESS
In the Pair New Device interface, select "Home".
Once you enter the search interface, make sure your Waffle Home is
turned on and close to your phone. Then, find the corresponding device in
the search list and tap it.
Once the device is located, the device interface will change to a Bluetooth
icon. After filling in the CHILD'S NAME and DEVICE NICKNAME
using the app, click Next.
After entering the device address interface, fill in your home address
information and click "NEXT".
Step 2: Choose a Phone Number
Select a mobile number and click the confirm button.
Step 3: Connect to Wi-Fi

3
Configure the Wi-Fi network for your device. Enter the Wi-Fi name and
password, then click the Continue button.
Step 4: Contacts (Configure Contacts)
Click the "Add Contact" button to configure device contact information.
Step 5: Set up Schedule
Determine the time periods during which this device is allowed to make
calls, send messages, and connect to the internet. Once the settings are
complete, click "Finish Setup" to complete pairing.
II. Bluetooth Disconnection and Connection
Enter the Devices interface and select the corresponding device you want
to operate.
In the device's Wi-Fi settings, click the "Disconnect" button to disconnect
the Bluetooth connection; click the "Connect" button to reconnect the
Bluetooth connection.
When the Bluetooth icon ① is displayed on the device interface, it
indicates that the device is currently in Bluetooth connection mode.
Note: Before syncing contact information, Wi-Fi information, and
performing related configuration operations to the device, please ensure
that the device is connected to Bluetooth.
III. Distribute to contact persons
Enter the Devices interface and select the corresponding device you want
to operate.
Access the Contacts page on your device to add or modify contact
information.
After adding or modifying, click the "Sync Now" button to synchronize the
contact information to your device.
IV. Wi-Fi Information Distribution
Enter the Devices interface and select the corresponding device you want
to operate.
Access the device's Wi-Fi settings page, enter the Wi-Fi name and
password, and save.
4
Click the "Sync Now" button to synchronize Wi-Fi information to your
device.
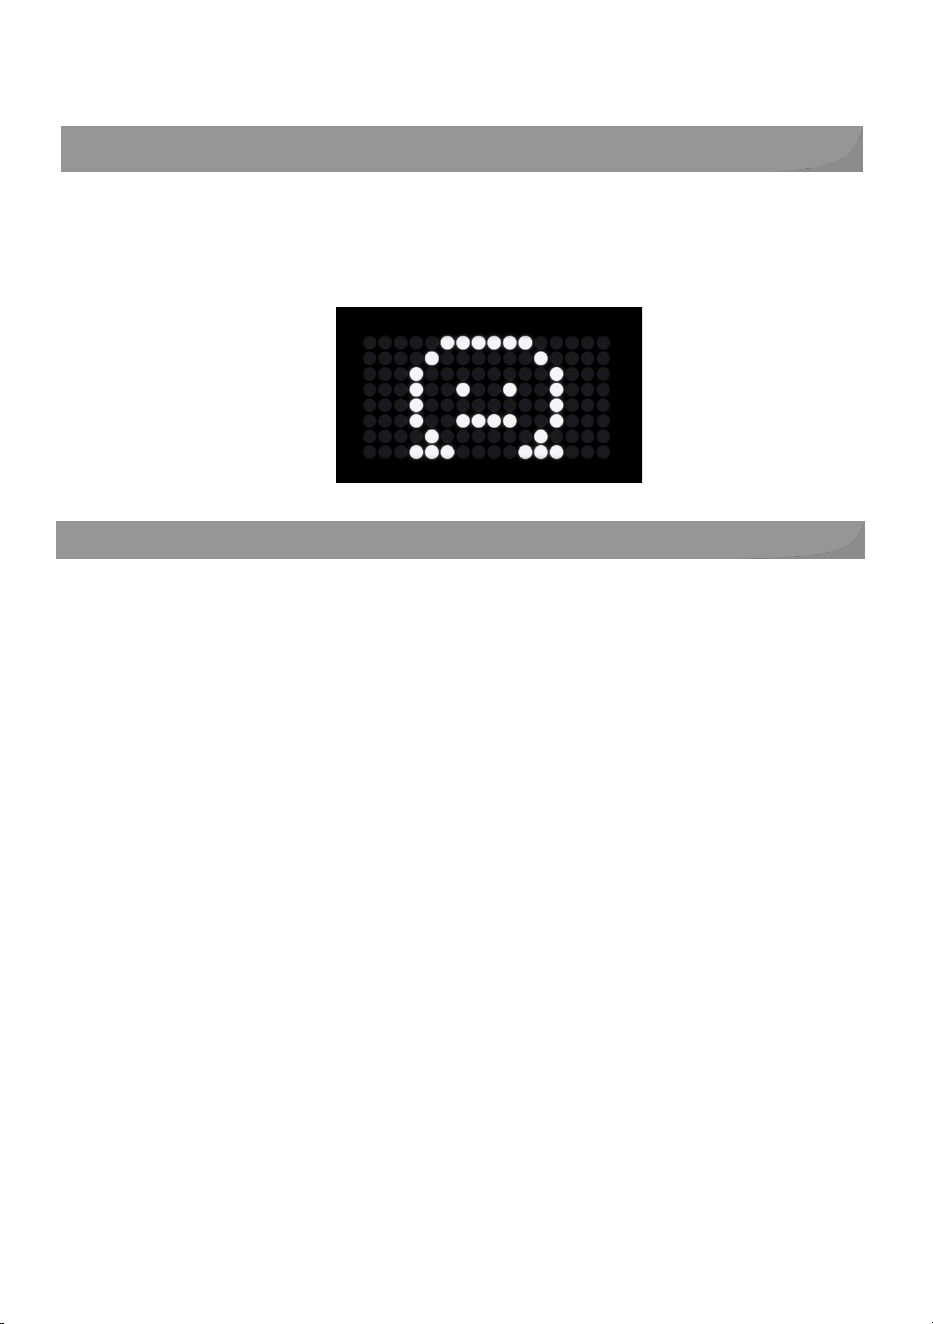
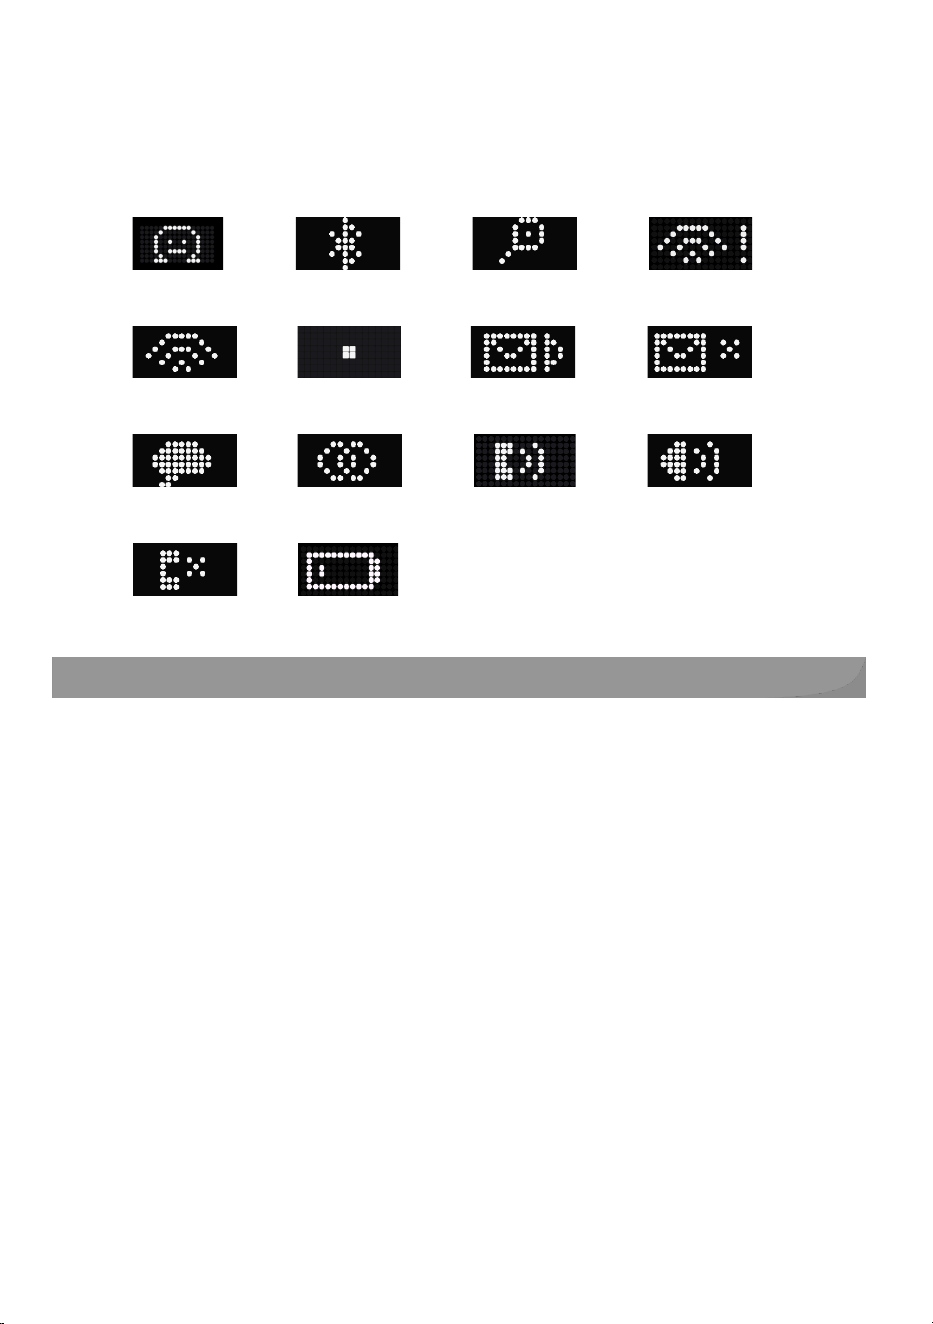
IV. Icon Status On The Phone's LCD Screen:
Boot screen Bluetooth pairing WiFi search WiFi error
WiFi connected SIP connected Send voice message Voice message not sent
Dialing in progress Call connected Handset mode Speaker mode
Hang up Low battery
Keys Functions
After the device is initialized, the following functions can be accessed:
Numeric keypad :
➢ Number keys: 0-9 keys (Press and hold the "0" key for 3 seconds
to input the "+" sign or dial the international prefix) ;
➢ Symbol keys: * key, # key ( press and hold for 3 seconds to turn
on/off ) .
Function keys :
➢ Dialing key:
❖ Answer key: Press the answer button briefly when a call comes
in to answer the phone;
❖ Hang-up key: Press briefly during a call to hang up;
❖ Dialing key: Select a contact or enter a number to make a call;
❖ Back key: Double-click to return to the main interface;
5
❖ Play key: Select a contact in the voice message menu to play the
voice message;
❖ After receiving a voice message, press the dialing key briefly in
the voice message menu to enter the voice message.
➢ Navigation keys "</>": Switch between interfaces and contacts by
looking left and right;
➢ Message key: Press the key briefly to enter the voice message
menu, use the navigation keys to switch, select a contact and press
the key briefly to speak;
➢ Hands-free key: Used to switch between hands-free and earpiece
during a call ;
➢ Volume control keys "+/-" : Used to adjust the volume during a
call.
Note: The actual functions of the equipment shall prevail.
Basic Call Functions
Call:
1. Pick up the handset, press the keys to enter the number, and press
the dial soft key to make a call .
2. Double-click the dial key to enter the contact menu. Press "<" or
">" to switch contacts, and press the soft key to make a call .
Answer:
When a call comes in while the phone is in standby mode, simply pick up
the handset or press the key to answer the call. You can also press the
corresponding line key or answer function key to answer the call.
Users can press the corresponding buttons or lift the handle to switch
between headset, handle, and hands-free calling.
End call:
Note: During a call, you can press the hands-free key to switch
audio between handset and hands-free mode.
Note: You may place the device back onto the base to reject
incoming calls.

6
In handset mode : Place the device back on the dock or press the hang-up
soft key to end the call .
In hands-free mode : Press the hang-up soft key to end the call .
Send a voice message:
1. On the standby screen, press " < " or " >" to switch contacts.
2. After selecting a contact, briefly press the voice message button to
record a message; press it again to send the voice message.
Note: Voice messages can be recorded for a maximum of 20 seconds and
will automatically stop recording.
Play voice message:
1. Double-click the voice message button from the standby screen to
access the voice message list.
2. Short press the " < " or " >" keys to switch lists.
3. Select a contact from the list and press the dial button to play a
voice message.
4. When your device receives a new voice message , you can do the
following:
• After switching to the voicemail interface, briefly press the dial
button to enter voicemail mode.
• Press the " < " or " >" keys to switch lists.
• After selecting the content, briefly press the dial button to play the
voice message.
Delete voice message
Press and hold the voice message button for 3 seconds in the voice
message interface to delete the message.
Routine maintenance
Common
phenomena
Possible reasons
7
Cannot make phone
calls
1. The network cable is not plugged in or
there is a network problem.
2. SIP parameters are abnormal .
3. Network parameters do not match or no
IP address was obtained.
The call was
dropped.
1. The network cable is not connected.
2. Unstable network.
Low call volume
During a call, simply press the -/+ keys to
adjust the volume.
Network error
1. Check network parameter settings.
2. Check the network status.
Registration failed
If the network is normal but SIP is
abnormal, please check the SIP
parameters .
If you have any further questions, please contact your dealer or authorized
service provider.

8
Precautions
Work environment:
Operating humidity: 5 ~ 95%
Operating temperature: 0~ +45 ℃
Atmospheric pressure: 86~106 kPa
Storage temperature: -20~60℃
Warn
This device is intended for use only under the normal operating conditions
described in this quick start guide . We are not liable for any damage or
loss caused by connecting this device to third-party products or by
abnormal operating environments . We are not responsible for any
problems with the Carl device arising from the use of this product. We
assume no responsibility for any financial loss, loss of profits, or
third-party claims arising from the use of this product.
Safety Instructions
General requirements
• Please read the safety instructions carefully before installing and
using the equipment.
• Keep the equipment dry and clean at all times during storage,
transportation and operation, and avoid collisions.
• If any abnormality occurs with the equipment, please do not attempt
to disassemble it yourself. Please contact the service center for repair.
When using the equipment, please refer to relevant laws and
regulations, and also respect the legal rights of others.
Environmental requirements
Place the device in a well-ventilated area and do not expose it to direct
sunlight.
• Keep the equipment dry and free of dust.
• Do not place this equipment on any flammable or explosive
materials, such as rubber.
Keep the device away from any heat source or open flame, such as
9
candles or electric heaters.
Operating requirements
• Do not allow children to operate the device without supervision.
• Do not allow children to play with the device or any accessories to
prevent accidental swallowing.
• Use only accessories provided or authorized by the manufacturer.
The power supply to the device must meet the device's input voltage
requirements. Please use only the provided power adapter.
• Ensure your hands are completely dry before plugging or unplugging
any cables.
• Do not place any liquids on the product or use the device near water,
such as in bathtubs, sinks, kitchen sinks, damp basements, or near
swimming pools.
• During thunderstorms, stop using the device and disconnect the
power. Unplug the power cord and network cable.
• If the device is to be left idle for an extended period of time, do not
use the power source and unplug the power cord.
• If the equipment emits smoke, abnormal noise, or unusual odor,
please disconnect the power supply and unplug the power cord
immediately.
Please contact the designated repair center for repair.
Do not insert any object into the device slot that is not part of the
product or accessory.
Cleaning requirements
• Disconnect the power supply before cleaning the equipment.
• Use a soft , dry, anti-static cloth to clean the equipment.
Keep the power plug clean and dry.
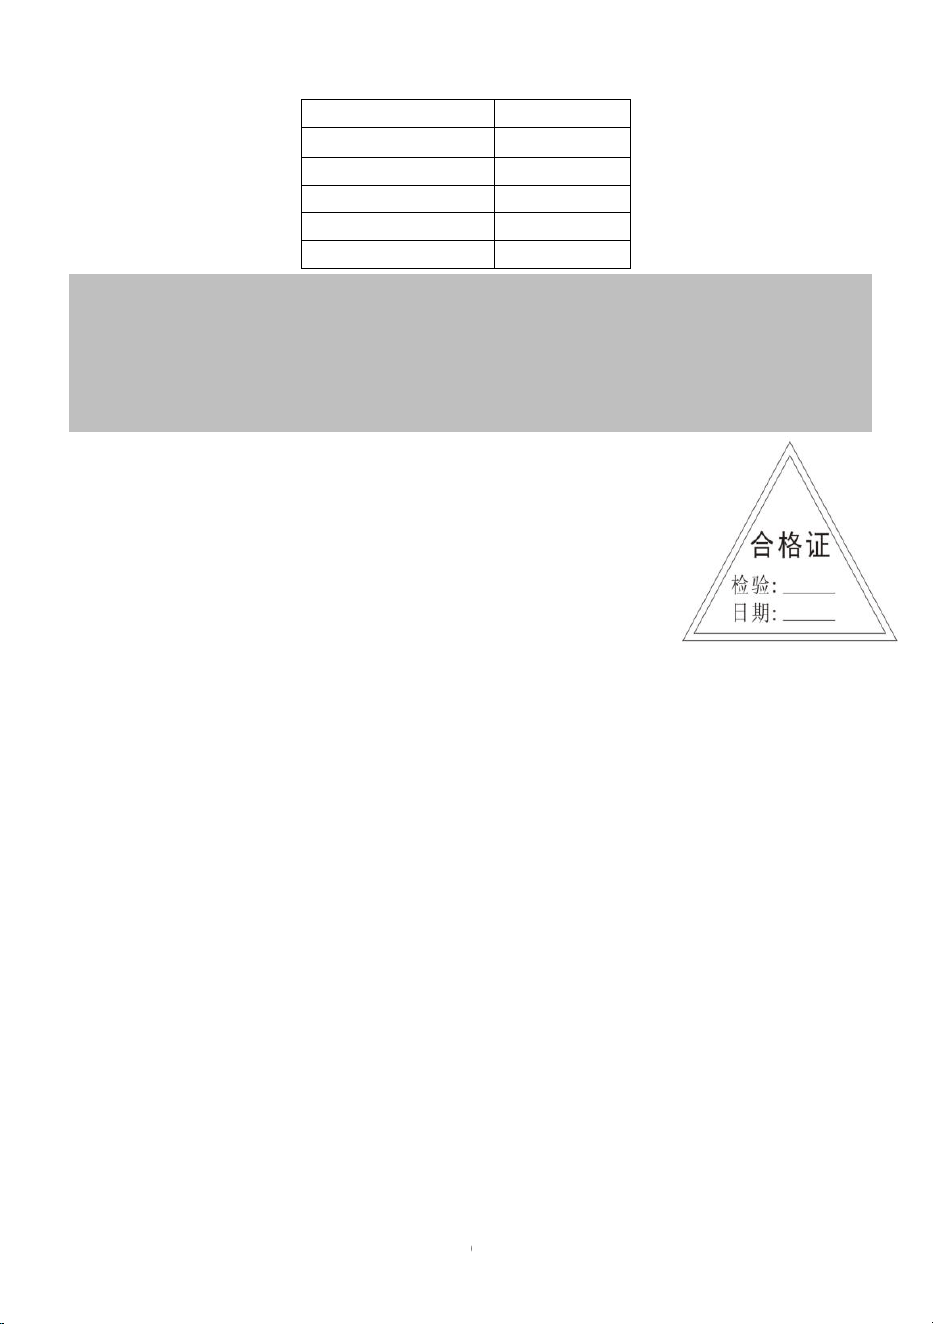
Packing list
Name
Quantity
10
Handle
1
Base + Spring wire
1
Product Card
1
Labels and stickers
1
Warranty card
1
Charging cable
1
Note: Please check whether all components are complete before installation.
Contact the seller promptly if any parts are missing. We recommend using
original factory accessories or parts supplied by Kaer. Unauthorized
third-party accessories may result in degraded performance.
11
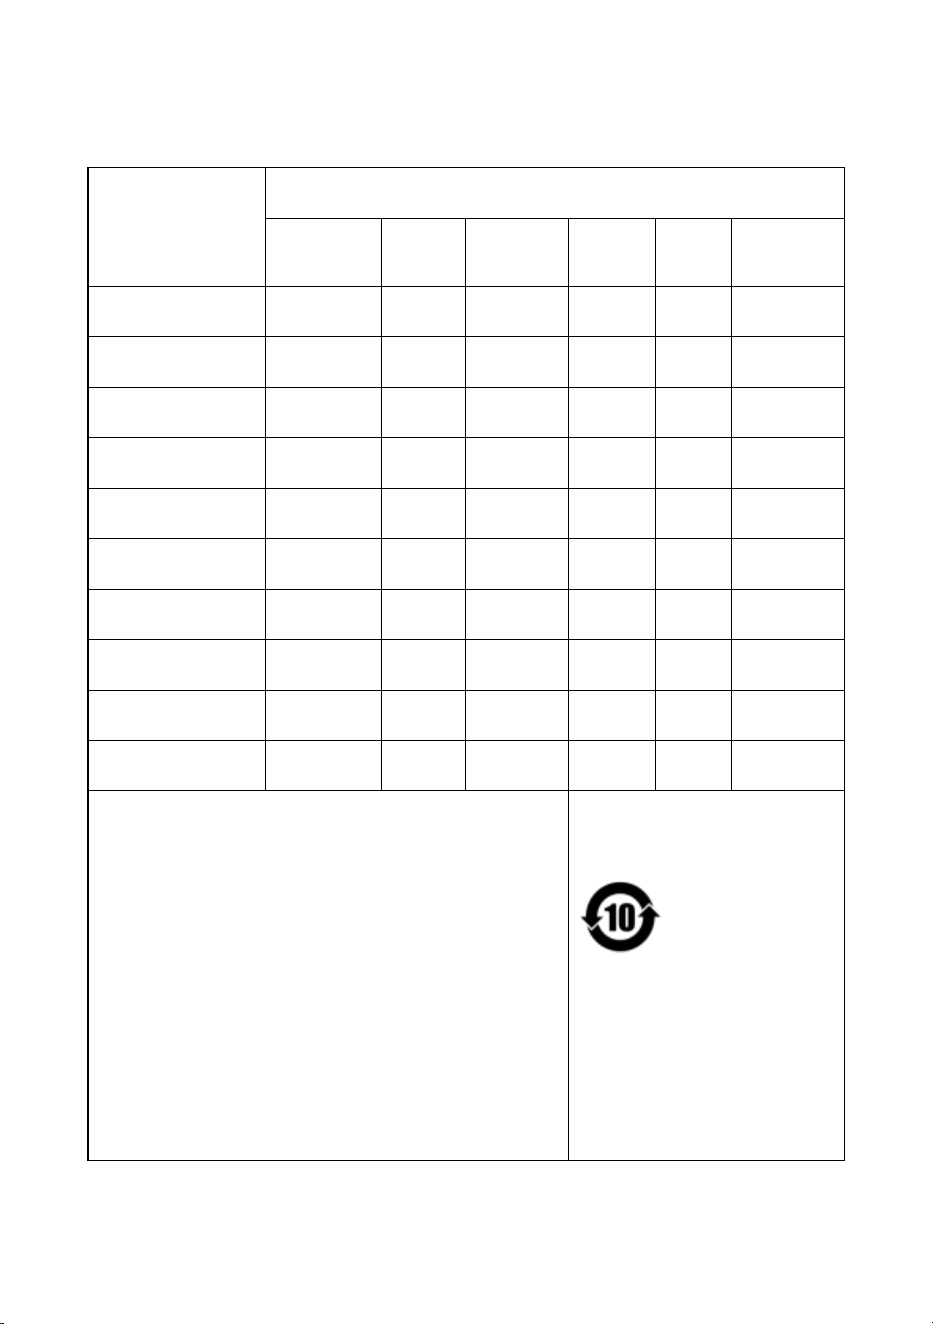
List of Hazardous Substances in the Product
Harmful
substances
Component Name
Plastic
structural
component
s
Circuit
board
/modul
e
Metal
structural
compone
nts
Compo
nents
appen
dix
Packaging
materials
Lead (Pb)
О
×
×
×
О
О
Mercury (Hg)
О
О
О
О
О
О
Cadmium (Cd)
О
О
О
О
О
О
Hexavalent
chromium (Cr(vI))
О
О
О
О
О
О
Polybrominated
biphenyls (PBBs)
О
О
О
О
О
О
Polybrominated
diphenyl ethers
(PBDEs)
О
О
О
О
О
О
Di(2-ethylhexyl)
phthalate (DEHP)
О
О
О
О
О
О
Butyl benzyl
phthalate (BBP)
О
О
О
О
О
О
Dibutyl phthalate
(DBP)
О
О
О
О
О
О
Diisobutyl
phthalate (DIBP)
О
О
О
О
О
О
Note 1:
О : This indicates that the content of the hazardous
substance in all homogeneous materials of this
component does not exceed the national standard
requirements for the restriction of hazardous substances
in electrical and electronic products;
× : This indicates that the content of the hazardous
substance in at least one homogeneous material of the
component exceeds the national standard requirements
for the restriction of hazardous substances in electrical
and electronic products .
Note 2:
Components not listed above indicate that their
hazardous substance content does not exceed the
national standards for the restriction of hazardous
substances in electrical and electronic products.
Note 3 :
× " in the table cannot be replaced with hazardous
substances due to limitations in global technological
development .
This environmentally friendly
usage period applies only to
products operating under the
conditions specified in the
instruction manual.
12
Warranty Certificate
Production date: [Date]
Place of origin:
Seller: Sales Date: Year moon day
Invoice Number:
Purchaser: Telephone:
post code: address:
Warranty provider: Telephone:
post code: address:
Repair records
1
Repairman
date
2
Repairman
date
3
Repairman
date
4
Repairman
date
Note:
1. This warranty certificate is prepared in accordance with relevant national regulations.
2. Except for the repair record, which is filled out by the repairman, all other warranty
certificates shall be filled out and stamped by the salesperson.
3. When returning or exchanging products, this certificate must be attached to the
product packaging box, and the national return and exchange system must be strictly
followed; otherwise, it will be considered as an automatic waiver of the "three
guarantees" rights.

13
Federal Communication Commission Interference Statement
FCC ID: 2BW9U-WFL001
This device complies with Part 15 of the FCC Rules. Operation is subject to the following two conditions: (1)
This device may not cause harmful interference, and (2) this device must accept any interference received,
including interference that may cause undesired operation.
This equipment has been tested and found to comply with the limits for a Class B digital device, pursuant to
Part 15 of the FCC Rules. These limits are designed to provide reasonable protection against harmful
interference in a residential installation. This equipment generates, uses and can radiate radio frequency
energy and, if not installed and used in accordance with the instructions, may cause harmful interference to
radio communications. However, there is no guarantee that interference will not occur in a particular
installation. If this equipment does cause harmful interference to radio or television reception, which can be
determined by turning the equipment off and on, the user is encouraged to try to correct the interference by
one of the following measures:
-Reorient or relocate the receiving antenna.
-Increase the separation between the equipment and receiver.
-Connect the equipment into an outlet on a circuit different from that to which the receiver is connected.
-Consult the dealer or an experienced radio/TV technician for help.
FCC Caution: Any changes or modifications not expressly approved by the party responsible for compliance
could void the user's authority to operate this equipment.
Radiation Exposure Statement:
The device has been evaluated to meet general RF exposure requirement. The device can be used in
portable exposure condition without restriction.