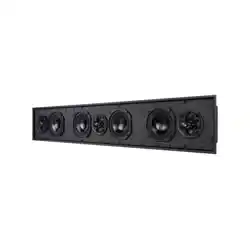
QX SOUNDBAR WALL REFRAMING FOR RETROFIT INSTALLS
If the installation area is a retrofit, then more than likely reframing of the
wall studs may be required to be able to install the QX In-Wall SoundBar
properly.
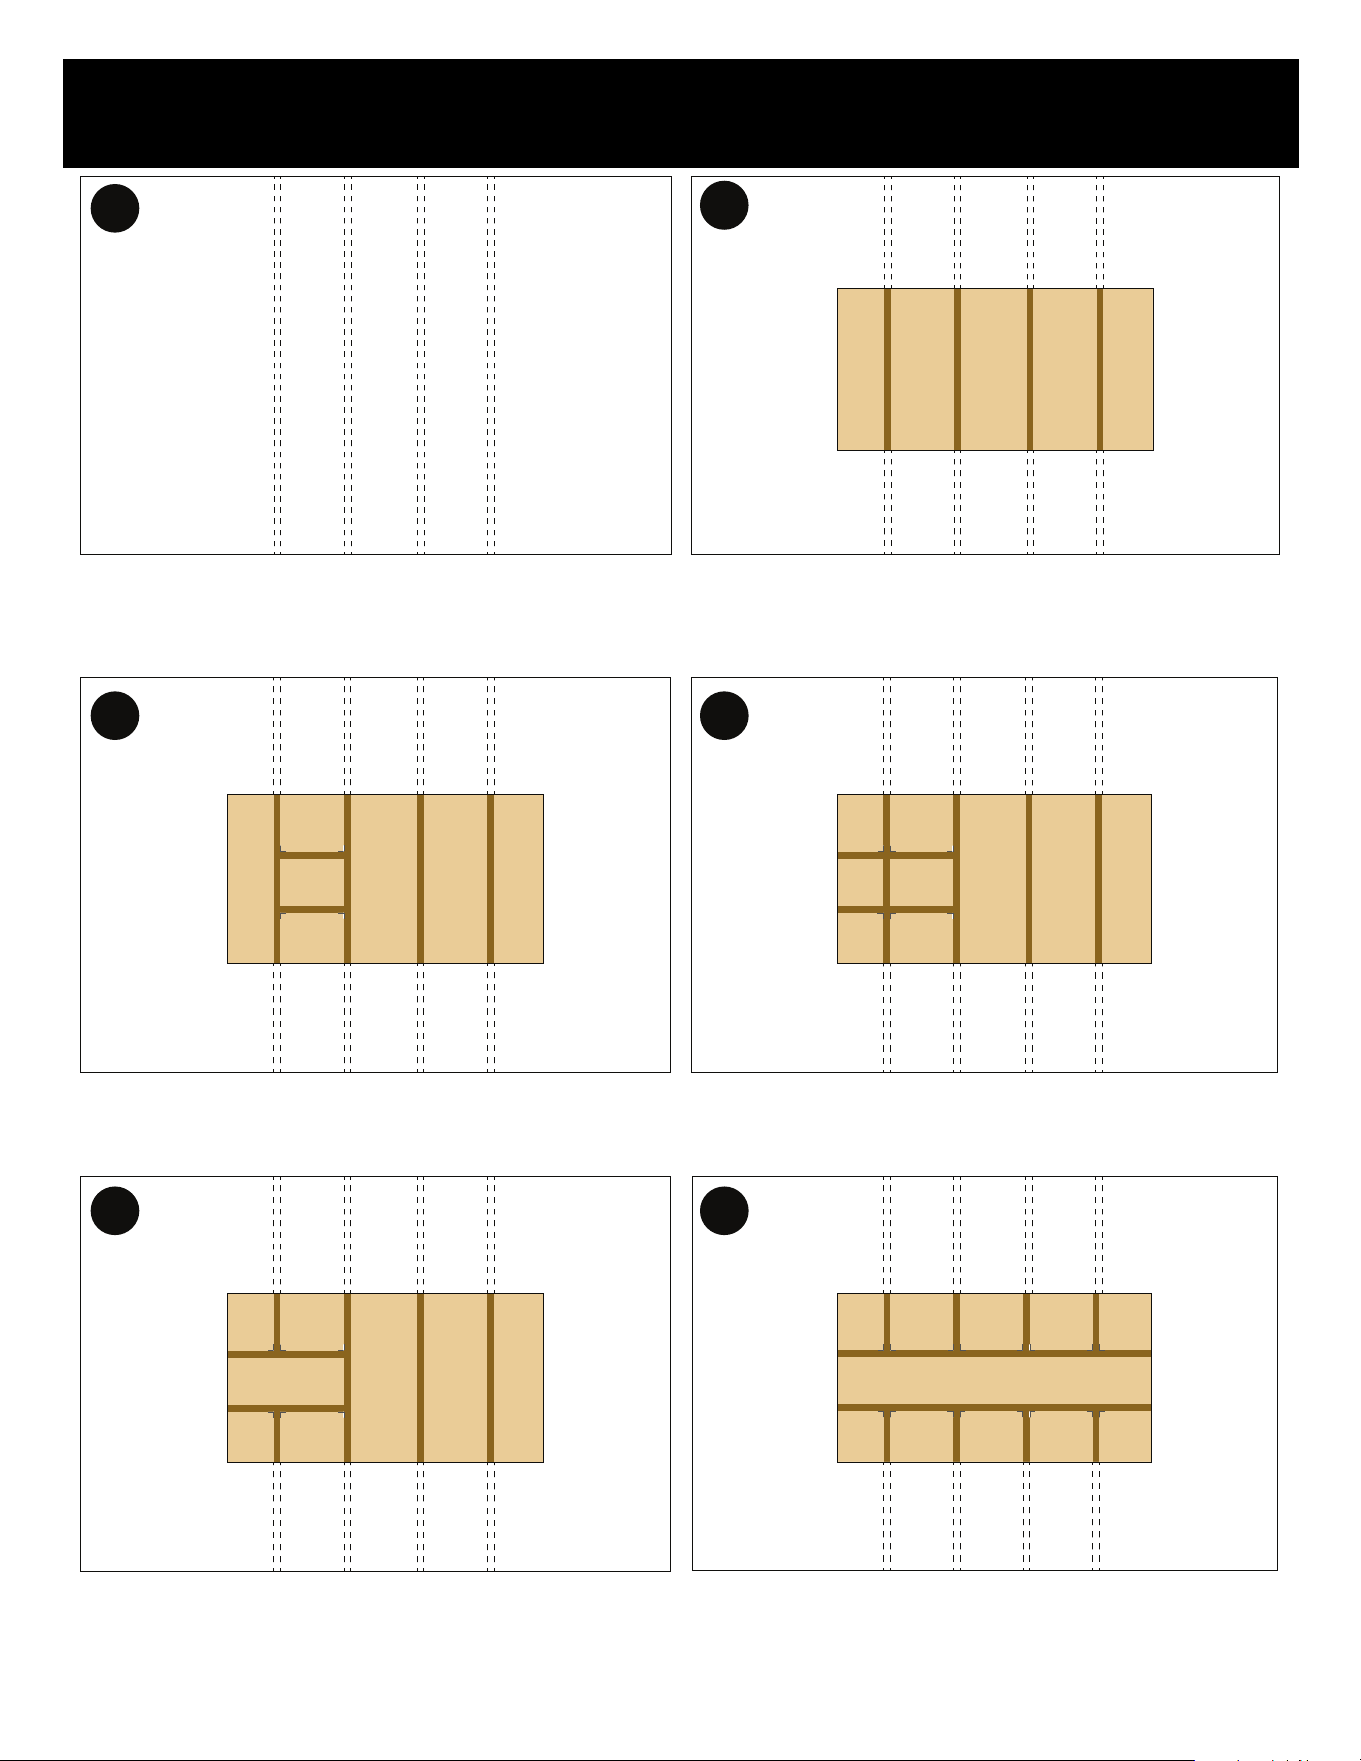
Once the drywall section has been removed, the the studs are now free to be
braced and cut.
Once the installation location and studs have been identified, enough
drywall must be cut away to expose the underlying studs with enough
space for reframing to take place.
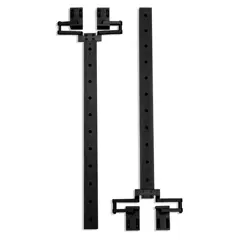
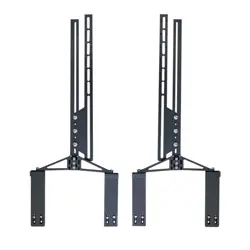
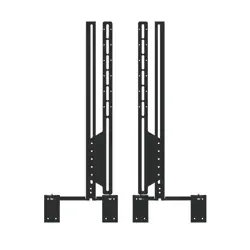
We recommend bracing each stud on both sides, with your method of
choice, before performing cuts on the vertical wall studs.
1
3
2
4
Image of cut vertical stud with braces on either side sides. Continue the reframing process until the required length to accommodate
the QX SoundBar has been reached.
NOTE: If you’ve ordered a preconstruction board, then now would be the
time to install it. See the preconstruction installation guide for more
information on PCB/PCBF installation.
5 6
After the wall has been braced, sheetrock must be cut to size to cover the
reframed area. The sheetrock must also have a section cut to accomidate
the QX frame and SoundBar. After the drywall has been secured to the wall,
mudding can be performed to cover any installation seams and retexturing
can be done to blend it to the installation area.
After the mudding process is complete and dry, the QX SoundBar’s frame
can be installed and clamped onto the dry wall.
77 8
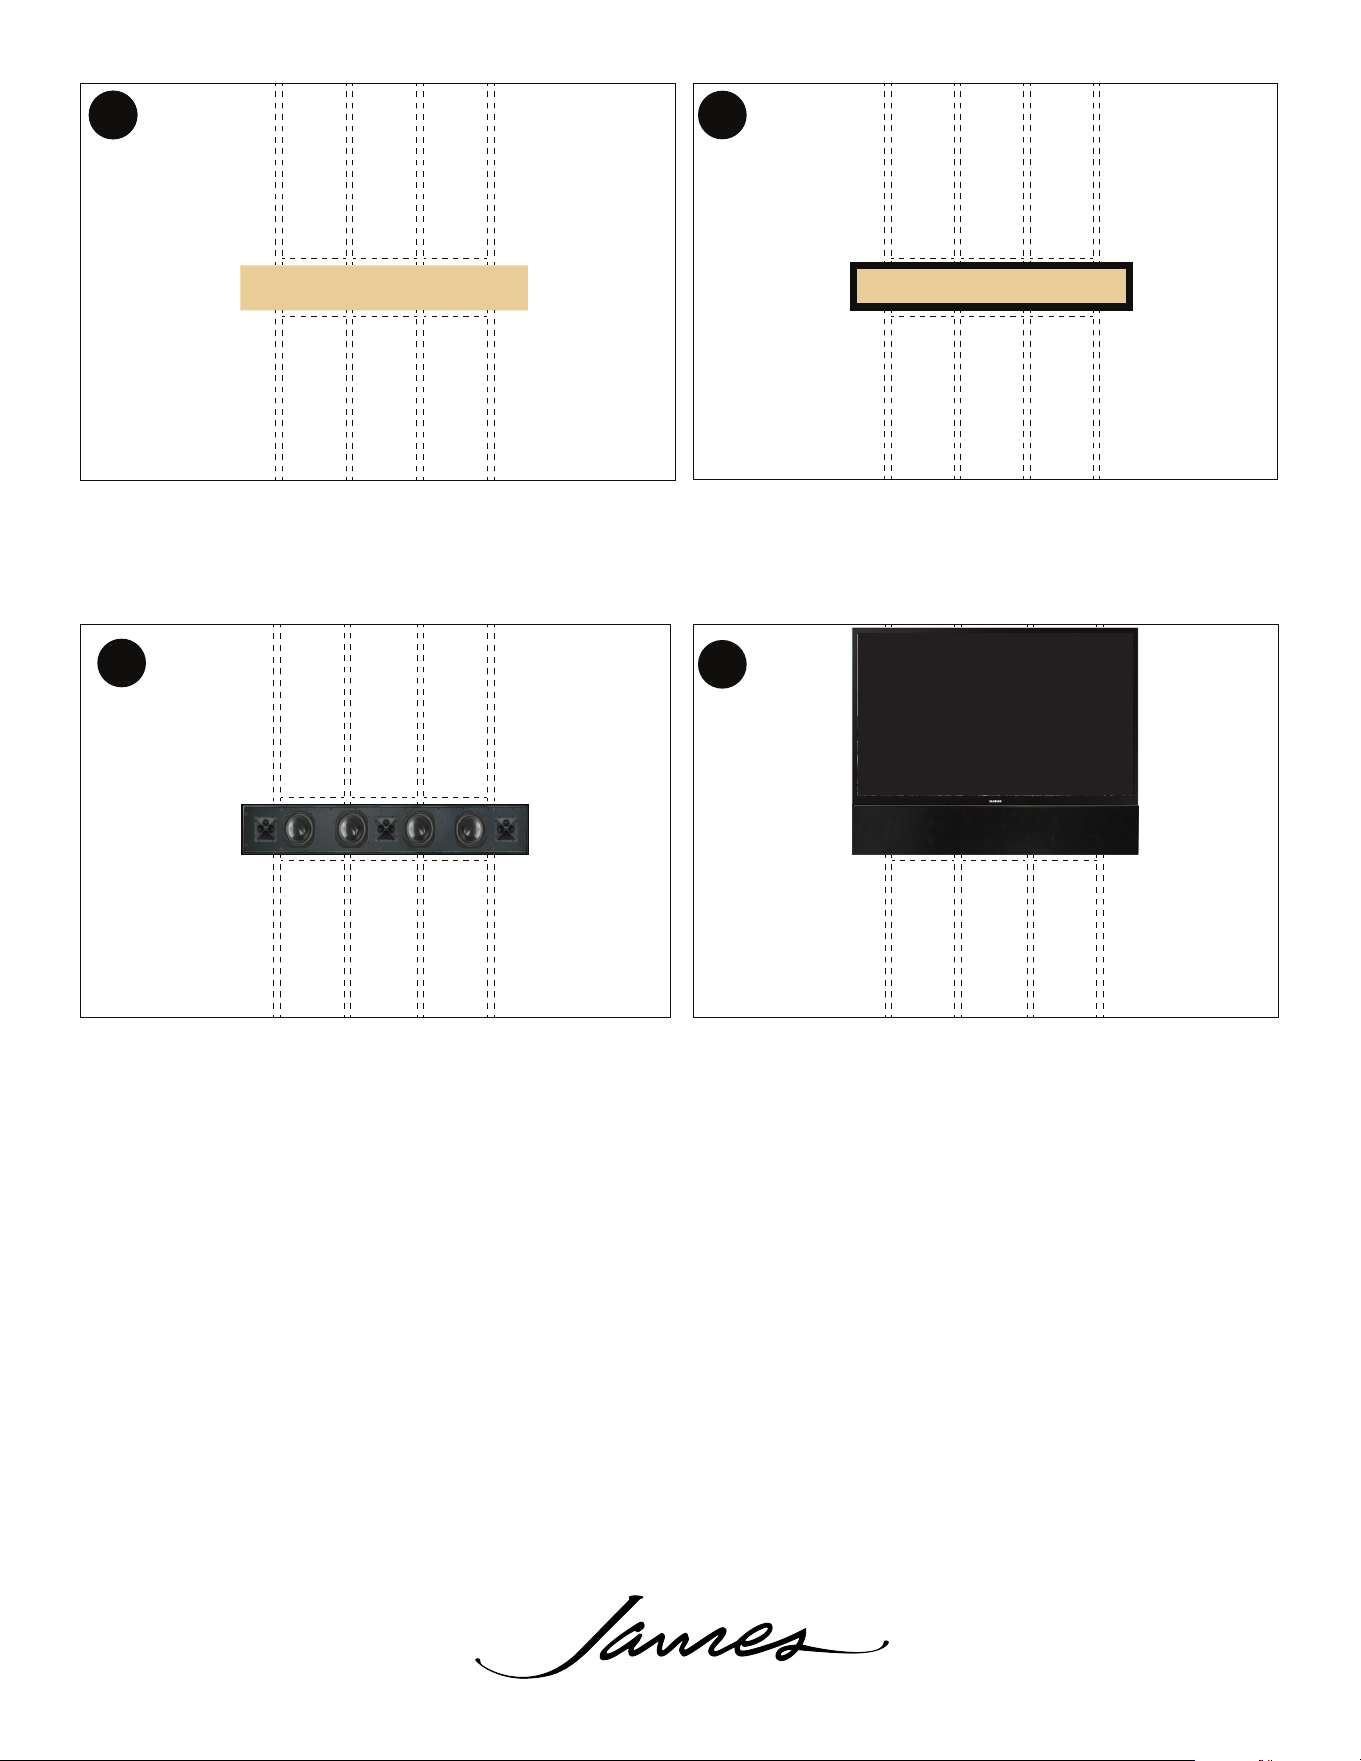
Now the grille can be installed and the display can be mounted to the wall
to complete the installation.
9
Once the frame is securely mounted to the dry wall, the SoundBar can be
wired, inserted and secured to the frame.
10
20190710
9
James Loudspeaker | 2185 Park Place, Minden, NV 89423 | 775.461.7500 | www.JamesLoudspeaker.com