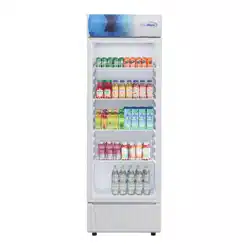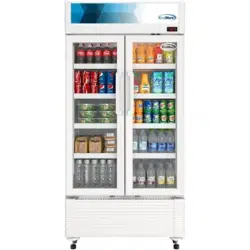
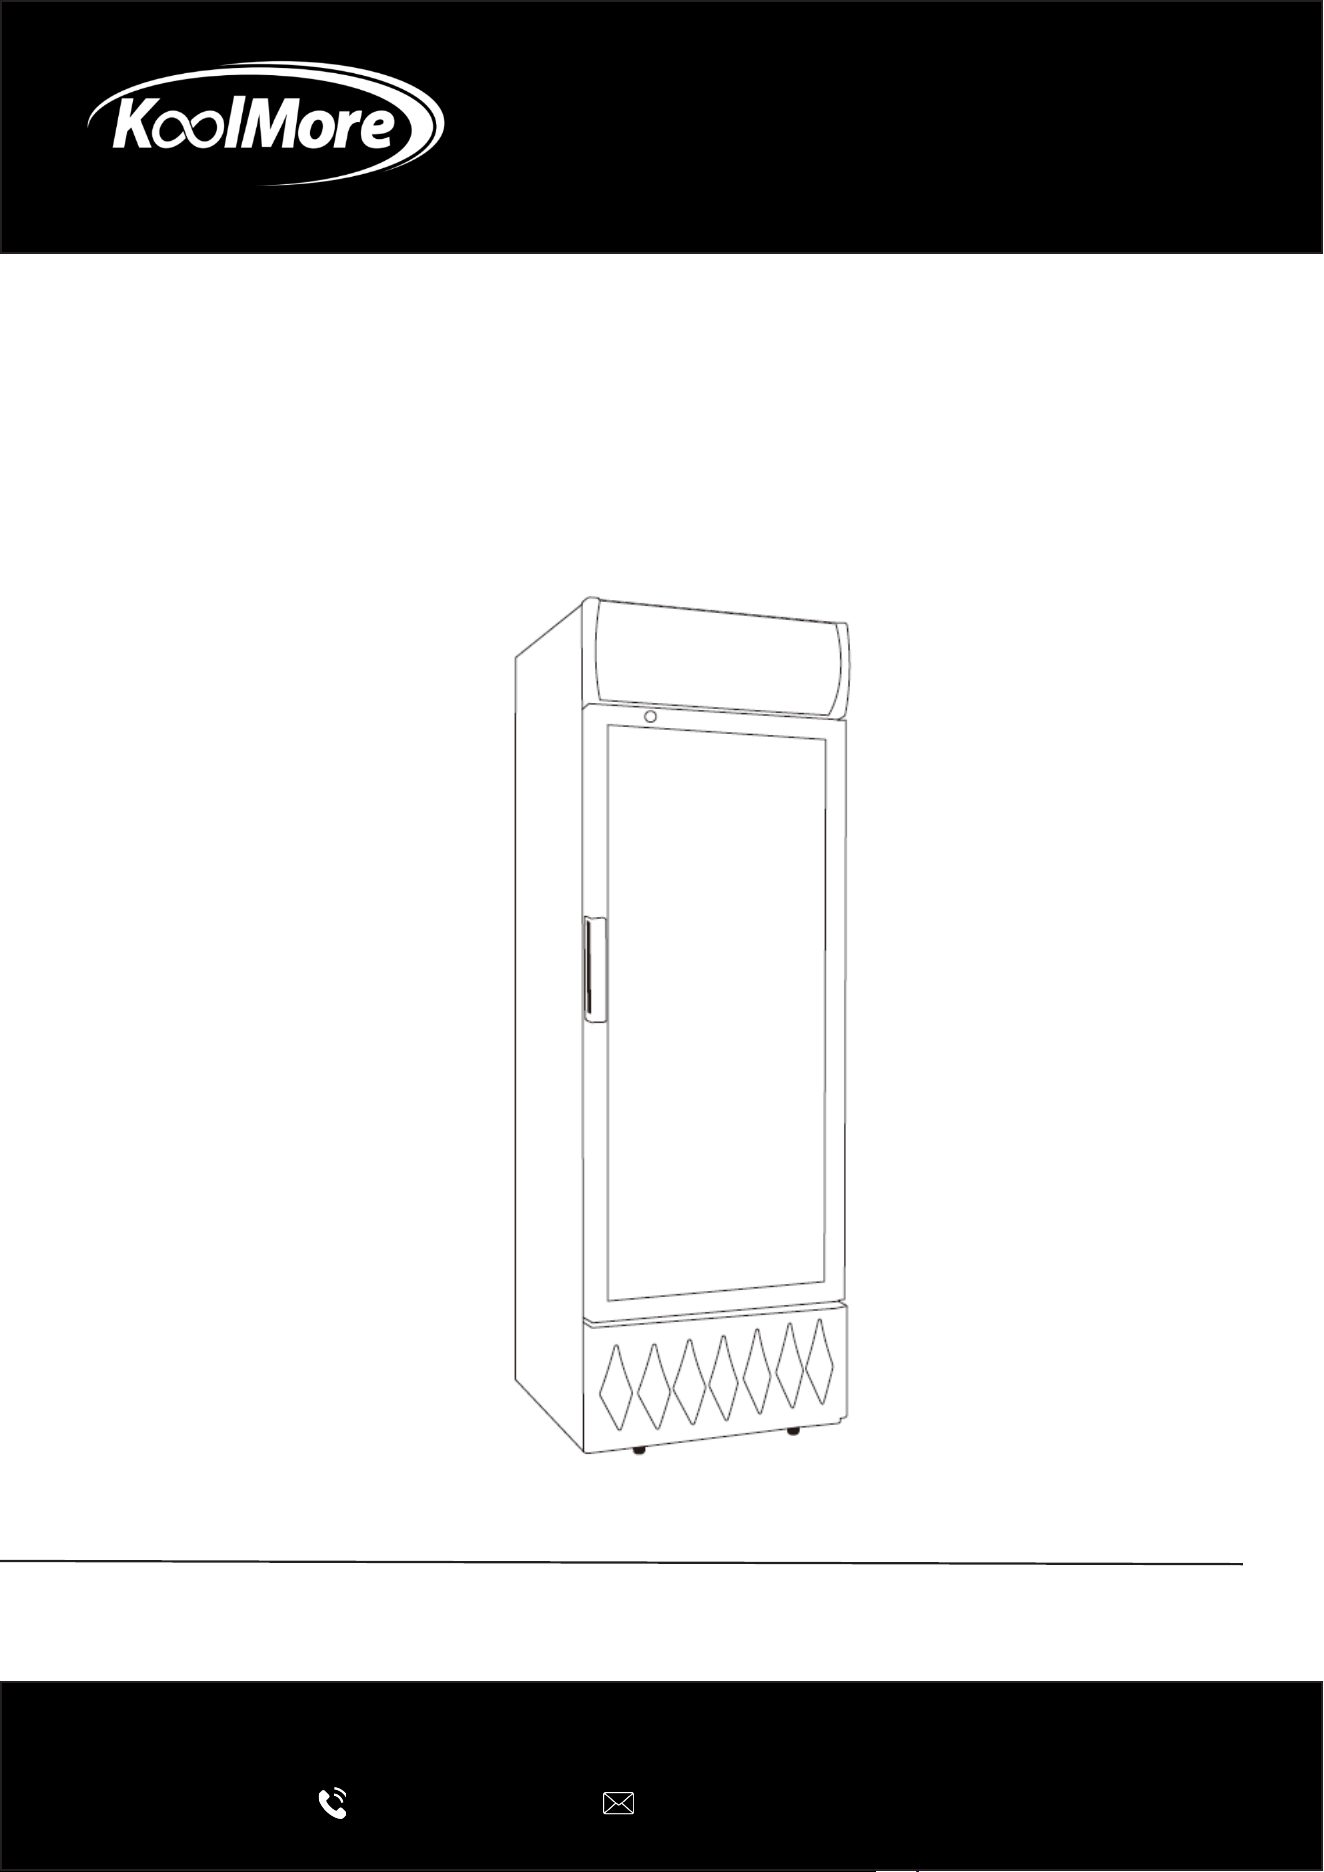
Merchandiser
One Door Merchandiser Refrigerator
USER MANUAL
Before using, please read the operating instructions carefully to
ensure proper application and achieve satisfactory results.
For any service related issues, please contact us:
718-576-6342
suppor[email protected]
Model: MDR-9CP, KM-MDR-9CPWH, MDR-1GD-12C,
KM-MDR-1GD-12CWH
Stay informed with the latest information for your
KoolMore Appliance.
Scan the QR code below to access the most recent user manual
on our website, which is constantly being updated and improved.
If you need any assistance or have questions, our customer support
team is here to help.
Phone- 718-576-6342 Email- Suppor[email protected]
Please write down the model number and serial number below for future reference. Both numbers are located on the
rating label on the back of your unit or inside of the unit and are needed to obtain warranty service. You may also
want to staple your receipt to this manual as it is your proof of purchase and may also be needed for service
under warranty.
Model Number:
Serial Number:
Date of Purchase:
To better serve you, please do the following before contacting customer service:
If you received a damaged product, immediately contact the retailer or dealer that sold you the product.
Read and follow this instruction manual carefully to help you install, use, and maintain your unit.
Refer to the Troubleshooting section of this manual as it will help you diagnose and solve many common issues.

3
Contents
Safety and Usage ............................................................................. 4
Installation ...................................................................................... 6
Operation ........................................................................................ 7
Troubleshooting ............................................................................... 8
Warranty ........................................................................................... 9

4
Safety and Usage
Intended Use
This appliance is designed for the storage and display of packaged foods that do not require time
or temperature control, such as bottled or canned products.
It is intended for commercial and retail applications only, including:
• Staff kitchen areas in shops, oces, and other workplaces
• Hotels, motels, and other non-residential service environments
• Farmhouses used for commercial purposes
• Catering and similar professional applications
General Safety Precautions
• This appliance must not be used by persons with reduced physical, sensory, or mental
capabilities without supervision.
• Children must be supervised to ensure they do not play with or misuse the appliance.
• Cleaning and maintenance must not be performed by unsupervised children.
• Do not store explosive substances (e.g., aerosol cans with ammable propellants).
• Keep all ventilation openings clear of obstruction.
• Do not damage the refrigerant circuit.
• Only use electrical appliances inside the food compartments if recommended by the manufac-
turer.
• Always install in accordance with national safety standards and codes.
Flammable Refrigerant Safety (A3 per ANSI/ASHRAE 34)
• Risk of Fire / Explosion: This appliance uses ammable refrigerant.
• Do not pierce or burn refrigerant tubing.
• Do not use mechanical devices to accelerate defrosting except those recommended by the
manufacturer.
• Dispose of refrigerant properly in accordance with local or federal regulations.
• Never mix refrigerants in recovery units or cylinders.
• Keep re-extinguishing equipment (CO₂ or dry chemical extinguisher) adjacent to the work
area.
• “No Smoking” signs must be displayed in service areas.
Installation Guidelines
• Place the unit in a well-ventilated area, away from direct sunlight, open ames, and ignition
sources.
• Maintain at least 4 inches of clearance behind and on the sides of the cabinet for proper venti-
lation.
• Do not tilt the appliance more than 45° during transport.
• Use a single-phase socket, reliably connected to a grounded wire.
• Do not connect the grounding wire to water or gas pipes.
• Remove all packaging from the bottom to prevent blocked heat radiation.
• Do not install in damp or polluted areas.
⚠
5
Servicing and Maintenance
• Servicing must be carried out by a qualied technician trained in handling ammable refriger-
ants.
• Before decommissioning, disconnect electrical power and follow all refrigerant handling safety
protocols.
• Recovery equipment must be in good condition and suitable for all applicable refrigerants.
• When recovering refrigerant:
• Take an oil/refrigerant sample for case analysis if re-use is planned.
• Return recovered refrigerant to the supplier in the proper recovery cylinder with correct
waste transfer documentation.
• Always check cabling for wear, corrosion, vibration, or pressure points.
• Maintain continuous ventilation during service work.
• Never use ignition sources (including cigarette smoking or naked ames) near refrigerant sys-
tems.
• Only manufacturer-approved replacement components may be used.
Operational Safety
• Do not overload shelves. Maximum loading per shelf: 49.3 lbs (22.4 kg).
• Keep the appliance stored and operated in a stable environment to prevent mechanical or re-
frigerant damage.
• Ensure the unit stabilizes after installation before placing food inside.
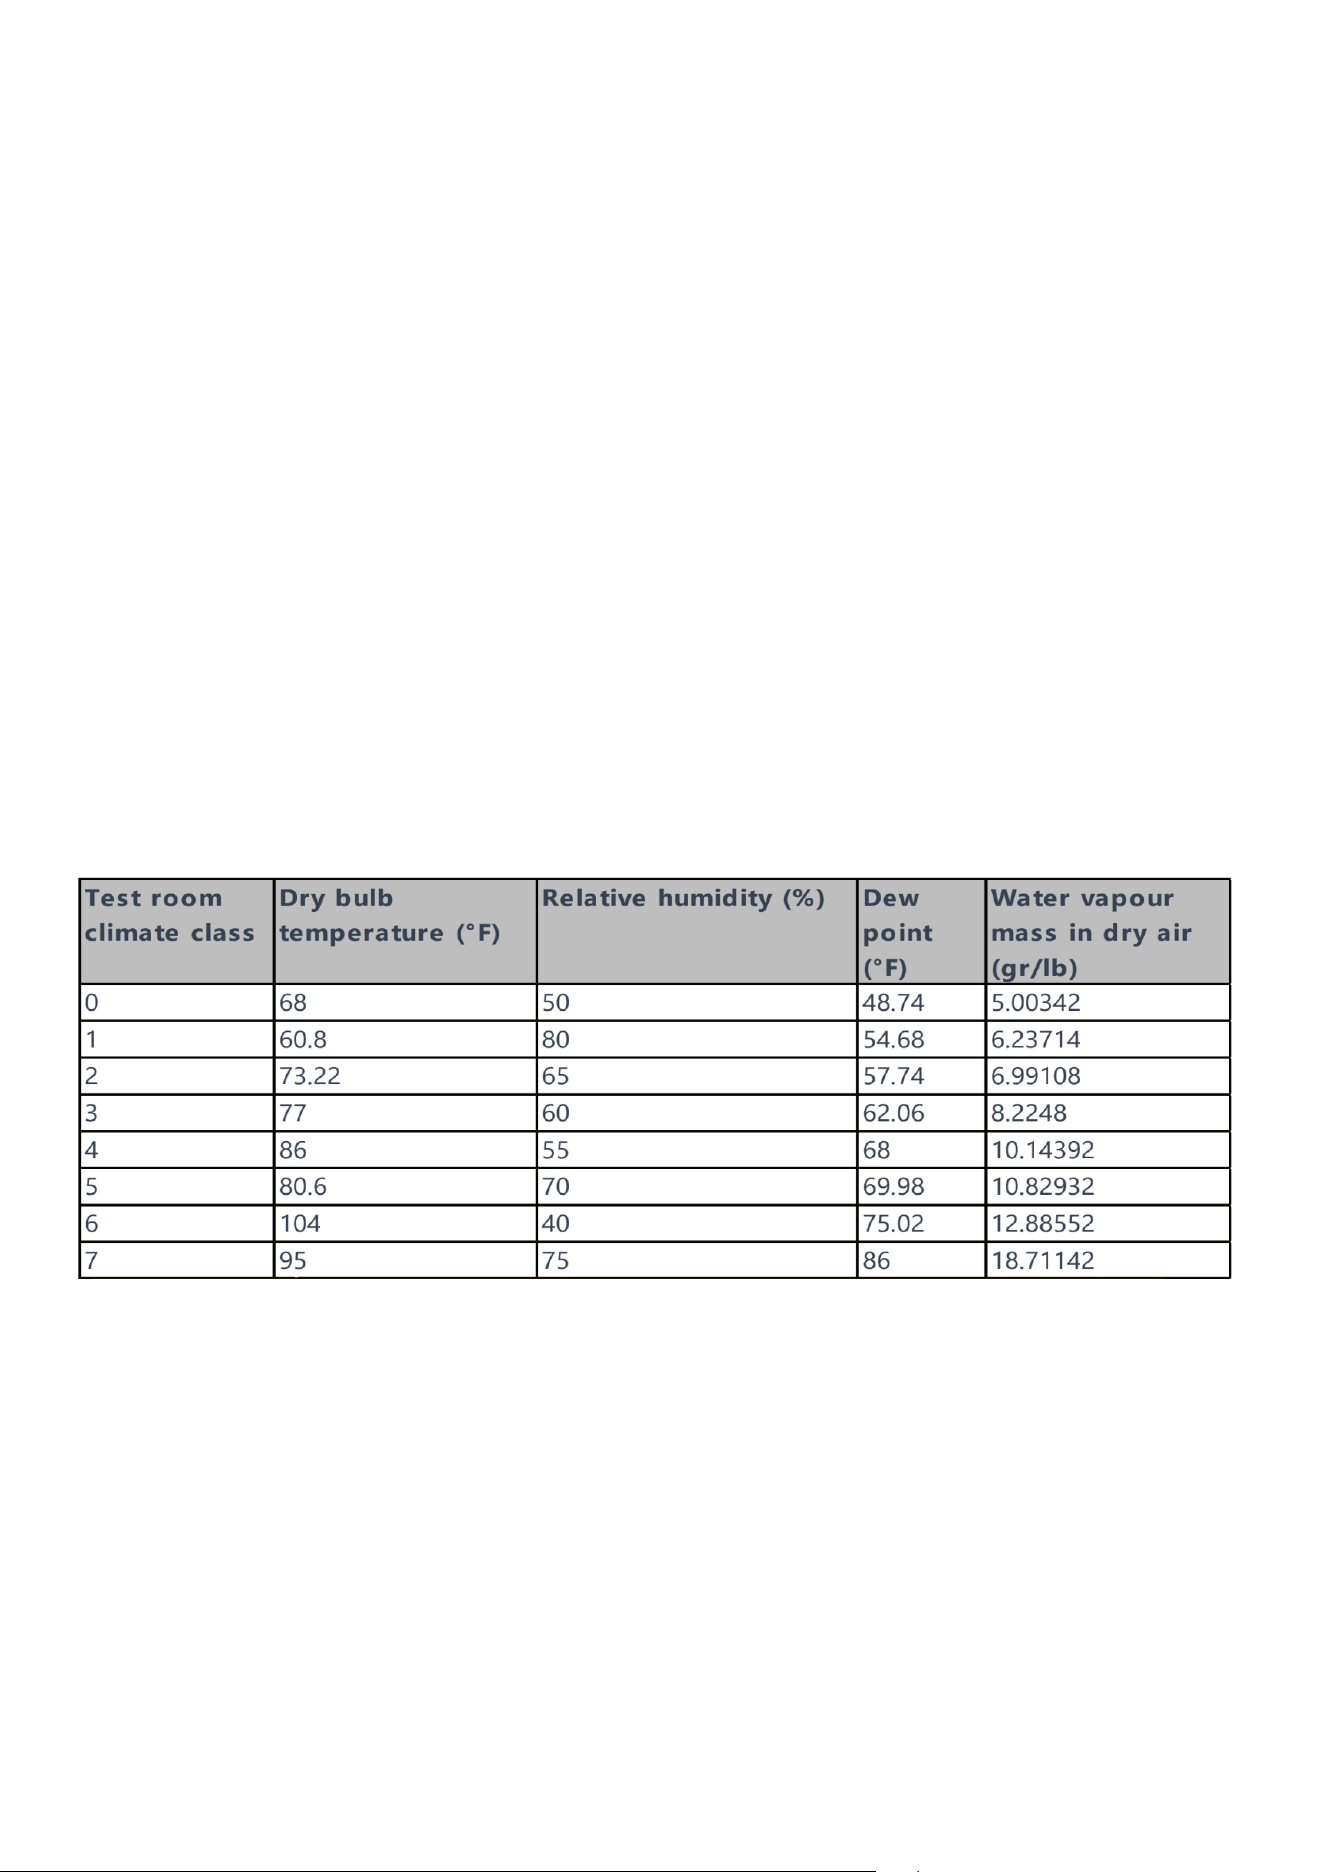
Technical Data
These parameters are for reference by qualied technicians when assessing unit performance.
Note: The water vapour mass in dry air is one of the main points inuencing the performance and
the energy consumption of the cabinets. Therefore, the order of the climate class in the table is
based on the water vapour mass column. See also Annex B to compare lab and store conditions.
6
Installation
• Do not tilt the unit more than 45° during transport.
• For best performance, install the refrigeration system in a location with cool, dry air circulation.
• Maintain at least 4 inches of clearance on both sides and at the back of the cabinet.
• Keep the unit away from heat sources and moisture-generating appliances such as stoves,
ovens, and dishwashers.
• Avoid placing the unit in direct sunlight.
• Install the unit on a strong, level oor that can support the weight of the appliance and its con-
tents.
• To reduce the risk of shock and re, the unit must be properly grounded. All units are equipped
with a three-prong grounding plug for safety.
• This appliance is designed for indoor use only. Outdoor installation may cause serious dam-
age.
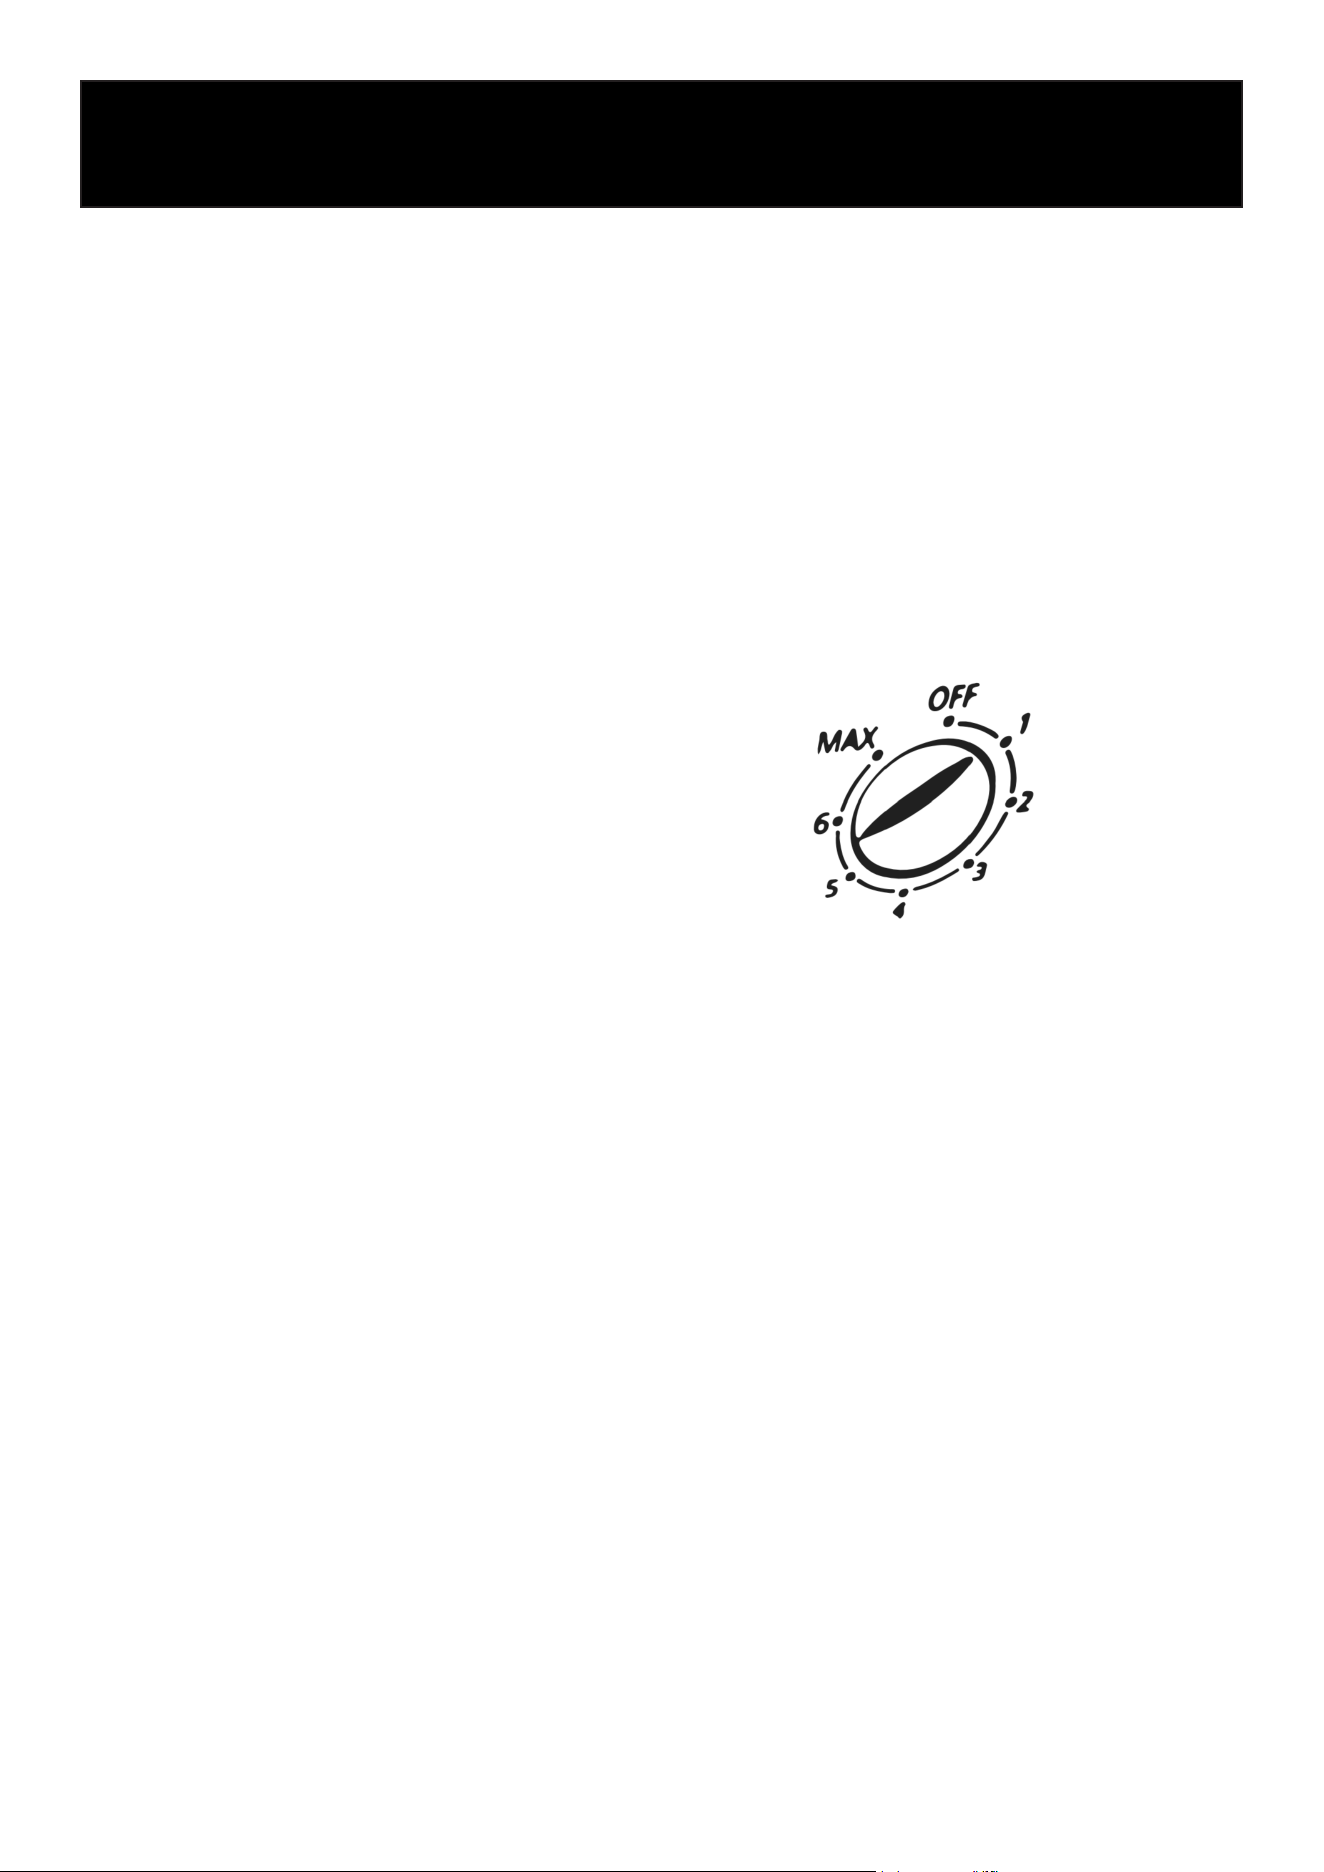
Temperature Control
The temperature is regulated using the
temperature control knob.
Rotate the knob clockwise to adjust the temperature. A higher number corresponds to a cooler
temperature. It is recommended to set the knob to ‘4’ or ‘5’ for standard refrigeration. Turning the
knob to the ‘OFF’ position will halt the compressor. Conversely, setting it to ‘MAX’ allows the com-
pressor to run continuously. Do not leave the knob on ‘MAX’ for more than 4 to 5 hours to avoid
overworking the compressor.
Precautions
• To minimize shock and re hazards, be sure not to overload the outlet.
• To minimize electric shock and malfunction, do not spray the unit with water.
• To minimize re hazards, do not use ammable spray products near the unit.

7
Operation
After unplugging the unit, wait at least 6 minutes before plugging it back in. Plugging in too soon
may cause compressor failure.
When the unit is not in use:
• Unplug the power cord.
• Wipe inside with dry cloth, and leave the door slightly open to eliminate moisture and odor.
Cautions for cleaning:
• Unplug the power cord before cleaning.
• Do not unplug/plug the power cord with wet hands.
• Do not use abrasive cleaners, solvents, or polishing agents on plastic parts. Doing so might
cause cracking or discoloration.
When loading the unit:
• Be careful not to block the air duct located at the back and the fan on the ceiling of the unit
with contents.
• Blocking the airow may cause a decrease in performance.
• For best performance, maintain at least 4 inches of clearance between the contents and the air
duct.
• Set the shelves that come with the unit to t your needs.
Temperature control:
• The controller is located at the right, front corner of the ceiling.
• Temperature is set as “4” at default.
• Do not leave the unit door open for a long period of time. For the most ecient operation, close
the door immediately after use.
Maintenance:
Regular cleaning of the refrigerator is essential. Before cleaning, disconnect the power, empty the
appliance, and wipe the interior with water or a mild detergent.
Avoid the use of harsh chemicals such as boiling water, acids, strong solvents, petroleum-based
products, or abrasive powders.
After cleaning, thoroughly dry the interior and exterior surfaces.
To maintain the door seal and prolong its life, lightly apply talcum powder to the seal after it has
dried naturally.
For external surfaces, use a soft cloth dampened with water or a small amount of detergent. En-
sure that the power source is not exposed to water during cleaning.

8
Troubleshooting
Problem
Remedy
• Check if the power cord has been plugged in.
• Check for blown fuse.
• Move the unit from direct sunlight, and avoid installing heating devices
near the unit.
• Install the unit in a well ventilated place with a minimum of 4” clearance
in the back.
• Check the condenser, and clean if heavy dust is collected.
• Check if contents are blocking the air duct.
• Check the temperature controller for possible incorrect temperature
setting.
• Check if refrigerant charge is low.
• Make sure the door is completely closed.
Compressor Will Not Start
Poor Performance
• Make sure the bulb is correctly inserted into the sockets.
• Check the bulb, and replace it if blown.
Interior Light Not Working
• Make sure to install the unit on a level surface.
• Make sure to maintain the minimum clearance of 4” from the wall.
• Check for loose parts or mounting.
• Make sure the tubing is free from any contact to avoid tubing rattle.
Noisy Unit
• Reduce the relative humidity in the area where the unit is installed.
• Gasket on door or head section is not sealing properly. Repair or replace
gasket as necessary.
Condensation On Cabinet And/
Or Floor
9
LIMITED WARRANTY
KoolMore Supply Inc. extends a limited warranty to the original purchaser, guaranteeing that this KoolMore product is
free from manufacturing defects in material or workmanship for one year from the date of purchase.
Should you discover any such defect within the warranty period, KoolMore Supply Inc. reserves the right to repair or re-
place the product without charge, or to cover the cost of replacement parts and repair labor needed to correct defects
present at the time of purchase or resulting from regular usage, when the appliance has been installed, operated, and
maintained as per the instructions provided.
At its sole discretion, KoolMore Supply Inc. may decide to replace the product. In such an event, your replacement
appliance will carry the warranty for the remaining term of the original unit’s warranty period.
This warranty is valid exclusively to the original purchaser of the product and only applicable within the United States.
The warranty commences from the date of original consumer purchase. Proof of the original purchase date will be
required to obtain service under this warranty.
Under this limited warranty, your sole and exclusive remedy will be product repair, as outlined above. All services must
be provided by a KoolMore designated service company.
To claim warranty or request repair service:
Email [email protected]. Please include your name, address, phone number, warranty repair request, and a copy
of your proof of purchase receipt. Alternatively, visit koolmore.com and use the contact us page. A KoolMore custom-
er service representative will promptly arrange service for your appliance.
We thank you for choosing KoolMore.
WARRANTY EXCLUSIONS
This limited warranty will not cover:
1. Failure of the product to perform during power failures or interruptions,
or due to inadequate electrical service.
2. Damage incurred during transportation or handling.
3. Damage caused by accidents, vermin, lightning, winds, re, oods, or acts of God.
4. Damage resulting from accidents, alterations, misuse, abuse, improper installation, repair, or maintenance. This
includes using any external device that alters or converts the voltage or frequency of electricity.
5. Unauthorized product modications, repairs by unauthorized centers, or use of non-approved replacement parts.
6. Abnormal cleaning and maintenance not aligned with the user’s manual.
7. Use of incompatible accessories or components.
8. Any costs associated with repairs or replacements under these excluded circumstances shall be the responsibility
of the consumer.
WARRANTY