USER MANUAL
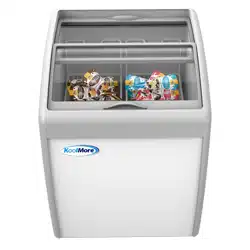
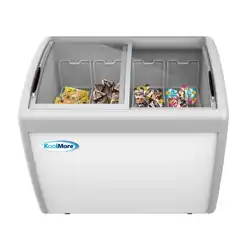
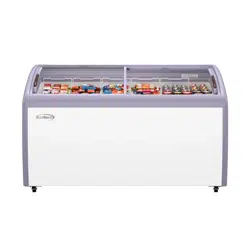
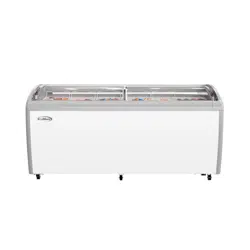
Ice Cream Freezer
Model: MCF-6C, MCF-9C, MCF-12C, MCF-16C, MCF-20C
KoolMore
Display Ice Cream Freezer

Stay informed with the latest information
for your KoolMore Appliance.
If you need any assistance or have questions, our customer
support team is here to help.

Warning!
Danger: There is a risk of fire or explosion. This freezer must only be repaired by trained service
personnel. Do not use any makeshift devices to defrost the refrigerator. Do not puncture refrigerant
tubing.
How to Use
• After installation, let the freezer stand unplugged for at least 4 hours.
• The freezer's temperature control is tamper-proof to prevent accidental adjustments. Use a
screwdriver to adjust if necessary.
• On initial startup, run the freezer for about one hour before storing food.
• To set the temperature, turn the control to the lowest point before placing food inside.
• Allow the interior to cool to 0°F before adding food.
• Put food in the freezer, and after 12 hours, readjust the temperature to your normal setting.
• Use the thermostat to adjust the temperature. Turning the knob clockwise increases the cold.
The bigger the number, the colder the temperature.
• At the “Max” position, the freezer cools as quickly as possible. For steady ice cream
temperature, set the control to "4" or "5".
Indicator Lights
"Power" light indicates the freezer is on.
"Run" light shows that the compressor is operating.
WARNING

• Do not transport the unit on an incline of more than 45 degrees.
• Remove all packaging before using the freezer.
• Install the freezer in a well-ventilated area, with a 4" clearance around the cabinet walls for
proper air circulation.
• Ensure the freezer is placed on a stable surface to avoid vibration and noise.
• Install the freezer in a dry area, do not use under direct sunlight, keep away from any corrosive
materials.
• Before placing food inside the freezer, turn the temperature control to the lowest point (highest
number) for several hours until the freeze reaches 0 degrees Fahrenheit, once it reaches 0
degrees Fahrenheit you may place food inside and adjust the controller to normal temperature.
Safety
1. This appliance is not intended for use by persons (including children) with reduced physical,
sensory or mental capabilities, or lack of experience and knowledge, unless they have been
given supervision or instruction concerning use of the appliance by a person responsible for
their safety.
2. If the supply cord is damaged, it must be replaced by the manufacturer or its service agent or a
similarly qualified person in order to avoid a hazard.
3. Please according to local regulations regarding disposal of the appliance for its flammable
blowing gas. Before you scrap the appliance, please take off the doors to prevent children
trapped.
4. Wiring regulations shall be installed in accordance with national wiring regulations.
5. The appliance is to be installed in accordance with the Safety Standard for Refrigeration
Systems, ANSI/ASHRAE 15.
6. Any person who is involved with working on or breaking into a refrigerant circuit should hold a
current valid certificate that is issued by an assessment authority, which authorizes their
competence to handle refrigerant safely in accordance with an industry-recognized assessment
specification.
7. Never store flammable, explosive or corrosive products in the freezer, and keep the freezer
away from such materials.
8. If power is cut off, wait at least 5 minutes before turning on again to avoid damage to the
compressor.
9. The temperature control may need to be adjusted based on the amount of food in the freezer
and the ambient room temperature. More food or a higher room temperature may require a
lower temperature setting (higher number).
10.Never put hot food directly in to the freezer. Food should be cold or frozen before placing it
inside.
11.The cabinet is intended exclusively for the storage and/or display of packaged food. For proper
safety non-packaged foods should be packed in plastic bags or containers.
12.Do not overload the freezer, leave room between products to allow for proper air circulation.
Transportation & Set Up
Defrosting
1. Defrost before being thickening over ice when the frost film in the cabinet is 5mm/1/5" thick.
2. For defrosting, turn off the power, take out the frozen foods, open the door for warming and
melting ice. Use a cloth to absorb water and clean it up.
3. Ensure the water does not spill into the water channel.
4. Do not use sharp metal tools to remove ice or frost from the freezer, which might produce
damage to the evaporator.
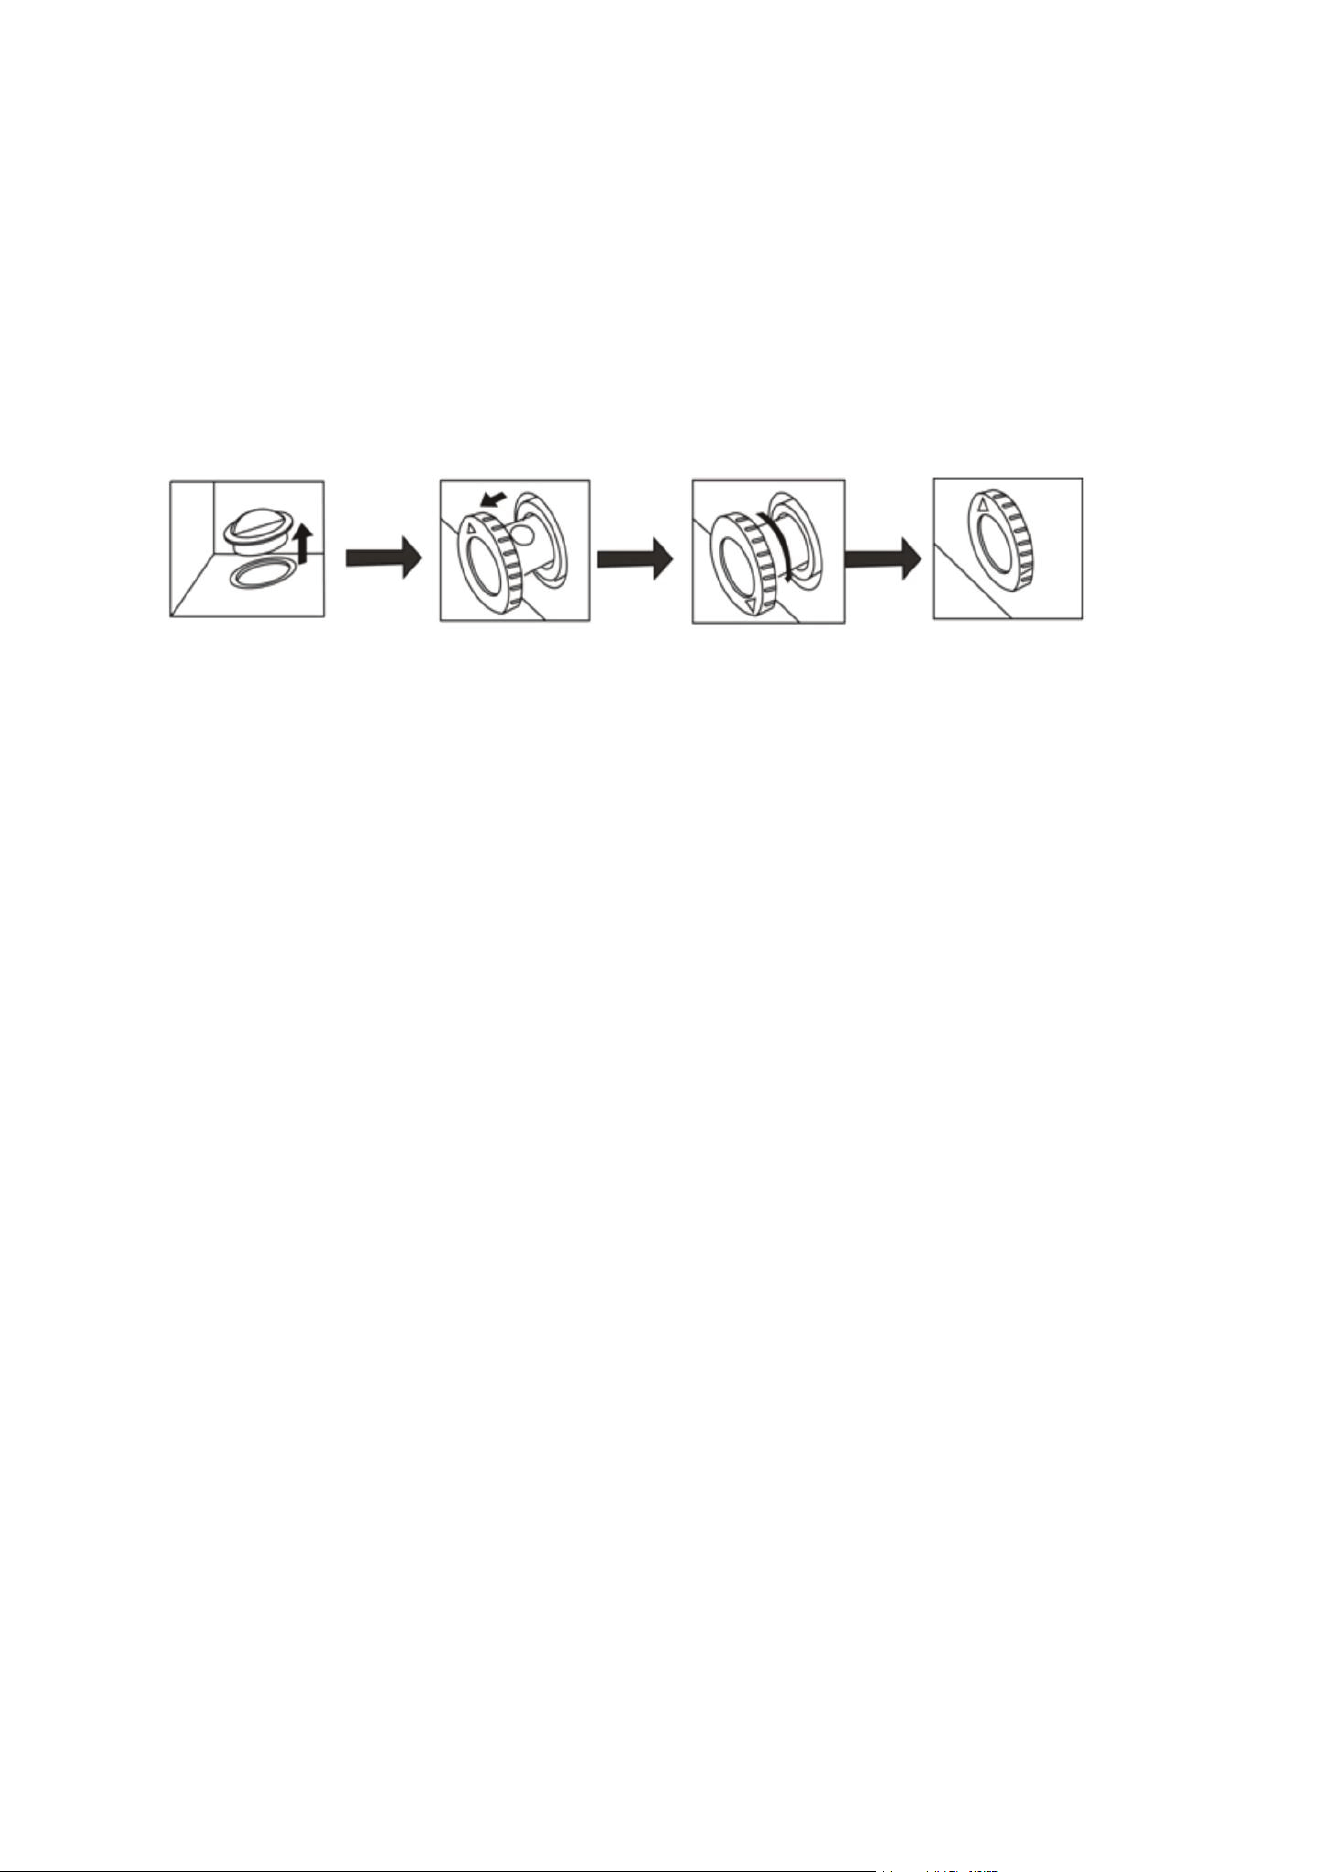
5. At the bottom of the freezer, there's a conduit for water. When defrosting, remove the rubber
cover as illustrated so the water can drain out through the hole.
Note:
Make sure to keep the rubber cover safe while you're defrosting. Once defrosting is finished,
remember to replace the rubber cover securely.
Maintenance Tips
Clean the freezer routinely. For cleaning, switch off the power, take out any items, and wash the
interior with water or a mild, neutral detergent.
Avoid using boiling water, acids, harsh chemicals, petrol, oil, or abrasive powders.
After cleaning, ensure everything is thoroughly dried.
To clean the door seal, use a gentle soap solution. After letting it dry naturally, apply a bit of talcum
powder to prolong its usability.
Wipe the exterior with a soft cloth dampened with water or a touch of detergent. Remember to
keep electrical connections dry.
• Do not transport the unit on an incline of more than 45 degrees.
• Remove all packaging before using the freezer.
• Install the freezer in a well-ventilated area, with a 4" clearance around the cabinet walls for
proper air circulation.
• Ensure the freezer is placed on a stable surface to avoid vibration and noise.
• Install the freezer in a dry area, do not use under direct sunlight, keep away from any corrosive
materials.
• Before placing food inside the freezer, turn the temperature control to the lowest point (highest
number) for several hours until the freeze reaches 0 degrees Fahrenheit, once it reaches 0
degrees Fahrenheit you may place food inside and adjust the controller to normal temperature.
Safety
1. This appliance is not intended for use by persons (including children) with reduced physical,
sensory or mental capabilities, or lack of experience and knowledge, unless they have been
given supervision or instruction concerning use of the appliance by a person responsible for
their safety.
2. If the supply cord is damaged, it must be replaced by the manufacturer or its service agent or a
similarly qualified person in order to avoid a hazard.
3. Please according to local regulations regarding disposal of the appliance for its flammable
blowing gas. Before you scrap the appliance, please take off the doors to prevent children
trapped.
4. Wiring regulations shall be installed in accordance with national wiring regulations.
5. The appliance is to be installed in accordance with the Safety Standard for Refrigeration
Systems, ANSI/ASHRAE 15.
6. Any person who is involved with working on or breaking into a refrigerant circuit should hold a
current valid certificate that is issued by an assessment authority, which authorizes their
competence to handle refrigerant safely in accordance with an industry-recognized assessment
specification.
7. Never store flammable, explosive or corrosive products in the freezer, and keep the freezer
away from such materials.
8. If power is cut off, wait at least 5 minutes before turning on again to avoid damage to the
compressor.
9. The temperature control may need to be adjusted based on the amount of food in the freezer
and the ambient room temperature. More food or a higher room temperature may require a
lower temperature setting (higher number).
10.Never put hot food directly in to the freezer. Food should be cold or frozen before placing it
inside.
11.The cabinet is intended exclusively for the storage and/or display of packaged food. For proper
safety non-packaged foods should be packed in plastic bags or containers.
12.Do not overload the freezer, leave room between products to allow for proper air circulation.
Defrosting
1. Defrost before being thickening over ice when the frost film in the cabinet is 5mm/1/5" thick.
2. For defrosting, turn off the power, take out the frozen foods, open the door for warming and
melting ice. Use a cloth to absorb water and clean it up.
3. Ensure the water does not spill into the water channel.
4. Do not use sharp metal tools to remove ice or frost from the freezer, which might produce
damage to the evaporator.
5. At the bottom of the freezer, there's a conduit for water. When defrosting, remove the rubber
cover as illustrated so the water can drain out through the hole.
Note:
Make sure to keep the rubber cover safe while you're defrosting. Once defrosting is finished,
remember to replace the rubber cover securely.
Maintenance Tips
Clean the freezer routinely. For cleaning, switch off the power, take out any items, and wash the
interior with water or a mild, neutral detergent.
Avoid using boiling water, acids, harsh chemicals, petrol, oil, or abrasive powders.
After cleaning, ensure everything is thoroughly dried.
To clean the door seal, use a gentle soap solution. After letting it dry naturally, apply a bit of talcum
powder to prolong its usability.
Wipe the exterior with a soft cloth dampened with water or a touch of detergent. Remember to
keep electrical connections dry.
Warning!
Danger: There is a risk of fire or explosion. This freezer must only be repaired by trained service
personnel. Do not use any makeshift devices to defrost the refrigerator. Do not puncture refrigerant
tubing.
How to Use
• After installation, let the freezer stand unplugged for at least 4 hours.
• The freezer's temperature control is tamper-proof to prevent accidental adjustments. Use a
screwdriver to adjust if necessary.
• On initial startup, run the freezer for about one hour before storing food.
• To set the temperature, turn the control to the lowest point before placing food inside.
• Allow the interior to cool to 0°F before adding food.
• Put food in the freezer, and after 12 hours, readjust the temperature to your normal setting.
• Use the thermostat to adjust the temperature. Turning the knob clockwise increases the cold.
The bigger the number, the colder the temperature.
• At the “Max” position, the freezer cools as quickly as possible. For steady ice cream
temperature, set the control to "4" or "5".
Indicator Lights
"Power" light indicates the freezer is on.
"Run" light shows that the compressor is operating.
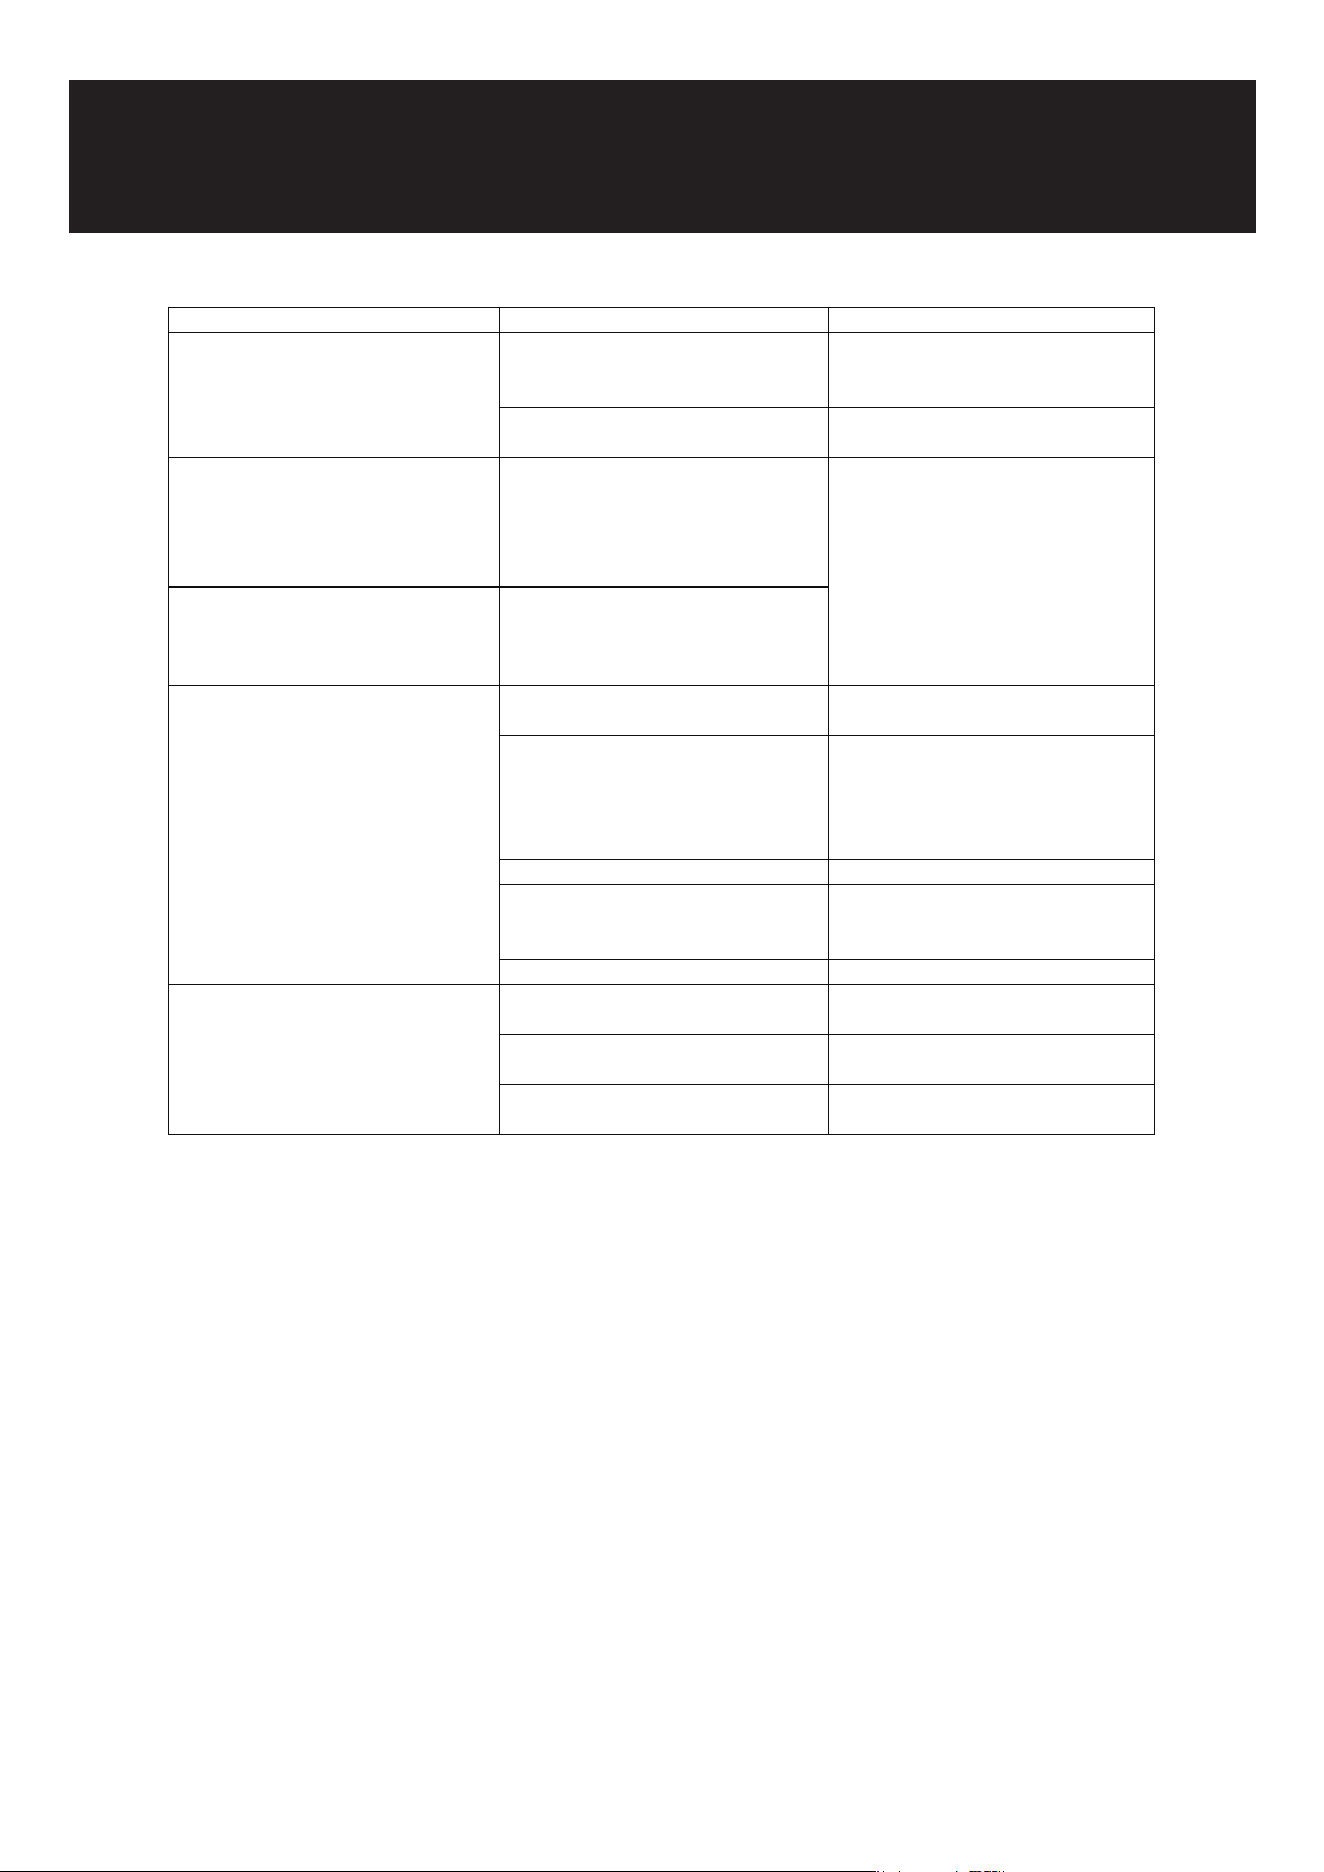
Troubleshooting
Issue
Case
Solution
The indicator is not on.
The compressor doses not
start.
The plug became loose and
is not properly connected
Adjust the plug
no power
Restore power
The indicator is on ,but the
compressor does not run
and makes a buzzing
noise
The power voltage is<98V.
Put a power-regulator more
than
1000W power together.
The compressor stops
very shortly after starting,
and restarts after a few
minutes, repeatedly.
The power voltage is
>
132V.
The compressor works
normally,
but the cabinet takes too
long to cool
The door is opened too
frequently.
Reduce open times.
The freezer is
overloaded or
food is placed to
close together
Adjust the placement of the
product to leave space
for pr oper
ventilation of
The frost film is too thick.
Defrost the unit
andefrostdefrost.
The surface of the
condenser is
Dirty.
Clean the
condenser.
The door seals badly.
Adjust the door seal.
The noise is too loud
The freezer is on an
unstable service
Move to a stable surface
The fixing of the freezer is
loose.
Tighten the fixing.
There’s contact
between pipes.
Separate the pipes
The following are not issues but are to be expected as normal operation of your freezer
• The sound of water flowing during operation is normal; this is the refrigerant.
• When the humidity is high, dew may form on the surface of the freezer
• When the freezer is running, the condenser and compressor will be hot
Koolmore Supply, Inc. extends a limited warranty to the original purchaser, guaranteeing that this
Koolmore
product is free from manufacturing defects in material or workmanship for one year from the date of
purchase.
Should you discover any such defect within the warranty period, Koolmore Supply, Inc., reserves the
right to
repair or replace the product without charge, or to cover the cost of replacement parts and repair labor
needed
to correct defects present at the time of purchase or resulting from regular usage, when the appliance
has been
installed, operated, and maintained as per the instructions provided.
At its sole discretion, Koolmore Supply Inc. may decide to replace the product. In such an event, your
replacement
appliance will carry the warranty for the remaining term of the original unit's warranty period.
This warranty is valid exclusively to the original purchaser of the product and only applicable within the
United
States. The warranty commences from the date of original consumer purchase. Proof of the original
purchase
date will be required to obtain service under this warranty.
Under this limited warranty, your sole and exclusive remedy will be product repair, as outlined above. All
services must be provided by a Koolmore-designated service company.
To claim warranty or request repair service:
Email support@koolmore.com. Please include your name, address, phone number, warranty repair
request,
and a copy of your proof of purchase receipt. Alternatively, visit koolmore.com and use the contact us
page. A
Koolmore customer service representative will promptly arrange service for your appliance.
We thank you for choosing Koolmore.
This limited warranty will not cover:
1. Failure of the product to perform during power failures or interruptions,
or due to inadequate electrical service.
2. Damage incurred during transportation or handling.
3. Damage caused by accidents, vermin, lightning, winds, re, oods, or acts of God.
4. Damage resulting from accidents, alterations, misuse, abuse, improper installation, repair, or mainte-
nance.
This includes using any external device that alters or converts the voltage or frequency of
electricity.
5. Unauthorized product modications, repairs by unauthorized centers, or use of non-approved
replacement parts.
6. Abnormal cleaning and maintenance not aligned with the user's manual.
7. Use of incompatible accessories or components.
8. Any costs associated with repairs or replacements under these excluded circumstances shall be the
responsibility of the consumer.