

2
Impact on warranty
This product is approved for repaint by Axis, provided that you follow the instructions in this document and at
axis.com/warranty-implication-when-repainting.
Risks with repainting
There are several risks when disassembling or assembling an Axis product. Training of operators and the use of
correct tools mediates some of the problems but they can never be fully avoided. Some of the risks include:
ESD Damage - Always handle the product in an ESD safe environment. Even if precautions are taken there is
always a risk of ESD damage. The damage can remain undetected and cause problems during the lifetime of the
equipment.
Dust contamination - Opening a camera may expose the lens and sensor to dust or paint. Dust will affect the
optical performance. Lenses need to be disassembled in a dust-free environment, preferably a cleanroom.
Paint overspray - Masking the different components of the equipment is critical. Failure to mask sensitive areas
can cause problems when assembling the equipment. Areas not painted at the factory or which have a different
surface treatment than the parts to be painted (threads, ground and electrical contact surfaces) must also be
masked to ensure function.
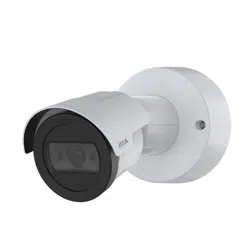
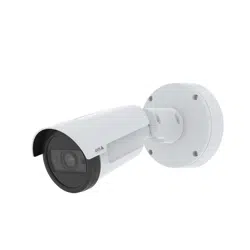
AXIS P14 Bullet Camera Series

3
Repaint the product
Preparations
• If applicable, disassemble the device according to the instructions in this document.
• Clean all parts that will be repainted thoroughly to remove grease, dust, or oil.
• To ensure reassembly and functionality of the product, mask any openings (for example for screws, LED
indicators, or microphones) before you paint.
• To avoid unwanted reflections, mask the inside of the weathershield before you paint.
Pretreatment of parts
Depending on the part material and type of coating applied at the factory, pretreatment might be necessary for
the new coating to adhere well. Before you apply a new coating, we recommend the following pretreatment:
1. If necessary, roughen up the surface with a light sandpaper or similar to increase adhesion.
Alternatively, remove the original coating down to the base material.
2. Clean the parts properly to remove oil, grease, and dust.
3. If necessary, apply a primer layer suitable for the specific material, to increase adhesion to the parts. For
metal parts on outdoor products, we recommend a primer to improve corrosion resistance.
We recommend pretreatment of parts that are:
• powder-coated
• wet-painted
• anodised
• chromated
• stainless steel
• other metal
• plastic
Materials used in this product
• The weathershield and top cover are plastic.
• The bottom chassis is powder-coated.
AXIS P14 Bullet Camera Series

4
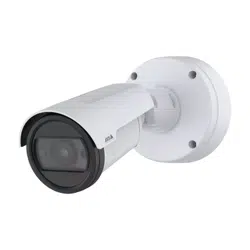
Disassembly
1 Bottom base
2 Camera unit
3 Holder
4 Weathershield
1. Separate the bottom base from the camera unit.
2. Remove the weathershield from the camera unit.
3. Remove the holder from the weathershield.
1 Screws
2 Arm cover
3 Pin
1. Remove the screws from the arm cover.
2. Remove the arm cover from the camera unit.
3. Remove the pin from the camera unit.
AXIS P14 Bullet Camera Series
5
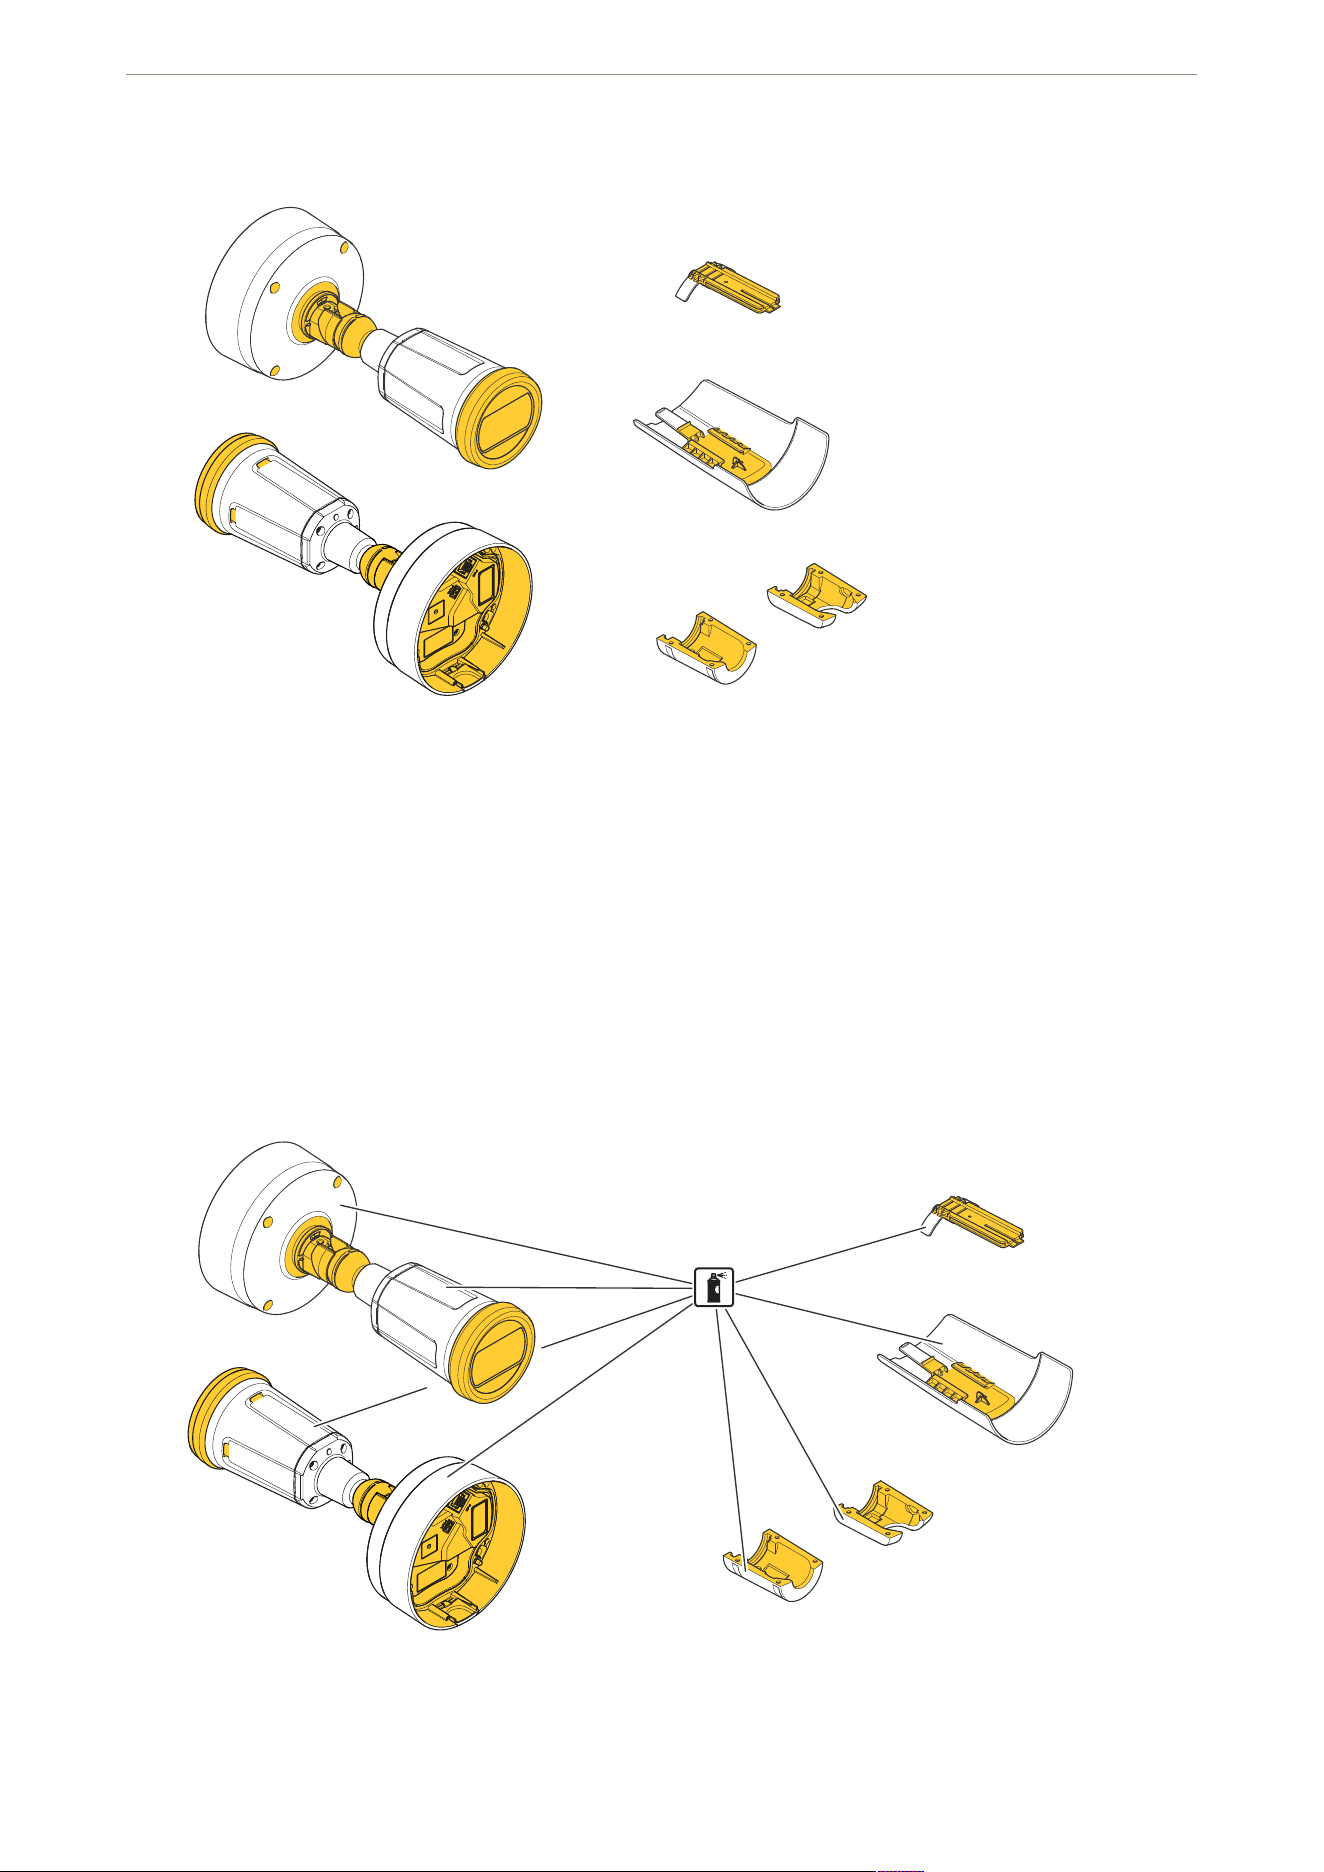
Masking
Mask all the highlighted parts in the illustration:
• Screws and screwholes
• Everything between the foot and ball joint
• The front of the camera
• The holder
• The underside of the weathershield
• The underside of the arm cover
• The inside of the bottom part of the camera unit
Repainting
1. Apply a thin and even layer of spray paint according to the instructions of the paint manufacturer.
2. Let the paint dry.
AXIS P14 Bullet Camera Series

6
3. To get a better coverage and clearer color, apply a second layer of spray paint.
4. When the paint is dry, remove the masking.
AXIS P14 Bullet Camera Series

7

.
T10234856
- (M1.3)
© 2025 Axis Communications AB