USER GUIDE
Start Here
SCAN ME
serenelifehome.com
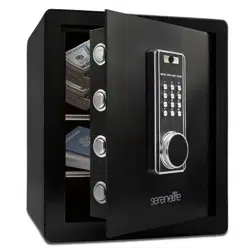
Electronic Digital Safe Box
SLSV45EQG
www.SereneLifeHome.com
2
About SereneLife
SereneLife products are designed to create a more comfortable living space,
indoors and out. Our team presents innovative lifestyle solutions throughout
the year that promote simplicity and serenity.
We’re committed to delivering the most dependable products so you can live a
better, more serene life.
www.SereneLifeHome.com
3
CONTENTS
FEATURES AND TECHNICAL SPECS
SAFETY WARNINGS
OPERATION GUIDES
MAINTENANCE GUIDE
STORAGE GUIDE
REGISTER PRODUCT
IMPORTANT SAFETY INSTRUCTIONS
READ CAREFULLY AND KEEP FOR FUTURE REFERENCE
4
5
6
9
10
11
California Prop 65 Warning
WARNING:
This product may expose you to chemicals, which is known to
the state of California to cause cancer, birth defects and other
reproductive harm. Do not ingest.
For more info go to: www.P65warnings.ca.gov

www.SereneLifeHome.com
4
Features:
• Heavy-duty Steel Wall Construction and Soft Lining Interior Material
• User-Friendly Digital Keypad
• Corrosion & Stain-Resistant Powder Coat Finish
• The 1 mm laser-cut micro seam is key to making it resistant to prying and drilling.
• 2 Ways to Open the Safe Box: (1) 1-8 digits codes, (2) With 2 Override Keys
• 2 Removable Shelves Help Organize Important Things Easily
• Key Holders for 5 Keys on the Back of the Door to Keep Important Keys
• Internal LED Lights Allow to Find what is Needed in the Dark Quickly
• Inner Chamber furnished with annelette to Prevent Valuables from Being
Scratched or Damaged
• Comes Armed with a Dual Alarm System
• Hidden Keyhole for Added Emergency Access
• Low Battery Indicator
• Includes (2) Keys for Manual Safe Unlocking
• Perfect for Home, Oce, or Business Use
• Arrives Fully Assembled
What's in the Box:
• Electronic Safe Box
• Emergency Battery Box
• Footpad
• Fixing Bolt
• (2) Master Keys
• (4) AA Batteries
Technical Specs:
• Construction Materials: Alloy Steel, Carbon Steel
• Steel Thickness: (Door) 0.45’’, (Body) 0.05’’ -inch
• Item Weight: 28.6 lbs.
• Battery Operated Digital Panel: Requires 4 x AA Batteries (Included)
• Product Dimension (L x W x H): 14.96" x 12.59" x 17.71" -inches
www.SereneLifeHome.com
5
Safety Warnings
1. Do not lock the master key or emergency battery box inside the safe.
Keep them stored properly outside the safe.
2. This type of combination lock can be set up with two dierent sets of independent
passwords. The passwords can be set with 1-8 digits. The initial passwords are
1234 and 123456, and both sets of passwords need to be changed.
The operation for resetting the password is the same as that for initially setting
the password.
3. If a mistake is made during the entering of the administrative password, the “ ”
button can be pressed to delete the wrong code entered.
4. If the safe box will not be used for a long time, the battery should be taken out
to prevent leakage of liquid from damaging the electronic system.
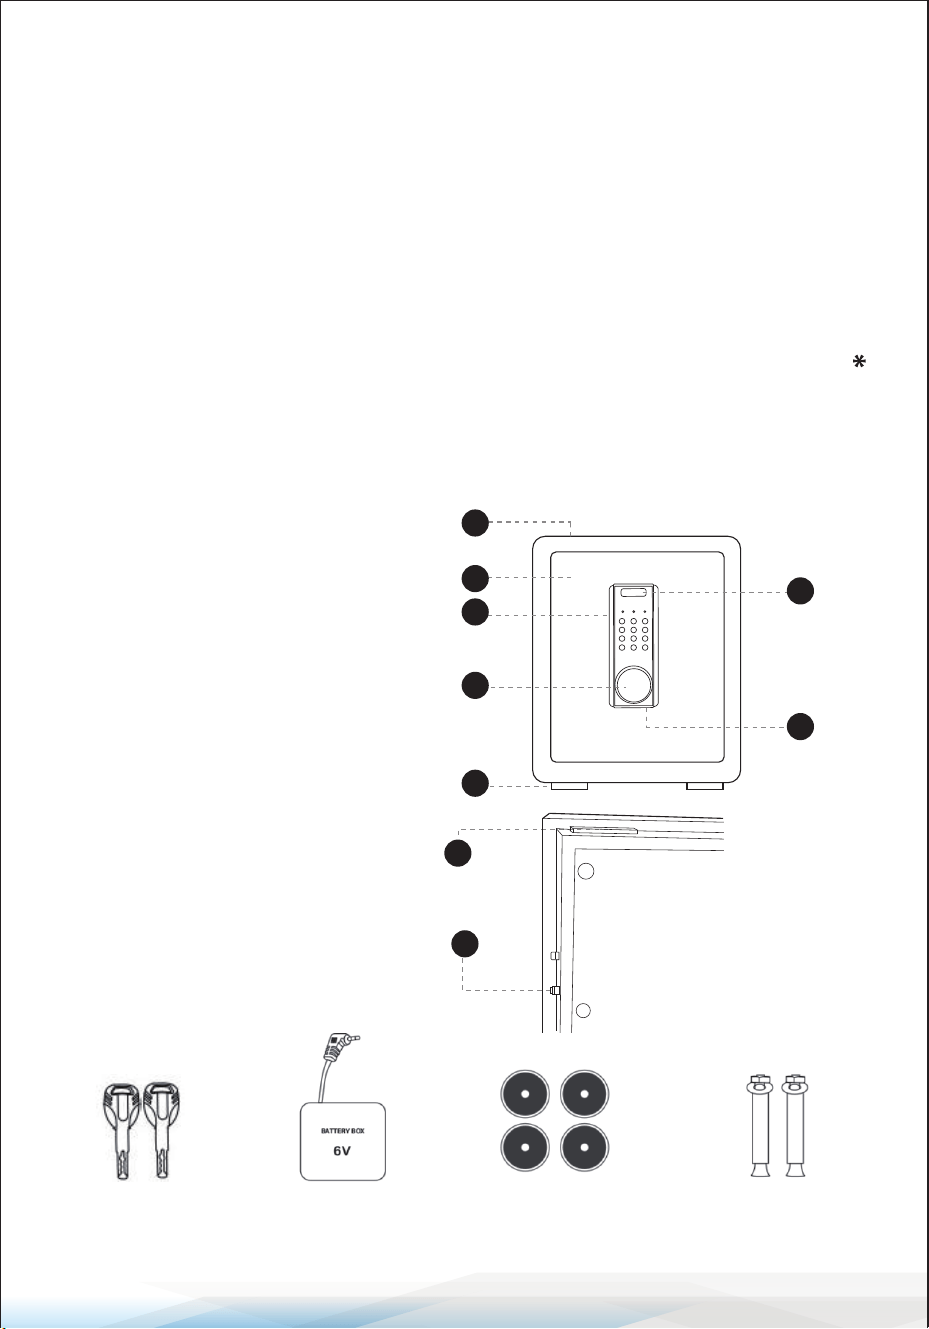
Accessories
1. Safe Body
2. Door
3. Control Panel
4. Knob
5. Foot Pads
6. Override Lock
7. Backup Power Jack
8. Battery Compartment
9. Reset Button
Master Keys: 2 Emergency
Battery Box: 1
Foot Pads: 4 Fixing Bolts: 2
INPUT LOWVOLT
OPEN
1
2
3
4
5
6
7
8
9
www.SereneLifeHome.com
6
Operation Guides
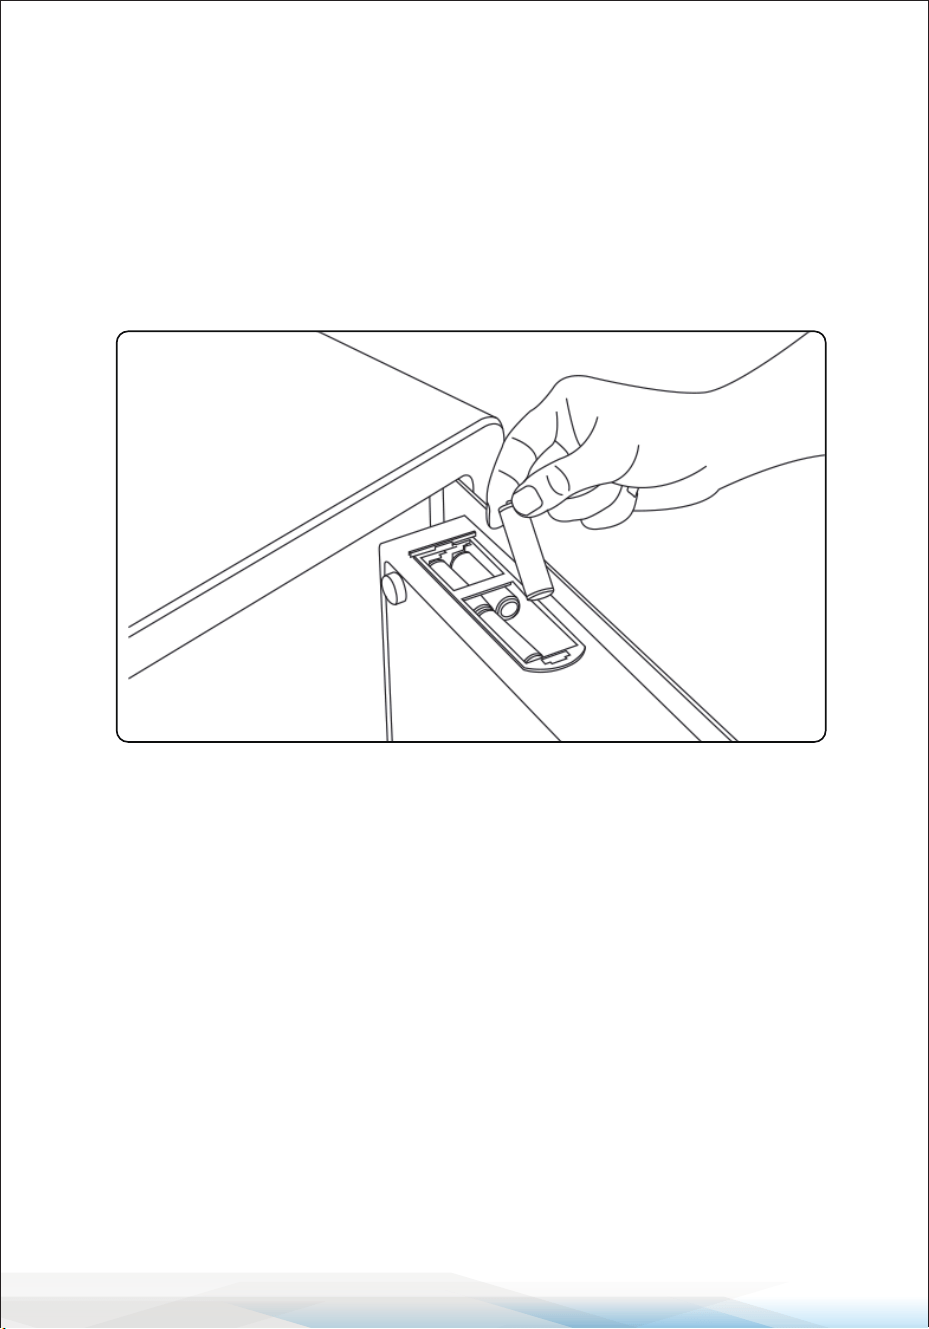
Opening the Safe with the Master Lock and Installing the Battery
• Remove the master keyhole cover, insert the master key and turn it counter-
clockwise to the limit position. Meanwhile, open the safe by turning the knob
clockwise.
• After opening the safe, you will see a built-in battery box on the top back of the
door. Open and load the battery.
Set User Password
This method is used to modify the default user password "1234."
• Open the door, nd the reset button on the hinge of the door, lightly press the
setting button on the back of the door, input your number (1-8 digits), and press
the “#” button to conrm.
• Check the new password again before you close the door.
Setting the Administrator Password
(This method is used to modify the administrator password "123456")
• Press the “0” twice, then press the reset button inside the safe box, enter the new
password and end it by pressing the “#” button.
• The password can be set from 1-8 numbers.
• Check the new password again before you close the door.
www.SereneLifeHome.com
7
Open the Safe by Password
• Input your number and press "#" again to conrm.
• If the password is successful, you will hear a long beeping sound and the green
light will ash. Turn the knob clockwise to open the door.
• If the password is not successful, the error tone of a beeping sound will be heard.
Alarm and Reset
Continuous Wrong Code Alarm
Note: If wrong passwords are entered 3 times, the wrong code alarm function will
be triggered for 30 seconds.
To stop the alarm:
1. Please input the correct password to delete the alarm.
2. Use the master key to open the safe.
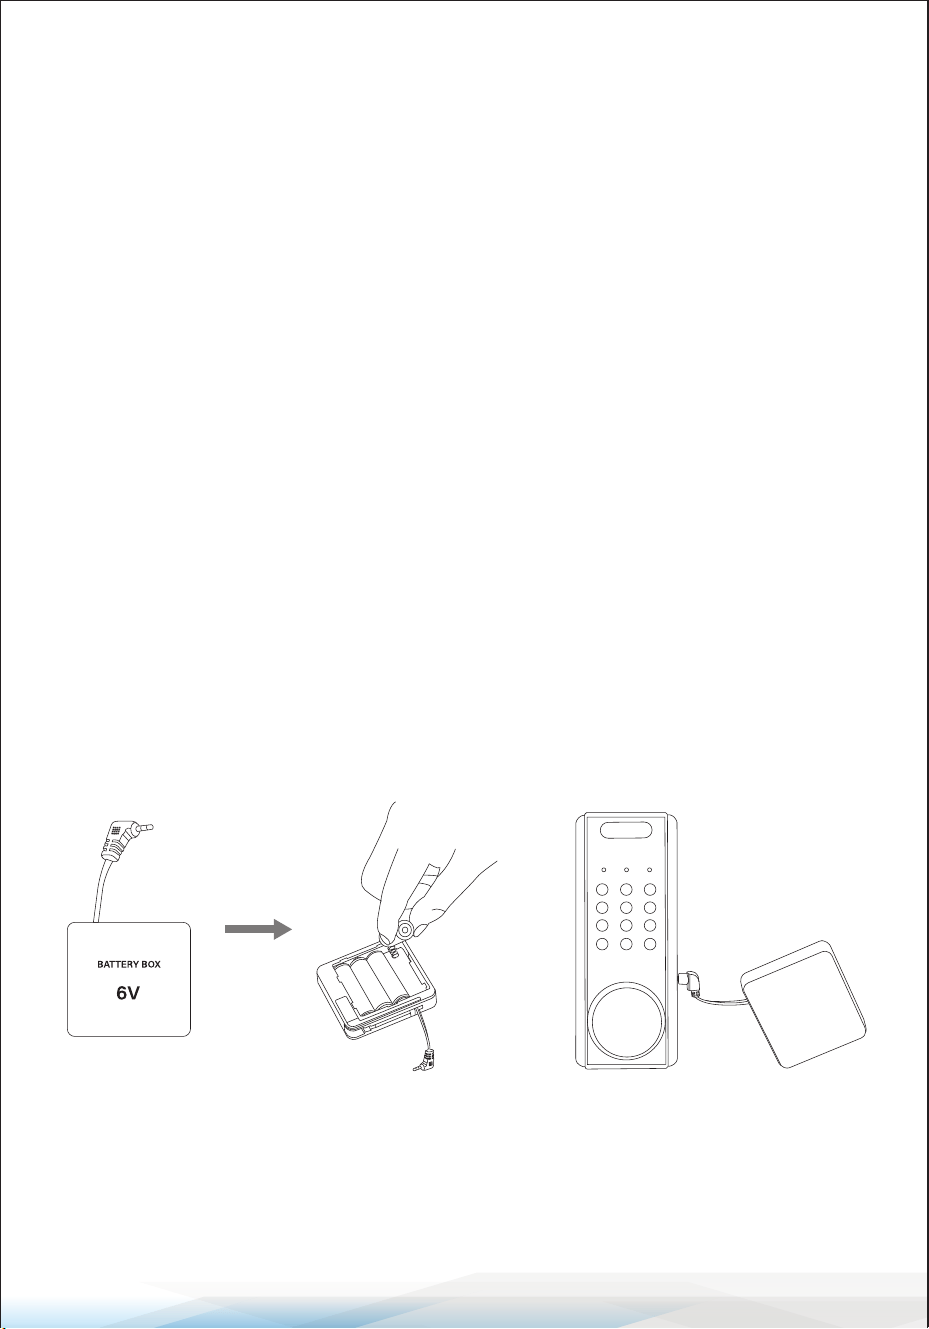
3. Use the backup battery case:
• Open the backup battery case.
• Insert 4 AA batteries into the battery case.
• Plug the emergency power cord into the power jack located at the bottom
side of the control panel.
With the battery-powered supply, the safe can be opened. Then enter the correct
password to open the safe.
INPUT
LOWVOLT OPEN
www.SereneLifeHome.com
8
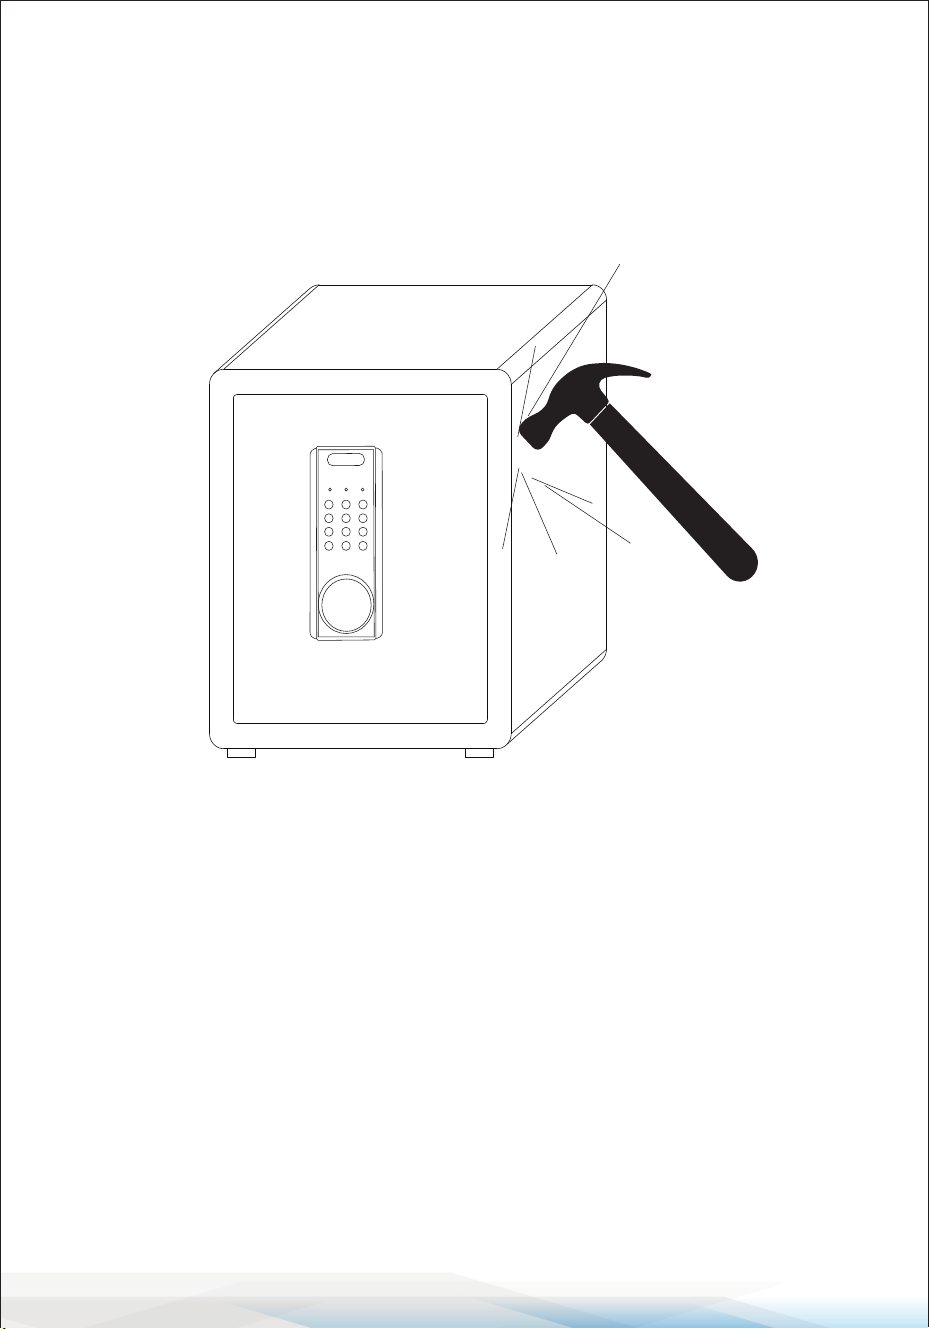
Vibration Alarm
• Press the "*" button to enable vibration alarm mode.
• When the safe experiences a strong impact, an alarm will sound.
• To stop the alarm, enter the correct password.
Low-Voltage Reminder
• The safe requires four 1.5V alkaline batteries. If the voltage is insucient, the
buzzer will beep twice after opening the safe to remind you that the batteries
need to be replaced.
• If the battery voltage is too low to open the safe, use the backup power supply
or master key.
INPUT
LOWVOLT OPEN
www.SereneLifeHome.com
9
Restoring to Factory Default
• In standby mode, press and hold the reset button inside the safe for approximately
5 seconds.
• You will hear a long beep, indicating that all passwords have been successfully
deleted, and the safe has been restored to factory settings.
• You can now add a new password following the instructions above.
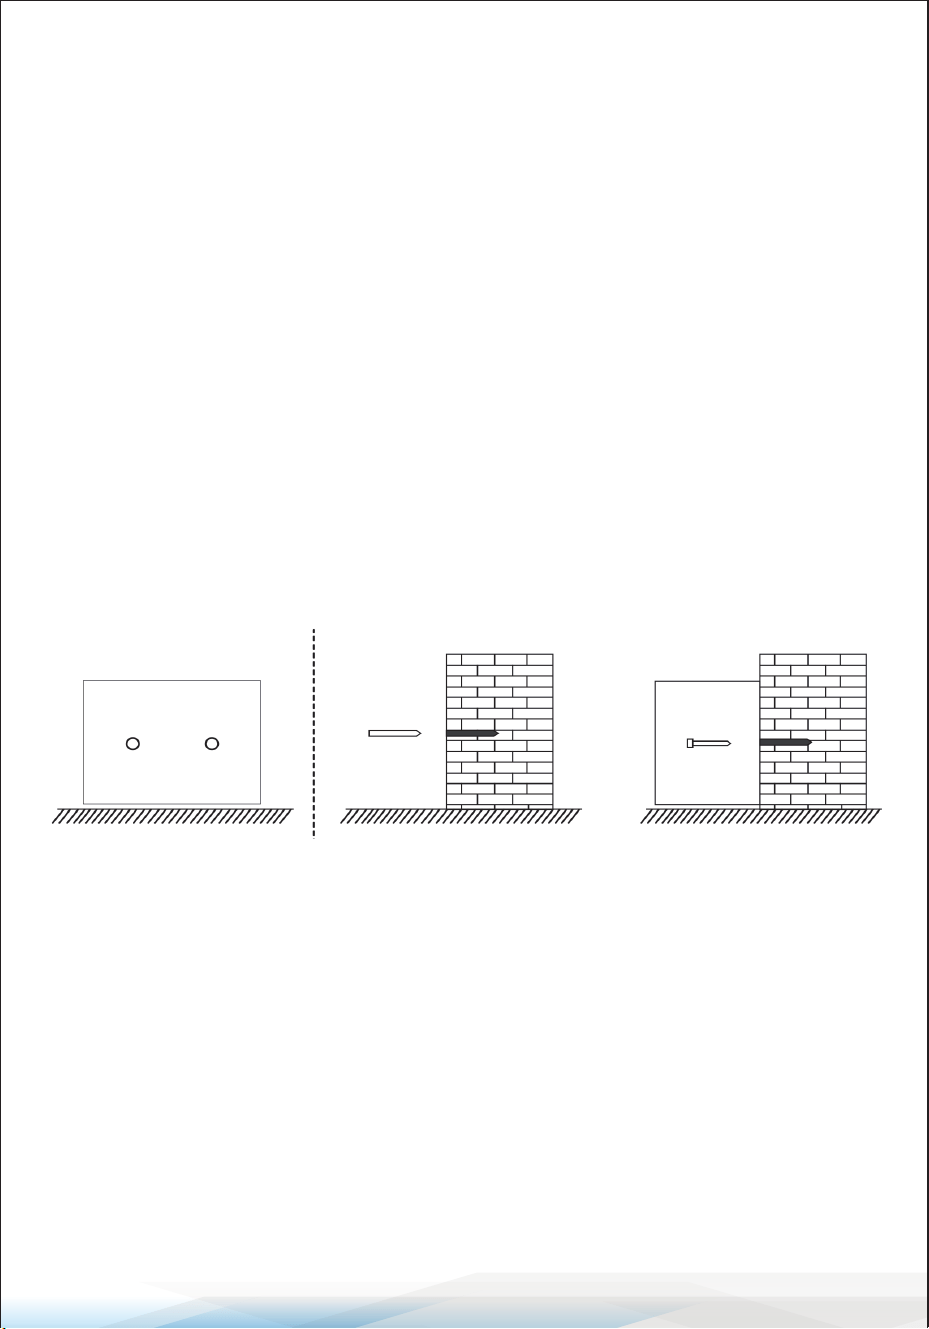
Installation and Fixing
• Place the safe in the desired installation location and mark the mounting holes
inside the safe.
• Remove the safe and drill two holes at the marked positions.
• Insert the xing bolts into the drilled holes and remove the screws from the
bolts.
Maintenance Guide
1. Cleaning: Regularly clean the exterior of the safe with a soft, dry cloth to
remove dust and ngerprints. Avoid using abrasive cleaners or harsh chemicals,
as these can damage the safe's surface.
2. Lubrication: Periodically apply a small amount of lubricant to the keyhole and
hinges to ensure smooth operation. Avoid over-lubricating, as excess oil can
attract dust and dirt.
Fixing Bolts Fixing Bolts

www.SereneLifeHome.com
10
3. Battery Maintenance: Check the batteries regularly and replace them if you
notice low-voltage reminders such as the buzzer beeping twice after opening
the safe. If the safe will not be used for an extended period, remove the batteries
to prevent leakage that could damage the electronic system.
4. Hardware Inspection: Inspect the safe's locking mechanism and hinges
periodically to ensure they are working correctly. Tighten any loose screws or
bolts to maintain the safe's structural integrity.
5. Preventing Moisture Damage: Ensure the safe is placed in a dry location to
prevent moisture damage. If the safe is exposed to moisture, wipe it dry
immediately.
Storage Guide
1. Location: Store the safe in a secure, dry location away from direct sunlight and
moisture to prevent warping and damage. Place the safe in a discreet location
to avoid attracting unwanted attention.
2. Key and Password Security: Keep your owner and master keys in a separate,
secure location away from the safe. Avoid writing down passwords or
ngerprints near the safe to maintain security.
3. Backup Battery Case: Store the backup battery case in a safe place, accessible
if needed for emergencies.
4. Long-Term Storage: If storing the safe long-term without use, remove the
batteries and ensure the safe is locked securely. Periodically check the safe and
its components for any signs of wear or damage during storage.
By following these maintenance and storage guidelines, you can ensure the safe
remains in good working order and retains its security features over time.
www.SereneLifeHome.com
11
Register Product
Thank you for choosing SereneLife. By registering your
product, you ensure that you receive the full benets of our
exclusive warranty and personalized customer support.
Complete the form to access expert support and to keep
your SereneLife purchase in perfect condition.
Serenelifehome.com/
register/SLSV45EQG
Start Here

Questions or Comments?
We are here to help!
Phone: 1.718.535.1800
Serenelifehome.com/ContactUs
