1
OR O OU
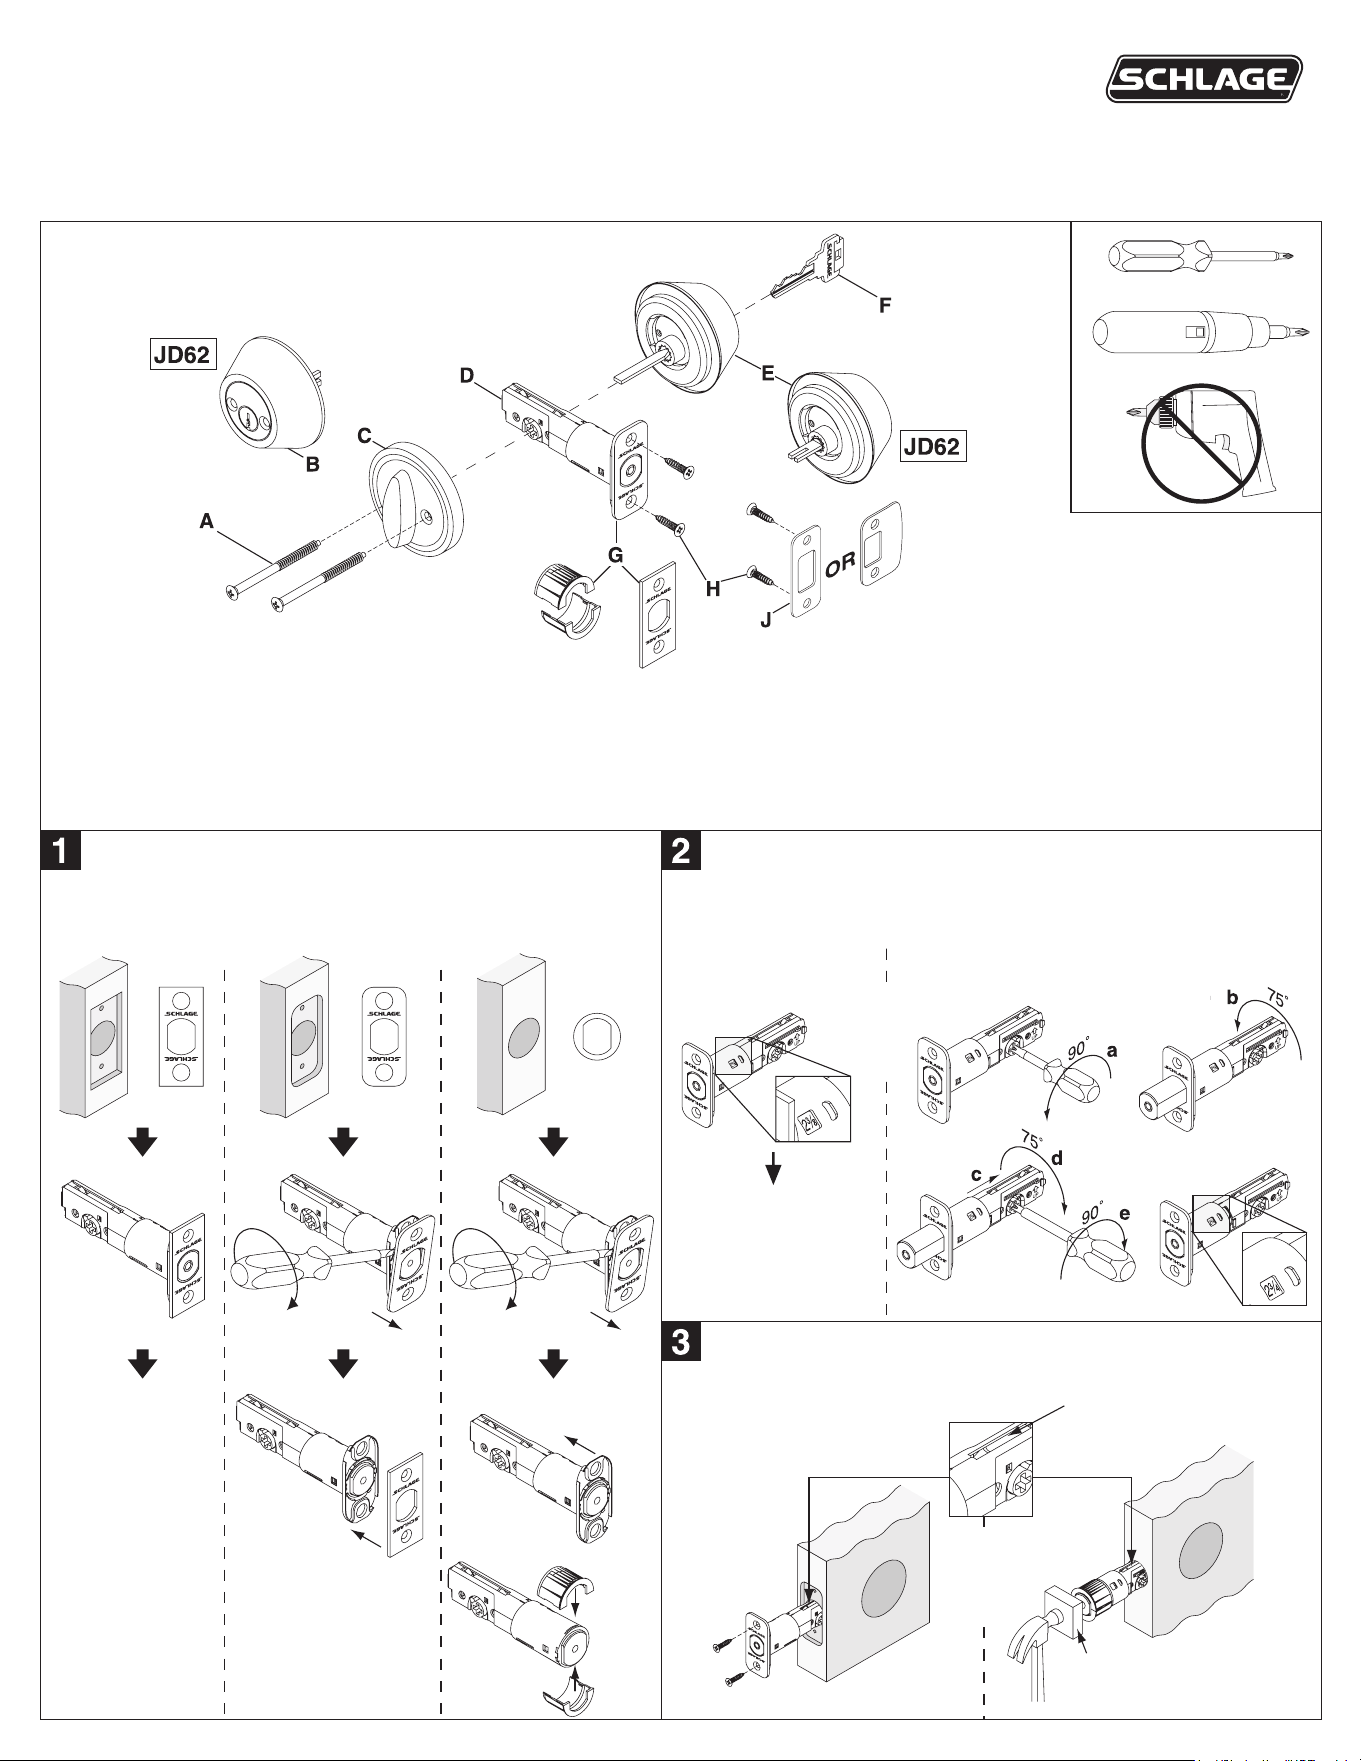
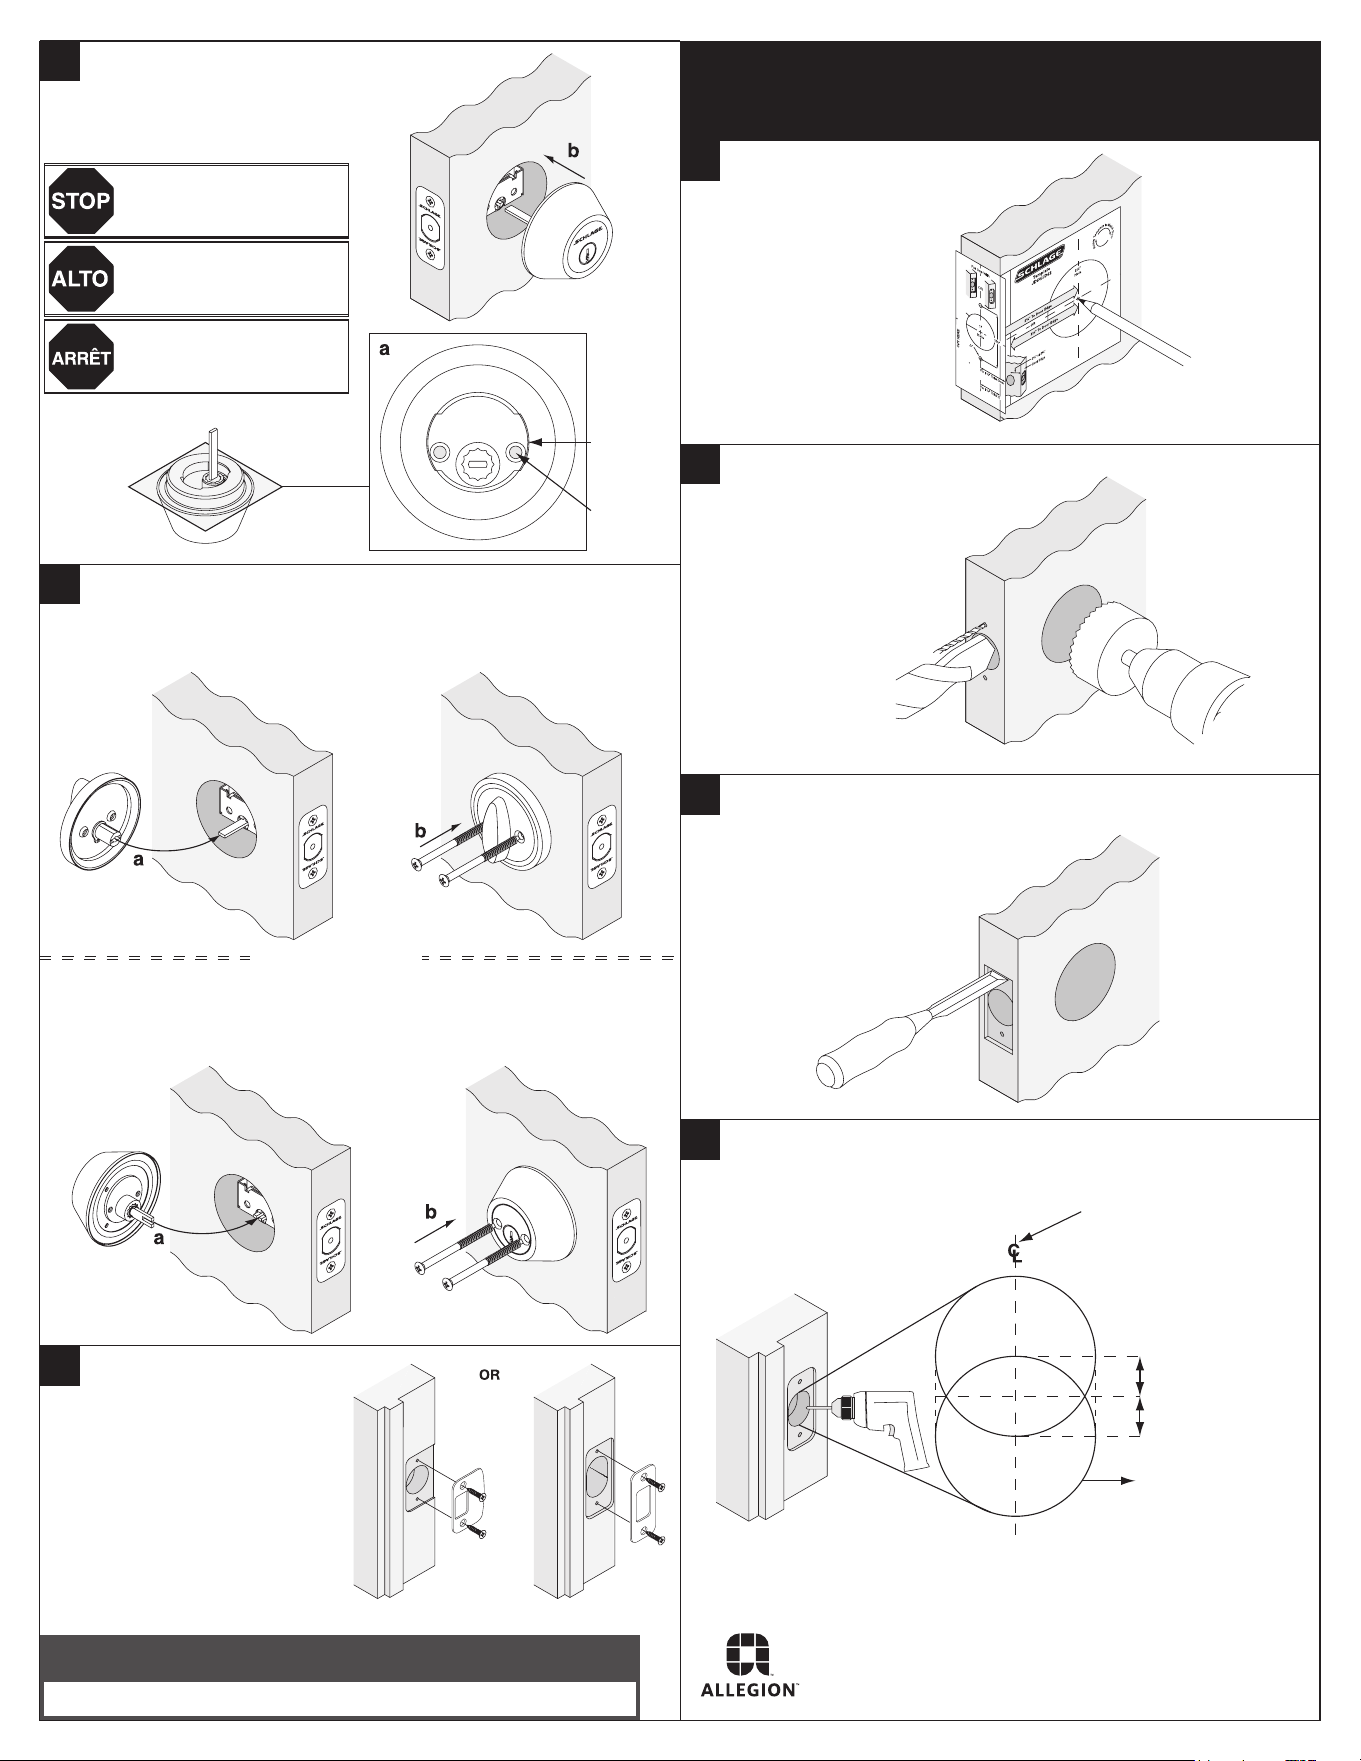
Install Deadbolt
Instale el cerrojo de pasador
Installer le pêne dormant
3
Choose Deadbolt Backset
Escoja la entrada del pasador
Choisir le broche du pêne dormant
Move to Step 3
Siga al paso 3
Passer à l’étape 3
For Para Pour
” (60 mm)
For Para Pour
” (70 mm)
OR
O
OU
Choose Faceplate to Match Door
Escoja la placa delantera para emparejar la puerta
Choisir la têtière pour égaler la porte
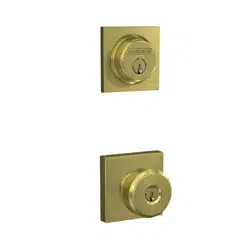
D. Deadbolt
Cerrojo de pasador
Pêne dormant
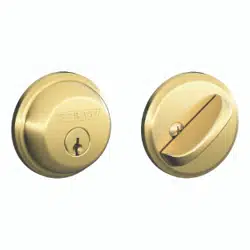
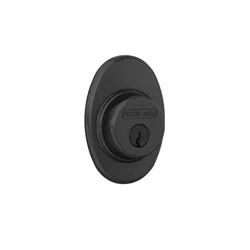
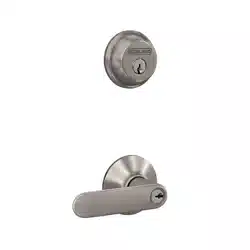
E. Outside Cylinder
Cilindro exterior
Cylindre extérieur
A. Mounting Screws (2)
Tornillos de montaje (2)
Vis de montage (2)
B. Inside Cylinder
Cilindro interior
Cylindre intérieur
C. Thumbturn
Mariposa
Tourniquet
F. Key
Llave
Clé
G. Faceplate (choice of 3)
Placa delantera (opciòn de 3)
Têtière (choix de 3)
H. Latch/Strike Screws (4)
Tornillos del pestillo/placa hembra (4)
Vis du verrou/de la gâche (4)
J. Strike
Placa hembra
Gâche
Wood Block (not included)
Bloque de madera (no incluido)
Bloc en bois (non inclus)
OR
O
OU
Top
Tapa
Haut
Move to Step 2
Siga al paso 2
Passer à l’étape 2
2³⁄₄2³⁄₈
2
OR
O
OU
OR
O
OU
Instrucciones de instalación
JD60/JD62
Notice d’installationInstallation Instructions
P515-483
© Allegion 2014
Printed in China
P515-483 Rev. 08/14-e
4
STOP
ALTO
ARRÊT
5
6
A
B
C
D
Drill Holes
Taladre los agujeros
Forer les trous
Mark Door
Marque la puerta
Marquer la porte
Mortise for Strike
Mortaje para la placa hambra
Mortaise pour la gâche
Prepare Door Edge
Prepare la borde de la puerta
Préparer le bord de la porte
1" (25 mm)
Hole Agujero Trou
" (32 mm)
Deep
Profundidad
Profondeur
¹⁄₄" (6 mm)
¹⁄₄" (6 mm)
Match to bolt centerline
Empareje al línea de centro
del pasador
Égaler à la ligne centrale
du pêne dormant
Door Preparation
Préparation de la porte
Preparación de la puerta
Install Outside Cylinder
Instale el cilindro exterior
Installer le cylindre extérieur
Align holes with notches
before installing
Aline los agujeros con
las muescas antes de
instaler
Aligner les trous avec
les encoches avant
l'installation
Notch
Muesca
Encoche
Hole
Agujero
Trou
Install Thumbturn (Single Cylinder Functions)
Instale la mariposa (Funciones del solo cilindro)
Installer le tourniquet (Fonction d’cylindre seul)
Install Inside Cylinder (Double Cylinder Functions)
Instale el cilindro interior (Funciones del cilindro doble)
Installer le cylindre intérieur (Fonctions de double cylindre)
Install Strike
Instale la placa hembra
Installer la gâche
OR O OU
1¹⁄₄
Customer Service Servicio al cliente Service à la clientèle
1-877-671-7011 www.allegion.com/us