Maintenance Instructions
The AIR Ratchet is designed to require very low
maintenance. DO NOT TAKE RATCHET APART FOR
PERIODIC MAINTENANCE. If the ratchet ever slips when
being used, dismantle the ratchet and brush the teeth of
the body and the catch vigorously. Grease and reassemble
as per the assembly instructions shown on the other side.
Replacement Part #’s
1) BIRRK-1 — Square Drive
2)
BIRRK-2 — Catch
3) BIRRK-3 — Heart Shaped Spring
4) BIRRK-4 — Reversing Cap
5) BIRRK-5 — Central Screw
6) BIRRK-6 — Ratchet Lube
BIRRK
MADE IN U.S.A.
Ratchet
Repair
Kit
Assembly
Instructions
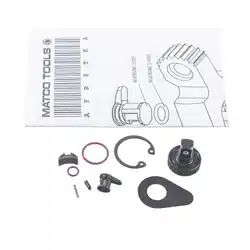
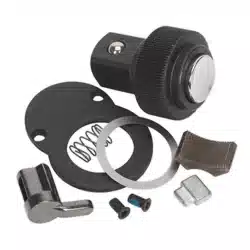
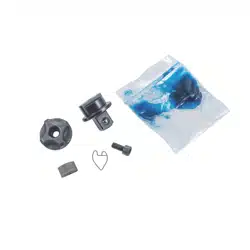
Ratchet Repair Kit
Dis-assembly
The Central Screw holds the Ratchet Assembly together. This Central
Screw is Self locking. This Screw is properly set when the ratchet was
assembled. If overtightened the Central screw will lock the ratchet
assembly.
1) Untighten the Central Screw even though it feels stiff.
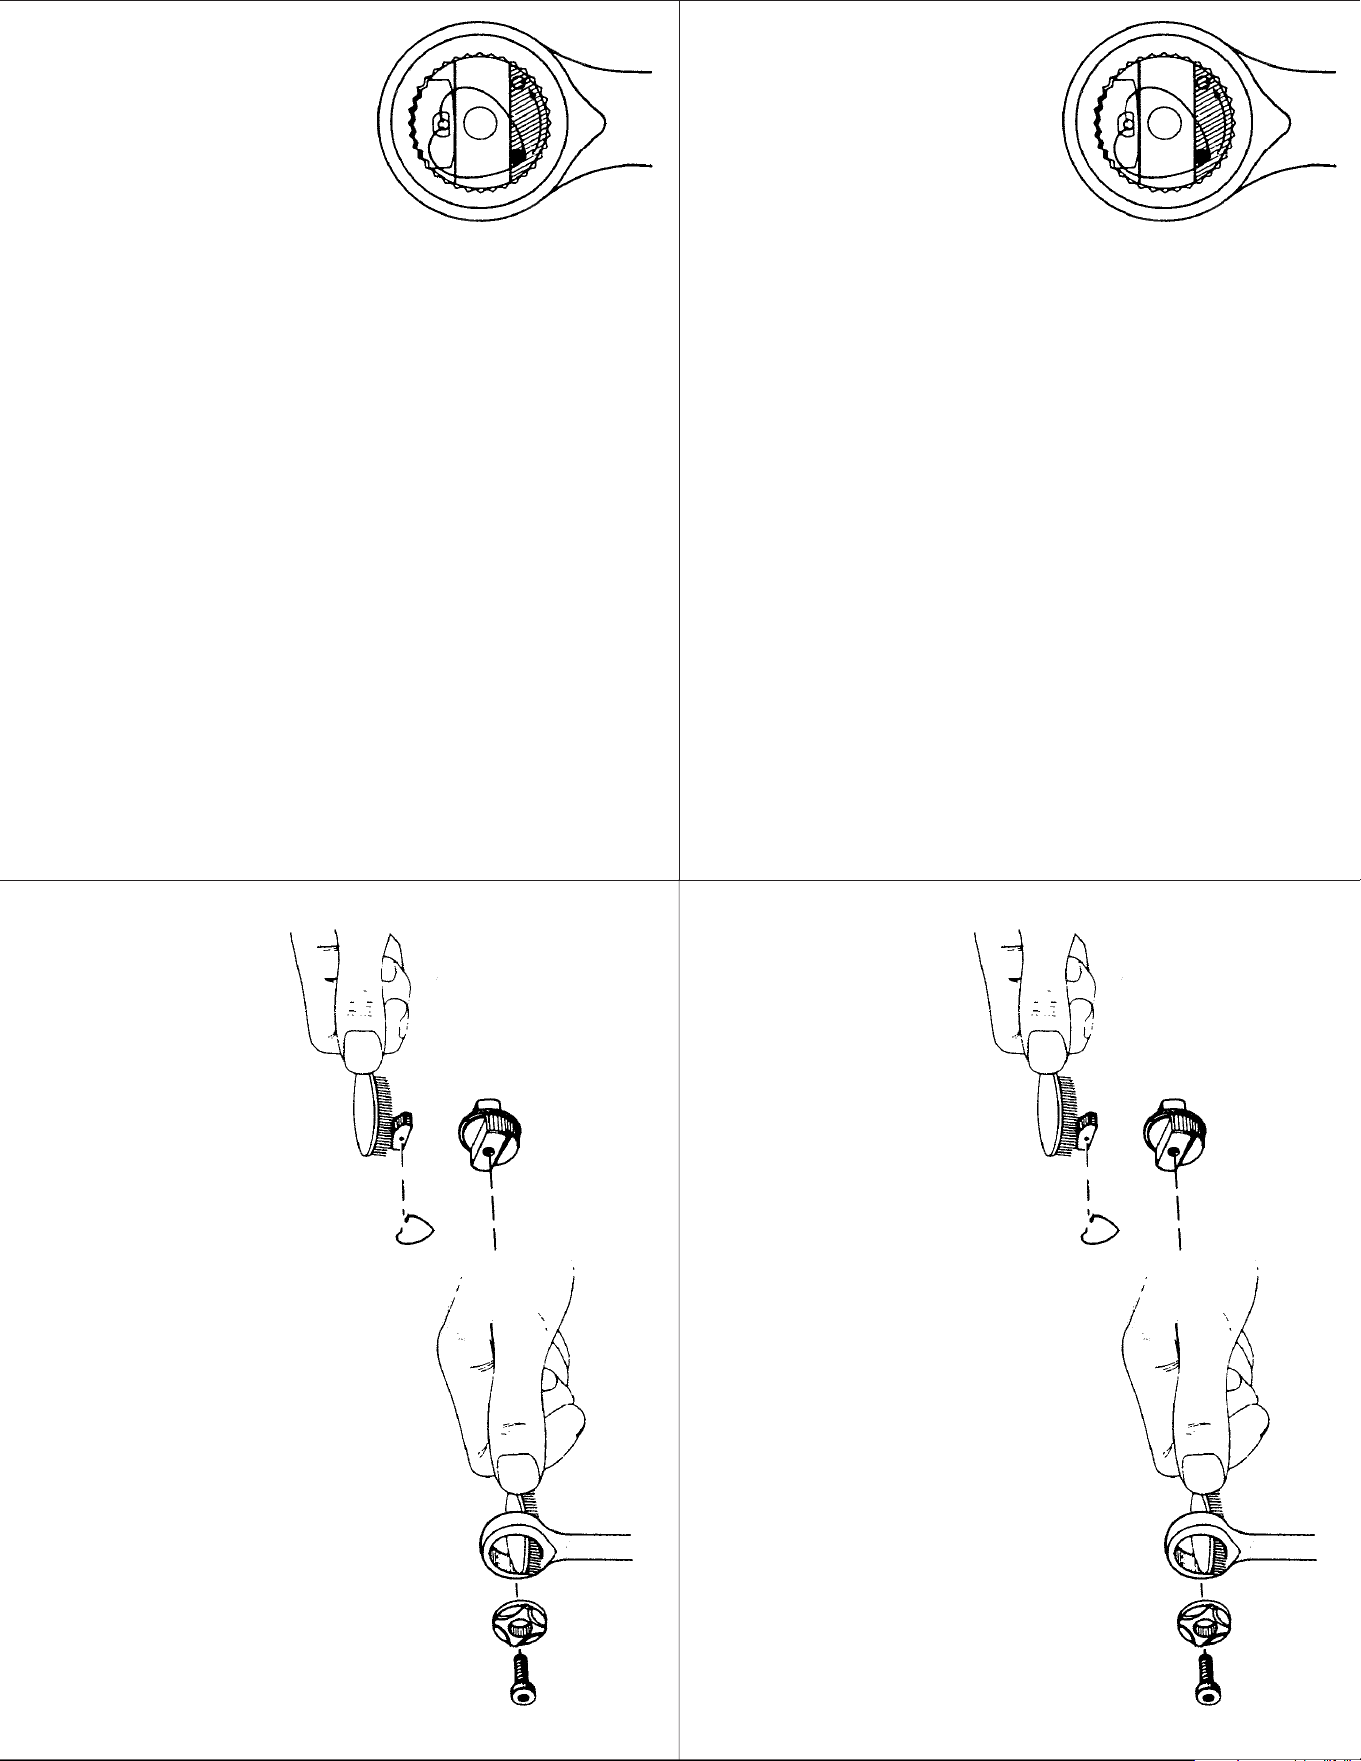
Assembly Instructions
1) Put the square drive in a vise.
2) Grease the teeth opposite the catch well (see sketch) using the
Ratchet lube or an high quality white lithium-based grease.
3) Put the heart shaped spring in position as shown in sketch.
4) Place the reversing cap such that the stud in the reversing cap
passes through the point of the heart shaped spring and also into the
catch cut-out, hatched in grey
in the sketch. (The tension of
the spring forces the stud
against the shoulder of the
cut-out either at the black point
in the sketch or at the white
point after the reversing point).
5) Hold the cap in place and
tighten the screw until it is
snug.
6) Back out the screw about 1/4
turn. (If the ratchet does not
function the stud may have
moved during tightening, in
which case start from point #3.
Maintenance Instructions
The AIR Ratchet is designed to require very low
maintenance. DO NOT TAKE RATCHET APART FOR
PERIODIC MAINTENANCE. If the ratchet ever slips when
being used, dismantle the ratchet and brush the teeth of
the body and the catch vigorously. Grease and reassemble
as per the assembly instructions shown on the other side.
Replacement Part #’s
1) BIRRK-1 — Square Drive
2)
BIRRK-2 — Catch
3) BIRRK-3 — Heart Shaped Spring
4) BIRRK-4 — Reversing Cap
5) BIRRK-5 — Central Screw
6) BIRRK-6 — Ratchet Lube
BIRRK
MADE IN U.S.A.
Ratchet
Repair
Kit
Assembly
Instructions
Ratchet Repair Kit
Dis-assembly
The Central Screw holds the Ratchet Assembly together. This Central
Screw is Self locking. This Screw is properly set when the ratchet was
assembled. If overtightened the Central screw will lock the ratchet
assembly.
1) Untighten the Central Screw even though it feels stiff.
Assembly Instructions
1) Put the square drive in a vise.
2) Grease the teeth opposite the catch well (see sketch) using the
Ratchet lube or an high quality white lithium-based grease.
3) Put the heart shaped spring in position as shown in sketch.
4) Place the reversing cap such that the stud in the reversing cap
passes through the point of the heart shaped spring and also into the
catch cut-out, hatched in grey
in the sketch. (The tension of
the spring forces the stud
against the shoulder of the
cut-out either at the black point
in the sketch or at the white
point after the reversing point).
5) Hold the cap in place and
tighten the screw until it is
snug.
6) Back out the screw about 1/4
turn. (If the ratchet does not
function the stud may have
moved during tightening, in
which case start from point #3.