

Cordless Vacuum Cleaner


GETTING TO KNOW YOUR VACUUM
1. Brush roller 10. Filter Assembly
2. Motorized Floor head 11. HEPA filter
3. Floor head release button 12. Battery
4. Extension wand (2pcs) 13. Screws for wall mount
5. Extension wand release button 14. Wall mount
6. Power adjustment button 15. Battery Charger
7. ON/OFF button 16. Accessory hook
8. Battery pack release button 17. Crevice nozzle
9. Dust canister release button 18. 2-in-1 Dusting/ Upholstery nozzle
ACCESSORIES
Extension wand: Use for extended reach when using as an upright unit or
for
those hard to reach places.
Motorized Floor head: Use this for hard floors and carpets. Easily picking up dirt
dust and small debris.
2-in-1 Dusting/ Upholstery Nozzle: Use this for vacuuming fabric furnishings
such as sofas armchairs and curtains, switch to dusting nozzle for radiators and
shelving.
Crevice nozzle: Use this nozzle to make quick work of vacuuming tight spaces
such as corners and hard to reach areas.
TECHNICAL SPECIFICATIONS
Wattage
130W
Voltage
22.2V
Charger Input Voltage
100-240V / 50/60Hz
Charger Output Voltage
26.5V
Charge Time
4-5 hours
Running Time
Up to 40 minutes

IMPORTANT SAFETY INSTRUCTIONS
For your own safety when using an electrical appliance please follow basic
safety
precautions including:
1. Read all instructions carefully before assembling and using this product.
2.
Never leave the charger on or plugged in for prolonged periods of
time when
not in use. Always unplug before servicing.
3. For indoor use only.
4.
Do not use AMC22B vacuum cleaner if the charger or
battery are damaged.
5.
Do not use this product without the dust container and filter in place.
6.
Do not handle the plug, charger or appliance with wet hands.
7. Do not operate this vacuum for extended periods of time near heat sources, such as
fires ,radiators ,heaters ,lit cigarettes etc.
8. This product features a thermal safety cut-out device. Should the
battery overheat,
power will instantly be stopped. In this event, the
device should be switched off, and
left to cool completely before attempting to use again.
9. Ensure the appliance is completely switched OFF via the main body
and at the socket
before removing from the battery charger. Do not
overstretch the charging cable.
10.
Do not submerge any part of the appliance in water.
11. When removing the charger plug from the mains supply, do so from the plug itself
and not by pulling on the cord.
12. Ensure that all vents and openings are kept clear of dust, lint, hair and
anything that
may reduce airflow. A clogged vent may cause the
product to overheat.
13. Ensure that hair, loose clothing, fingers and all parts of body are kept away from the

openings and moving parts of the vacuum.
14. Do not leave this product for extended periods of time in direct sunlight.
15. Any person using this product should be fully aware of the hazards involved. A
responsible adult should always ensure the product is used under supervision or that
adequate instruction has been given to adults with reduced physical mental or
sensory capabilities, or anyone with a lack of experience using a similar product. This
product is not a toy. Children under 16 should be supervised to ensure that they do
not play with this vacuum cleaner.
16. In the event the appliance is not working correctly. Please use the troubleshooting
and maintenance advice below. Should this not resolve the issue please contact
Vytronix support at support@vytronix.com.
17. Ensure the appliance is checked prior to first use for any damage or defect. Contact
Vytronix Ltd upon receipt to seek advice.
18. Ensure correct maintenance of the appliance is followed on a regular basis.
ASSEMBLY INSTRUCTIONS
NOTE: Before assembling the appliance, fix the included mount to the
wall and ensure it is placed high enough for the vacuum to be
securely mounted.
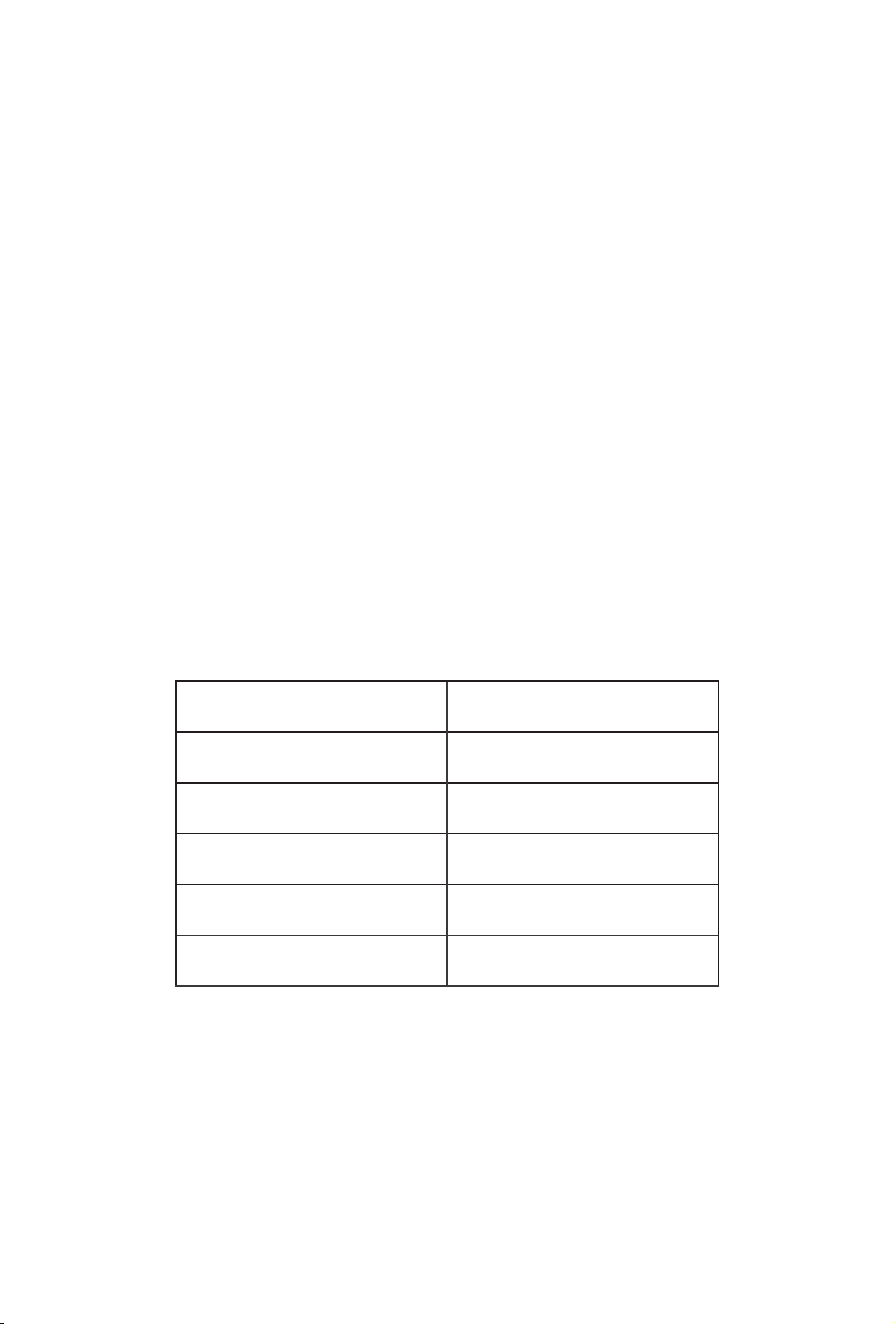
1.
Install the battery into the housing by sliding it into battery housing
on the main body. It will "click" into place.
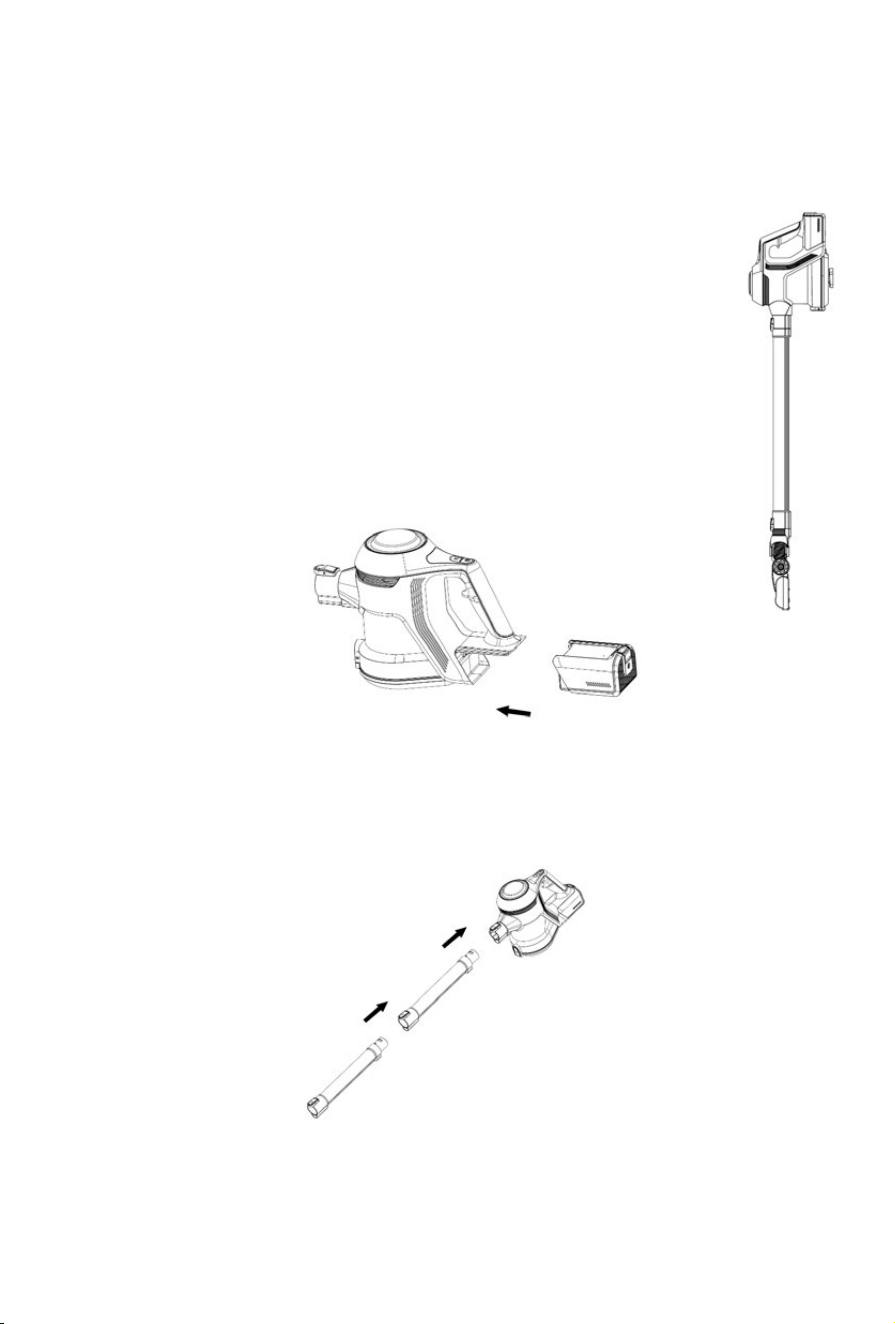
2. Push the extension wand into the main body.
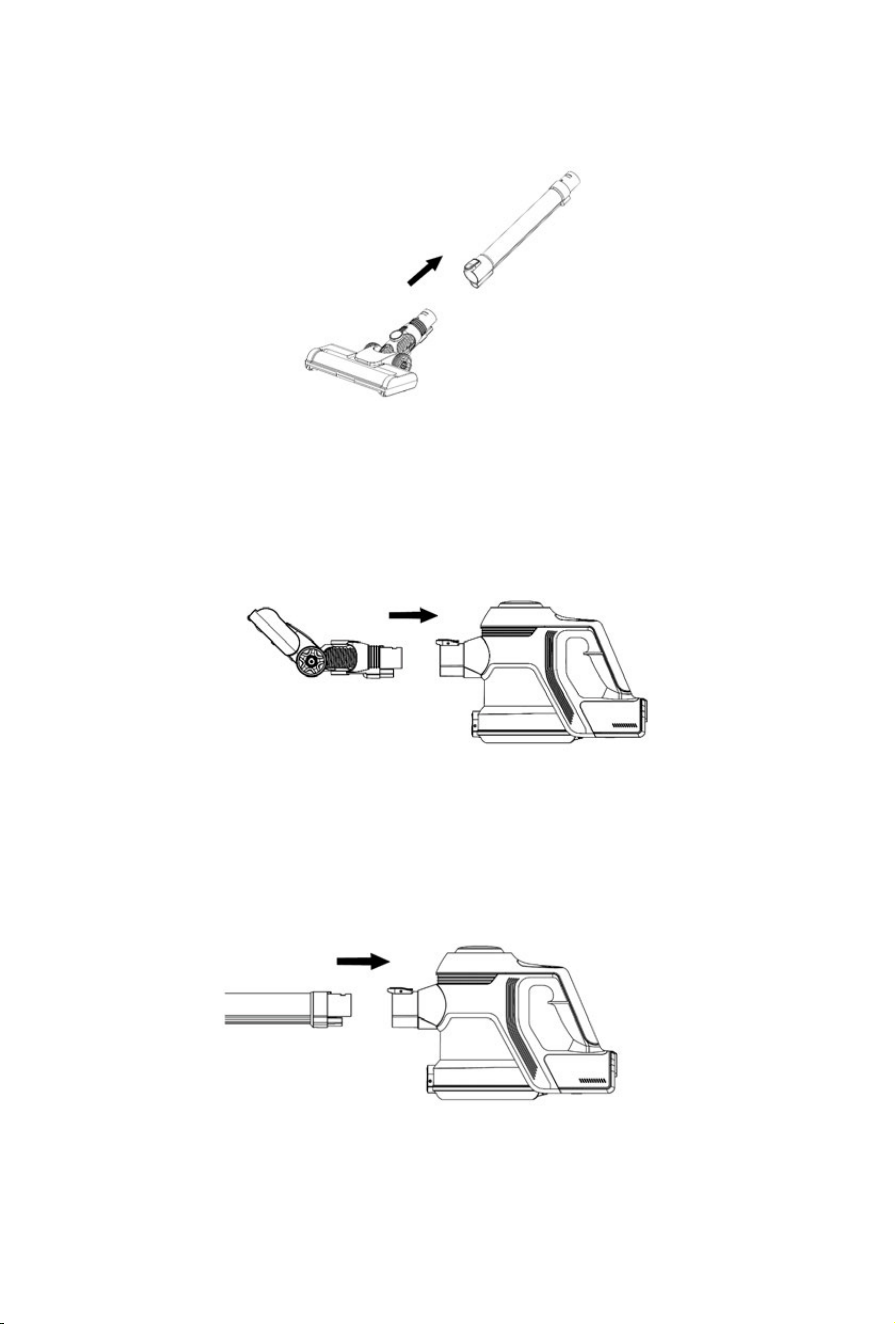
3. Attach the floor head to the extension wand to use as an upright cleaner.
4. If using the floor head without the wand, simply attach it to the main body to the main
body via the dust inlet connector. It will "click" when secure.
Assembling accessories:
1. Attach the extension wand to the main body by slotting it into place the via dust inlet
connector.
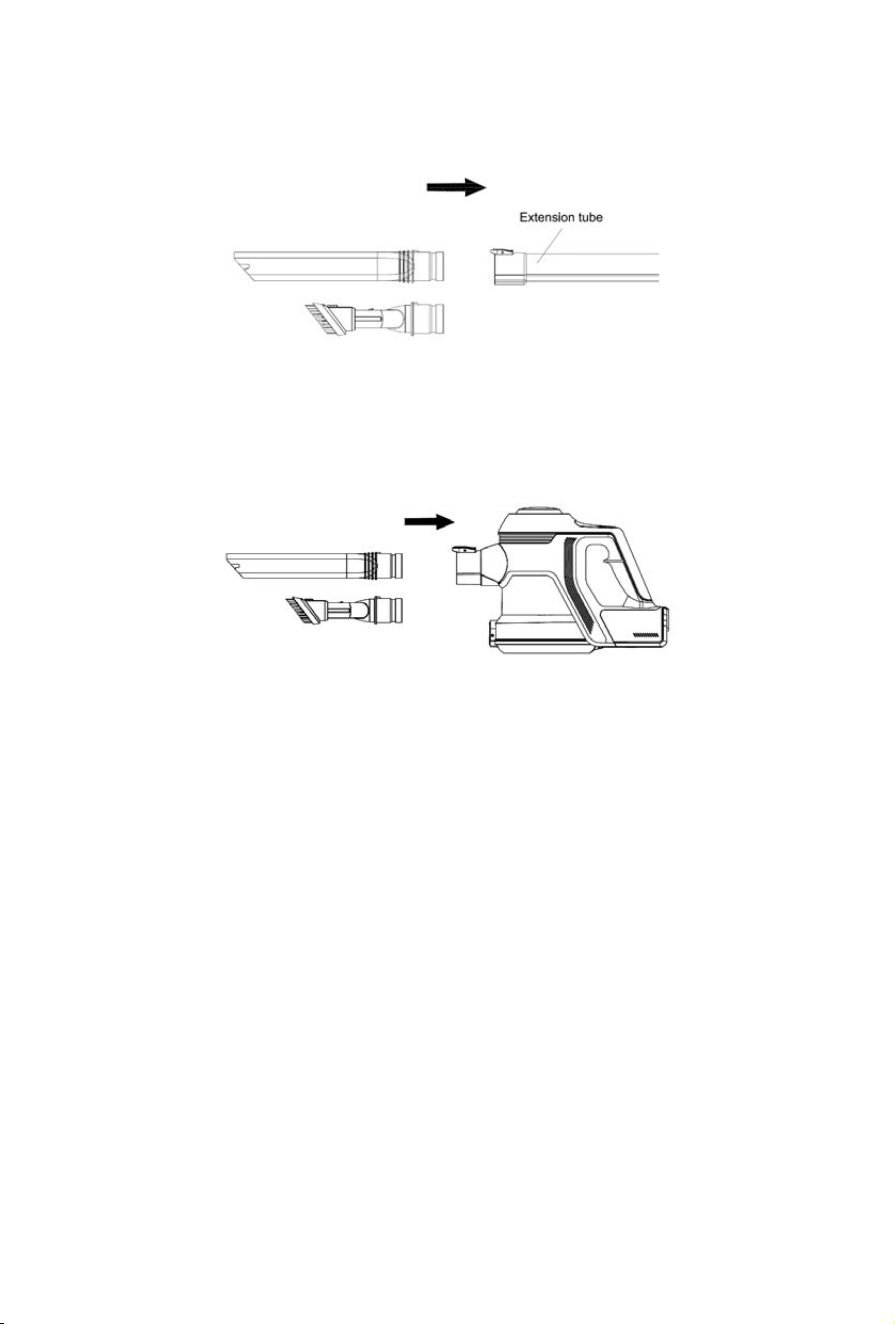
2. Attach the crevice nozzle or 2-in-1 tool to the base of the extension wand via the connector. It
will "click" into place.
3. If using accessories without the wand, simply attach them to the main body via the dust inlet
connector. It will "click" when secure
BEFORE FIRST USE
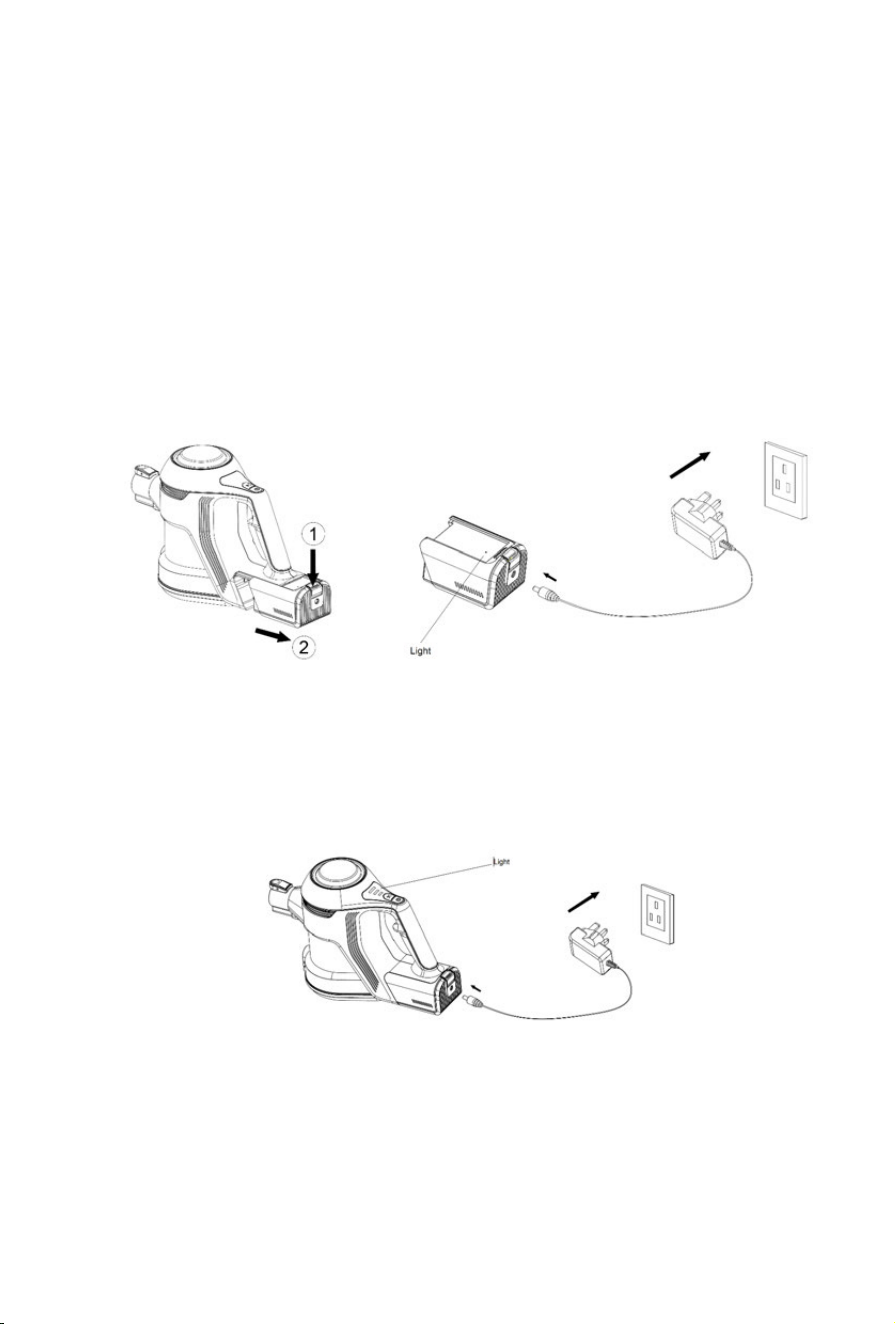
1. Plug the charger into the power inlet located on the side of the battery. When charging,
the indicator light will be illuminated RED. Once fully charged this indicator light will
change to WHITE.. Once fully charged , turn off the charger and unplug from the power
socket.
The battery can also be charged whilst housed in the main body of the vacuum. The
three lights in the top of the body will flash to indicate the charge of the battery. When
the battery is fully charged, all three lights will remain White.
NOTE:
In the event of a maintenance issue with the product such as a jammed
brush roll, all three indicator lights will flash on and off until the issue is resolved, in
this case turn the cleaner off until the issue is rectified.

2. Ensure that the wand and air vent opening on the main body are free from
blockages and dust. Should they become clogged, switch off the vacuum
immediately and clear the blockage before continuing use.
3. Remove any sharp or large objects from the path of the vacuum before use as
these may irreparably damage the appliance.
OPERATING THE VACUUM
CAUTION: The vacuum must be fully charged before using for the first time.
1. Remove the vacuum cleaner from the wall mount. If using as a hand-held unit
disassemble the tube and attach the desired accessory.
2. Use the Power ON/OFF button to turn on the appliance.
3. Press the power adjustment key to decrease the suction power and use in ECO
mode.
4. To turn off the vacuum, press the Power ON/OFF button again.
MAINTAINING THE VACUUM
Maintenance is recommended to prolong the lifespan of your vacuum cleaner, prevent
blockages and keep your home clean. Failure to maintain your vacuum can invalidate
your warranty.
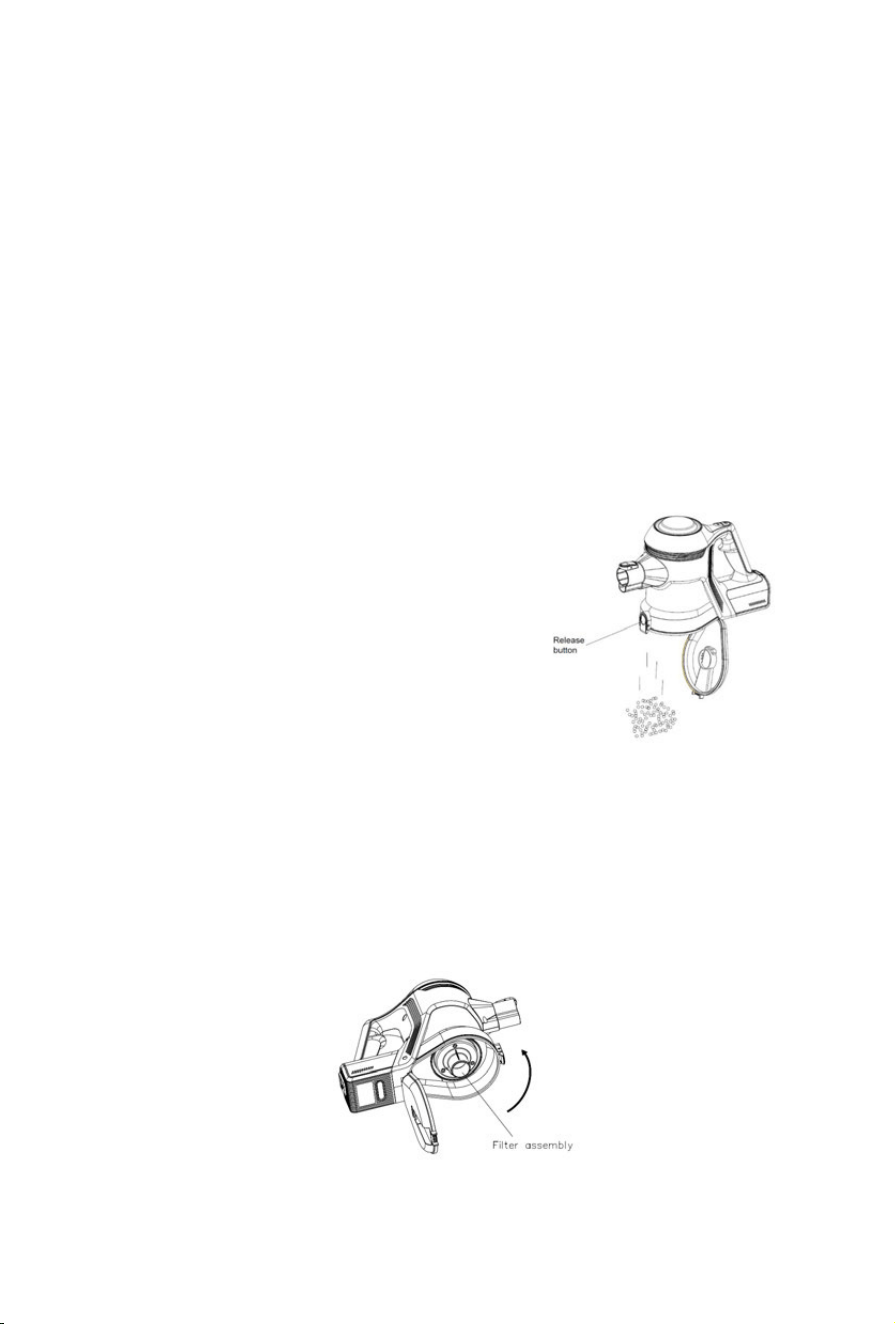
Cleaning the dust container:
1. Switch off the vacuum cleaner.
2. Disassemble by removing floor head and extension wand from the main body.
3. Over a waste bin, press the dust container release button to open the bottom cover
and remove all debris. Wipe clean only, do not
submerge in water.
4. Rotate the filter assembly to remove debris
wrapped around it.
Cleaning the filter:
1. Open the dust container by pushing the release button.
2. Rotate the filter of the dust container anti-clockwise.
3. Remove the filter and remove the HEPA filter from the filter assembly.
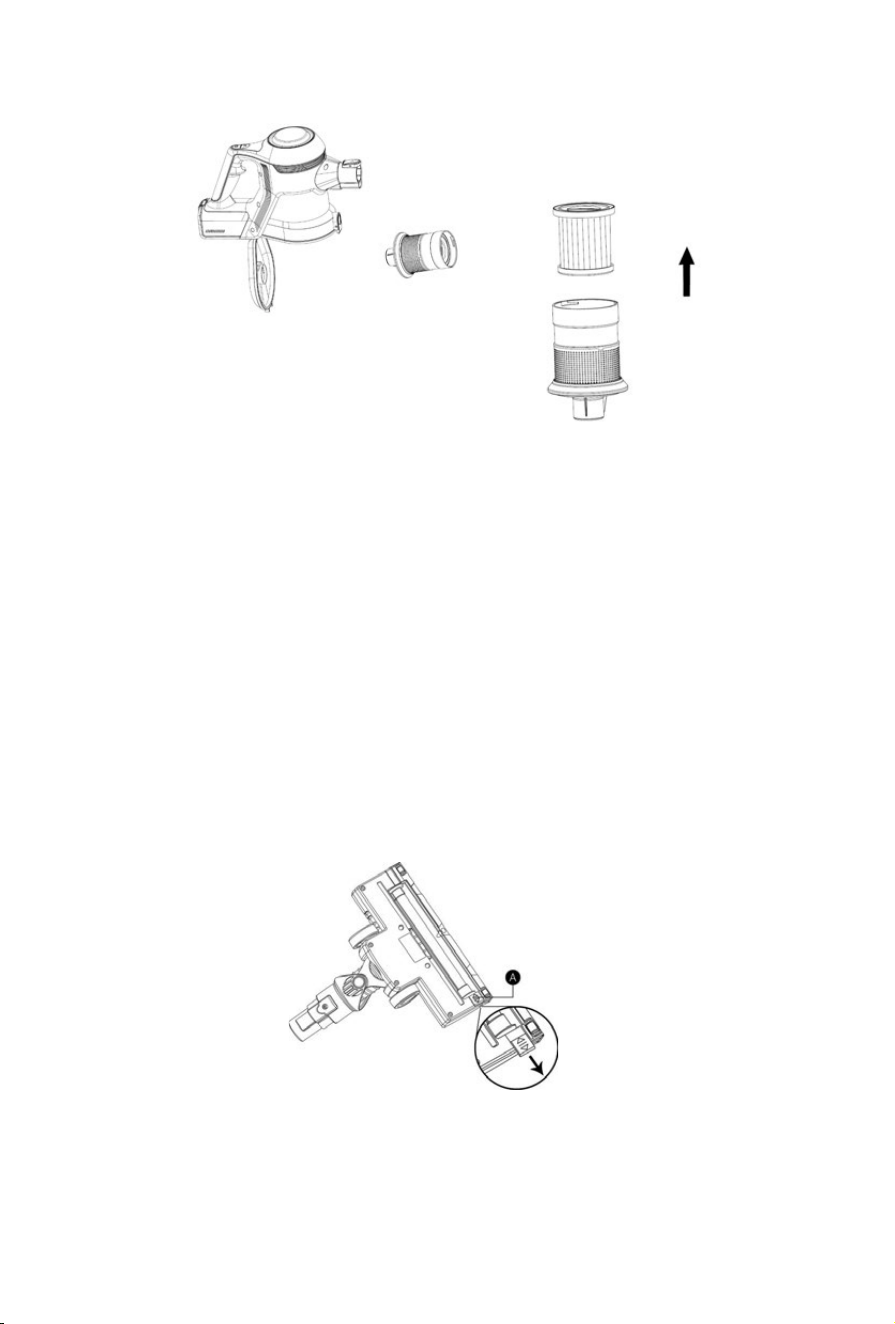
4. Rinse the HEPA filter thoroughly with clean water. Do not use soap or other
cleaning products. Clean the assembly with a damp cloth.
5. Allow the filter to dry naturally for 24 hours before placing back into the vacuum.
Do not place on radiators or use appliances such as a hair dryer, to dry the filter.
Doing so may cause the filter to warp or for other irreparable damage to occur.
Cleaning the brush roll:
1. Remove the brush roller from the brush housing. Slide the brush roller fastener (A)
away from the brush as below.
2. Carefully clean and remove the hairs and debris from the brush roller. Wipe to clean
only, do not use any soap or harsh cleaning solvents.
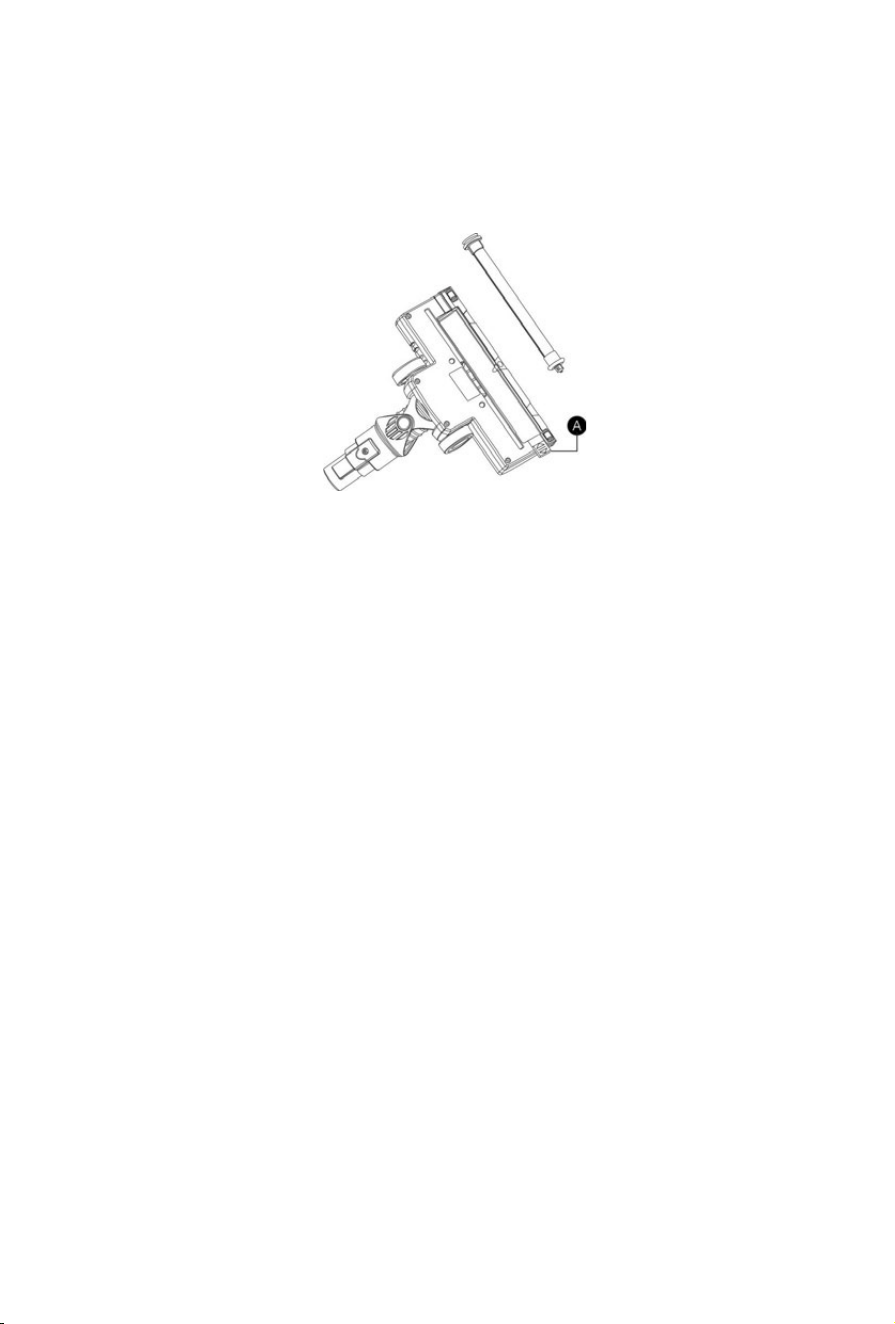
3. If brush roller becomes damp, allow to dry naturally before replacing.
4. Slide fastener (A) to the original position to secure the brush roller.

TROUBLESHOOTING
The appliance will not power on:
This may be caused by a flat battery. This can occur if the appliance has been
used or stored for an extended period. Connect the vacuum to the charger and
allow for a full charging cycle to complete.
The vacuum stopped suddenly:
This will occur if the safety cut-out device has been activated. This device is
designed to prevent your appliance from overheating. Ensure the vacuum is
turned off, disconnect all accessories and leave to cool down for at least half an
hour before attempting to operate again. Check for blockages in the extension
wand and accessories. Ensure there is no debris wrapped around the brush bar.
Empty the dust container and clean or replace the filter.
The suction of the vacuum has reduced:
Check the vacuum is not in ECO mode. If the suction is still reduced -turn the
vacuum off. Disconnect the floor head, extension wand and any accessories.
Check for and remove any blockages from the dust container, air duct, extension
wand, floor head and accessories. Ensure the filter is clean or replace the filter if
needed.
The charging indicator light does not flash up RED:
There may be no power reaching the vacuum from the charger.
Ensure that power is being supplied to the mains socket and that the charger is
turned on. Ensure the charging cable is securely connected to the battery.
Ensure the mains socket is switched off before checking the charging cable itself.

Do not attempt to use if the cable is split, frayed or otherwise damaged. Instead,
seek a replacement charger by contacting customer services via email
The running time of the vacuum is less than it used to be:
Ensure the battery has completed a full charging cycle. An insufficient charging
cycle will result in reduced application time.
There may be reduced energy discharge in the battery. This is normal and
gradually occurs in all batteries over time.

WARRANTY
To register you free Vytronix warranty visit www.vytronix.com using product code:
brandnew-vytronix-amc22b
Your original order number will be required make a note of it here:
Any issues affecting product functionality will be rectified by a replacement or repair,
providing that the product has been used and maintained in accordance with the
instructions in this manual. The warranty does not cover wear and tear or product
misuse. This guarantee does not affect your statutory rights. Packaging, features and
specifications are subject to change without notice.
Return to retailer if defects are found before use, or if you feel that your appliance
issue falls under the warranty as stated in this manual.
DISPOSAL
This vacuum cleaner is supplied with a lithium-ion battery. This must be disposed of
properly, in an appropriate facility.
Please recycle where facilities exist. Your local authority will be able to provide you
with this information if you are unable to locate it, please contact us via email

If you have any queries or require assistance with using your product including
set up, troubleshooting or registration please email our customer care on
Register your warranty at www.vytronix.com


