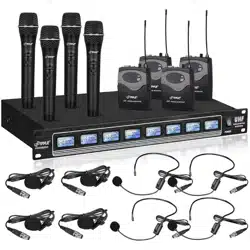
Professional UHF Wireless Microphone System
with (2) Handheld Wireless Mics
PDWM2800

www.PyleUSA.com
1
CONTENTS
GENERAL DESCRIPTION ------------------------------2
FEATURES
-------------------------------------2
CAUTION
-------------------------------------2
ILLUSTRATION OF RECEIVER
RECEIVER REMARK
--------------------------------3
USING THE RECEIVER
------------------------------ 4
ILLUSTRATION OF TRANSMITTER
HANDHELD TRANSMITTER REMARK
----------------------- 4
USING THE HANDHELD TRANSMITTER
---------------------- 5
BODYPACK TRANSMITTER REMARK
----------------------- 5
USING BODY-PACK TRANSMITTER
------------------------ 6
TROUBLESHOOTING
------------------------------ 6
SPECS and FEATURES
------------------------------ 8

www.PyleUSA.com
2
INTRODUCTION
This wireless microphone system uses the UHF band.
It’s perfect for use on performance stages, assembly halls, and karaoke bars.
You can use this product with lapel mics or handheld microphones.
Please read this manual carefully for proper operation.
FEATURES
• Two wireless microphone can be used together with receiver.
• UHF 470-560 MHz used for frequency of carrier wave, low interference.
• Crystal vibrating used to stabilize the performance.
• Codistor fixed inside to avoid large noise caused by wireless microphones
interfering.
• Convenient antenna fixed inside of the wireless microphone.
CAUTION
Read this before operating your unit:
1. Please read this manual carefully before using. Keep it in a safe place for future
reference.
2. Do not expose the unit to rain or an environment where it may be splashed with
water. This could result in fire or electric shock.
3. Do not force on switches, knobs, or cords. When moving, first turn OFF the power.
4. Do not attempt to clean the unit with chemical solvents; this might damage the
surface. Use a clean, dry cloth.
5. To prevent receiver damage, please turn OFF power during electrical storms.
6. The voltage must be the same that is specified on the unit.
www.PyleUSA.com
3
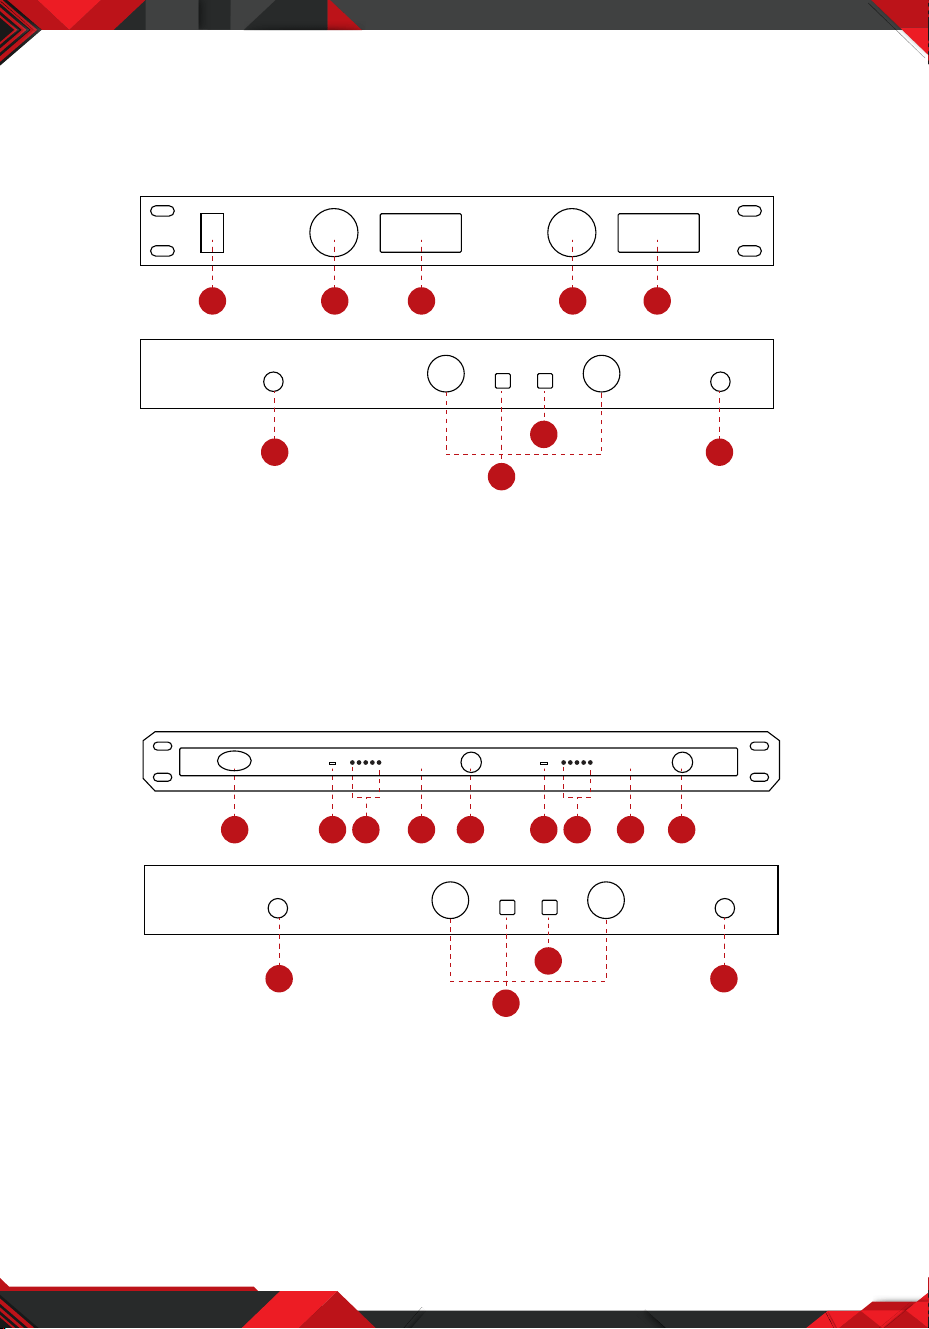
RECEIVER
RECEIVER REMARK
A.
1. Power Switch
2. Audio Volume Control
3. RF & Audio Signal Display
B.
1. Power Switch
2. Switch orer of RF and Antenna indicator
3. Audio Signal Indicator
4. Digita Tube Frequency Display
1 2 3 2 3
4
5
6
4
4. Antenna
5. Mixed Audio Outlet & Separate Outlet
6. DC Power Input
5. Audio Volume
6. Antenna
7. Mixed Audio Outlet & Separate Outlet
8. DC input
6
7
8
6
1 2 3 4 5 2 3 4 5
490.0 505.8
www.PyleUSA.com
4
USING THE RECEIVER
1. Draw out the antennas and form them in a V shape.
2. Connect one end of the audio cable with the DC input jack of the receiver and
the other to the microphone input port of an audio mixeror power amplifier.
3. Connect the AC adaptor to the DC port and then plug into the wall.
4. Press the switch of the receiver to turn on the receiver, and then turn ON the
power supply.
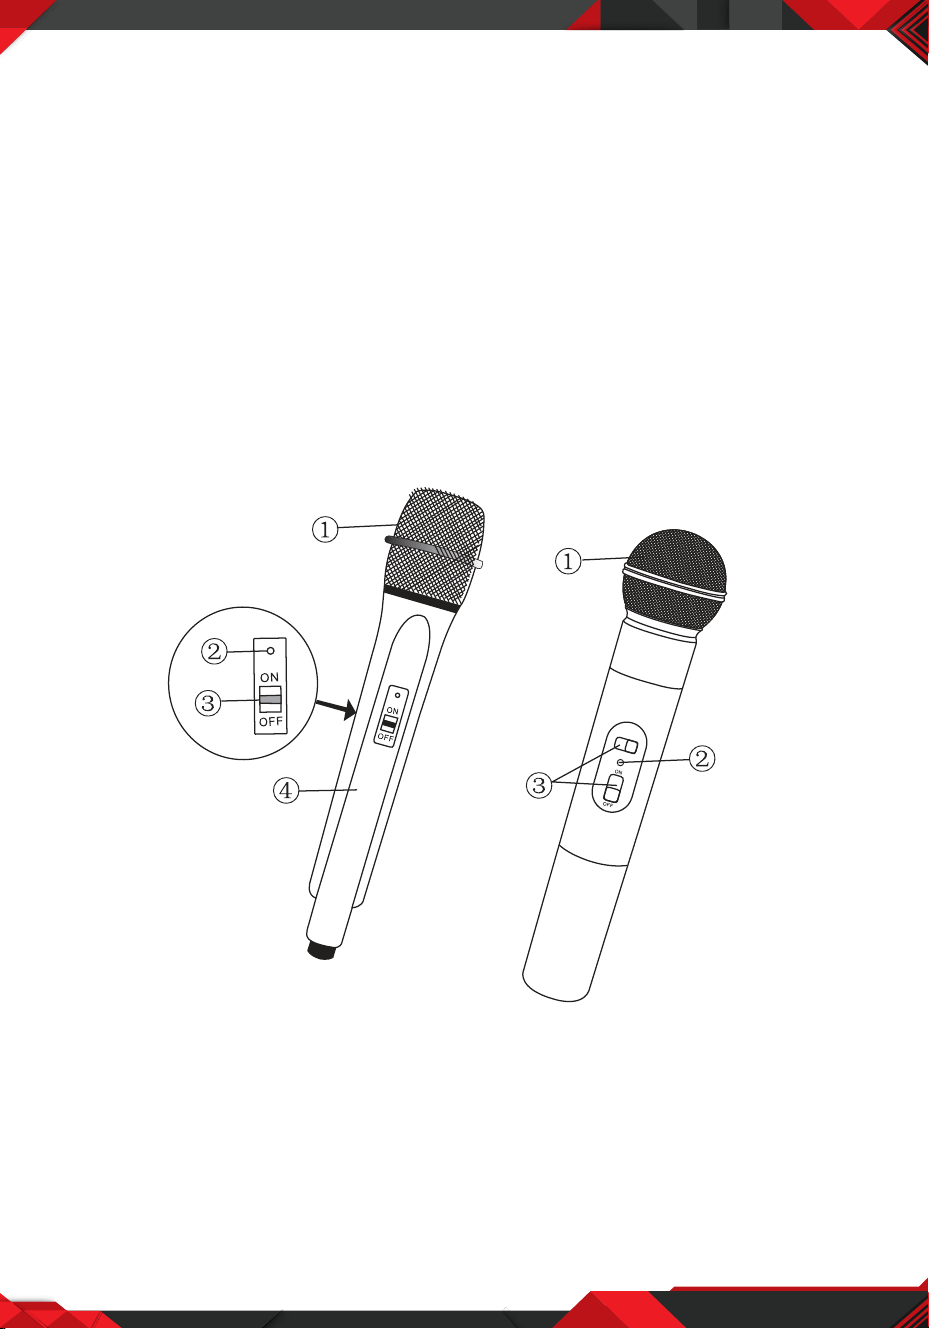
TRANSMITTER
TRANSMITTER REMARK
1. Microphone Head
2. Low Voltage Indicator
3. Power Switch
4. Grip
www.PyleUSA.com
5
USING THE HANDHELD TRANSMITTER
1. Open the handheld microphone battery cover and put in two batteries - make
sure the polarity is correct.
2. Turn ON the power switch of the microphone. The power indicator on the micro
phone and the RF indicator should be lit.
3. When the transmitter is not used, turn OFF the power.
4. When the low voltage indicator lights, replace the battery.
5. Take out the battery when it will not be used for a long period of time.
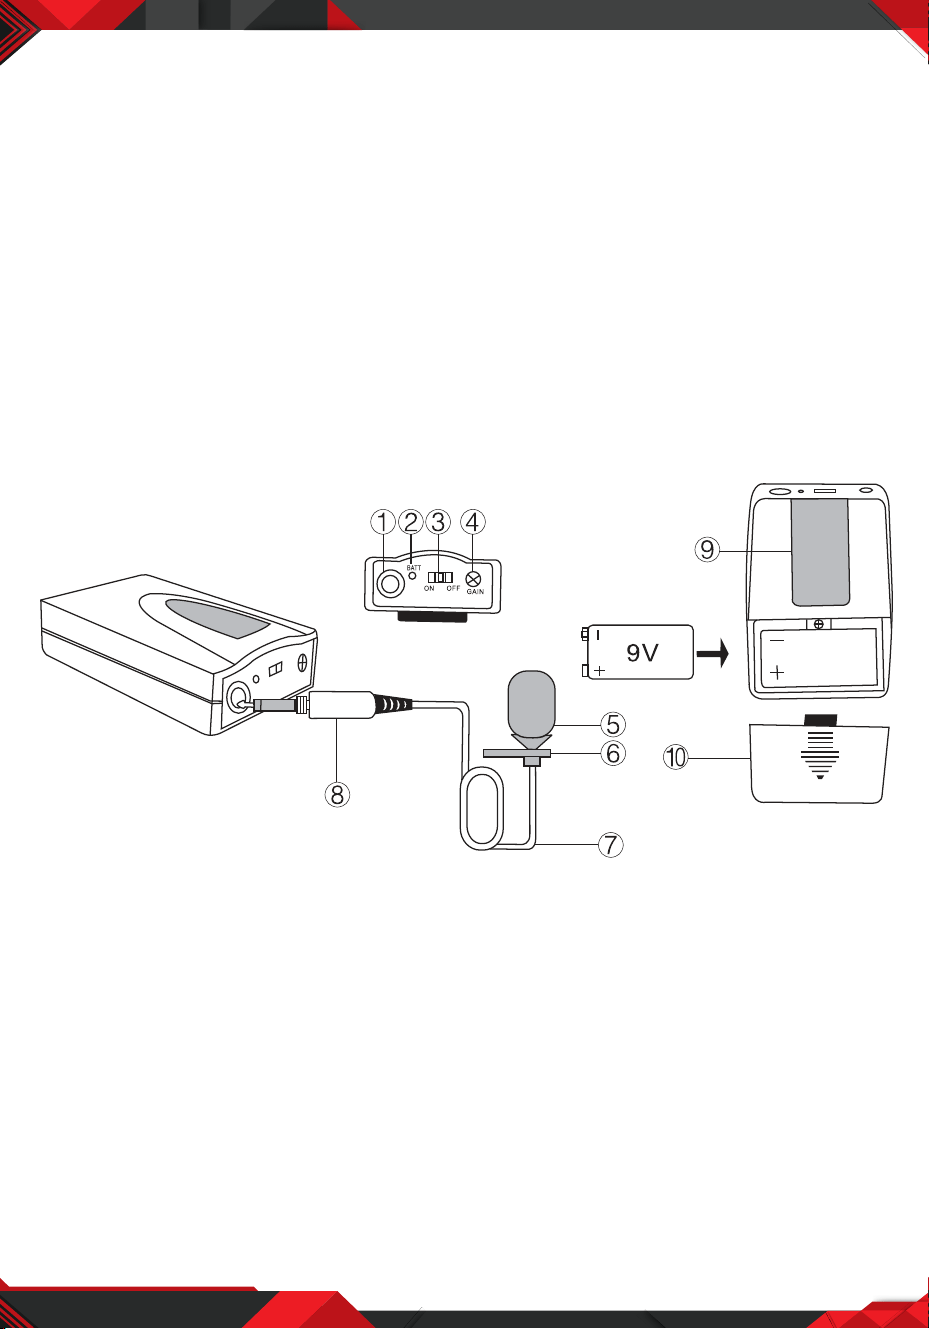
BODYPACK REMARK
1. Microphone Jack
2. Low Voltage Indicator
3. Power Switch
4. Audio Volume
5. Microphone Head
6. Clip
7. Microphone Wire
8. Microphone Jack
9. Belt CIip
10. Battery Cover

www.PyleUSA.com
6
USING THE BODY-PACK TRANSMITTER
1. Open the transmitter battery compartment and insert a fresh 9V battery. Observe
proper battery polarity ( “ +/–” ).
2. Turn ON the microphone power switch and the power indicator will be lit.
The transmitter will send the signal to the receiver and the RF indicator is lit.
3. Turn OFF the transmitter when not in use.
4. When the low voltage indicator is lit, it means the battery is not enough. If it does
not operate normally (The distance between the receiver and transmitter is not
far enough or the voice is distorted) install fresh battery.
5. Remove the batteries when the unit will not be used for a long time.
TROUBLESHOOTING
BREAK DOWN REASONS SOLUTION
The power indicator
is not ON
1. The transmitter does
not load the battery,
low battery or wrong
battery polarity.
2. The power jack of the
receiver is not attached
3. Power switch is OFF
1. Install fresh battery.
2. Connect the
receiver’s power.
3. Turn ON receiver’s
power.
No voice
1. The transmitter is not
turned ON.
2. The AF cord of the
receiver has not been
connected.
3. The volume of the
receiver or the loud
speaker is too low.
4. The transmitter is far
from the receiver.
1. Turn ON the
transmitter
2. Connect the receiver
and loudspeaker.
3. Turn up the volume
4. Do not place the
transmitter far from
the receiver.

www.PyleUSA.com
7
TROUBLESHOOTING
BREAK DOWN REASONS SOLUTION
The distance between
the receiver and
transmitter is not far
enough
1. Do not draw out the
antenna fully.
2. The power of the
battery is not enough.
1. Draw out the
antenna fully.
2. Replace new
battery.
The voice is distorted
1. The power of the
battery is not enough.
2. The loud speaker is too
near to the receiver.
1. Replace new
battery.
2. Place the
loudspeaker far from
the receiver.

www.PyleUSA.com
8
PDWM2800
Professional UHF Wireless Microphone System
with (2) Handheld Wireless Mics
Receiver:
• UHF audio band transmission
• Rack mountable
• Independent volume control for each microphone
• LCD display for operating frequency readout
• Foldable antennas
• Sensitivity: <2UV (12dB SINAD)
• Dynamic Range: >80dB
• Signal-to-Noise:>80 dB
• Image Rejection:>60dB
• System Distortion:<1%
• Audio Output Level: 700mV(600O)
• Power supply: DC12V~17V/600MA
• Current Consumption:< 400mA
What's in the Box:
• Receiver Base
• (2) Handheld Microphones
• 1/4'' -inch Audio Cable
• Power Adapter
Microphones:
• On/off switch for simple operation
• Ergonomic design fits the hand perfectly
• Color-coded mics for easy identification
• Maximum Deviation Range: 50 KHz (Max)
• RF Output Power: <40mW
• RF Rejection: >40dB
• Current Consumption: <100mA
• Operate Range: Up to 260 ft.
• Battery Operated, Requires (2) x 'AA' Batteries (-Each)