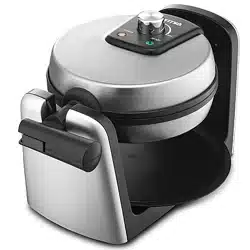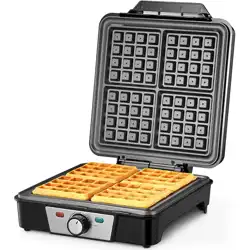

Double Waffle Maker
USER
MANUAL
Model# GWM-490

Model: GWM490
© 2017 Gourmia
www.gourmia.com
The Steelstone Group
Brooklyn, NY
All rights reserved. No portion of this manual may be reproduced by any means
whatsoever without written permission from The Steelstone Group, except for the
inclusion of quotations in a media review.
Although every precaution has been taken in the preparation of this manual, The
Steelstone Group assumes no responsibility for errors or omissions. Nor is any
liability assumed for damages resulting from the use of the information contained
herein. Although every eort has been made to ensure that the information
contained in this manual is complete and accurate, The Steelstone Group is not
engaged in rendering professional advice or services to the individual consumer;
further, The Steelstone Group shall not be held responsible for any loss or damage
allegedly arising from any information or suggestion in this manual.
Read this manual thoroughly
before using and save it for
future reference
2
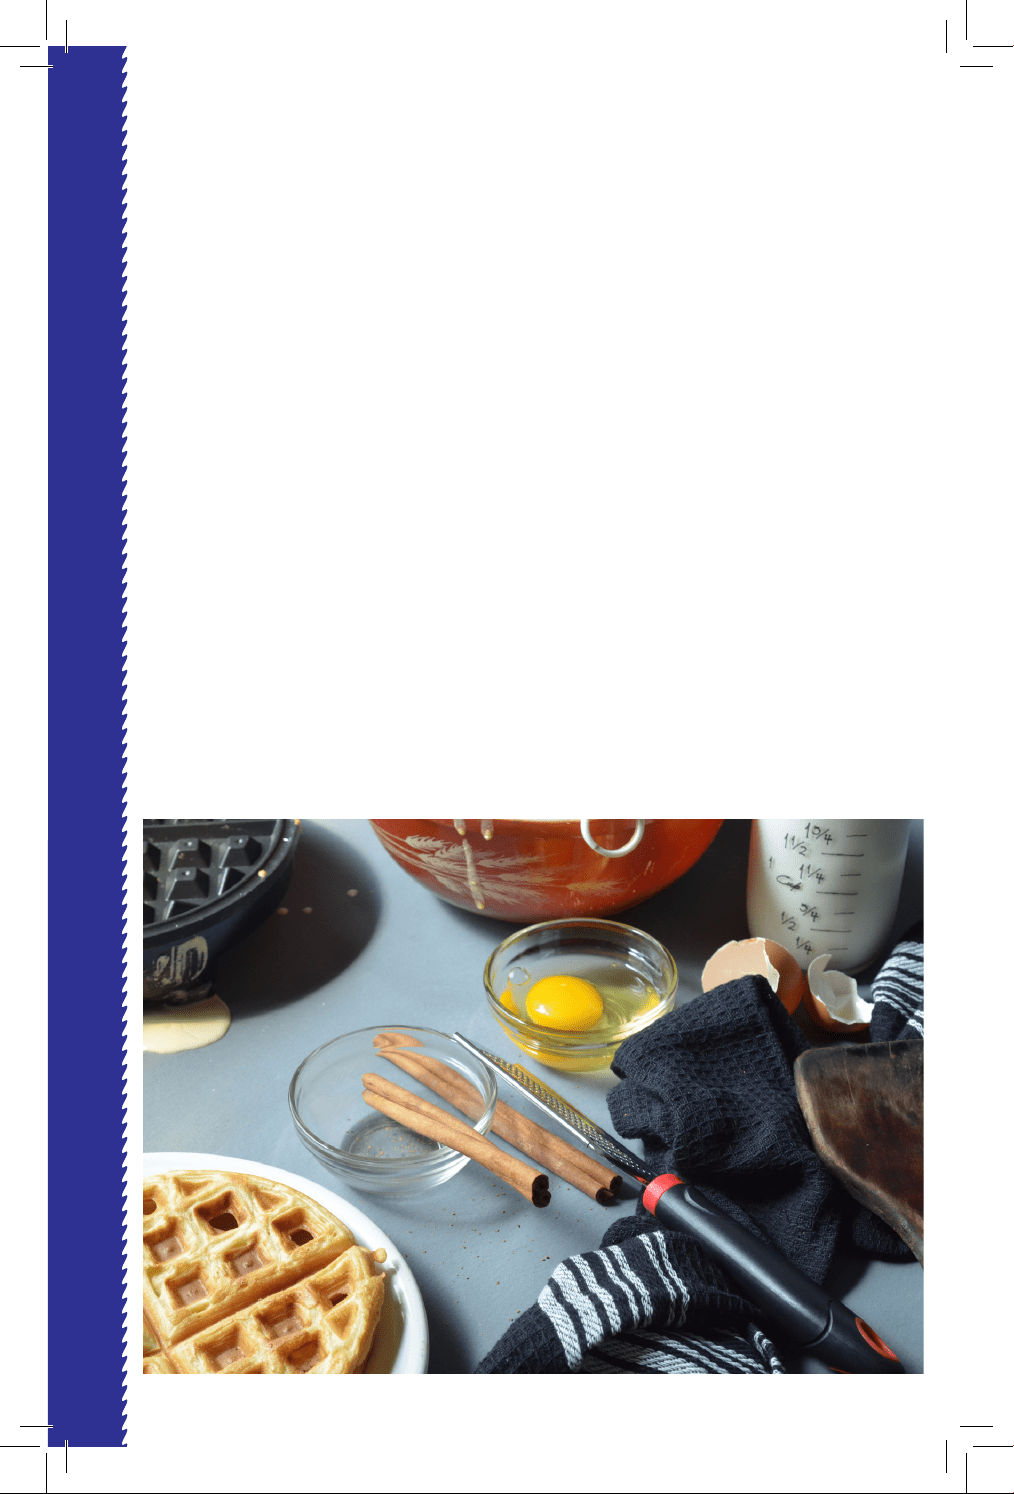
Welcome to the Convenience of
Wae Makers from Gourmia
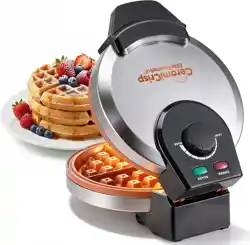
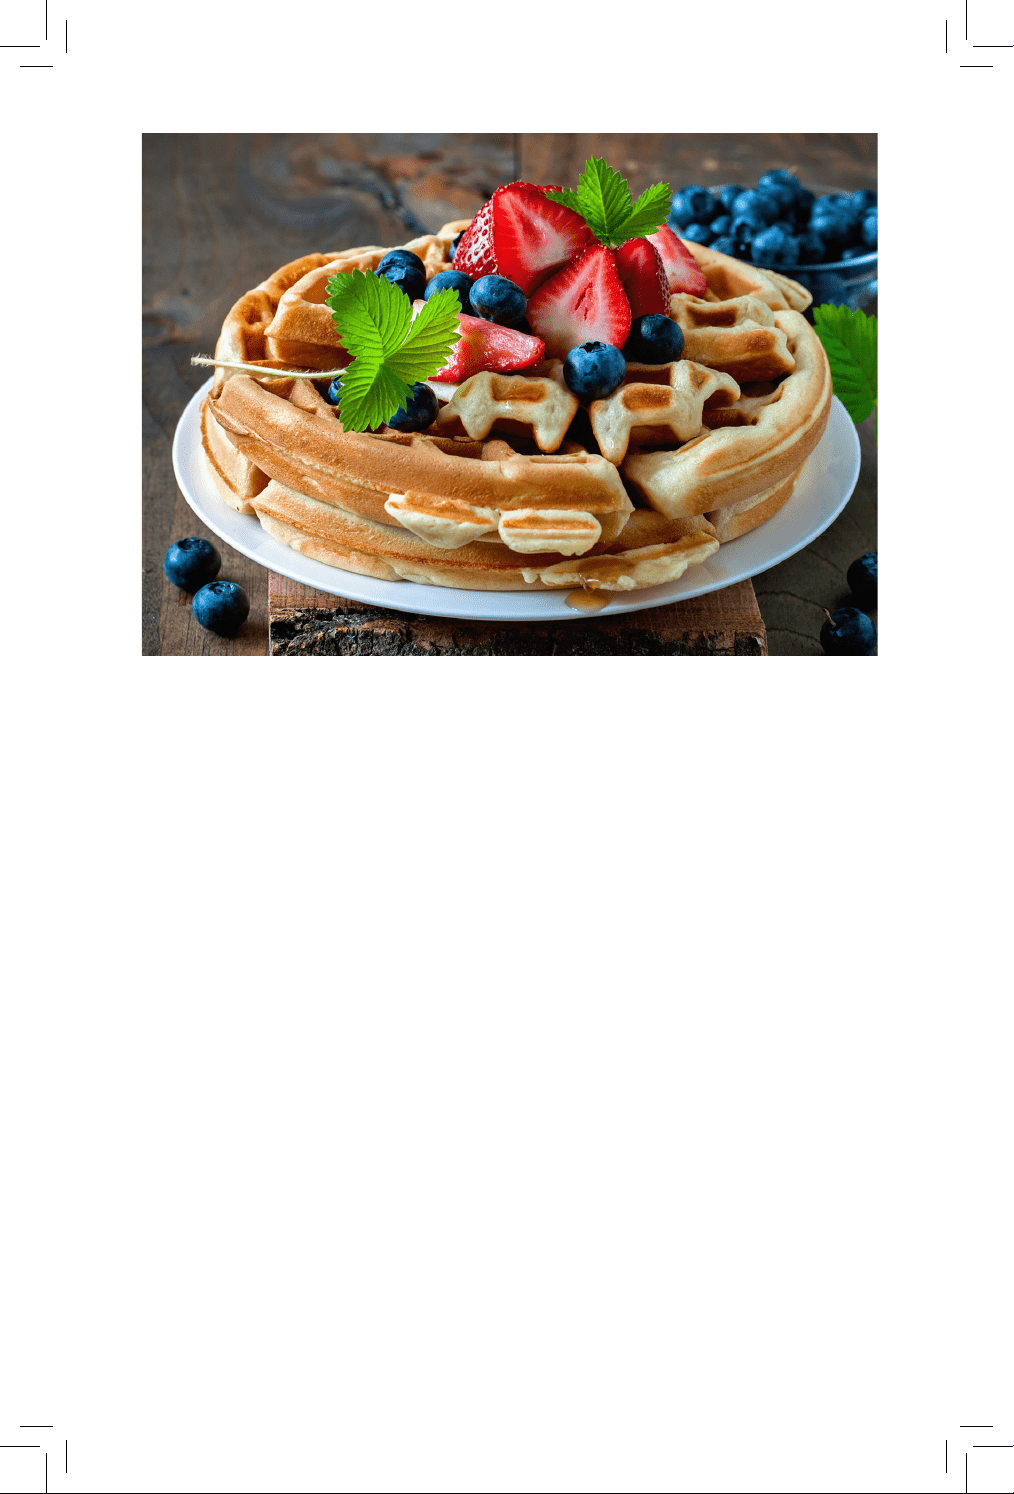
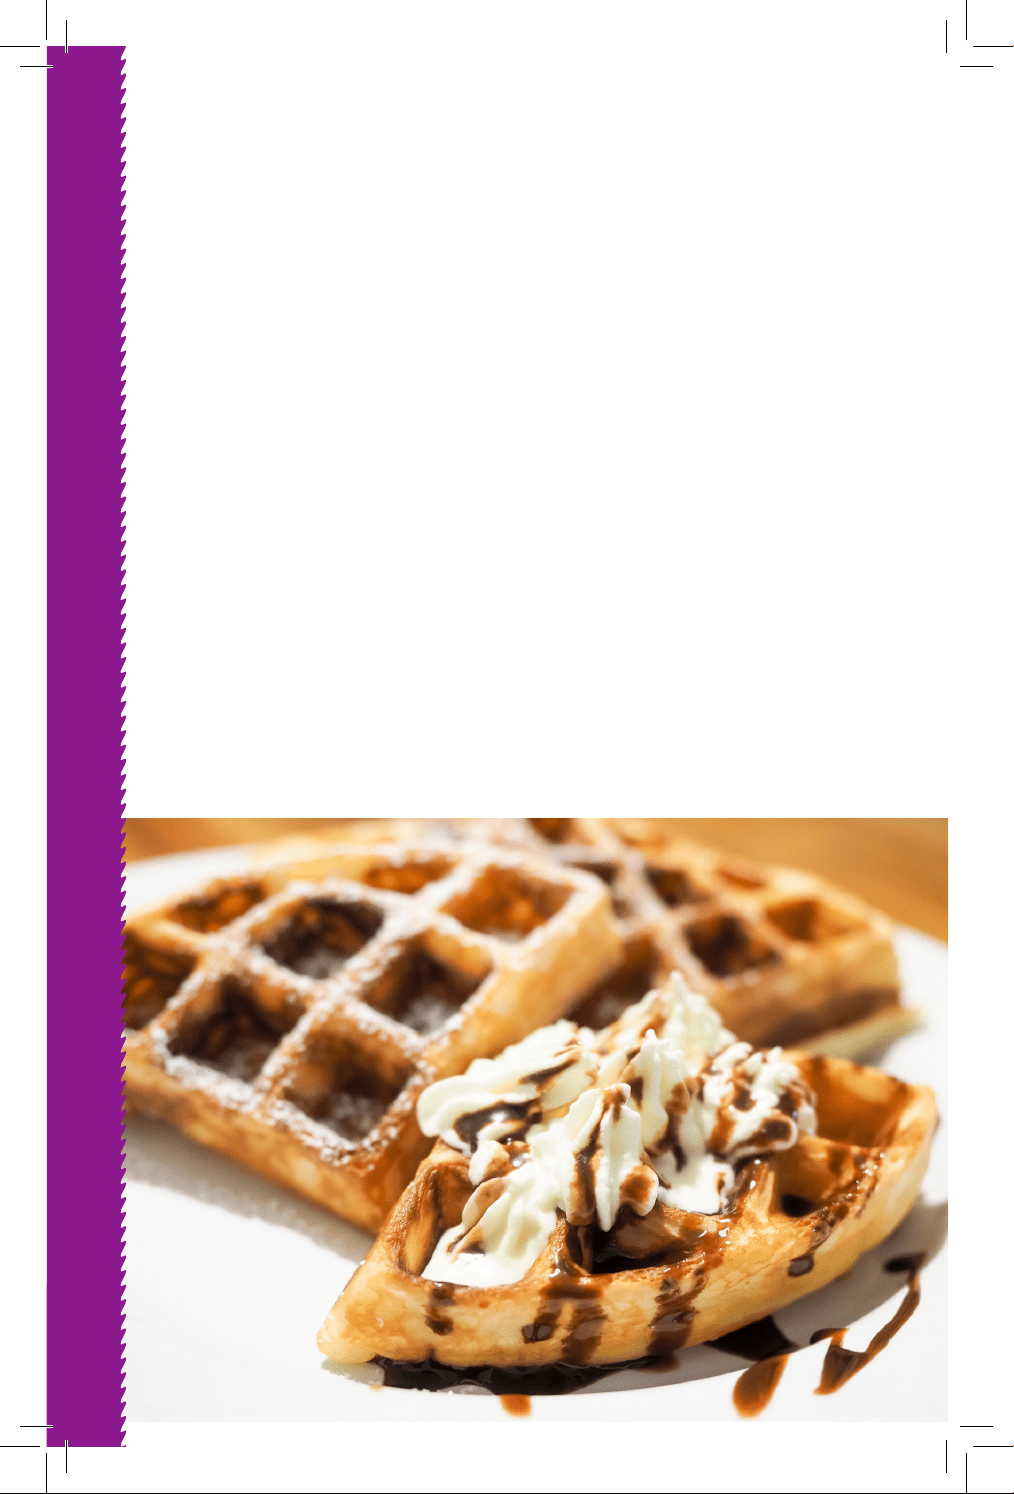
Congratulations on your purchase of the Gourmia Double Wae Maker!
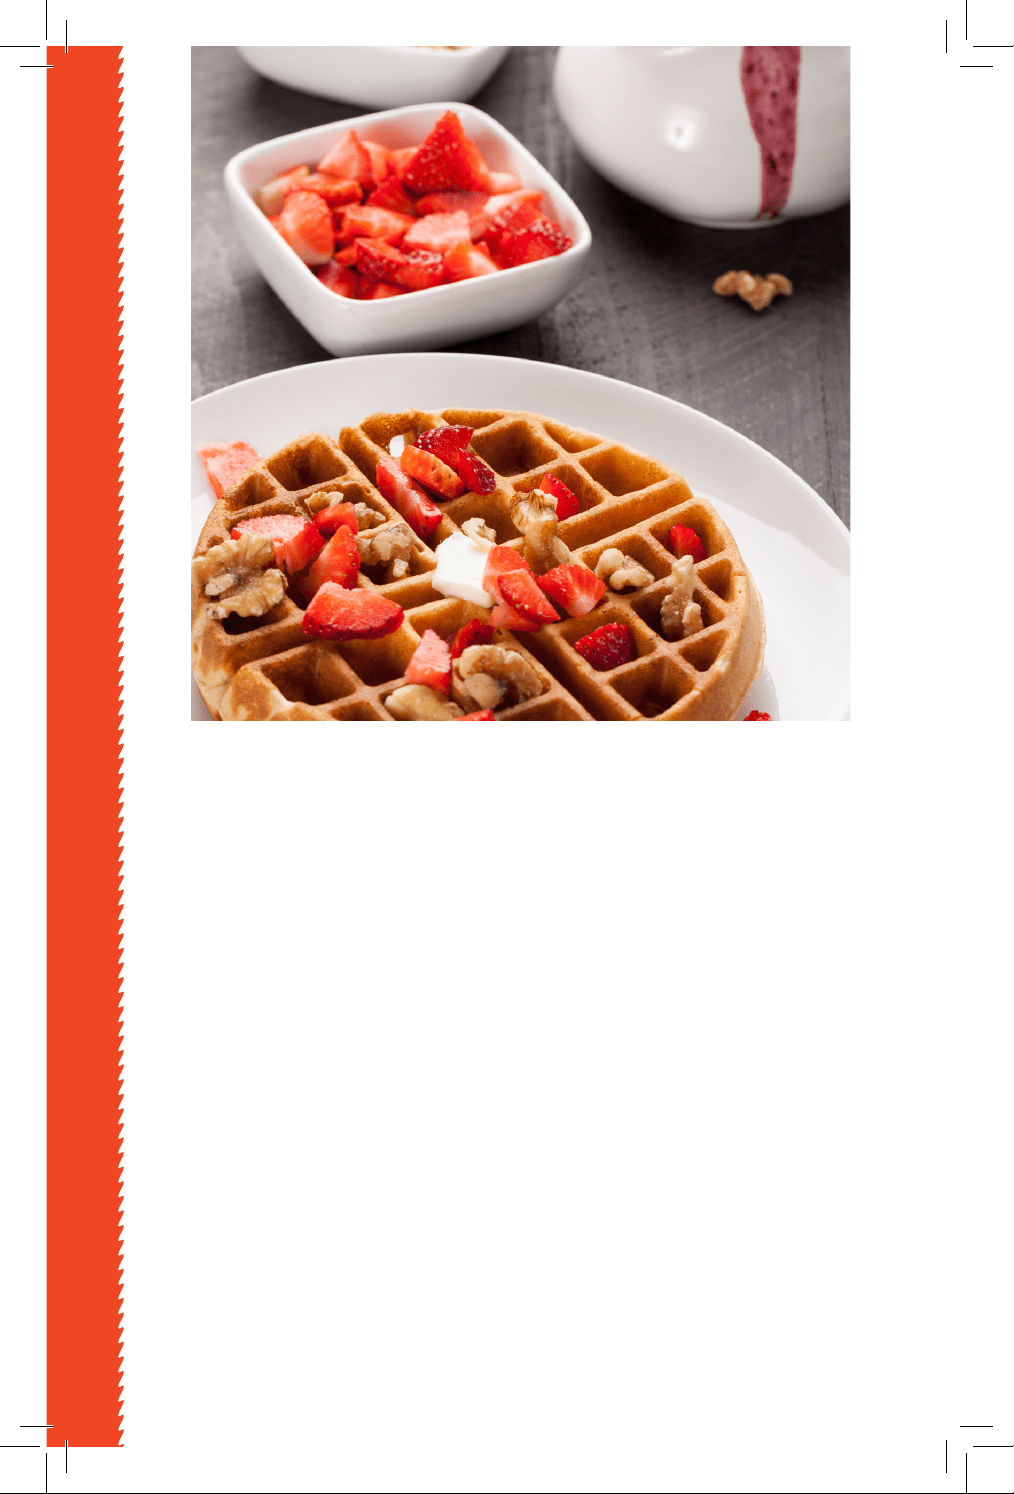
Hot, homemade waes are perfect for breakfast, lunch, dinner and of course,
dessert! Turn the ultimate comfort food into the meal of your choice by adding
an assortment of savory or sweet toppings to your wae.
The unique design and baking system of the Gourmia Double Wae Maker
will create the perfect wae. With its thought out design and easy operation
you can create restaurant quality waes in your own kitchen in just a few
minutes. The pages of this manual oer full and comprehensive instructions to
guide you through the functions and features of the Gourmia Double Wae
Maker. In this guide you will also nd complete step-by-step instructions for
the operation, assembly, and maintenance of your appliance.
Please read all safety instructions thoroughly to ensure safe usage at all times.
Thank you for your purchase! We sincerely hope you will enjoy this as well as all
the many innovative products brought to you by our family at Gourmia.
3

4
IMPORTANT SAFEGUARDS
Important Safety Instructions
READ INSTRUCTIONS CAREFULLY BEFORE USING
1. Use handles or knobs to operate the appliance. Do not touch the surfaces,
they are hot and can cause scalding.
2. To protect against re, electric shock or injury, do not immerse cord, plug
or main unit in water or any other liquid.
3. Keep the appliance out of reach of children and people with limited
capabilities.
4. Unplug the appliance from the outlet when not in use and before clean-
ing. The appliance will not turn o unless it is unplugged.
5. Allow the appliance to cool down before assembling or disassembling,
storing and before cleaning the appliance.
6. Do not operate the appliance with a damaged cord or plug. If the appli-
ance malfunctions, or has been damaged in any way, do not use it. Return
the appliance to the nearest authorized facility for repair.
7. Accessory attachments that were not provided by the manufacturer
should not be used. They may result in re, electric shock or injury.
8. Do not use outdoors.
9. Do not let the cord hang over the edge of a table or counter, or touch hot
surfaces.
10. Do not place on or near a hot gas or electric burner, or in a heated oven.
11. The appliance should be operated on a at and dry surface.
12. Do not use the appliance for other than intended use.
13. Use the appliance in a ventilated room, and do not let it touch curtains,
wall paper, clothing, dishcloths or any other ammable materials.
14. Cleaning and maintenance should not be done by children without
supervision.
15. Extreme caution must be used when moving an appliance containing
hot oil or other hot liquids.
16. FOR HOUSEHOLD USE ONLY.
SAVE THESE INSTRUCTIONS
TABLE OF CONTENTS
5
TABLE OF CONTENTS
Why Wae Maker.................................6
Know Your Wae Maker.......... ..............7
Using Your Wae Maker........................8
Wae Making Tips..............................12
Cleaning & Maintenance ......................13
Warranty & Services.............................15
Why Wae Maker?
6
WHY WAFFLE MAKER
The Gourmia Double Wae Maker has the space to bake two waes
simultaneously, allowing you to prepare more waes in a short
amount of time.
It also features a 180 degree rotation for even distribution of the
batter - resulting in thick, golden waes. The rotating action helps to
create waes with a crispy exterior and tender interior. The wae maker
begins preheating when it is turned on which ensures a faster and more
ecient baking process for the waes.
The griddle has a nonstick coating to prevent food from sticking
and allows for easy removal of food and cleanup. The deep grid of the
wae plates guarantee thick and uy waes every time. Additionally,
the handle of the wae maker oers a safe and secure grip that helps ro-
tate the wae maker easily. The wae maker includes a removable drip
tray which ensures that any overow or drips can be easily cleaned.
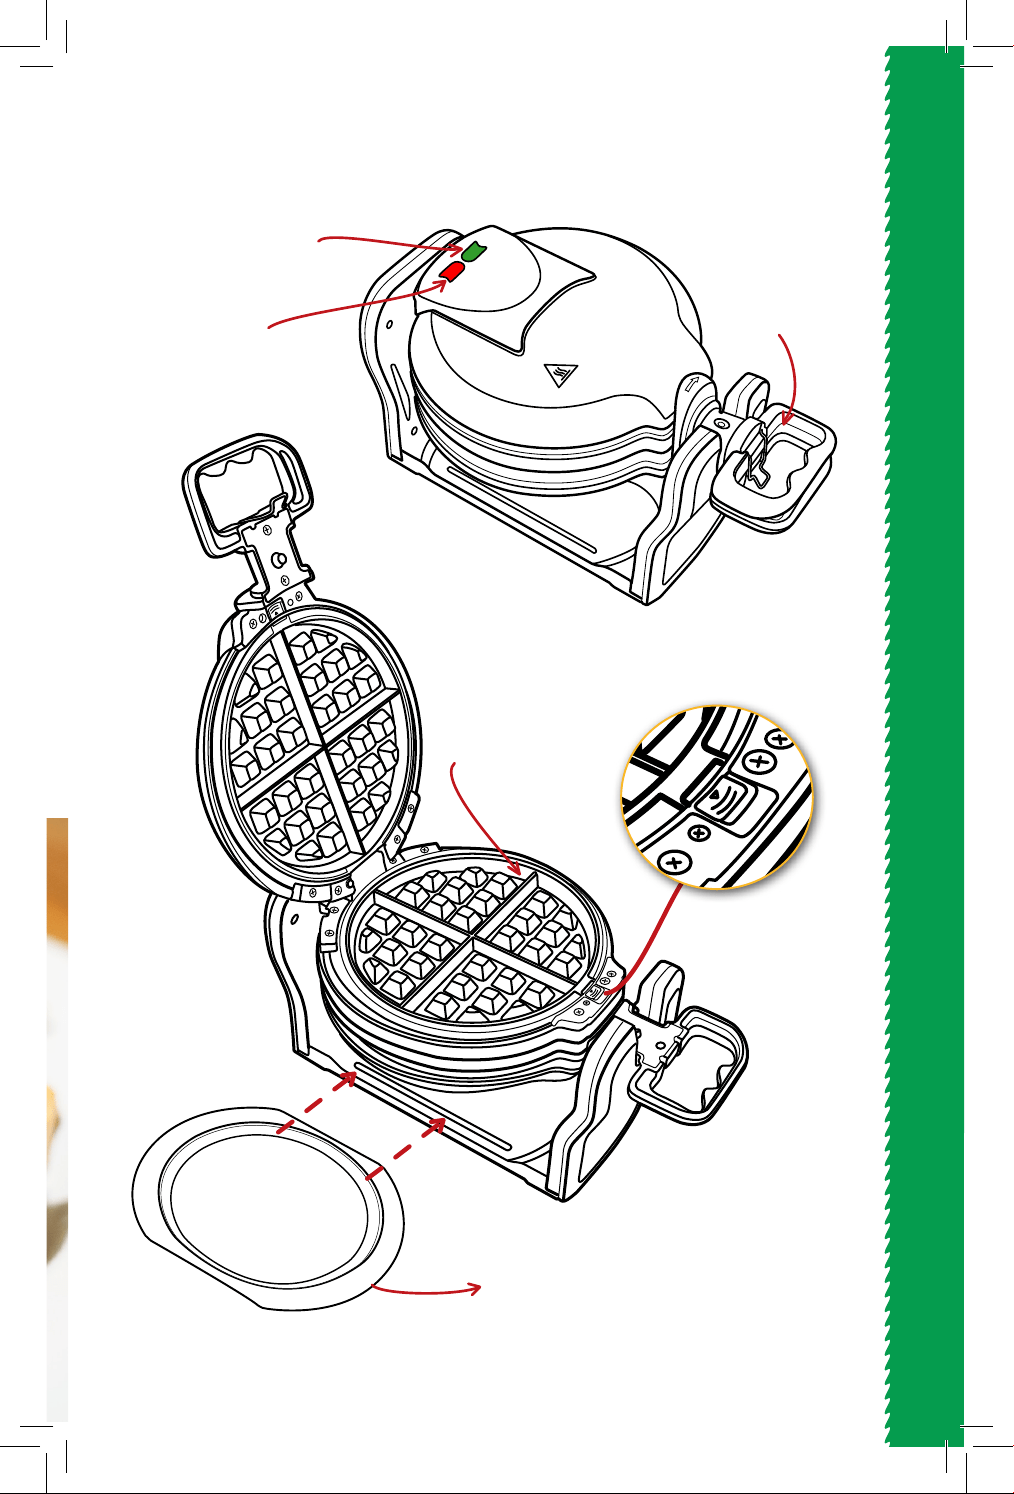
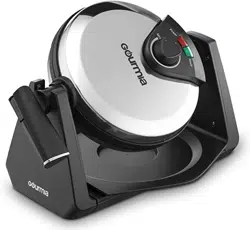
KNOW YOUR WAFFLE MAKER
KNOW YOUR WAFFLE MAKER
7
Power
Ready
Grid
Removable
Drip Tray
Red
Power Light
Green
Ready Light
Rotating
Handle
Grid Release
Button

8
USING YOUR WAFFLE MAKER
Before Using Your Wae Maker
• Remove all the packaging.
• Familiarize yourself with the various parts of the appliance.
• Use a wet towel or sponge to clean the grid.
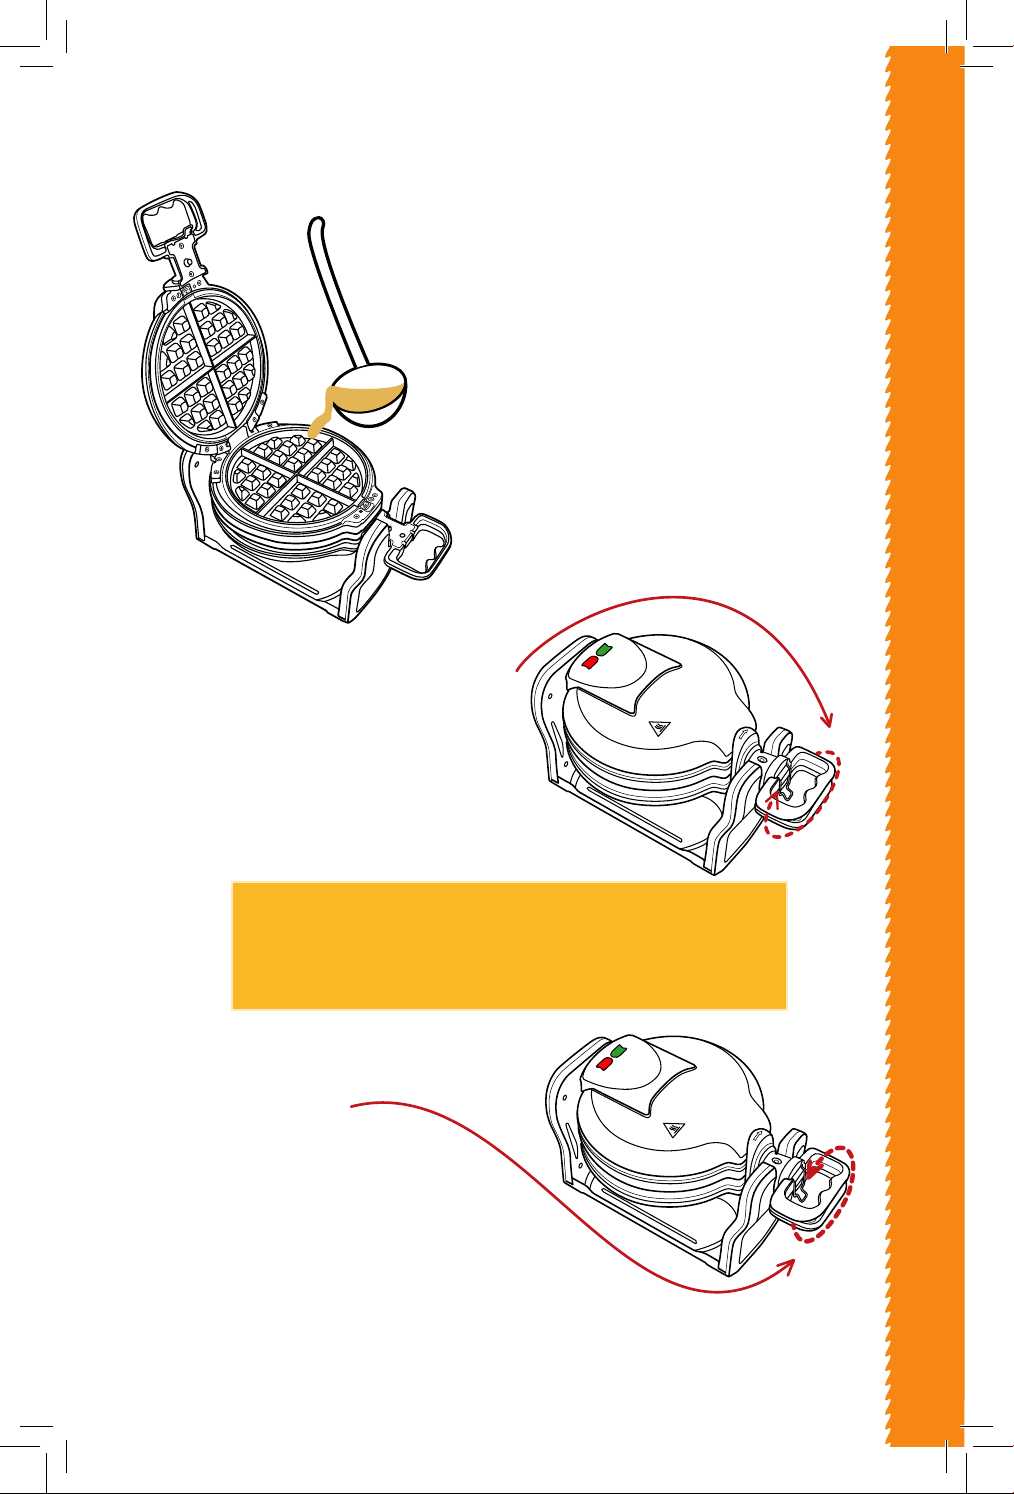
HOW TO USE YOUR WAFFLE MAKER:
1. Before making the rst batch of
waes, wipe the top and bottom of
the grid with a layer of vegetable oil
or vegetable cooking spray.
2. Make sure the removable drip tray
is securely in place.
3. Close the lid of the wae maker.
4. Plug the appliance into a
wall outlet.
Power
Ready
5. The red power light and
green ready light will turn on.
This indicates that the
wae maker is preheating.
6. After about 3 to 5 minutes,
the appliance reaches the
baking temperature.
7. The red power light will alway
stay on, unless the wae maker
is unplugged.
8. When the green light goes o,
the wae maker is ready to be used.
Once it is fully heated, the cooking
time will be reduced.
9. The cooking time is usually about 5 - 8 minutes.
9
USING YOUR WAFFLE MAKER
9
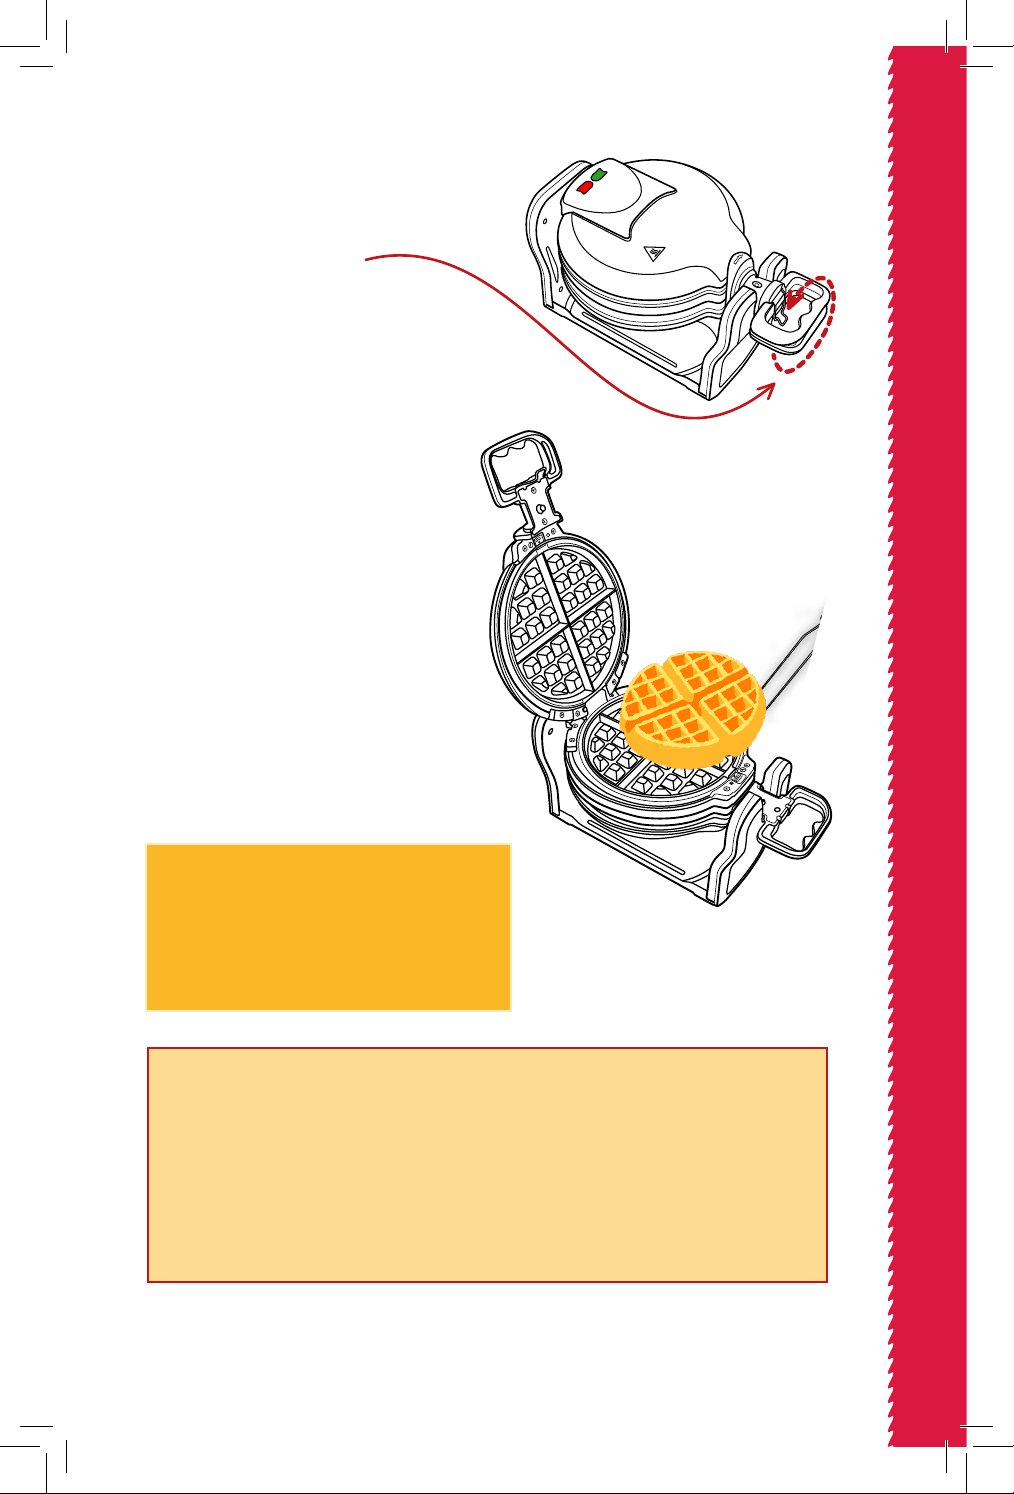
Using Your Wae Maker
4. When the expected baking time is
reached, turn the machine 180 degrees
counterclockwise.
5. Open the lid to make sure the
wae is fully cooked. If you want the
wae to be darker, close the lid and rotate
the handle 180 degrees clockwise to continue
to bake it until your desired preference.
6. Remove the wae from the grid with a non-metallic
cooking utensil.
Power
Ready
Power
Ready
2. Close the lid of the machine securely,
and rotate it 180 degrees clockwise.
3. Wait at least 5 -8 minutes
till the wae is done.
Opening the lid too early may cause
the wae batter to spill.
Note:
The longer you wait, the hotter the grid will become -
causing the wae to bake faster.
TO MAKE ONE WAFFLE:
1. Using a ladle, pour 3/4 cup of wae batter
into the bottom grid of the top level until it is
lled - the grid should be completely covered.
If necessary, use a small spatula to even out
the batter. The green light will remain on while
the batter is being added.

10
USING YOUR WAFFLE MAKER
Power
Ready
Power
Ready
7. If you would like to make a second
wae, close the lid, and wait for the green
light to turn o again.
8. When nished making a batch of
waes- there is no need to unplug the
appliance if another batch will be made
shortly after.
9. When you are nished cooking the
waes, unplug the power cord from the
wall outlet.
10. Open the lid to let the machine cool
down. Do not wash the machine until it
has cooled down completely.
Using Your Wae Maker
TO MAKE TWO WAFFLES AT A TIME:
1. Wipe the top and bottom of the grid
with a layer of vegetable oil or vegetable
cooking spray.
2. Using a ladle, pour 3/4 cup of wae
batter into the bottom grid of the top level
until it is lled - the grid should be com-
pletely covered. If necessary, use a small
spatula to even out the batter. The green
light will remain on while the batter is
being added.
3. Close the machine, and rotate
it 180 degrees clockwise.
4. Open the top lid
and repeat steps 2 and 3.
5. Wait at least 5 -8 minutes
until the wae is done.
Opening the lid earlier may cause
the wae batter to spill.
11
USING YOUR WAFFLE MAKER
• For a lighter, more tender wae, cook it for a shorter
amount of time (about 5 minutes).
• For a darker and crispier wae, cook for a longer
amount of time (about 8 minutes).
• Try dierent lengths of time until you nd the best time
for your desired doneness.
6. When the expected baking time is
reached for the rst wae, turn the
machine 180 degrees.
7. Close the lid and rotate the
handle 180 degrees clockwise to
continue to bake it to your desired
preference.
8. Remove the wae from the grid
with a non-metallic cooking utensil.
9. Repeat steps 5 - 8 for the second
wae.
10. To make a second batch of
waes, close the lid, and wait for
the green light to turn o again.
11. When nished making a batch of
waes- there is no need to unplug
the appliance if another batch will
be made shortly after.
Power
Ready
Note:
The longer you wait, the hotter the
grid will become - causing the wae
to bake faster.
11
12
WAFFLE MAKING TIPS
TIPS
• In order to make a perfect wae, do not over-ll the grid, but make sure
to have enough batter to cover the grid.
• To get identical waes - pour the same amount of batter evenly through-
out the grid.
• In order to keep the waes crispy, put the nished waes on a metal
rack and wait for them to cool down a bit. This will prevent the bottoms
from becoming soggy.
• When making a large quantity of waes at a time, preheat your oven
to 200° F, and put the baked waes in the oven to keep them warm.
• A cold wae can be placed back into the grid for a minute or two to
warm it up and make it crispy.
• Do not use metal utensils to take out the waes, as it may damage the
grid.
• Once the waes have been cooled on a metal rack, they can be frozen.
Place them in a freezer bag or in an airtight container with wax paper in
between each wae.

13
13
CLEANING AND MAINTENANCE
• DO NOT TOUCH GRIDDLE WHILE IN USE - IT IS VERY HOT.
• DO NOT IMMERSE APPLIANCE IN WATER.
• DO NOT OPEN APPLIANCE BEFORE GREEN LIGHT TURNS OFF.
• Unplug the wae maker and let it cool down completely before cleaning
it. There is no need to detach the grid to clean the appliance.
• Do not immerse the appliance in water.
• Do not put the wae maker in the dishwasher.
• Clean the crumbs out from the grooves with a soft brush.
• If there is still some batter in the grid, add a layer of oil on the batter.
Wait ve minutes to allow it to soften, and then clean the grid with a paper
towel or a damp cloth.
• Wipe the remaining oil from the grid with a paper towel or a damp cloth.
• Do not use rough sponges or brushes, as it may scratch the appliance.
• Use a damp cloth to wipe the exterior and the base of the appliance.
• Occasionally, you can use a small amount of dish soap to wipe o any stains
from the base or exterior of the appliance.
CLEANING AND MAINTENANCE
NOTE:
Do not immerse the appliance, cord or
plug in water or any other liquid.
14
USING YOUR BREAKFAST MAKER
• This appliance has a polarized plug (one blade is wider than the other).
To reduce the risk of electric shock, this plug is intended to t into a
polarized outlet only one way. If the plug does not t securely into the
outlet, reverse the plug. If it still does not t, contact a qualied electrician.
Do not attempt to modify the plug in any way.
• A short power-supply cord (or detachable power-supply cord) is provided
to reduce the risk of becoming entangled in or tripping over a longer cord.
Longer detachable power-supply cords or extension cords are available
and may be used if care is taken when using them.
If a long detachable power-supply cord or extension cord is used:
• The marked electrical rating of the cord or extension cord should be at
least as great as the electrical rating of the appliance.
• If the appliance is of the grounded type, the extension cord should be
a grounding 3-wire cord.
• The longer cord should be arranged so that it does not drape over the
countertop or tabletop where it can be pulled on by children or tripped
over unintentionally.
14

15
WARRANTY & SERVICES
WARRANTY & SERVICE
This Limited Warranty is for one full year from the date
of purchase. It is applicable to the original purchaser
only and is not transferable to a third party user. Repair
or replacement of defective parts is solely at the seller’s
discretion. In the event that repair isn’t possible, the
seller will replace the product/part. If product repair/
replacement won’t suce, the seller has the option of
refunding the cash value of the product or component
returned.
Product defects not covered under the Warranty
provisions include normal wear and damage incurred
from use or accidental negligence, misuse of instruction
specications or repair by unauthorized parties.
The manufacturing company is not liable for any
incidental or consequential damages incurred by such
circumstances.

FOR CUSTOMER SERVICE
QUESTIONS OR COMMENTS
VISIT US @ GOURMIA.COM
OR CALL 888.552.0033