Owner’s Manual
Model: 20837
20837B
20837C
20837K
20837M
20837N
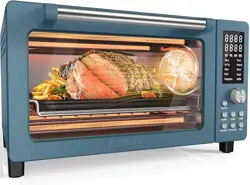
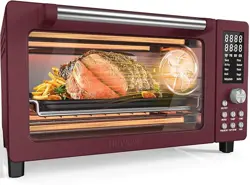
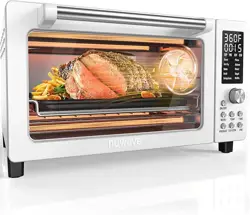
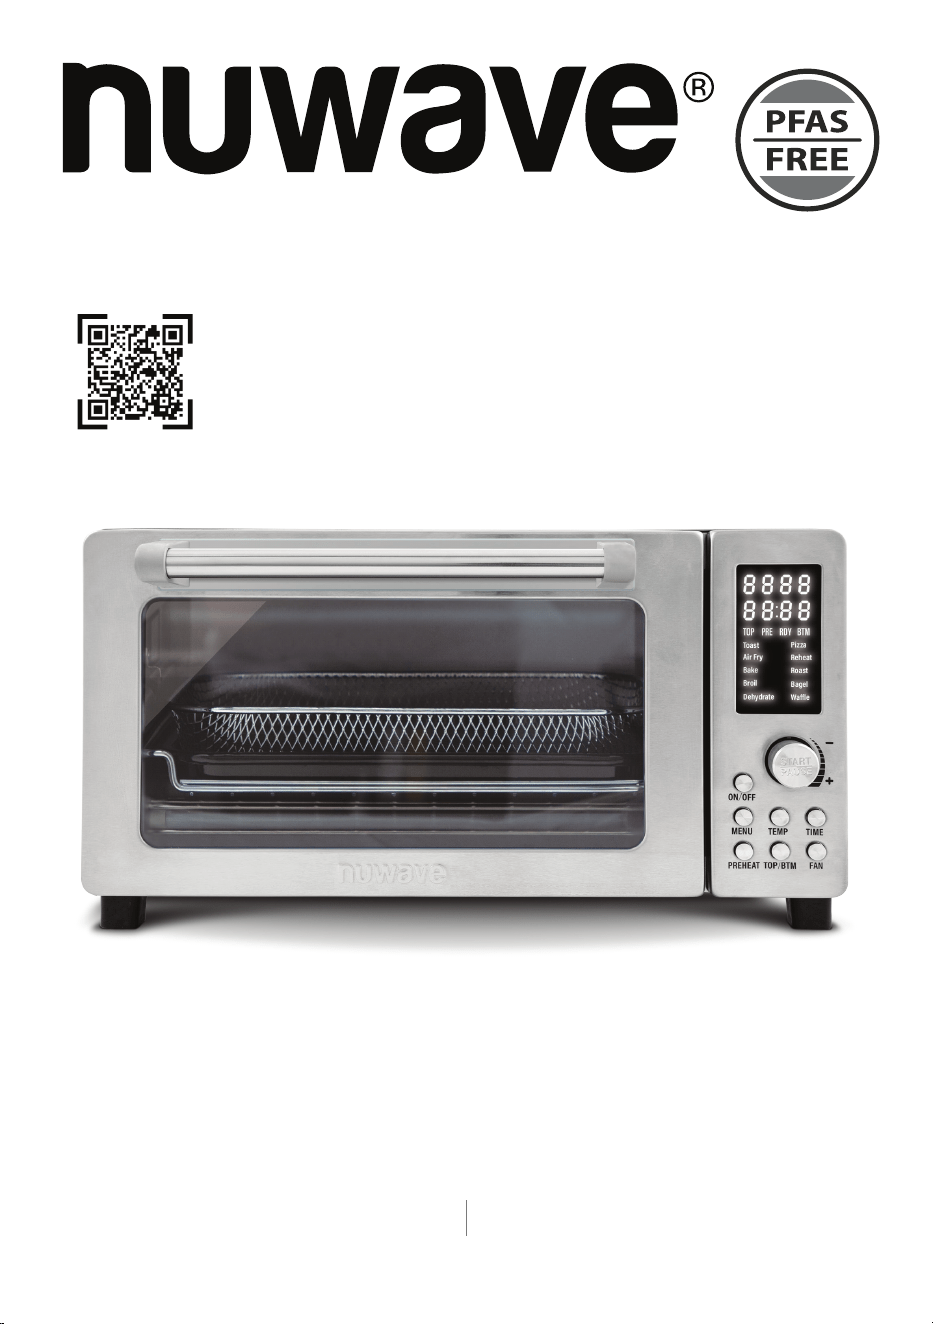
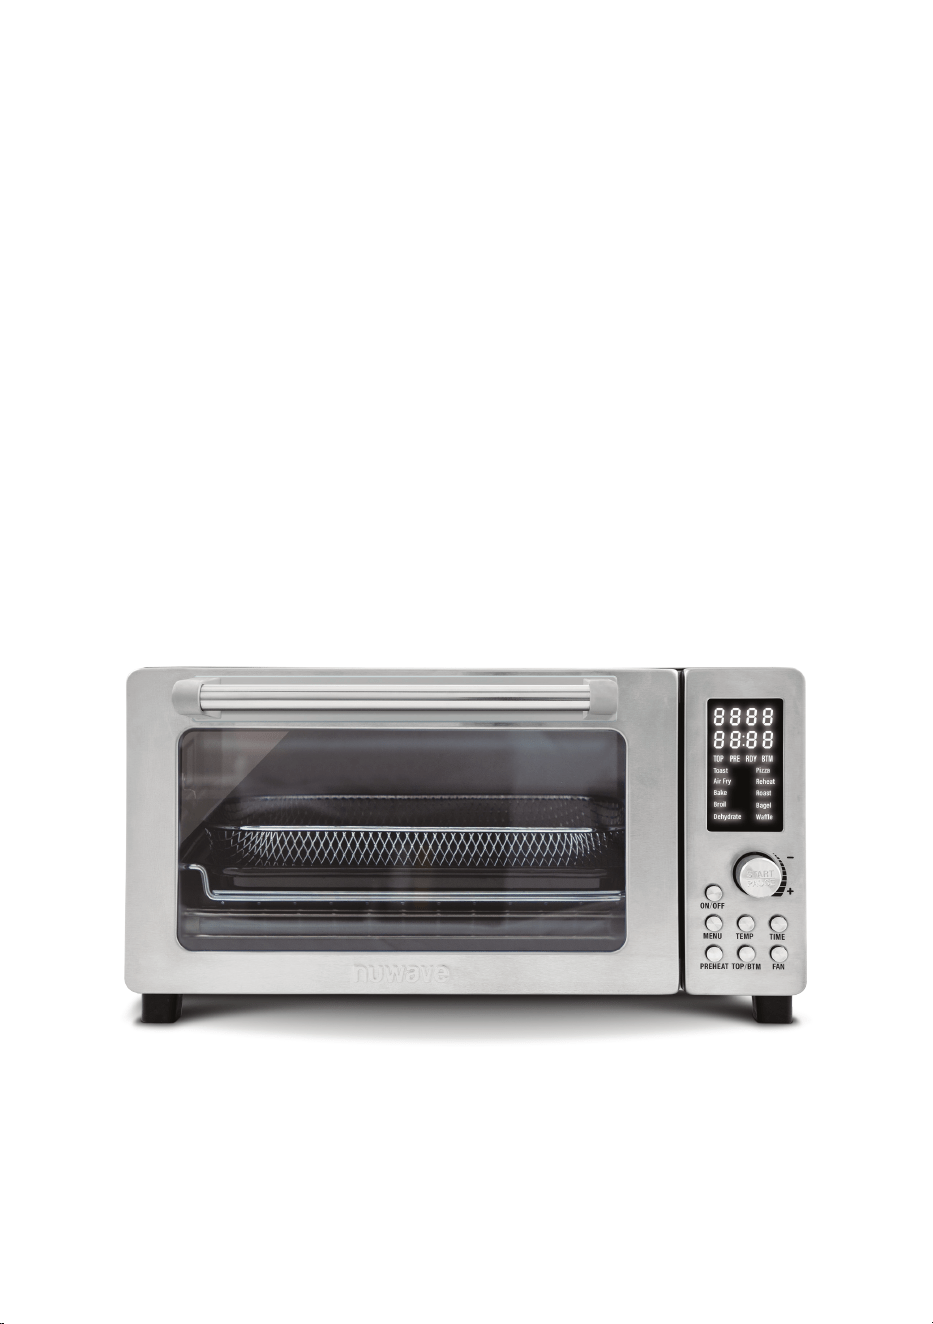
SMART OVEN & AIR FRYER
BRAVO® PRO
Scan for important product
information and updates.
Amazon Purchases: support@nuwavenow.com All Other Purchases: help@nuwavenow.com
Questions or Concerns?
1-888-502-7807 1-877-689-2838
Mon-Fri 7:30am-4:30pm CST
2 | nuwavenow.com
Register Today!
Use your smartphone or device to scan the QR code located on the back
of your unit to register your product, or visit nuwavenow.com/register.
Connect with Us!
#nuwavenow
Visit nuwavenow.com to see other great products and accessories.
THANK YOU!
Congratulations on your Nuwave® purchase. We know there are many options available
and sincerely appreciate the trust you have placed in us.
For the last 30 years, we have committed to introducing products that promote healthy
living at affordable prices. By combining the highest quality designs with cutting edge
technology, we have always strived to blend feature, function, and innovation into every
product we make. We hope you will agree.
We would love to hear from you. Please feel free to reach out with any feedback or
comments that could improve your experience. We would also enjoy hearing about your
successes. Scan the QR code below to email us.
For Amazon Purchases
support@nuwavenow.com
For All Other Purchases
help@nuwavenow.com
nuwavenow.com | 3
TABLE OF CONTENTS
OWNER’S MANUAL
Important Safeguards .....................................................................................4-5
Parts & Accessories ...........................................................................................6
Assembly Guide ................................................................................................. 7
Menu ..................................................................................................................8
Instructions....................................................................................................9-10
Helpful Tips & Guides ...................................................................................... 11
Cleaning & Maintenance ...................................................................................12
Troubleshoot Guide ......................................................................................13-14
Limited Warranty ..........................................................................................15-17

4 | nuwavenow.com
When using electrical appliances, basic safety precautions should always be
followed including the following:
1. Read all instructions.
2. DO NOT touch hot surfaces. Use handles or knobs.
3. To protect against electrical shock do not immerse cord, plugs in water or other liquid.
4. Close supervision is necessary when any appliance is used by or near children.
5. Unplug from outlet when not in use and before cleaning. Allow to cool before putting on
or taking off parts.
6. DO NOT operate any appliance with a damaged cord or plug or after the appliance
malfunctions or has been damaged in any manner. Any service MUST be done by
Nuwave LLC or authorized by the manufacturer for repairs.
7. The use of accessory attachments not recommended by the appliance manufacturer
may cause injuries.
8. DO NOT use outdoors.
9. DO NOT let cord hang over the edge of table or counter or touch hot surfaces.
10. DO NOT place on or near a hot gas or electric burner, or in a heated oven.
11. Extreme caution must be used when moving an appliance containing hot oil or other hot
liquids.
12. To disconnect, turn any control to “off”, then remove plug from wall outlet.
13. DO NOT use appliance for other than intended use.
14. Save these instructions.
ADDITONAL SAFEGUARDS
15. While cooking, ALWAYS use oven mitts and allow accessories to cool before washing.
16. Ensure the Bravo Pro and all parts are clean and dry before each use.
17. Discard the protective plastic covering.
18. This appliance is not intended for use by persons with reduced physical, sensory or
mental capabilities, children, or persons with a lack of experience or knowledge, unless
supervised or instructed in the use of the appliance by one responsible for their safety.
19. Use only on a clean, stable, dry, and level surface.
20. DO NOT cover or block the intake air vents located in the back and sides of the Bravo
Pro, as doing so can prevent proper ventilation. There should be at least 5 inches of free
space behind, to the sides of, and on top of the Bravo Pro.
21. Use aluminum foil to wrap foods that produce oil or juice when operating. Use the
Baking Pan to catch drippings and prevent re.
22. To prevent re, do not allow any foil to touch the heating elements.
23. Avoid placing your face near the glass door during use.
24. NEVER touch the insides of the BravoPro while it is operating.
25. NEVER leave the Bravo Pro unattended during use.
26. DO NOT disassemble the Bravo Pro.
27. Allow the Bravo Pro to cool before putting in or pulling out items or before cleaning.
28. DO NOT place objects on top of the Bravo.
IMPORTANT SAFEGUARDS
HOUSEHOLD USE ONLY • READ ALL INSTRUCTIONS BEFORE USE

nuwavenow.com | 5
IMPORTANT SAFEGUARDS
HOUSEHOLD USE ONLY • READ ALL INSTRUCTIONS BEFORE USE
Power-Supply Cords
A short power-supply cord (or detachable power-supply cord) is provided to reduce the risk
of becoming entangled in, or tripping over, a longer cord. Longer detachable power-supply
cords or extension cords are available and may be used if care is exercised in their use. If
a longer detachable power-supply cord or extension cord is used:
1. The marked electrical rating of the extension cord should be at least as great as the
electrical rating of the appliance.
2. The longer cord should be arranged so that it will not drape over any countertop or
tabletop where it could be pulled on or tripped over unintentionally.
3. The Toaster Oven should be operated on a separate electrical outlet from other
operating appliances due to wattage limitations.
WARNING
DO NOT place the unit on or near a hot gas burner, electric burner, or in a heated oven or a stovetop.
NOTICE
It’s perfectly normal for your new unit to produce a heated plastic smell when used for the rst time.
This will go away after the rst few uses.
Toaster Oven Warnings (UL Standard 1026, Section 71.7):
1. Oversize foods or metal utensils must not be inserted in a toaster oven as they may
create a re or risk of electric shock.
2. A re may occur if the toaster-oven is covered or touching ammable material, including
curtains, draperies, walls, and the like, when in operation. DO NOT store any item on
top of the appliance when in operation.
3. DO NOT clean with metal scouring pads. Pieces can break off the pad and touch
electrical parts creating a risk of electric shock.
4. Extreme caution should be exercised when using containers constructed of materials
other than metal or glass.
5. DO NOT store any materials, other than the manufacturers recommended accessories,
in this oven when not in use.
6. DO NOT place any of the following materials in the oven: paper, cardboard, plastic,
cloth, wood, ammable materials, sealed containers, and the like.
7. DO NOT cover the crumb tray or any part of the oven with metal foil. This will cause
overheating of the oven.
8. Turn off the Toaster Oven by pressing the On/Off Button before unplugging the unit from
the wall socket.
6 | nuwavenow.com
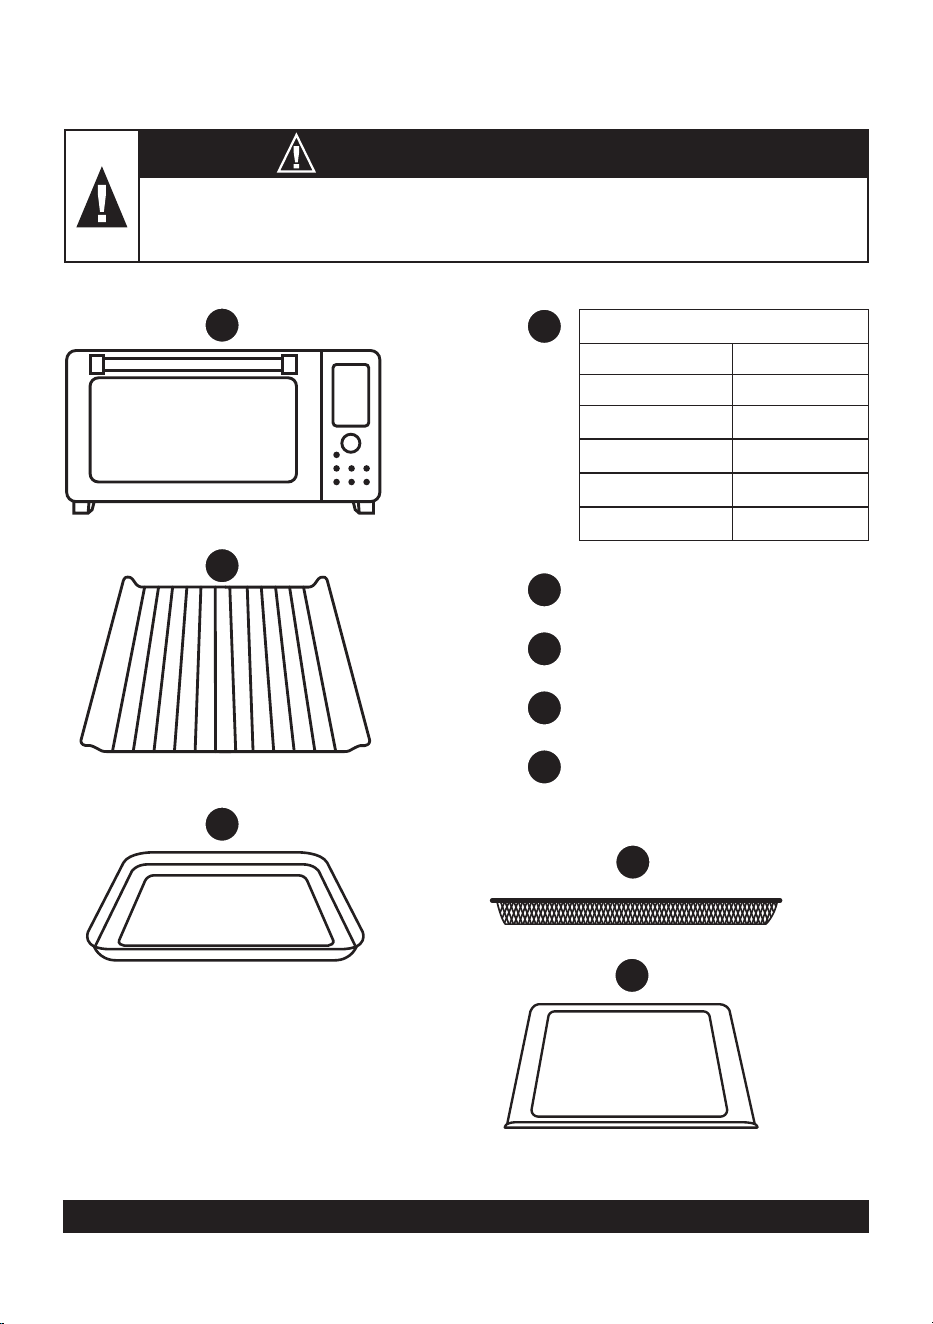
Replacement parts can be ordered directly by visiting www.nuwavenow.com.
WARNING
Never use the Bravo with loose, damaged, or missing parts.
1
2
3
4
3
5
PARTS & ACCESSORIES
4
1
2
5
Heavy-Duty Cooking Rack
Part #: BVA10
Baking Pan
Part #: BVA9
Air Fry Basket
Part #: BVA11
Crumb Tray
Part #: BVA2
Base
Stainless Steel BVA12
Cozy Blue BVA12B
Cream BVA12C
Black BVA12K
Mint BVA12M
Cinnamon BVA12N
nuwavenow.com | 7
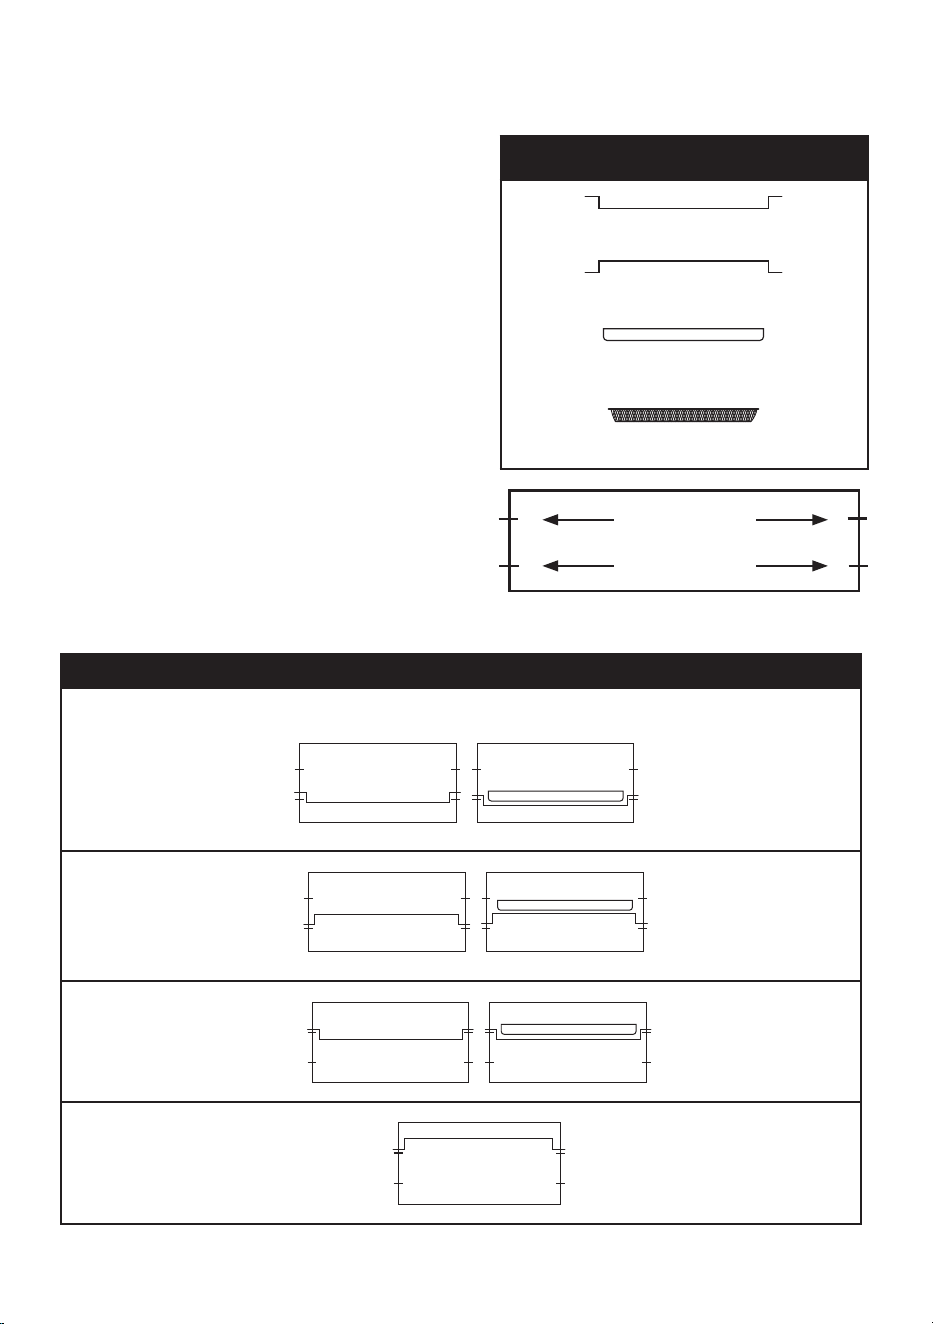
ASSEMBLY GUIDE
Parts
Cooking Rack
or
Baking Pan
Slot 1
Slot 2
Air Fry Basket
See Before First Use on page 12.
1. Place the Bravo on a level, even, and
stable heat-resistant surface.
2. Insert the Cooking Rack into Slot 1 or
2. Tilting it slightly for Slot 1.
3. Place Baking Pan on Cooking Rack.
4. Place Crumb Tray into position by
sliding it into slot at bottom of oven. To
remove, pull out.
5. Plug the Bravo into a standard wall
socket. The power plug is located in
the rear of the Bravo.
Note: DO NOT cover or block the intake
air vents located in the back and sides of
the Bravo, as doing so can prevent proper
ventilation.
Oven Rack and Pan Positions
Position 1: For chicken or other large items (with Baking Pan) as shown.
Position 2:
Position 3:
Position 4: Dehydrating only
8 | nuwavenow.com
MENU
10 Preprogrammed Menus
Note: Preset temperatures and times may need minor adjustments to best suit your desired results.
1: Toast
• Default Temp: 425°F
• Default Time: 4 minutes
• Heat Source: Top/Bottom (50/50 percent)
• Rack Position: 3
6: Pizza
• Default Temp: 400°F
• Default Time: 15 minutes
• Heat Source: Top/Bottom (50/50 percent)
• Rack Position: 1, 2
Note: Times & Temps will vary on the size of the pizza
2: Air Fry
• Default Temp: 360°F
• Default Time: 15 minutes
• Heat Source: Top/Bottom (50/50 percent)
• Rack Position: 1, 2 and 3
7: Reheat
• Default Temp: 350°F
• Default Time: 10 minutes
• Heat Source: Top/Bottom (50/50 percent)
• Rack Position: Any
3: Bake
• Default Temp: 350°F
• Default Time: 25 minutes
• Heat Source: Top/Bottom (50/50 percent)
• Rack Position: 1, 2, and 3
8: Roast
• Default Temp: 375°F
• Default Time: 30 minutes
• Heat Source: Top/Bottom (50/50 percent)
• Rack Position: 1, 2
4: Broil
• Default Temp: 450°F
• Default Time: 10 minutes
• Heat Source: Top/Bottom (100/0 percent)
• Rack Position: 1, 2, and 3
9: Bagel
• Default Temp: 450°F
• Default Time: 6 minutes
• Heat Source: Top/Bottom (50/50 percent)
• Rack Position: Any
5: Dehydrate
• Default Temp: 100°F
• Default Time: 2 hours
• Heat Source: Top/Bottom (50/50 percent)
• Rack Position: Any (may need rack
rotation)
10: Waffle
• Default Temp: 450°F
• Default Time: 5 minutes
• Heat Source: Top/Bottom (50/50 percent)
• Rack Position: 3
nuwavenow.com | 9
/
4 2 5
F
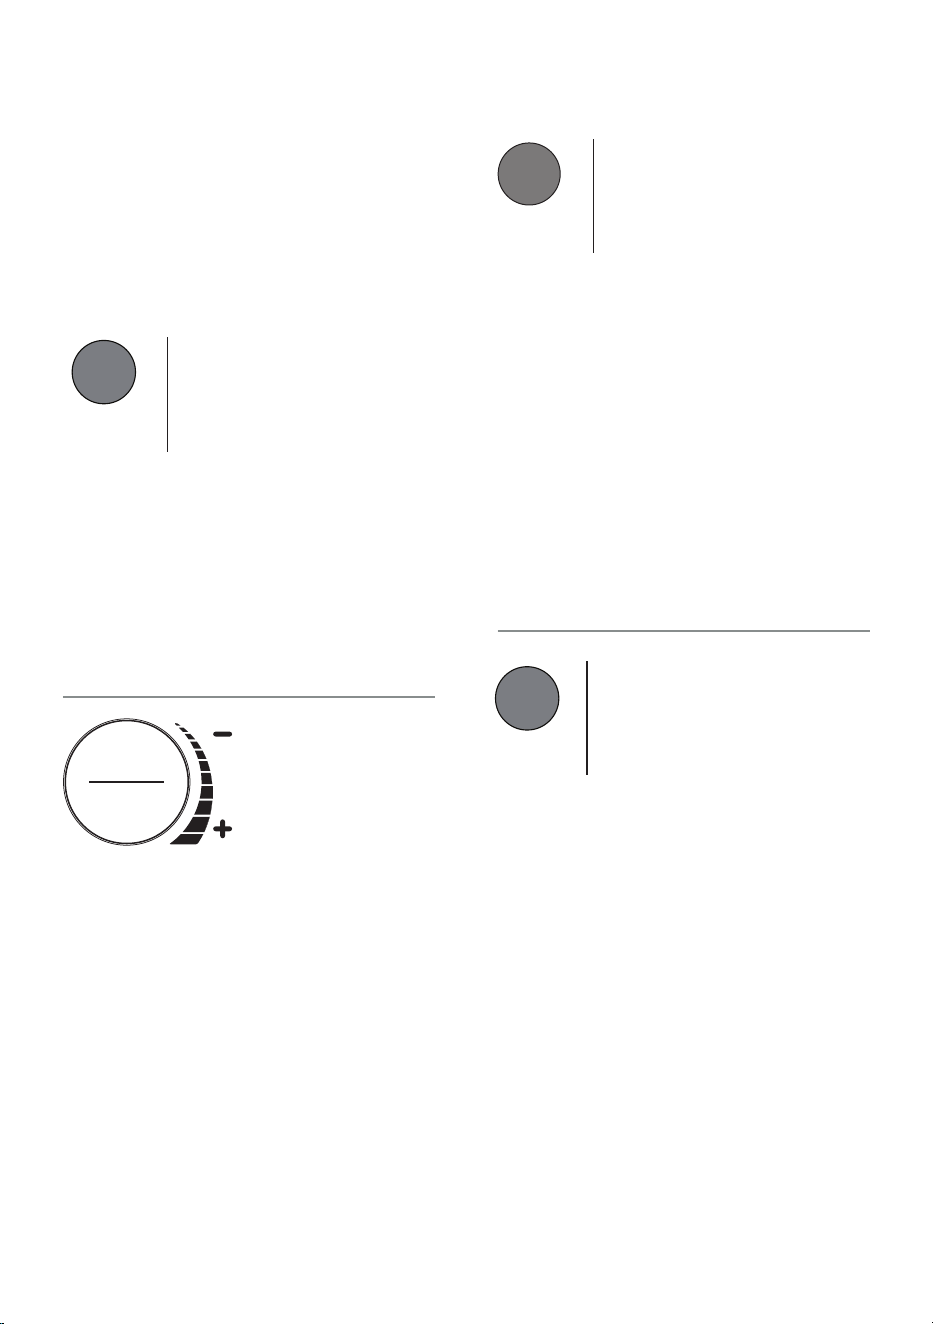
TEMP
Allows you to view or adjust the cooking
temperature in 5° increments. The default
is 425°F, with a range of 50°F to 450°F.
1. Press TEMP to make any adjustments
to the cooking temperature by turning
the START/PAUSE dial.
2. Press START/PAUSE to begin
cooking.
• The cooking temperature can be
adjusted before or during the cooking
process. The Bravo will continue to
cook at the new temperature.
INSTRUCTIONS
START/PAUSE - QUICK START
The default is 425°F for 4 minutes
1. Press START/PAUSE to begin
cooking. The colon (:) will be flashing.
2. Press again to pause cooking.
3. Turn the START/PAUSE dial to adjust
the TEMP or TIME, TOP/BTM, FAN
and to select MENU items.
4. When cooking is finished, the unit will
beep three times, and “END” will be
shown on the display.
ON/OFF
1. Press the ON and OFF button to turn
on the unit.
2. Press again to turn off the unit and will
stop any cooking function.
Note: Temperature, Time, and the
selected MENU item will be displayed.
Getting Started
MUTE/UNMUTE
1. Press and hold the MENU button for
4 seconds; the unit will beep twice.
2. Repeat to unmute.
/
4 2 5
F
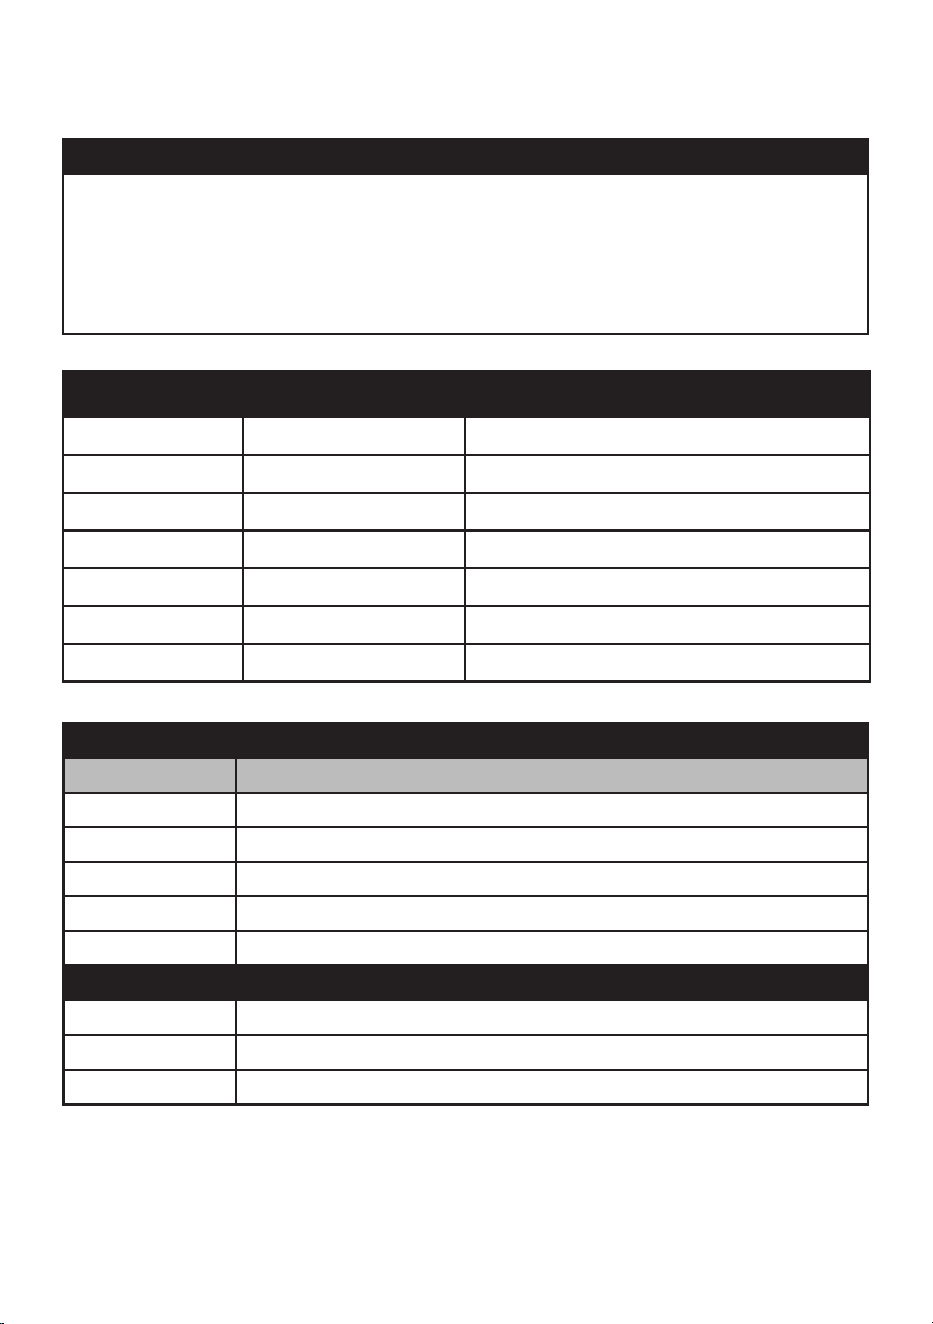
ON/OFF
TIME
View or adjust the cooking time in 1
minute increments. The default is 4
minutes, with a range of 00:01 to 99:99.
1. Press TIME to make any adjustments
by turning the START/PAUSE dial.
2. The unit will continue to cook at the
new time setting.
Time range Chart
• 50°F~275°F: 00:00-99:99 (0-min. to
99-hrs., 99-min.)
• 280°F~400°F: 00:00-24:00 (0-min. to
24-hrs.)
• 405°F~450°F: 00:00-01:00 (0-min. to
1-hr.)
00
:
0 4
TIME
10 | nuwavenow.com
INSTRUCTIONS
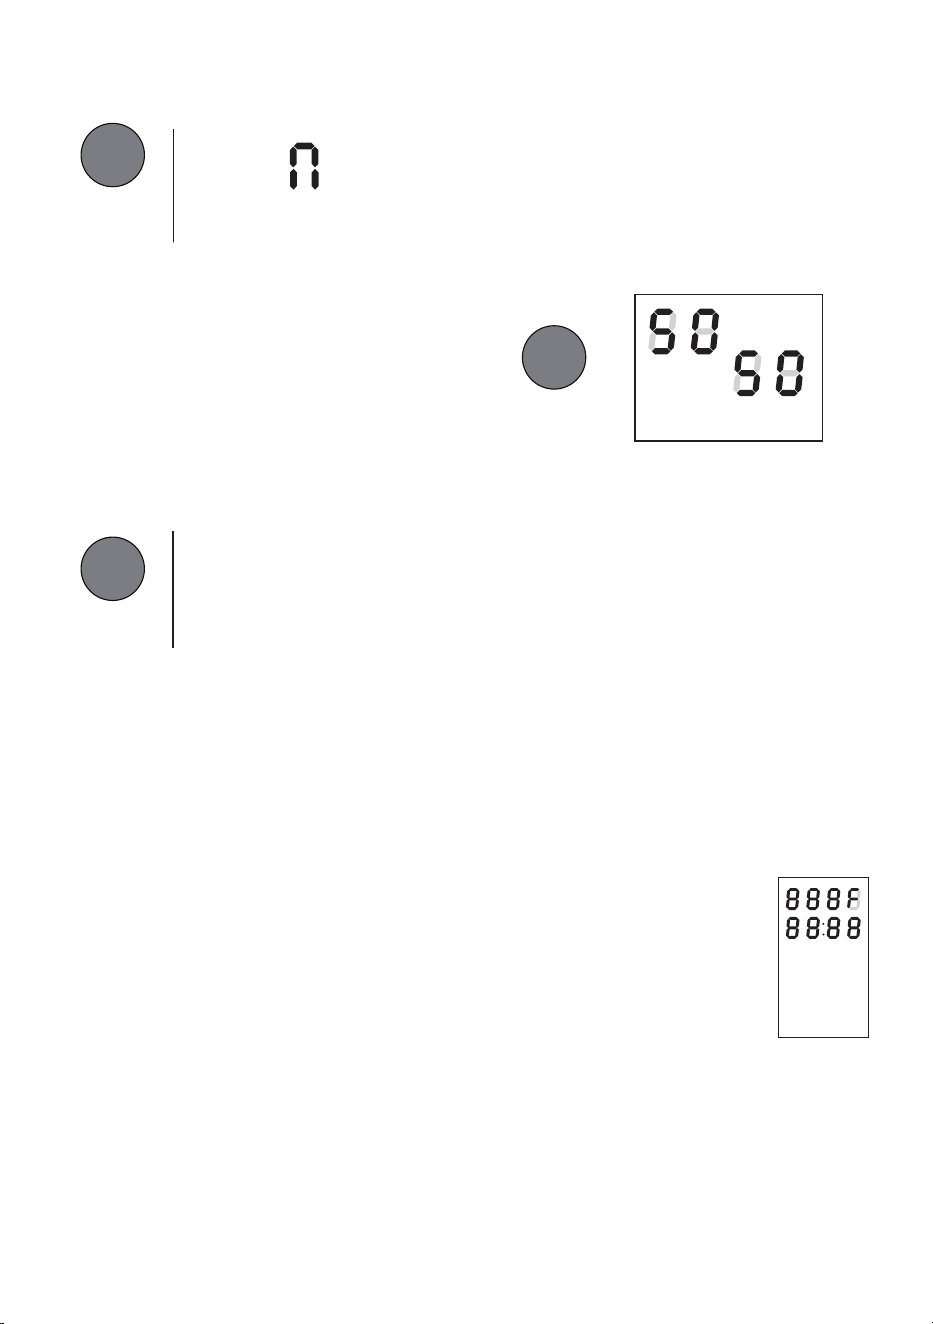
TOP/BTM
This allows you to adjust the heat
distribution between the top and bottom
of the unit. The default settings are 50%
Top, 50% Bottom. The percentages
always add up to 100%.
1. Press TOP/BTM to display TOP and
BTM, then turn the dial to adjust
the heating percentage in 10%
increments.
2. Once the distribution is set, press
START/PAUSE to begin cooking.
MENU
There are 10 menu options for you to
choose from.
1. Press MENU. Turn the
START/PAUSE dial or
continue to press MENU to
scroll through to select the
menu option.
2. Adjust the temperature and
time if needed.
3. Press the START/PAUSE button to
begin the cooking cycle. See page 8
for the MENU default settings.
Bravo 3 Convection Oven
Control Panel_shunde
2018.10.27.
/
/
FAN
1. Press FAN to adjust the fan speed.
FAN3 is the default and the fastest
setting.
2. Press FAN to lower the fan speed.
Each button press will lower the speed
setting. FAN2, then FAN1, until the fan
is off on setting FAN0.
3. Press FAN again to return to the
default FAN3.
F A
3
FAN
PREHEAT
Preheat will heat the unit to the set
temperature.
1. Press PREHEAT; the display will
show PRE.
2. Adjust the temperature and time if
needed.
3. Press START to begin preheating.
4. 4. When the selected temperature is
reached:
5. The unit will beep twice, and “READY”
will show on the display.
6. A 10-second countdown begins,
followed by a single beep as cooking
starts to place the food in the oven.
The countdown will continue.
7. 5. If PAUSE is pressed during
preheating, will hold the program until
START is pressed.
8. • If food is not placed in the oven will
continue with the cooking cycle.
0 1
:
0
0
PREHEAT
TOP/BTM
Automatic Preheat
1. Press and hold PREHEAT for 2
seconds, the unit will beep twice.
2. Repeat to remove Automatic preheat.
/
4 2 5
F
nuwavenow.com | 11
HELPFUL TIPS & GUIDES
Helpful Tips
1. To add more time during current cooking cycle, press TIME, then turn the START/PAUSE
dial clockwise. Monitor food to ensure it does not overcook.
2. Cooking certain foods may cause condensation to form on the door of the unit.
3. When air-frying, food can be lightly coated with oil to boost crispiness and browning.
Measurement Chart
Teaspoon = t Fahrenheit = °F Minute = min
Tablespoon = T Celsius = °C Second = sec
Cup = c Fluid Ounces = oz Inch = in.
Ounce = oz Liter = L Dozen = doz
Pound = lb(s) Milliliter = ml Hour = hr
Quart = qt Package = pkg. Gram = g
Pint = pt Gallon = gal Kilogram = kg
Meat Thermometer Temperature Guide
Beef Temp
Rare 125°
Medium-Rare 135°
Medium 145°
Medium-Well 150°
Well 160°
Minimum Cook Temperatures
Poultry 165°
Pork 145°
Seafood 145°

12 | nuwavenow.com
Before First Use:
Wash all removable parts in warm, soapy water or in the
dishwasher, top rack only.
1. Remove all the packaging materials.
2. Remove the glue, tape and labels on the appliance.
3. Clean the Cooking Rack, Baking Pan, Air
Fry Basket and Crumb Tray thoroughly with
hot water, a nonabrasive sponge, and mild
dish detergent, or in the dishwasher, top rack only.
• Wipe the inside and outside of the Bravo with a damp
dishcloth or wet cloth and dry thoroughly.
• To remove the new appliance smell before cooking.
• Start the appliance without any food, at the default temperature for 25 minutes, then
cool for 15 minutes. Repeat if necessary.
• If problem persists: Contact Customer Service:
For Amazon Purchases: support@nuwavenow.com
For All Other Purchases: help@nuwavenow.com
CAUTION: DO NOT immerse the Bravo in water.
Clean After Each Use:
1. Allow the Bravo to cool completely before cleaning.
2. ALWAYS unplug the Bravo from the electrical outlet. NEVER clean the Bravo while it is
plugged in.
3. NEVER use harsh abrasive or corrosive product cleaners, as they may damage the
finish or oven surface. Wipe the exterior with a clean, damp cloth and dry thoroughly.
4. Apply the cleaning agent directly to a cloth towel, not directly to the Bravo, before
cleaning.
5. To clean interior, use a damp cloth, mild liquid soap solution, and a clean cloth towel.
6. NEVER use steel wool pads, etc., on interior or exterior of oven.
7. When the glass window is completely cool, spray glass cleaner on a clean cloth towel.
Clean both inside and outside of window with cloth. Use a damp cloth to rinse the
window then dry completely with a clean dry towel.
8. To remove crumbs, slide out the Crumb Tray and discard crumbs. Wipe clean and
replace. Crumb Tray should be emptied and cleaned after each use.
9. To remove baked-on grease, soak Baking Pan, Air Fry Basket, and Crumb Tray in hot,
soapy water. DO NOT soak for more than 10 minutes at a time. NEVER operate the oven
without the Crumb Tray in place.
Storage
• Make sure that all parts are cleaned and dry.
• NEVER wrap the cord around the Bravo.
CLEANING & MAINTENANCE

nuwavenow.com | 13
The Bravo is engineered with an automatic shut-off feature to prevent overheating during
use. If the Bravo shuts off to cool itself down, an odor may be detected. Unplug the Bravo
and wait for it to completely cool down. To prevent the Bravo from overheating, do not cook
foods at higher temperatures or longer times than recommended.
TROUBLESHOOTING GUIDE
The Bravo does not work.
1. The Bravo is not plugged in. User did not press ON/OFF.
2. Insert the plug into an appropriate grounded power socket. Press ON/OFF. If still not
working, contact Customer Service.
The door to the Bravo will not close completely.
1. Food item is too large. Oven racks or accessories are not properly set in place.
2. Use smaller amounts of food to cook. Make sure all racks and pans are slid into place
and pushed all the way to the back of the Bravo.
The food is cooked unevenly.
1. Check cooking progress throughout. Turn or rotate as needed to ensure even
cooking. Check that the fan speed is at 3. Check Top/Btm percentages.
Bake vs. Roast vs. Broil
1. Use Bake when cooking items that rise (e.g., cakes and cookies). Use Roast for
dense foods that are browned throughout the cooking process. Use Broil to quickly
brown or crisp a food item.
The Crumb Tray will not slide back into position.
1. The Crumb Tray is not placed into the slot correctly. Something is blocking the Tray
from sliding into position.
2. Remove the Crumb Tray and clean away any food items that may have accumulated in
the back of the Bravo.
White smoke is coming out of the product.
1. You are cooking greasy foods. The Baking Pan contains greasy residue from previous
uses. When preparing greasy ingredients in the Bravo, large amounts of oil can produce
white smoke. This will not affect the final cooking effect. White smoke is caused by
grease heating up on the Cooking Rack, Baking Pan, Air Fry Basket or Crumb Tray.
2. Clean Cooking Rack, Baking Pan, Air Fry Basket and Crumb Tray regularly between use.
The display is blank.
1. The Bravo overheated and has shut itself down. No action was taken after certain
stages of cooking and the Bravo shut down. Control panel not working correctly.
2. Unplug the Bravo and allow the Bravo to completely cool. Plug back in and see if it is
working. If the display remains blank, contact Customer Service.

14 | nuwavenow.com
The Bravo is not heating.
1. The Bravo is unplugged. The Bravo has overheated. Heating elements are not working.
2. Make sure the Bravo is plugged in. Make sure the Bravo has completely cooled. Plug in
and see if the Bravo comes up to correct temperature. If the Bravo continues to not heat
up, contact Customer Service.
Error Code Er1 is displayed and the Bravo is not cooking.
Turn the Bravo off and unplug to cool. If still not working after cooling and turned on,
contact Customer Service.
Error Code Err1 is displayed and the Bravo is not cooking.
Temperature Sensor Short Circuit, contact Customer Service.
Error Code Err2 is displayed and the Bravo is not cooking.
Temperature Sensor is open, contact Customer Service.
Error Code Err8 is displayed and the Bravo is not cooking.
If any key/button is stuck (frozen), when plugged in the Bravo will display Err8 even if not
turned on. Contact Customer Service:
For Amazon Purchases: support@nuwavenow.com
For All Other Purchases: help@nuwavenow.com
TROUBLESHOOTING GUIDE

nuwavenow.com | 15
THE MANUFACTURER WARRANTS
Nuwave, LLC warrants that Bravo® Pro Smart Oven & Air Fryer will be free from
manufacturer defects for 1 year from the date of purchase, under normal household use,
and when operated in accordance with the Manufacturer’s written instructions. The Limited
Warranty covers the Original Purchaser only. The Manufacturer will provide the necessary
parts and labor to repair the product at the Nuwave LLC Service Department. After the
expiration of the warranty, the cost of the parts and labor will be the responsibility of the
owner.
THE WARRANTY DOES NOT COVER
The Limited Warranty is voided if repairs are made by an unauthorized dealer, or the
serial number data plate is removed or defaced. Normal deterioration of nish due to
use or exposure is not covered by this Warranty. This Limited Warranty does not cover
failure, damages, or inadequate performance due to accident, acts of God (such as
lightning), uctuations in electric power, alterations, abuse, misuse, misapplications,
corrosive-type atmospheres, improper installation, failure to operate in accordance with
the Manufacturer’s written instructions, abnormal use, commercial or rental uses, or resold
units. Nuwave LLC reserves the right to void the Limited Warranty, where allowable by law,
for products purchased from an unauthorized dealer.
TO OBTAIN SERVICE
The owner shall have the obligation and responsibility to pay for all services and parts not
covered by the warranty; prepay the freight to and from Service Department for any part
or system returned under this warranty; and carefully package the product using adequate
padding material to prevent damage in transit. The original container is ideal for this
purpose. Include in the package the owner’s name, address, daytime telephone number, a
detailed description of the problem, and the RGA (Return Goods Authorization number). To
obtain the RGA number, email us at:
For Amazon customers: support@nuwavenow.com
For all other customers: help@nuwavenow.com
Provide the product model, and proof of date of purchase (a copy of the receipt) when
making claims under this warranty.
MANUFACTURER’S OBLIGATION
The Manufacturer’s obligation under this Limited Warranty is limited, to the extent
allowable by law, to repairing or replacing any part covered by this Limited Warranty which
upon examination is found to be defective under normal use. The Limited Warranty is
applicable only within the continental United States and only to the original purchaser of
the manufacturer’s authorized channels of distribution.
THE LIMITED WARRANTY MAY NOT BE ALTERED, VARIED OR EXTENDED EXCEPT
BY A WRITTEN INSTRUMENT EXECUTED BY THE MANUFACTURER. THE REMEDY
OF REPAIR OR REPLACEMENT AS PROVIDED UNDER THIS LIMITED WARRANTY
IS EXCLUSIVE. IN NO EVENT SHALL THE MANUFACTURER BE LIABLE FOR ANY
CONSEQUENTIAL OR INCIDENTAL DAMAGES TO ANY PERSON, WHETHER OR NOT
OCCASIONED BY NEGLIGENCE OF THE MANUFACTURER, INCLUDING WITHOUT
LIMITATION, DAMAGES FOR LOSS OF USE, COSTS OF SUBSTITUTION, PROPERTY
DAMAGE, OR OTHER MONEY LOSS.
LIMITED WARRANTY

16 | nuwavenow.com
LIMITED WARRANTY
Some states do not allow the exclusion or limitation of incidental or consequential
damages, so the above limitation exclusions may not apply. This Limited Warranty gives
specic legal rights, and there may also be other rights which vary from state to state.
EXCEPT AS OTHERWISE EXPRESSLY PROVIDED ABOVE, THE MANUFACTURER
MAKES NO WARRANTIES EXPRESSED OR IMPLIED ARISING BY LAW OR
OTHERWISE, INCLUDING WITHOUT LIMITATION, THE IMPLIED WARRANTIES OF
MERCHANTABILITY AND FITNESS FOR A PARTICULAR PURPOSE TO ANY OTHER
PERSON. READ YOUR OWNER’S MANUAL. IF YOU STILL HAVE ANY QUESTIONS
ABOUT OPERATION OR WARRANTY OF THE PRODUCT, PLEASE CONTACT
NUWAVE LLC.
DISPUTE RESOLUTION PROCEDURE
For disputes relating to use of the website or use or purchase of a Nuwave product
or service (collectively “Disputes”), you agree to rst contact Nuwave LLC at legal@
nuwavenow.com. If we cannot resolve your dispute informally, any and all disputes shall
be submitted to nal and binding arbitration. You may start the arbitration process by
submitting in writing a demand to the American Arbitration Association (“AAA”) and sending
a copy to Nuwave. Nuwave will pay all ling costs. A single arbitrator of the AAA will
conduct the arbitration in a location convenient to you or by phone. The arbitrator’s award
will be binding and may be entered as a judgment in a court of competent jurisdiction.
The arbitration will be conducted in accordance with the provisions of AAA’s Commercial
Arbitration Rules and Mediation Procedures in effect at the time of submission of your
demand for arbitration. See https://www.adr.org/sites/default/les/CommercialRules_Web.
pdf. Except as may be required by law as determined by an arbitrator, no party or arbitrator
may disclose the existence, content, or results of any arbitration hereunder without prior
written consent of both parties.
A. WAIVER OF RIGHT TO SUE. By agreeing to arbitration, you understand that, to the
maximum extent permitted by law, you are agreeing to waive your right to le suit in any
court, to a court hearing, a judge trial, or a jury trial.
B. CLASS ACTION WAIVER. To the maximum extent permitted by law, you expressly
agree to refrain from bringing or joining any claims in any representative or class-wide
capacity, including but not limited to, bringing or joining any claims in any class action or
class-wide arbitration.
C. OPT OUT PROCEDURE. To request to opt out of arbitration you must contact
Nuwave LLC at legal@nuwavenow.com, Nuwave LLC, 560 Bunker Ct., Vernon Hills, IL,
60061, U.S.A. You will have thirty (30) days from the date of product delivery to opt out
of arbitration with respect to any dispute arising out of or relating to use or purchase of
any Nuwave product. If more than 30 days have passed, you are not eligible to opt out
of arbitration and will have waived your right to sue or participate in a class action with
respect to the dispute arising out of your purchase or use of a Nuwave product. For any
dispute arising out of your use of Nuwave’s website, you have thirty (30) days from the
date you provided information to the website to opt out of arbitration. If more than 30
days have passed, you are not eligible to opt out of arbitration and you will have waived
your right to sue and participate in a class action with respect to the dispute arising out of
your use of Nuwave’s website.

nuwavenow.com | 17
Para la versión en español de este manual,
visita www.nuwavenow.com.
LIMITED WARRANTY
D. SOME MATTERS ARE NOT SUBJECT TO ARBITRATION. Notwithstanding the
foregoing, the following shall not be subject to arbitration and may be adjudicated only in
the state and federal courts of Illinois: (i) any dispute, controversy, or claim relating to or
contesting the validity of our intellectual property rights and proprietary rights, including
without limitation, patents, trademarks, service marks, copyrights, or trade secrets; (ii)
an action by a party for temporary, preliminary, or permanent injunctive relief, whether
prohibitive or mandatory, or other provisional relief; or (iii) interactions with governmental
and regulatory authorities. You expressly agree to refrain from bringing or joining any
claims in any representative or class- wide capacity, including but not limited to, bringing or
joining any claims in any class action or any class-wide arbitration.

18 | nuwavenow.com
Notes

nuwavenow.com | 19
Notes
Item: BM20837
V1-YK
02-03-25
FOR HOUSEHOLD USE ONLY
120V, 60Hz, 1800 Watts
Model:
20837
20837B
20837C
For patent information please go to:
www.nuwavenow.com/legal/patent
Designed & Developed in USA
Nuwave LLC
560 Bunker Ct.
Vernon Hills, IL 60061, U.S.A.
Made in China
©2025 Nuwave LLC • All Rights Reserved.
SMART OVEN & AIR FRYER
BRAVO® PRO
Scan for important product
information and updates.
Questions or Concerns?
Amazon Purchases: support@nuwavenow.com All Other Purchases: help@nuwavenow.com
1-888-502-7807 1-877-689-2838
Mon-Fri 7:30am-4:30pm CST
www.nuwavenow.com
20837K
20837M
20837N