1A4631‐010
InstallationInstructionsforCPTModels:
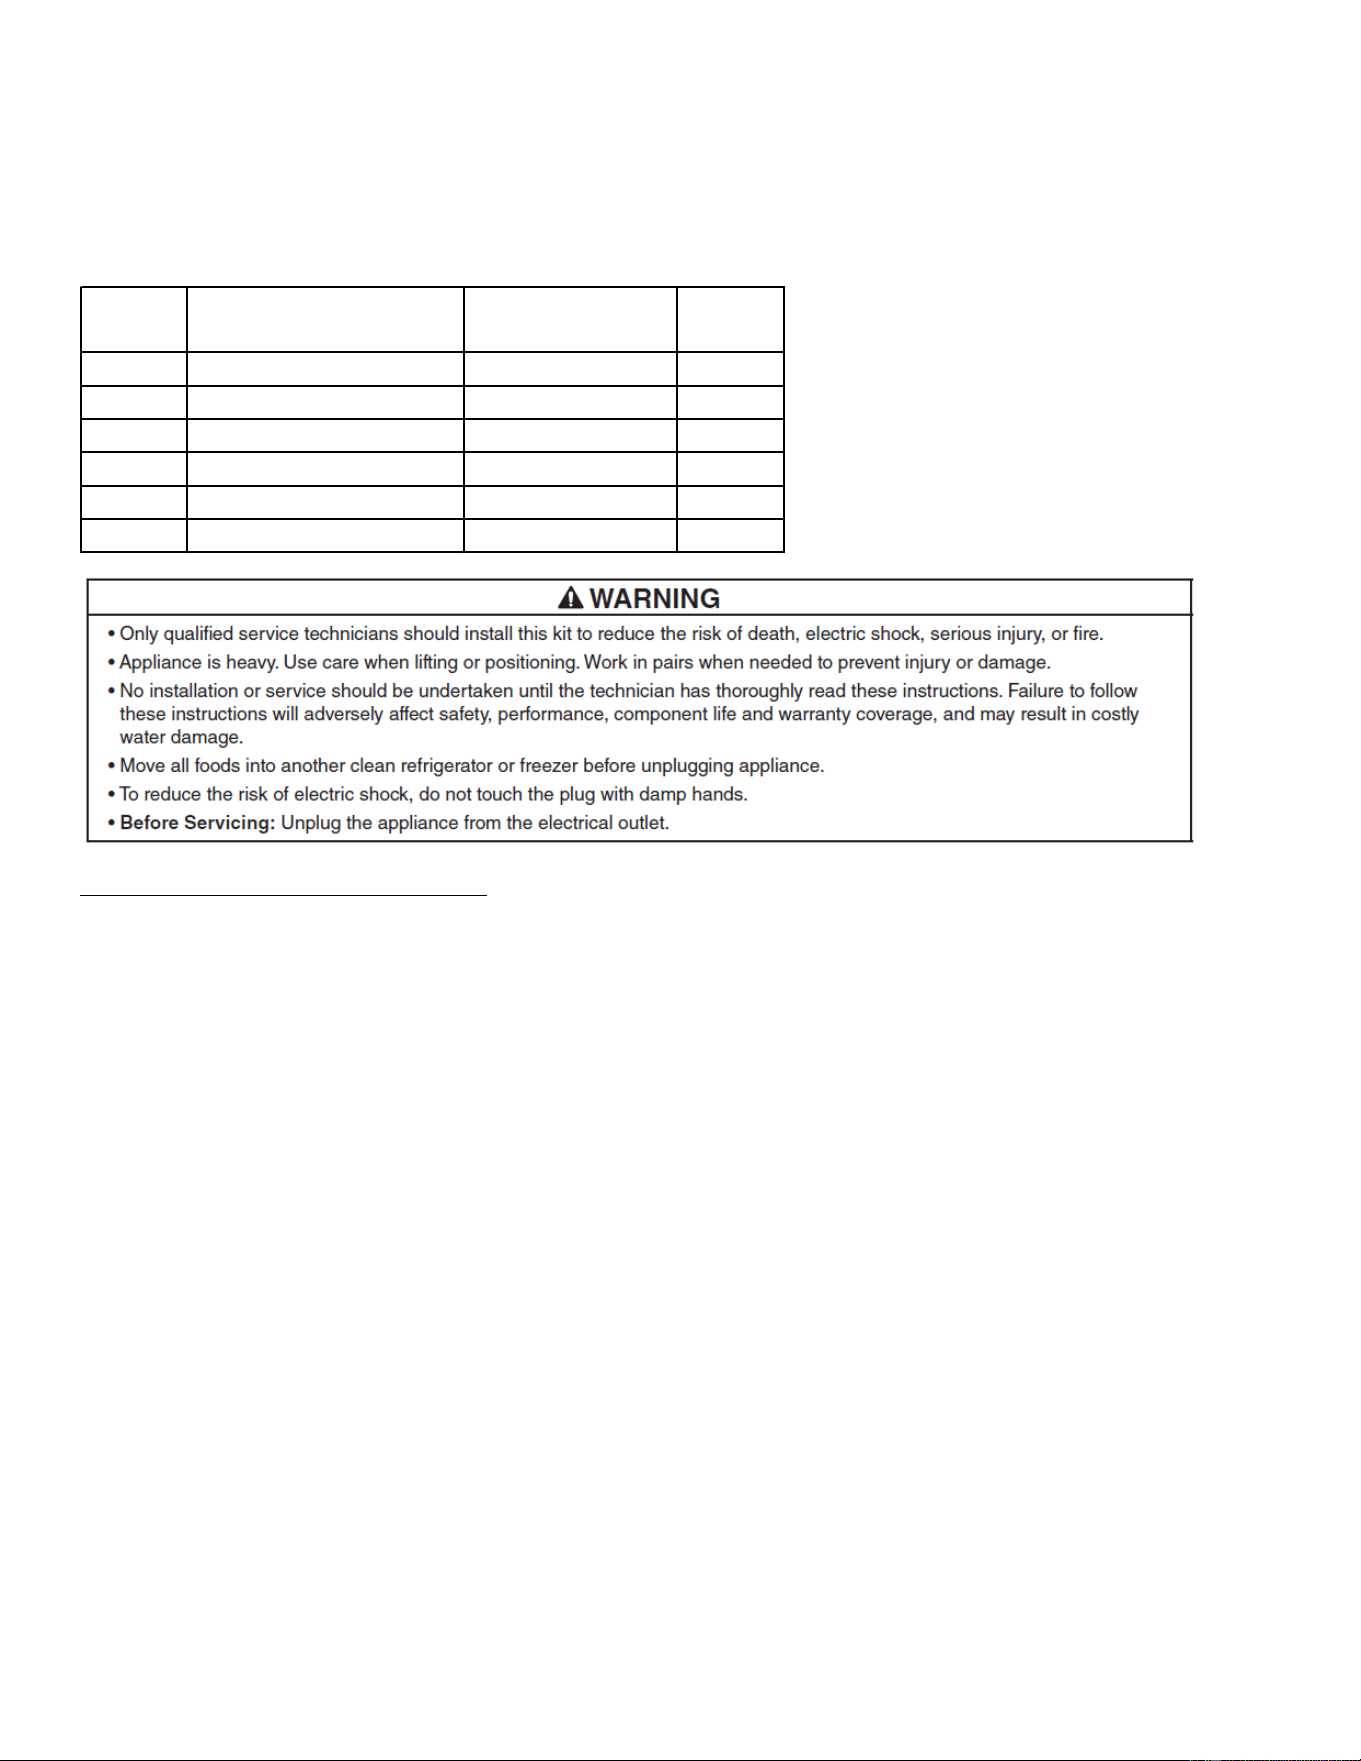
1. Remove2lowerscrewsfromfrontpanelandpullpanelfrommountingclipsandsetaside,takecarenottopull
wireharnessorthermistorsfromcontroller.SeeFig.1
2. Removeupperfrontscrewand2rearscrewsfromtherearULpanel.SeeFig. 2
3. Slideside
panelforwardanddowntoremovefrommountingscrews,setsidepanelaside.
4. Removedrainhosefromdrainpan,takethistimetocheckconditionofdrainhoseandremoveanydebrisor
clogindraintube.SeeFig.3
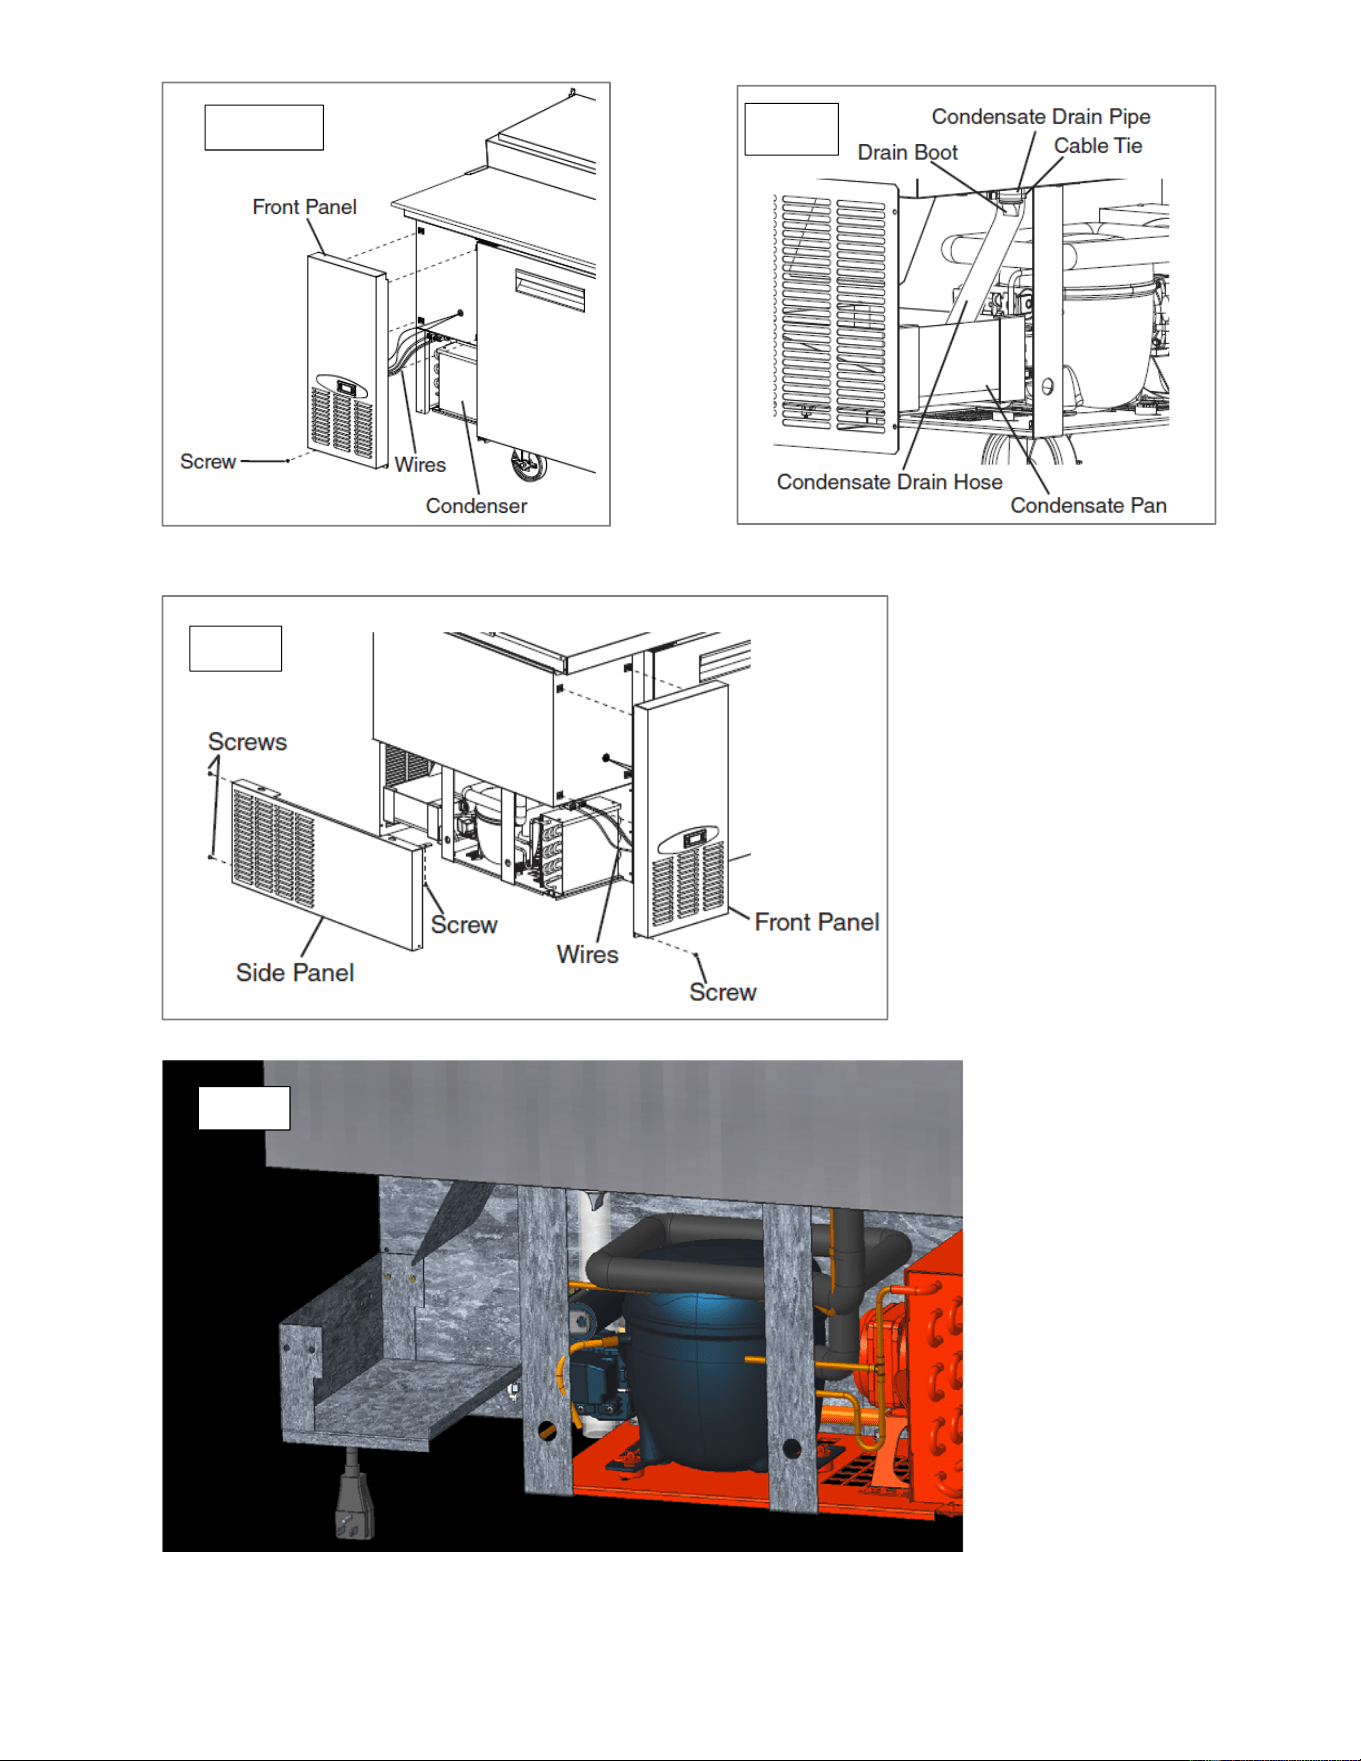
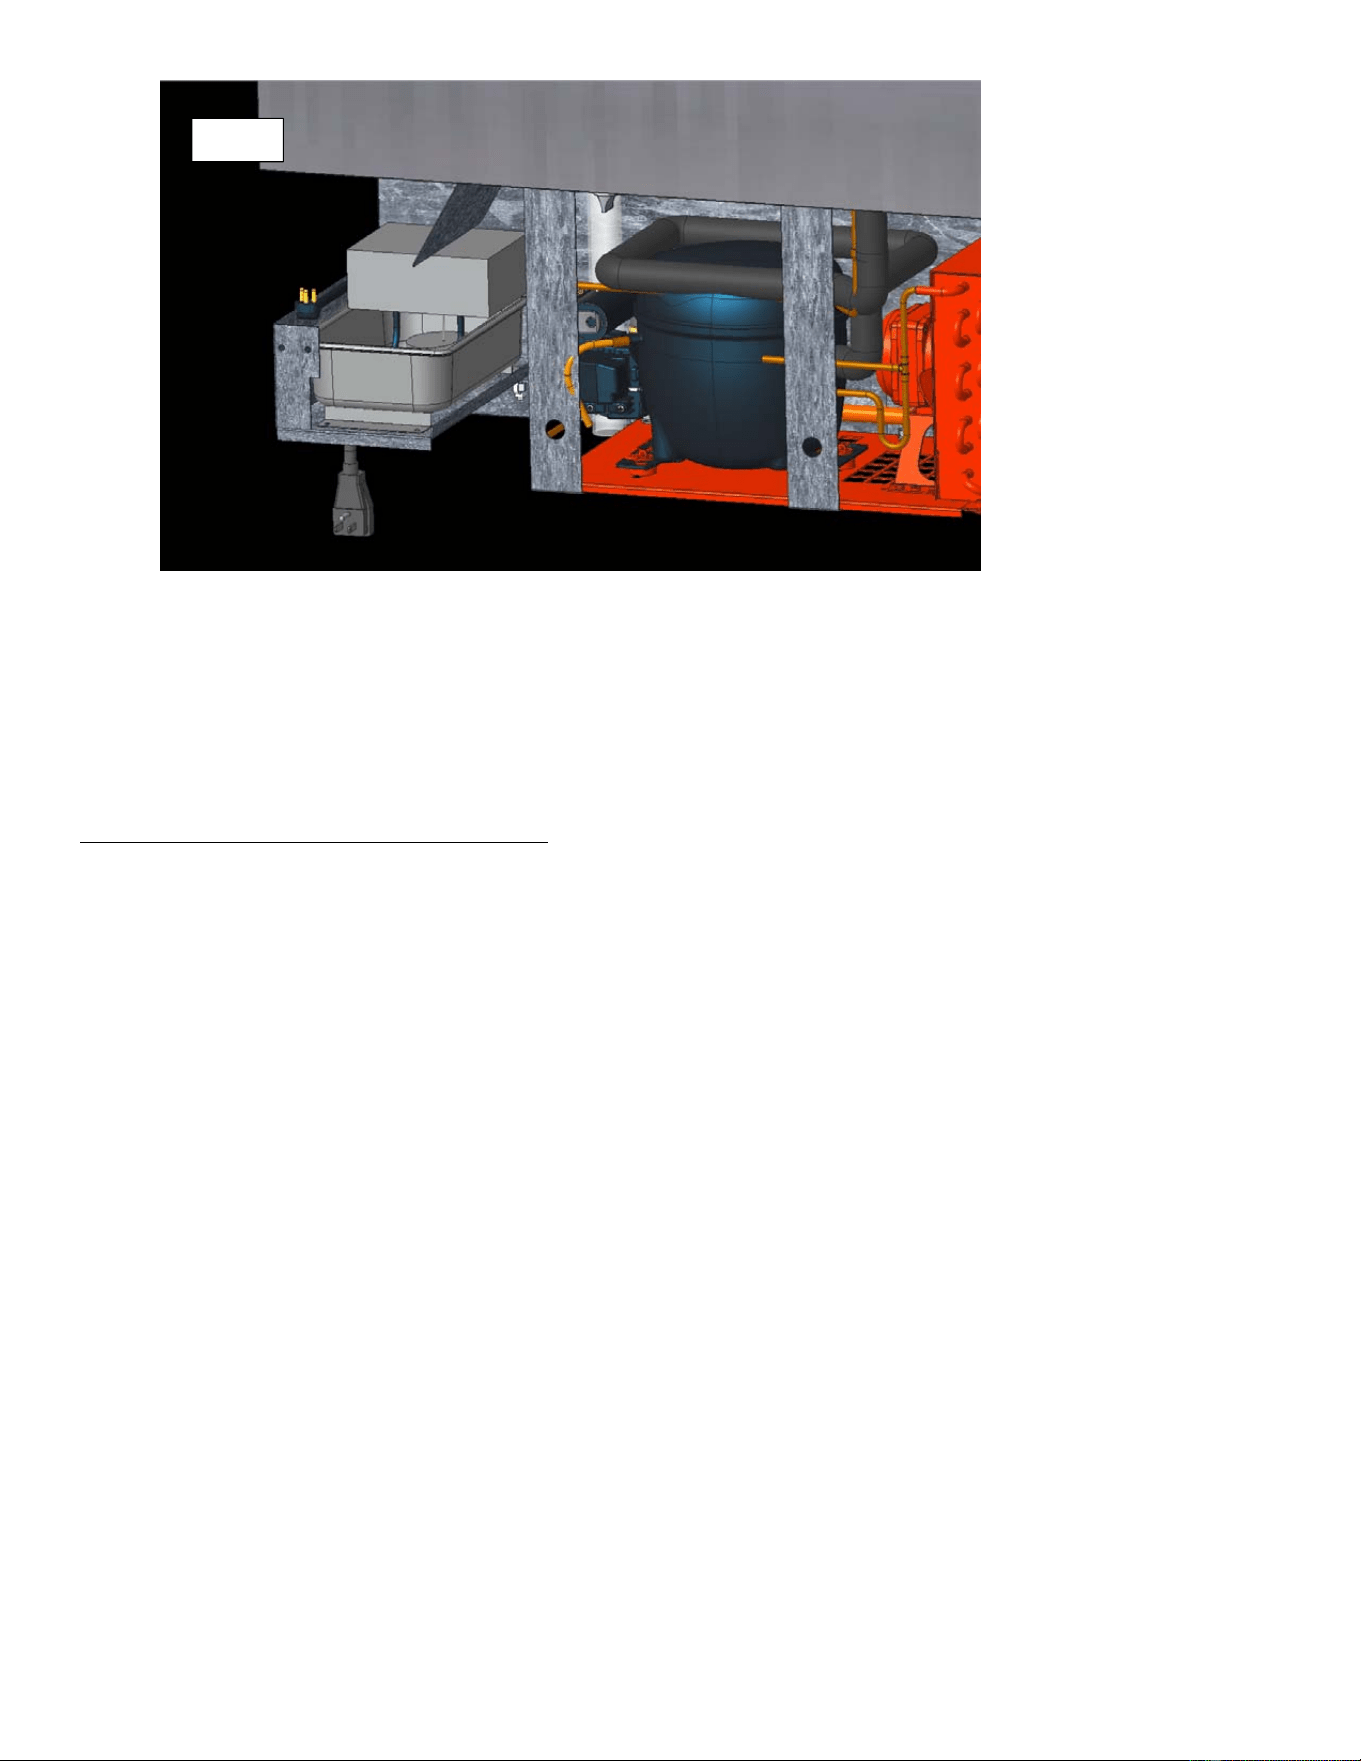
5. Liftplasticdrainpanfromsupportbrackets,removal
ofrearULcovermaybeneedtogainbetteraccess.
6. Locatemainpowersupplycord,removecabletiestogainaccesstotheblackpowerwire,WhiteNeutraland
GreenGroundwire.
7. RemoveBellconnectorsandattachsupplywiresfromPlugHarness,usesuppliedBellConnectorstoreattach
wires.
8. Usesuppliedcabletiestobundlewiresbacktooriginallocation.
9. Removeoriginalpanbracketsanddiscard,installnewsuppliedbracketsfromKit.Placeheatedcondensatepan
intopanbrackets,routeheatedpanpowerwiretothebacksideofpanandco nnectpanplugtoplug
harness.
Secureplugconnectionwithsuppliedcableties.SeeFig4‐5
10. Insertdrainpipeintopan,makesuredrainpipedoes notmakecontactwithheatingelement.
11. Performsafetycheckofallwiresandconnections.
12. Installallpanelsinreverseorder.
13. Placewireharnesslabelnext
tooriginallabellocation.
Check to ensure that all parts are included:
Index
No.
Qty
1
1
2
1
3
4
43
51
61CondesatePanBr ac ket 2 A8491‐01
Hoshizaki Heated Condensate Pan Kit
HS-5249
For use with Hoshizaki Commercial Pizza Prep and Open Top Models
BellConnector
WireLabel
8101‐12CE
3A9368‐01
Description Part Number
4A6043-01
4A6049-01
8911-0200
Heated Condensate Pan
Harness - Plug
Cable Tie
1A4631‐010
Fig.1
Fig.2
Fig.3
Fi
g
.4
1A4631‐010
InstallationInstructionsforOpenTopModels:
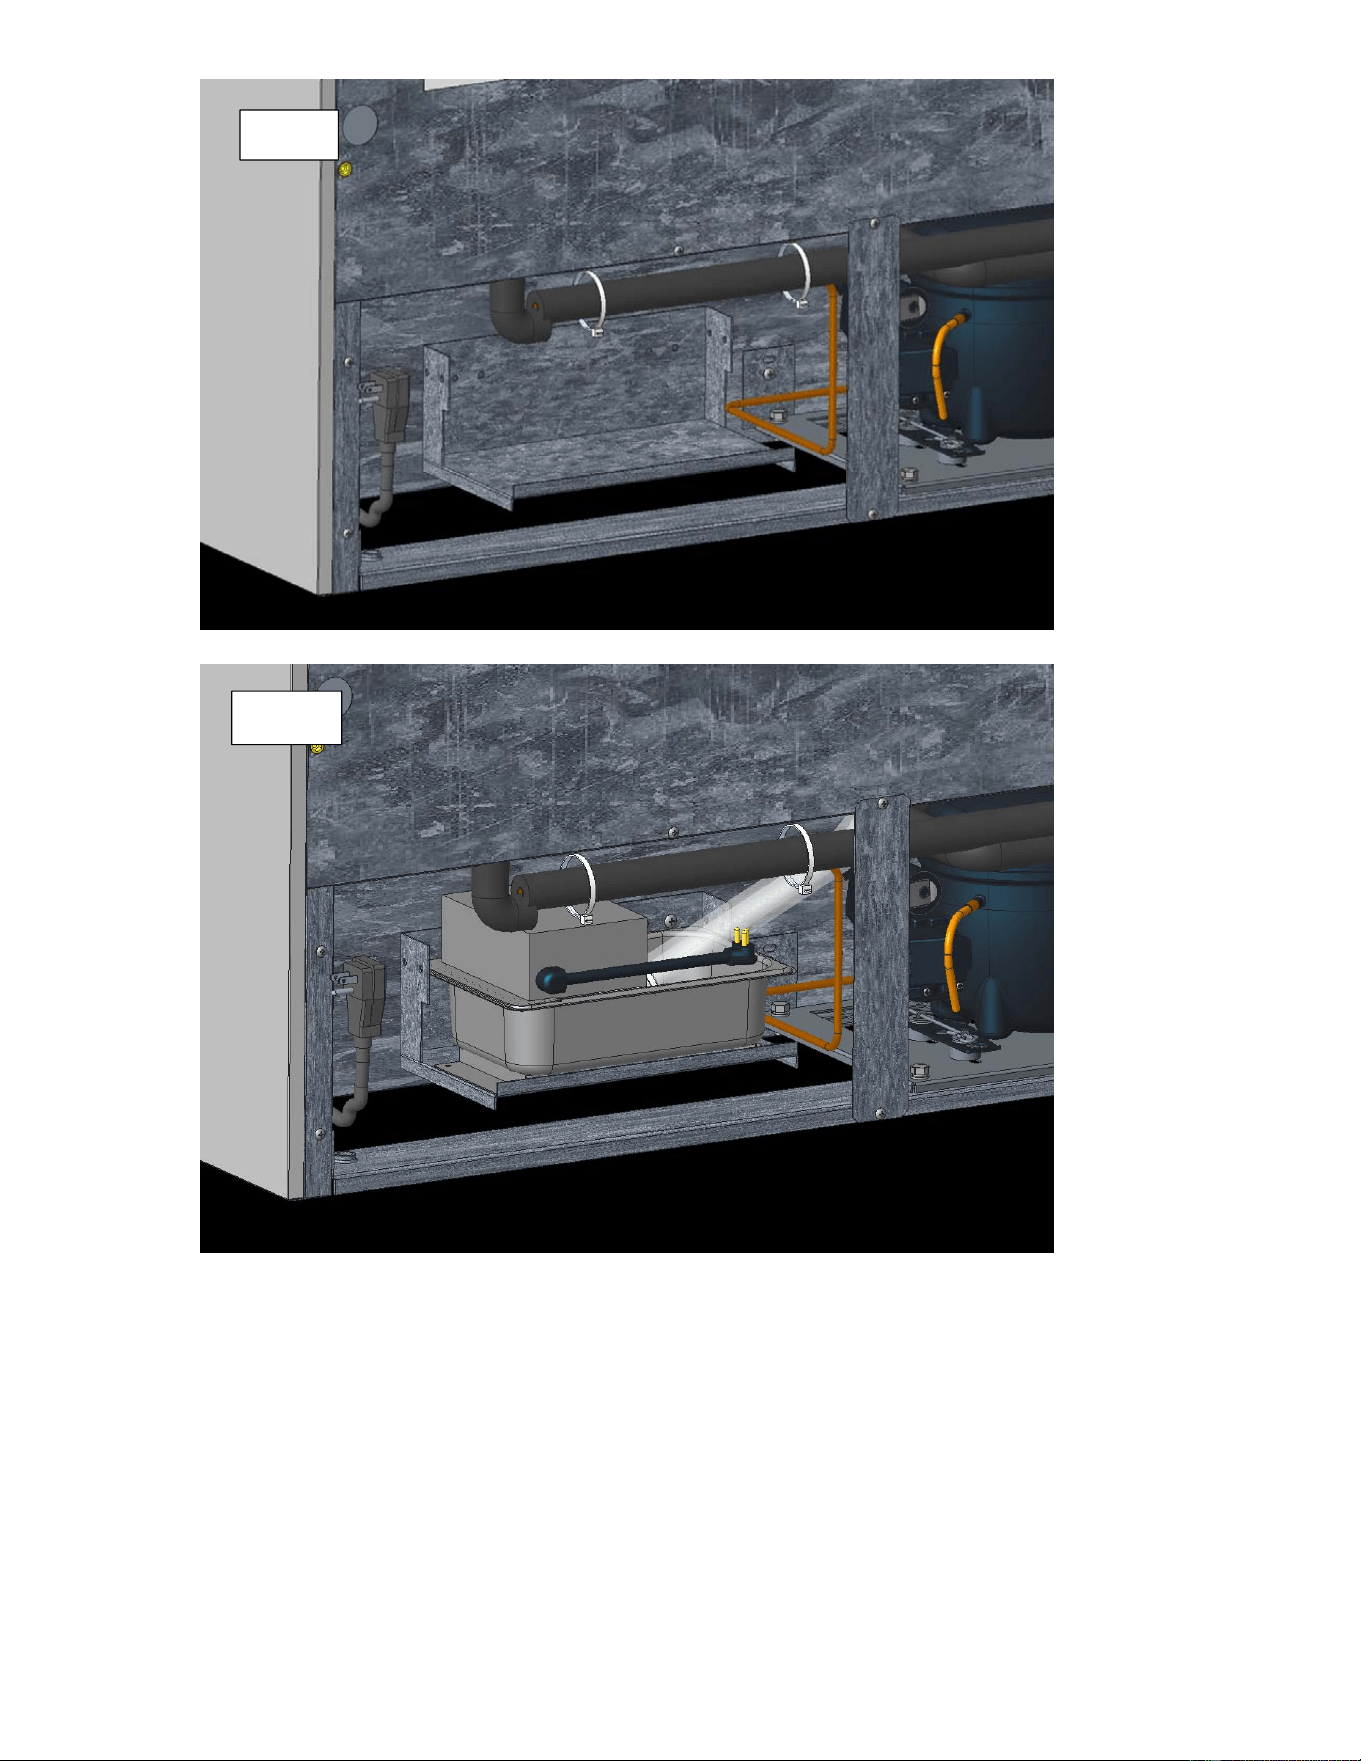
1. RemoveRearULcoverfromunit.
2. Removedrainhosefromdrainpan,takethistimetocheckconditionofdrainhoseandremoveanydebrisor
clogindraintube.
3. Removeplasticdrainpanandbothleftandrightmountingbrackets.
4. Locatemainpowersupplycord,remove
cabletiestogainaccesstotheblackpowerwire,WhiteNeutraland
GreenGroundwire.
5. RemoveBellconnectorsandattachsupplywiresfromPlugHarness,usesuppliedBellConnectorstoreattach
wires.
6. Usesuppliedcabletiestobundlewiresbacktooriginallocation.
7. Installnewsupplied
bracketsfromKit.Placeheatedcondensatepanintopanbrackets,routeheatedpan
powerwiretothebacksideofpanandconnectpanplugtoplugharness.Secureplugconnectionwith
suppliedcableties.SeeFig6‐7
8. Insertdrainpipeintopan,makesuredrainpipedoes not
makecontactwithheatingelement.
9. Performsafetycheckofallwiresandconnections.
10. Installallpanelsinreverseorder.
11. Placewireharnesslabelnexttooriginallabellocation.
Fi
g
.5
1A4631‐010
Fig.6
Fig.7

