
PNEUMATIC BRAKE PISTON SPREADER /
WIND BACK & HOSE CLIP TOOL
MODEL NO: VS0249
Thank you for purchasing a Sealey product. Manufactured to a high standard, this product will, if used according to these instructions,
and properly maintained, give you years of trouble free performance.
IMPORTANT: PLEASE READ THESE INSTRUCTIONS CAREFULLY. NOTE THE SAFE OPERATIONAL REQUIREMENTS, WARNINGS &
CAUTIONS. USE THE PRODUCT CORRECTLY AND WITH CARE FOR THE PURPOSE FOR WHICH IT IS INTENDED. FAILURE TO DO
SO MAY CAUSE DAMAGE AND/OR PERSONAL INJURY AND WILL INVALIDATE THE WARRANTY. KEEP THESE INSTRUCTIONS SAFE
FOR FUTURE USE.
1. SAFETY
WARNING! Ensure all Health and Safety, local authority, and general workshop practice regulations are strictly adhered to when using tools.
8 DO NOT use tools if damaged or worn.
9 Maintain the tools in good and clean condition for best and safest performance.
9 Ensure all threads are clean and well lubricated.
9 Ensure the vehicle is adequately supported with axle stands, ramps, etc. as appropriate.
9 Wear suitable clothing to avoid snagging. DO NOT wear jewellery. Tie back long hair.
9 Wear approved eye protection. A full range of personal safety equipment is available from your Sealey stockist.
9 Account for all tools and parts being used and DO NOT leave them in or on the vehicle.
IMPORTANT: Always refer to the vehicle manufacturer’s service instructions, or proprietary manual, to establish the correct procedure
and data. These instructions for use are provided as a guide only.
WARNING! The warnings, cautions and instructions discussed in this instruction manual cannot cover all possible conditions and
situations that may occur. It must be understood that common sense and caution are factors which cannot be built into this product, but
must be applied by the operator.
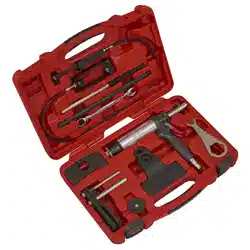
2. INTRODUCTION
Used for pushing back brake pistons and removal/installation of hose clips. Pneumatic wind-back tool is suitable for left or right-hand wind-
back operations. Suitable for push-back and wind-back brake pistons. Long-reach flexible cable, designed to reach awkward-positioned
hose clips. Kit includes a 2-pin magnetic adaptor for use with interchangeable brake adaptor plates, thrust pin, one and two brake piston
spreaders, thrust bolt, 10mm ratchet spanner, locking nut spanner and hose clip attachment. Supplied in a storage case.
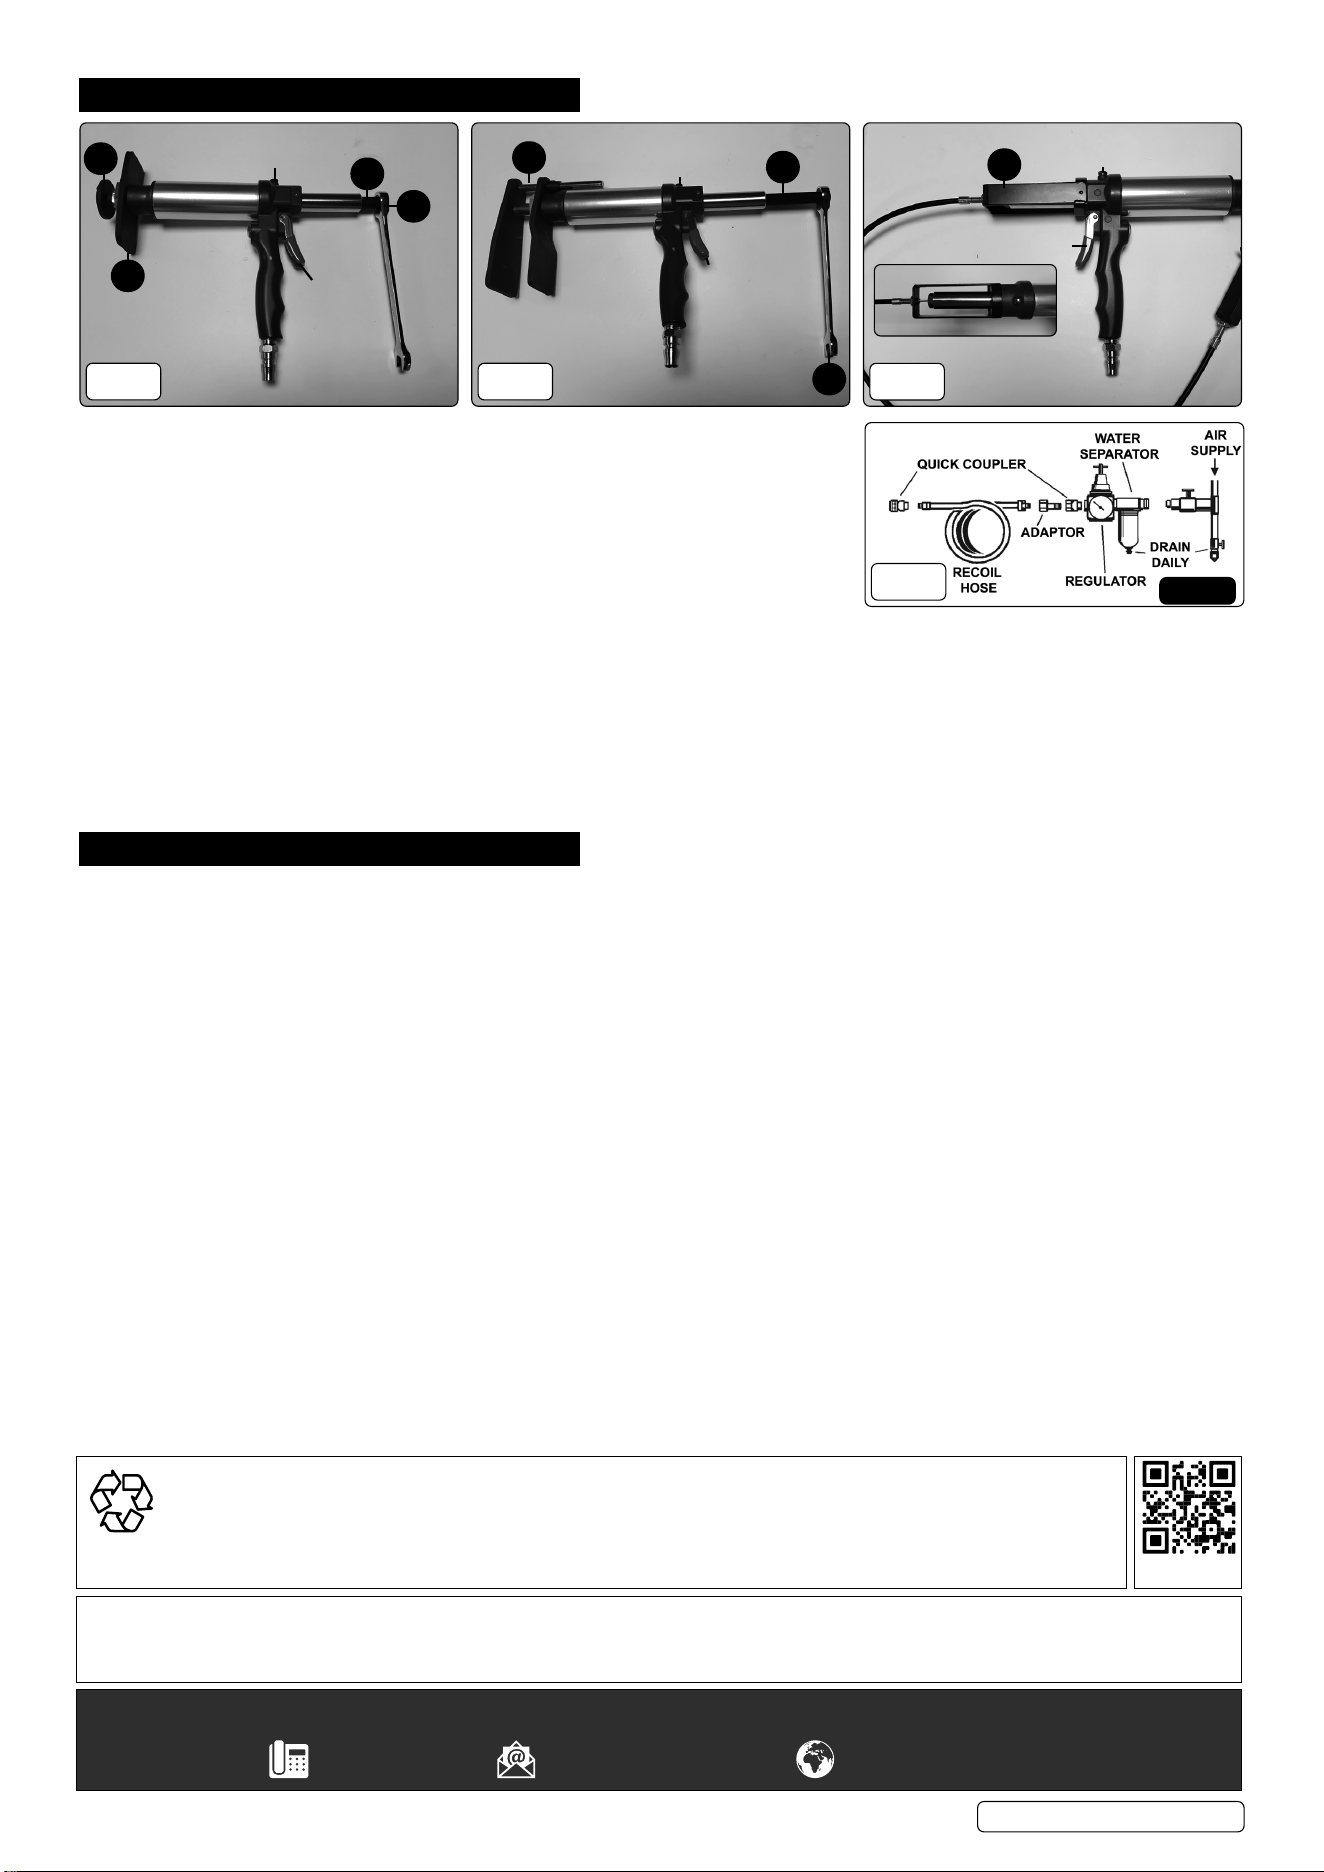
1
1 Pneumatic body
2 Adapter
3 Single piston drive blade set
4 Double piston drive blade - large hole
5 Double piston drive blade - small hole
6 Hex Wrench
7 Fixing plate
8 Hose clip clamp
9 Drive rod
10 Transmission rod
11 Ratchet Wrench - 10mm
2
3
8
7
5
6
4
9
10
11
1
FIG.1
3. SPECIFICATION
Model No: VS0249
Maximum Spread: 60mm
Cable Length: 660mm
Jaw Opening: 55mm
Nett Weight: 3.08kg
Refer to
instructions
VS0249 Issue 1 11/12/2024
Original Language Version
© Jack Sealey Limited
Wear eye
protection
Sealey Group, Kempson Way, Suffolk Business Park, Bury St Edmunds, Suffolk. IP32 7AR
01284 757500 sales@sealey.co.uk www.sealey.co.uk
Note: It is our policy to continually improve products and as such we reserve the right to alter data, specications and component parts without prior notice.
Important: No Liability is accepted for incorrect use of this product.
Warranty: Guarantee is 12 months from purchase date, proof of which is required for any claim.
ENVIRONMENT PROTECTION
Recycle unwanted materials instead of disposing of them as waste. All tools, accessories and packaging should be
sorted, taken to a recycling centre and disposed of in a manner which is compatible with the environment. When
the product becomes completely unserviceable and requires disposal, drain any uids (if applicable) into approved
containers and dispose of the product and uids according to local regulations.
REGISTER YOUR
PURCHASE HERE
4. OPERATION
4.1. WIND-BACK (FIG.2)
4.1.1. Refer to FIG.5 for recommended air supply set up.
4.1.2. Squeeze the trigger to apply pressure on the calliper piston.
4.1.3. Turn the transmission rod using the ratchet wrench to rotate and compress the piston.
NOTE: the transmission rod can be turned either way to suit the design of the calliper.
4.1.4. Push the pressure release button to retract the tool.
4.2. SPREADER (FIG.3)
4.2.1. Refer to FIG.5 for recommended air supply set up.
4.2.2. Place the spreader on the inside of the calliper.
4.2.3. Squeeze the trigger to apply pressure on the calliper.
4.2.4. Turn the drive rod with the ratchet wrench for increased holding pressure.
4.2.5. Push the pressure release button to retract the tool.
4.3. HOSE CLIP CLAMP (FIG.4)
4.3.1. Refer to FIG.5 for recommended air supply set up.
4.3.2. The hose clip clamp attachment can be used to remove/install hose clips.
4.3.3. Squeeze the trigger to apply pressure on the hose clip.
4.3.4. Push the pressure release button to retract the tool.
5. MAINTENANCE
5.1. Lubricate the tool daily with a few drops of Sealey air tool oil dripped into the air inlet.
5.2. Lightly oil the wind back shaft to prolong the life of the tool.
5.3. After use clean the tool with a damp cloth and mild detergent to remove any dirt and grime.
5.4. Store the tool in a dry, safe, childproof location.
VS0249 Issue 1 11/12/2024
Original Language Version
© Jack Sealey Limited
FIG.5
90PSI
FIG.2
2
7
10
11
TRIGGER
PRESSURE
RELEASE
FIG.3
3
9
11
TRIGGER
PRESSURE
RELEASE
FIG.4
8
TRIGGER
PRESSURE
RELEASE