®
January 2023 (v1.6)
VIRTUOSO+ OPERATIONS MANUAL
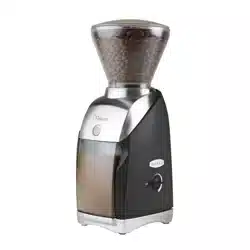
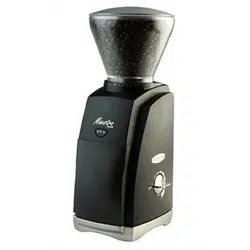
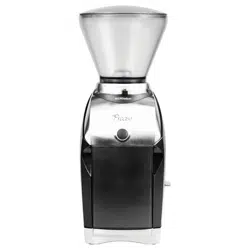
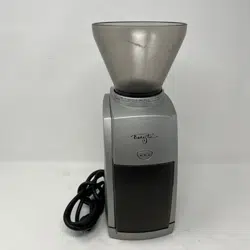
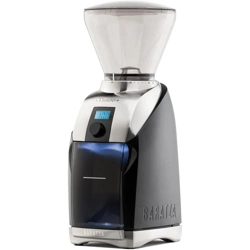
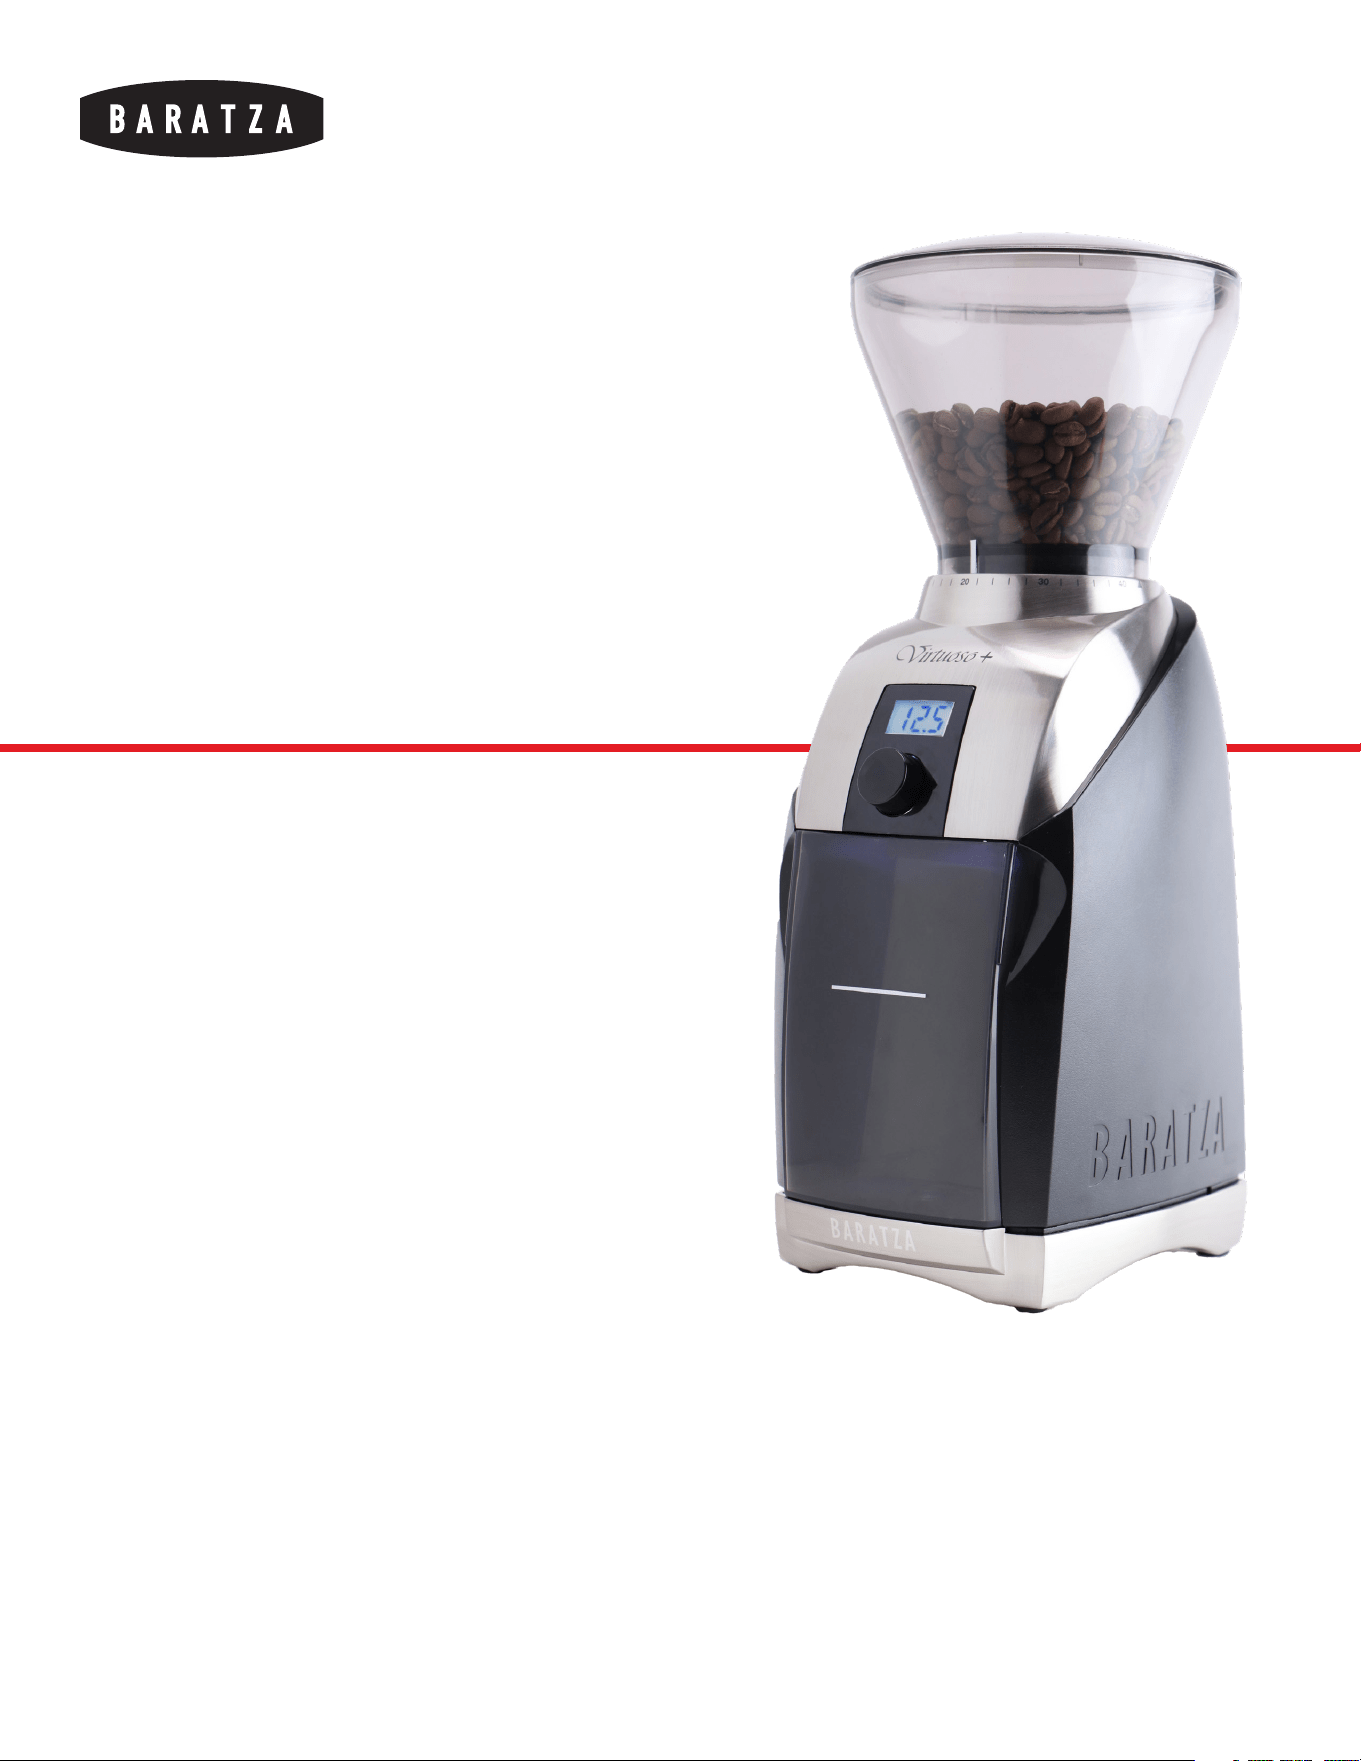
Thank you for purchasing
the Virtuoso+ coee grinder.
With the Virtuoso+, it’s now
easier than ever to make
professional quality coee.
VIRTUOSO+™

®
January 2023 (v1.6)
2
VIRTUOSO+ OPERATIONS MANUAL
TABLE OF CONTENTS
SAFETY INFORMATION
3
PARTS IDENTIFICATION
4
OPERATION
5
CARE & CLEANING
7
WARRANTY & SERVICE
9
®
January 2023 (v1.6)
3
VIRTUOSO+ OPERATIONS MANUAL
SAFETY INFORMATION
Please read the information below very carefully.
It contains important safety information for this
appliance. Please keep these instructions for future
reference.
!
Use only with AC current and the correct voltage. See the label on the base
of the grinder to determine the correct voltage.
!
Only clean the grinder housing with a dry or slightly damp cloth. Do not
immerse the grinder, plug or cord in water or any other liquid.
!
Baratza will not accept any liability for damage, injury, or warranty if the
grinder is used other than for its intended purpose (i.e. grinding roasted
whole coee beans) or is improperly operated or repaired.
!
Keep the appliance and its cord out of reach of children aged less than 8
years.
!
Do not operate the grinder with a damaged cord or plug. If the supply cord
is damaged, it must be replaced by the manufacturer, its service agent or
similarly qualified persons in order to avoid a hazard.
!
Do not leave your grinder unattended while turned ON.
!
This appliance can be used by children aged from 8 years and above
and persons with reduced physical, sensory or mental capabilities or
lack of experience and knowledge if they have been given supervision or
instruction concerning use of the appliance in a safe way and understand
the hazards involved.
!
Cleaning and user maintenance shall not be made by children without
supervision.
!
Always unplug the grinder from the electrical supply before assembling,
disassembling or cleaning. To unplug, grasp plug and remove from the
outlet. Never pull on the cord.
CAUTION: ALWAYS unplug the electrical supply cord prior to cleaning the grinder.
®
January 2023 (v1.6)
4
VIRTUOSO+ OPERATIONS MANUAL
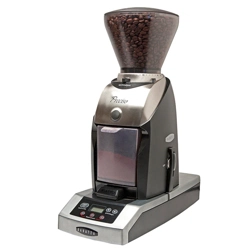
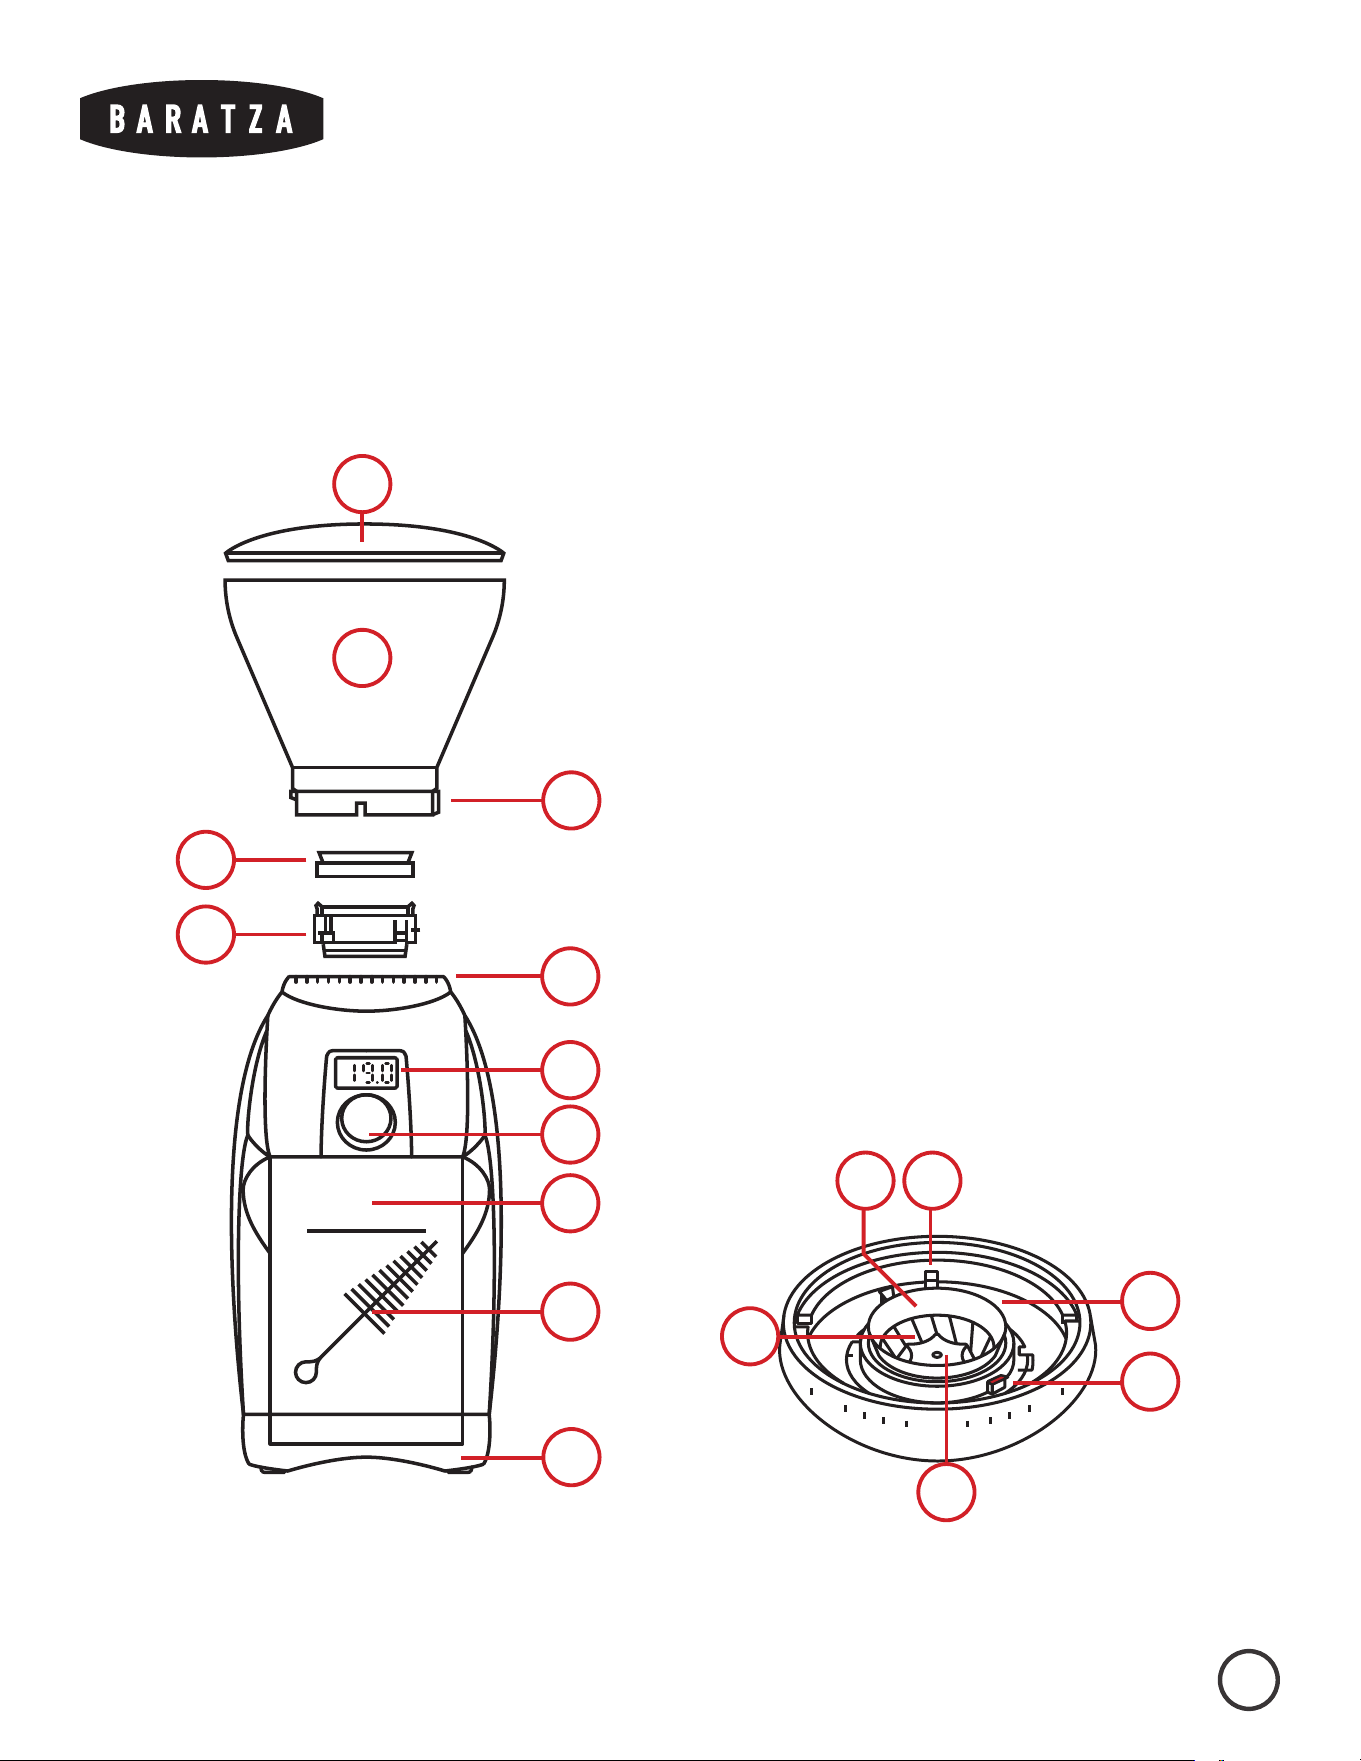
PARTS IDENTIFICATION
1. Hopper Lid
2. Bean Hopper
3. Grind Setting Indicator
4. Hopper Gasket
5. Removable Ring Burr
6. Grind Settings
7. LED Display
8. Dial
9. Grounds Bin with Max Fill Line
10. Brush*
11. Weighted Base
12. Grind Adjustment Ring
13. Grind Adjustment Tab
14. Burr Lifting Tabs
15. Center Cone Burr
* included in grounds bin
2
11
5
4
9
10
8
7
6
1
3
20
10
30
5
12
14
134
15

®
January 2023 (v1.6)
5
VIRTUOSO+ OPERATIONS MANUAL
OPERATION
INITIAL SETUP
1. Remove the contents from the packaging and hand-wash the hopper lid (1), bean hopper (2), and grounds bin (8) in warm, soapy water. Let air
dry. Do not wash the ring burr (5) in water or it will rust.
2. To install the hopper, align the silver grind setting indicator (3) with the triangle near grind setting 40 (6). Press the hopper down and twist
clockwise into place. The grinder will not start without the hopper installed.*
* If there is diiculty in installing the hopper: Ensure that the ring burr (5) is fully seated in place. The grind adjustment ring (12) must be rotated fully
counterclockwise using the grind adjustment tabs (13) for the hopper to be installed.
ADJUSTING THE GRIND SIZE
The grind settings on the Virtuoso+ go from very coarse (grind setting 40) to very fine (grind setting 1). To adjust the grind size, rotate the hopper so that
the silver grind setting indicator on the hopper is aligned with the desired grind setting. When adjusting the grind setting, the grinder must be running or
completely empty of beans to prevent damage to the grinder.
Below are suggested grind setting starting points to use for common brew methods. The grind size will need to be adjusted coarser or finer based on
variables such as the recipe used, roast level, type of coee, and taste preference.
The exact grind setting needed in each situation can only be found through experimentation and the development of one’s palate.
Learn more at baratza.com
®
January 2023 (v1.6)
6
VIRTUOSO+ OPERATIONS MANUAL
Espresso AeroPress Hario V60 Automatic
Brewer
Chemex French Press
Suggested Setting 8 12 15 18 20 28
GRINDING OPERATION
Note: Partially ground coee beans may remain between the burrs after the grinder is turned o. When
making ANY grind adjustments, the grinder must be running.
The Virtuoso+ will grind for a predetermined length of time, shown on the display (7) in seconds. To adjust the timer and operate the grinder:
1. Rotate the dial (8) on the display clockwise to increase the grind time in 1.0 second increments, or rotate counterclockwise to decrease the
grind time in 0.1 second increments.
2. The maximum grind time is 40.0 seconds, and the minimum is 0.1 seconds. The timer will loop to 40.0 if adjusted below 0.1, and will loop to
1.0 if adjusted above 40.0.
3. Press the dial to start grinding. The grinder will automatically stop at 0.0 seconds, or the dial can be pressed again to pause grinding. To reset
the timer once paused, press and hold the dial until the timer is reset, or, after 30 seconds of inactivity, the timer will automatically reset
PULSE MODE
Note: It is important that if using an espresso basket, hold it below the discharge chute so that finely ground
coee can fall freely into the basket. Holding the basket too close to the discharge chute may cause the
coee to back up and clog your grinder.
To grind continuously without the timer, press and hold the dial for 3 seconds to enter pulse mode. “P” will be shown on the display. The grinder will now
grind for as long as the dial is held down, and the timer will count up in seconds as the grinder is in operation. The maximum grind time is 40.0 seconds in
this mode. Rotate the dial more than two clicks to exit pulse mode.
SLEEP MODE
The grinder will automatically enter sleep mode after 3 minutes of inactivity. The grinder will not draw electrical power in sleep mode. Rotate or press the
dial to wake the grinder. The last value the timer was set to will appear on the display.
®
January 2023 (v1.6)
7
VIRTUOSO+ OPERATIONS MANUAL
CARE & CLEANING
REMOVING THE HOPPER
Remove all coee beans from the hopper and grind any remaining beans through using either the On/O switch or the pulse button. Unplug the grinder
from the power outlet before removing the hopper. Rotate the hopper completely counterclockwise so that the grind setting indicator is aligned with the
triangle near grind setting 40. Lift the hopper o of the grinder.
REMOVING THE RING BURR
Ensure that the grind adjustment ring is turned fully counter-clockwise. Use the grind adjustment tabs to turn the adjustment ring. The red indicator on the
burr lifting tabs should be aligned with the red indicator on the grind adjustment ring. The ring burr can be removed by lifting straight up while gripping
the ring burr lifting tabs. Ensure that the hopper gasket is not lost in the process.
CLEANING THE GROUNDS BIN, HOPPER & BURRS
Wash the grounds bin, hopper, hopper lid, and hopper gasket in warm, soapy water. Rinse and let air dry. Do not allow the ring burr to get wet, otherwise it
will rust.
If the grinder is used daily, the burrs should be brushed o regularly (about once a month) with the included brush. If dark, oily coee or flavored coee is
used, grinder cleaning tablets may need to be used in order to absorb the oils and scent left behind by the coee. If oil is left to build up in the grinder, it
may become clogged, resulting in damage to the grinder. Please follow manufacturer recommendations for grinder cleaning tablet use. Do not grind any
substance other than grinder cleaning tablets to clean the internals of the grinder.
Caution: Do not put the hopper, hopper lid or grounds bin in the dishwasher. Hand wash only. Do not
immerse the grinder housing in water. Do NOT wash the burrs with water, or they will rust.

®
January 2023 (v1.6)
8
VIRTUOSO+ OPERATIONS MANUAL
REINSTALLING THE RING BURR AND HOPPER
1. Grip the grind adjustment tabs to ensure that the grind adjustment ring is rotated fully counterclockwise.
2. Insert the ring burr with the red burr lifting tab aligned with the red indicator on the grind adjustment ring. These red indicators should be
close to grind setting 30.
3. Ensure that the ring burr is seated fully in place, and that the hopper gasket is installed on top with the thicker side sitting within the plastic
rim of the ring burr.
4. Align the grind setting indicator on the hopper with the triangle near grind setting 40. Push the hopper down and rotate it clockwise until it
starts to click.
CLEARING A CLOGGED GRINDER
If coee is not falling into the grounds bin while grinding, and all parts are properly installed, a clog may be preventing the coee from moving through the
grinder. This can happen if coee is allowed to mound up past the maximum fill line, or if dark, oily coee or flavored coee is used often without cleaning
the grinder. Ground coee can stick to built-up oils in the grinder and cause a clog to form. Regular cleaning and proper use can prevent a clogged
grinder.
If the grinder does become clogged, please visit baratza.com/troubleshooting to find detailed resources on unclogging the grinder.

®
January 2023 (v1.6)
9
VIRTUOSO+ OPERATIONS MANUAL
WARRANTY & SERVICE
U.S. & CANADIAN WARRANTY
INFORMATION
Limited Warranty for Baratza Grinders is 1 year from the original date of
purchase. This warranty covers all defects in materials and workmanship
(parts and labor) including free ground transportation to and from our
repair facility within the US and Canada. This warranty does not apply to:
improper use, lack of cleaning, abuse, normal wear and tear, lack of proper
adjustment, foreign objects (stones, screws, etc.) in the beans, or uses
outside the intended use of grinding whole roasted coee beans (roasted
beyond 1st crack). If the purchased grinder fails within one year, email
[email protected] or call +1 425-641-1245 or toll free 877-701-2021. For
additional warranty, support, or troubleshooting information, go to www.
baratza.com.
Please note: Grinders that are purchased in the US or Canada and
shipped or taken out of the country have a one-year warranty for parts
only. If the grinder fails within one year of date of purchase, simply
email us at [email protected] or call +1 425-641-1245. Please have
the following information prior to contacting Baratza: 1) Proof of date
of purchase and 2) Model and serial number (located on bottom of
the grinder). A Baratza representative will respond to determine the
problem and suggest a solution path. The customer is responsible for
paying the freight charges and any duties and taxes for replacement
parts that Baratza may send. The customer is also responsible to
provide any labor required to repair the grinder.
INTERNATIONAL WARRANTY
INFORMATION
For all countries outside the US and Canada, the warranty, support
and service is provided by the International Retailer the grinder
was purchased from. If the grinder was purchased from a retailer
outside of the country the customer resides in, the customer may be
responsible for any shipping costs to service the grinder, and may
need to pay for service.
PROOF OF PURCHASE & PRODUCT
REGISTRATION
The grinder can be registered at www.baratza.com/register-your-
grinder. Registration will enable us to contact the registrant in
the unlikely event of a product safety notification and assist us in
complying with the provisions of the Consumer Product Safety Act.
The serial number is located on the bottom of the grinder. Please keep
the sales receipt that shows the date of purchase.
FOR REPAIRS OR QUESTIONS
Email: [email protected]
For Parts and Information go to: www.baratza.com
For Troubleshooting Help: www.baratza.com/troubleshooting