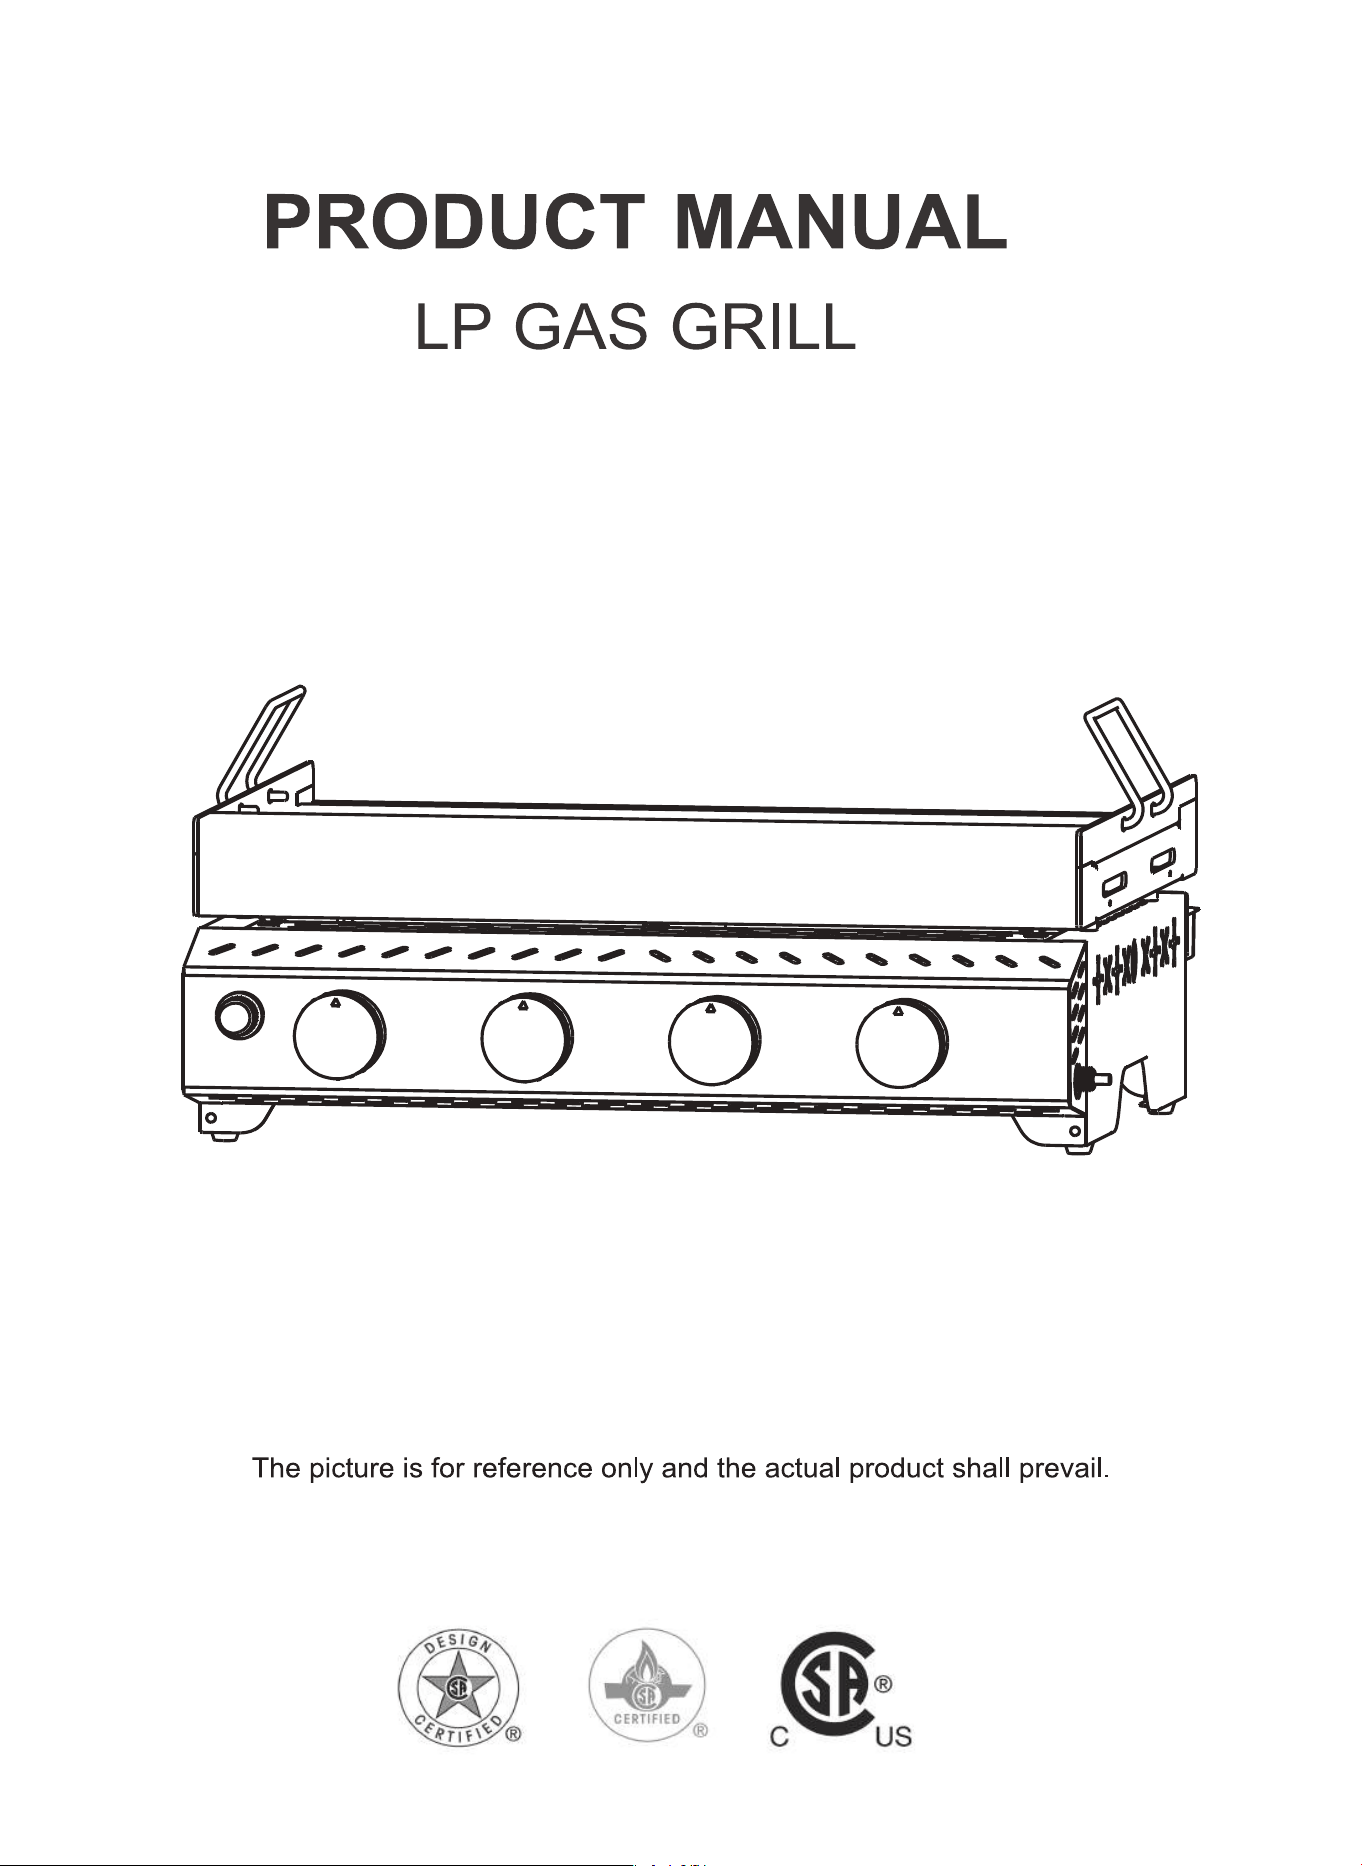
MODEL NO.: JT-�C

1
2

No.
No.
Description
Description
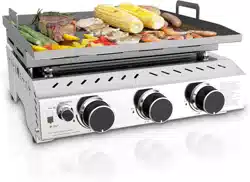
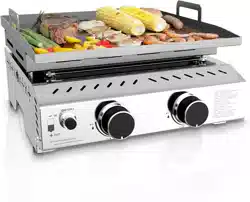
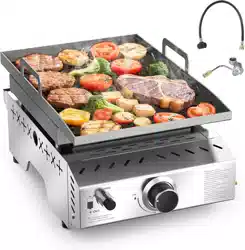
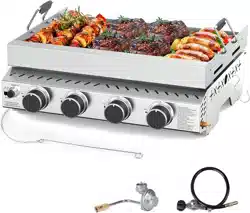
Grill body
Spatula
Detachable handle
Hose hook
1 1
1
1
1
1
1
9
10
14
2
24
7
Quantity
Quantity
Griddle
Oil drip box
Regulator valve
and hose assembly
3
Hang the oil drip box (4) on the hooks on
the back of the grill body (1).
4
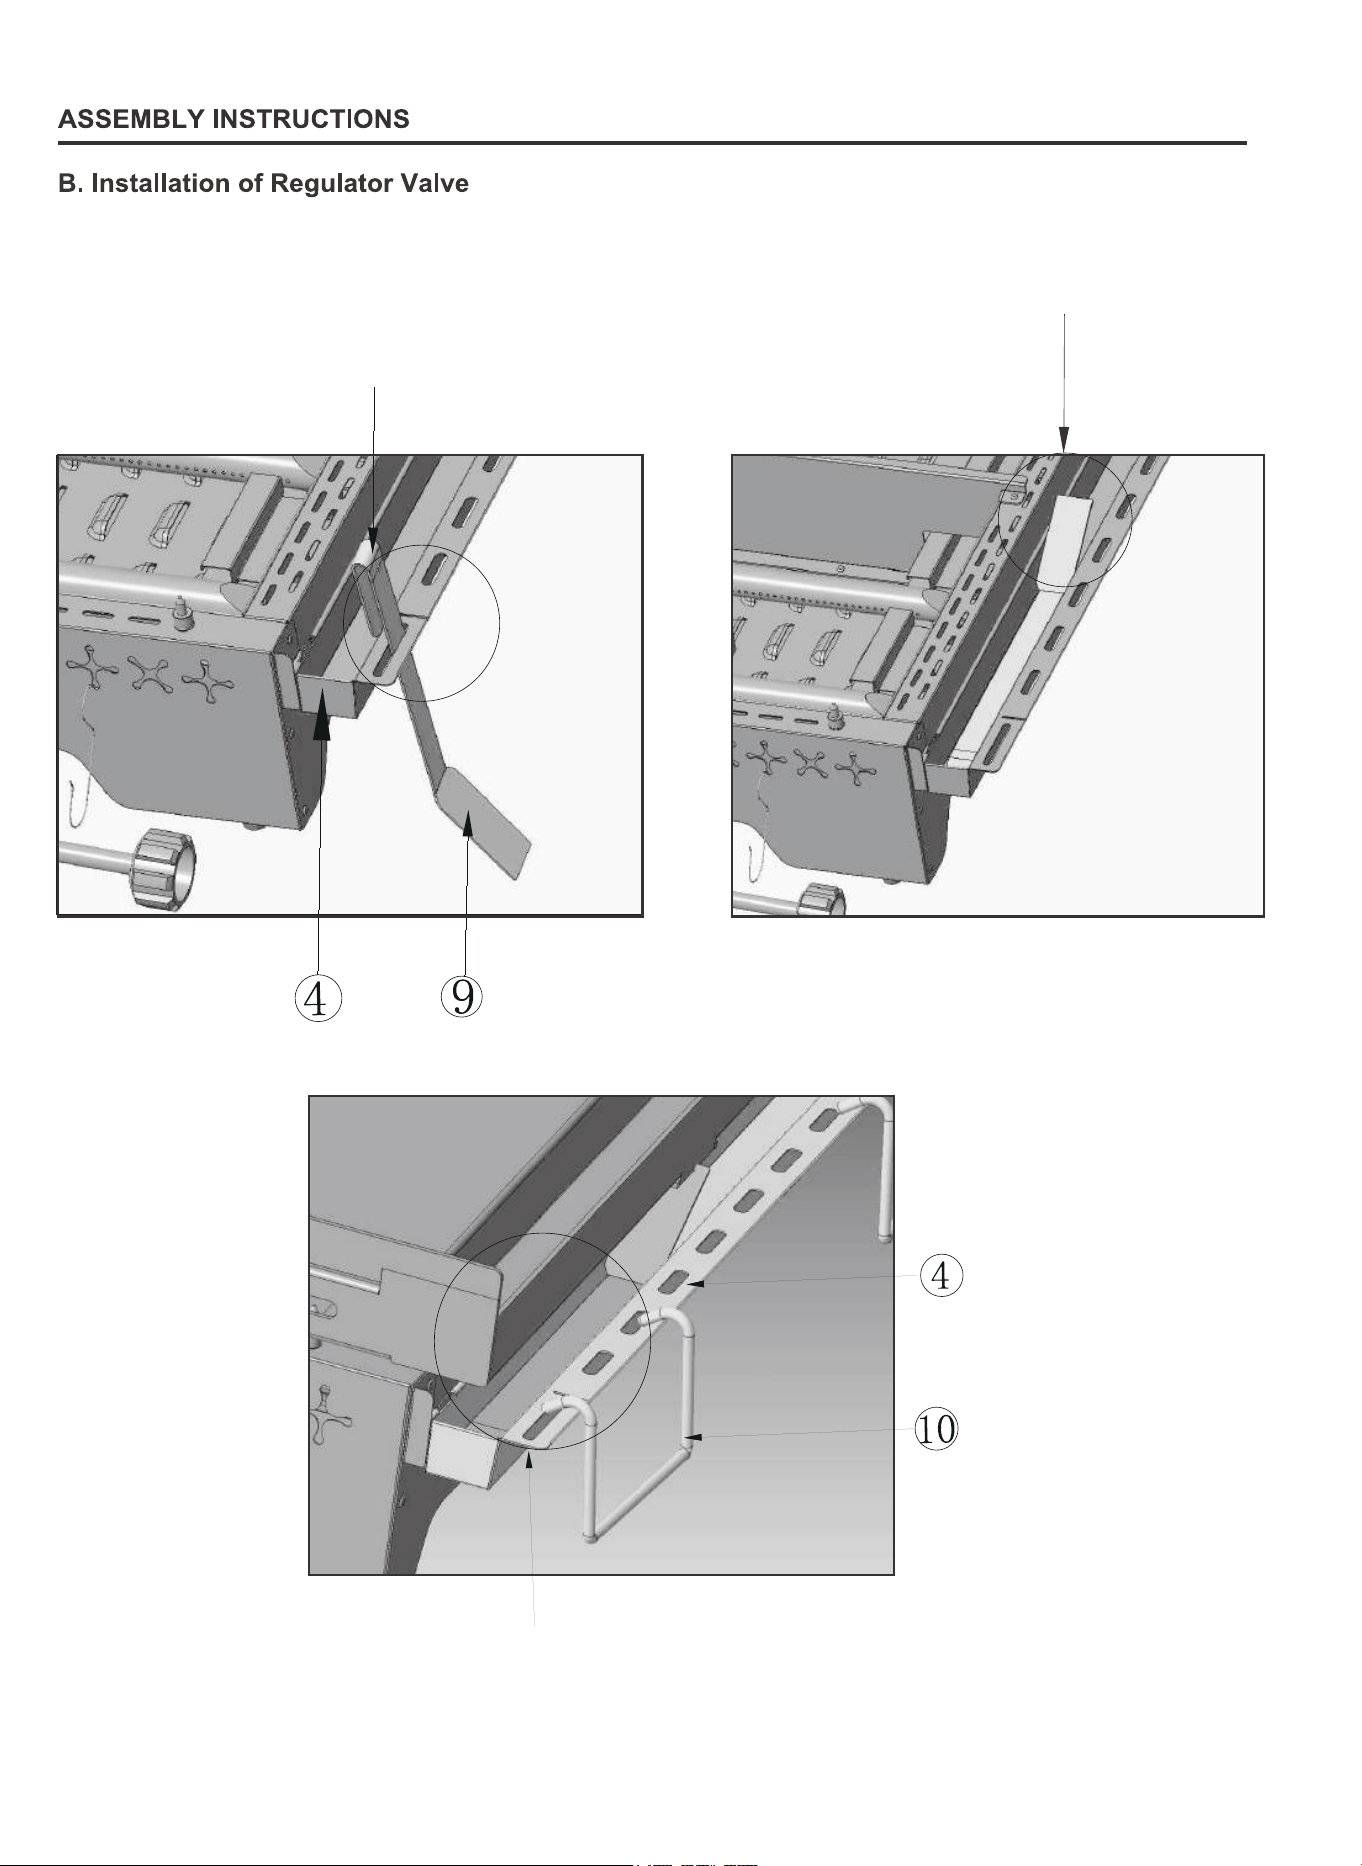
When not in use, the spatula can be inserted into the
limit hole on the side of the oil drip box handle.
When not in use, the detachable handles (14) can be inserted into
the limit holes on the side of the oil drip box (4) handle.
The spatula (9) can also be stored in the drip
box (4).
5
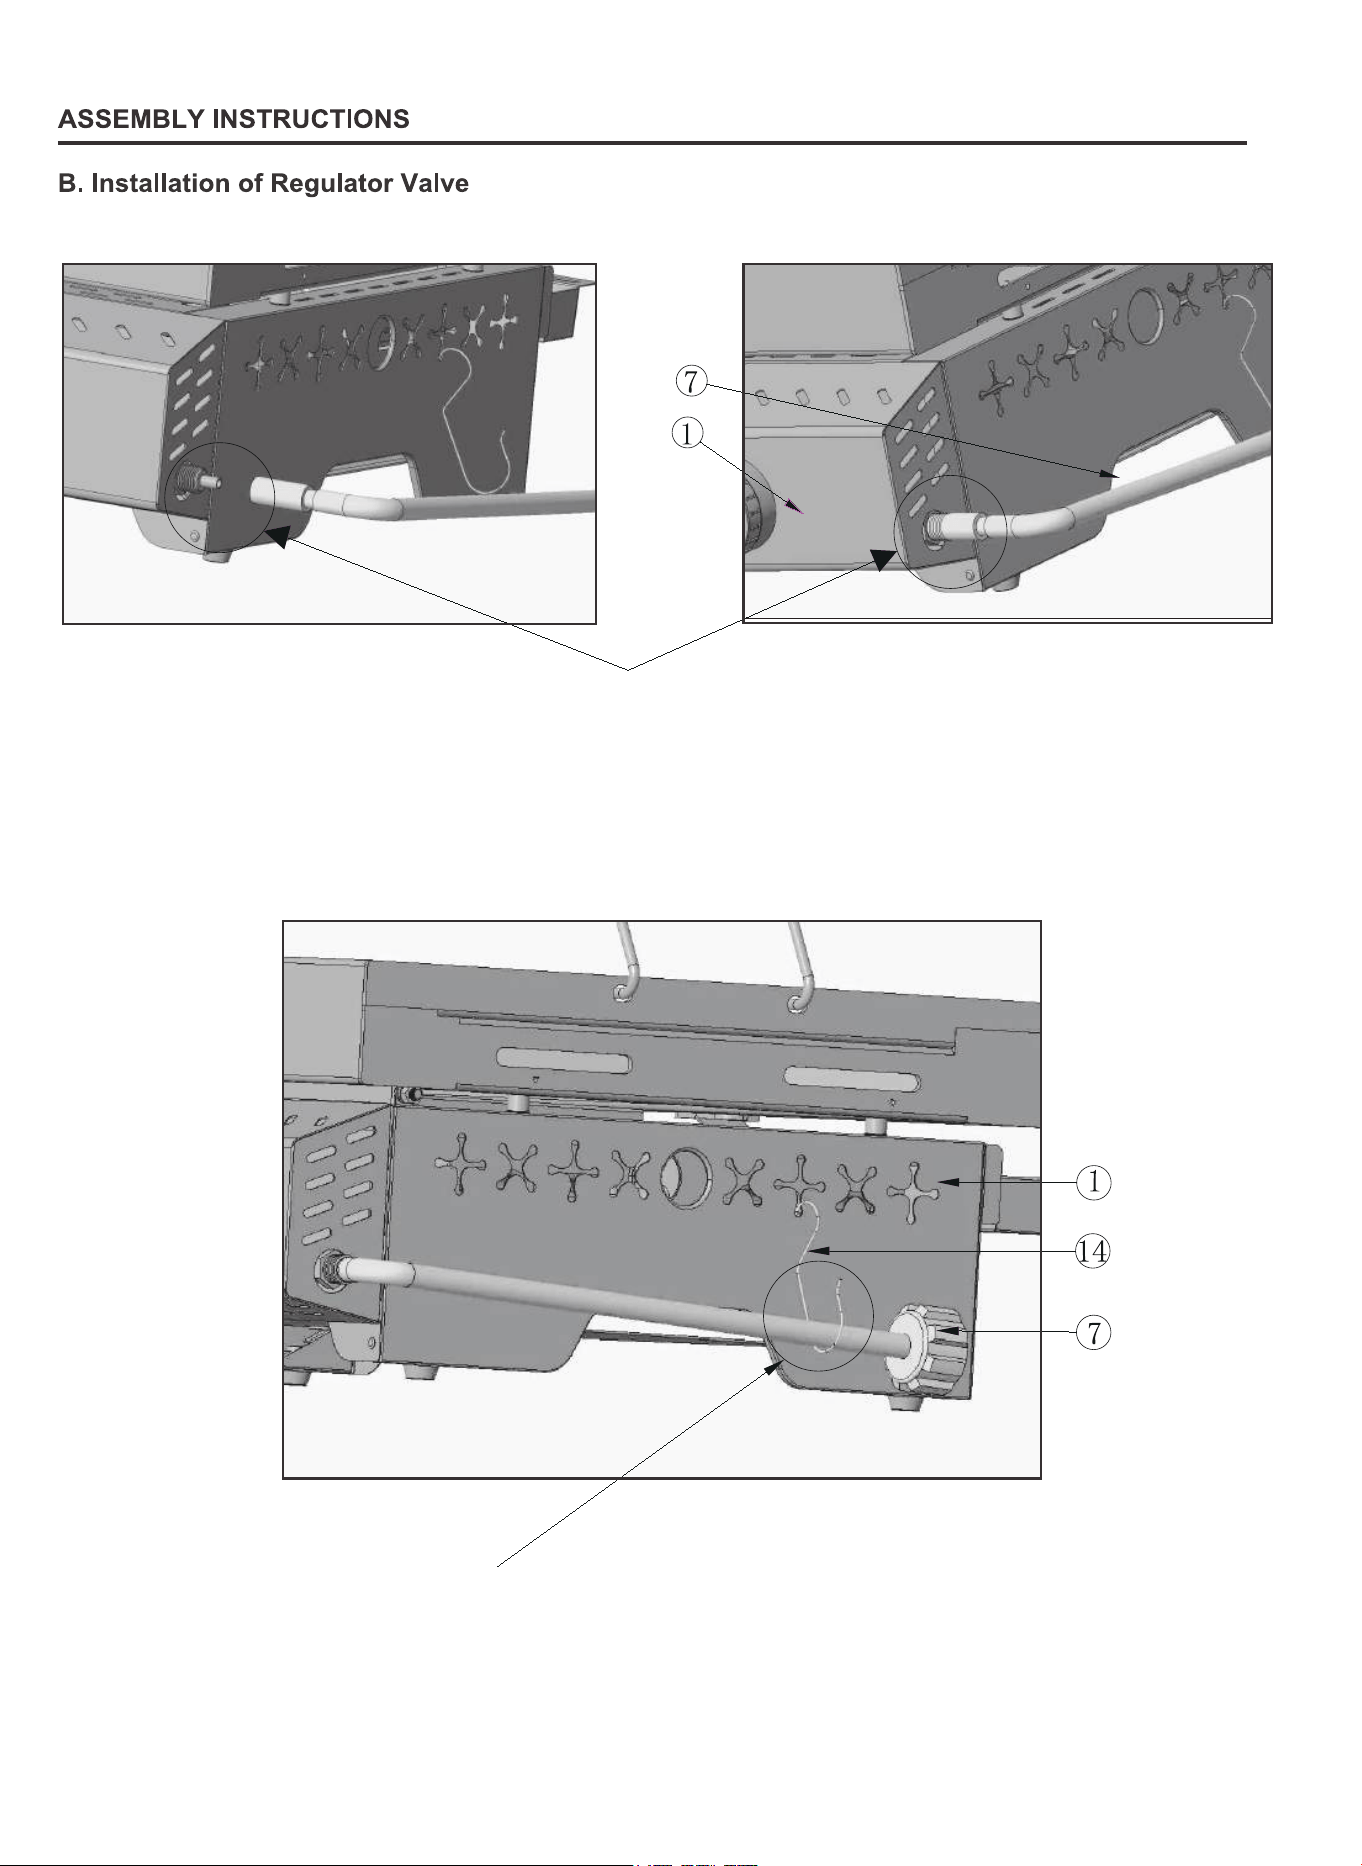
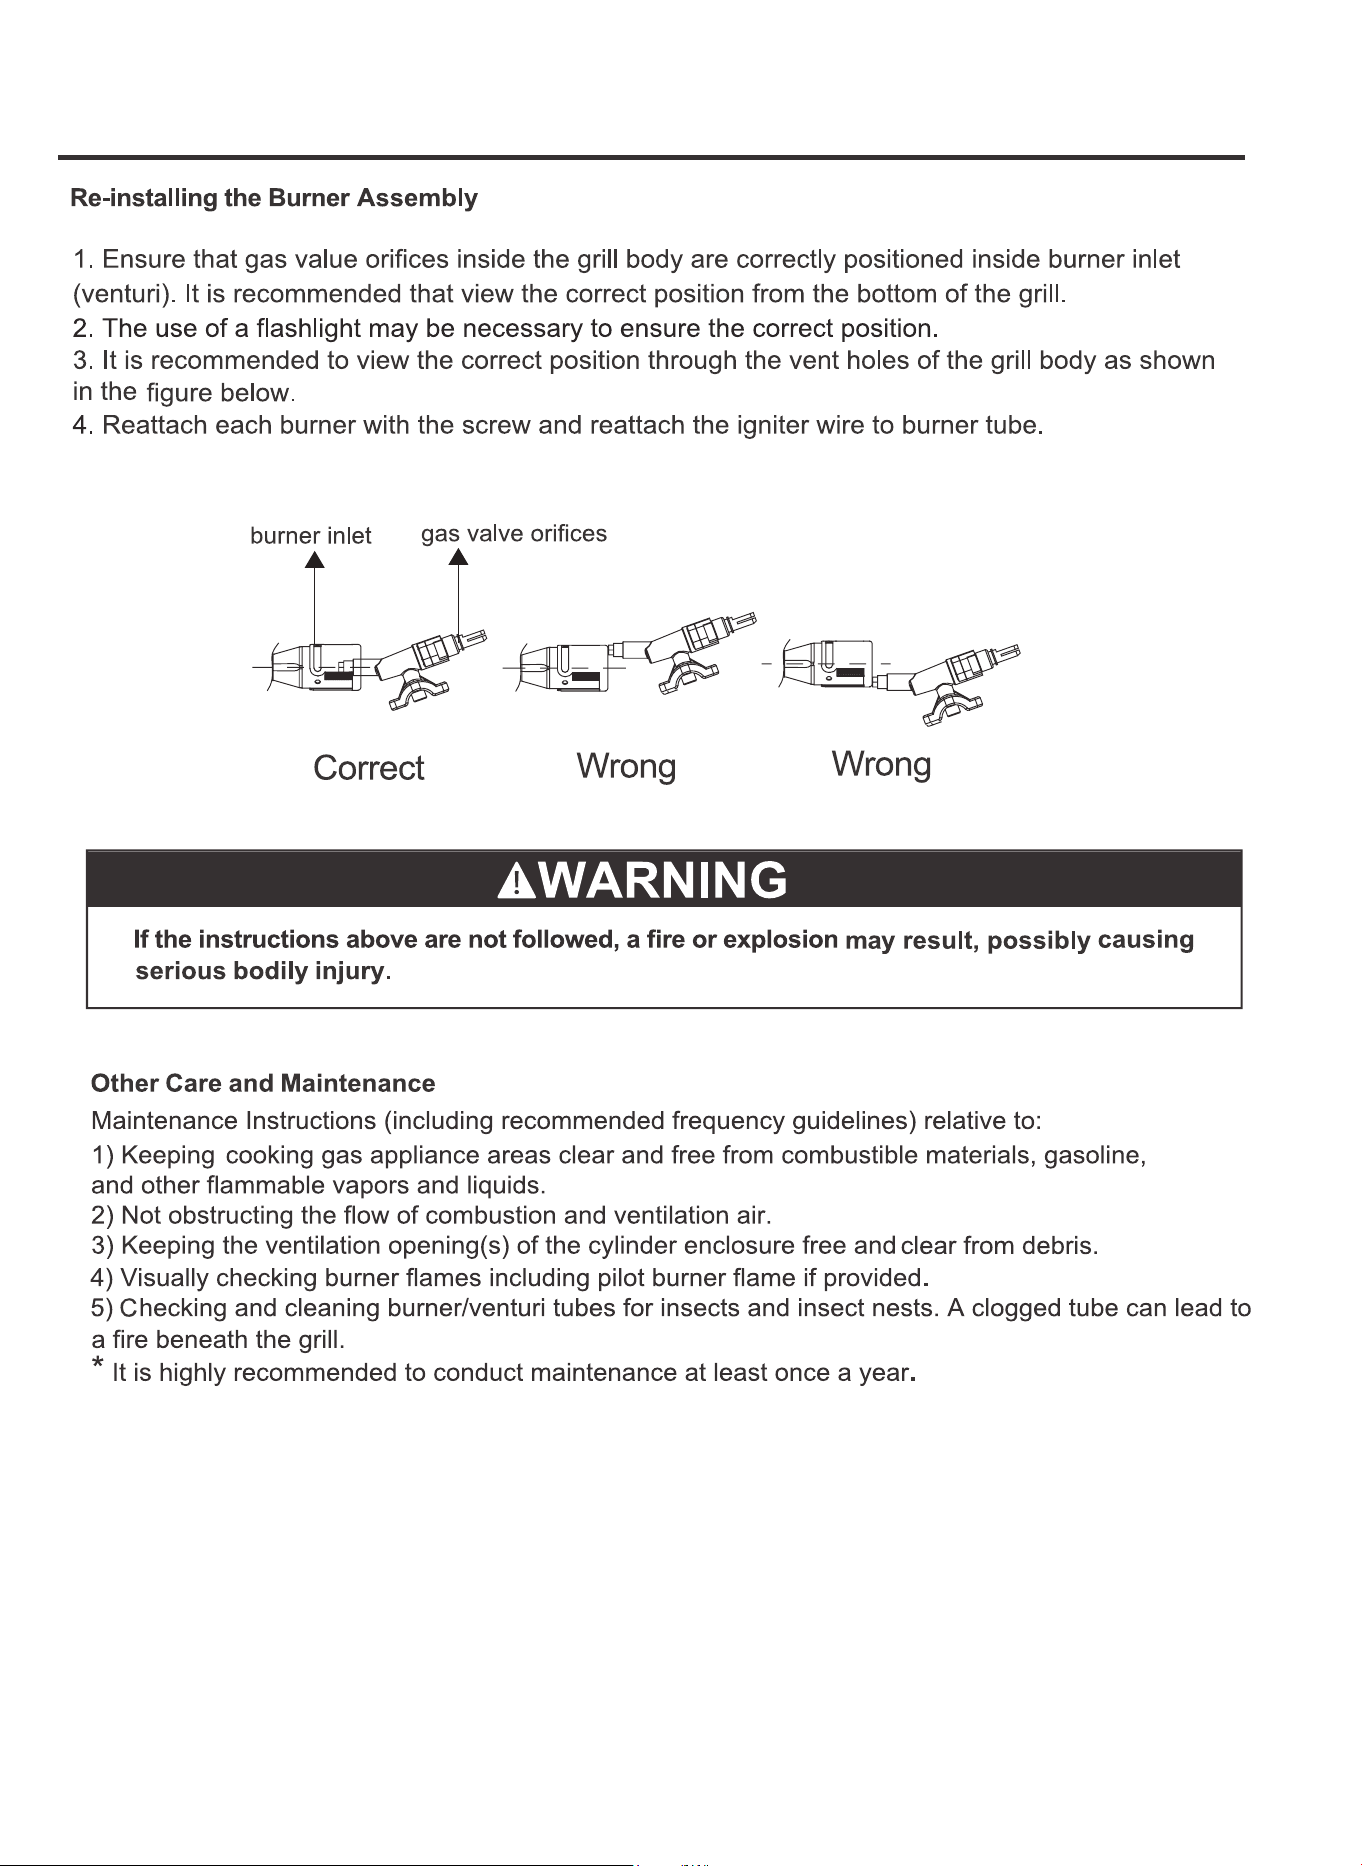
Turn the regulator valve and hose assembly (7) clockwise to connect it with the grill body (1).
Connect and tighten the threaded valve of the hose to the threaded valve of the tank to ensure
that there is no leakage.
When the grill is not in use, hang the hose assembly (7) on the side of the
grill body (1) with the hose hook (14).
6
7
8
9
10
11
12
18
13
14
15
16
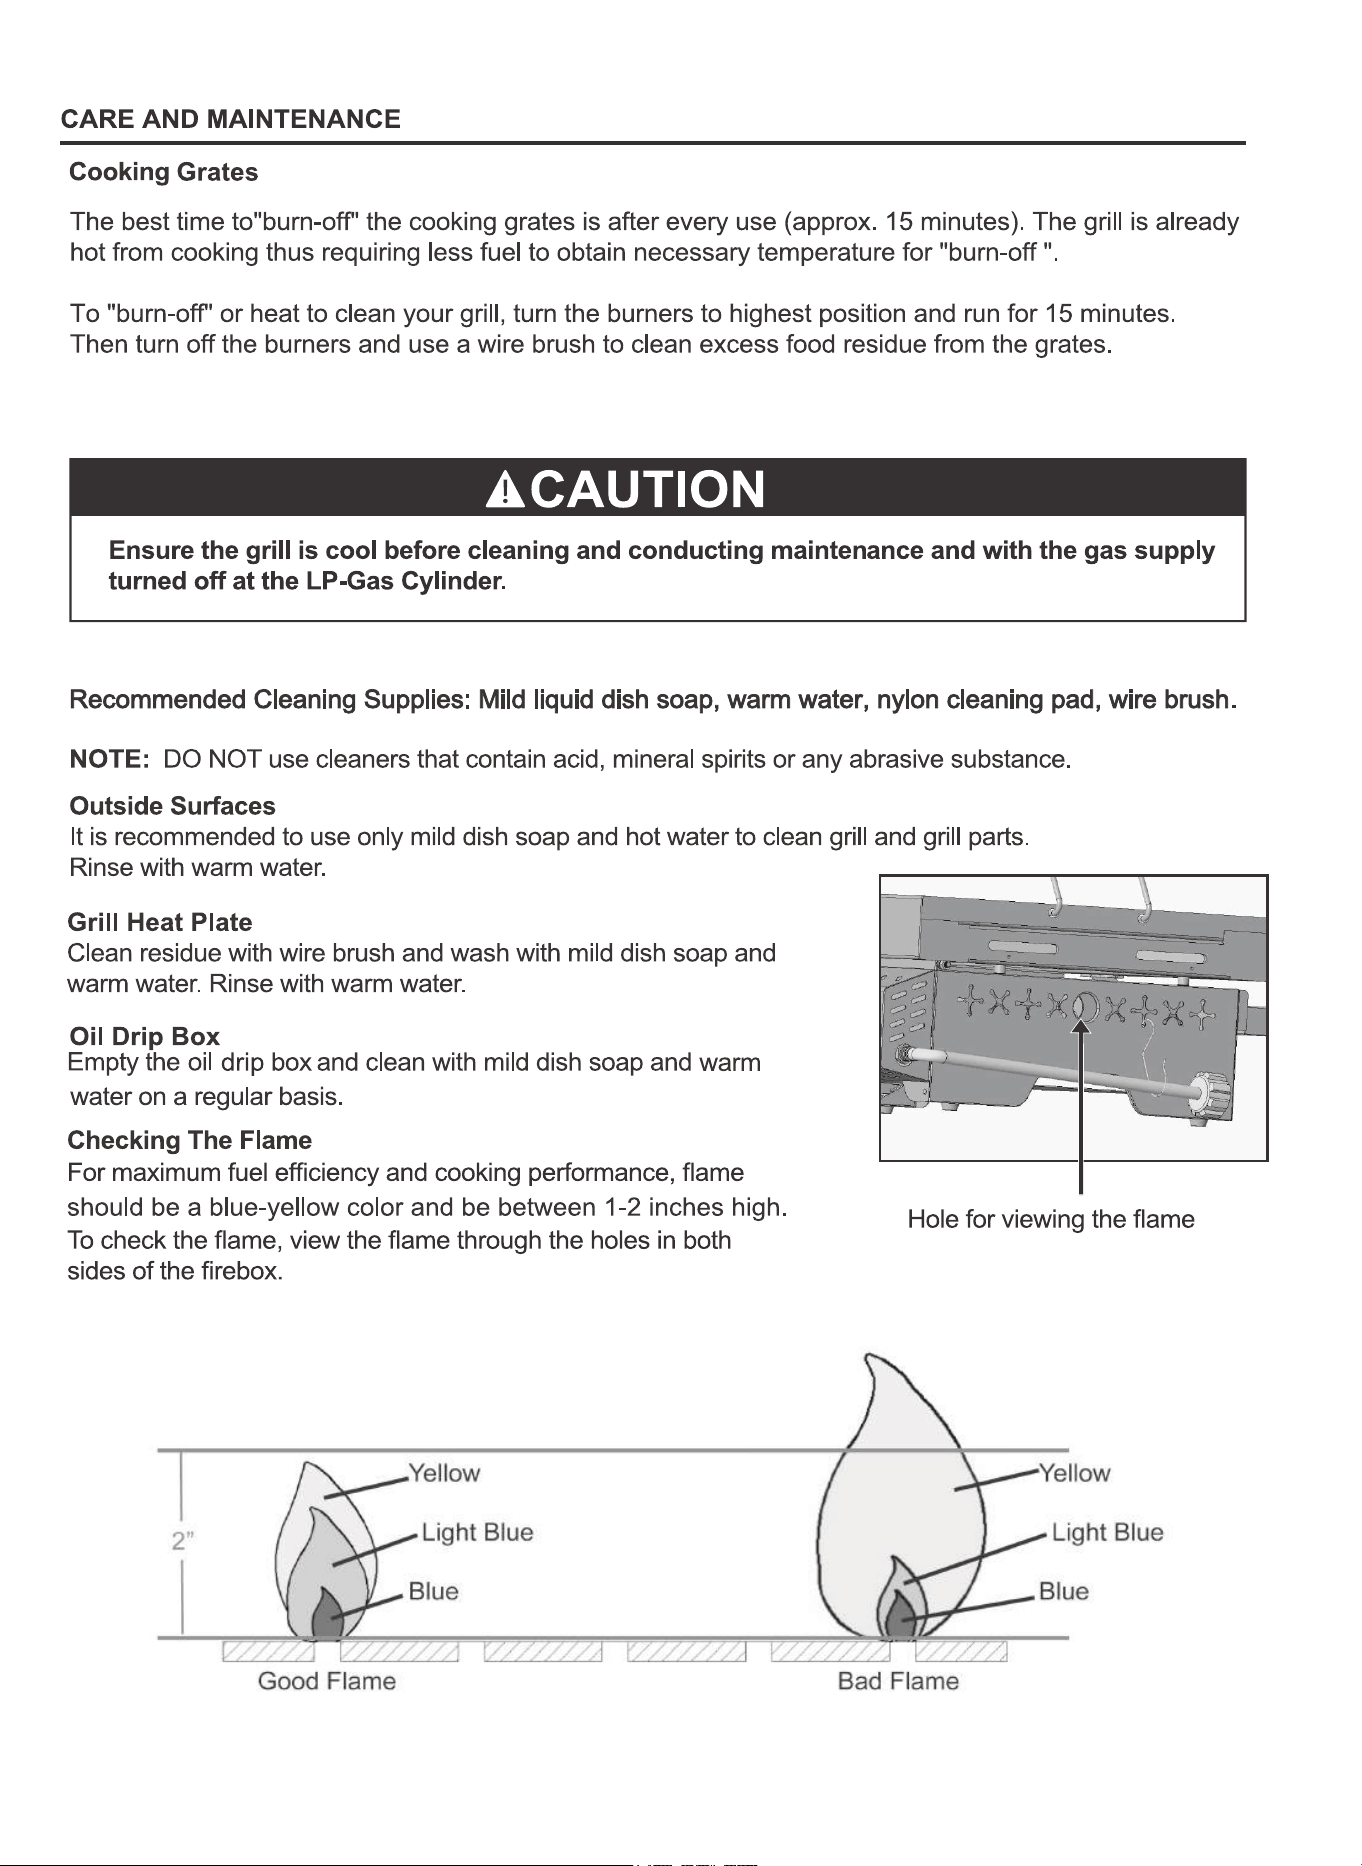
CARE AND MAINTENANCE
17
1. The burner tube may be
covered with grease or residue.
2. The burner tube may have
a loose or disconnected wire.
3.Cracked or broken burner
tube
Insufficient gas pressure to
the unit.
1. Clean the burner tube.
2.Check the connection and reconnect
any loose or disconnected wire.
3. Replace the burner tube.
Call a qualified service agency to
check the gas supply pressure and
correct the pressure.
1.Grease and/or residue build-up
on grill heat plates or in firebox.
2.Excessive dripping of fat or
marinade from food.
3. Cooking temperature is too
high.
1.Grease and/or residue build-up
on grill heat plates or in firebox.
2.Excessive dripping of fat or
marinade from food.
3. Cooking temperature is too
high.
18
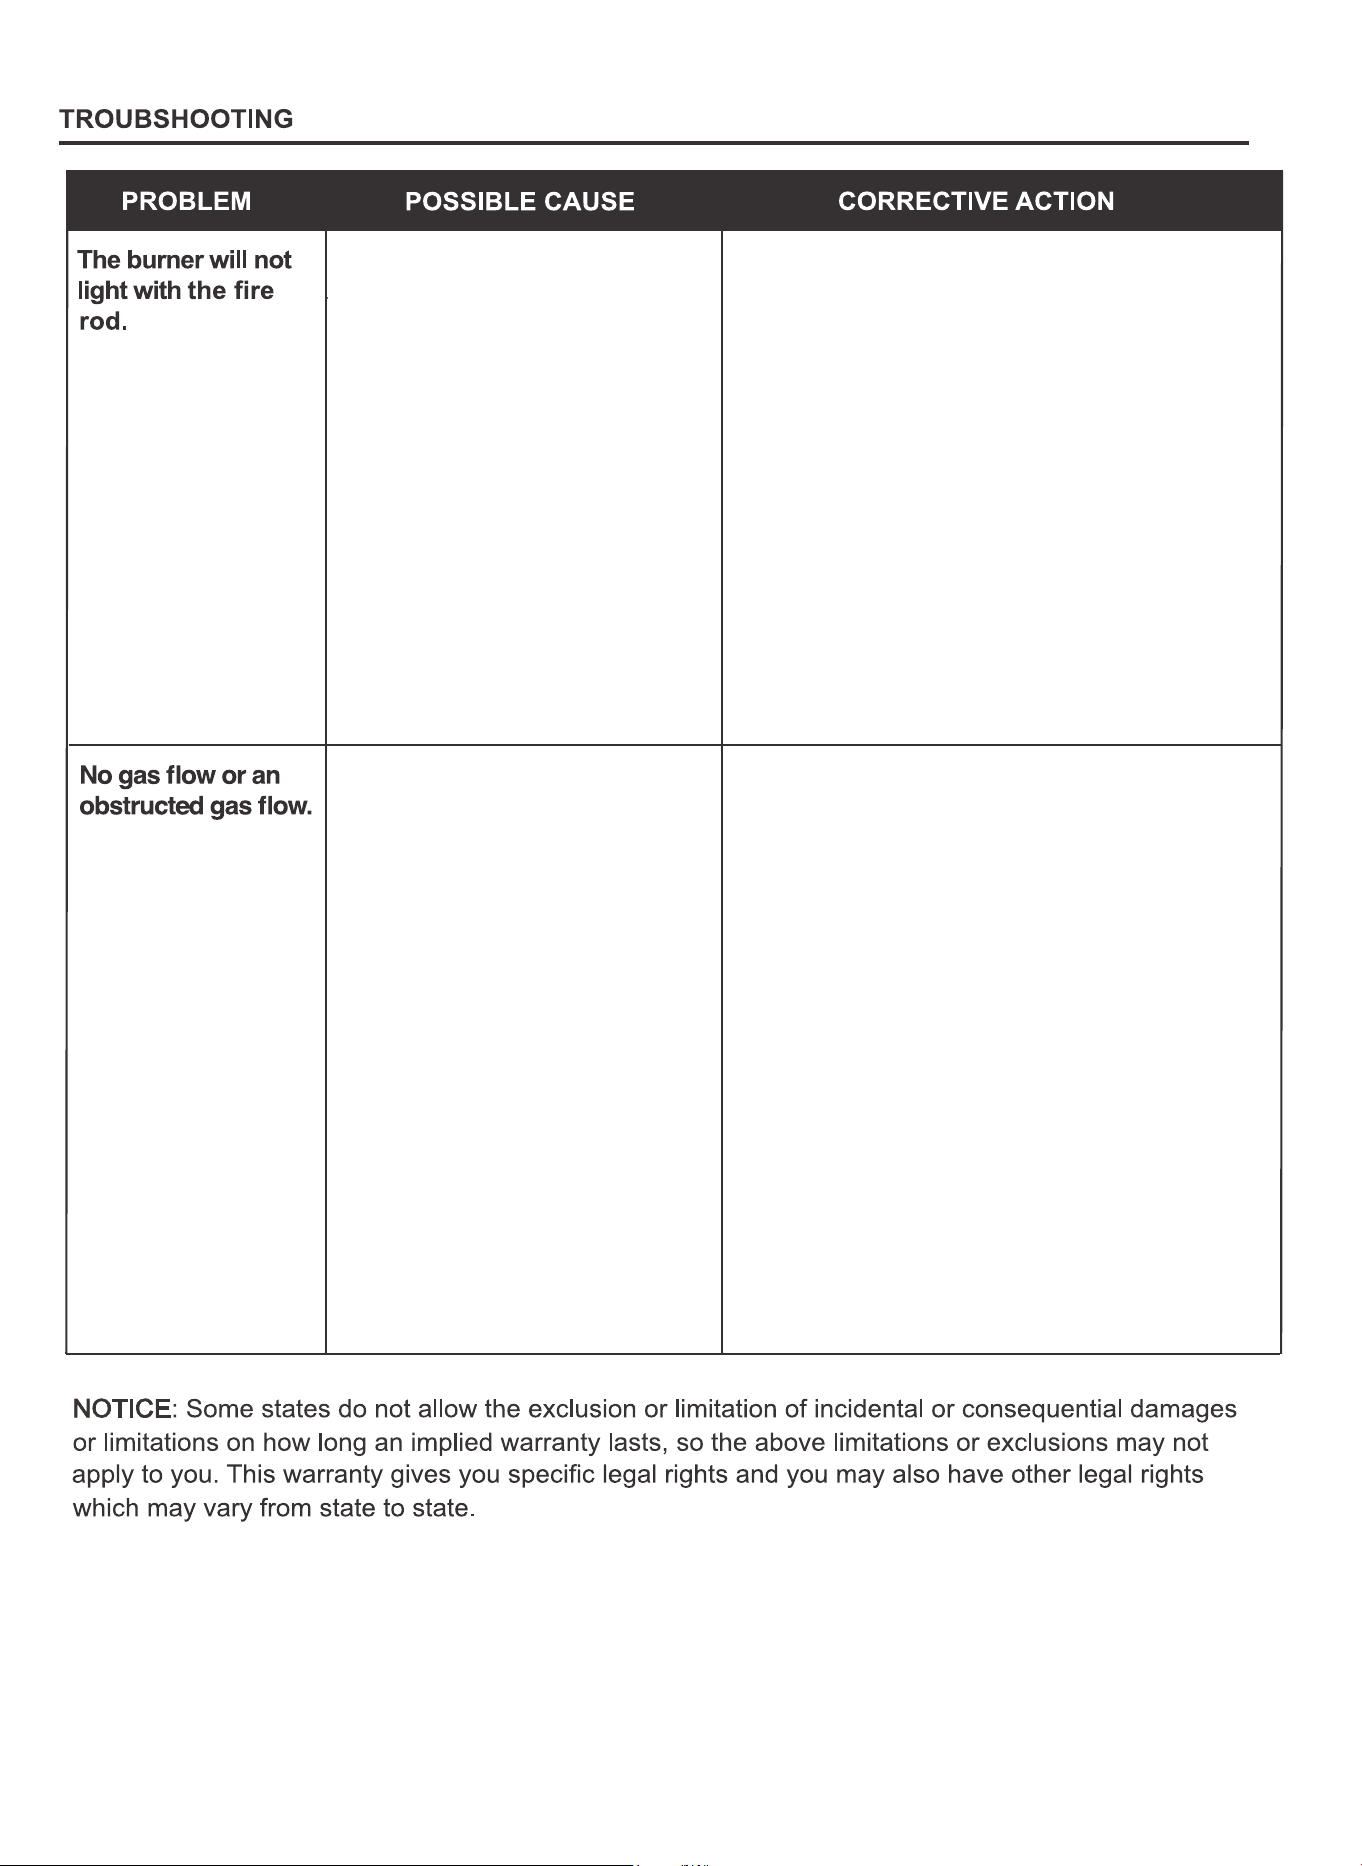
1. The rod does not reach burners.
2. Empty tank.
3. Poor connection between the
threaded valve of the hose assembly
and the threaded valve of the LP gas
cylinder.
4. Burner inlet blocked.
1.Use the fire rod correctly as instructed in
LIGHTING THE GRILL WITH THE FIRE ROD
/MATCH section.
2. Check the fuel level and replace the tank if
necessary.
3. Turn off grill knobs first. Close the cylinder valve
of the LP gas tank and check the connection between
the threaded valve of the hose assembly and the
threaded valve of the LP gas tank.
4. Clean the burner inlet (venturi) and the
burner as described by CARE AND
MAINTENANCE section in the manual.
1. Fully open the cylinder valve by turning
counterclockwise.
2. Check the fuel level and replace the fuel if
necessary.
3. Turn off grill knobs first. Close the cylinder valve
of the LP gas tank and check the connection between
the threaded valve of the hose assembly and the
threaded valve of the LP gas tank.
4.Clean the burner inlet (venturi) and burners
as described by CARE AND MAINTENANCE
section in the manual.
5.Connct the regulator valve and the propane
cylinder or the LP gas tank using the correct
method as shown in step B in the
ASSEMBLYINSTRUCTIONS section.
1. Cylinder valve is not on or fully
opened.
2. Empty tank.
3.Poor connection between the
threaded valve of the hose assembly
and the threaded valve of the LP
gas cylinder.
4. Burner inlet is blocked.
5. Wrong connection
19