www.SQUATZ.com
PLEASE READ THIS MANUAL CAREFULLY BEFORE OPERATION
Features
• Lightweight, High Quality Durable ABS Plastic
• Durable and Not Easily Damaged
• Anti-Slip Sticker at the Bottom
• Soft Silicone Handle
• Fit for all Kinds of Ground
• Avoid Excessive Wrist Pressure
• Thickened Grip, Helps Build Muscles
• Improve Fitness and Flexibility
• Rubberized Easy-Grip Platform Pad
• Portable and Exercise Mat
• Durable Fitness Mat with Non-Slip Texture
• Convenient to Carry and More Stable
• User-Friendly, Ecient and Safe with Carrying Bag
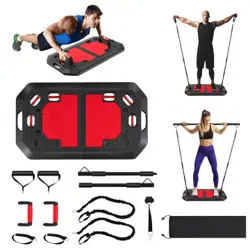
What's in the Box:
• (1) Foldable Board
• (20) Bottom Stickers
Technical Specs:
• Construction Materials: ABS + PP + TPE
• Weight Capacity: 1,102 lbs.
• Rod Length: 35.4’’ inches
• Board Length: 19.7” inches
• Board Handle Size: 7.87’’ x 3.96’’-inches
• Product Dimensions (L x W x H):
25.9" x 14.1" x 4.05" -inches
www.SQUATZ.com
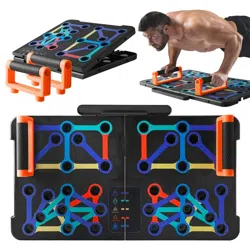
Assembly Method
Accessories: 36 holes / 22 Exercise Modes
Reminder: Install the Portable Push Up Board rmly before use.
Portable Push Up Board Installation
1. Open the package, paste the anti-slip foot pads on the bottom, and then exercise according to the
training method.
2. You can attach 10 anti-slip foot pads on the unit to keep the board stable while doing push ups.
Instructions
1. Set up the push-up board on an even surface. Secure the handles in the appropriate color-coded
position based on the muscle you are planning to target. Once you have the board ready, get into the
starting position by grabbing the handles with an overhand grip. Your hands should be directly under
your shoulders, and your body should be in a straight line throughout the movement. Slowly lower your
torso towards the board until your shoulders are a few inches away from the handles.
Return to the starting position explosively. Pause and contract your target muscles at the top.
2. With the help of this push-up board you can train your chest, shoulder and triceps muscles.
Dierent color-coded push up board targets specics muscles worked, making your posture more standard,
and matching with the gifted professional training schedule to make your tness more ecient.
3. Do not change the handle position during push-ups.
Portable Push Up Board Tips
Do not lock out your arms at the top of the movement as it will take away the tension from your target
muscles and put it on your elbows. If you are a beginner, you could perform the exercise by balancing your
lower body on your knees instead of your feet. Gripping the bars tightly will help you generate more power.
Make sure your neck and spine are aligned while performing the exercise. Do not shrug your shoulders.
Keep your core and glutes braced throughout the movement. Breathe in while lowering your body towards
the oor and exhale sharply as you return to the starting position. Don’t are your elbows too wide as it
will put unnecessary tension on your shoulders and rotator cus.
• (2) Handle
• (1) Side Inserter
• (1) Pilate Rod
• (5) Resistance
• (1) Elastic Bands
• (1) Bag
1. Soft Rubber Handle *2 2. Training Board 3. Sponge Gasket *20
Questions? Comments?
We are here to help!
IMPORTANT NOTES
FREQUENTLY ASKED QUESTIONS
Q: Why do muscles feel sore after exercising?
A: Please exercise gradually. In the initial stage of using the push-up training board, the upper body may
be sore the next day, and it will gradually improve in the future. It is recommended to do 15 sets rst,
3 sets a day, and then 20 sets after a month, and gradually progress according to your own conditions.
Q: Can children use it?
A: It can be used, but it should be used reasonably under the supervision of an adult, and pay attention to
safety.
Please strictly follow the instructions for other matters not noticed, and all the consequences
caused by improper operation and use are the responsibility of the parties themselves.
Important Safety Precautions
Please keep this instruction manual in a safe place for future reference
1. Please allow your child to exercise reasonably under the supervision of an adult.
2. In order to prolong the life of the product, the equipment should be avoided from being exposed to the
sun, humid and hot, wind and rain and other adverse environments. It is also necessary to avoid corrosive
chemicals such as oil stains, strong acids and alkalis on the product.
3. Please make sure to use the equipment in the way specied in the manual. Please check whether the
product is in good condition when using it, and do not use the defective product.
4. Wrong use or excessive exercise will cause muscle damage. It is recommended to do 10-15 groups rst,
3 groups a day, and then 20 groups in one month, and gradually progress according to your own
conditions.
5. In the process of storing the equipment, pay attention to the storage location to avoid unnecessary losses.
6. The training equipment is suitable for dierent groups of people. Please strictly follow the instructions
or train reasonably under the guidance of a coach.
7. The training equipment is not suitable for use as medical equipment.
8. If you encounter any problems or need our assistance during installation or use, please contact customer
service.
10-Week Super Training Program
30-60 seconds between each training set
Note:
• Keep your head and neck straight. Keep your shoulders down and back steady.
• Keep your hips in line with your torso for proper abdominal absorption.
• Absorb your abs when doing push-ups.
• When doing push-ups, the position should be widened for better balance.
• Do not change the handle position during push-ups.
Modied Push Ups: Knee Pose (Beginner), Regular Pose (Intermediate), High Pose (Advanced).
Three Challenging Training Phase
10-Week Program
1. Primary stage (First 3 weeks, 4 days a week training)
2. Ascension stage (3 weeks in between, training 5 days a week)
3. Advanced stage
www.SQUATZ.com www.SQUATZ.com
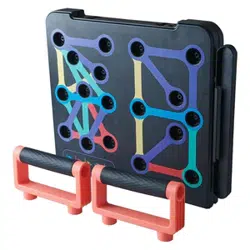
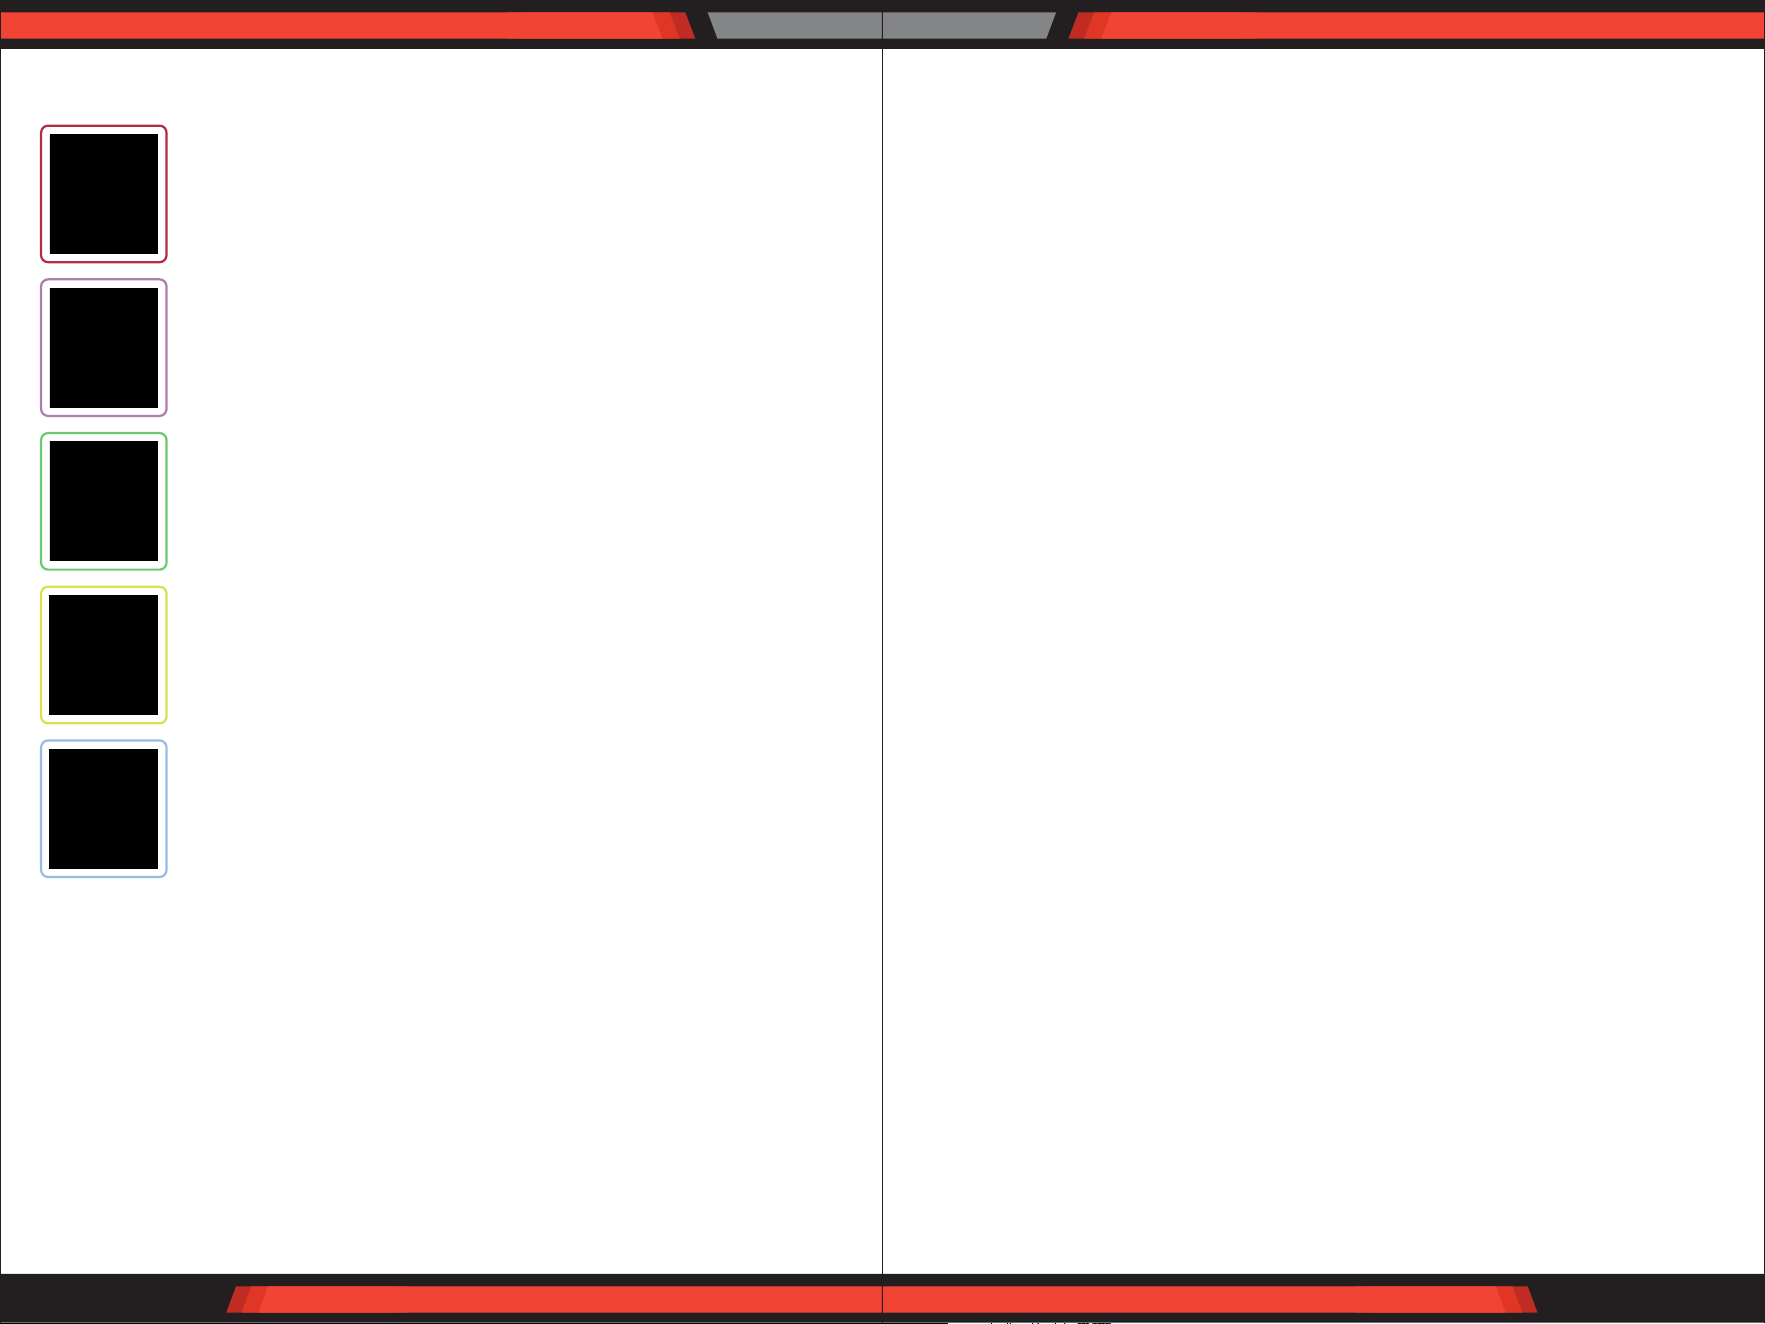
1. Red line shoulder exercise. The shoulder eectively forms the upper the upper
body muscles and provides a variety of eective positions and angles for
shoulder muscle movement.
2. The pink and purple line chest exercise provides eective formation of the
position and angle of the upper body muscles of the chest muscles.
3. The green line triceps exercise provides multiple positions and angles of
movement for ecient peptide triceps formation.
4. The yellow line Trapezius exercise provides multiple positions and angles of
movement for a strong spine.
5. The blue line core muscle group eectively exercises the core muscle group and
enhances the muscle endurance of the muscle group.