HOMEDEPOT.COM
Please contact 1-855-847-7264 for further assistance.
Operation
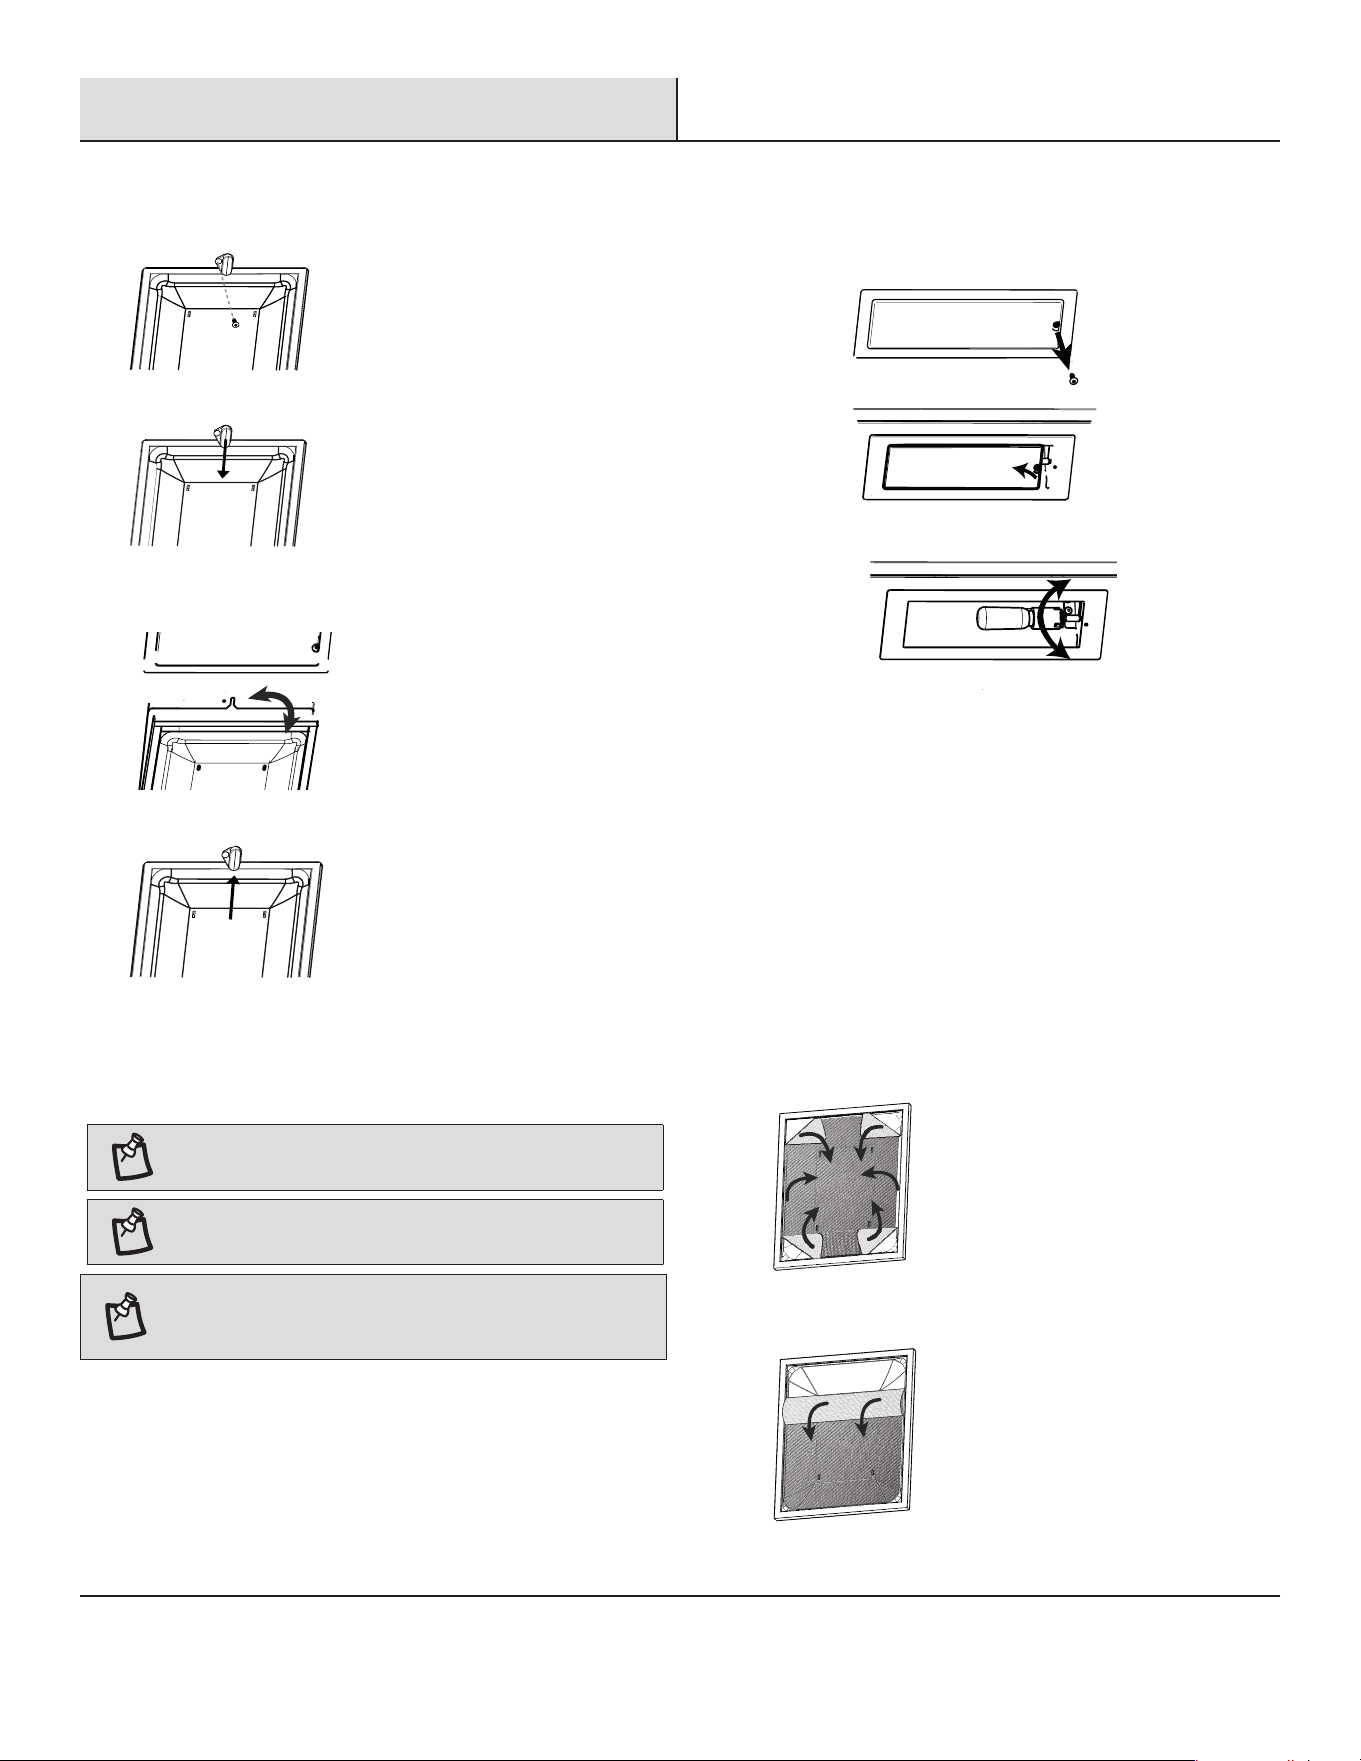
RECIRCULATION VENT COVER
□ For installations which are recirculating the air exhaust, the
recirculation vent cover must be removed.
□ Remove the recirculating vent cover by removing the two
mounting screws with a screwdriver.
NOTE: For installations which are venting out the roof or
wall, the recirculating vent cover must remain in place.
Do not remove as unit will not perform properly.
□ To complete the installation, go to “Installing power supply
cable” section.
□ The range hood is designed to remove smoke, cooking vapors
and odors from the cooktop area. For best results, start the
hood before cooking and allow it to operate several minutes
after the cooking is complete to clear all smoke and odors from
the kitchen.
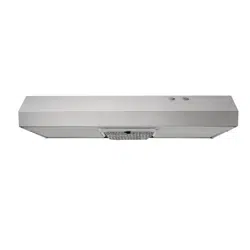
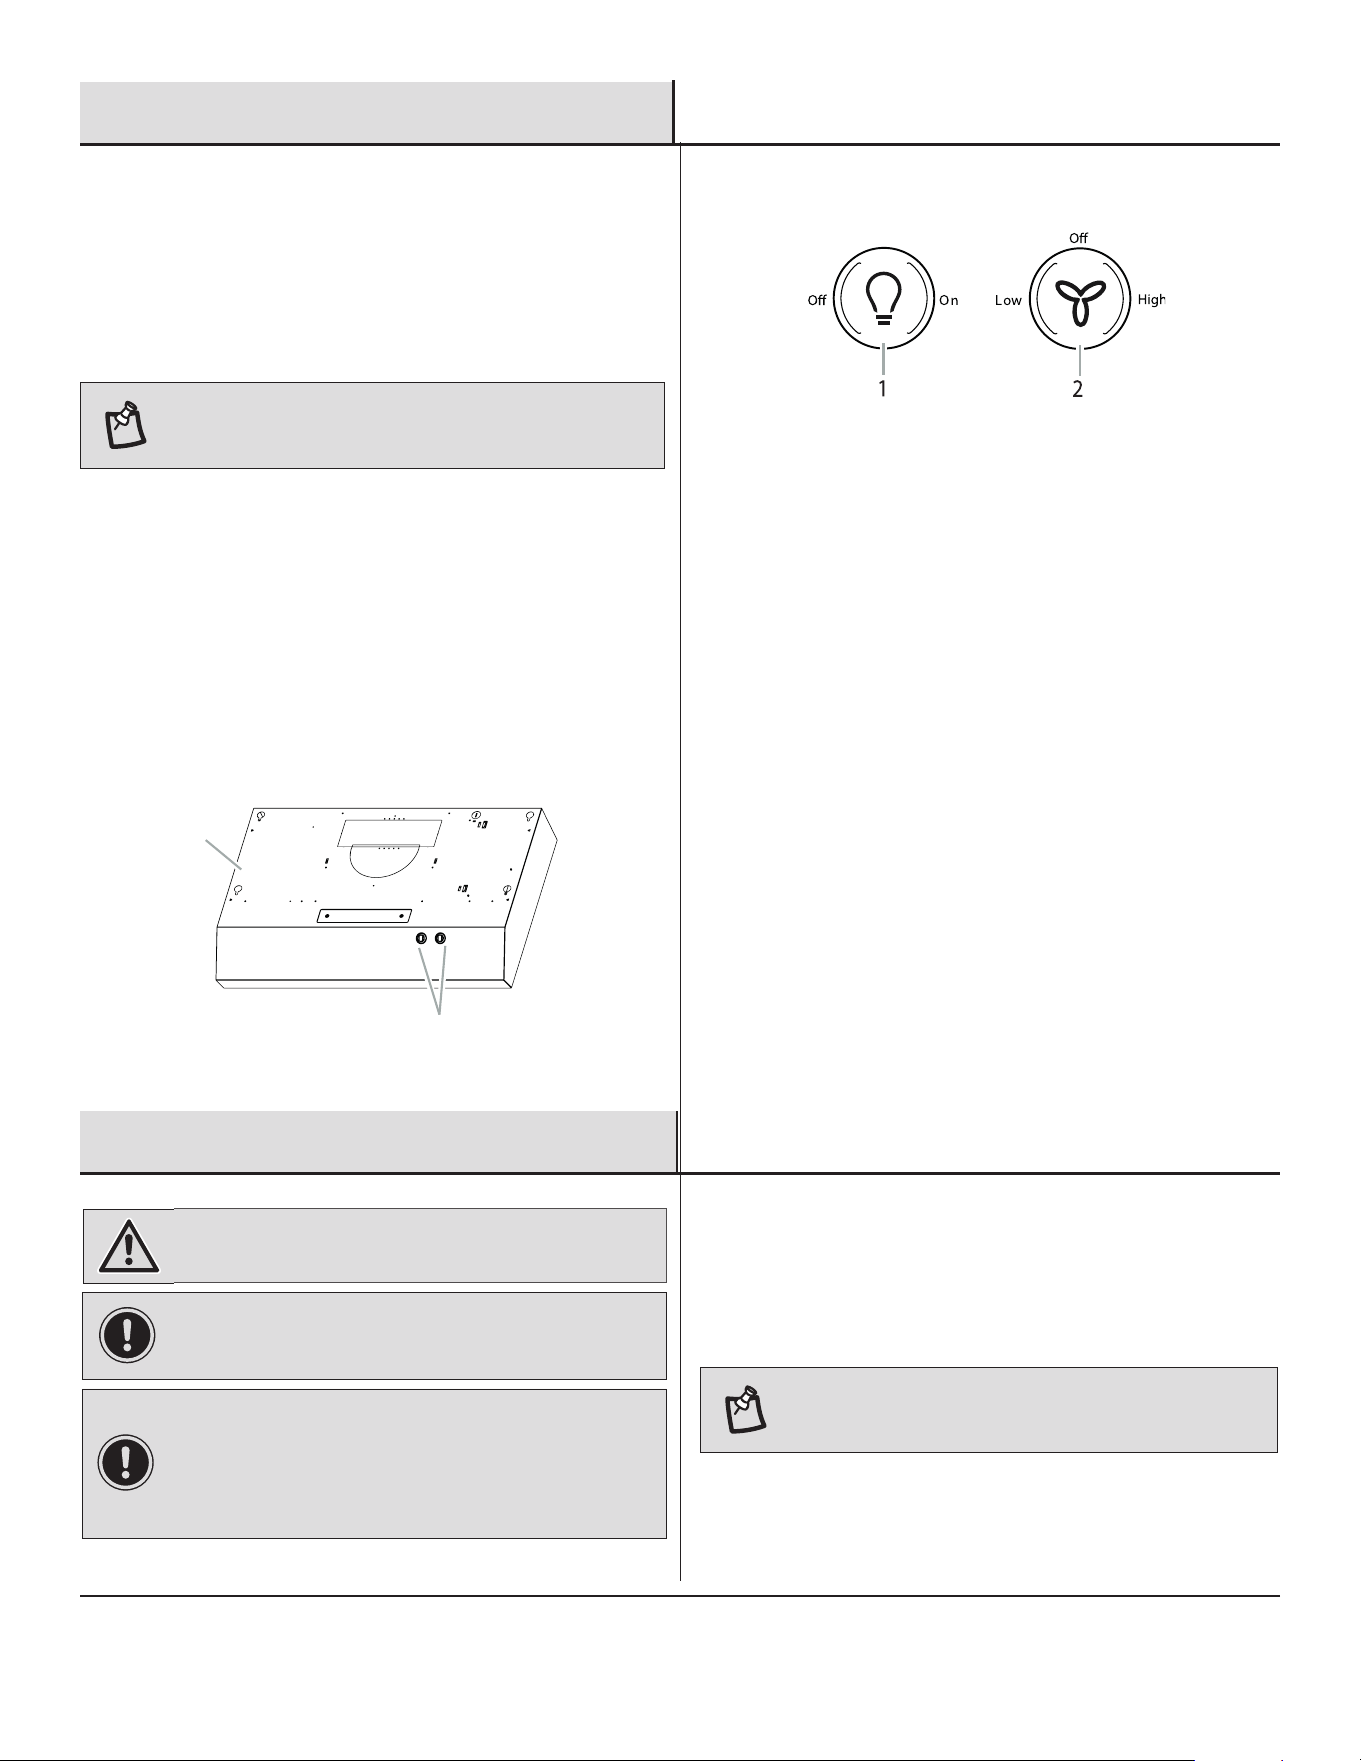
□ The hood controls (1) are located on the top of the range hood
(A).
1
A
RANGE HOOD CONTROLS
□ Operating the light
□ Push the light switch (1) to the right to turn the light On.
□ Push the light switch (1) to the left to the turn the light Off.
□ Operating the fan
□ Push the fan switch (2) to the left for Low speed.
□ Push the fan switch (2) to the right for High speed.
□ Push the fan switch (2) to the middle for Off.
WARNING: To reduce the risk of re or electrical shock
disconnect from power supply before cleaning.
IMPORTANT: Clean the hood and grease lters
frequently according to the following instructions. Replace
grease lter before operating hood.
IMPORTANT: When cleaning surfaces, do not use soap-
lled scouring pads, abrasive cleaners, cooktop polishing
creme, gritty washcloths or paper towels. To avoid
damage to the stainless steel, do not use cleaners that
contain chlorine.
CLEANING METHOD:
□ Use warm water with liquid detergent or all purpose cleaner
and soft cloth to clean outside surfaces.
□ Rinse with clean water and dry with soft, lint-free cloth.
□ Use glass cleaner to remove ngerprints.
NOTE: On stainless steel nish, clean in direction of
stainless steel brush to avoid scratching or damaging
the surface.
Care and Cleaning
CLEANING OR REPLACING GREASE FILTER
□ Remove screw from the plastic lter retainer clip with screwdriver.
□ Slide down the lter retainer to release lter.
□ Reinstall the lter. Placing the back edge in the channel at rear
of hood. Push lter into place, slide back the clip to secure lter
to range hood.
□ Replace screw in the lter retainer.
□ To clean grease lter. Soak the lters in hot water using a mild
detergent. Rinse well and shake to dry. Or place in upper rack of
dishwasher to clean.
NOTE: Do not use ammonia. The aluminum on the
grease lter will corrode and darken.
NOTE: You can use either dishwasher or hot detergent
solution and rinse in clean water.
NOTE: The grease lter is dishwasher safe. To avoid
grease lter damage while cleaning, place lter into the
dishwasher top rack for cleaning.
REPLACING THE LIGHT BULB
□ Turn off the range hood and allow the light bulb to cool.
□ Disconnect power, turn off house breaker at breaker box.
□ Remove screw from plastic lens cover.
□ Lift right side to remove cover.
□ Screw a LED lamp 9 W max or incandescent bulb 40 W max
into the socket.
□ Replace lens cover and secure with screw.
□ Reconnect power. If new light does not operate, make sure the
lamp is inserted correctly before calling service.
CHARCOAL / GREASE FILTER
□ For recirculating vent hood, an optional charcoal lter is
available and already installed in lter.
□ The charcoal lter is not washable. It should last up to 6 months
with normal use. Replace the old charcoal lter with a new one.
□ If you want to transform your hood for outdoor exhaust system
you must remove the charcoal layer from the lter.
□ The charcoal layer is secured with a set of staples at the center
of the lter; to remove the layer without damaging the lter,
separate the edges of the charcoal from the frame until only the
staples are left holding it.
□ Pull the charcoal layer in the direction parallel to the staples.
If you pull in other direction, it could be more difcult to detatch
and the lter may suffer certain level of deformation.
□ The layer can easily be removed by hand but in case of need,
use scissors to cut it out.
Care and Cleaning (continued)