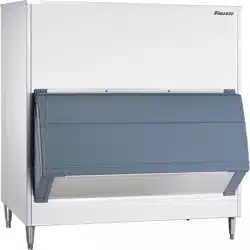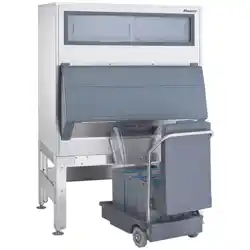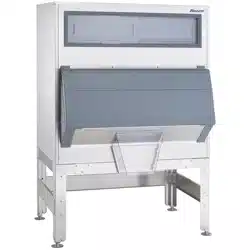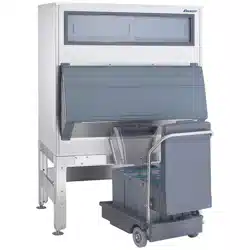

Double Door Upright Ice Storage Bins with
Poly Snout and SmartGATE
®
Ice Shield
207892R04
801 Church Lane • Easton, PA 18040, USA
Toll free (800) 523-9361 • (610) 252-7301
Fax (610) 250-0696 • www.follettice.com
Installation and Operation Instructions
Order parts online
www.follettice.com
EP 2138774

2
Follett Corporation
Equipment Return Policy
Follett equipment may be returned for credit under the following conditions:
1. The equipment is new and unused.
2. A return authorization number has been issued by customer service within 30 days after shipment.
3. Follett receives the equipment at the factory in Easton, PA within 30 days after issuance of the return authorization number.
4. The equipment must be returned in Follett packaging. If the packaging has been damaged or discarded, Follett will forward, at the customer’s
expense, new packaging.
Note: Return freight charges are the responsibility of the customer. If equipment is returned and is damaged because of improper packaging, Follett
Corporation will not be held responsible.
Credit will be issued when:
The equipment has been inspected by Follett and deemed suitable to be returned to stock.
Note: A 15% restocking charge will be deducted from the credit. If the cost to return the product to stock exceeds 15%, the actual cost will be
deducted.
Welcome to Follett
Follett ice storage bins enjoy a well-deserved reputation for excellent performance, long-term reliability and outstanding
after-the-sale support. To ensure that this bin delivers that same degree of service, we ask that you take a moment to
review this instruction before beginning the installation of the bin. Should you have any questions or require technical
help at any point, please call our technical service group at (800) 523-9361 or (610) 252-7301.
Before you begin
After uncrating and removing all packing material, inspect the equipment for concealed shipping damage. If damage
is found, notify the shipper immediately and contact Follett Corporation so that we can help in the ling of a claim,
if necessary.
Installation
All single section upright bins (packed in one crate)
Please read the following instructions carefully before proceeding with installation.
Note: Follett recommends the installation of a oor drain with grate with all ice storage bins.
1. Remove all packing material from bin.
2. Remove set of four legs (model 1850-96 has six) and any other accessories packed inside bin.
3. Lay bin on its back being careful to protect nish, and remove bolts holding skid to bin.
4. Screw legs into tapped holes in bin bottom and tighten to seat legs well against bottom. (On model 1850-96 install two
extra legs in holes drilled at front and rear center of bin.)
5. Remove protective paper from stainless steel surfaces.
6. Set bin upright and move it to permanent location.
7. Adjust “foot” at bottom of each leg to level bin in both directions.
8. For model SG2250-72 only, use supplied plugs to close bolt holes in bin back to prevent contamination of insulation.
9. Mount icemaker(s) on bin in accordance with icemaker manufacturer's instructions.
10. Remove all tape and temporary fastenings from door assemblies and outside of bin.
11. Connect drain line to 1" FPT female tting located in bottom of bin.
12. Make nal connections to icemaker.
Two-section upright bins (models SG3200-72, SG3900-72, and SG4600-72 only)
Please read the following instructions carefully before proceeding with installation.
Note: Follett recommends the installation of a oor drain with grate with all ice storage bins.
1. Remove all packing material from both sections of bin.
2. Remove set of four legs and any other accessories packed inside lower section of bin.
3. Screw legs into tapped holes in lower section and tighten to seat legs well against bottom.
4. Set lower section upright and remove bolts holding skid to back of bin.
5. To prevent contamination of insulation, use supplied plugs to close bolt holes in bin back.
6. Remove protective paper from stainless steel surfaces and move bin to permanent location.
7. Adjust “foot” at bottom of each leg to level bin in both directions.
8. Run a 1/8" (3mm) bead of silastic sealant over center of each gasket on lower section, including over brackets
(see gures on page 4).
3
Important cautions
Avoid excessive tightening force when connecting to the bin drain tting.
Do not apply excessive heat if any sweating of ttings is necessary. Heat conduction through
metal may melt threads in plastic drain tting.
!
4
9. Remove bolts holding skid to upper section back and close holes with supplied plugs.
10. Position upper section over lower section.
Caution: Follow steps 11-14 to anchor upper and lower sections of all two-section upright bins. Bracket must be
installed to avoid possible injury should unit move.
11. Lower upper section onto lower section, taking care not to disturb gaskets and sealant beads.
12. Install icemaker according to manufacturer’s instructions.
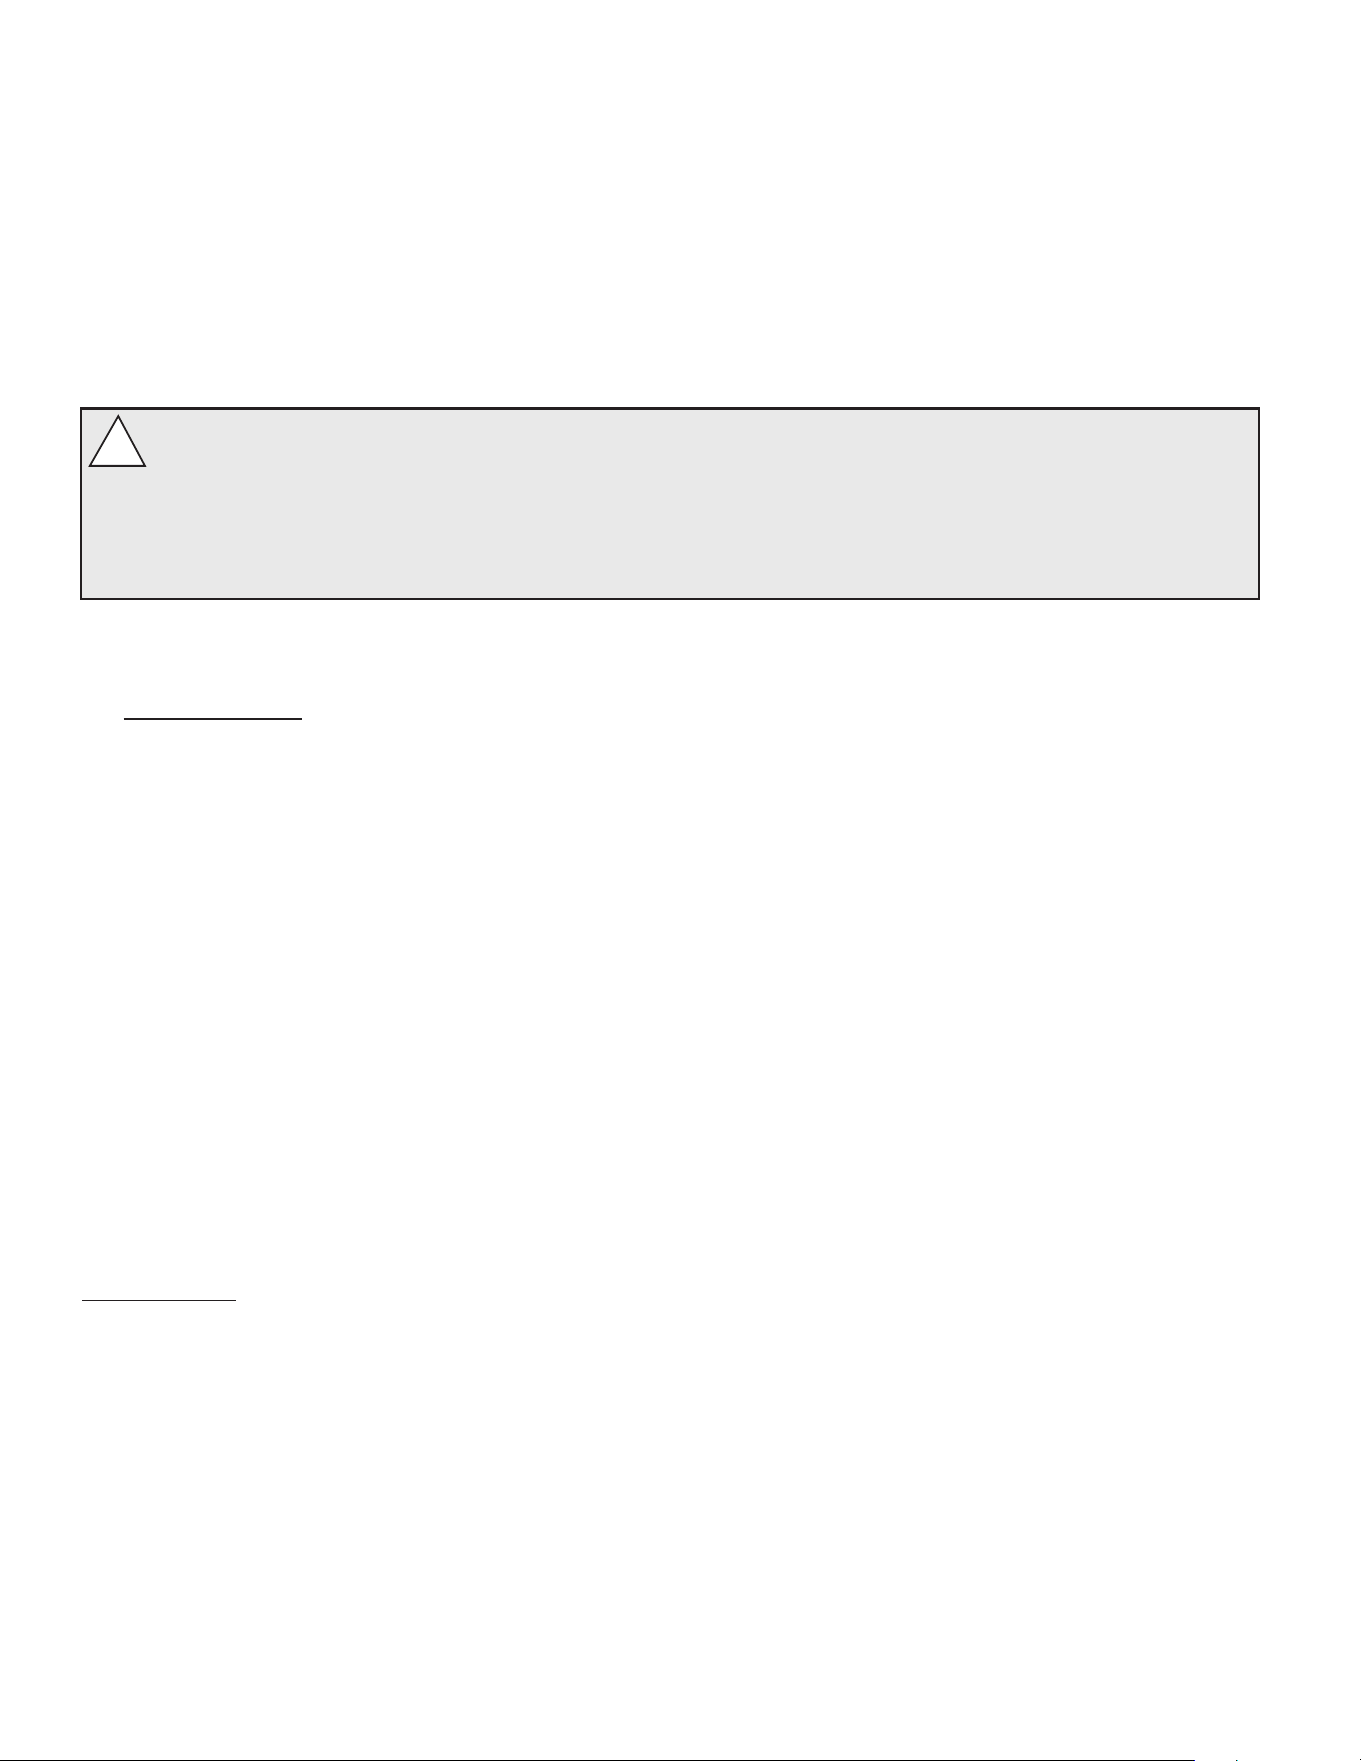
13. From inside bin (access can be gained through lower door assembly) seal entire perimeter of seam between upper
and lower sections with General Electric RTV 180 sealant provided (see gures below).
Caution: Completely cover gasket materials with sealant. Failure to properly seal sections may result in leakage
and/or ice contamination and will void warranty.
14. Install supplied screws on side H-brackets and tighten, then seal entire perimeter of H-bracket with silastic.
15. Insert long side of each plastic inspection window in upper track of opening and push in to seat.
16. Remove any remaining protective plastic or temporary fastenings from doors and outside of bin.
17. Connect drain line to 1" FPT female tting located in bottom of bin.
18. Make nal connections to icemaker.
upper section
lower section
bin exterior
bin interior
Entire inside upper
and lower section
seam and entire
perimeter of H-bracket
must be sealed with
silastic provided
Bin cutaway
Cross section – side view
H-bracket
screw
bead of sealant
Installing icemaker drain
Required for some icemakers only. For these machines Follett predrills hole and provides 3/4" straight threaded drain tting
to be installed through hole. To install tting:
1. Remove plastic nut on tting.
2. From inside (liner side) bin, insert threaded portion through hole provided in side of bin.
3. Replace plastic nut on threaded portion and tighten against outside of bin.
4. Connect supplied tubing to icemaker drain connection after installing icemaker.
5
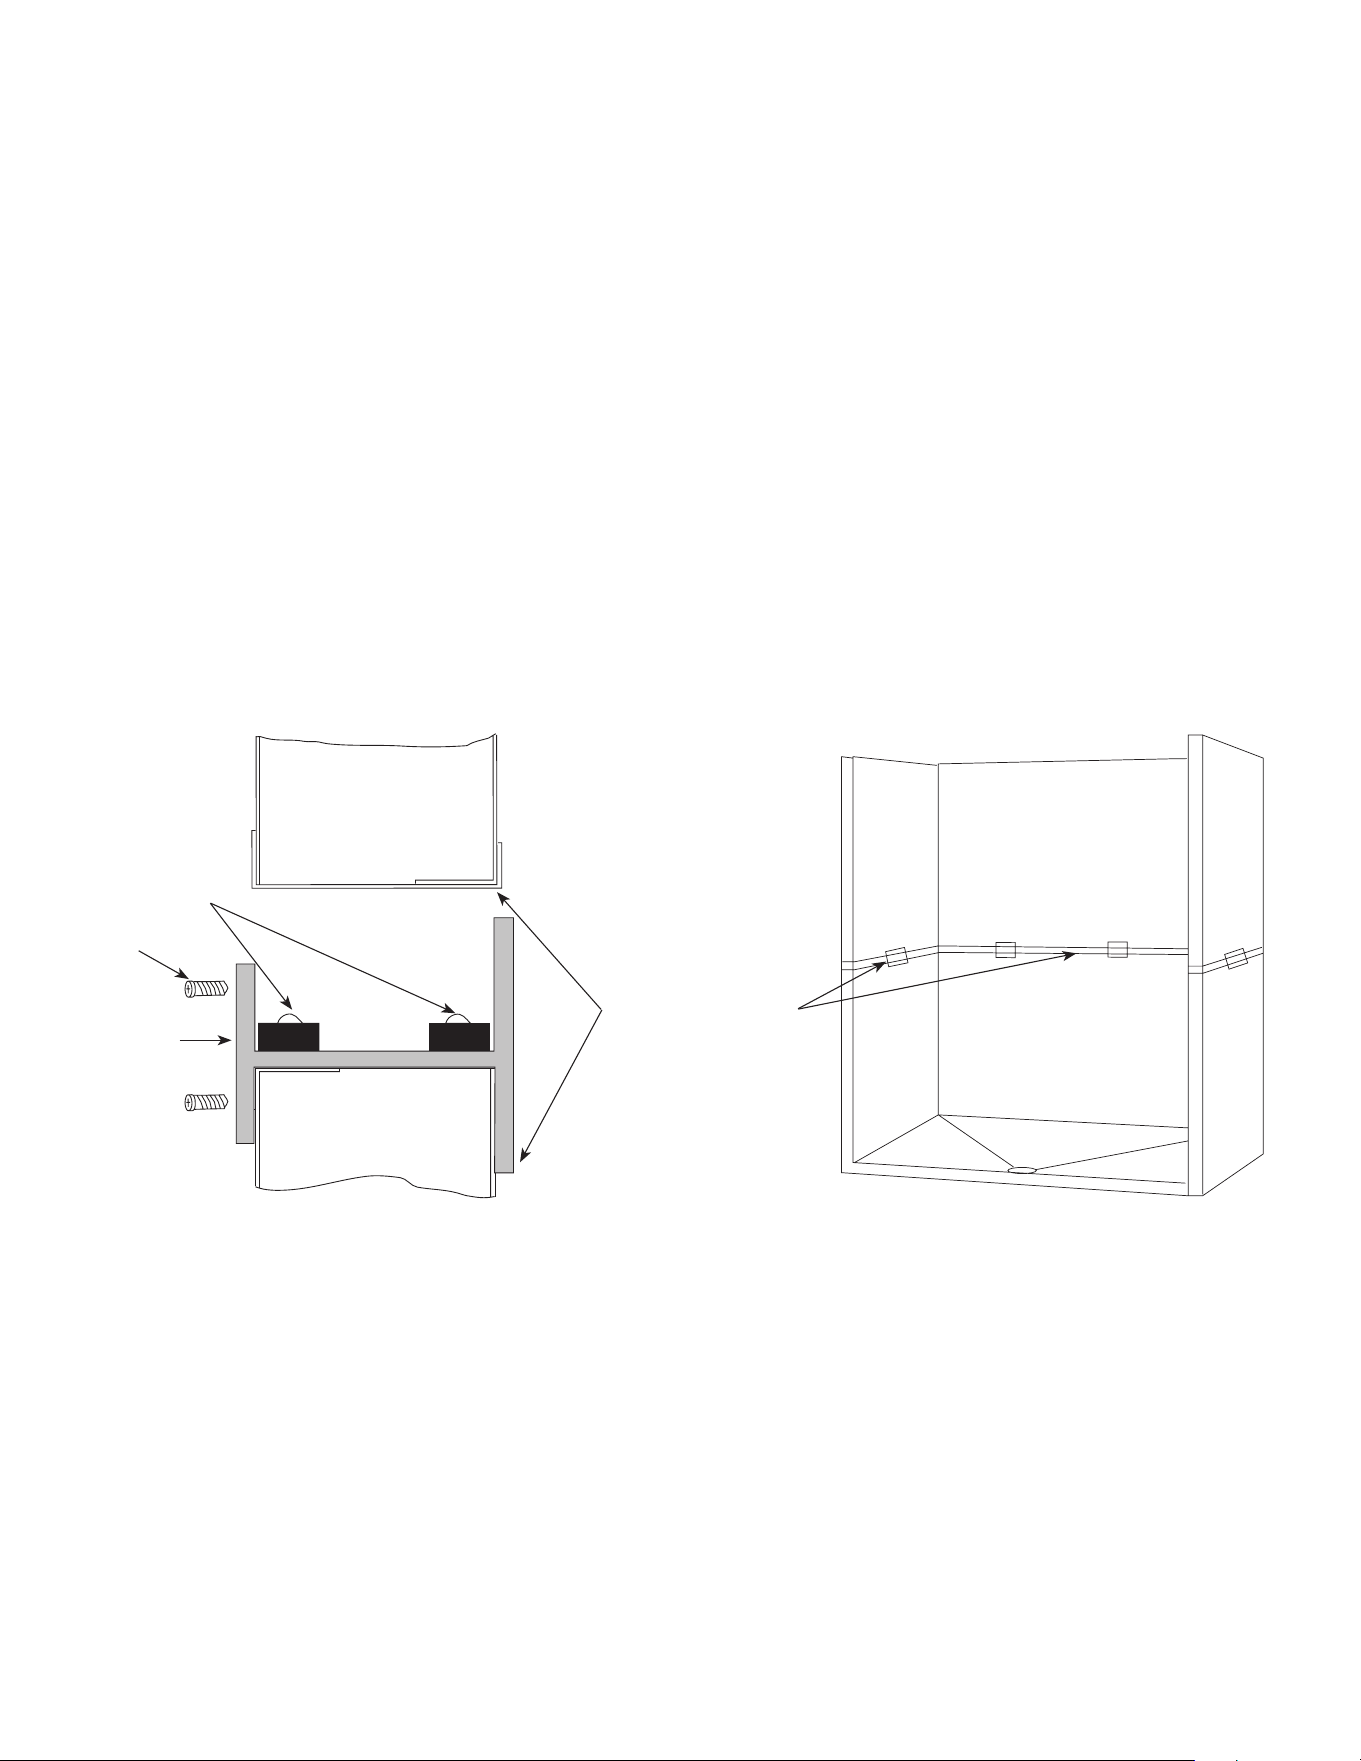
icemaker back
bin back
15/64" hole
drilled through
icemaker wall
tie-down strap
Installing icemaker tie-downs
Required for some icemaker applications only. If this tting is
included with your bin, proceed as follows:
1. Locate icemaker back ush with bin back.
2. Using center of vertical slot as template, drill through
icemaker wall with a 15/64 drill.
3. Fasten straps to icemaker and bin (bin holes are predrilled)
with #14 x 1/2 sheet metal screws and washers provided.
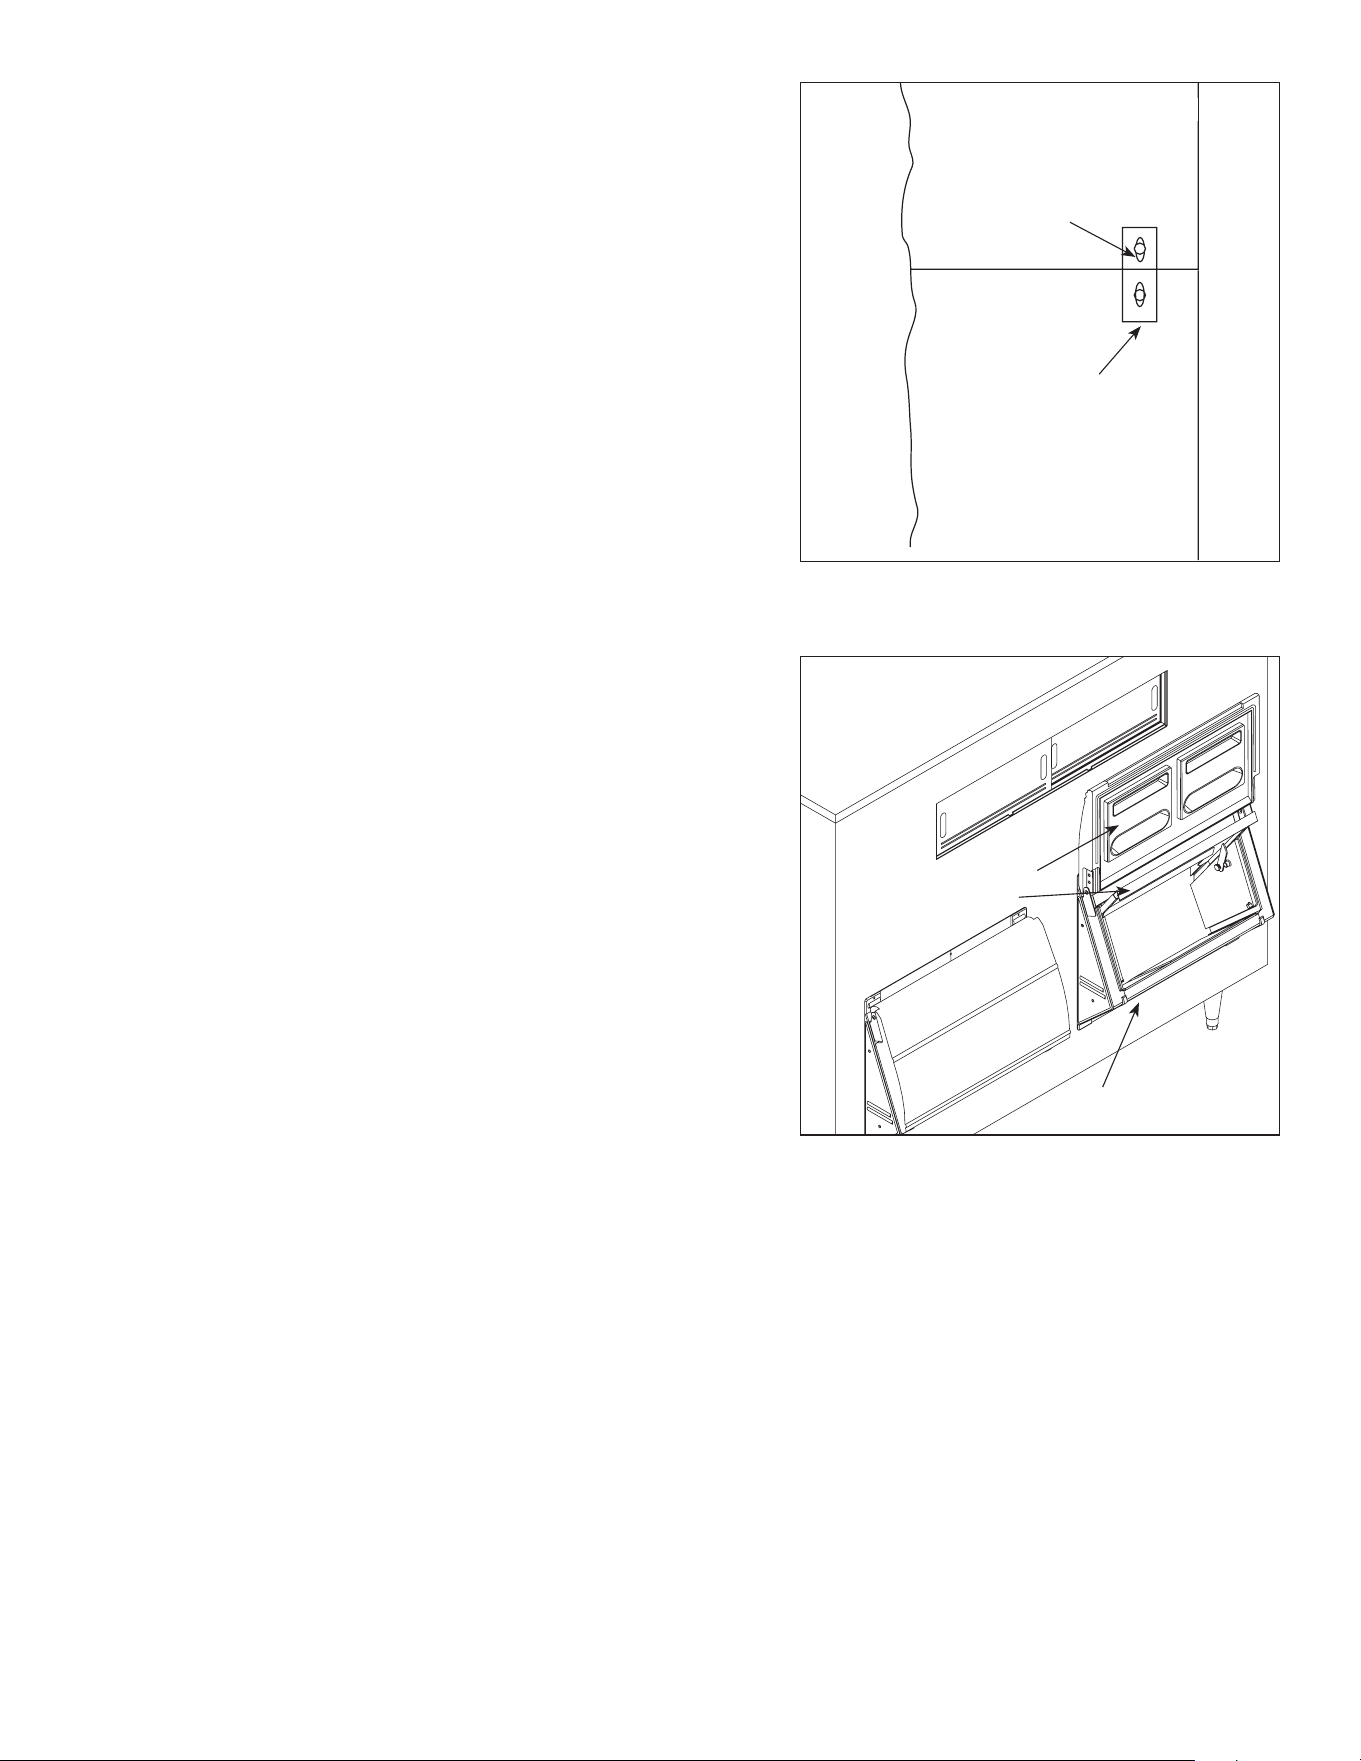
Removing lower door assembly
(only if required for access through narrow doors)
1. With lower access door closed, remove Phillips head screw
and washer from hinge area on each side.
2. Insert screwdriver between door and hinge bracket on one
side of door and gently push against bracket to provide
room for door stud to clear bracket.
3. Remove access door.
4. Pull up on SmartGATE to remove.
5. Remove three (3) or four (4) screws along top of door
assembly.
6. Pull forward on assembly and remove.
Reinstalling door assembly
1. Reinstall lower door assembly in bin opening.
2. Reinstall three (3) screws in hood at top of door assembly.
3. Reinstall SmartGATE in side panel tracks, making sure that
locking arm is pointing up, and push down to seat.
4. With door closed, insert one door stud through hinge
bracket.
Note: For proper operation the access door must be
reinstalled in the closed position.
5. On other side, insert screwdriver between door and hinge
bracket and gently push against bracket to provide room for
door stud to clear bracket.
6. Reinstall washers and screws in lift door and tighten.
7. Check door to ensure proper operation.
lower door assembly
access door
SmartGATE
6
Operation
SmartGATE operation
Follett’s unique SmartGATE positively controls ow of ice into lower door assembly area for removal with either scoop or
shovel. SmartGATE can also be adjusted and locked at one of several levels to accommodate ow characteristics of
different types of ice.
Bin is shipped with SmartGATE in full down position. SmartGATE can be raised and locked in higher position for better
ow or when more access is needed.
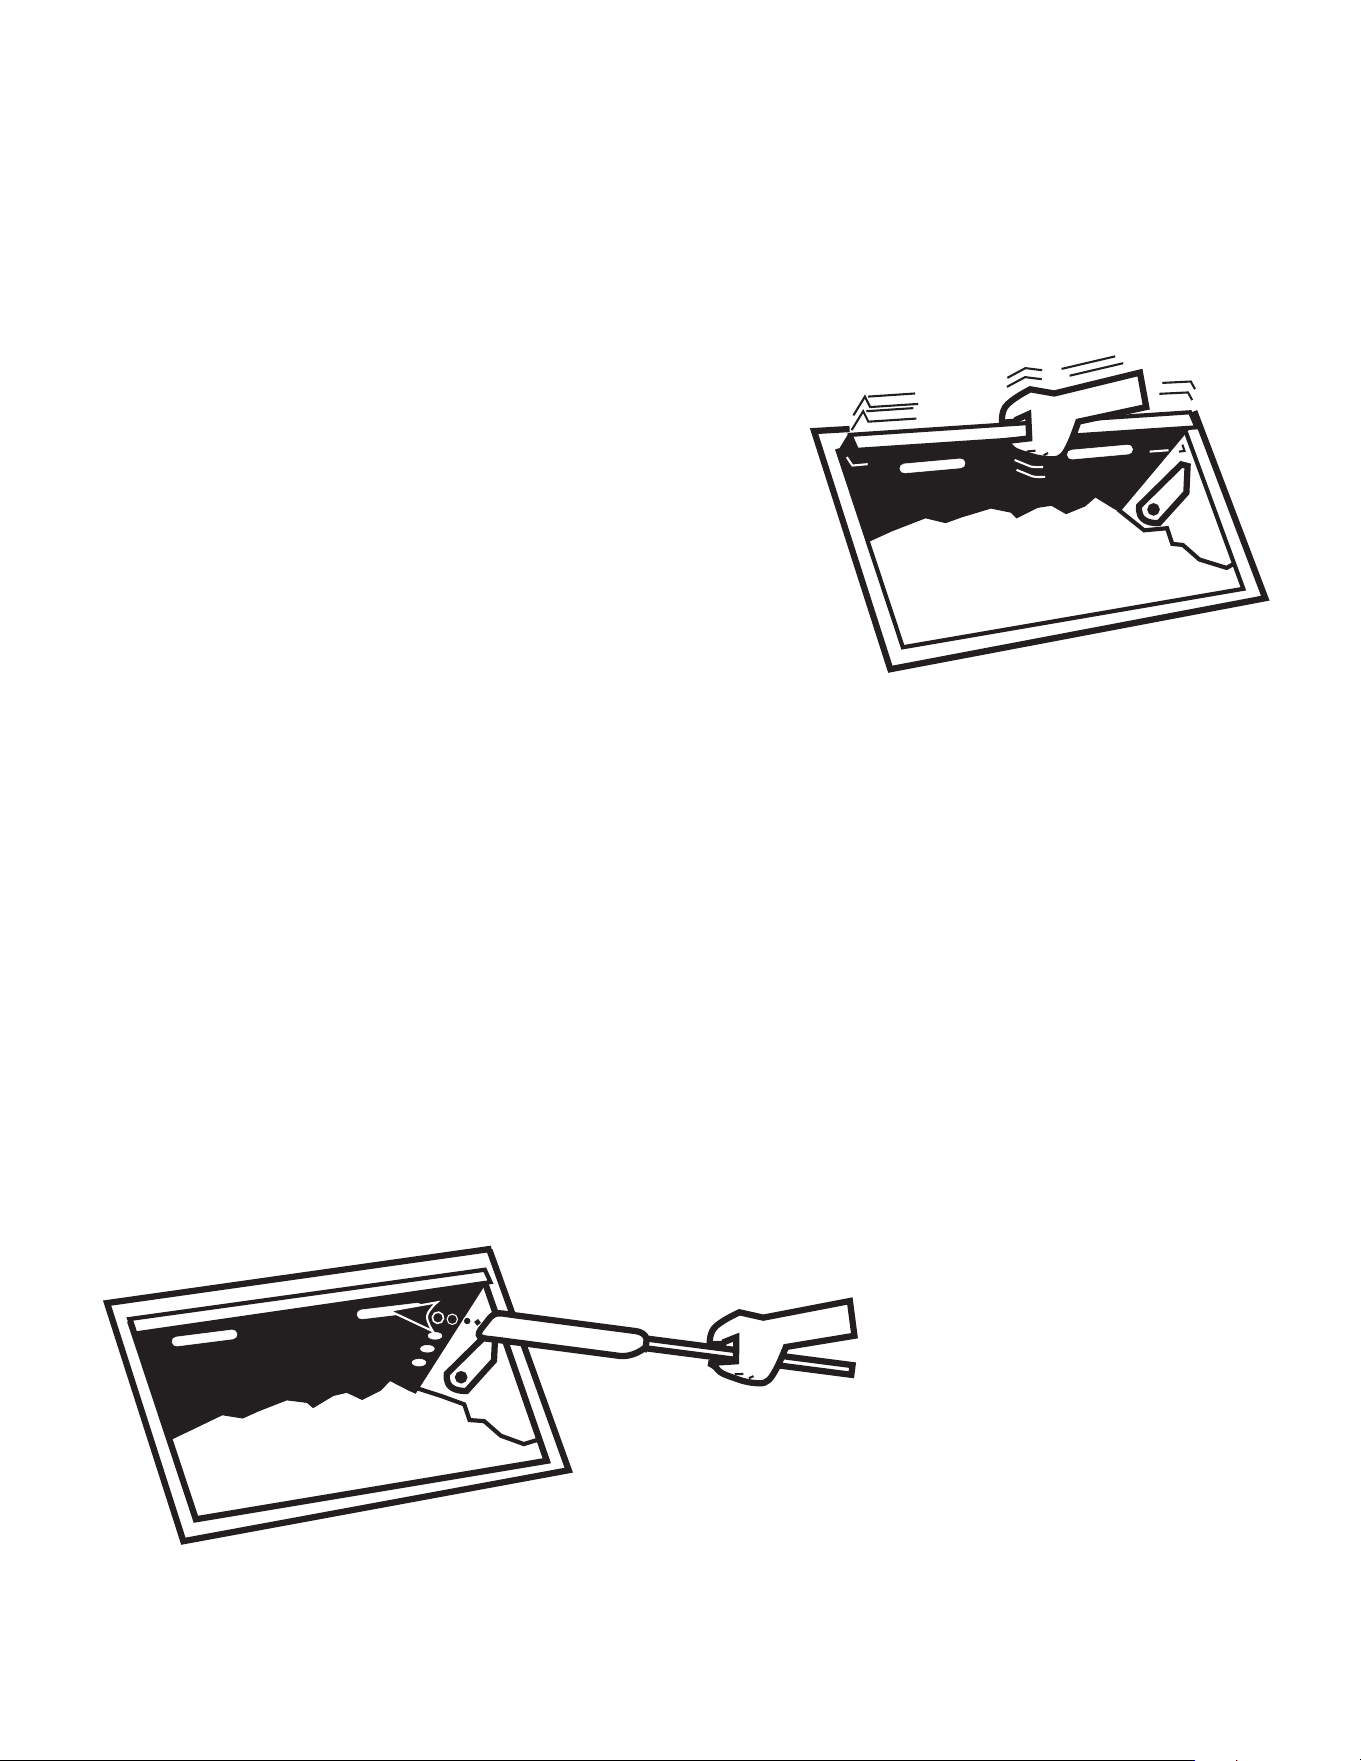
If more ice is needed in lower door area
1. Use full-length handle at top of SmartGATE to gently lift and jiggle
SmartGATE. (Loose ice will cascade into lower door area.)
2. When adequate ice has owed, push SmartGATE back down.
When more access is needed or to encourage ow of less
“slippery” ice
1. Lock gate at higher level by pulling up and holding SmartGATE
at correct level (catch will automatically release when you pull up),
and pushing tapered end of catch into nearest hole in gate.
2. To release catch, pull up on SmartGATE.
Using ice probe tool accessory
Ice probe tool is an optional accessory that can be ordered directly
from Follett.
If your bin has been ordered with ice probe tool accessory, mount
probe for easy access on either side of bin in bracket provided.
Using probe
If there is adequate ice in bin but lower door area is not lled with ice, it may be that ice has congealed in bin and cannot
ow. This can often be remedied by quickly jiggling SmartGATE several times (see preceding SmartGATE operation). If
problem continues, probe tool can be inserted through rectangular openings in SmartGATE and agitated back and forth to
break up congealed ice mass.
Caution: Use probe tool only as described above. To avoid possible injury, keep head and face clear of lower door
area and tool at all times. Do not use probe tool for other purposes.
Jiggle SmartGATE to encourage ice to ow
into access area of bin
7
Cleaning
Cleaning bin before use and ongoing bin maintenance
Interior of bin must be cleaned and sanitized prior to use and should be cleaned on routine basis during use.
Interior bin care
Follett double door upright ice storage bins with SmartGATE are equipped with polyethylene liner walls and stainless steel
bottoms, which should be cleaned and sanitized periodically with Ecolab Mikro-chlor Cleaner or any product suitable for
use in a food zone.
Important: Follett Corporation recommends installing a properly-sized, activated carbon (charcoal) water lter on
water supply to icemaker to remove chlorine.
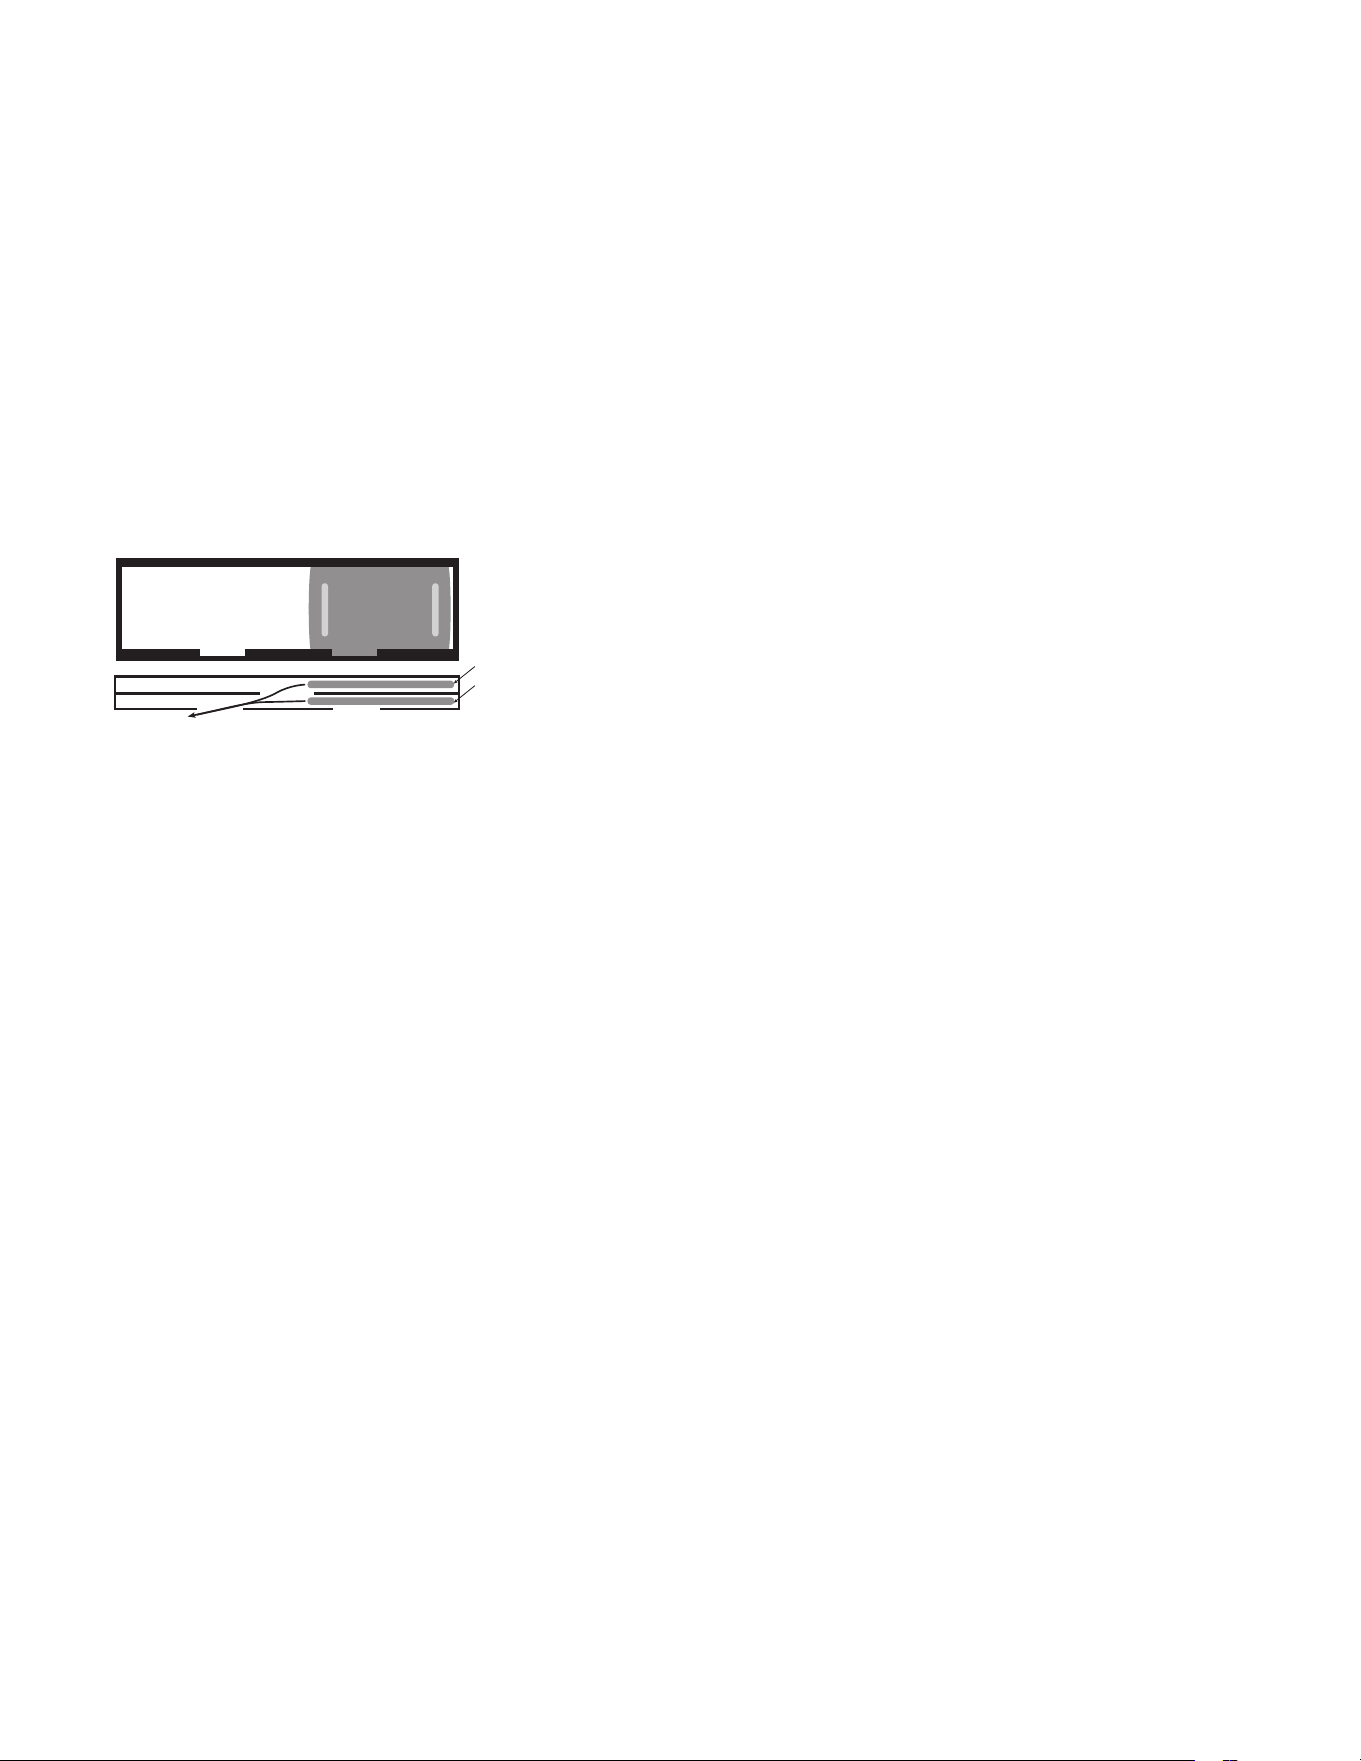
1. Remove upper inspection windows by sliding windows to one side. Grasp the end of the front window and pull toward
you as the window is slid to the opposite side. Repeat for rear window.
rear window
front window
2. Wash bin walls, hopper, access door plate and partition (if any), rinse and sanitize.
Exterior bin care
Exterior stainless steel surfaces can be cleaned with a stainless steel cleaner such as 3M Stainless Steel Cleaner &
Polish or equivalent.
Technical assistance available toll free
Should you have any questions concerning installation or maintenance of Follett ice storage bins, please call our
technical service department at (800) 523-9361 or (610) 252-7301 between 8 a.m. and 5 p.m. Eastern time.

1
2
3
4
5
6
7
7
8
207892R04
06/09
801 Church Lane • Easton, PA 18044, USA
Toll free (800) 523-9361 • (610) 252-7301
Fax (610) 250-0696 • www.follettice.com
Replacement parts
Order parts online
www.follettice.com
Reference # Description Part #
1 Window, inspection, 21.125" x 8.625" (537mm x 219mm) 502237
2 Track, window 501277
3 Door, outer lift, 27" (686mm) (includes door hinges and hardware) 502176
Not shown Door, outer lift, 45" (1143mm) (includes door hinges and hardware) 502177
4 SmartGATE, 27" (686mm) 502367
Not shown SmartGATE, 45" (1143mm) 502363
5 Assembly, lower door frame, 27" (686mm) 502365
Not shown Assembly, lower door frame, 45" (1143mm) 502361
Not shown Hinges, LH and RH, mounts on door frame (includes hardware) 502180
Not shown Assembly, drain 501217
6 Legs, 6" (153mm) adjustable 501809
Not shown Hinge, RH, mounts on door (includes hardware) 502179
7 Hinge, LH, mounts on door (includes hardware) 502178
8 Catch (includes shoulder screw) 502185
Not shown Shovel, ice 502259
Not shown Bracket, ice shovel 502260
SmartGATE is a registered trademark of Follett Corporation, registered in the US.
EP 2138774