Model:
Serial No.:
Write Model and Serial Numbers
here:
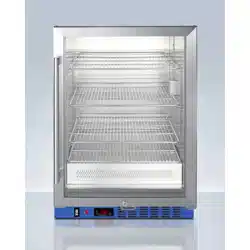
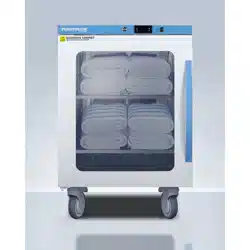
BLANKET WARMER
Models
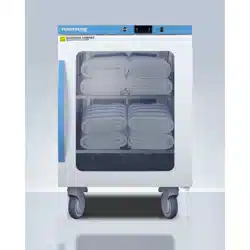
AWC2PB
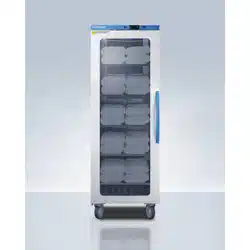
AWC6PB
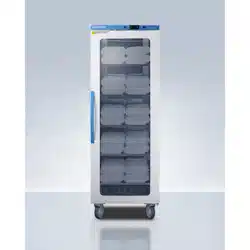
AWC12PB
User Manual
BEFORE USE, PLEASE READ AND FOLLOW ALL SAFETY RULES AND OPERATING INSTRUCTIONS
Accucold Division of Felix Storch, Inc.
An ISO 9001:2015 registered company
770 Garrison Avenue
Bronx, NY 10474
www.accucold.com

TABLE OF CONTENT
IMPORTANT SAFEGUARDS
INSTALLATION
SPECIFICATION
OPERATION
CLEANING AND MAINTENANCE
TROUBLESHOOTING
WARRANTY
2
5
8
9
12
13
15

2
IMPORTANT SAFEGUARDS
Your safety and the safety of others are very important to us. We have provided several important
safety messages in this manual. Read all safety messages and always obey them when operating
this appliance. Serious injury or even death may result if you do not follow these instructions.
To reduce the risk of fire, electric shock, or injury when using this appliance, follow these basic
precautions:
• Use two or more people to move and install this appliance.
• Plug into a grounded 3-prong outlet.
• Do not remove the grounding prong or use a 3/2 adapter.
• For free-standing installation, allow at least 5 inches (127mm) of space between the
back, top, and sides of the unit. For recessed or built-in installation (units with “XX” in
the model number), leave an air gap of at least 1 inch (25.4 mm) on each side and top
and 2inches (51mm) at the rear.
• Use care not to plug into outlets controlled by wall switches.
• Disconnect power before servicing.
• After service, replace all parts and panels before operating.
• Do not store or use gasoline or other flammable items in the area of this or any
appliance, as the fumes can create a fire hazard or explosion.
• Use nonflammable cleaners.
• Never unplug your appliance by pulling on the power cord. Always grip the plug firmly
and pull straight out from the socket.
• Be careful not to roll over or damage the cord when moving the appliance.
• Do not pinch, knot, or bend the power cord in any manner.
• If the supply cord is damaged, it must be replaced by the manufacturer, its service
agent, or similarly qualified persons in order to avoid a hazard.
• Unplug the appliance before making repairs or cleaning.
• To prevent injury or damage, any repairs or adjustments should be done by only a
qualified technician. In particular, do not attempt to remove the control panel, since
this could result in electric shock.
• This appliance is not meant to exceed a temperature of 160°F (71°C). Do not raise the
set temperature in an attempt to increase the rate of heating. Allow several hours for
the content of the cabinet to reach the desired temperature.
• Be aware that the temperature of the contents of the BLANKET WARMER may be
higher than the displayed temperature. Always check the temperature of the heated
blankets and towels before using.
DANGER: Risk of Child Entrapment!
Child entrapment and suffocation are not problems of the past. Junked or abandoned appliances
are still dangerous, even if they will “just sit in the garage a few days”.
Before Discarding your A
ppliance:
Remove the door.
Leave the shelves in place so that children may not easily climb inside.

3
Warnings and Cautions
The following is a list identifying the various warning and caution icons used in this
manual.
Icon Type
Icon
Description
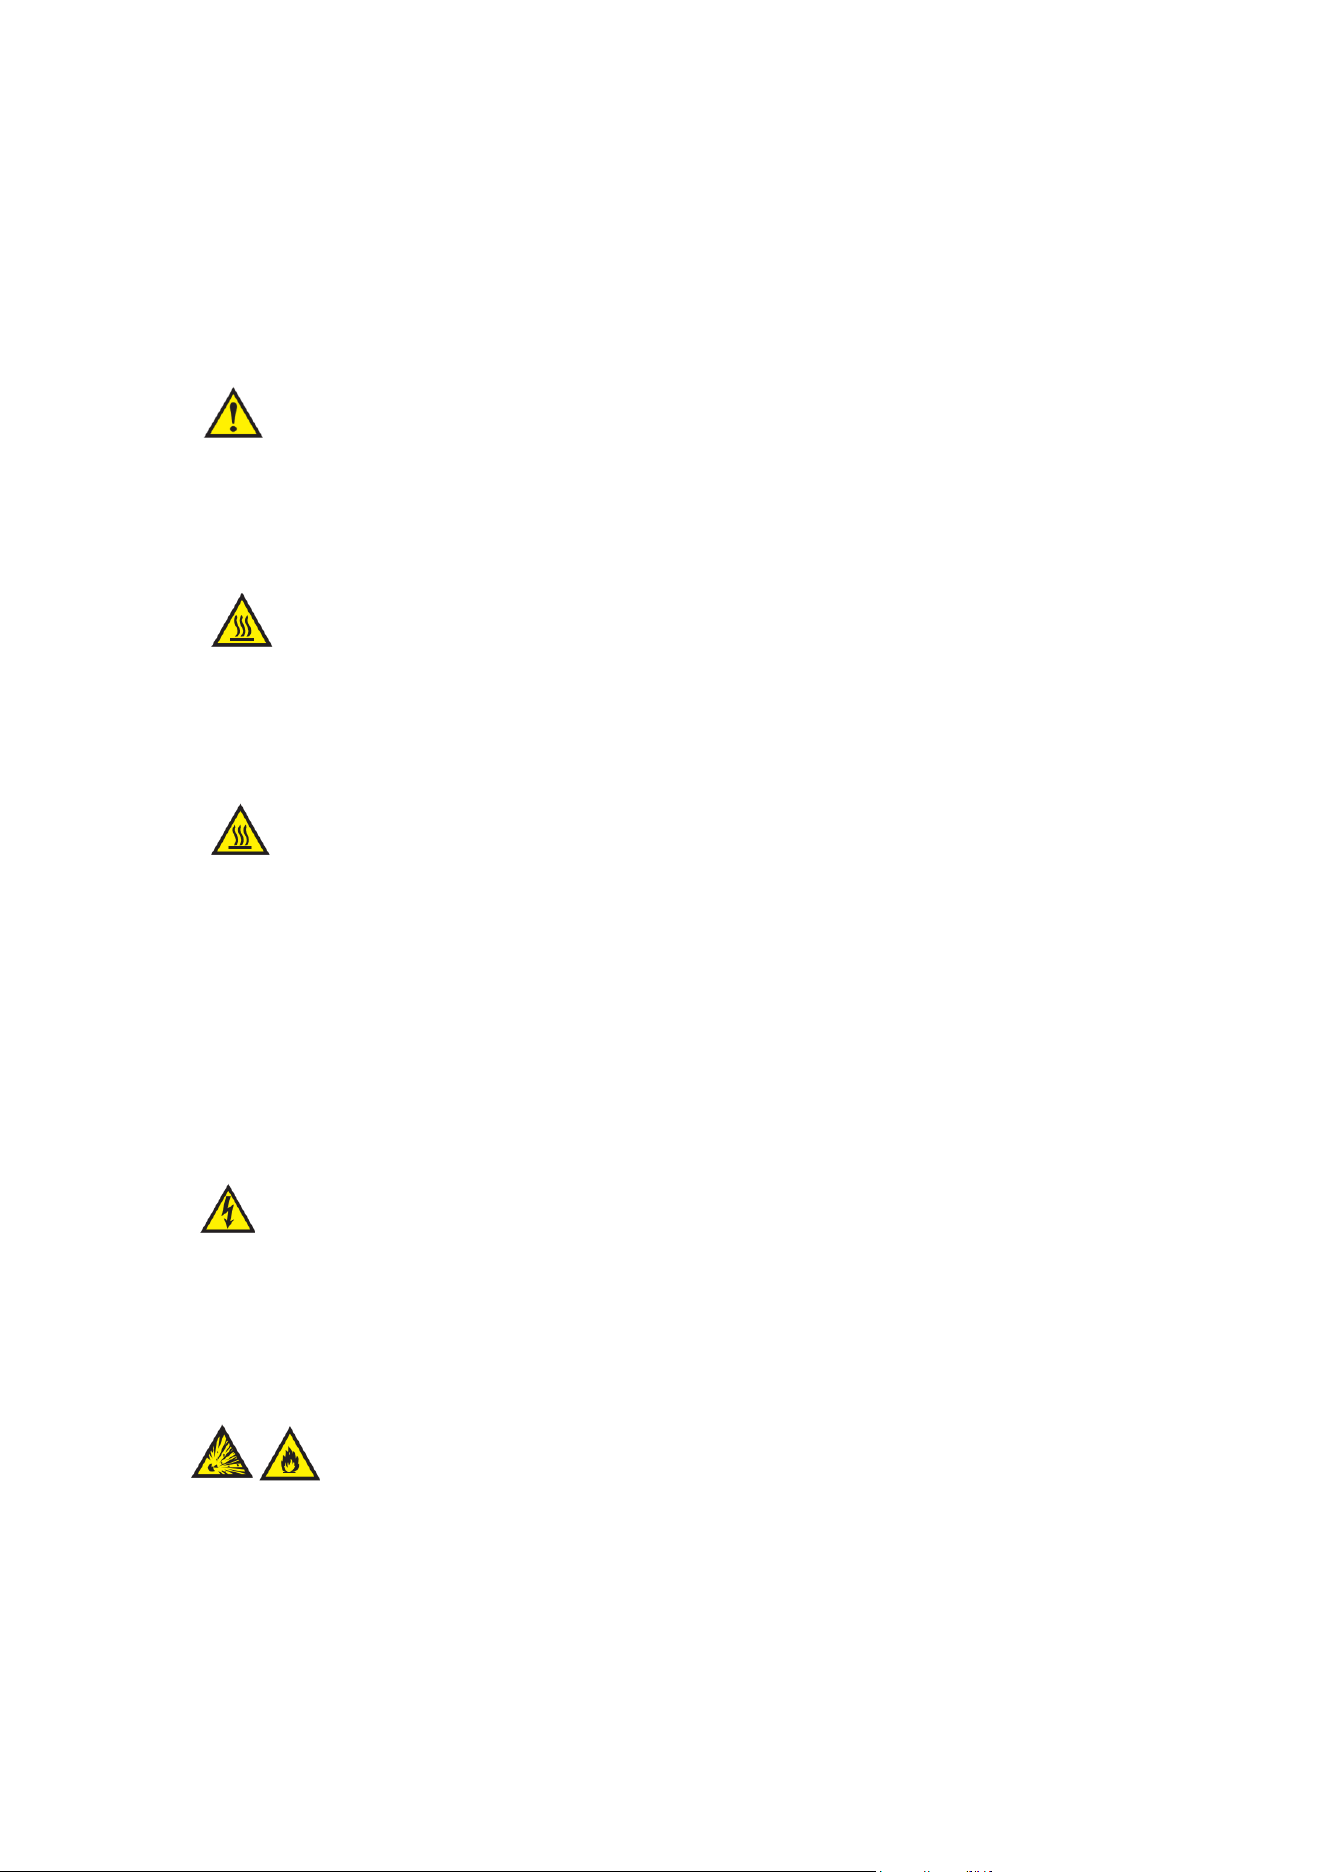
Warnings
Red triangle with an exclamation point indicates the potential for
minor to severe injuries up to and including death to personnel.
Cautions
(Yello
w triangle with an exclamation point) indicates the potential for
minor injury to personnel and damage to equipment.
Note: The exclamation point will not be visible where only equipment
damage is present.
Burn Hazard
Warnings
(Yellow triangle with radiating lines) indicates a
potential burn injury to personnel.
Sign ISO 7010-W018 ENCLOSURE
Electrical
Warnings
(Yellow triangle with a lightning bolt) indicates a possible shock
hazard is present. Severe shock hazards shall be a lightning bolt in a
red triangle.
Explosion
Hazard
(Yellow triangle with the explosion icon) indicates the equipment
should not be operated in areas where explosions could occur.
Fire Hazard
(Yellow triangle with the free icon) indicates the warning cabinet
should not be loaded with materials or liquids that are flammable or
used in the presence of flammable anesthetics or solvents.
Read
carefully
Refer to instruction manual/ booklet NOTE On ME EQUIPMENT
"Follow instructions for use"
Read Instructions
No Pushing Pushing products creates risk of instability
No sitting No sitting on the product
The foll
owing is a list of safety precautions that must be observed when operating this
equipment.
4
INTENDED USE
• Intended use: It is mainly used for heating towels or blankets in medical and health
departments, scientific research departments, hospitals, laboratories, pharmaceutical
factories and clinics.
• Appl
icable people: Ward, operating room, injection room, emergency room, imaging
department, etc.
Warn
ing - Injury Hazard
Repairs and adjustments should be attempted only by experienced service representatives.
Use of unqualified persons to work on this equipment could result in personal injury or costly
damage.
Warning - Burn Hazard
• DO NOT use in the presence of flammable anesthetics.
• DO NOT heat liquids in the presence of flammable solvents.
• Failure to observe this warning can result in severe personal injury and even death.
Warn
ing - Burn Hazard
• DO NOT exceed 150°F (65.56°C) for non-vented closures (screw caps, crimp seals,
plastic pouches, etc.). Do not exceed pre-sterile solution manufacturer’s temperature
requirements.
• DO NOT raise set temperature to increase rate of heating. Allow approximately 4-6 hours
for solutions to reach desired temperature.
• DO NOT use liquids on or inject into living tissue, unless actual liquid temperature has
been measured and is acceptable. Temperature of the blanket warmer’s contents may be
hotter than the displayed air temperature. For patient safety, in accordance with good
medical practice, always check liquid temperature prior to using.
Warn
ing - Electric Shock Hazard
• DO NOT remove control tray. Contact a qualified service representative. Some of the
troubleshooting procedures can require access to live electrical circuitry. Dangerous
accidental contact with line voltage is possible. Only qualified service personnel should be
allowed to perform these procedures.
Warn
ing - Explosion Hazard or Fire Hazard
• DO NOT warm flammable materials or liquids.
• DO NOT use in the presence of flammable anesthetics.
• DO NOT heat liquids in the presence of flammable solvents.

5
Cautio
n - Possible Equipment Damage
Some items are not acceptable in these blanket warmers. If in doubt as to whether an item can
be safely processed, have the facility supervisor contact the manufacturer of the item.
Cautio
n: Repairs and Adjustments
Should only be attempted by experienced service personnel who are fully acquainted with this
equipment. Use of unqualified or inexperienced personnel to work on the
equipment, or the installation of unauthorized parts, could result in serious personal injury, or
result in costly damage. Always unplug power cord from power source before attempting any
repairs or servicing of this equipment.
-SAVE THESE INSTRUCTIONS –
INSTALLATION
Before Using the Blanket Warmer
• Remove the exterior and interior packaging.
• Check to be sure the shelves are installed and that the strips of tape holding them in
place have been removed.
• Level the appliance with the adjustable legs provided.
• Clean the interior surfaces with lukewarm water using a soft cloth. Any plastic odor
that you notice when you first open the doors will dissipate once the appliance is
operating.
Install
ing the Appliance
• For free-standing installation, allow at least 5 inches (127mm) of space between the
back, top, and sides of the unit. Place your appliance on a floor that is strong enough
to support it when it is fully loaded.
• Leveling the Appliance:
• AWC6PB & AWC12PB: Secure the blanket warmer by operating the foot brake of
the universal wheel.
• AWC2PB: Level your blanket warmer by adjusting the legs at the front.

6
• Leave at least 2 inches (50mm) of space between the back of the unit and the wall behind, which
allows for proper air circulation.
• Plug the unit into a 120V AC 60Hz electrical source. The fuse or circuit breaker should be rated for
15 amperes. The unit is designed to be used in a stable environment where the ideal ambient
temperature is 72°F (23.89°C) or less. Extremely warm or cold ambient temperatures may cause
the appliance to perform improperly.
• Avoid placing the blanket warmer in moist areas. This appliance is equipped with a three-prong
plug and is grounded to eliminate electrical hazards. In order to make it effective, the unit must
be plugged into a grounded electrical outlet. A short power-supply cord (or short detachable
power-supply cord) is provided to reduce risk resulting from becoming entangled in or tripping over
a longer cord. Extension cords (or longer detachable power-supply cord) are available and may
be used if care is exercised in their use.
• If an extension cord (or a long detachable power-supply cord) is used:
o The marked electrical rating of the detachable power-supply cord or extension
cord should be at least as great as the electrical rating of the appliance.
o If the appliance is of grounded type, the extension cord should be a grounding
type 3-wire cord; and the cord should be arranged so that it will not drape over the
countertop or tabletop where it can be tripped over, snagged, or pulled on
unintentionally (especially by children).
Reversing the Door Swing
Most of the blanket warmer’s doors can be hinged on either side, allowing the door swing to be
adjusted based on
the installation location. To reverse the position of the door hinges, follow
the steps below:
1. Lay the blanket warmer onto its backside, carefully set it on a blanket or a soft s
urface.
2. Remove the screws on the bottom hinge, remove it then set aside.
3. Slide the door downward, carefully remove the door pin attaching the door to the upper hinge.
4. Set the door aside.
5. Remove the screws holding the upper hinge to the unit.
6. Remove the hinge covers from the opposite side of the cabinet.
7. Move the upper hinge to the opposite of the cabinet and tighten with screws.
8. Replace the door pin on the opposite side of the door and slide the door pin into the upper
hinge.
9. Rest the door against the unit and attach the lower hinge to the cabinet and door.
10. If the door is not hanging straight, loosen the top hinge, adjust the door until it is properly aligned,
and then retighten the screws.
Note: The door reversal option is not available on all models.
7
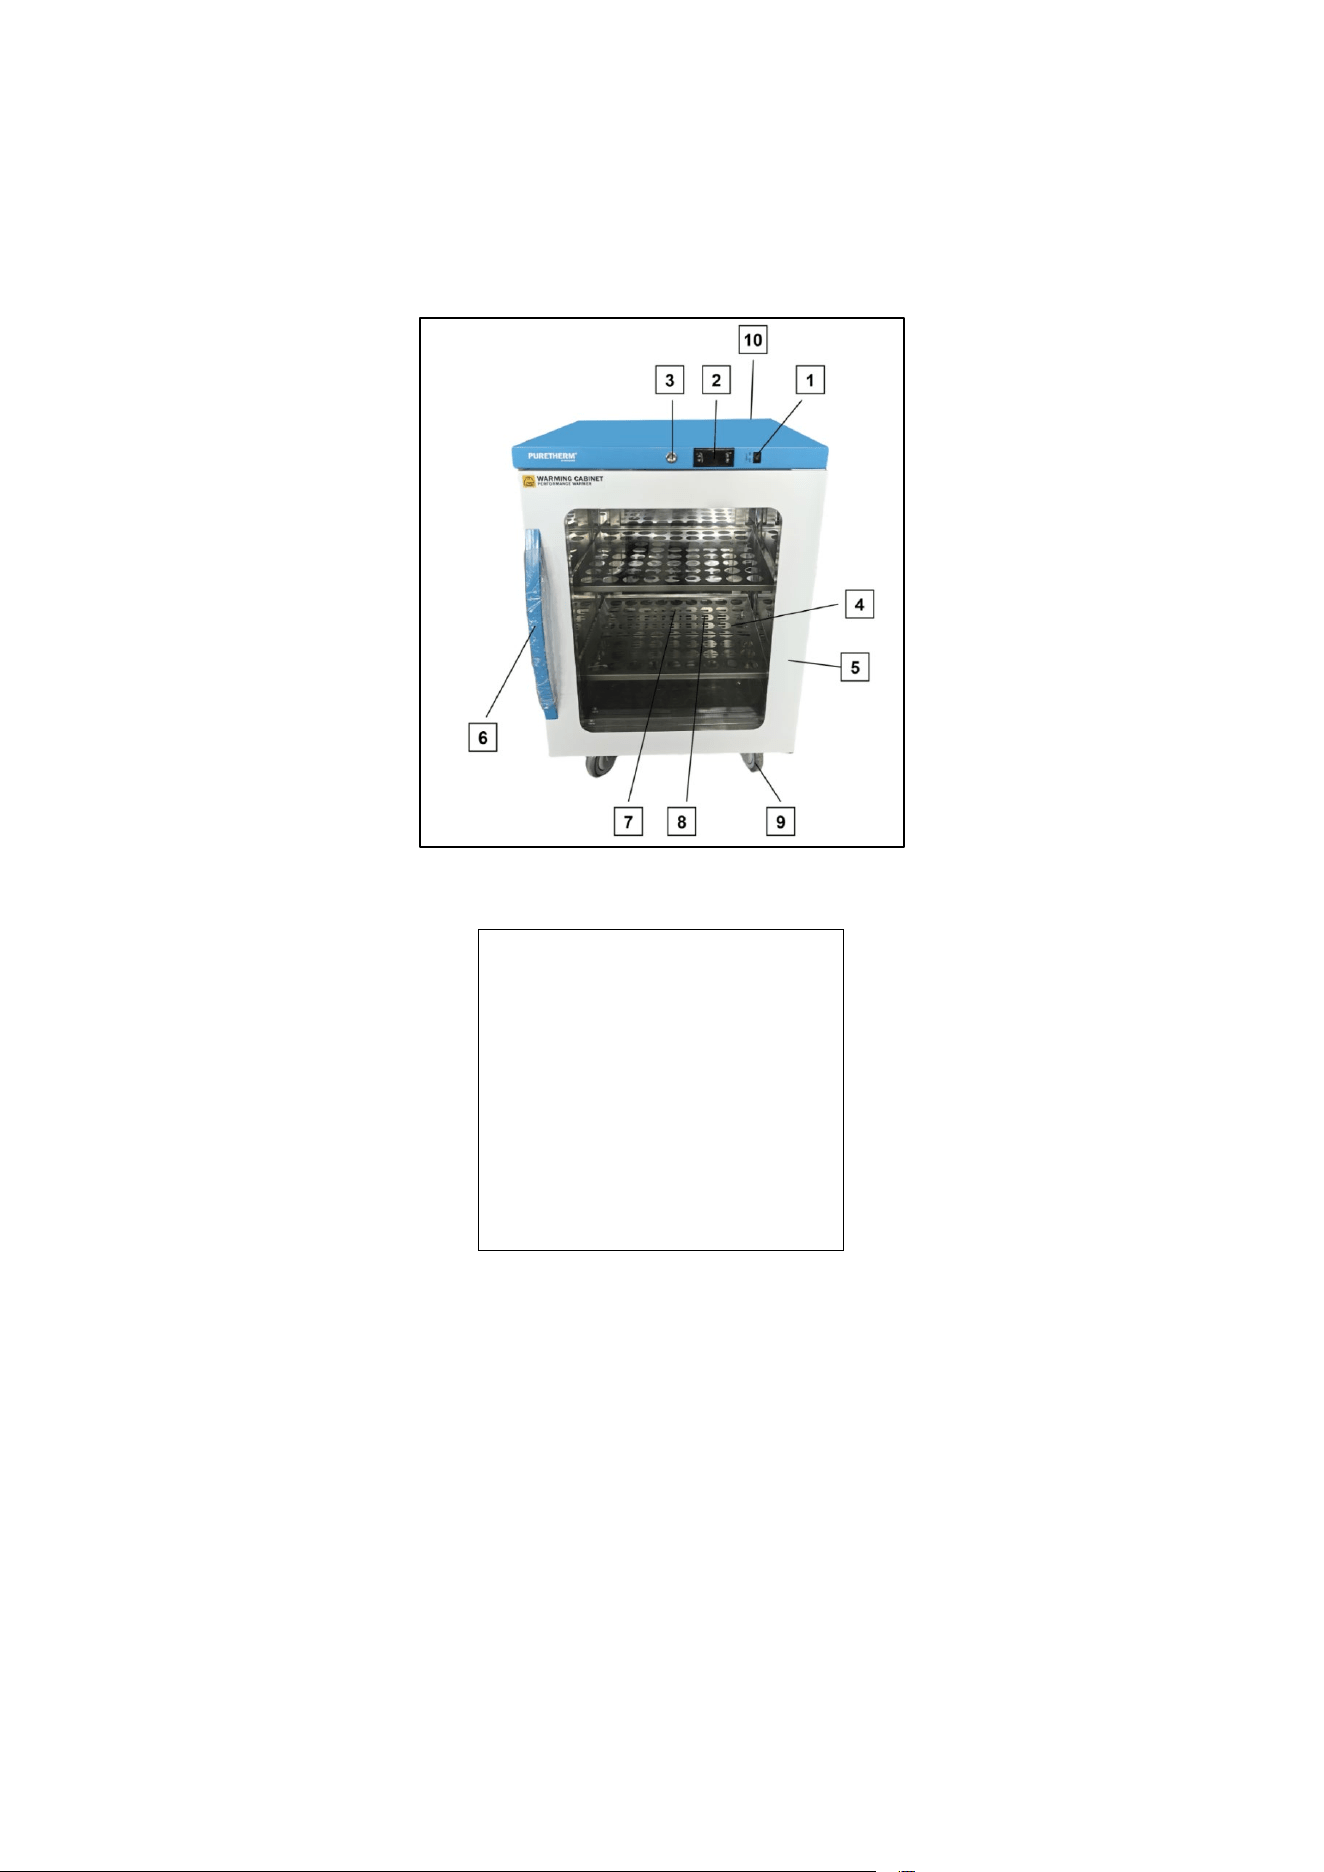
LOCATION OF PARTS OF BLANKET WARMER
This list shows the main elements of a blanket warmer.
1.
Light switch
2.
Thermostat
3.
Lock
4.
Shelf (SS)
5.
Door body
6.
Handle
7.
Heating system cover
8.
Quartz heating tube
9.
Casters
10.
Dry contacts (located in rear)

8
SPECIFICATION
Model
AWC2PB
AWC6PB
AWC12PB
Working Temperature
50°F – 104°F (10°C – 40°C) / 30% – 85% RH
Operating Temperature
90°F - 130°F (32.2°C - 54.4°C)
Altitude Up to 2000M
Transport Temperature 5°F – 122°F (-15°C – 50°C) / 800 hPa – 1060 hPa
Storage Temperature
90°F - 130°F (32.2°C - 54.4°C)
Capacity
96 148 355
Rated Voltage
AC110V
Mains Fluctuations ±10%
Frequency 60Hz
Rated Current
2.0 A 2.0 A 3.4 A
Lamp Power
8W 8W 8W
Power
200W 200W 350W
Shelf Load
44 lbs (20kg) each
Pollution Degree
2
Product Dimensions
(W*D*H)
23.43" x 26.57" x 4.92"
595 x 675 x 633
23.43" x 24.80" x 35.43”
595 x 630 x 900
23.43" x 24.80" x 67.09"
595*630*1705
Refrigerator of
Net Weight
70.55 lbs (32kg) 104.72 lbs (47.5kg) 185.2 lbs (84kg)
Vesicant
Cyclopentane

9
OPERATION
NOTE: This appliance is designed to heat towels and
blankets to temperatures of up to 130°F
(54.4°C). The process of heating the contents from an ambient
room temperature of 72°F
(22.2°C) to 130°F (54.4°C) can take an average of 4 hours, depending on the amount of
contents. When loading items into the cabinet for heating, be sure there is a minimum of 1” of space
between the items and the walls to allow for proper circulation of air.
Loading the Warning Cabinet: Place the articles to be warmed into the cabinet and close the door.
Items may be stacked, but be sure adequate space is left for air circulation, as noted above. Ensure the
door is closed securely.
CAUTION: DO NOT store blankets on the bottom shelf on the unit. Blankets stored here
will block the heating module and affect the performance of the unit.
Turning on
the Blanket Warmer
Operation Sequence:
1. The temperature controller will light up and display the blanket warmer temperature.
2. The heating element will turn on, as indicated by the red indicator light on the control panel. It will
cycle on and off with the heating element.
3. The temperature will gr
adually increase from the ambient room temperature of 72°F (22.2°C) to the
factory setpoint of 130°F (54.4°C).
Note: The LED display on the control panel normally shows the cabinet temperature. When
the cabinet reaches 130°F (54.4°C), the heating element will turn off (the red light goes out). It
will turn on again when the cabinet’s
temperature drops by 2-3°F. This condition will continue
until the equipment is:
a. Turned off intentionally
b. Some internal or external factor causes the current to exceed 15 amperes, in which case
the circuit breaker will trip off.
When operating correctly, the unit will always maintain temperatures within two degrees of its
set point (factory set at 130°F).
10
Reducing the Set Point Temperature
The operating temperature is factory-set to 130°F (54.4°C), but you can reduce this Set Point by following
this procedure:
1. Press and release the SET button. The display temperature will flash.
2. Press e
ither the UP or DOWN arrow on the control panel to reach the desired set point temperature.
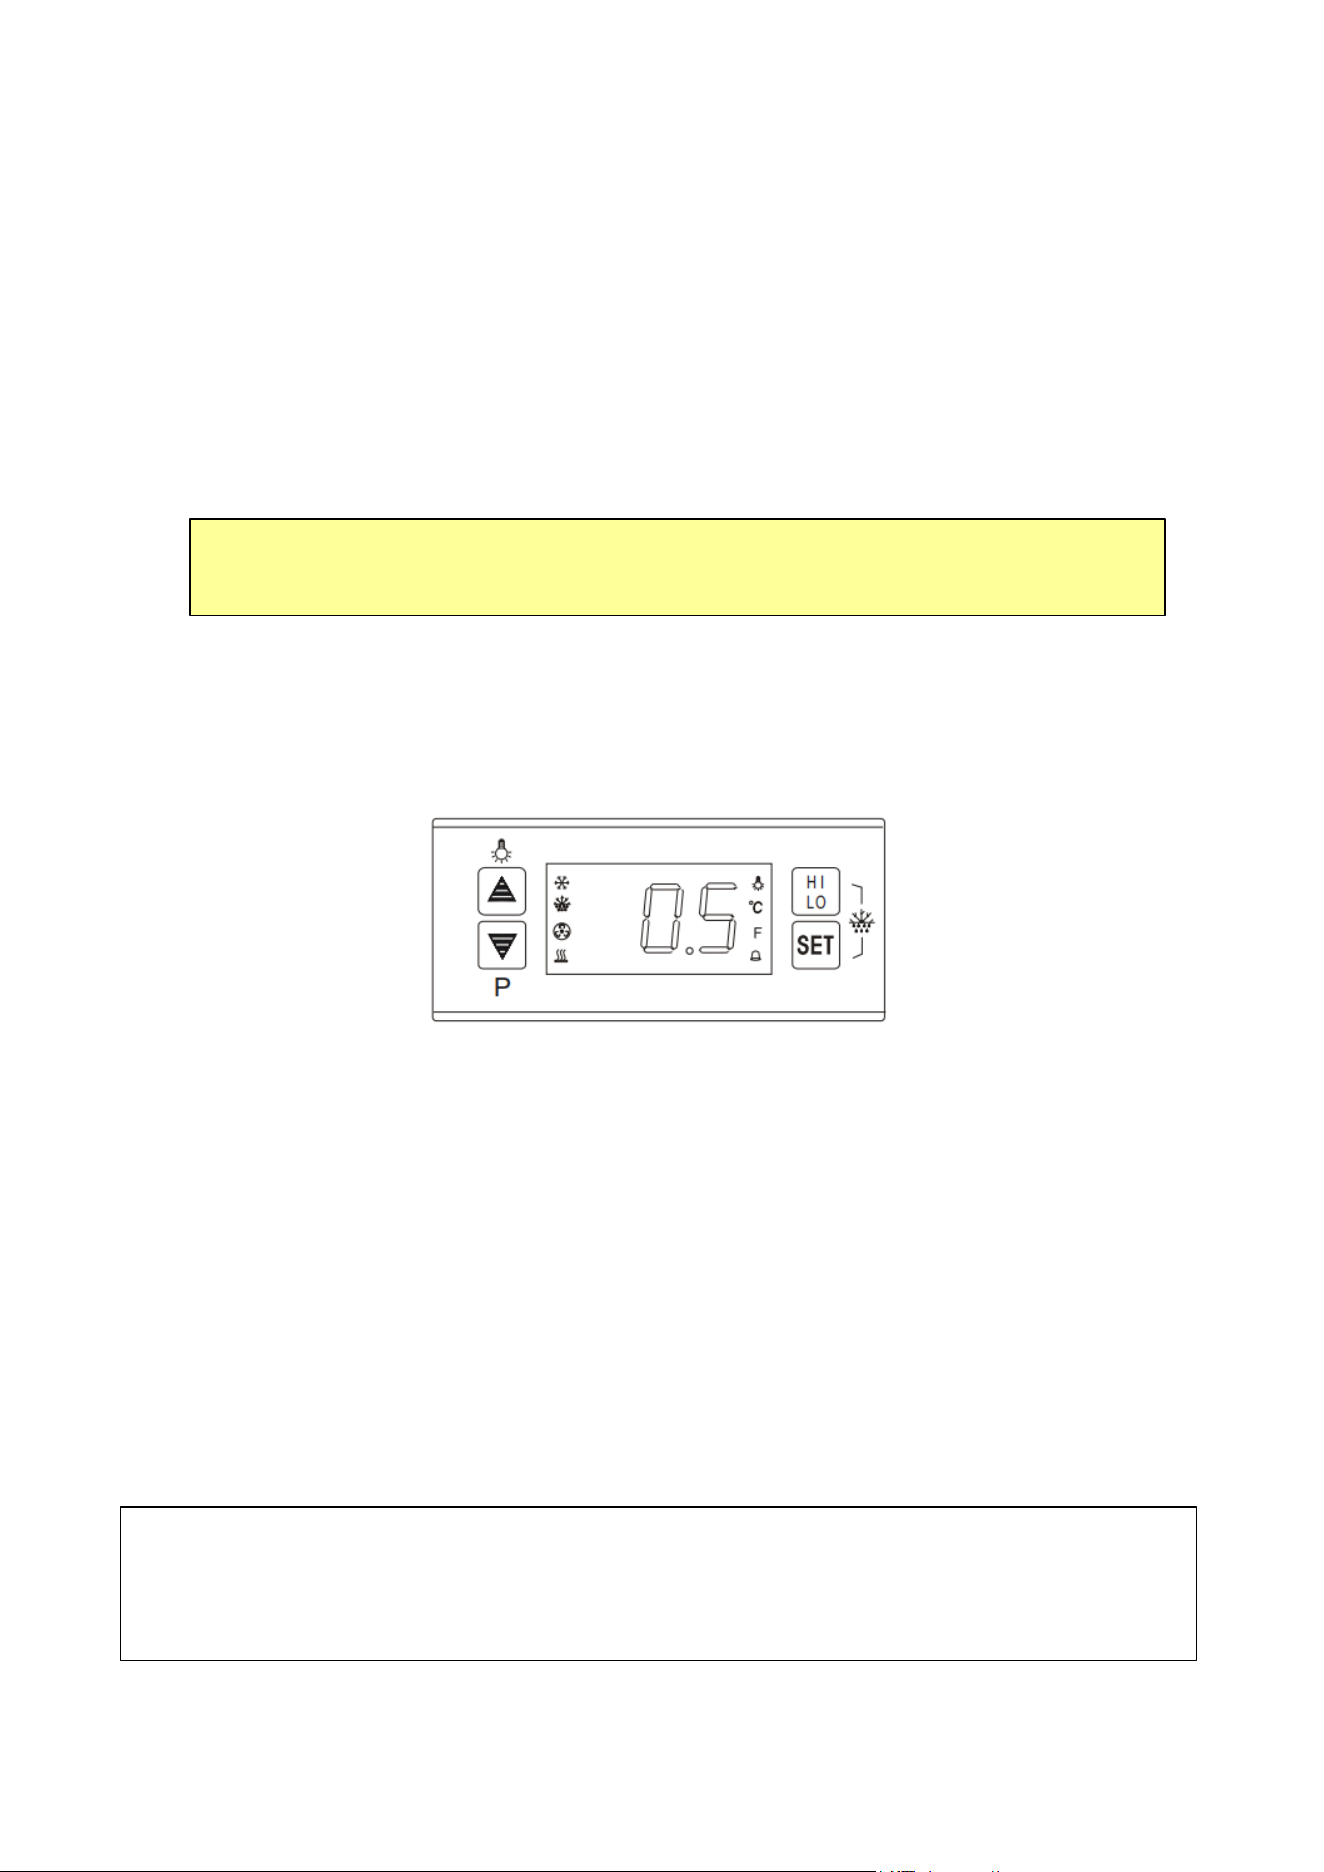
OPERATION-Digital Temperature Controller
This section explains how to operate your unit. For more detailed instructions on changing the parameters of
the control panel.
Adjusting the Operating Temperature
Heating LED:
The heating LED turns on during the heating process and turns off when the device reaches a
constant temperature.
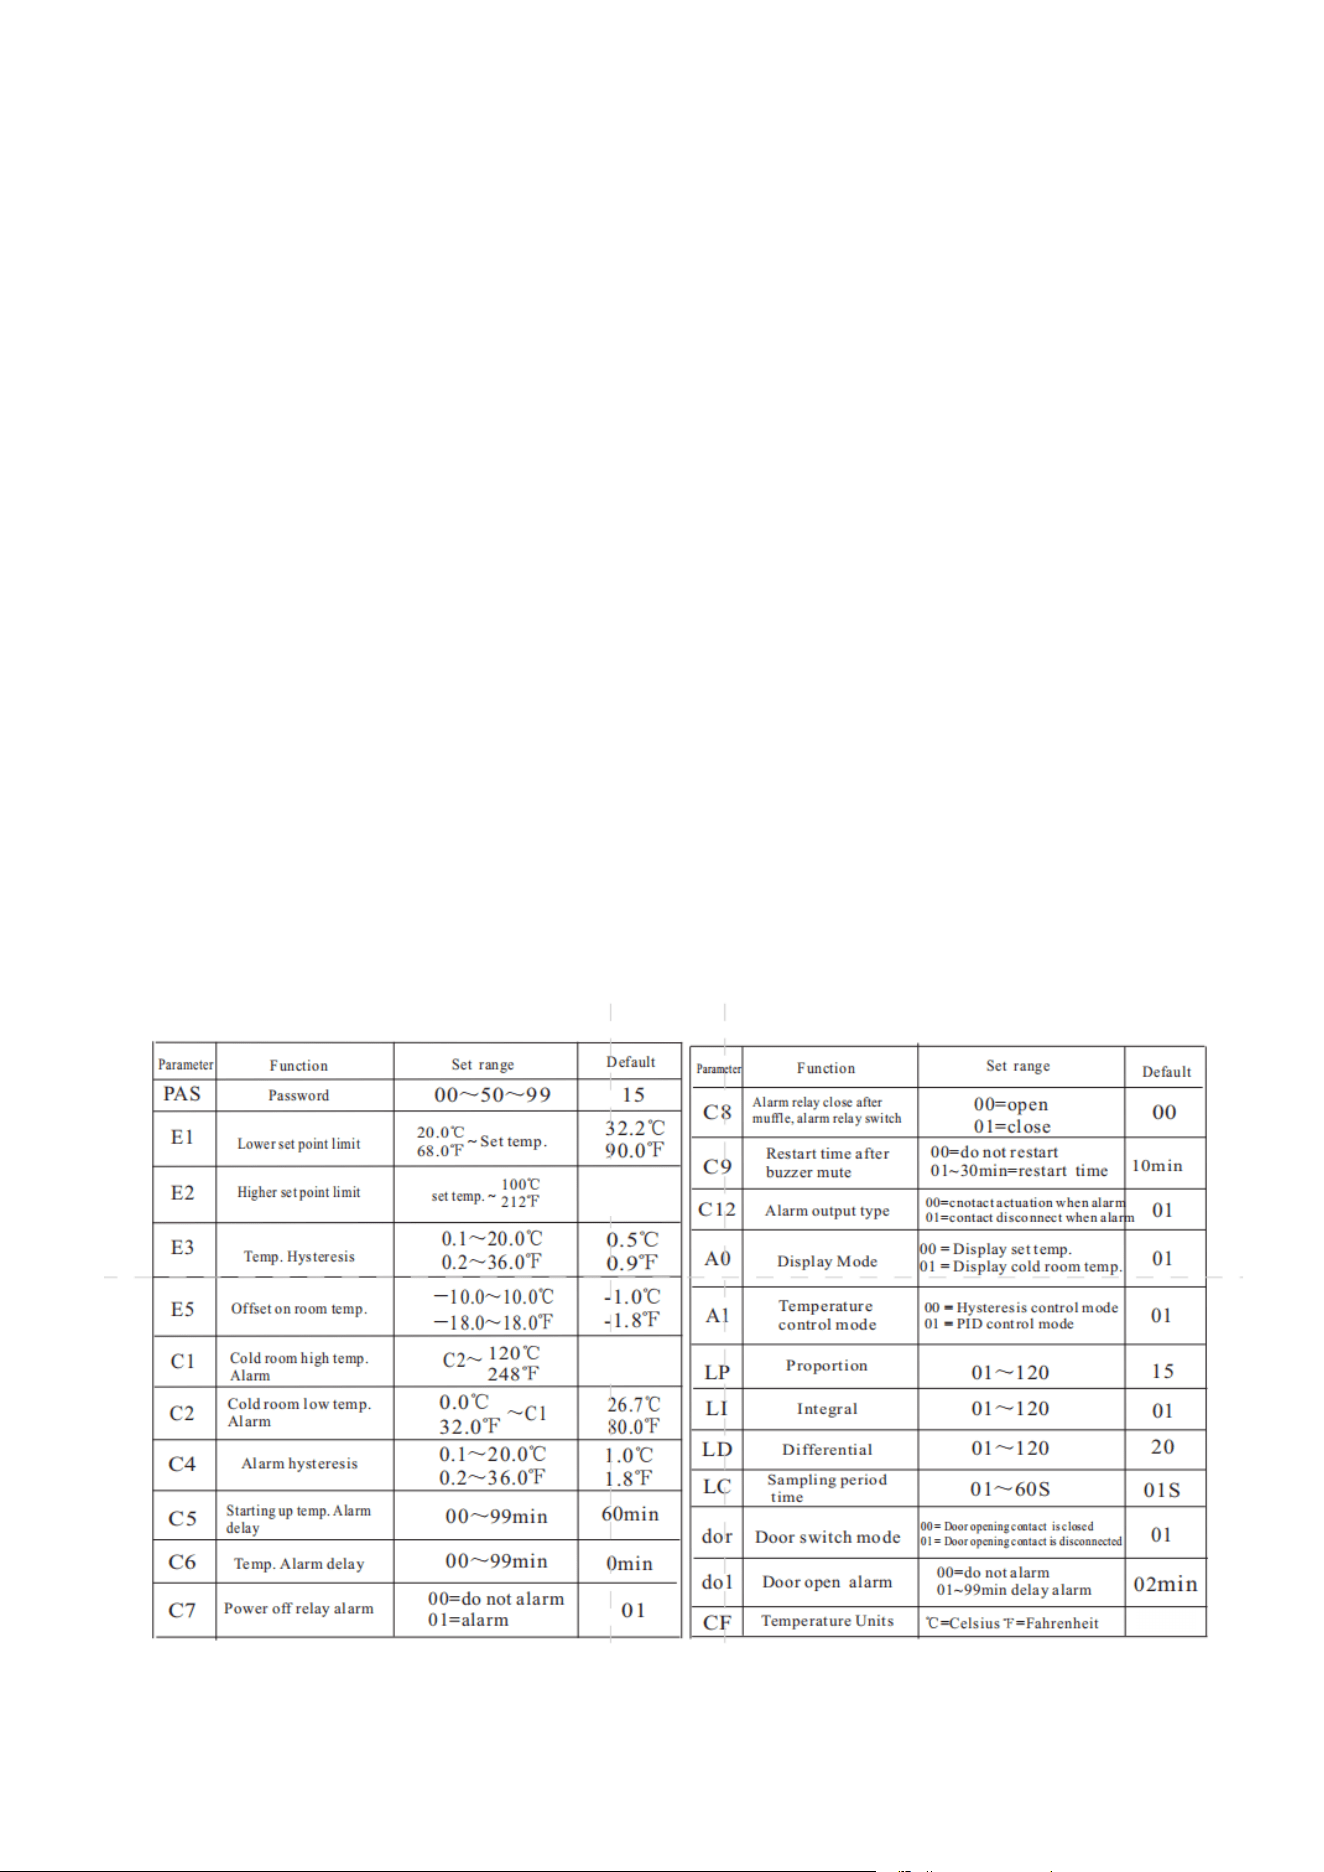
Parameter Setup
1. Press and hold the SET button for 6 seconds to enter the parameter settings (the display will flash PAS).
2. Enter the password (factory set to 15).
3. Press
the SET button (the display will show E1, E2...~CF, PAS in sequence).
4. Press the ▲ or ▼ button, the value of parameter will be displayed and can be modified and stored.
If no more buttons are pressed within 6 seconds, it will exit and store
the new value.
Note: To adjust the parameter values, you must enter the correct password in the inner parameter menu (displayed
as PAS). If the wrong password is entered, the system will exit the parameter modification screen and the set
temperature adjustment will remain the same. If the password is forgotten, please contact Technical
Support for assistance at 800-932-4267 (Ext. 513) between 9:00 AM and 5:00 PM ET.
Increasing the Set Point Temperature
The temperature range for this unit is factory set from 90°F - 130°F (32.2°C - 54.4°C).
NOTE:
To set the temperature above 130°F, please contact Technical Support for
assistance at 800-932-4267 (Ext. 513)
between 9:00 AM and 5:00 PM ET
11
Highest and Lowest Temperature Record
After the power is turned on and the C5 delay has elapsed, the system will begin to record the
highest and lowest temperatures and can be refreshed at any time. The highest and
lowest temperature values reached are saved to memory every 5 minutes. These values are
recorded even after a power failure.
To View the Records:
• Press HI/LO to display the highest temperature.
• Press HI/LO again to display the lowest temperature.
To Clear the Records:
Press and hold the HI/LO button for 6 seconds. A beep will sound, and the current temperature will flash
on the display for 3 seconds. The previous high and low temperature records will be cleared and updated to
the current cold room temperature, restarting the recording process.
NOTE: The highest and lowest temperatures are not recorded when the probe fails.
Changing the Controller Password
The password value can only be viewed or changed after the correct password is entered when
entering the internal parameter menu (displaying PAS). After entering the internal parameter PAS,
press to display and change the password, and then press to confirm and store the new password.
F°
54.4°C
130°F
63.3°C
146°F

12
Summary of Alarm Types
CLEANING AND MAINTENANCE
1. Unplug the Appliance: Unplug the appliance and remove all contents.
2. Interior Cleaning:
• Wash the interior liner with a solution of warm water and baking soda (two tablespoons per quart).
• Then rinse and wipe it clean.
• Important: Do not use soaps, detergents, scouring powders, spray cleaners, or similar products on
the liner, as these may cause odors in the cabinet.
3. Shelves:
• Wash the shelves with a mild detergent solution and dry them with a soft cloth.
4. Exterior Cleaning:
• Wipe the exterior s
urface with a soft cloth dampened with soapy water, then dry with a soft cloth.
• A spray appliance cleaner may be used for the exterior only.
5. Door Gasket:
• Use only lukewarm soapy water to clean the door gasket.
Caution:
• Never use acids, chemical thinners, gasoline, benzene, or s
imilar substances for cleaning any part of
t
he appliance.
• Important: Boiling water and chemicals like benzene may deform or damage plastic parts.
Extended Downtime
If the appliance will not be used for several months, empty it, and unplug the power cord. Clean and dry the
interior thoroughly. T
o prevent odor and mold growth, leave the door open slightly, blocking it open if
necessary.
Alarm Type Heater Operating Condition Display Flash
Product temperature high temp.
Heating stop H1 delay alarm
Product temperature low temp.
Heat up the opening
L0 delay alarm
Air temp. sensor short-circuited
Heating stop
1H in time alarm
Air temp. sensor open-circuited
Heating stop
1L in time alarm
Electric supply off alarm Stop all output
EEL flash and alarm in time
Door open delay alarm Heating stop Dr flash and delay alarm

13
Moving Your Appliance
Remove or securely tape down all loose items inside the blanket warmer. Tape the door shut. Be sure the
appliance is kept in the upright position during transportation. Also protect the outside of the appliance with a
blanket or similar item.
Energy-Saving Tips
To allow proper air circulation, keep a space around the walls and fan when loading the cabinet. Add or
remove as m
any items as needed at one time and close the door as soon as possible.
Preventive Maintenance
Twice a year, place a thermometer near the fan inlet of the cabinet in order to check the accuracy of the
temperature setting. The actual temperature should be within plus or minus 3 Fahrenheit degrees of the set
temperature.
TROUBLESHOOTING
You can easily solve many common problems with your appliance, saving you the cost of a possible service
call. Try the suggestions below to see if you can solve the problem before calling a service technician.
If you continue to experience issues, contact Accucold’s technical support department at
1-888-4- MEDLAB or visit our website https://www.accucold.com/support
Problem Possible Cause Solution
The appliance is not heating up.
• Appliance is not plugged in, or
power is turned off.
• Fuse has blown.
• Door is not securely closed.
• Plug the appliance into a working outlet
and ensure the power is turned on.
• Replace the blown fuse.
• Ensure the door is properly closed and
check for any obstructions or damaged
seals.
Appliance turns on but does not
reach the set temperature.
• Possibly due to environmental
factors or initial startup conditions.
• Allow up to several hours of operating time
for the unit to come to temperature.
The door will not close properly.
• The appliance is not level.
• The door was reversed and not
properly re-installed.
• The gasket is dirty.
• The shelves are out of position.
• Ensure the appliance is on a flat surface
and adjust the feet if needed.
• Reinstall the door correctly according to
the manufacturer’s instructions.
• Clean the gasket.
• Rearrange the shelves to ensure they are
properly aligned.

NOTES
14
15
Revised May 2025
WARRANTY
TWO YEAR LIMITED WARRANTY
Within the 48 contiguous United States, for two years from the date of purchase, when this appliance is
operated and maintained according to instructions attached to or furnished with the product, warrantor will pay
for factory-specified parts and repair labor to correct defects in materials or workmanship. Service must be
provided by a designated service company. Outside the 48 states, all parts are warranted for two years from
manufacturing defects. Plastic parts, shelves and cabinets are warranted to be manufactured to commercially
acceptable standards and are not covered from damage during handling or breakage.
ITEM
S WARRANTOR WILL NOT PAY FOR:
1.Service calls to correct the installation of your appliance, to instruct you how to use your appliance, to replace
or repair fuses or to correct wiring or plumbing.
2.Service calls to repair or replace appliance light bulbs or broken shelves. Consumable parts (such as filters)
are excluded from warranty coverage.
3.Damage resulting from accident, alteration, misuse, abuse, fire, flood, acts of God, improper installation,
installation not in accordance with electrical or plumbing codes, or use of products not approved by warrantor.
4.Replacement parts or repair labor costs for units operated outside the United States.
5.Repairs to parts or systems resulting from unauthorized modifications made to the appliance.
6.Expenses for travel and transportation for product service in remote locations.
7.The removal and reinstallation of your appliance if it is installed in an inaccessible location or is not installed in
accordance with published installation instructions.
DISCLAIMER OF IMPLIED WARRANTIES – LIMITATION OF REMEDIES
CUSTOMER'S SOLE AND EXCLUSIVE REMEDY UNDER THIS LIMITED WARRANTY SHALL BE PRODUCT REPAIRAS
PROVIDED HEREIN. IMPLIED WARRANTIES, INCLUDING WARRANTIES OF MERCHANTABILITY OR FITNESS FOR A
PARTICULAR PURPOSE, ARE LIMITED TO ONE YEAR. WARRANTOR SHALL NOT BE LIABLE FOR INCIDENTAL OR
CONSEQUENTIAL DAMAGES. SOME STATES DO NOT ALLOW THE EXCLUSION OR LIMITATION OF INCIDENTAL OR
CONSEQUENTIAL DAMAGES, OR LIMITATIONS ON THE DURATION OF
IMPLIED WARRANTIES OF
MERCHANTABILITY OR FITNESS, SO THESE EXCLUSIONS OR LIMITATIONS MAY NOT APPLY TO YOU. THIS
WARRANTY GIVES YOU SPECIFIC LEGAL RIGHTS AND YOU MAY ALSO HAVE OTHER RIGHTS, WHICH VARY
FROM STATE TO STATE.
Accucold Division of Felix Storch, Inc.
An ISO 9001:2015 registered company
770 Garrison Avenue
Bronx, NY 10474