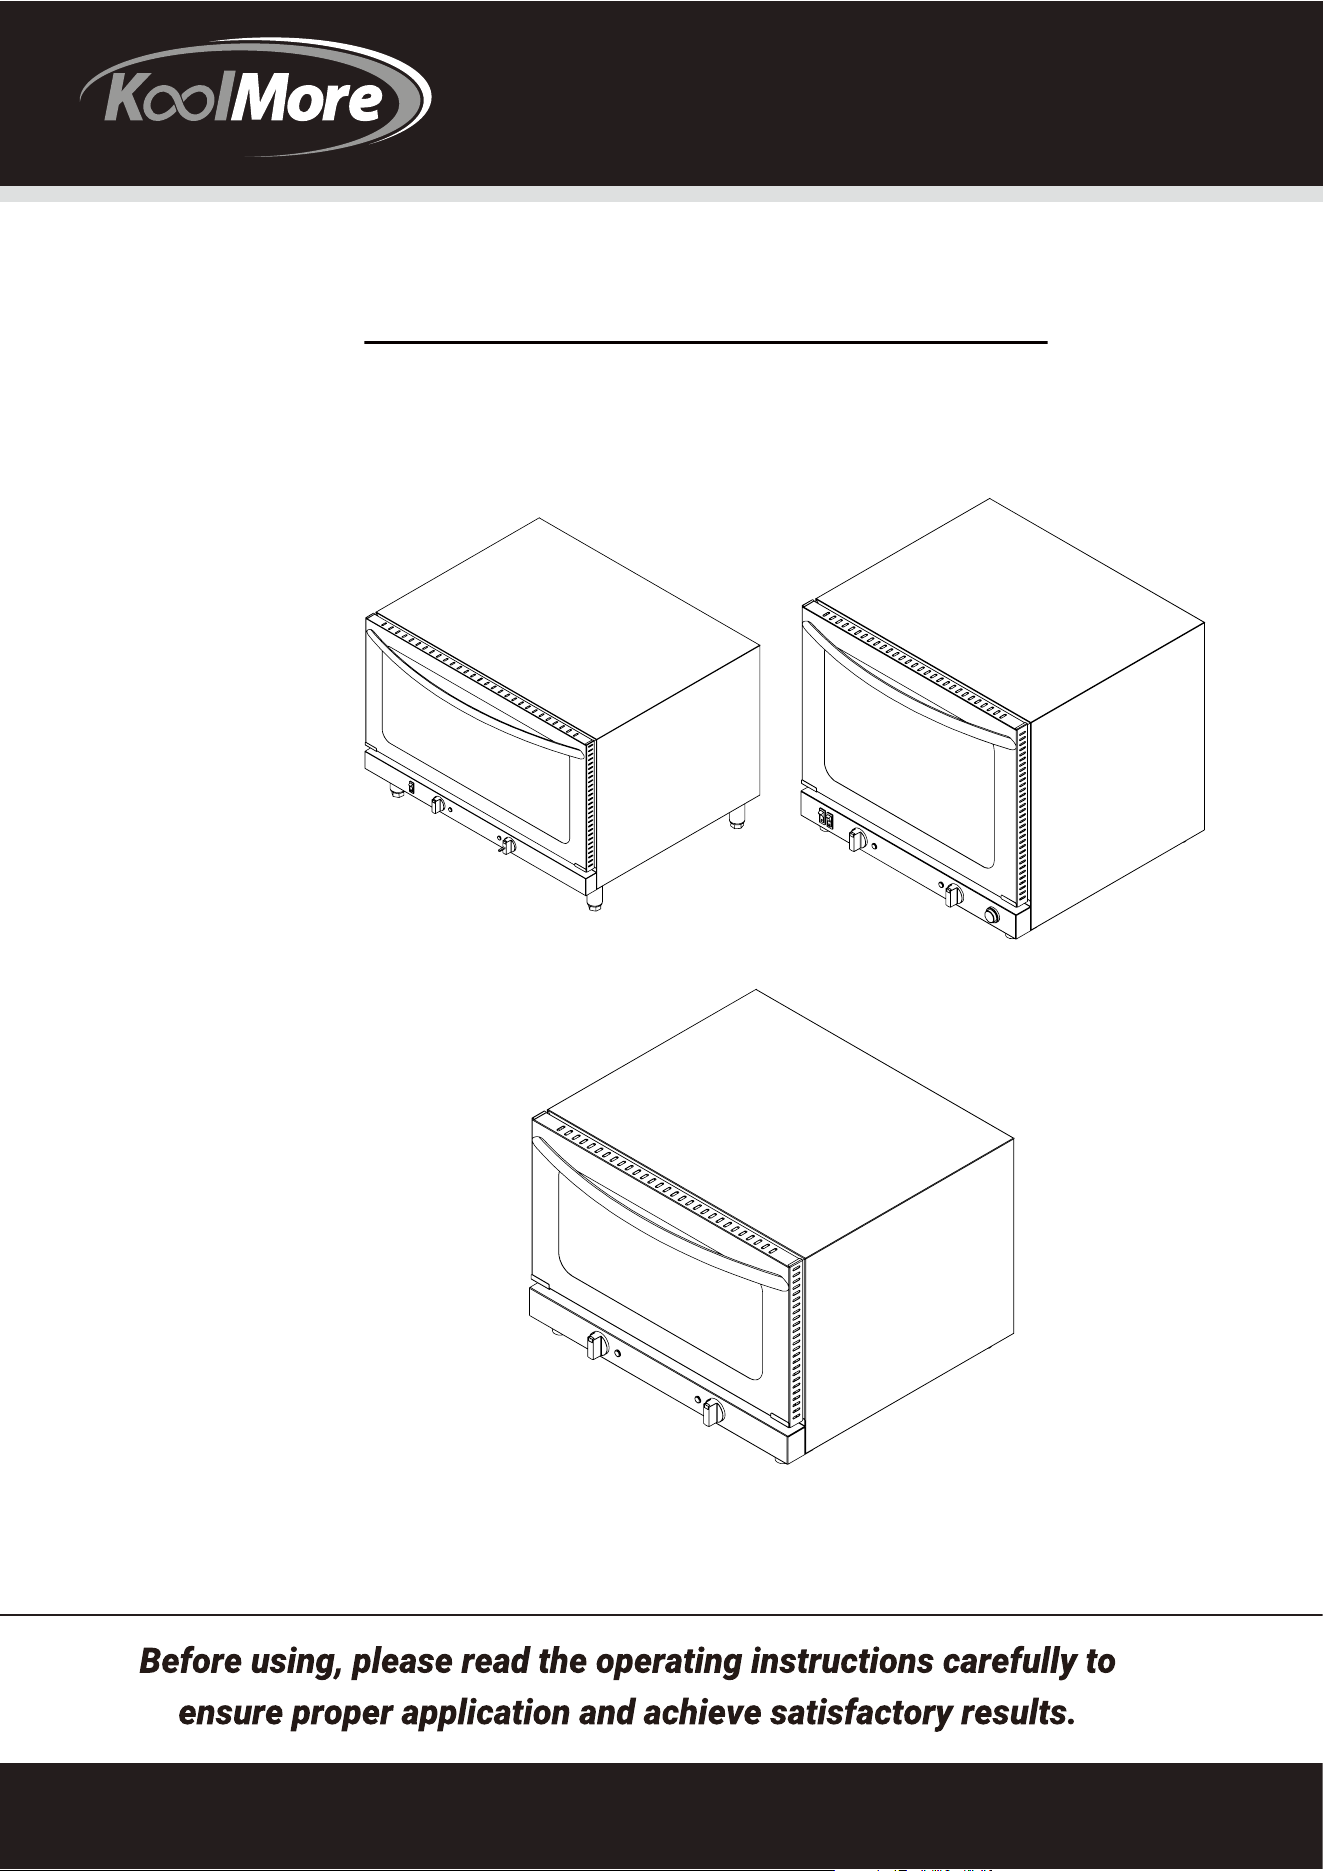
INSTALLATION MANUAL
For any service-related Issues, please contact
us: Phone Number: 718-576-6342
Email address: [email protected]
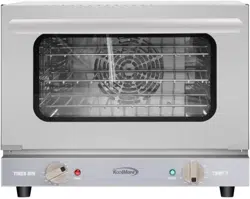
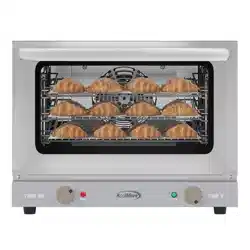
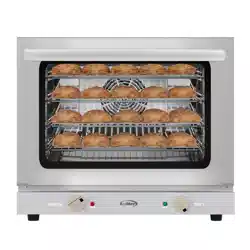
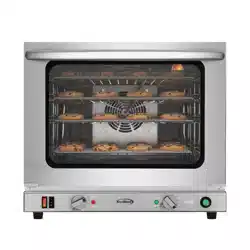
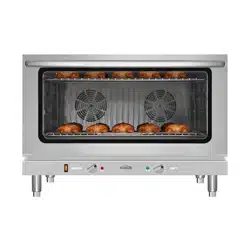
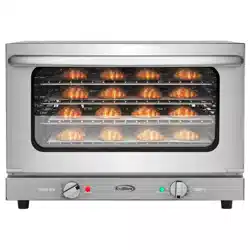
Countertop Convection Oven
CONVECTION OVEN
Models:
KM-CTCO-15, KM-CTCO-44, KM-CTCO-23STI
KM-CTCO-44 KM-CTCO-23STI
KM-CTCO-15
Stay informed with the latest information for
your KoolMore Countertop Convection Oven.
Scan the QR code above to access the most recent user manual
on our website, which is constantly being updated and improved.
If you need any assistance or have questions, our customer
support team is here to help.
Updated On Aug 25 2023

When using electrical appliances, always follow these basic safety precautions:
1. Read Instructions: Read all instructions carefully and completely before using the appliance.
2. Intended Use:
For commercial use only. Do not use outdoors or for any application other than its intended purpose.
3. Hot Surfaces: Do not touch hot surfaces, place near hot burners, or cover with flammable material.
4. Electrical Safety:
Protect against shock by keeping cords, plugs, and other electrical components away from water.
Avoid using damaged cords or plugs.
5. Cool Before Handling: Allow the unit to cool before putting on or taking off parts.
6. Unplug When Not In Use: Always unplug the unit when not in use and before cleaning.
7. Avoid Metal Objects: Do not insert metal utensils or oversized foods that may cause a fire or electrical shock.
8. Proper Placement: Place the unit on a flat, well-ventilated surface away from walls and flammable materials.
9. Avoid Scratches: Avoid scratching the surface or nicking the oven's tempered safety glass door.
CHILD AND VULNERABLE ADULT SAFETY
• Children should be supervised to ensure they do not play with the oven.
• This appliance is not for use by persons with reduced physical, sensory, or mental capabilities unless supervised
or instructed by a responsible person.
OPERATION INSTRUCTIONS
1. Attach the plug to the appliance first, then plug the electrical cord into the wall outlet.
2. Disconnect by turning the temperature and timer control to "OFF" and removing the plug from the outlet.
3. Do not clean with metal scouring pads or place materials like paper or plastic in the oven.
4. Follow voltage and outlet guidelines when using the appliance in shops, snack bars, hotels, etc.
5. Supervise during operation and DO NOT leave the appliance without powering off.
NOTE: Save these instructions for future reference.
BEFORE USING YOUR OVEN
1. Wash the handle and roasting racks with soapy water (avoid sprays or abrasive agents).
2. Wipe interior walls with a damp cloth without touching the heating element. Do not soak the oven.
3. Replace the roasting racks inside the oven.
4. For first-time use, set the oven to max temperature for 30 minutes to remove any fumes or odors.
USAGE GUIDELINES
Notes on Usage
1. Times and temperatures are guides only.
2. Great for supplemental baking, low volume small batches, and warming sandwiches.
3. Not intended for high volume or high temperature requirements.
4. Allow proper time for recovery to ensure maximum performance.
5. Units not intended for daily roasting or baking protein.
6. Usage: approximately 4 hours per day, 5 days a week.
GENERAL SAFETY PRECAUTIONS
For 208/240V Units:
Food Items Temperature (°) Time (Minutes) Quantity/HR
Cookies
350 15 2
Brownies
325 25 3 Trays
Biscuits
350 24
For 120V Units:
Food Items Temperature (°) Time (Minutes) Quantity/HR
Cookies
350 15 60
Brownies
325 25 2 Trays
Biscuits
350 30 20
Dinner Rolls
350 18 65
Bacon (Sliced)
350 15 3 Trays
Pizza (Frozen)
400 22 2
USING YOUR OVEN
Follow the guidelines below to ensure the proper and safe operation of your KOOLMORE Convection Oven.
NOTICE: Rubber feet or legs must be installed to comply with sanitation and airflow clearance requirements. If the
legs are not installed properly, the warranty will be voided.
CAUTION:
• During the baking process, make sure that no metal accessory comes in contact with the electric heating elements.
• Foods baked in this oven will be hot. Wear oven mitts when reaching into the oven to retrieve food.
TYPICAL OPERATION SEQUENCE
• Children should be supervised to ensure they do not play with the oven.
• This appliance is not for use by persons with reduced physical, sensory, or mental capabilities unless supervised
or instructed by a responsible person.
OPERATION INSTRUCTIONS
Note: Models KM-CTCO-23STI and Encov-46M are equipped with a steam injection feature. Install the oven close to a water source
(20-25psi inlet pressure) and connect the faucet well before using. A Water Filtration System is recommended.
SPECIAL FEATURES
• KM-CTCO-23STI: Includes an optional broil function for melting cheeses and crisping baked goods.
• Temperature Control Knob:
Thermostatic switch that controls the temperature inside the oven (0-500° F for 120V; 0-550° F for 208/240V).
• Power & Heating Indicator Light: Shows connection to the power supply.
• Protection Component: Shuts off the electrical components if the oven reaches an unsafe temperature to prevent overheating.
For models Item# KM-CTCO-15, KM-CTCO-44 - Follow this sequence:
Action Result
Plug in your oven
Power connected; power light will go on after turning the temperature dial
Adjust temperature control knob
Heating indicator light comes on; heating elements begin to heat up
Temperature light shuts o
Oven has reached desired temperature
Load product into oven
Product will begin to cook
Set timer to desired cook time (0-120 min)
Timer starts timing down
Timer reaches zero
Timer chimes
Unload oven
Product will be cooked/hot; use caution removing it
For models Item# KM-CTCO-23STI, KM-CTCO-44 Follow this sequence:
Action Result
Plug in your oven
Power connected; power light will go on after turning the temperature dial
Turn the main switch to ON position
Power and heating indicator light will be on; fan motor will operate
Adjust temperature control knob
Heating elements begin to heat up
Temperature light shuts o
Oven has reached desired temperature
Load product into oven
Product will begin to cook
Set timer to desired cook time (0-120 min)
Timer starts timing down
Timer reaches zero
Timer chimes
Unload oven
Product will be cooked/hot; use caution removing it

CLEANING & MAINTAINING
CLEANING & MAINTAINING YOUR OVEN
• General Cleaning: Disconnect power, cool the oven, and gently wipe the inside with a damp cloth. Avoid soaking
or running water inside.
• Space Clearance: Maintain a minimum of 12" (30.4 cm) from walls made of noncombustible materials. Ensure
that the rear vent is unobstructed.
• Cleaning the Door: Follow steps to detach and reattach the door. Clean with detergent and wipe with a damp cloth.
CLEANING THE OVEN DOOR
1. Open the door to its maximum extent.
2. Lift the hinge clip.
3. Close the door to a 45-degree angle and gently pull the door out.
4. The door will then disengage. Refer to provided images for clarity.
5. Use a minimal amount of detergent and wash the door and its glass with soapy water.
◦ NOTE: Refrain from using spray or abrasive polishing agents.
6. Wipe gently with a damp cloth.
7. To reattach the door, reverse the above steps.
SPACE CLEARANCE
• A minimum clearance of 12" (30.4 cm) is required between the oven and any surrounding walls.
• Surrounding walls must be composed of non-combustible materials.
• Do not obstruct the vent located at the rear of the oven.
• Adhere to local fire and building regulations during installation.

TROUBLESHOOTING
If you encounter issues with your oven, the following troubleshooting steps may help:
1. OVEN NOT HEATING
◦ Ensure the oven is plugged in.
◦ Check that the temperature control knob is correctly set.
◦ If the reset switch has tripped, locate it on the back of the unit and reset.
2. METALLIC SOUND DURING OPERATION:
◦ Do not attempt to dismantle the oven.
◦ Contact your service agent for a fan examination.
◦ Ensure the fan motor functions properly.
◦ Check for an uneven oven or racks and level them as necessary.
◦ Ensure sufficient airflow by sp acing oven racks properly and not overcrowding with baking trays or tins.
◦ Avoid overloading the oven.
◦ Do not frequently open the oven door during the baking process.
◦ Make sure the oven vent is clear and unblocked.
3. LOUD POPPING SOUND OR SUDDEN STOP IN OPERATION
◦ Possible Cause: The reset switch has been triggered, likely because the oven overheated.
◦ Solution: Find the reset switch on the oven's back, covered by a black plastic screw cap. Unscrew the cap
and press the switch to reset.

LIMITED WARRANTY
Koolmore Supply, Inc. extends a limited warranty to the original purchaser, guaranteeing that this Koolmore
product is free from manufacturing defects in material or workmanship for one year from the date of
purchase.
Should you discover any such defect within the warranty period, Koolmore Supply, Inc., reserves the right to
repair or replace the product without charge, or to cover the cost of replacement parts and repair labor needed
to correct defects present at the time of purchase or resulting from regular usage, when the appliance has been
installed, operated, and maintained as per the instructions provided.
At its sole discretion, Koolmore Supply Inc. may decide to replace the product. In such an event, your replace-
ment appliance will carry the warranty for the remaining term of the original unit's warranty period.
This warranty is valid exclusively to the original purchaser of the product and only applicable within the United
States. The warranty commences from the date of original consumer purchase. Proof of the original purchase
date will be required to obtain service under this warranty.
Under this limited warranty, your sole and exclusive remedy will be product repair, as outlined above. All
services must be provided by a Koolmore-designated service company.
To claim warranty or request repair service:
Email suppor[email protected]. Please include your name, address, phone number, warranty repair request,
and a copy of your proof of purchase receipt. Alternatively, visit koolmore.com and use the contact us page. A
Koolmore customer service representative will promptly arrange service for your appliance.
We thank you for choosing Koolmore.
WARRANTY EXCLUSIONS
This limited warranty will not cover:
1. Failure of the product to perform during power failures or interruptions,
or due to inadequate electrical service.
2. Damage incurred during transportation or handling.
3. Damage caused by accidents, vermin, lightning, winds, fire, floods, or acts of God.
4. Damage resulting from accidents, alterations, misuse, abuse, improper installation, repair, or mainte-
nance. This includes using any external device that alters or converts the voltage or frequency of
electricity.
5. Unauthorized product modifications, repairs by unauthorized centers, or use of non-approved
replacement parts.
6. Abnormal cleaning and maintenance not aligned with the user's manual.
7. Use of incompatible accessories or components.
8. Any costs associated with repairs or replacements under these excluded circumstances shall be the
responsibility of the consumer.
WARRANTY