
WARNING:Failuretoreadandfollowthesewarningsandinstructionsmayresultinseriousinjury,includingdamaged
property,sopleasepaycloseattentionandexhibittheutmostcare.
•TheDigitalBackupCameraisdesignedasanaidtothedriverindetectingpotentiallyhazardousdrivingconditions,
obstructions,andlargestationaryobjects.You,thedriver,mustalsoremembertodrivesafelyandproperly.Useofthe
DigitalBackupCameraisnotasubstituteforsafe,properandlegaldrivingpractices.
•Neverbackupwhilelookingonlyatthescreen.Youshouldalwayscheckbehindandaround
thevehiclewhenbacking
upjustasyouwouldifthevehicledidnothavetheDigitalBackupCamera.Alwaysmakesureyourdrivingareaisclear.
Alwaysbackupslowlyandwithcaution.
•NeverdependontheBackupCameraentirelywhenbackingup.Theimageonthescreen
isdifferentfromactualand
real‐timeconditions.Objectsviewedintherearviewmonitordifferfromactualdistancesbecauseawide‐anglelensis
used.Sousethecameraasanaidandalwaysfollowintendeddrivingpracticestoproperlyjudgedistancesfromobjects.
•TheBackupCamera'sassistedlow
luxlightingperformancefeatureisalsoanaidtoadriver.Alwaysuseyourowneyes
toconfirmthevehicle’ssurroundings,asthedisplayedimagemaybenotwelllitornotentirelyvisible.Alwa ysproceed
withcautionandperformdouble‐checksbeforeproceeding.
•Theareadisplayedbythe
BackupCameraislimited.Itdoesnotdisplayobjectsthatareclosetoorjustbelowthe
bumper,underneaththevehicle,orobjectsoutofthecamera’sview.Thecamera'sviewcanchangeaccordingtoyour
vehicle'sorientationontheroadorchangingroadconditions.
•Besuretocheck
thecameraisproperlyfunctioning,isproperlypositionedandsecurelymounted.
•Makesureyourtrunkorhatchisclosedbeforeandsecured.
•Proceedwithcautionwhencleaningyourvehiclearoundthecamera.Avoidexcesswaterexposurearoundthecamera
especiallywithsprayingorapowerwasher.
•
Pleasemakesuretokeepthecameracleanandunobstructedfromanydebris
•Followalltrafficlawsandmotorvehicleregulations.
•Consultlocallawsandregulationsforanyrestrictionsoninstallationoruse.
•UsingaBackupCameraSystemisnotadequateenoughtocompletelyeliminateavehicle’s
blindspot.Alwaysremember
todrivewithcaution,followingalltrafficlaws.
Pleasereadalloftheinstallationinstructions carefullybeforeinstallingthe product.Improperinstallation will void
manufacturer’s warranty. The installation instructions do not apply to all types of vehicles, and are written as
guidelines to assist in installing the system.Please consult an experienced techni cian if you are not comfortable
installing
the product.Priorto usingandinstallingtheBackup Camera System,pleasereadthe safetyinformation
providedinthisusermanual.Besuretousetheproductasoutlinedinthisusermanual.Altercationormodifications
carriedoutwithoutappropriateauthorizationmayinvalidatetheuser'srighttooperatetheequipment.

SystemInstallationandWiring
CameraSysteminstallationonvariousvehiclesmayrequireaslightlydifferentwiringinstall.Theseinstallationinstructionsdonotapplytoalltypesof
vehicles.Theyaremeantonlyasageneralguideduetothelargenumberofvehiclemakes andmodels.Consultyourlocalmotorvehiclelawsonthe
use
ofthisproducttobesureitispermitted.Throughinstallationofthisbackupcamerasystem,youshouldbesure astonotdegrade,damageor
compromisethesafetyofanysystemordeviceonyourvehicle.Improperinstallationandwiringofthevehicleback‐upcamerasystemmaydamage
the vehicle's electrical system, including vital vehicle computer and operating systems. That could lead to an accident or fire, causing property
damageand/orseriouspersonalinjury.Itishighlyrecommendedtoseekprofessionalinstallationadvicefromaqualifiedautoelectricianor,inthe
alternative,tohavetheinstallationperformedby
aqualifiedautoelectrician.
PleaseensurethatyourmonitorassemblyissecuredandmountedwhereitwouldNOTobstructanyOEMvehiclesafetyfeatures.Inaneventofan
accident,themanufacturerisnotresponsibleforbodilyinjurycausedbythemonitorbeingaprojectile.Thisrearviewmirrorassemblysystem
istobe
mounted over your vehicle's existing rearview mirror. Ensure monitor location will not obstruct your vision while driving. The system has a clamp‐
lockingmechanismwhicheasilyclampsoveryourvehicle'srearviewmirror.Themanufacturerassumesnoliabilityfordamagecausedtoyourvehicle
duetoimproperinstallation
oruse.
QuickInstallation:
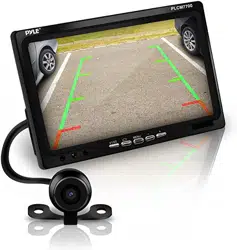
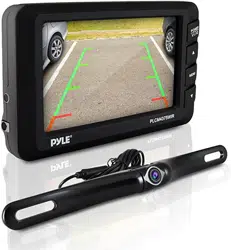
Thebackupcamerasystemiscompatiblewithawiderangeofvehiclesandvideodisplaymonitors.
(especiallysuitablefortheincludedrearviewmirrorandmonitorassembly.)
Thesystemincludes(2)DC12Vpowercables.
Thiskitincludesnecessarywiringandcableconnectoraccessoriessufficientfortypicalconnections.However,
additional accessory cables and installation materials may be necessary for a completely secure and
operationalbackupcameraperformance.
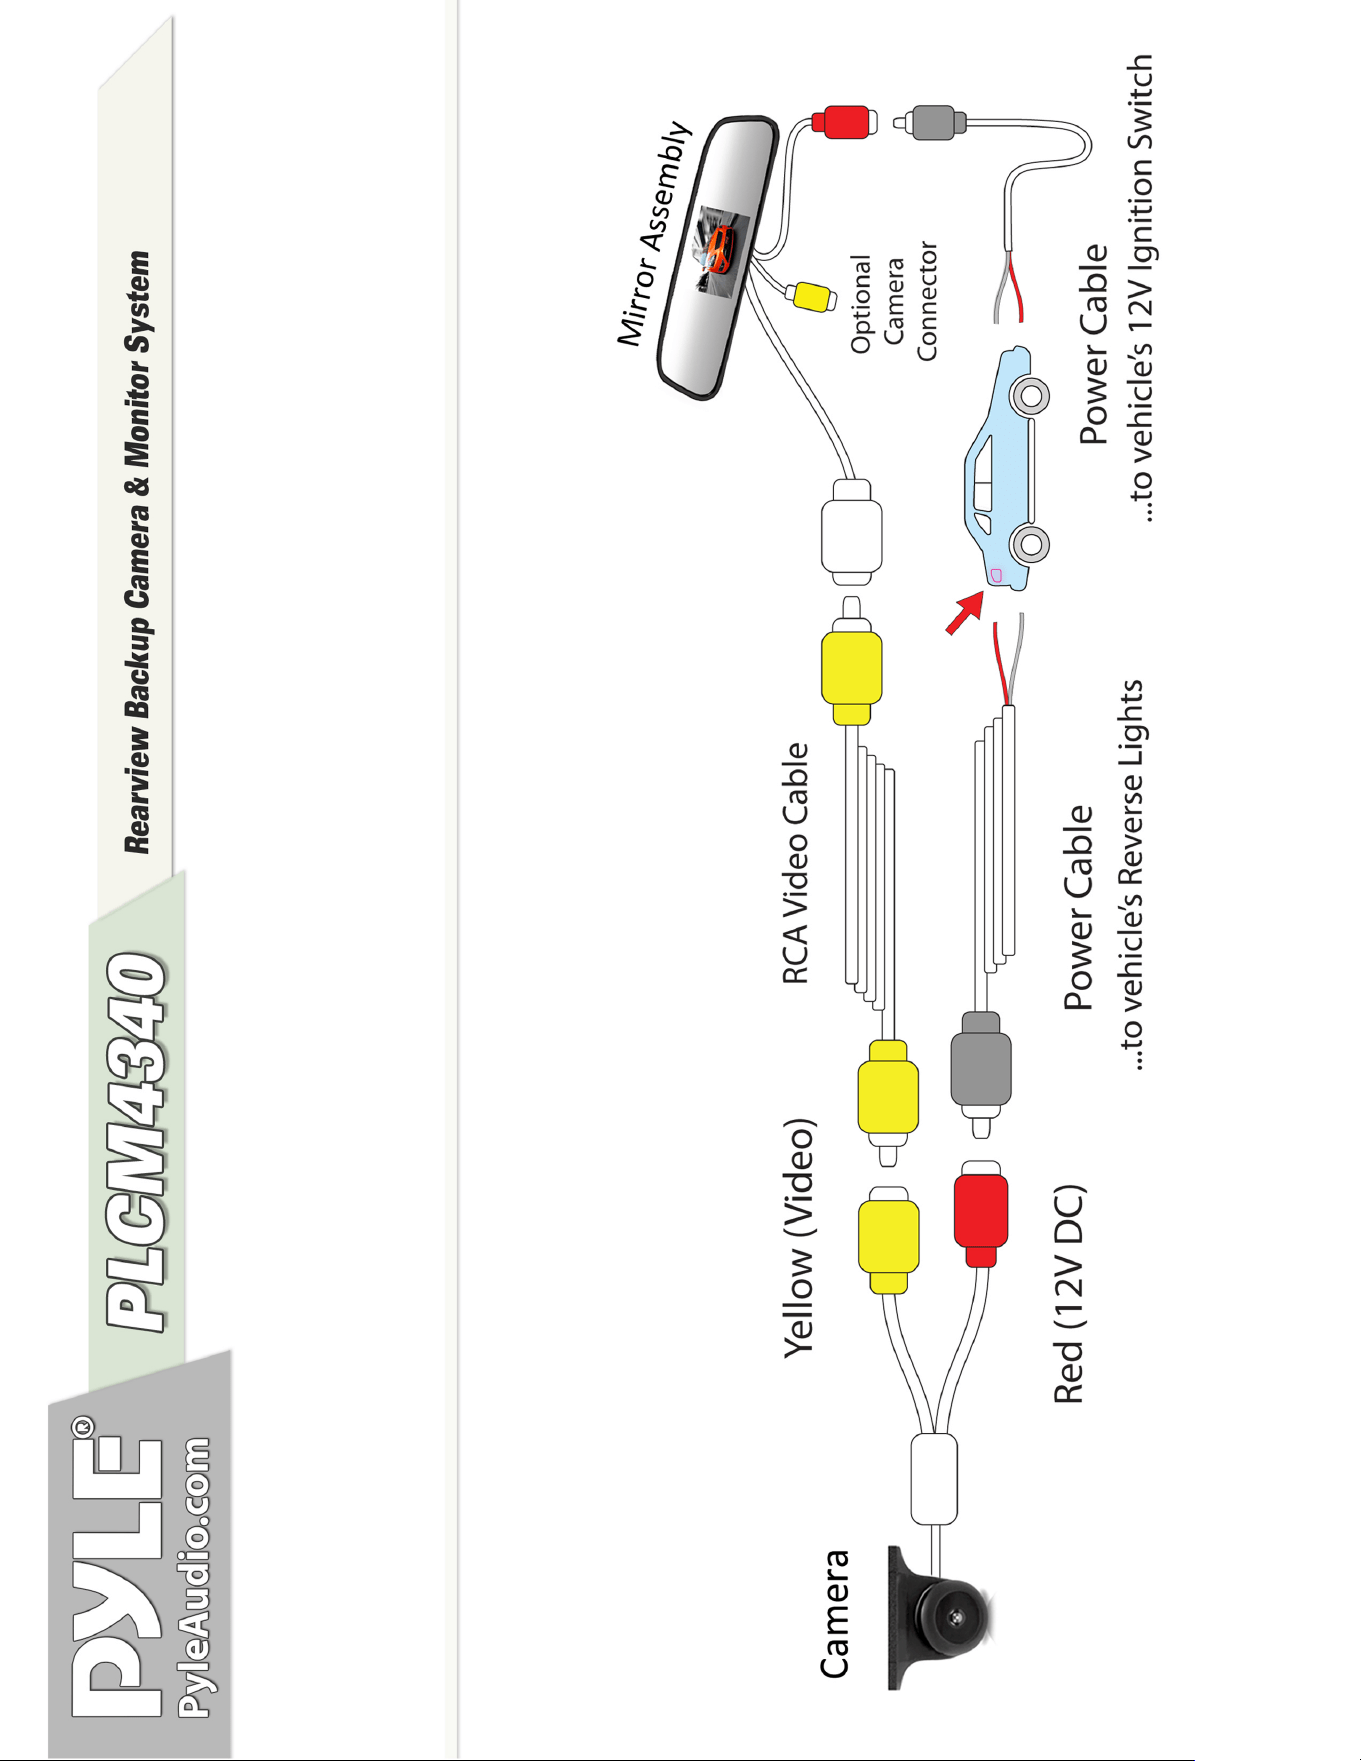
CameraConnection:
Connect the camerausing one of the DC 12V power cables.Use the red wire toconnect to the positive 12V
reversetaillightintherearofyourcar.Youmayneedtotemporarilyremoveaninteriorpanelorothercover.
Then,connect the black wire of theDC 12V powercableand ground properly. (Red wire is positive, black wire is
negative).
ThisDC12Vpowercableconnectstothecameraandwillsupplypowertothecameradirectly.Finally,
securetheyellow RCAvideoconnectionandruntheyellowvideocablefromthecameratotherearviewmirror
assembly. *Remember, connecting to the white video input of the mirror assembly will provide a picture only
whenthevehicleisplacedinreversegear.
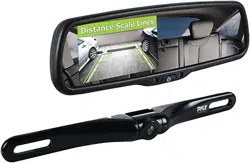
RearviewMirrorMonitorAssemblyConnection:
ConnecttherearviewmirrormonitorassemblyusingtheotherDC12Vpowercable.Usetheredwiretoconnect
to your vehicle's fuse panel (preferably to the 12V ignition switch). You may need to temporarily remove an
interior panel or other cover.Then, connect the black wire of the DC 12V power cable and ground properly.
ThisDC12Vpowercableconnectstotherearviewmirrormonitorandwillsupplypowertothecameradirectly.
Caution:Thisunitisdesignedtooperateon12VDCNEGATIVEGROUNDelectricalsystems.Connectingtoothertypesofelectrical
systemswillcausedamagetoyourvehicle.Pleasecontactthemanufacturerifyouareunawareofthesystemtypeinyourvehicle.
The white video input connector from the rearview mirror assembly serves as the Reverse Signal Sense and takes
priorityovertheyellowvideoinputconnector.
Ifyouconnectthecameratothe
yellowvideoinputofthemirrorassembly,therewillbeaconstantpicturedisplayed on
theLCDdisplay.
Ifyouconnectthecameratothe
whitevideoinputofthemirrorassembly,therewillbeapicturedisplayedontheLCD
displayonlywhenthevehicleisplacedinreversegear.
MirrorAssemblyMounting
The rearview mirror assembly mounts over your existing rearview mirror housing.The spring‐type clamp mechanism
easilyfitsoveryourrearviewmirrorandsitsontopofit,withoutcausinganydamage.Usetwohandstofirmlyholdthe
newmirrorassemblyoveryourexistingmirror,withonehandholdingthe
mirror,andtheotherexpandingthespring‐type
clampmechanism.
MirrorAssemblyButtonControls
Locatedinthe backof therearview mirrorassembly arebuttoncontrols.The topand bottombuttons serve assettings
adjustment controls (UP/DOWN), while the centerbutton can be pressed to access settings like: brightness, contrast,
saturation,tint,mode(16:9,4:3),languageandsettingsRESET.
‐Determinethebestlocationforthecamera(Keepinmindthatyou mustrunthecablefromthecameratothetransmitter).Youmay
needtodrillasmallholeinthepanelnearyourlicenseplate(Thecameraispreferablymountedjustabovethelicenseplate).
‐Besure
whenrunningtheconnectioncablestoleaveasmallamountofslacksoyoucanstillmove the camera around thelicense
plate,ifyoudecidetoslightlyadjustthecamera'spositioningatalatertime.
‐ Test the camera, activate your vehicle and see if the system functions. Your connected
monitor will automatically power on if
properlyconnectedtoapowersource.Placingyourvehicleinreverseshouldprovideapicture(ifconnectedthroughthewhitevideo
inputofthemirrorassembly.