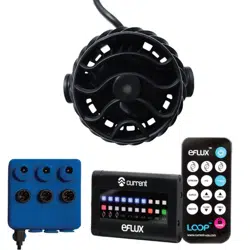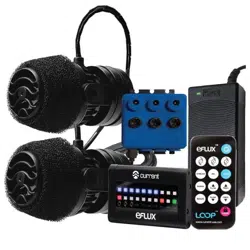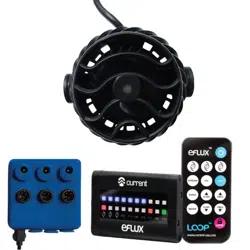
Getting Started
Wave Pump Installation
For step-by-step video instructions, visit our
website at www.current-usa.com/videos
Before Installation & Overview
Safety Warnings and Guidelines
Quick Start Guide
www.current-usa.com
Wave Pump Kit
THANK YOU
For Getting in the LOOP
Follow all safety instructions and
warnings included with this product.
Magnet
Attachment
Cable Wrap
Pump Prefilter
(optional)
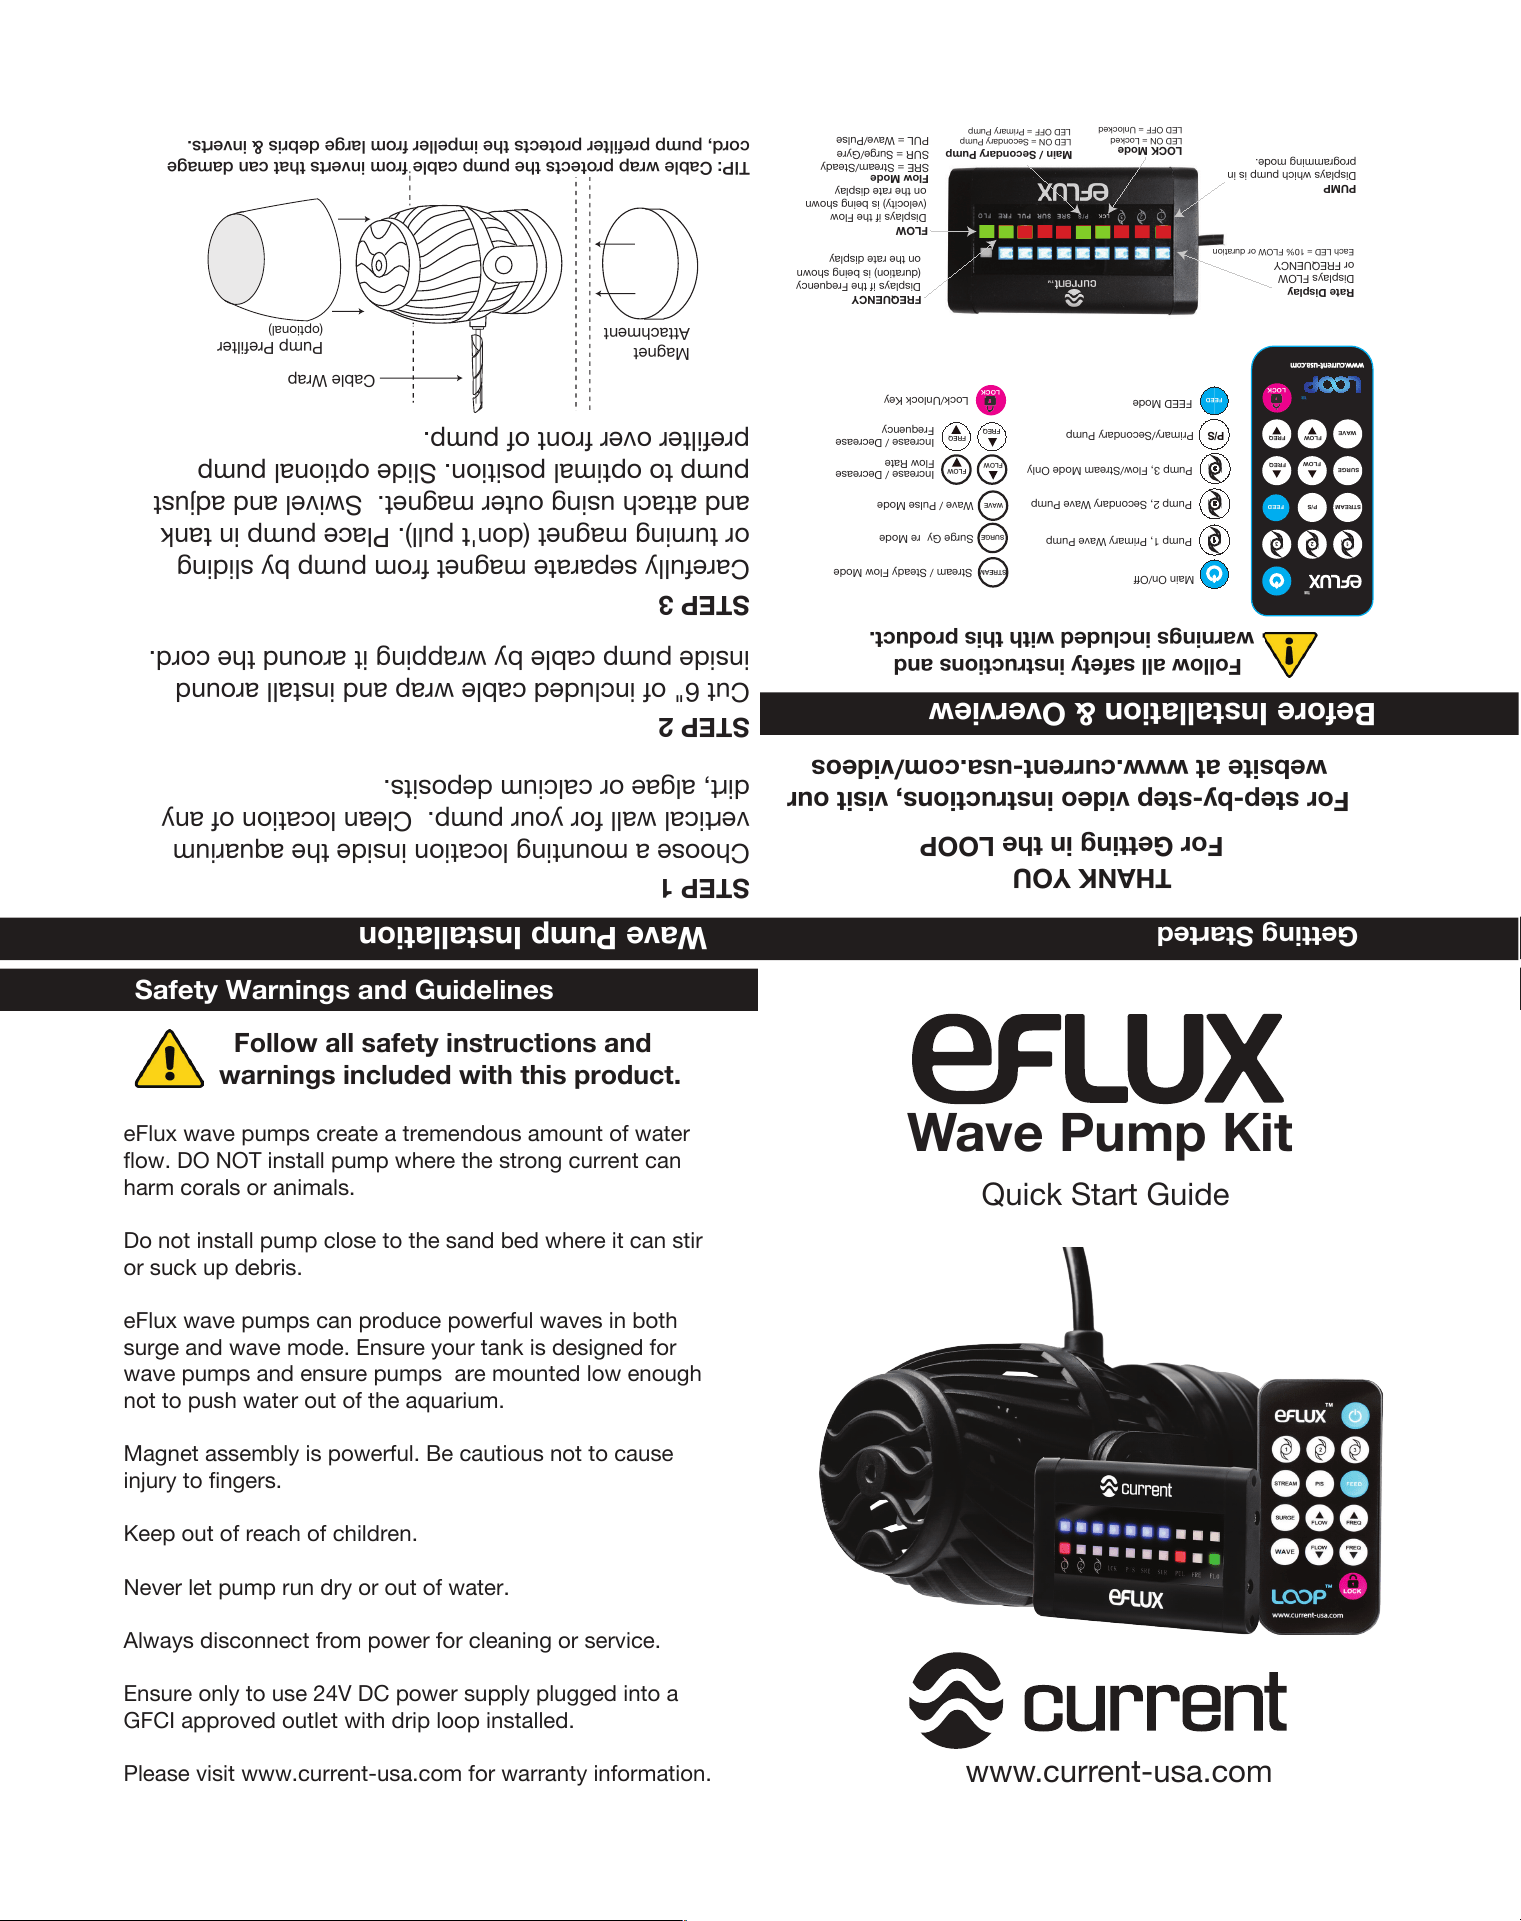
STEP 1
Choose a mounting location inside the aquarium
vertical wall for your pump. Clean location of any
dirt, algae or calcium deposits.
STEP 2
Cut 6" of included cable wrap and install around
inside pump cable by wrapping it around the cord.
STEP 3
Carefully separate magnet from pump by sliding
or turning magnet (don't pull). Place pump in tank
and attach using outer magnet. Swivel and adjust
pump to optimal position. Slide optional pump
prefilter over front of pump.
TIP: Cable wrap protects the pump cable from inverts that can damage
cord, pump prefilter protects the impeller from large debris & inverts.
FLOW
FREQUENCY
LOCK Mode
Main / Secondary Pump
PUMP
Rate Display
Displays which pump is in
programming mode.
LED ON = Secondary Pump
LED OFF = Primary Pump
Displays if the Flow
(velocity) is being shown
on the rate display
Displays FLOW
or FREQUENCY
Each LED = 10% FLOW or duration
Displays if the Frequency
(duration) is being shown
on the rate display
LED ON = Locked
LED OFF = Unlocked
Flow Mode
SRE = Stream/Steady
SUR = Surge/Gyre
PUL = Wave/Pulse
FLOW
FLOW
FREQ
FREQ
Main On/Off
Pump 1, Primary Wave Pump
Pump 2, Secondary Wave Pump
Pump 3, Flow/Stream Mode Only
Primary/Secondary Pump
Stream / Steady Flow Mode
Surge Gy re Mode
Wave / Pulse Mode
Lock/Unlock Key
Increase / Decrease
Increase / Decrease
Frequency
1 2
3
TM
TM
LOCK
FEED
WAVE
1
2
3
LOCK
FEED
FEED Mode
SURGE
STREAM P/S
FLOW
FLOW
FREQ
FREQ
P/S
STREAM
SURGE
WAVE
Flow Rate
eFlux wave pumps create a tremendous amount of water
flow. DO NOT install pump where the strong current can
harm corals or animals.
Do not install pump close to the sand bed where it can stir
or suck up debris.
eFlux wave pumps can produce powerful waves in both
surge and wave mode. Ensure your tank is designed for
wave pumps and ensure pumps are mounted low enough
not to push water out of the aquarium.
Magnet assembly is powerful. Be cautious not to cause
injury to fingers.
Keep out of reach of children.
Never let pump run dry or out of water.
Always disconnect from power for cleaning or service.
Ensure only to use 24V DC power supply plugged into a
GFCI approved outlet with drip loop installed.
Please visit www.current-usa.com for warranty information.
Follow all safety instructions and
warnings included with this product.
LED Display & Manifold HUB Installation
STEP 6
Choose a clean, dry location to mount manifold
HUB and wave pump LED display. Screw mounting
clips for HUB and LED display into stand location.
Slide HUB and wave pump LED display into
mounting clips.
STEP 4
Before connecting cables, please review the
following specifications and connections:
Choose Flow Mode
STEP 8
Installation for Orbit Marine PRO
P1P2
P3
Pump #1
Power DC Input
Pump #2
Power DC Input
Pump #3
Power DC Input
Pump #2
Pump Connection
Pump #3
Pump Connection
Port#1
Port#2
Port#3
Port#4
Pump #1
Pump Connection
Communication LED
Indicator Light
MicroUSB Ports
Pump Connections:
P1 Pump#1:
Main/Primary Wave Pump
P2 Pump#2:
Secondary (Gyre) Wave Pump
P3 Pump#3:
Steady/Stream Wave Pump*
*Operates only in stream mode
Micro USB Ports:
Port#1= Communications
Port#2= LED Display ONLY
Port#3= Communications
Port#4= Communications
Max. Pump DC Inputs Voltage: 24V DC
Max. DC Input per Channel: 72w@24VDC
Max. DC Output per Channel: 60w@24VDC
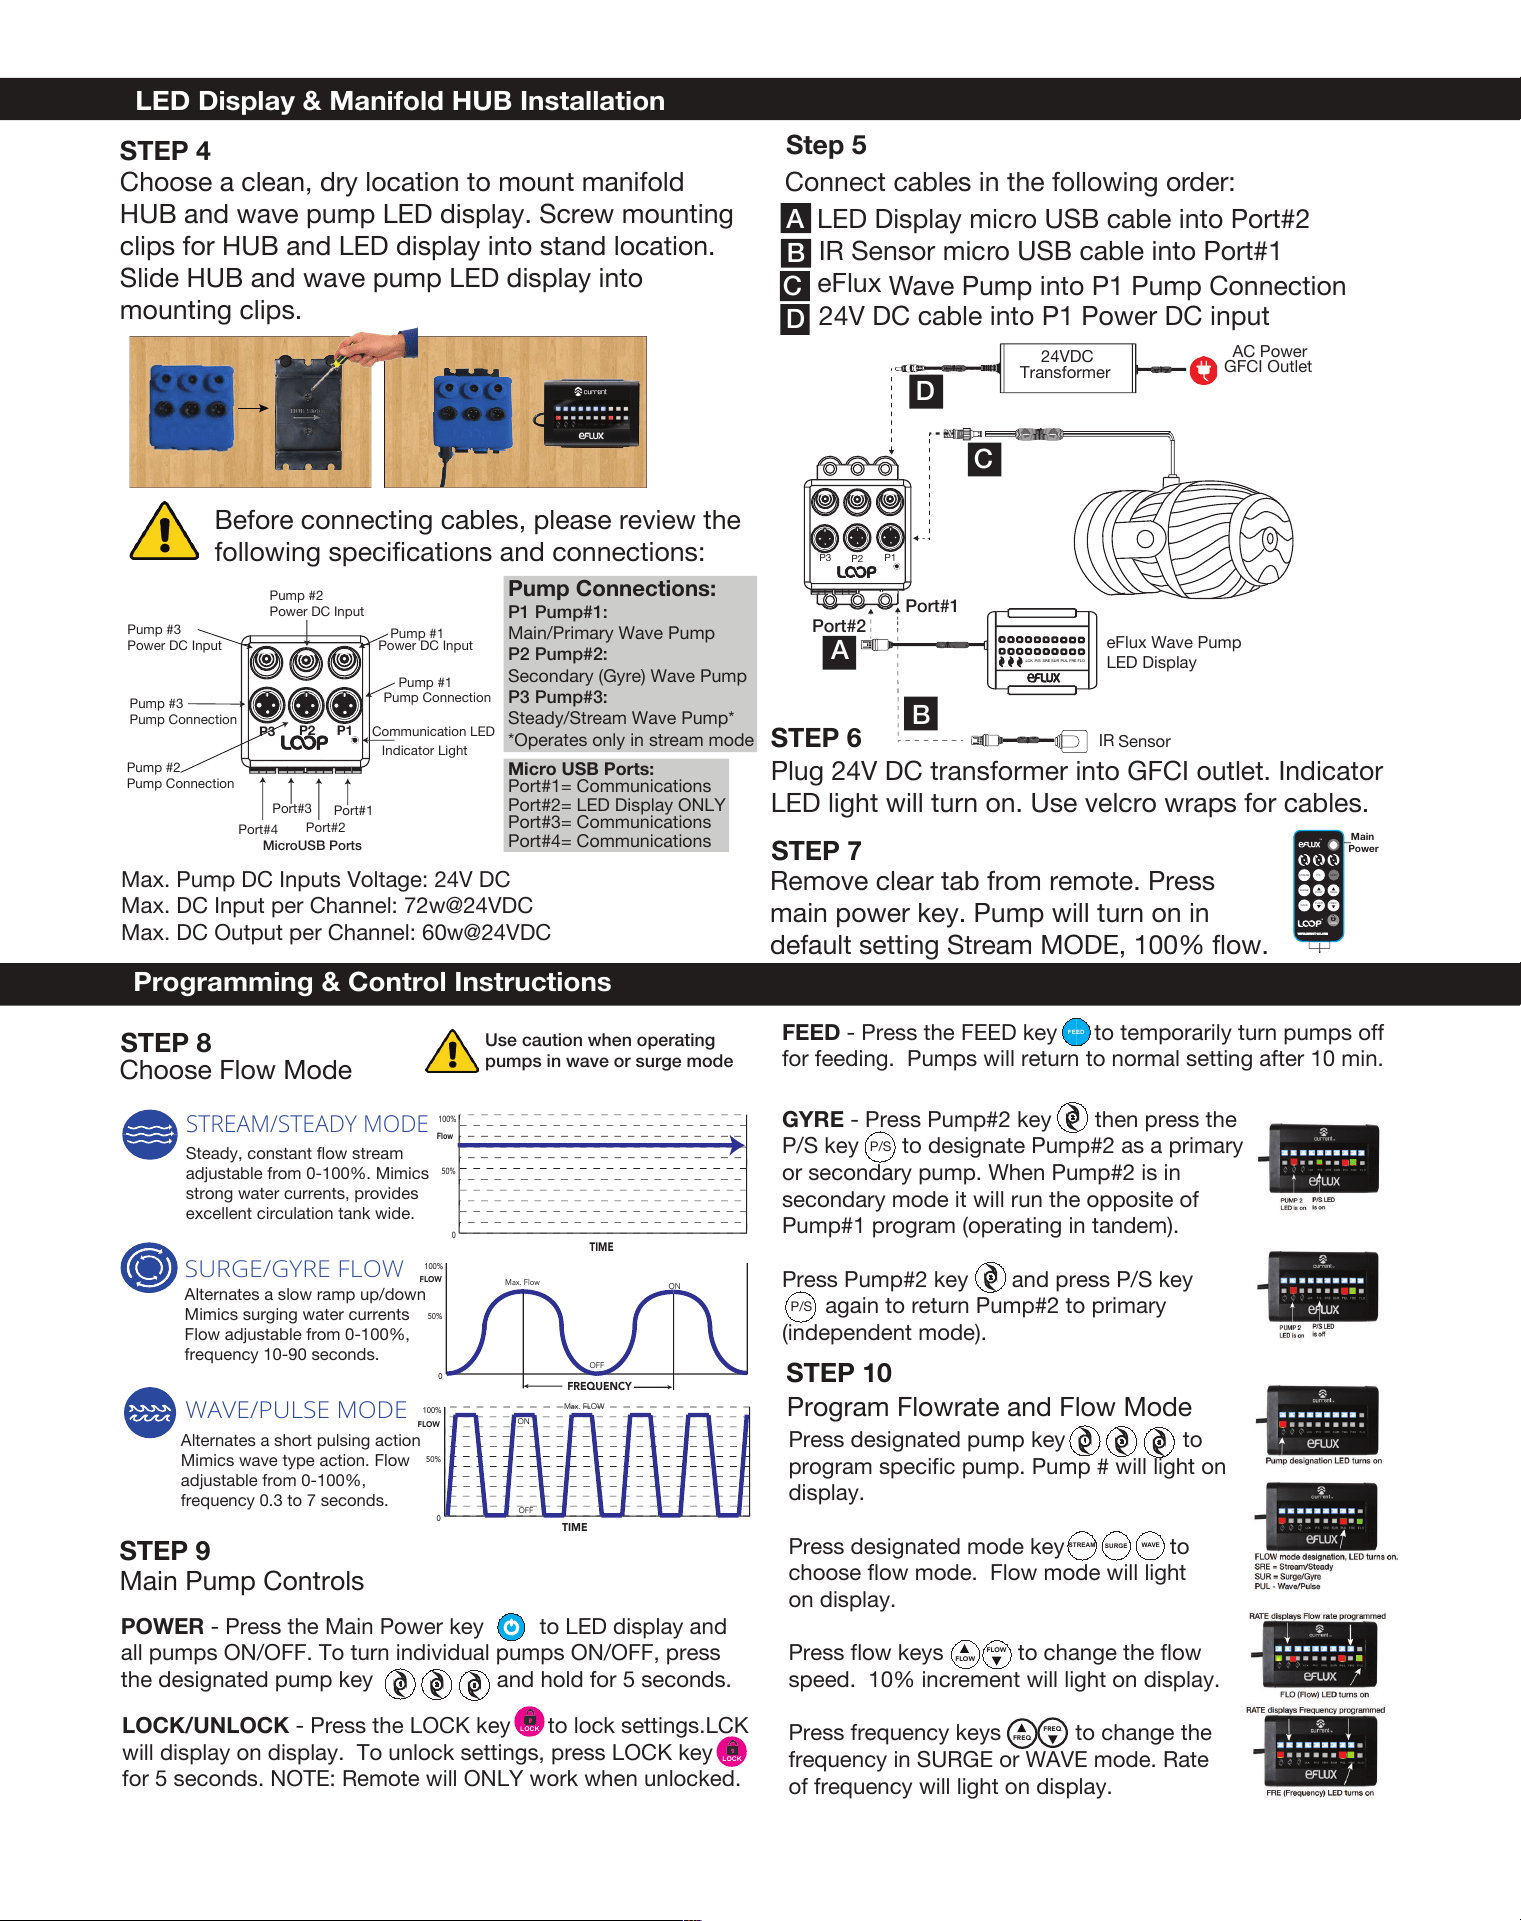
Step 5
Connect cables in the following order:
a. LED Display micro USB cable into Port#2
b. IR Sensor micro USB cable into Port#1
c. eFlux
Wave Pump into P1 Pump Connection
d. 24V DC cable into P1 Power DC input
A
B
C
D
Plug 24V DC transformer into GFCI outlet. Indicator
LED light will turn on. Use velcro wraps for cables.
AC Power
GFCI Outlet
24VDC
Transformer
eFlux Wave Pump
LED Display
P1P3
P2
LCK P/S SRE SUR PUL FRE FLO
IR
Sensor
Port#1
Port#2
A
B
C
D
Programming & Control Instructions
0 1
2
TM
TM
LOCK
Main
Power
STREAM
SURGE
WAVE
FEEDP/S
FLOW
FLOW
FREQ
FREQ
FLOW
FLOW
STREAM
SURGE
WAVE
FREQ
FREQ
POWER - Press the Main Power key to LED display and
all pumps ON/OFF. To turn individual pumps ON/OFF, press
the designated pump key and hold for 5 seconds.
!
"
#
LOCK
FEED
TIME
STREAM/STEADY MODE
0
100%
50%
Flow
Steady, constant flow stream
adjustable from 0-100%. Mimics
strong water currents, provides
excellent circulation tank wide.
Alternates a slow ramp up/down
Mimics surging water currents
Flow adjustable from 0-100%,
frequency 10-90 seconds.
SURGE/GYRE FLOW
0
100%
50%
FLOW
FREQUENCY
Max. Flow
ON
OFF
Alternates a short pulsing action
Mimics wave type action. Flow
adjustable from 0-100%,
frequency 0.3 to 7 seconds.
WAVE/PULSE MODE
0
100%
50%
FLOW
TIME
ON
OFF
Max. FLOW
Use caution when operating
pumps in wave or surge mode
LOCK/UNLOCK - Press the LOCK key to lock settings.LCK
will display on display. To unlock settings, press LOCK key
for 5 seconds. NOTE: Remote will ONLY work when unlocked.
LOCK
FEED - Press the FEED key to temporarily turn pumps off
for feeding. Pumps will return to normal setting after 10 min.
STEP 10
Press designated pump key to
program specific pump. Pump # will light on
display.
Press designated mode key to
choose flow mode. Flow mode will light
on display.
Press flow keys to change the flow
speed. 10% increment will light on display.
Press frequency keys to change the
frequency in SURGE or WAVE mode. Rate
of frequency will light on display.
!
"
#
GYRE - Press Pump#2 key then press the
P/S key to designate Pump#2 as a primary
or secondary pump. When Pump#2 is in
secondary mode it will run the opposite of
Pump#1 program (operating in tandem).
Press Pump#2 key and press P/S key
again to return Pump#2 to primary
(independent mode).
"
P/S
STEP 7
Remove clear tab from remote. Press
main power key. Pump will turn on in
default setting Stream MODE, 100% flow.
Main Pump Controls
STEP 9
Program Flowrate and Flow Mode
"
P/S