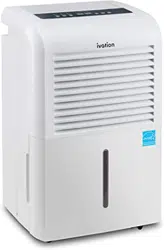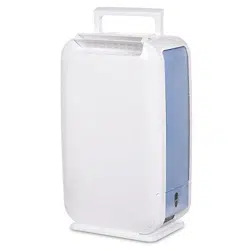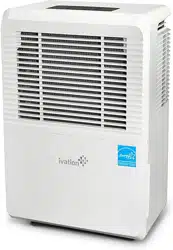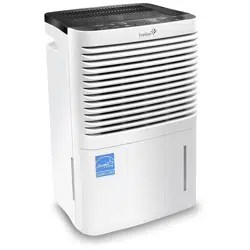
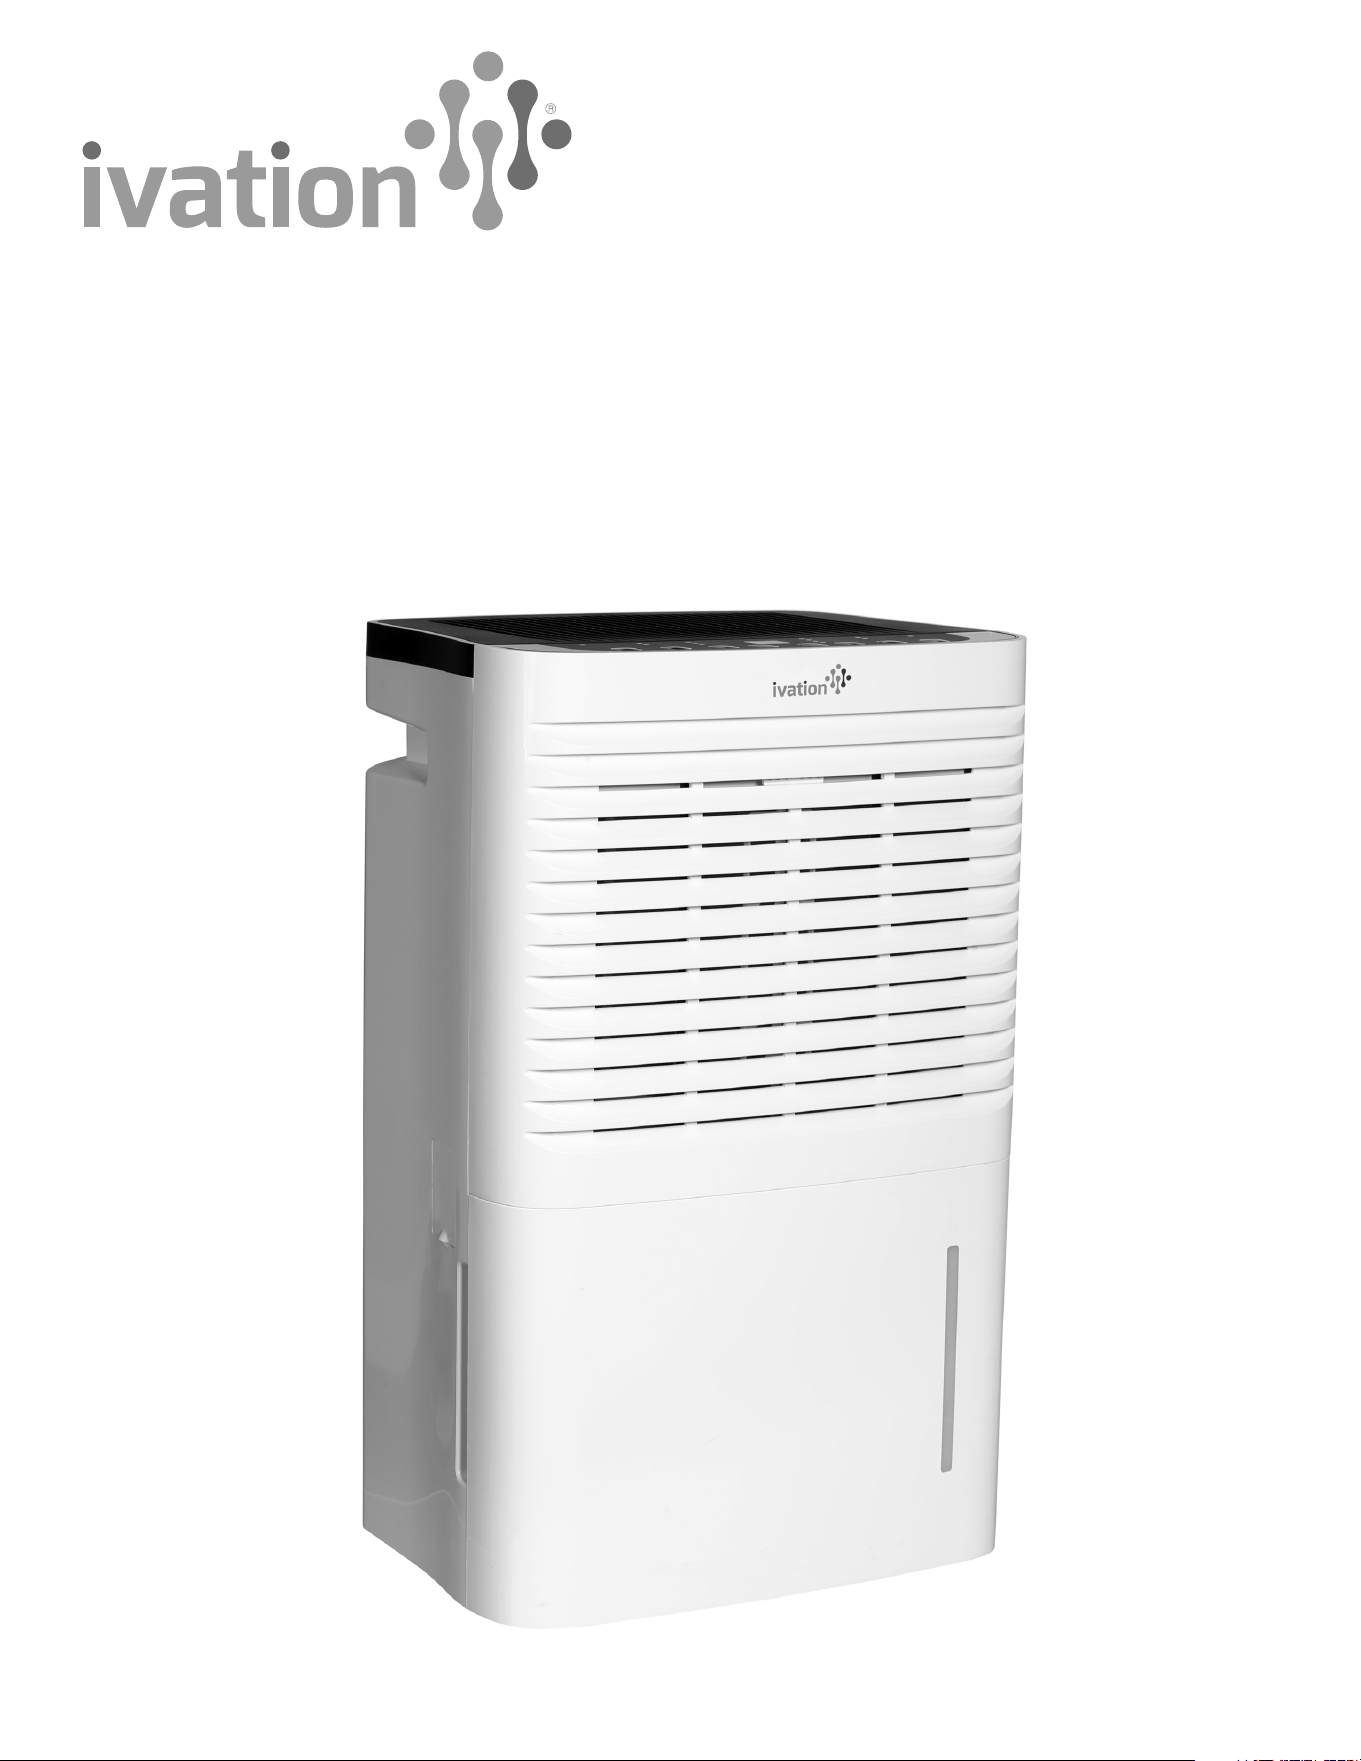
70-Pint Energy Star
Dehumidifier with Pump
User Guide
IVALDHG70PWP

Thank you for purchasing the Ivation® 70-Pint Energy Star Dehumidifier with Pump. This User Guide is intended to provide you with
guidelines to ensure that operation of this product is safe and does not pose risk to the user. Any use that does not conform to the
guidelines described in this User Guide may void the limited warranty.
Please read all directions before using the product and retain this guide for reference. This product is intended for household use only.
This product is covered by a limited one-year warranty. Coverage is subject to limits and exclusions. See warranty for details.
Box Contents
70-pint dehumidifier
Hose
User guide
Safety Precautions
• This dehumidifier is intended for indoor residential use only.
• Place the dehumidifier on a smooth and level floor.
• This dehumidifier will have no effect on adjacent enclosed areas such as closets.
• Place the dehumidifier in an area where the temperature stays between 41°F and 90°F. The suggested range of humidity is
between 30% and 90%.
• Allow at least 18 inches of air space on all sides of the unit.
• Close all doors, windows and other outside openings of the room to improve performance.
• Please keep the air inlet/outlet clean and not blocked.
• Do not use this unit in a bathroom.
• Avoid exposure to direct sunlight.
• Do not attempt to roll the dehumidifier on carpet or over objects.
• Cleaning and user maintenance should not be handled by children without appropriate supervision.
• Children and disabled people should not use the dehumidifier without supervision.
• Before operation, please check the power cord if it complies with the requirement indicated on the nameplate.
• Before cleaning, please turn it off and unplug the dehumidifier.
• Make sure the power cord is not pressed by any hard object.
• Do not remove the power plug or move unit by pulling the power cord.
• Do not use any heating application near the dehumidifier.
• Do not remove the power plug with wet hands.
• Please use grounded power cord and make sure the plug is well connected and not damaged.
• Do not place the dehumidifier under dripping objects.
• Please turn it off and remove the power plug or disconnect power to the unit when not in use.
• Do not repair or disassemble the unit by yourself.
• If abnormal condition occurs (e.g. burned smell), please disconnect power at once and then contact your local dealer or
qualified professional.
• If you want to dispose of this dehumidifier, please check with your local municipality to determine the correct disposal procedure.
• The appliance shall be installed in accordance with national wiring regulations.
2
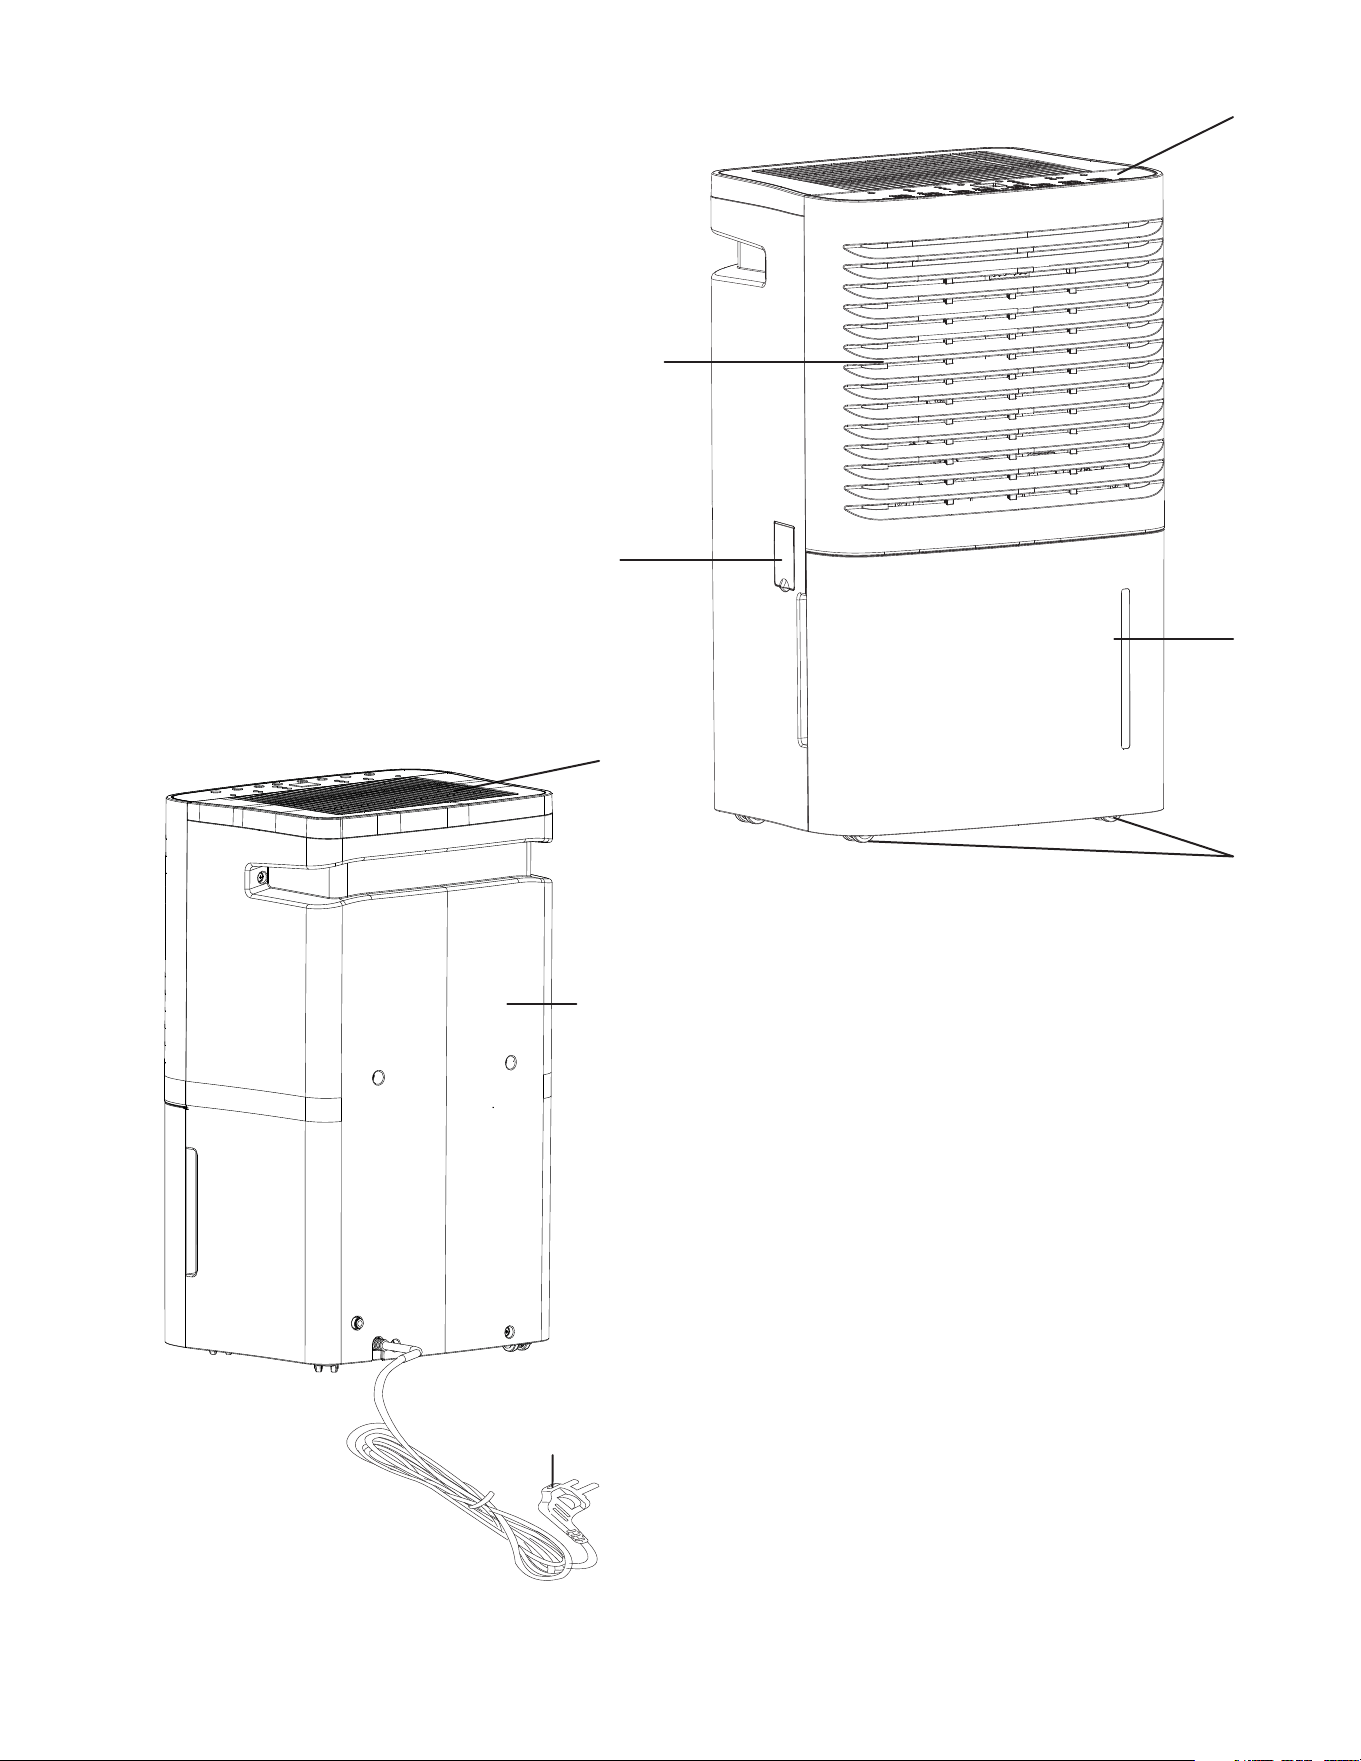
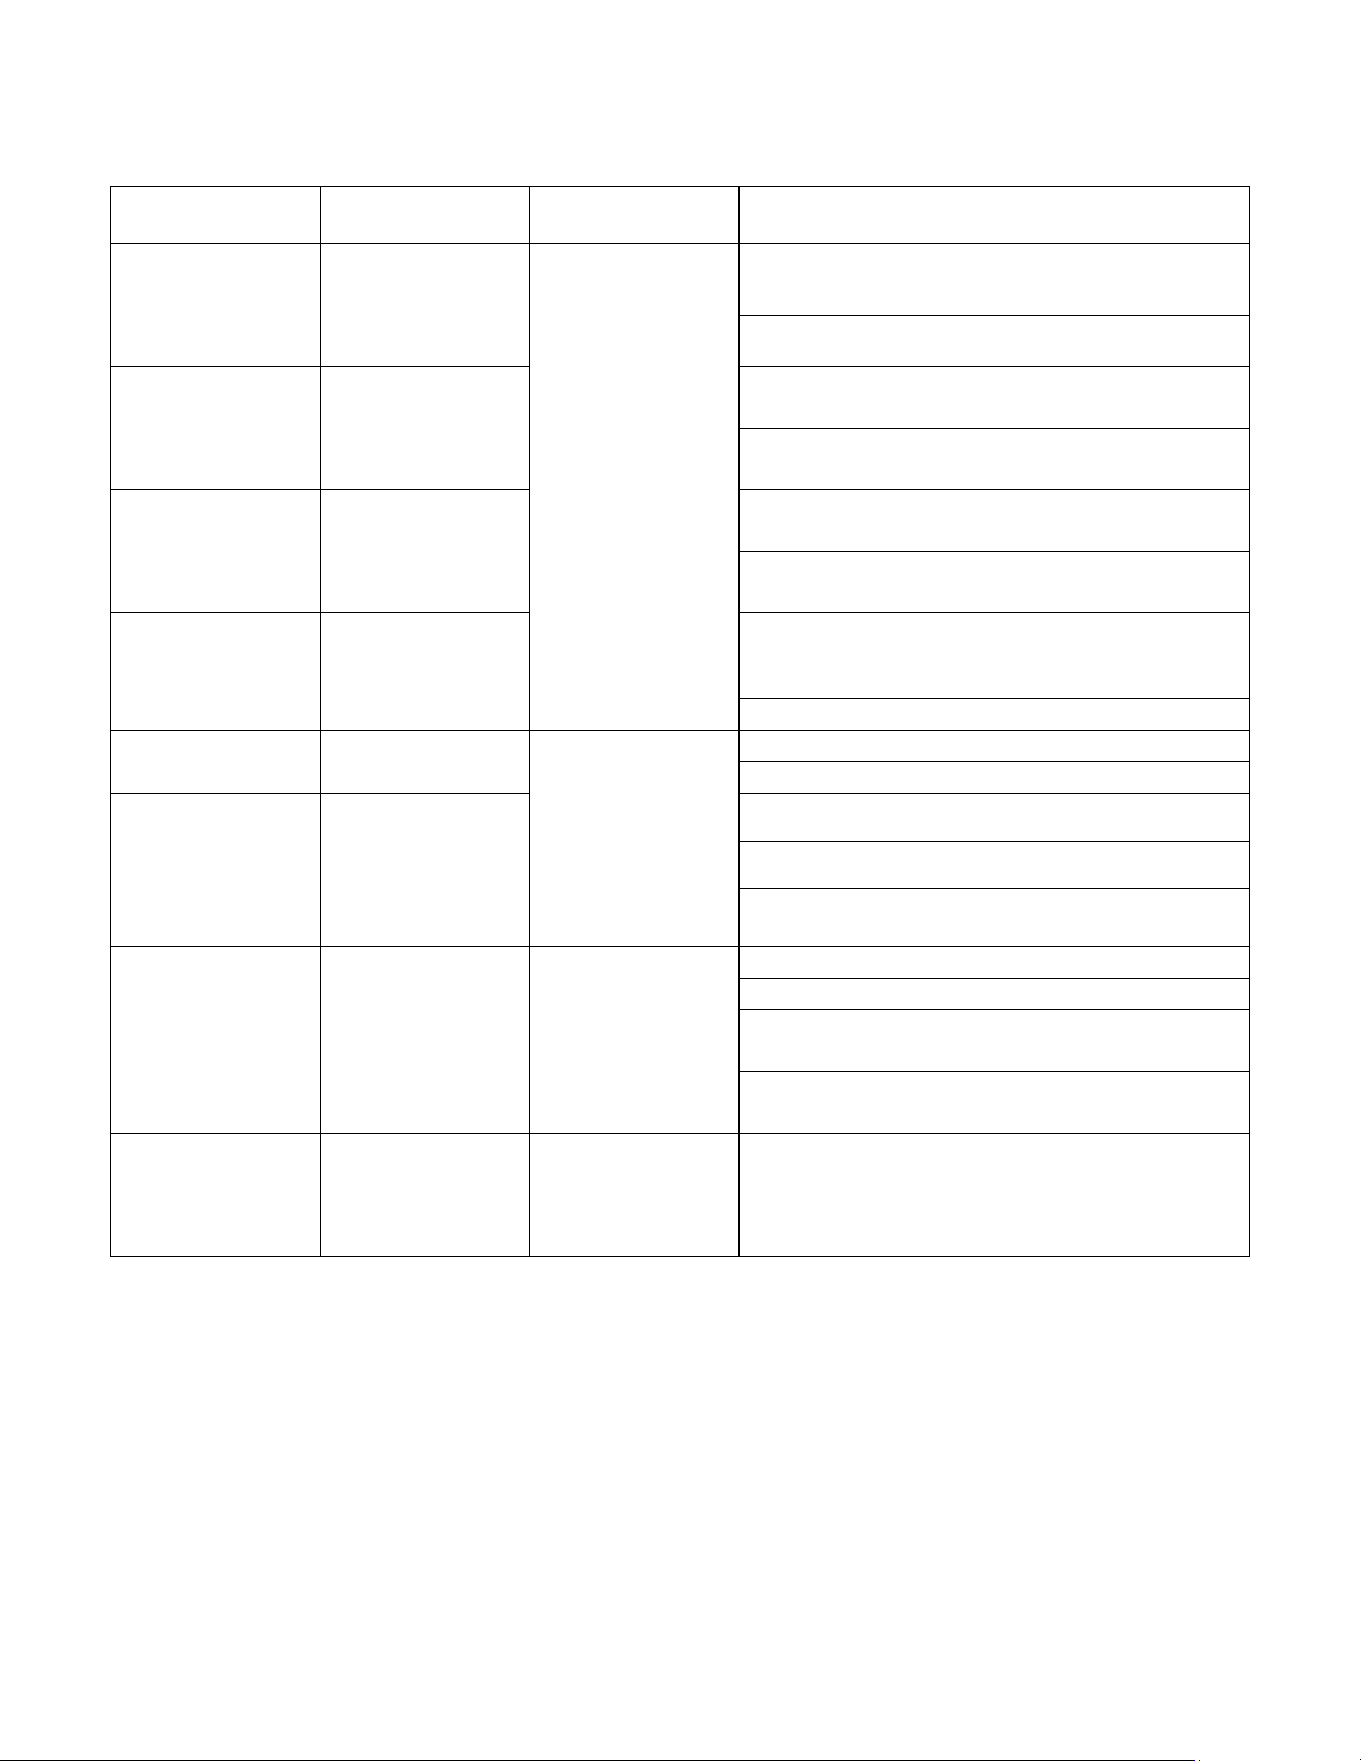
Parts
1. Control panel
2. Air intake vent
3. Cover plate (continuous drainage)
4. Water reservoir
5. Castors
6. Air outlet vent
7. Rear ca se
8. Power plug
FRONT VIEW
BACK VIEW
3
2
3
6
7
8
4
5
1
4
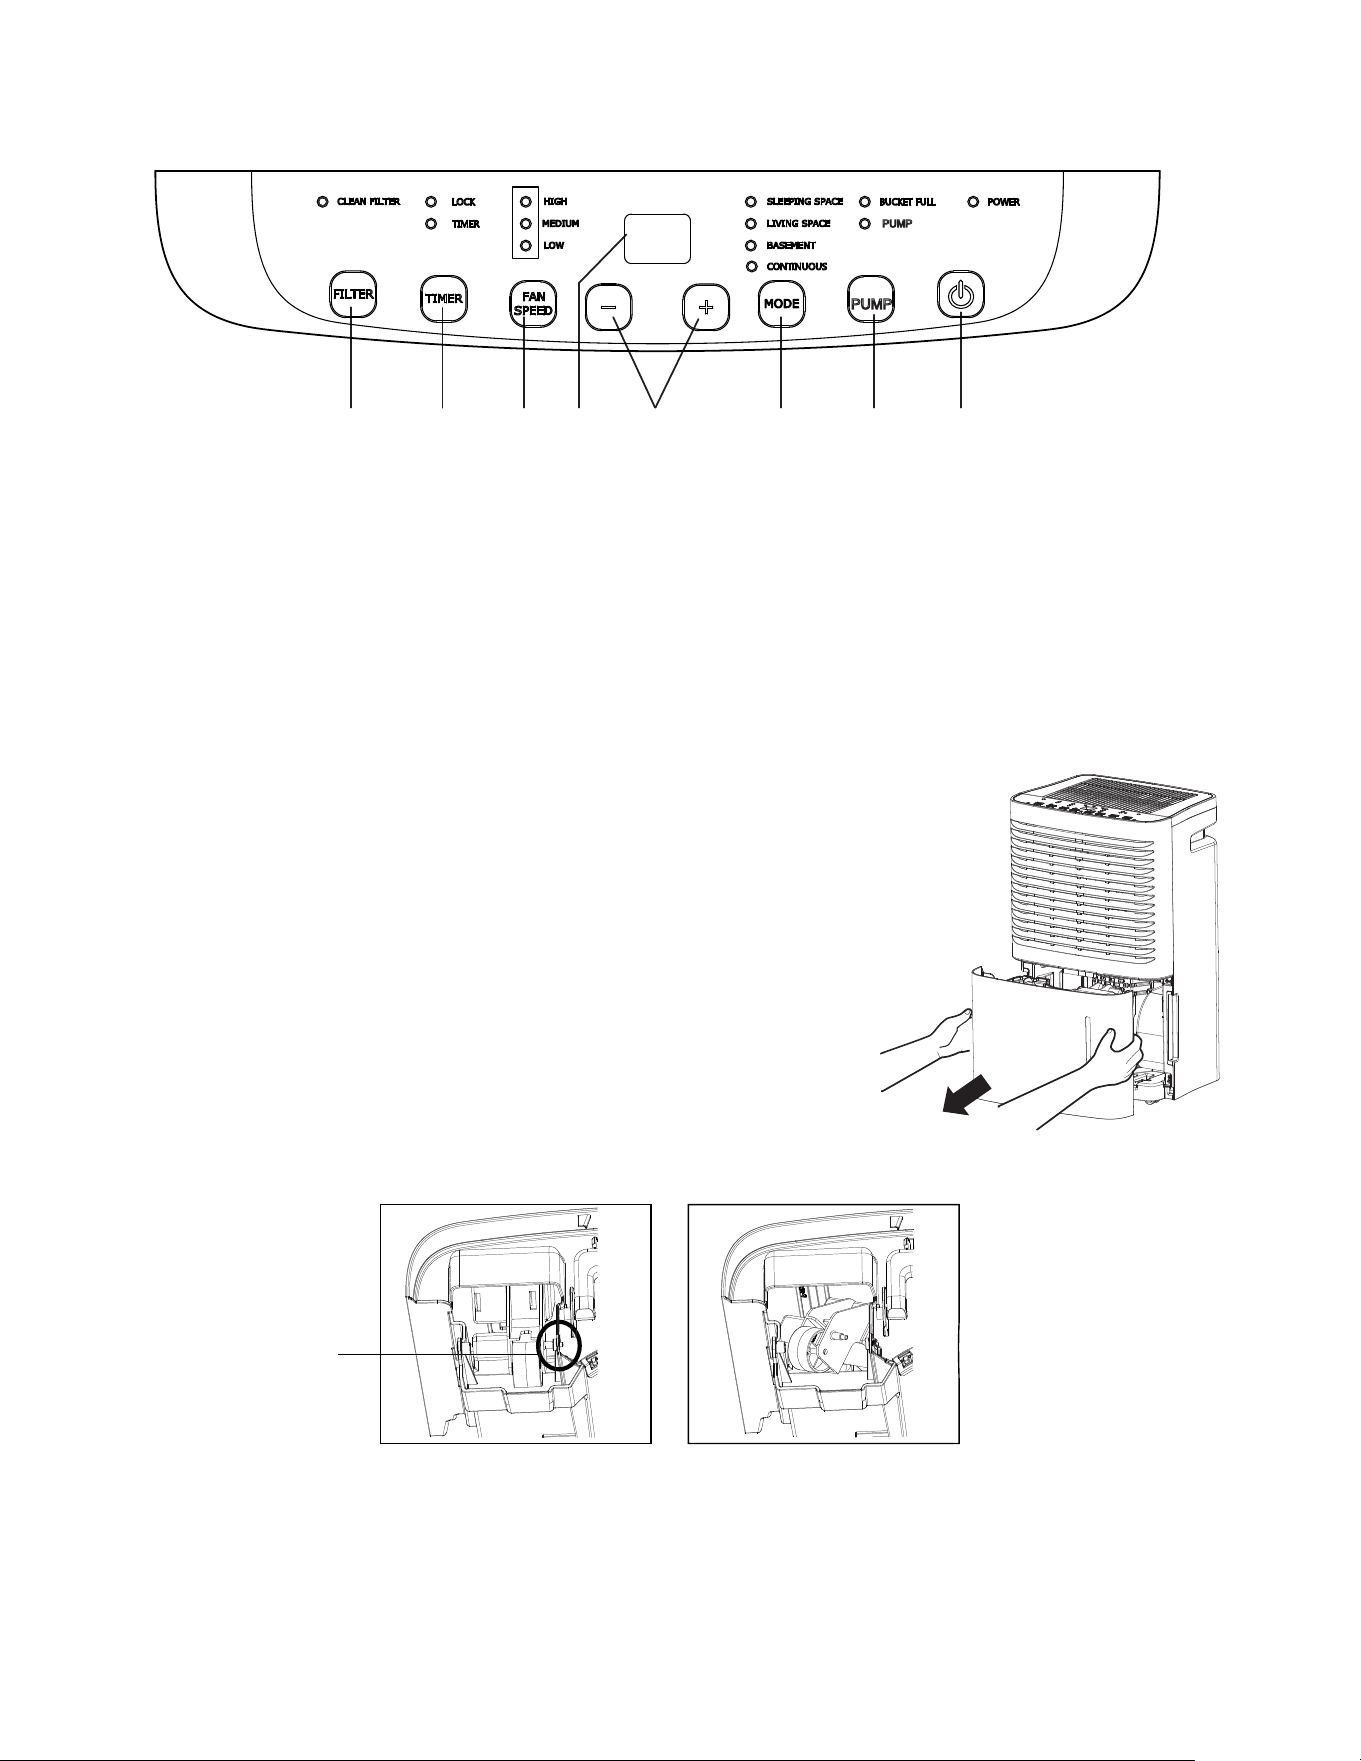
Panel Features
1. POWER button: press this button to turn the unit on or off.
2. +/- button: adjusts the targeted humidity level in increments of 5% (this function can be set as low as 35% and as high as 80%).
3. FAN SPEED button: toggles speed setting between high, medium, and low.
4. TIMER button: Turns the timer on and off (use the +/ button to adjust the desired operation time between 30 minutes and 24 hours).
5. MODE button: switches between “sleeping space”, “living space”, “basement” and “continuous drying” modes.
6. PUMP button: hold down for 3 seconds to enter “pump mode” (hose must be connected for this function to work).
7. FILTER button: press this button to reset the filter cleaning indicator, which lights up to remind you to clean the filter after 250
hours of use.
8. LED Display: shows error codes for quick troubleshooting.
Operation
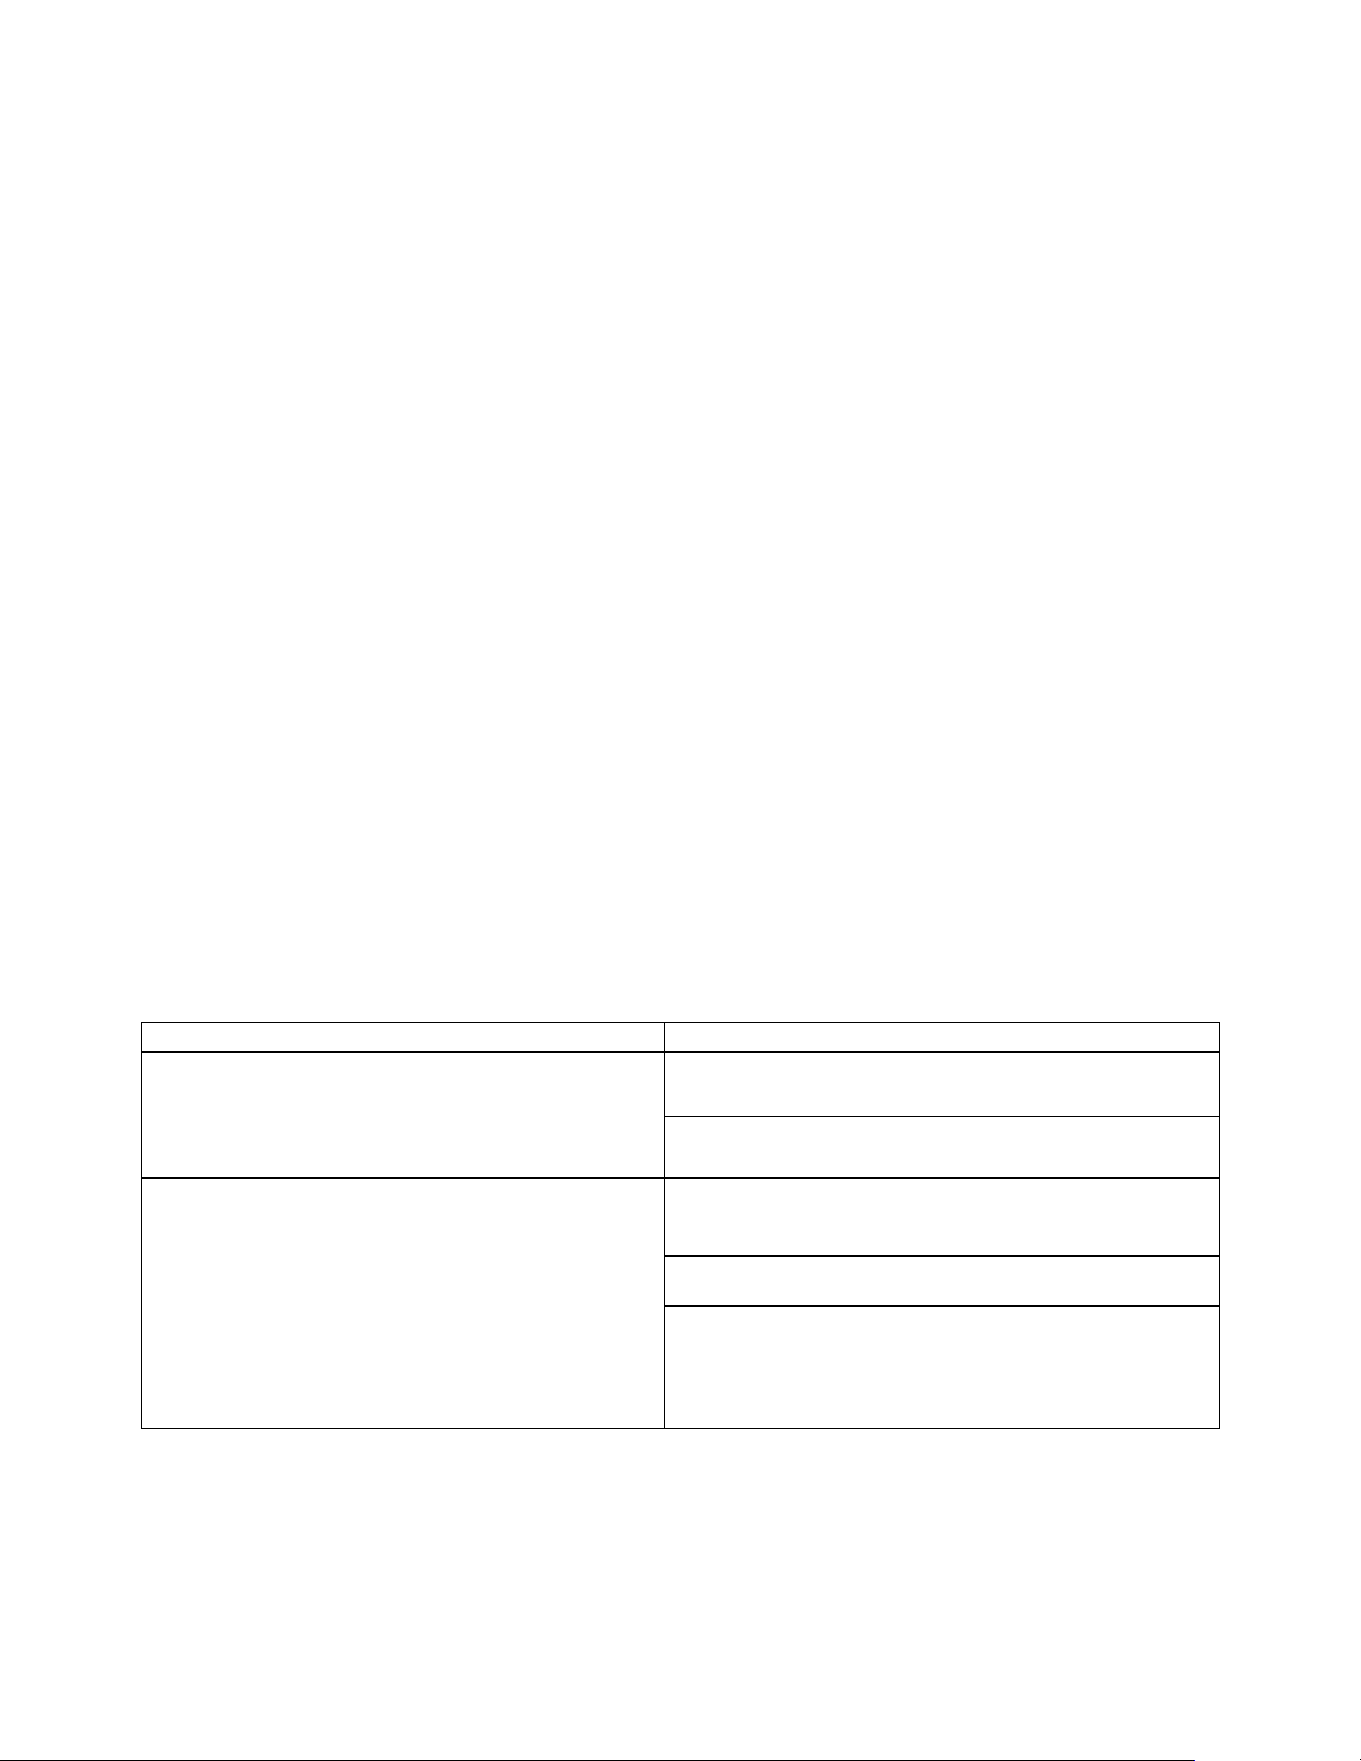
Before operating the unit, check to confirm that the float is in the proper position.
1. Hold the handles on both sides of the water reservoir and pull it out of the front of the unit.
2. Note the location of the float. If it is out of place, please adjust it accordingly.
3. Carefully push the reservoir back into the unit.
74382 5 61
Correct Position
Float
Wrong Position
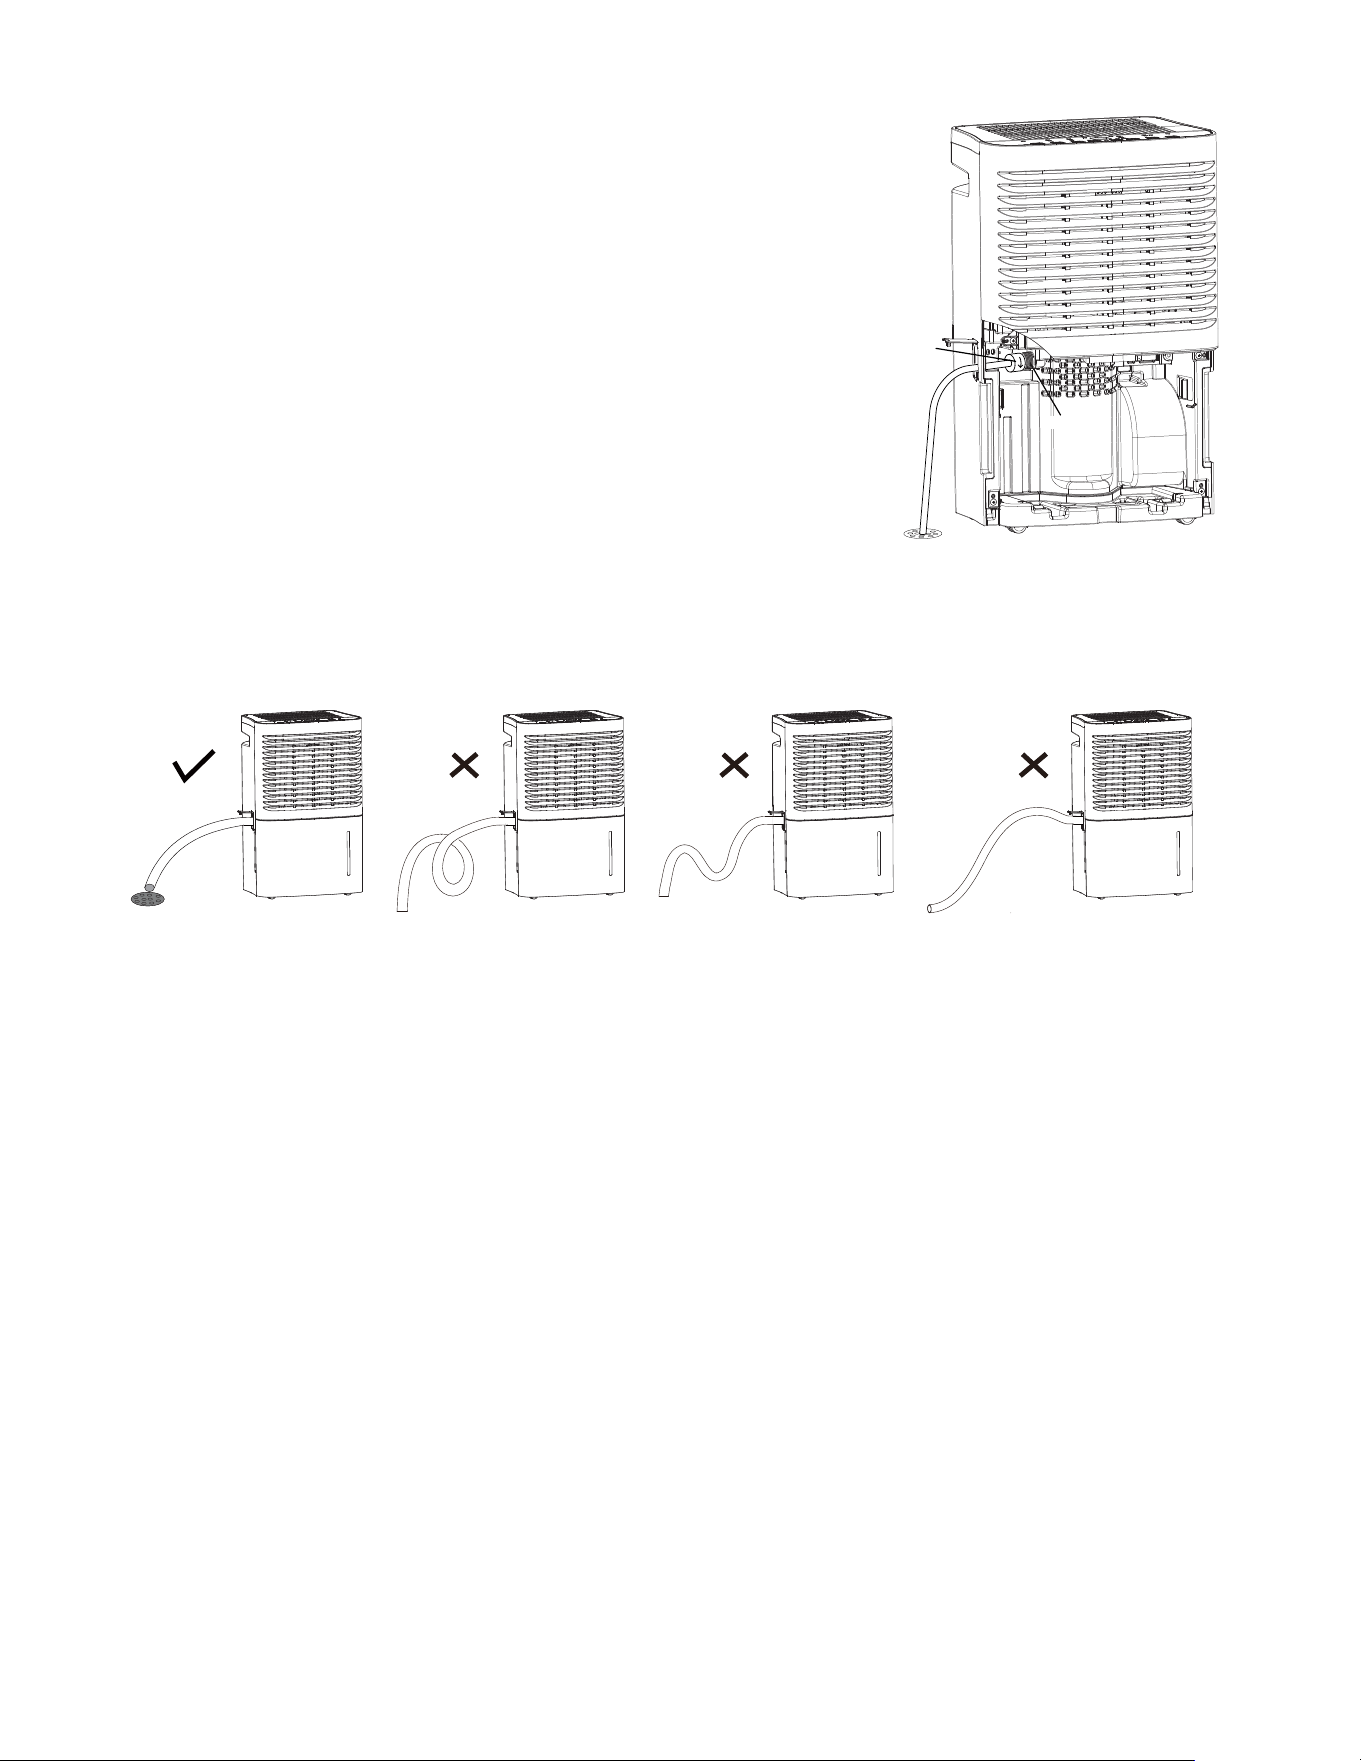
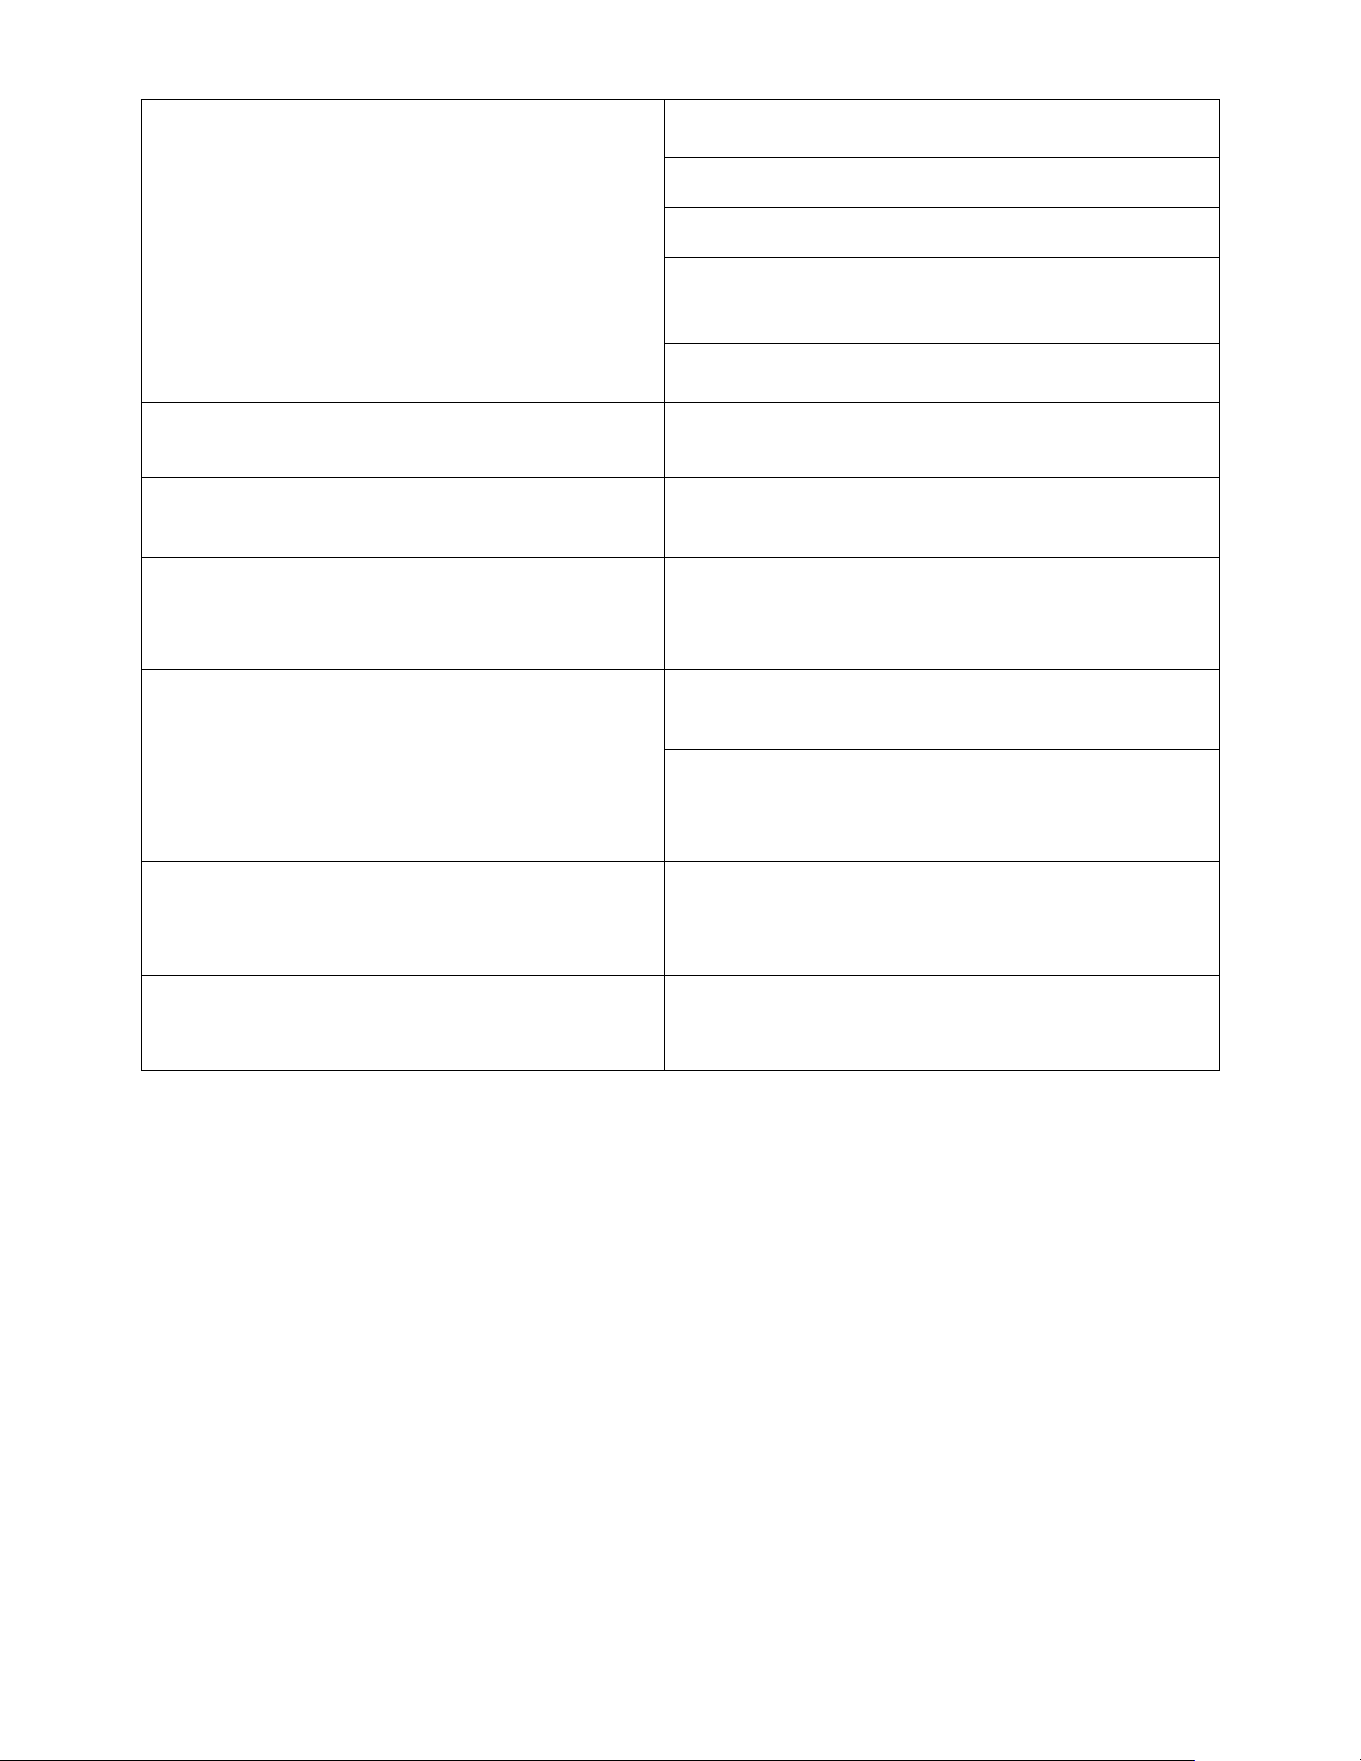
Removing Collected Water
Collected water can be removed in the following ways:
1. When the water reservoir is full, remove and empty it before placing it back in the unit.
2. Continuous draining: water can be automatically emptied into a floor drain by attaching
the unit to a water hose with a female threaded end.
a. Remove the reservoir from the unit.
b. Securely connect your hose to the nozzle.
c. Replace the reservoir, ensuring that the hose goes through the drain hole and pointed downward, and leads to a floor drain or
wherever you’d like the water to be drained.
d. Use the “MODE” button to switch to “continuous” mode
e. Before removing the hose, position a container to collect any remaining water from the nozzle.
3. Pump draining: This feature allows water to be pumped through a hose up to 16 feet, allowing for water disposal above or
horizontal to the unit.
a. Remove the plug from the pump drain nozzle.
b. Securely attach your hose to the nozzle.
c. Place the other end of the hose wherever you’ve selected to dispose of your water.
d. Hold down the “pump” button for 3 seconds to start the pump feature.
5
drain hose
nozzle
Error Codes
The following codes may appear on the LED display.
6
Malfunction Code Effect on
dehumidifier
Possible causes
Ambient
temperature
sensor
malfunction
F1 Compressor, fan
motor and panel
buttons are
deactivated.
Temperature sensor is loose
or damaged
Display board is damaged or short-circuited
Tube
temperature
sensor
malfunction
F2 Temperature sensor is loose
or damaged
Display board is damaged or short-circuited
Discharge
temperature
sensor
malfunction
F5 Temperature sensor is loose
or damaged
Display board is damaged or short-circuited
Humidity sensor
malfunction
L1 Humidity sensor is short-circuited or damaged
Display board is damaged
Freon-lacking
protection
F0 Compressor and
fan motor are
deactivated
Freon is leaking
System is clogged
High-
temperature
overload
protection
H3 Ambient operation condition is bad
The evaporator and condenser are clogged
The system is abnormal
High discharge
compressor
temperature
protection
E4 The compressor
is deactivated
Blockage or other abnormal system issue
Abnormal rotation speed in the motor
Abnormal air intake
Compressor discharge temperature sensor is
abnormal or poorly contacted
Pump
malfunction
E0 The compressor,
pump and fan are
immediately shut
off
7
Care and Maintenance
• Before cleaning, turn off the power on the unit and disconnect it from the outlet.
• Do not use gasoline or other volatile liquids to clean the dehumidifier.
• Clean the outer case with a soft towel (for dust) or mild detergent (for significant dirt or grease).
• Clean the grill using a dust catcher or brush.
• Clean the reservoir using a soft brush and water every few weeks in order to prevent the growth of mildew, mold and bacteria.
Cleaning the Air Filter
• Clean the air filter after every 250 hours of operation (or more frequently in dusty areas).
• Remove the receptacle.
• Grasp the edge of the filter, pull it down and out of the unit.
• Clean the filter in warm, soapy water.
• Rinse the filter and let it air dry. Do not use a hair dryer or heat to dry the filter.
Specifications
• Rated power: 115V
• Rated frequency: 60Hz
• Rated current: 6.5 amps
• Refrigerant: R410A/8.29oz./0.24kg
• Moisture removal: 70 pints/day
• EEV: 2.0L/kW.H
• Design pressure:
High: 540PSIG/3.7MPa
Low: 300PSIG/2.1MPa
• Water reservoir capacity: 16gal. (6L)
Troubleshooting
Problem Solution/Explanation
Dehumidifier is not operating The unit is positioned in an area that is outside of
the optimal temperature range (41°─ 90°F)
The reservoir is full and must be emptied
The unit is running more loudly than usual The volume is often higher than usual when the
compressor is starting
The unit is positioned on an uneven floor
There may be an issue with the power supply.
Please consult with the manufacturer or a
qualified professional.
8
Distributed by
C&A Marketing, Inc.
114 Tived Lane East
Edison, NJ 08837 USA
Europe: C&A Europe
167 Hermitage Road
Crusader Industrial Estate
London N4 1LZ
United Kingdom
Made in China
Ivation and the Ivation logo are registered
trademarks of C&A Holdings, LLC in the U.S.
©2017 All rights reserved
Customer Service:
info@myivation.com
866-849-3049
The humidity level in the affected area is not
dropping as it should
The area may be too large for this unit
There could be a source of moisture in the area
The air filter may be dirty and require cleaning
Obstacles such as furniture or curtains may be
blocking the dehumidifier and should be moved
The humidity level may be improperly set
The unit is creating a musty odor It is normal for the unit to emit an odor as it heats
up after first being turned on
The unit is making unusual noises Unique noises should be expected when the unit is
operating on a wooden floor
When using a hose to drain or pump the water
out of the unit, some water is still collecting in
the reservoir
The hose is not installed correctly. Please remove
and reinstall to confirm proper connection.
Power indicator is not lit when power is
connected
Check to see if the plug is firmly connected to the
power source
Check the plug and cord for any damage. Contact
the manufacturer or a qualified professional with
any concerns.
Unit is functioning but will not start The desired humidity level may be set higher than
the current actual humidity level. Lower the
humidity level on the unit.
Reservoir light is on. The bucket may have been removed or is not
securely in place. Please replace it in the correct
position.