INSTRUCTIONS
WHAT’S INCLUDED FLEX Arm Stand Mount Adaptor
Each Flex Arm Stand Mount Kit includes:
Item Description
Quantity
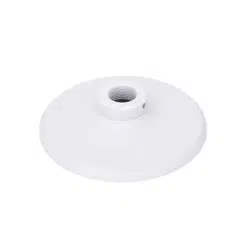
A 24 in. Stand Mount Adaptor 1
B
Wood Screws 4
C 4
4
D Cable Wraps
Flat Screws w/Nuts & Washers
Note:
If your Stand Adaptor is missing
any components, please contact
us directly at www.current-usa.com.
DO NOT RETURN TO RETAILER
A
B
C
D
INSTALLATION
1
Remove all items from packaging.
UNPACK
This stand mount adaptor kit is designed
for the Orbit Flex Arm only (included)
Flex Arm Adaptor
(Adjustable)
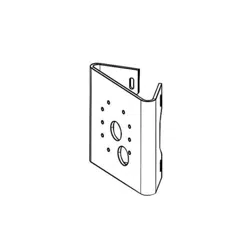
L Brackets
(Adjustable)
Visit www.current-usa.com for more
installation tips and videos.
IMPORTANT
This is a stand adaptor kit for the Orbit Flex Arm
(included) and R24 LED lights.
KEEP THESE COMPONENTS FOR FUTURE USE.
+
Stand Mount
Adaptor
Flex Arm
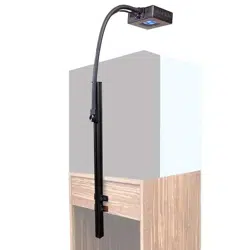
**The flex arm stand mount adaptor provides a strong mounting
solution for the Orbit R24 REEF LED, and vertical adjustment
for optimizing light spread and intensity over your reef.
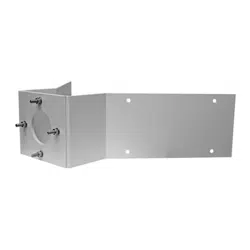
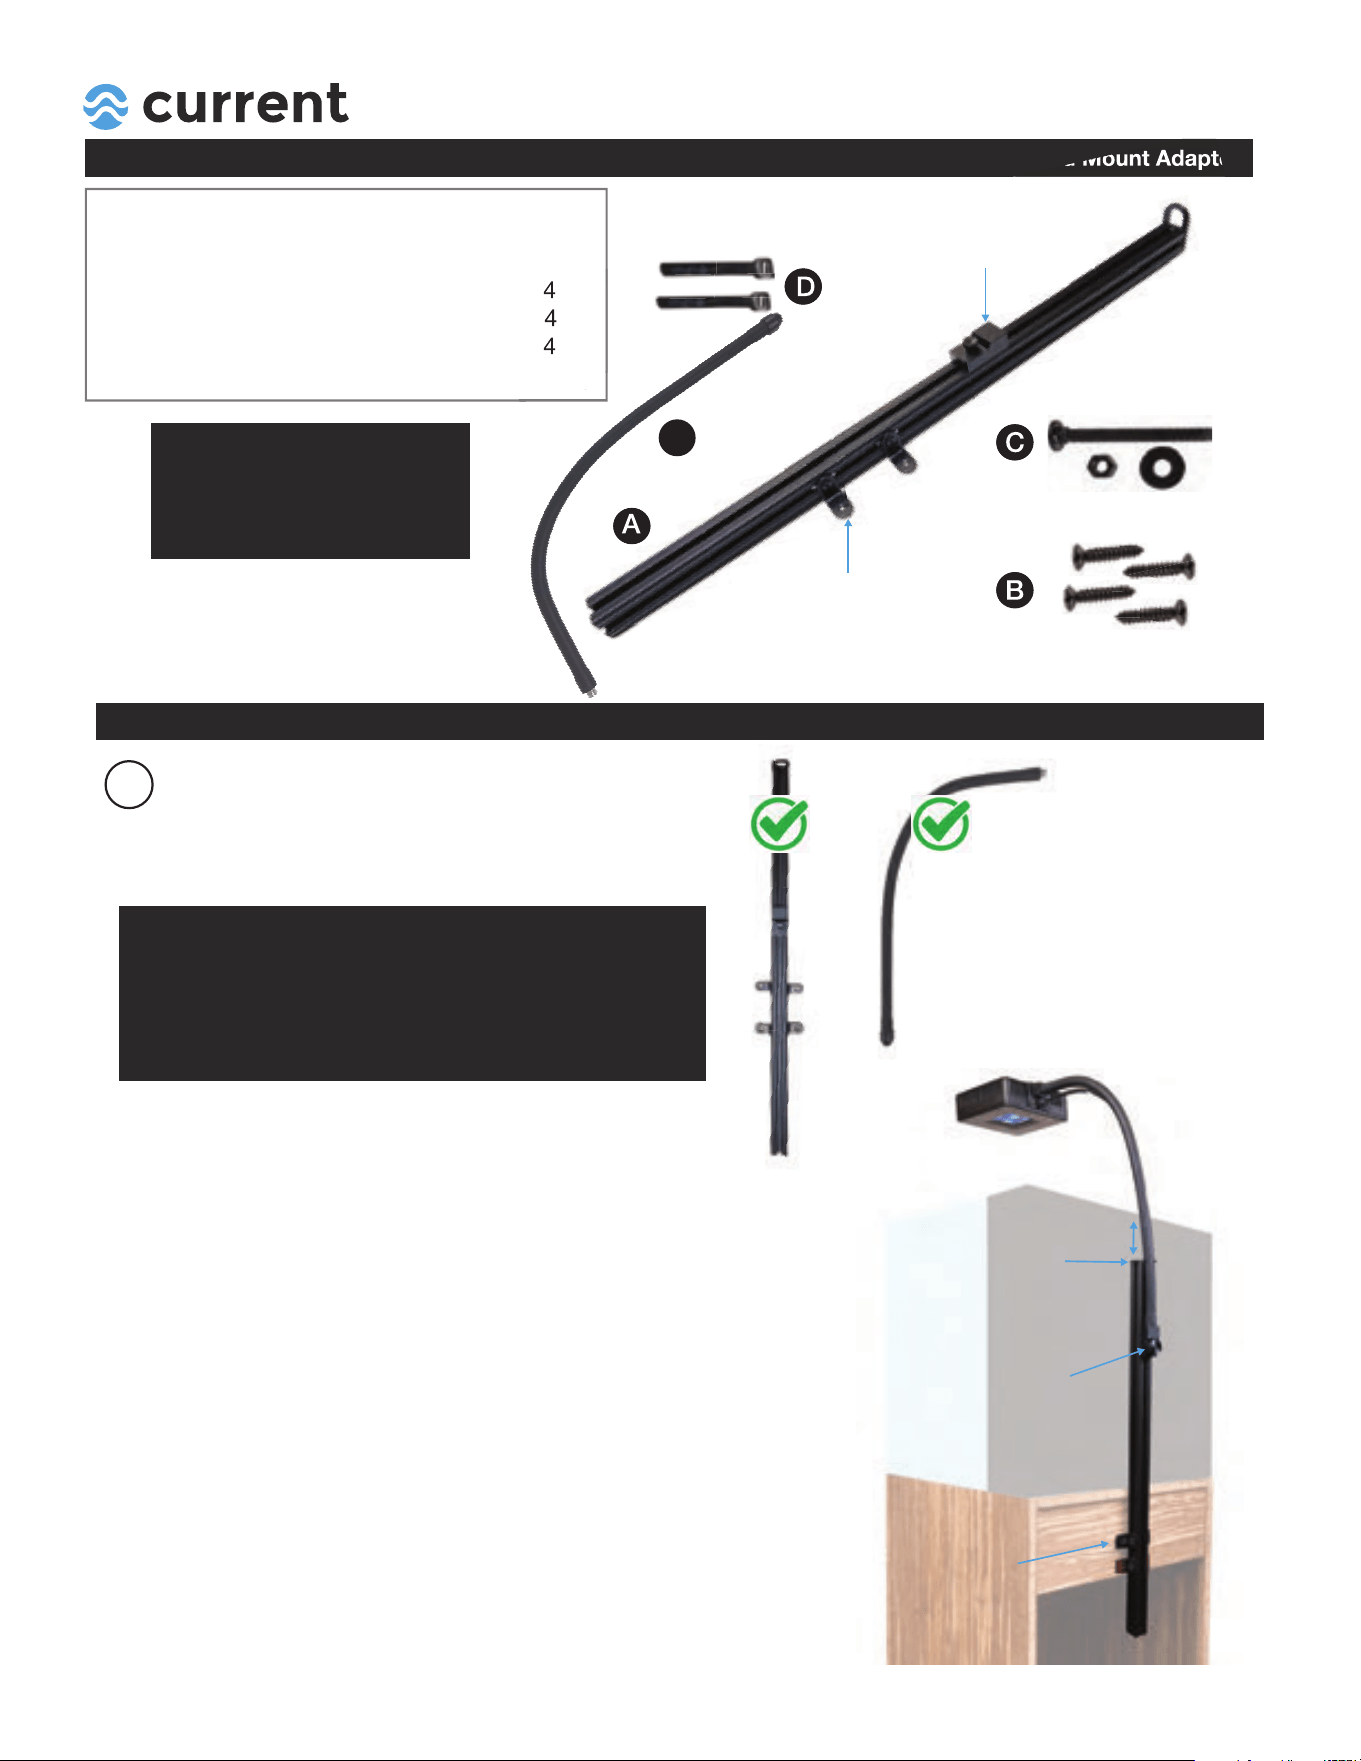
The Flex Arm Adaptor is adjustable vertically on the stand mount
bar (~22") using adjustment knob.
The 4 L Brackets can also be adjusted the entire length of
the stand mount bar for mounting.
Ideal height = 2"-10"
below top of tank
L Brackets
(Adjustable Vertically)
Flex Arm Adaptor
(Height Adjustment)
IMPORTANT: Each cabinet is different - we HIGHLY
recommend measuring and planning before beginning
installation.
INST 4492 05.10.21
E Flex Arm
1
E
INSTRUCTIONS
INSTALLATION FLEX Arm Stand Mount Adaptor
3
Use the following guidelines to best
determine where to mount your stand
mount. *Every cabinet is different,
you will need to measure your cabinet
to determine mounting locations.
DETERMINE MOUNTING
LOCATION
2
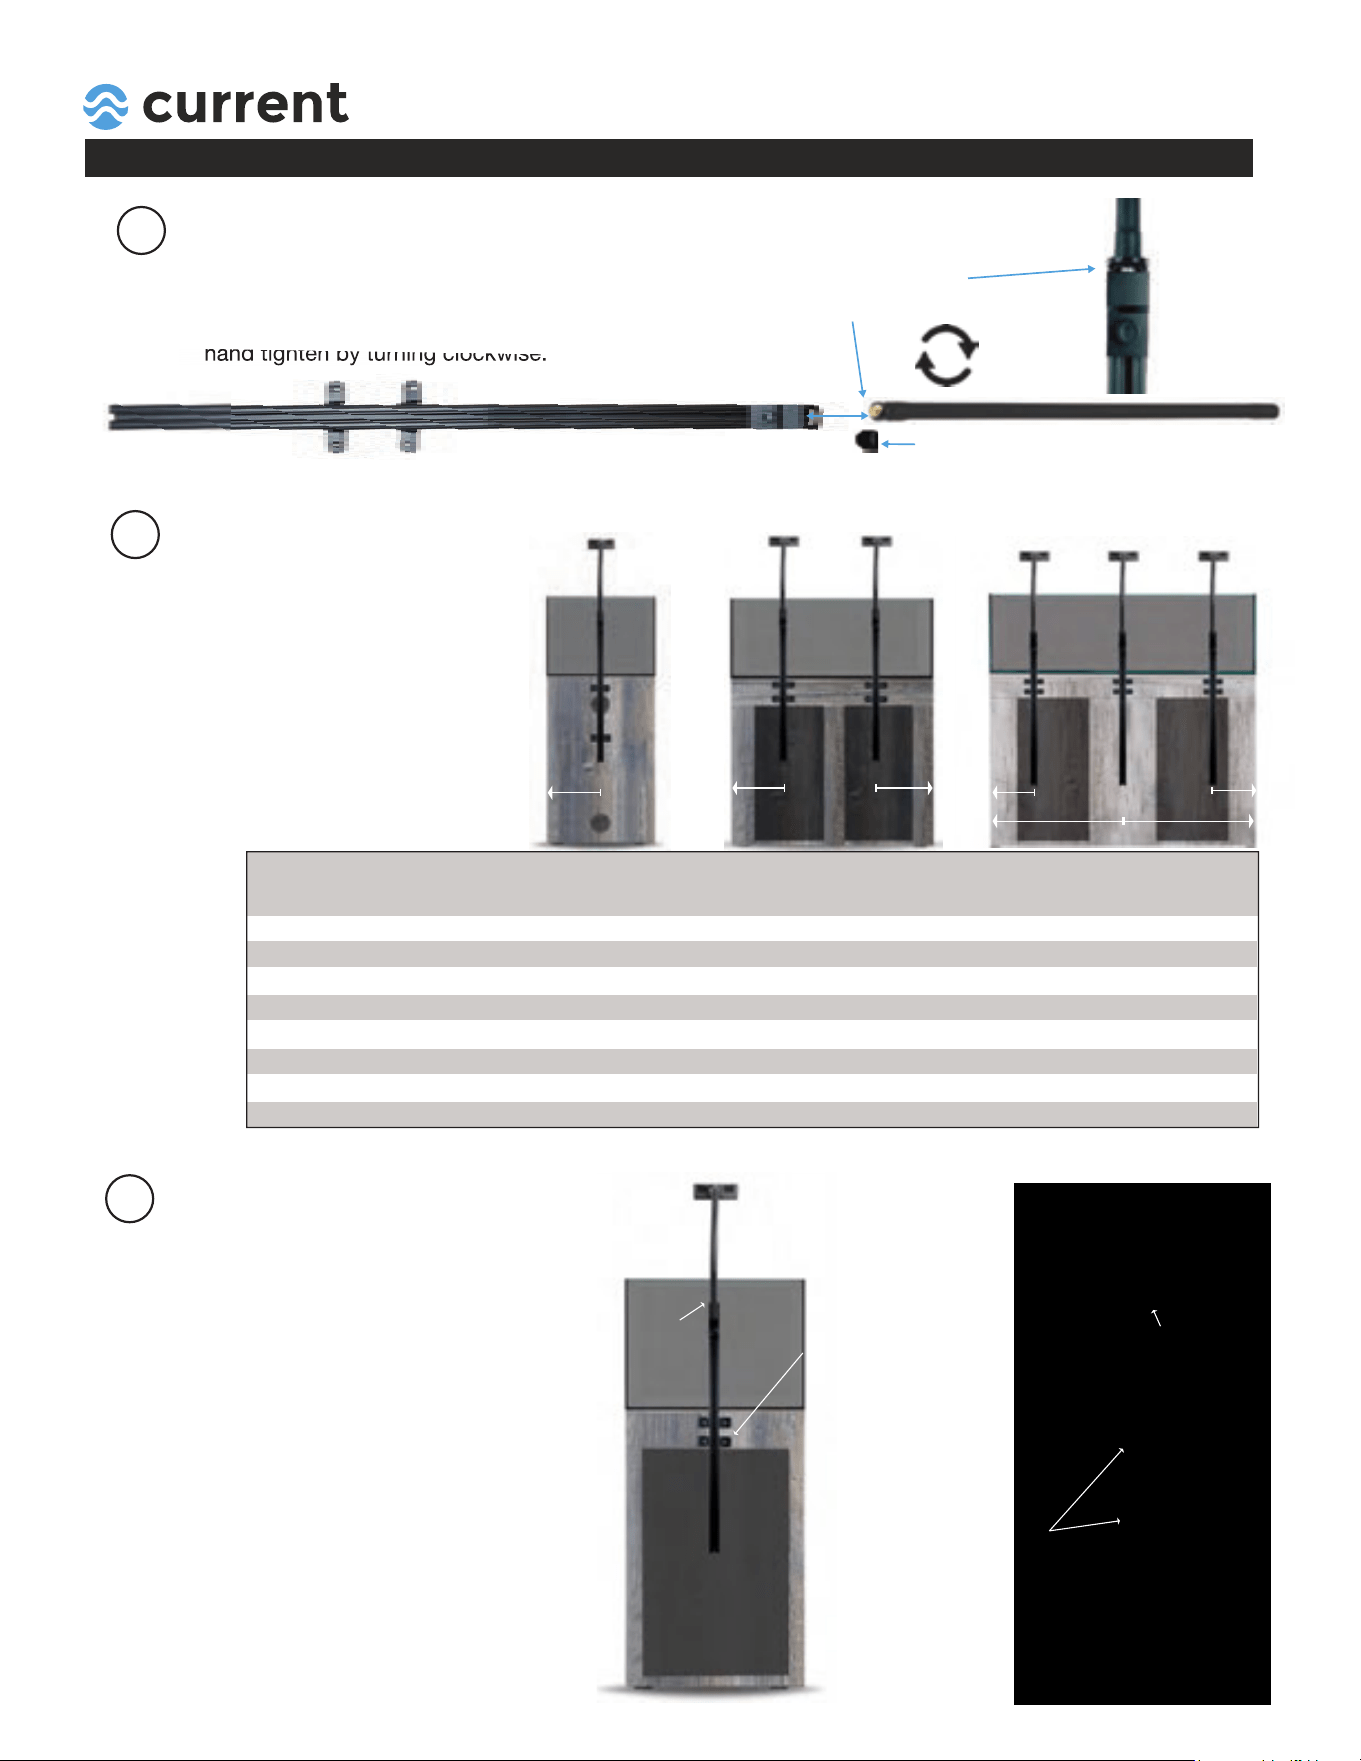
ATTACH FLEX ARM
1. Straighten flex arm.
2. Remove bottom protective cap.
3. Insert bottom of flex arm into bracket and
hand tighten by turning clockwise.
Insert flex arm into
bracket and hand tighten.
hand tighten by turning clockwise.
Turn clockwise
to tighten
Remove cap
OPEN BACK STANDS
Mount L Brackets into
top support bar with a
~1"-2" vertical spacing.
(Use all 4 L brackets)
FLAT BACK STANDS
Mount 4 L Brackets
to back of stand with
wider spacing (adds
stability.)
To determine the best L bracket mounting
points on back of stand:
1. Position bracket behind stand approximately
2"-6" below top edge of aquarium.
2. Adjust the L brackets to the desired height
by loosening screws on vertical bar and
retightening.
3. Either mark hole location, or measure L
brackest location (for thru tank installations.)
1 x Light
A
9"
10"
12"
15"
-
-
-
-
2 x Light
A
-
-
8"
10"
12"
16"
20"
-
3 x Light
A | B
-
-
-
-
9" | 18"
12" | 24"
15" | 30"
18" | 36"
Stand Length
L
18"
20"
24"
30"
36"
48"
60"
72"
A A
A A
B
A
4
DETERMINE L BRACKET
MOUNTING LOCATION
2"-6" below
top tank edge
2"-6" below
top tank edge
INSTRUCTIONS
INSTALLATION FLEX Arm Stand Mount Adaptor
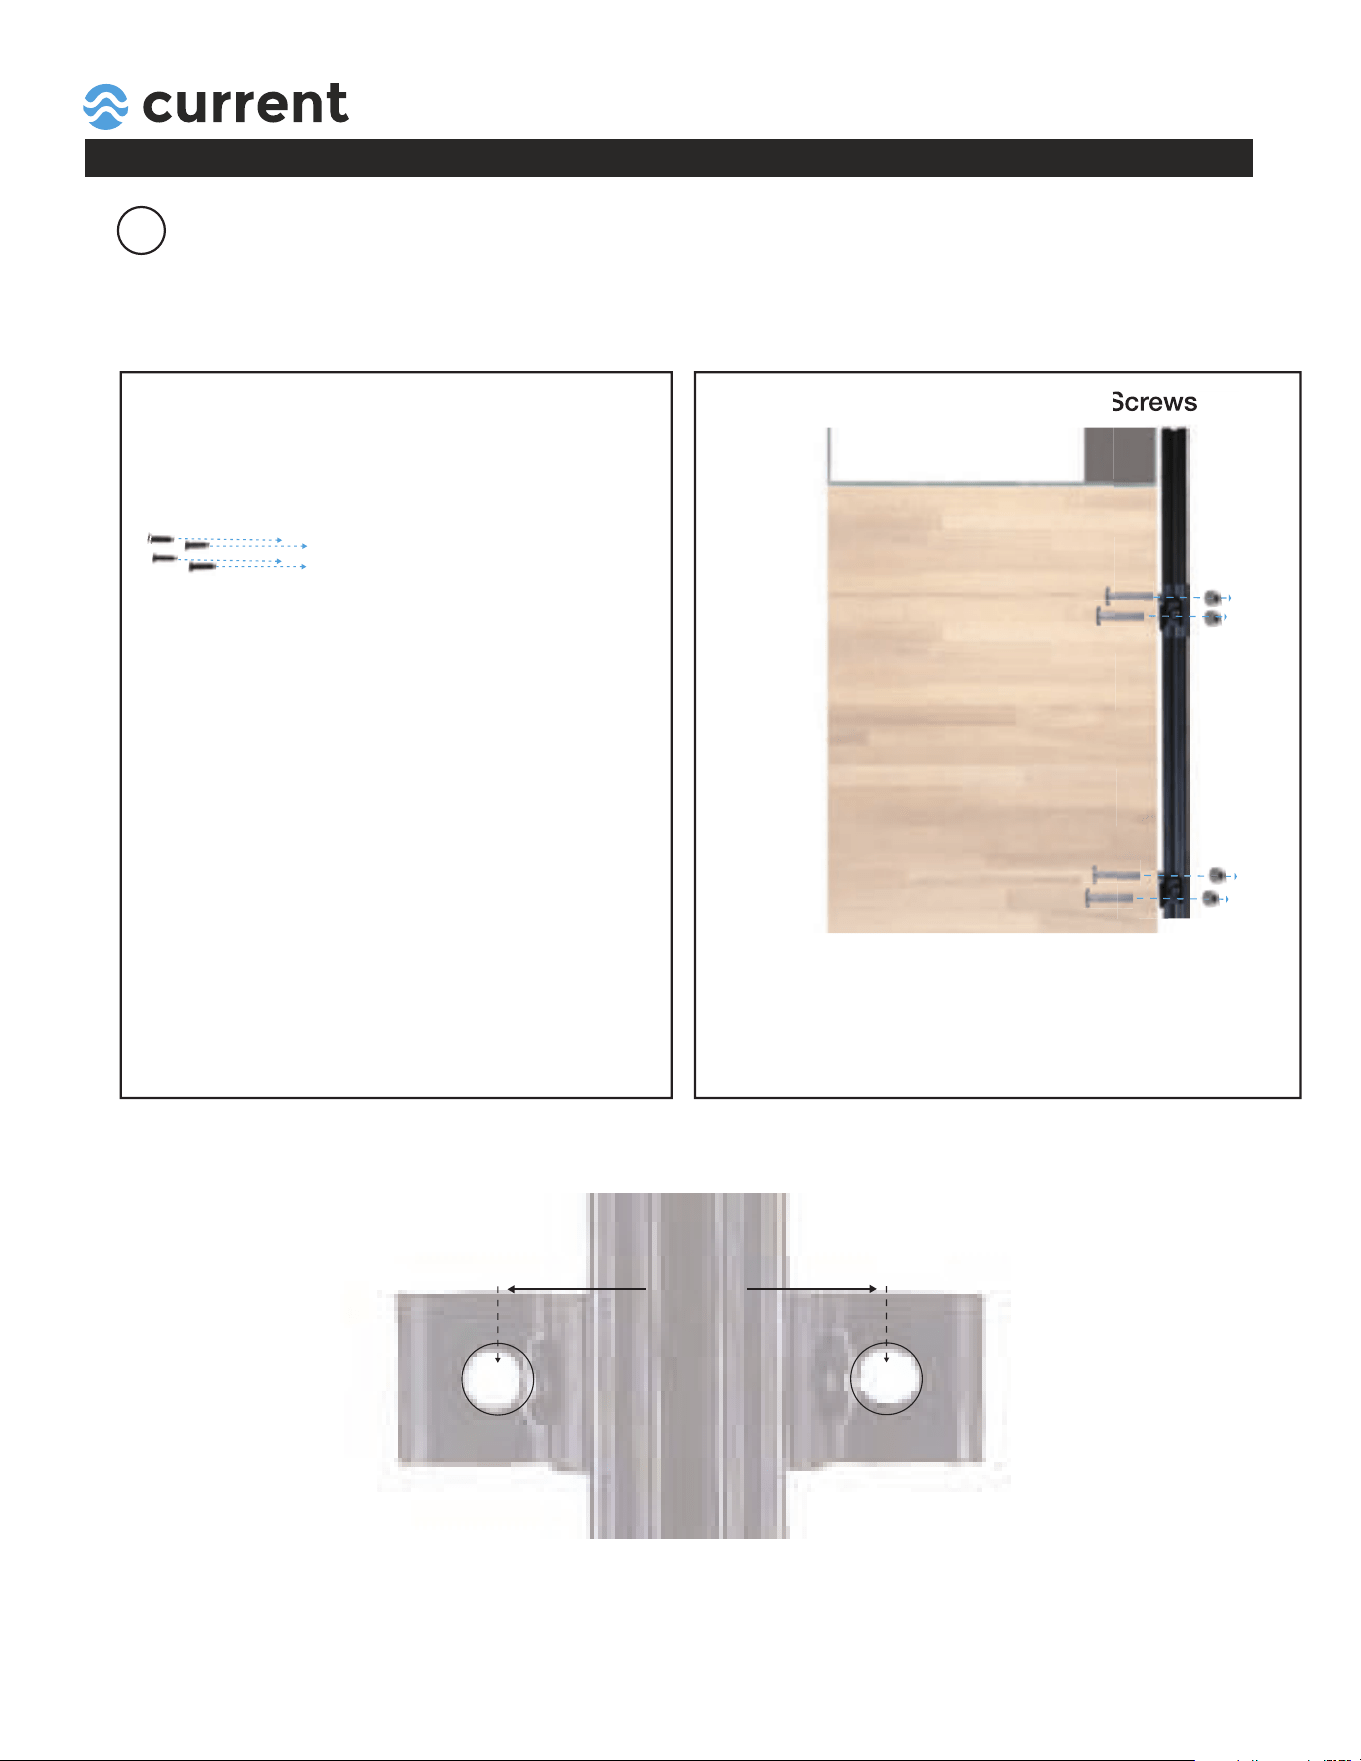
Use hole pattern template
to drill correct distance holes
if needed.
5
ATTACH FLEX ARM TO STAND
Direct Mount on Back with Wood Screws Thru Mount on Back with Flat Screws
To mount:
1. Adjust 4 "L" Brackets vertically to desired height
2. Mark holes for wood screws on back of stand or
measure using template below.
3. Attach L brackets to back of cabinet using 4 wood
screws and phillips screwdriver.
HOLE PATTERN:
(Actual Size)
+
+
62mm
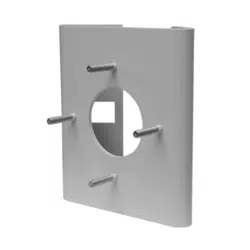
Each stand mount adaptor includes hardware for mounting two ways:
1. Directly to stand using 4 small wood screws (easiest)
2. Attach to back of stand using thru screws and bolt
To mount:
1. Adjust 4 "L" Brackets vertically to desired height
2. Measure hole locations for screws on back of stand.
3. Use the template below and drill 1/8" holes in locations.
4. Attach to back of stand using flat screws and lock nuts.
Direct Mount on Back with Wood Screws Thru Mount on Back with Flat Screws
INSTRUCTIONS
INSTALLATION FLEX Arm Stand Mount Adaptor
6
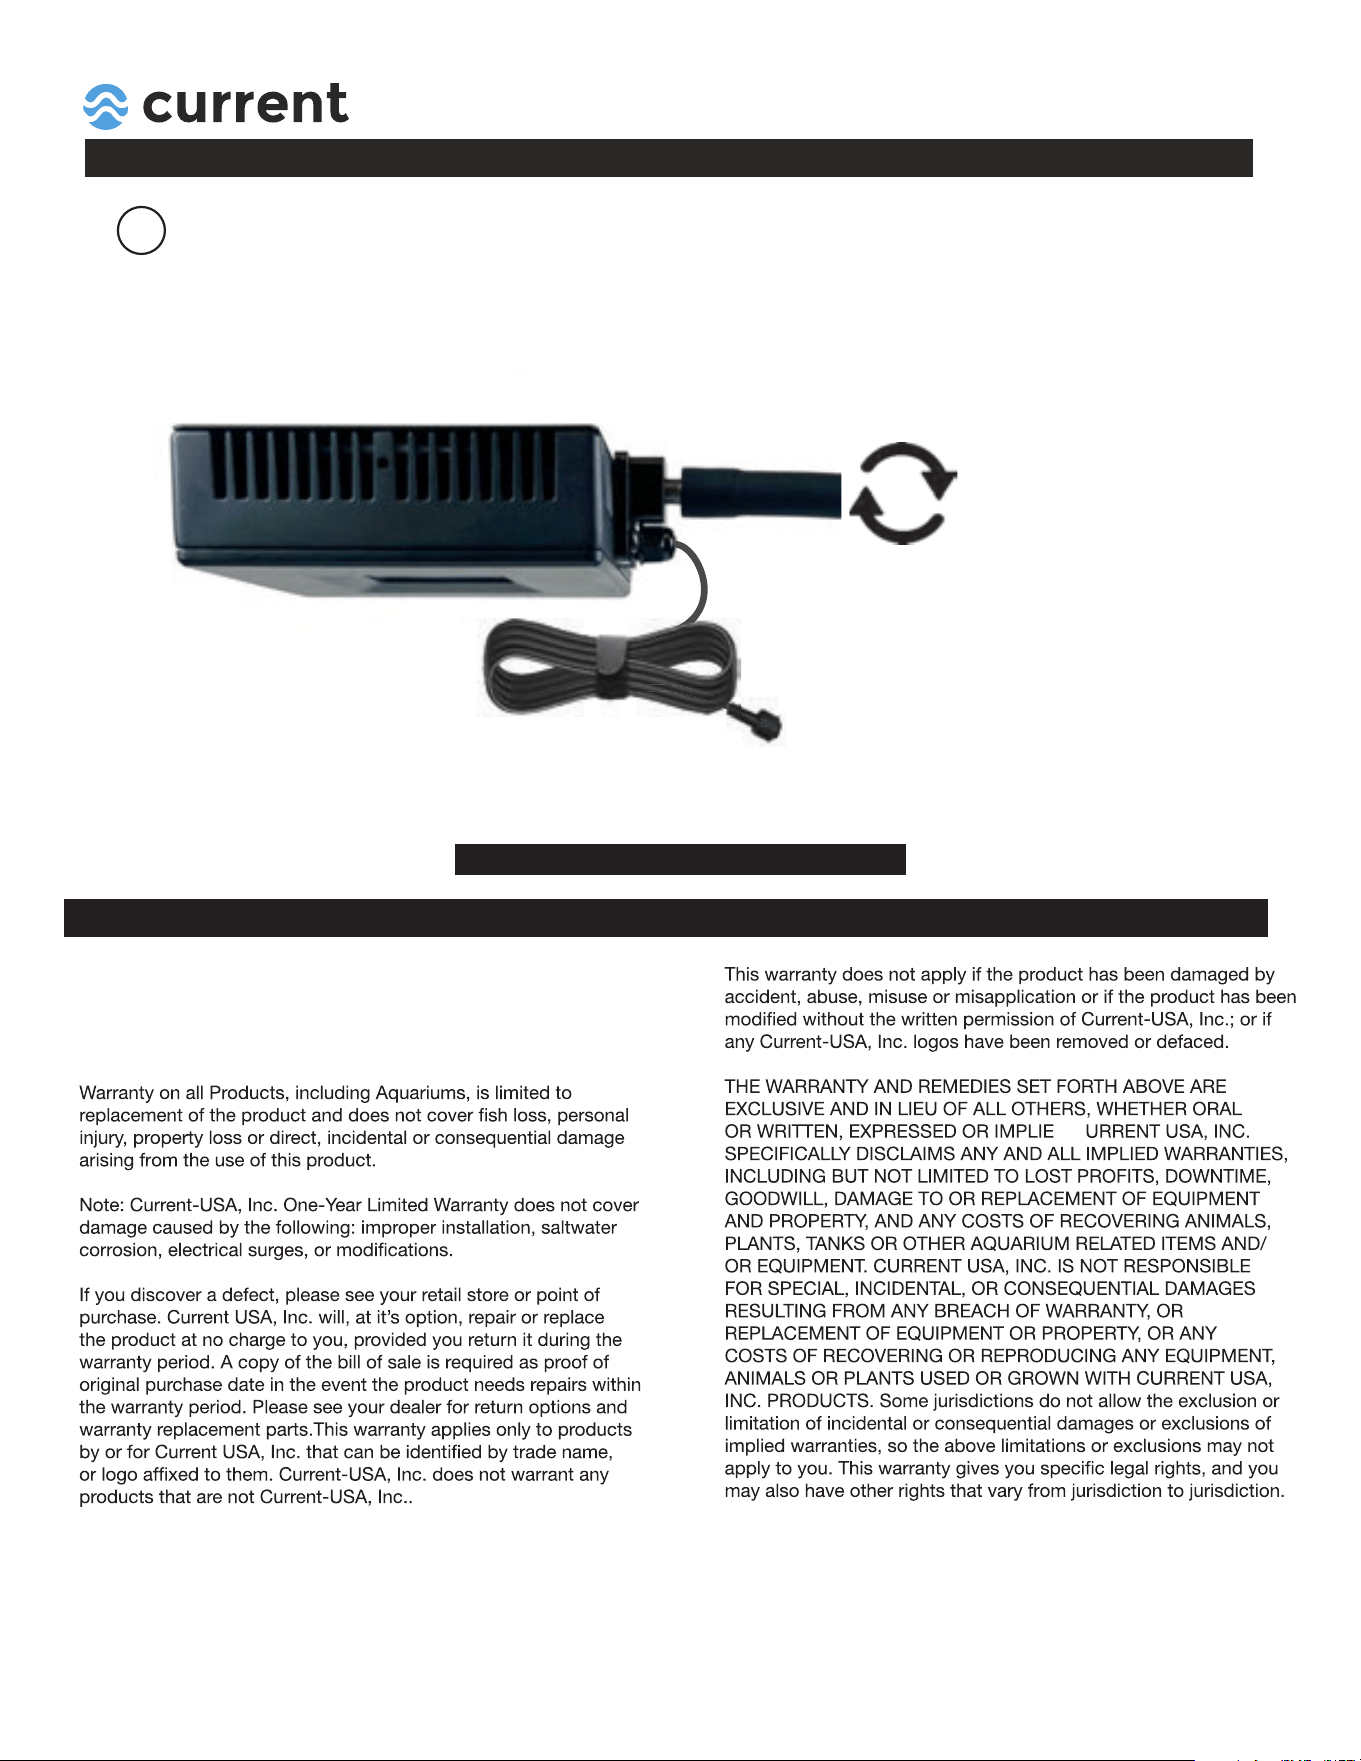
ATTACH LED Light
Turn light clockwise
on Flex Arm
1. Wrap cord together as shown using velcro wrap (for aquariums already with water only.)
2. Carefully thread light to Flex Arm by turning clockwise.
3. Hand tighten and adjust light height by bending arm and adjusting stand mount vertical bracket.
4. Use velcro strap and attach light cable to flex arm, connect to extension cable and controller.
Wrap cable to prevent it from
falling in aquarium water during
installation.
D
C
This product MUST be purchased from an authorized Current-USA
reseller. Visit our website for a list of unauthorized resellers.
Current USA, Inc. warrants this product against defects in
materials and worksmanship for ONE (1) YEAR from the date of
original retail purchase and is none transferable.
WARRANTY
Find additonal support and install videos at www.current-usa.com
SAVE THESE INSTRUCTIONS