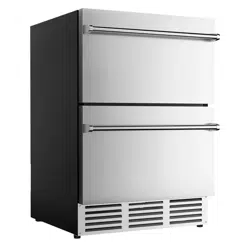
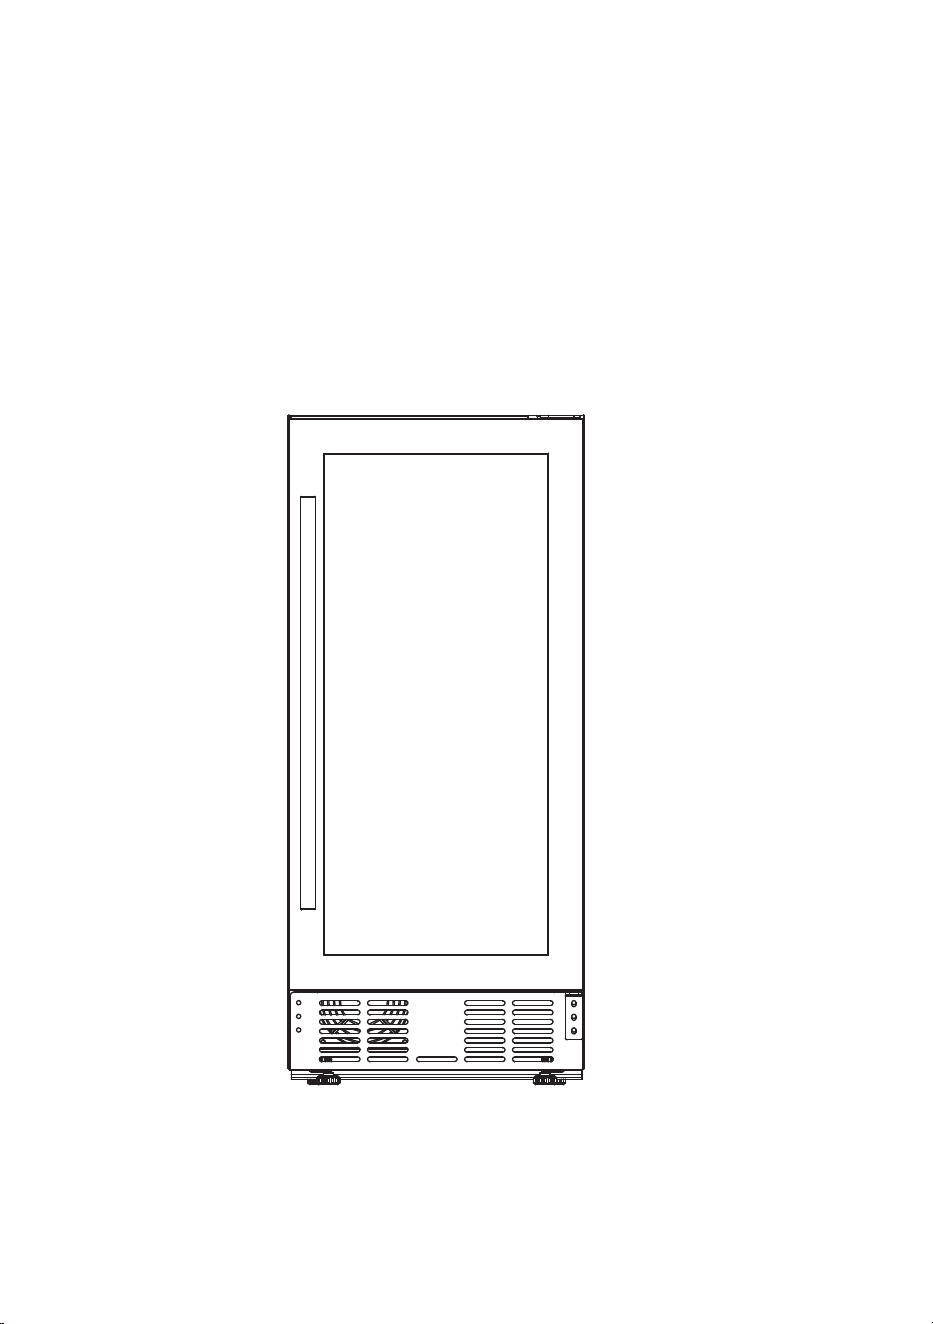
The following diagram is also applicable to the wine cooler with a left-opening door.
Model No.: ZX-BRUC-36-HM
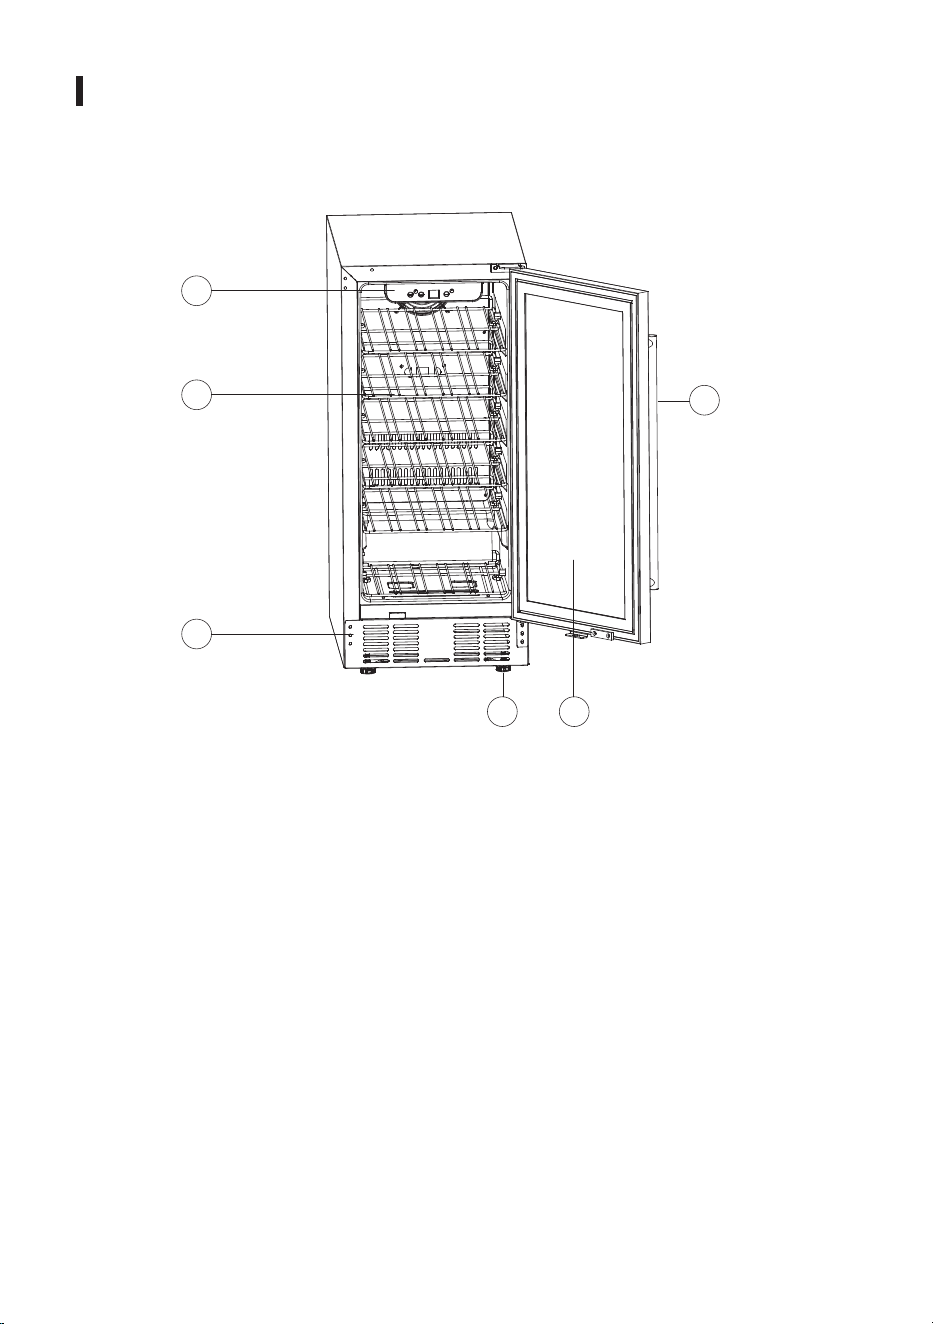
(1) Control Panel
(2) Removable Bottle or Can Shelf
(3) Hot-Air Vents
(4) Adjustable Feet
(5) Glass Door
(6) Door Handle (Assembly Required)
INCLUDED PARTS
1
2
3
4 5
6
SPECIFICATIONS
Product Description: Wine Cooler, Beverage Center
Model No.: ZX-BRUC-36-HM
Capacity: 2.9 cu. ft. (82 L)
Electrical Rating: 115V/60Hz/0.9A
Refrigerant: R600a, 0.67 oz. (19 g)
Unit Dimensions With Feet (Inches): 15’’ × 22.5’’ × 33.8’’ (W×D×H)
Net Weight: 64.00 lb.

Storing Wine Bottles or Beverage Cans
Wine bottles should be laid on the shelves in sealed containers to prevent leakage.
Do not overload the appliance.
Do not open the door unnecessarily or leave the door ajar.
Do not cover the shelves with any material (e.g., aluminum foil) as this will impede air circulation within
the compartment.
Do not store explosive substances such as aerosol cans with �lammable propellant in this appliance.
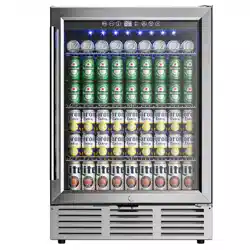
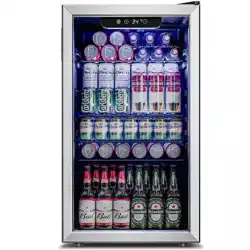
Please place wine bottles according to the following �igure to maximize storage:
Please place canned drinks according to the following �igure to maximize storage:
OPERATING INSTRUCTIONS
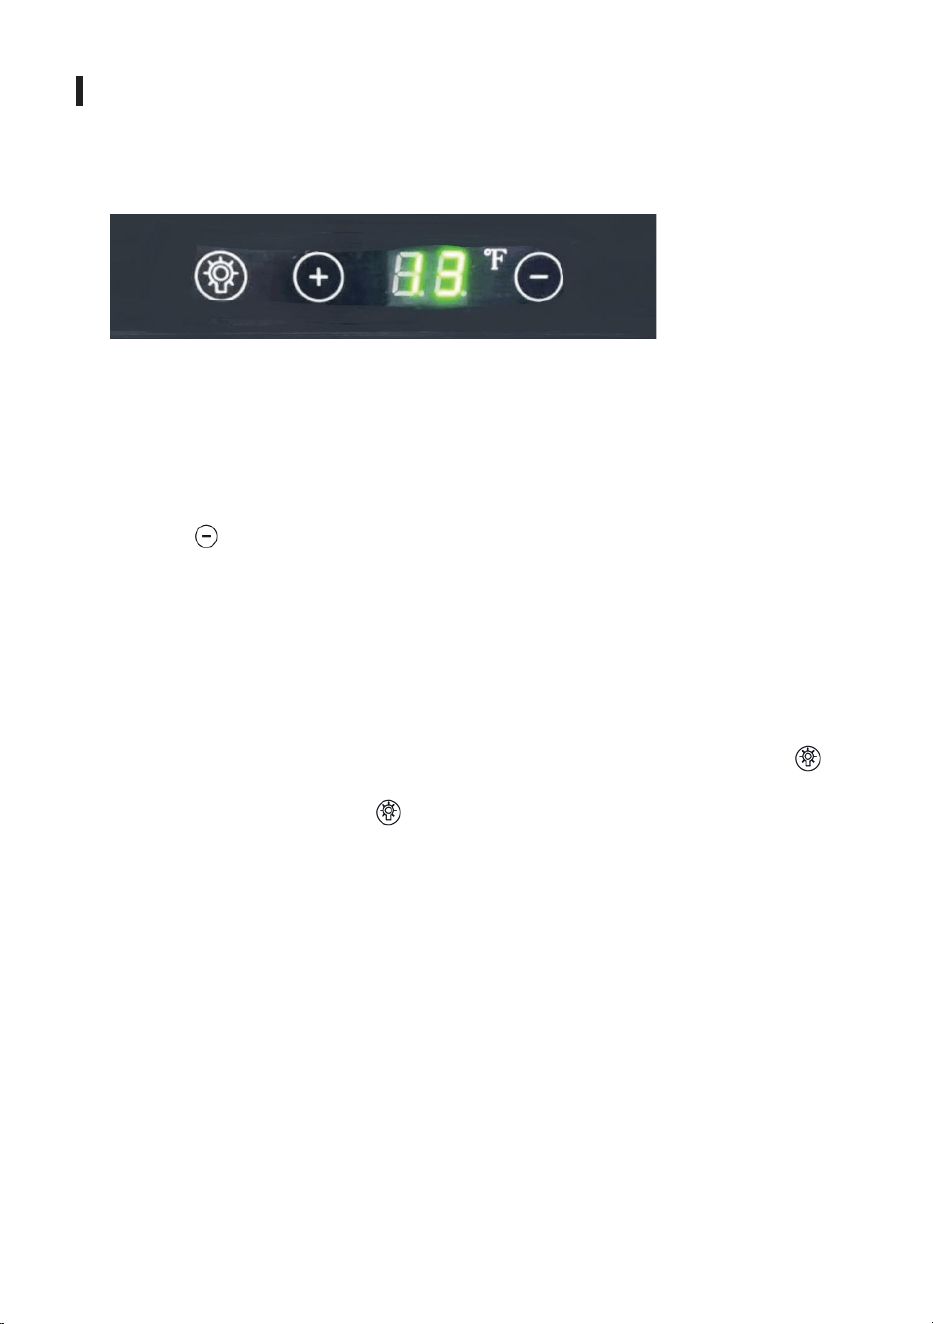
There are 3 buttons and a temperature display on the control panel. These let you operate the unit and reach
your desired running temperature.
Press” ” & ” ” to adjust the temperature to your desired value. Each press will change the
temperature 1° F.
Setting range: 36–61° F.
The default setting is 39° F.
The unit has a built-in LED light in the cooling compartment. When you open the glass door, the LED light
will turn on. Closing the door will turn off the LED light. You can also control the LED light via ” ” on the
control panel. Pressing this button changes the LED light to half brightness; after the glass door is closed,
the LED light will stay on. If you press ” ” again, the LED light will return to default maximum brightness
and will turn off when the glass door is closed. For maximum energy ef�iciency, leave the light off when not
viewing your stock.
Note: If you unplug the refrigerator, wait 3 to 5 minutes before restarting it. The unit may fail to operate
properly if restarted too quickly.
Temperature Adjustment
Interior Light Control
Control Panel
OPERATING INSTRUCTIONS
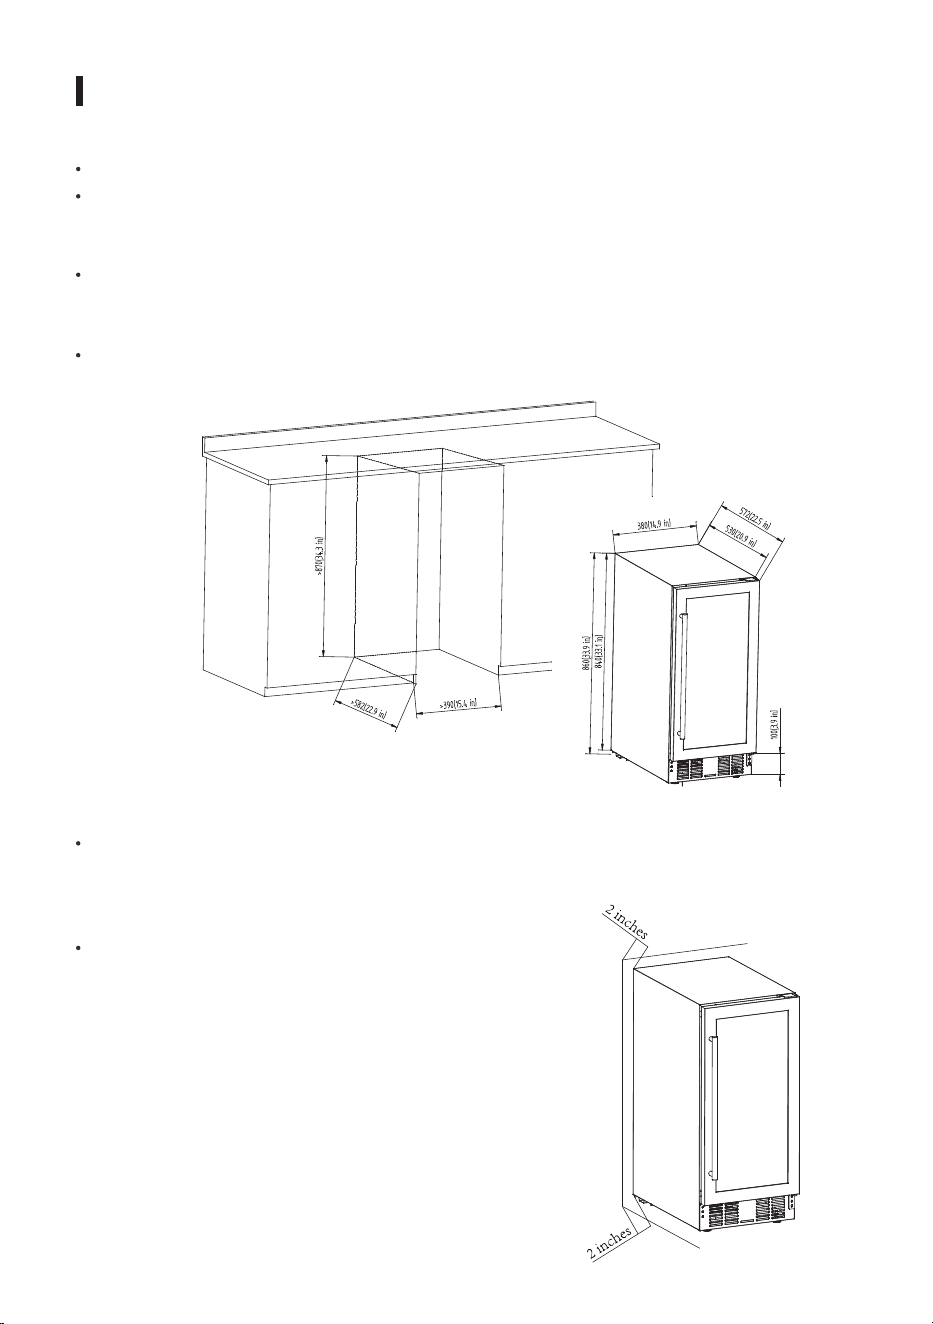
This appliance can either stand alone or be built in. The front vents must not be obstructed.
Install the unit in a convenient location away from extreme heat and cold. The unit should be far away from
heat sources such as stoves, heaters, radiators, and direct sunlight. Allow suf�icient clearance between the
unit and any side walls so the door can open freely.
Place the unit on a smooth, level surface that will be strong enough to support the unit when it is fully
loaded. Not recommended for carpeting or other soft/uneven surfaces. To level your fridge, adjust the front
feet located at the bottom of the unit.
For under-counter installation, please see the following diagram, and leave enough space for the unit.
INSTALLATION
For freestanding installation, we suggest allowing 2 inches of space between the sides and rear of the unit,
and any walls. In addition, suf�icient clearance (160°) should be maintained to allow the glass door to open
completely.
The appliance must be correctly connected to the power
supply,115V/60Hz, and grounded.
The unit is not designed to be installed in an outside area
such as a garage or a porch. Ambient temperatures below
50°F or above 90°F will hinder the performance of the
appliance.