USER MANUAL
Bottle Cooler
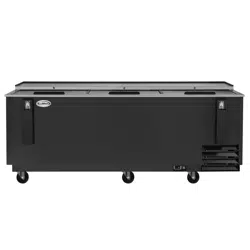
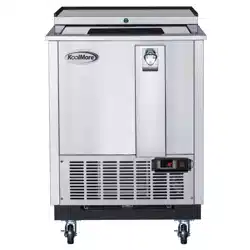
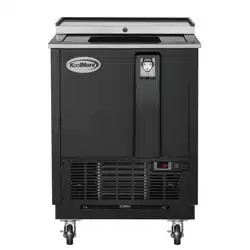
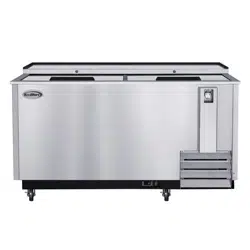
Model: KM-BOC25-BK, KM-BOC25-SS, KM-BOC36-BK,
KM-BOC36-SS, KM-BOC50-BK, KM-BOC50-SS, KM-BOC65-BK
KM-BOC65-SS, KM-BOC95-BK, KM-BOC95-SS
KoolMore Bottle Cooler
KM-BOC25 KM-BOC36 KM-BOC50
KM-BOC65 KM-BOC95

CONTENTS
Please carefully read this manual before using the dishwasher, it will help you
use and maintain the dishwasher properly .
INSTALLATION/OPERATION..................................................2
SAFETY................................................................................4
MAINTANANCE.....................................................................6
TROUBLESHOOTING..............................................................7
WARRENTY...........................................................................8

IMPORTANT!!! PLEASE READ BEFORE INSTALLATION
• If the unit has recently been transported please let unit stand still for a minimum of 24
hours before plugging it in.
• Make sure that the unit drops down to desired temperature before loading the unit
with product.
• Make sure that there is proper ventilation around the unit in the area where it will
operate.
• Make sure all accessories are installed (i.e. shelves, shelf clips, casters) before plug-
ging the unit in.
• Please read through the Operation / Owners Manual in its entirety.
CABINET LOCATION GUIDELINES
• Install the unit on strong and leveled surfaces
- unit may make unpleasant noises or malfunction if surface is uneven
- unit may malfunction if surface is uneven
• Install the unit in an indoor, well-ventilated area
- unit performs more efficiently in a well-ventilated area
- for best performance, please maintain clearance of 4" on the back of the unit
- outdoor use may cause decreased efficiency and damage to the unit
• Avoid installation in a high humidity and/or dusty area
- humidity could cause unit to rust and decrease efficiency of the unit
- dust collected on condenser coil will cause unit to malfunction. Clean the condenser
at least once a month with a brush or clean cloth
• Select a location away from heat and moisture-generating equipment
- high ambient temperatures will cause the compressor to overwork, leading to higher
energy bills and gradual breakdown of the unit
ELECTRICAL
Please ensure that the required voltage of the compressor is being supplied at all times.
Low or high voltage can detrimentally affect the refrigeration unit. All units should be
plugged into a grounded and properly-sized electrical outlet with appropriate over current
protection. Please refer to the electrical requirements on the nameplate. Please make
sure that your unit has its own dedicated outlet. Do not use an extension cord.
INSTALLATION / OPERATION
2
TEMPERATURE CONTROLS
The temperature controls are factory-set to maintain an average temperature of 38 F in
refrigerators. To maintain a different temperature, simply adjust the control knob located
inside the unit.
To decrease the temperature (colder), turn clockwise. To increase the temperature
(warmer), turn counter-clockwise - see diagram
LOADING PRODUCT
The bin dividers have been installed at the factory for your convenience. Feel free to
reposition the dividers as you see fit. To remove the bin dividers, simply push the divider
towards the back wall until the front of the divider is removed from the positioning holes.
To install, position the divider to the desired holes, making sure that the pressure spring
is installed properly.
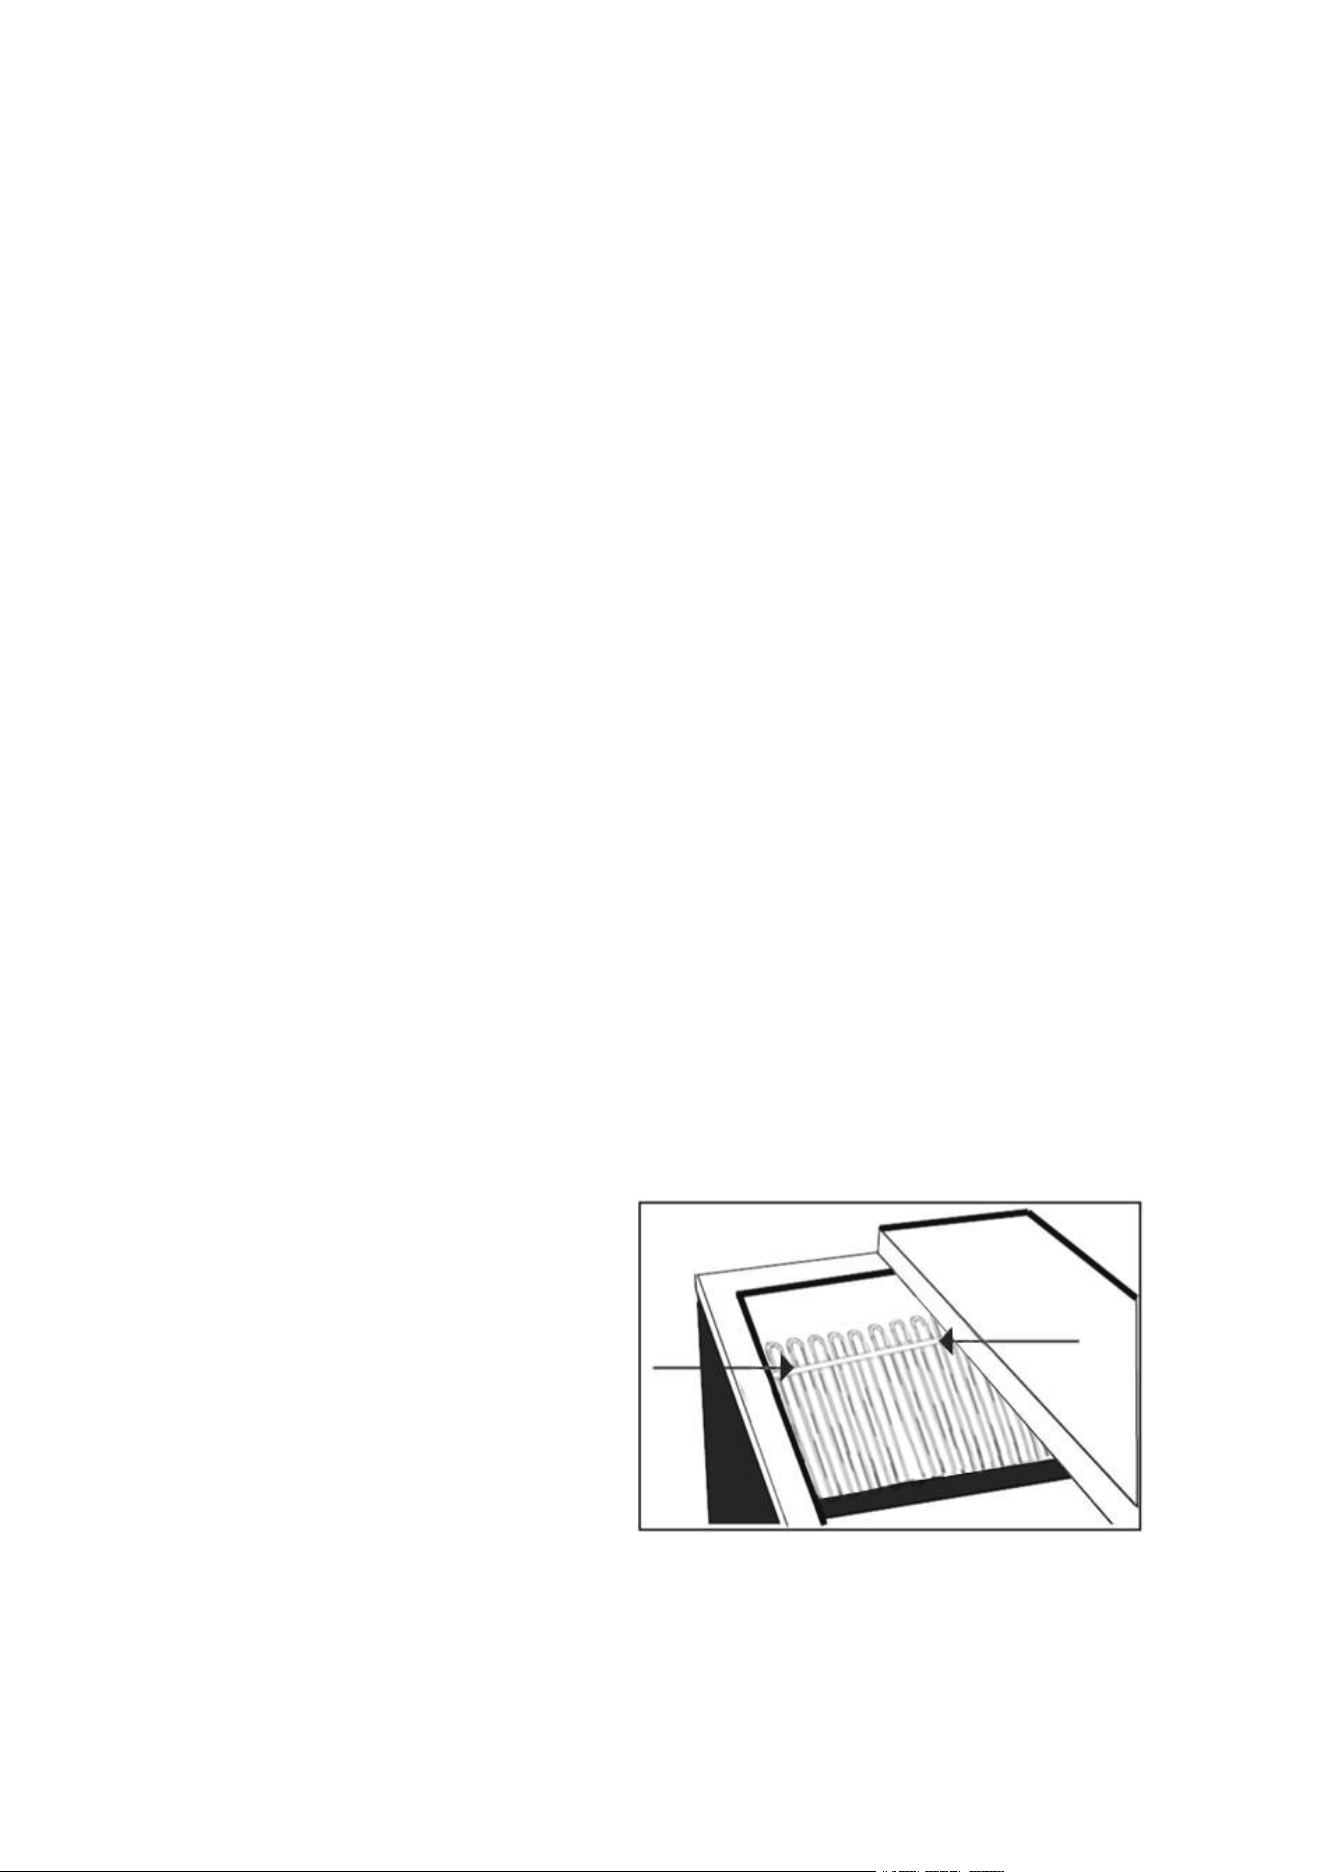
PAY CLOSE ATTENTION TO THE LOAD LIMIT STICKERS LOCATED ON THE INTERIOR
WALLS OF THE UNIT. DO NOT LOAD PRODUCT ABOVE THE LOAD LIMIT STICKERS OR
ABOVE THE TOP CROSS BAR OF THE BIN DIVIDERS. LOADING PRODUCT ABOVE THE
LOAD LIMIT STICKERS WILL HARM THE PERFORMANCE OF THE UNIT.
CAUTION
Setting the temperature control to the coldest setting may cause the evaporator coil to
freeze and ice up. This will eventually result in a thawed unit being at room temperature.
Do not load product above
the top crossbar.
Doing so will
harm the refrigerator.
3

SAFETY / WARNING
Please pay close attention to the safety notices in this section. Disregarding these
notices may lead to serious injury and/or damage to the unit.
ATTENTION
To minimize shock and fire hazards, be sure not to overload outlet. Please designate one
outlet for your unit.
Do not use extension cords.
Do not put your hands under the unit when the unit is required to be moved.
When the unit is not in use for a long period of time, please unplug the unit from the
outlet.
Allow unplugging unit, wait at least 10 minutes before re-plugging it. Failure to do so
could cause damage to the compressor.
UNPLUG CORD
To minimize shock and fire hazards, please do not plug or unplug the cord with wet
hands
During maintenance and cleaning, please unplug the unit.
PROPER GROUNDING REQUIRED
To minimize shock and fire hazards, make sure that the unit is properly grounded.
PROHIBITION
Do not attempt to remove or repair any component unless instructed by factory.
Make sure that the unit is not resting on or against the electrical cord and plug.
To minimize personal injury, do not hang on the doors.
Do not store any flammable and explosive gas or liquids inside the unit.
Do not attempt to alter or tamper with the electrical cord.
Do not sell the disposed of lamp/lamp out of the recommended temperature range.(Refr:
32 F - 50 F)
CAUTION FOR SAFETY
Leave enough space from the wall to the cabinet and the ceiling, do not be sealed,
especially in the back part of the appliance/area and sidewall to the outside.
4

Caution: needs more than 20 cm from the cabinet to wall.
Position every 6 months gap to bottom rear 3cm and side to side 3cm.
It's prohibited to place flammable and volatile chemical or belonging toppled and liquid
containing signs. Please be sure to use it. Insulate the air by always connected to a
circuit that is not multiple sockets.
Caution: Do not connect ground wire to water or gas pipe.
Do not handle with oil if there is a change in air transportation, it is more larger than 5m
because it can cause volatility.
Please refer to the Trouble Shooting references when the unit is starting some problems.
Damage limit of socket is problem if you over Please refer to cleaning bucket nicely. It's
always keep the first thing explosion. Flammable refrigerant used. Do not repair/
rearrange Risk of fire/explosion. Do not puncture refrigerant tubing.
DANGER - Risk of fire or explosion flammable refrigerant used. To be repaired only by
trained service personnel, not user serviceable unit.
CAUTION - Risk of fire or explosion. Flammable refrigerant used. Consult repair
manual/owner's guide before attempting to service this product. A safety stopper must
be kept intact.
CAUTION - Risk of fire or explosion. Flammable refrigerant used. Keep service stops in
place and discs of 5mm process with tender or bulldog knife carefully. Fires related to
excess of refrigerant with flammable characteristics or damages is neglect.
CAUTION - Keep flammable materials and vessels containing liquid away from the unit's
compressor. If the use of the product or the factory adjusted legs in the application or
absence in the secondary adjustment is not well situated.
CAUTION - Keep out of reach of children when operating on high zones and ensure to in a
secure location. Insulate the product on adjusted legs in the application.
5

MAINTENANCE
CLEANING THE CONDENSER COIL
For efficient operation, it is important that the condenser surface be kept free of dust,
dirt, and lint.
We recommend cleaning the condenser coil and fins at least once per month.
Clean with a commercial condenser coil cleaner, available from any kitchen equipment
retailer. Brush the condenser fins from top to bottom, not side to side.
After cleaning, straighten any bent condenser fins with a fin comb.
CLEANING THE FAN BLADES AND MOTOR
If necessary, clean the fan blades and motor with a soft cloth. If it is necessary to wash
the fan blades, cover the fan motor to prevent moisture damage.
CLEANING THE INTERIOR OF UNIT
When cleaning the cabinet interior, use a solvent of warm water and mild soap.
Do not use steel wool, caustic soda, abrasive cleaners, or bleach that may damage the
stainless steel surfaces.
Periodically remove the bin dividers and thoroughly clean the dividers with warm soap
and water. If some liquid happens to collect on the inside of the unit, clean it right away.
Do not leave the liquid sitting inside of the unit. This will cause corrosion and will
deteriorate the life of the unit.
WARNING
Disconnect power cord before cleaning any parts of the unit.
6
TROUBLESHOOTING
Before requesting any service on your unit, please check the following points. Please
note that this guide serves only as a reference for solutions to common problems.
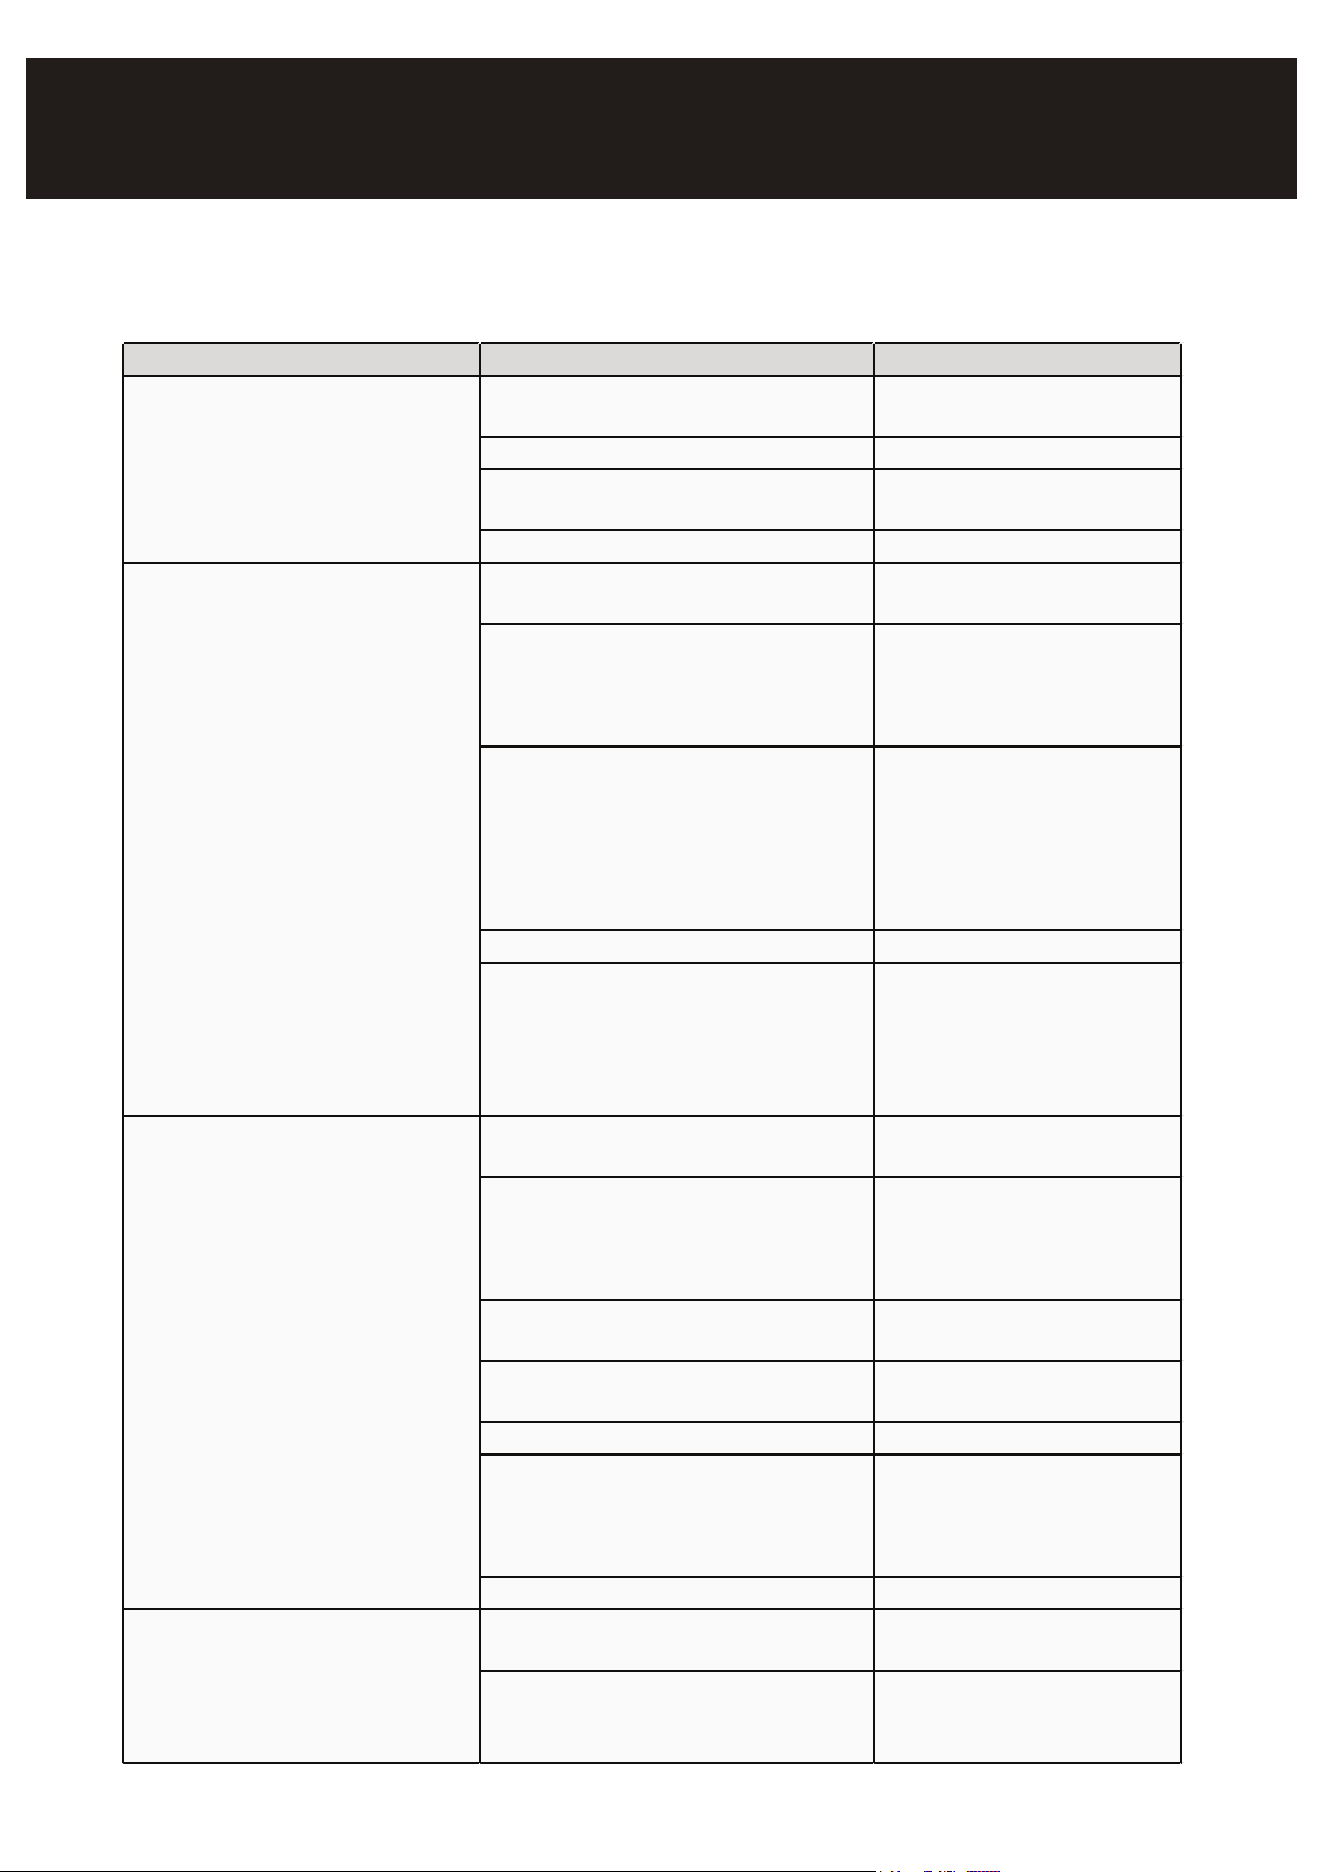
SYMPTOM POSSIBLE CAUSE CORRECTIVE ACTION
Compres sor not running. Fuse blown or circuit breaker tripped.
Replace fuse or reset circuit
breaker.
Power cord unplugged. Plug in power cord.
Thermostat set too high.
Set thermostat to lower
temperature.
Cabinet in defrost cycle. Wait for defrost cycle to finish.
Condensing unit runs for long
periods of time.
Excessive amount of warm product
placed in cabinet.
Allow adequate time for
product to cool down.
Prolonged door opening or door ajar.
Ensure doors are closed when
not in use. Avoid opening
doors for long periods of time.
Door gasket(s) not sealing properly.
Ensure gaskets are snapped in
completely. Remove gasket and
wash with soap and water.
Check condition of gasket and
replace if necessary.
Dirty condenser coil. Clean the condenser coil.
Evaporator coil iced over.
Unplug unit and allow coil to
defrost. Make sure thermostat
is not set too cold. Ensure that
door gasket(s) are sealing
properly.
Cabinet temperature is too
warm.
Thermostat set too warm.
Set thermostat to lower
temperature.
Blocking air flow.
Re-arrange product to allow
for proper air flow. Make sure
there is at least four inches of
clearance from evaporator.
Excessive amount of warm product
placed in cabinet.
Allow adequate time for
product to cool down.
Fuse blown or circuit breaker tripped.
Replace fuse or reset circuit
breaker.
Dirty condenser coil. Clean the condenser coil.
Prolonged door opening or door ajar.
Ensure doors are closed when
not in use. Avoid opening
doors for long periods of time.
(see above)
Evaporator coil iced over. (see above)
Cabinet is noisy. Loose part(s).
Locate and tighten loose
part(s).
Tubing vibration.
Ensure tubing is free from
contact with other tubing or
components.
7

LIMITED WARRANTY
Koolmore Supply, Inc. extends a limited warranty to the original purchaser, guaranteeing that this Koolmore
product is free from manufacturing defects in material or workmanship for one year from the date of
purchase.
Should you discover any such defect within the warranty period, Koolmore Supply, Inc., reserves the right to
repair or replace the product without charge, or to cover the cost of replacement parts and repair labor needed
to correct defects present at the time of purchase or resulting from regular usage, when the appliance has been
installed, operated, and maintained as per the instructions provided.
At its sole discretion, Koolmore Supply Inc. may decide to replace the product. In such an event, your replace-
ment appliance will carry the warranty for the remaining term of the original unit's warranty period.
This warranty is valid exclusively to the original purchaser of the product and only applicable within the United
States. The warranty commences from the date of original consumer purchase. Proof of the original purchase
date will be required to obtain service under this warranty.
Under this limited warranty, your sole and exclusive remedy will be product repair, as outlined above. All
services must be provided by a Koolmore-designated service company.
To claim warranty or request repair service:
Email suppor[email protected]. Please include your name, address, phone number, warranty repair request,
and a copy of your proof of purchase receipt. Alternatively, visit koolmore.com and use the contact us page. A
Koolmore customer service representative will promptly arrange service for your appliance.
We thank you for choosing Koolmore.
WARRANTY EXCLUSIONS
This limited warranty will not cover:
1. Failure of the product to perform during power failures or interruptions,
or due to inadequate electrical service.
2. Damage incurred during transportation or handling.
3. Damage caused by accidents, vermin, lightning, winds, fire, floods, or acts of God.
4. Damage resulting from accidents, alterations, misuse, abuse, improper installation, repair, or mainte-
nance. This includes using any external device that alters or converts the voltage or frequency of
electricity.
5. Unauthorized product modifications, repairs by unauthorized centers, or use of non-approved
replacement parts.
6. Abnormal cleaning and maintenance not aligned with the user's manual.
7. Use of incompatible accessories or components.
8. Any costs associated with repairs or replacements under these excluded circumstances shall be the
responsibility of the consumer.
WARRANTY