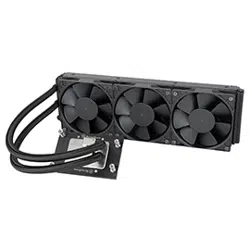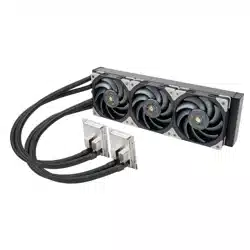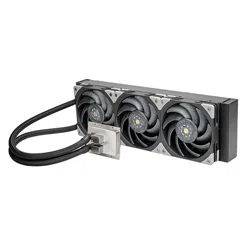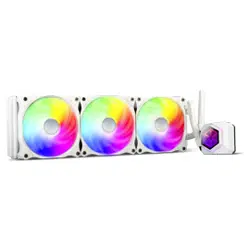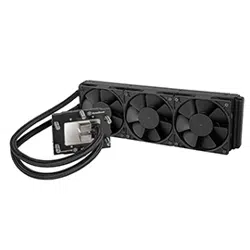
High Performance Triple 120mm AIO Liquid Cooler for AMD SP5
XE360-SP5
www.silverstonetek.com
User manual
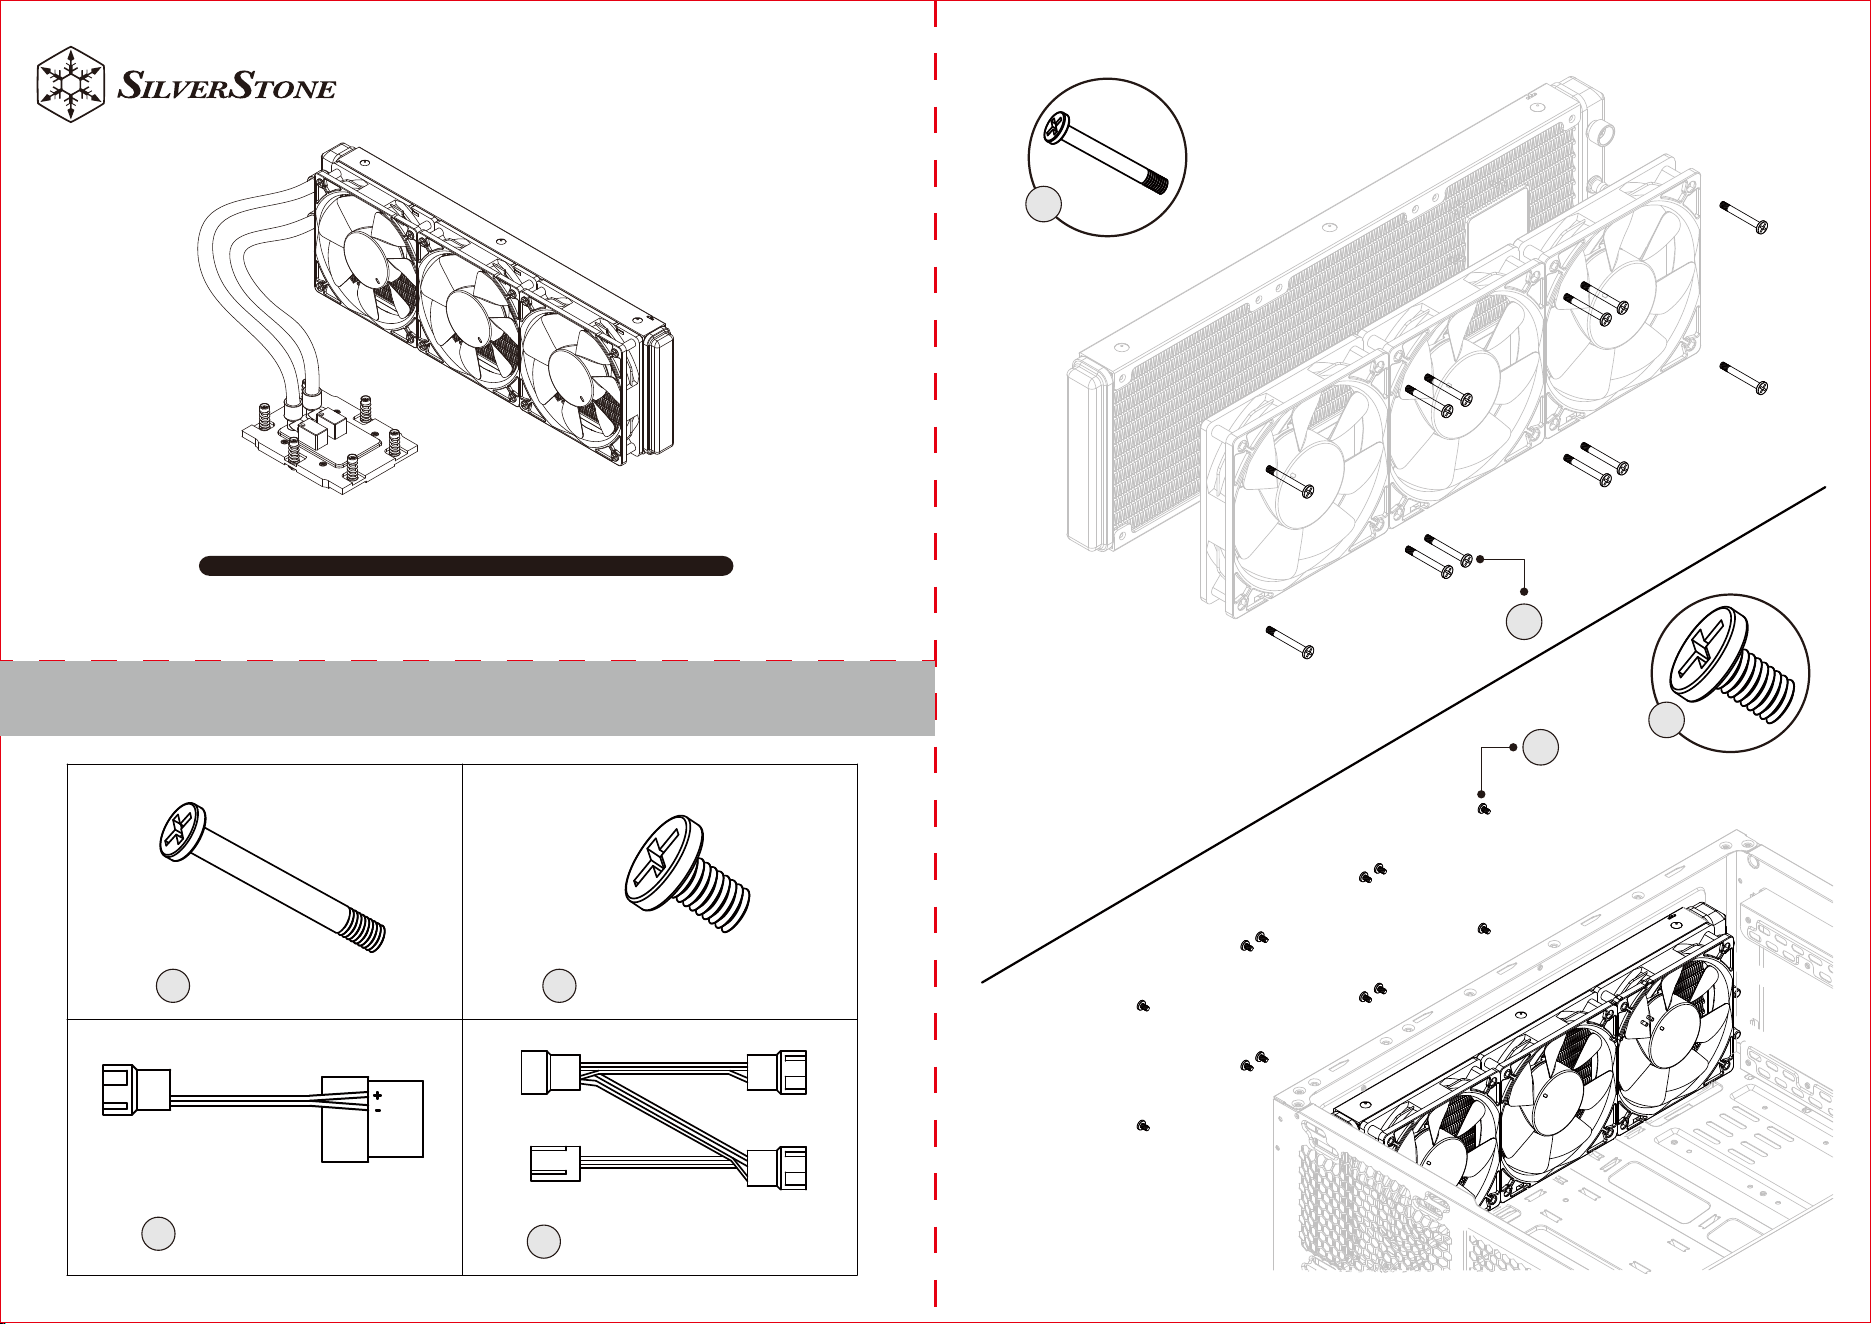
Contents
BA
Fan Screw x12
C
4pin Peripheral
adapter cable x1
Case Screw x12
D
3 in 1 Fan cable x1
A
A
B
B
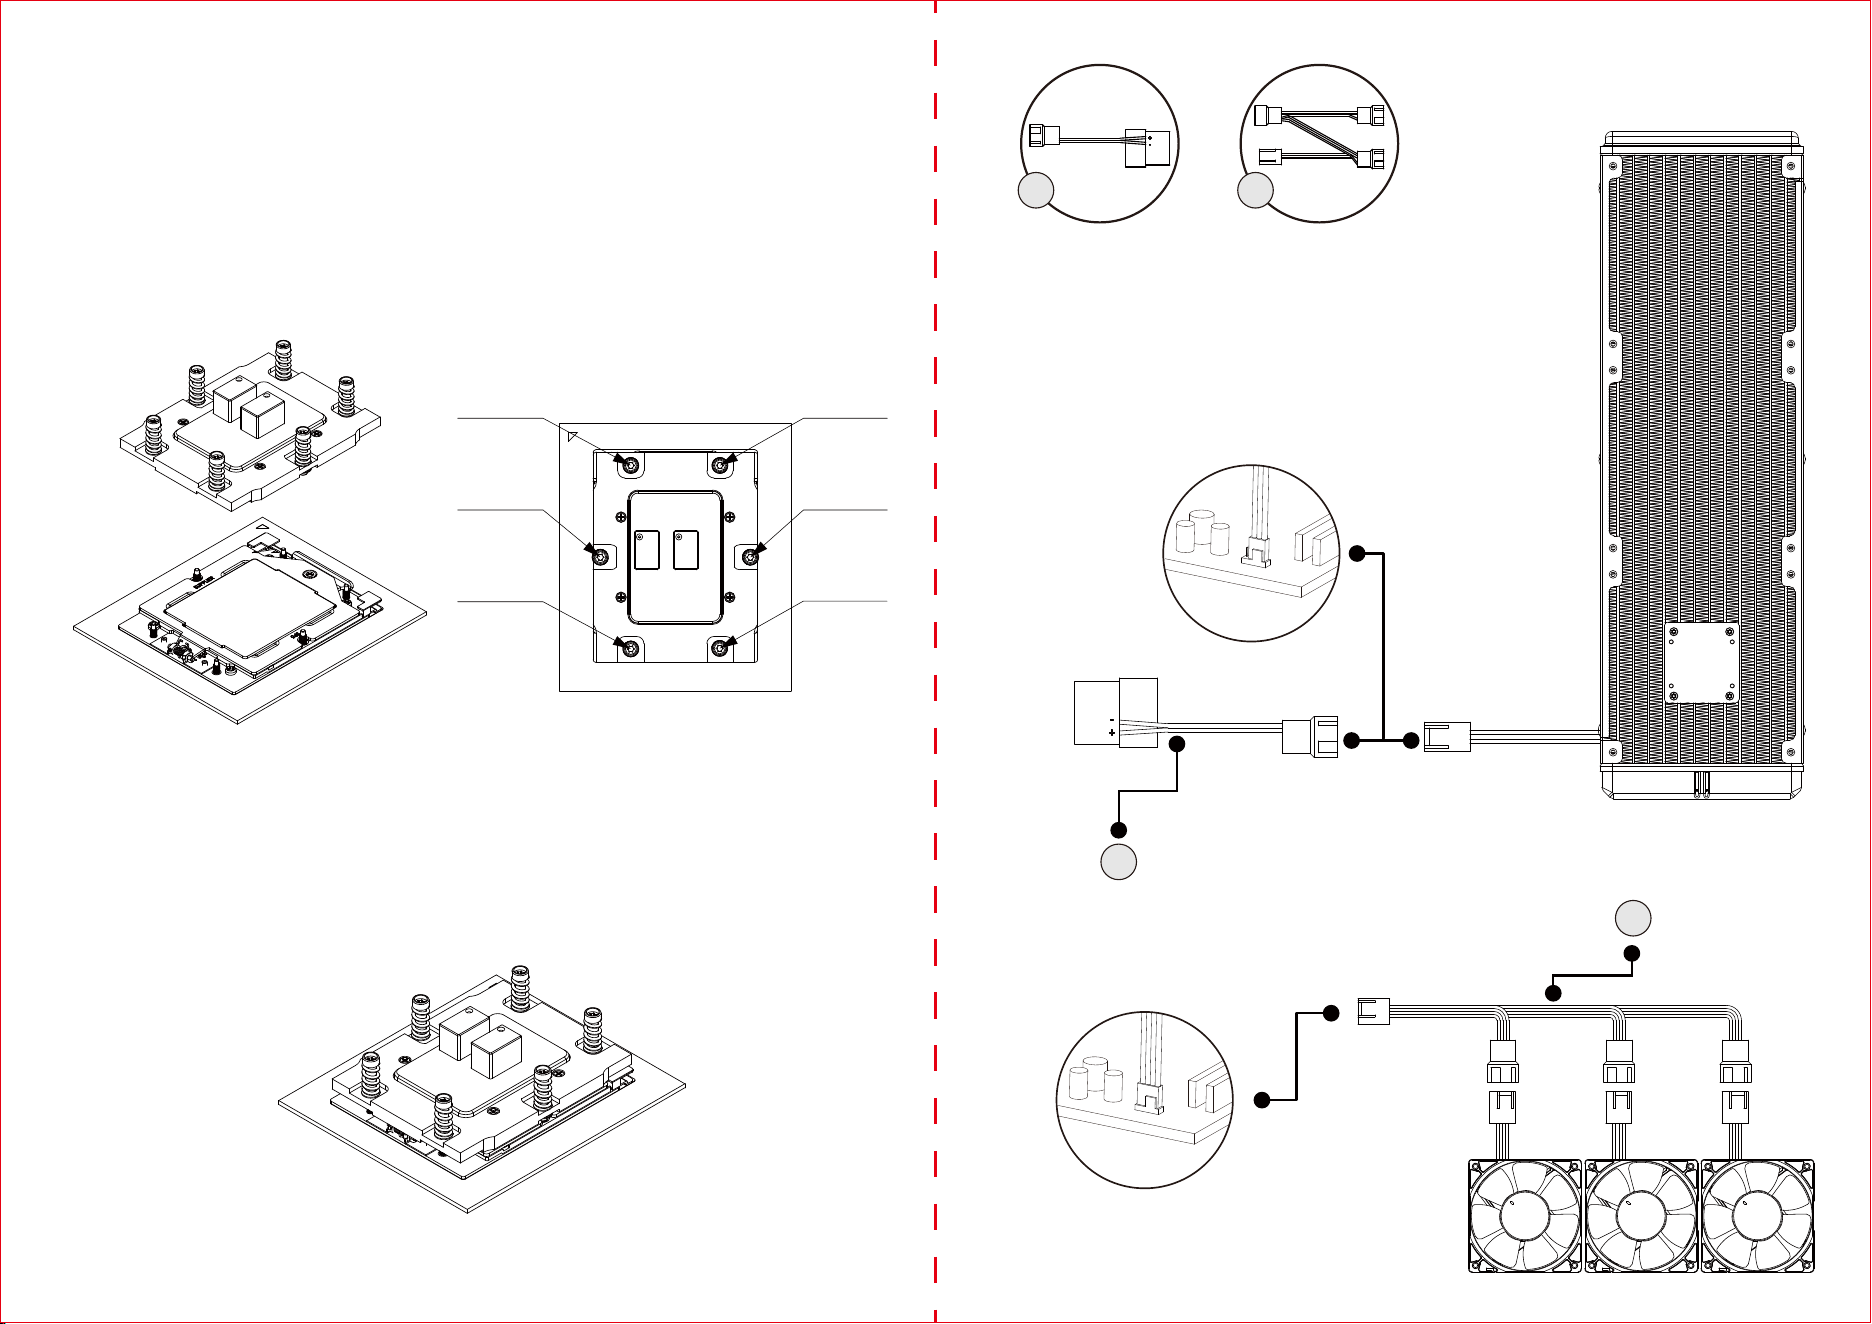
1.Remove the protection cover of thermal interface material (TIM) or thermal grease. The required amount of TIM has been
pre-applied on the bottom of the heat sink. Inspect pre-applied TIM for any damage.
2.Place the heat sink directly on top of the CPU (Figure 1) so that the six heat sink mounting screws are aligned with and seated on
the six heat sink mounting studs or nut standoffs on the socket stiffener frame.
3.Use a screwdriver with Torx T20 bit and adjust the screwdriver torque setting to 12.5~15.0 kgf-cm (10.8~13.0 lbf-in). Before turning
on the screwdriver, make sure that the screwdriver bit is fully engaged in the cavity of the heat sink mounting screw head. Keep heat
sink mounting screw vertical during installations.
4.Tighten the two diagonal heat sink mounting screws, i.e. the #1 and #2 screws (Figure 2), Then do the same with the remaining four
diagonal heat sink mounting screws.
PSU
AIO_PUMP
CPU_FAN
C D
C
D
Figure 1
NO.2 Screw
NO.5 Screw
NO.4 Screw
NO.1 Screw
NO.3 Screw
NO.6 Screw
Figure 2
5.Follow the diagonal installation pattern on all six heat sink mounting screws to ensure that the bottom of the heat sink is properly
seated on the CPU and to prevent the heat sink from tilting.
G11249170