
Technical Support and E-Warranty Certificate
www.vevor.com/support
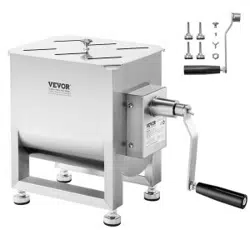
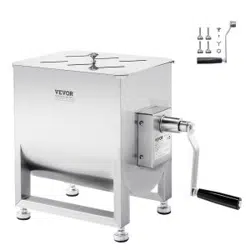
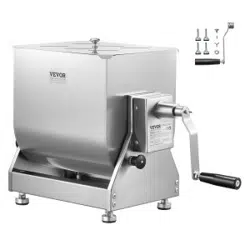
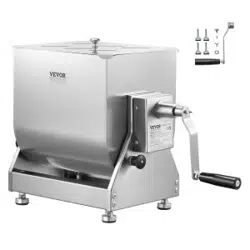
Meat Mixer/Meat Processing Motor
MODEL:BX-10B/BX-10/BX-20/BX-30/
BX-40/BX-60/BX-10T/BX-20T/BX-30T
/BX-40T/XZ-8B/XZ-12B
We continue t o be committed to provide you t ools with competitive price.
"Save Half", "Half Price" or any other similar expressions used by us only represents an
estimate of savings you might benefit from buying certain tools with us compared to the major
top brands and does not necessarily mean to cover all categories of tools offered by us. You
are kindly reminded to verify carefully when you are placing an order with us i f you are
actually saving half i n comparison with t he top major brands.

XZ-12B
- 1 -
MODEL:BX-10B/BX-10/BX-20/BX-30/BX-40/BX-60/BX-10T/BX-20T/BX-30T/
BX-40T/XZ-8B/XZ-12B
BX-B BX BX-T
BX+XZ
XZ-8B
Meat Mixer/Meat Processing
Motor
BX-T-XZ

- 2 -
Have product questions? Need technical support? Please feel free to
contact us:
Technical Support and E-Warranty Certificate
www.vevor.com/support
NEED HELP? CONTACT US!
This is the original instruction, please read all manual instructions
carefully before operating. VEVOR reserves a clear interpretation of our
user manual. The appearance of the product shall be subject to the
product you received. Please forgive us that we won't inform you again if
there are any technology or software updates on our product.
IMPORTANT SAFEGUARDS
Warning-To reduce the risk of injury, user must read instructions
manual carefully. Always follow basic safety precautions when
using these devices. These include:
1.Maintenance and repair should only be done by the certified tecnician.
2.This device and its parts must be cleaned frequently and
properly.Hazardous bacteria may manifest if not cleaned correctly. Use the
detergent which is suited for meat processing equipment.
3. Never use the aggressive cleaning agents or abrasives. Do not use the
solvents or petrol cleaning agents. Some cleaning agents may leave
harmful residues or cause damage to the machine. Use the food safe
detergent instead.
4.Do not use any scourer and sharp or pointed objects during cleaning,this
may cause damage to the machine.
5. Never hose down the machine or immerse it in the water or any other
liquid. Do not use a steamer to clean the appliance.Instead, whipe down
the exterior with a damp cloth.
6.Remove the handle, shaft and paddle assembly before cleaning.

- 3 -
7.Use a wooden or plastic spatula to remove any mixing residues from the
bowl.
8.Clean the inside and the parts with a brush or sponge and the warm
soapy water (not in the dishwasher). Then rinse under the tap to remove
any residues.Always allow the parts and accessories to dry after cleaning,
or dry with a soft cloth.
9.Reassemble all the parts in opposite sequence
Electric Safety for electrical appliances
1. This appliance is for domestic use only and is not intended for
applications such as staff kitchen areas in shops, offices, and other
working environments; farm houses; by customers in hotels, motels,
and other residential-type environments; bed and breakfast type
establishments.
2. Care should be taken when handling the attachments, using, and
cleaning.
3. This appliance is not intended for use by persons with reduced
physical, sensory, or mental capabilities or lack of experience and
knowledge unless they have been given supervision or instruction
concerning its use by a person responsible for their safety.
4. Children should always be supervised to avoid playing with this
product.
5. Children shall not use this appliance. Keep the appliance out of
reach of children during and after use.
6. Always inspect the appliance and appliance accessories before
use for noticeable signs of damage. Do not use it if it is damaged or
the appliance has been dropped. In the event of damage, or if the
appliance develops a fault, contact the Customer Care Line.
7. Do not use the appliance if the lead is damaged. In the event of
lead damage, discontinue use immediately. If the lead is damaged, it
must be replaced by the manufacturer. Return the appliance to the
Customer Care Centre. The consumer must attempt no repair.

- 4 -
8. Never pull the plug from the main socket by the lead.
9. Do not wrap the lead around the main body of the appliance
during or after use.
10. The appliance can be left plugged into the electrical supply when
not in use to ensure the batteries are always charged. However, it
should be unplugged before assembling, disassembling, cleaning, or
if not used for a prolonged period.
11. The supply terminals are to be well circuited.
12. WARNING: Avoid contact with moving parts. Keep hands, hair,
clothing, spatulas, and other utensils away from attachments during
operation to reduce the risk of injury to persons and damage to the
appliance.
13. WARNING: Do not put your fingers near the attachments. To
dislodge the food, first, ensure the mixer is not in operation.
14. The charger should be plugged into an electrical socket away
from a sink or hot surface.
15. Do not use an extension cord. Plug the charger directly into an
electrical socket.
16. To protect against electrical shock, do not put the central unit in
water or other liquids. Only the attachments of this appliance have
been designed for submersion in water or other fluids. Never
submerge any other portion of this unit. If the hand blender falls into
a liquid, remove it immediately, and clean and dry the unit thoroughly
before continuing.
17. Do not run the blender empty-this will damage the motor.
18. Do not put the central unit in water or other liquids
Warning: Polythene bags over the product or packaging may be
dangerous. To avoid the danger of suffocation, keep away from
babies and children. These bags are not toys.
SAVE THESE INSTRUCTIONS

- 5 -
Technical Parameter
1.1.BX-B series of manual meat mixer
Model Volume
Mixing Capacity
Power
Lb Kg
BX10-B 10L 14.3-16.5 6.5-7.5 Handy
1.2.BX- series of manual meat mixer with gear
Model Volume
Mixing Capacity
Power
Lb Kg
BX-10 10L 14.3-16.5 6.5-7.5 Handy
BX-20 20L 28.6-35.2 13-16 Handy with gear box
BX-30 30L 44-55 20-25 Handy with gear box
BX-40 40L 57.2-77 26-35 Handy with gear box
BX-60 60L 85.8-121 39-55 Handy with gear box
1.3.BX-T series of manual meat mixer with gear with rotary tank
Model Volume
Mixing Capacity
Power
Lb Kg
BX-10T 10L 14.3-16.5 6.5-7.5 Handy
BX-20T 20L 28.6-35.2 13-16 Handy with gear box
BX-30T 30L 44-55 20-25 Handy with gear box
BX-40-T 40L 57.2-77 26-35 Handy with gear box
- 6 -
INSTALLATION
2.1.Exploded view,installation drawing and note
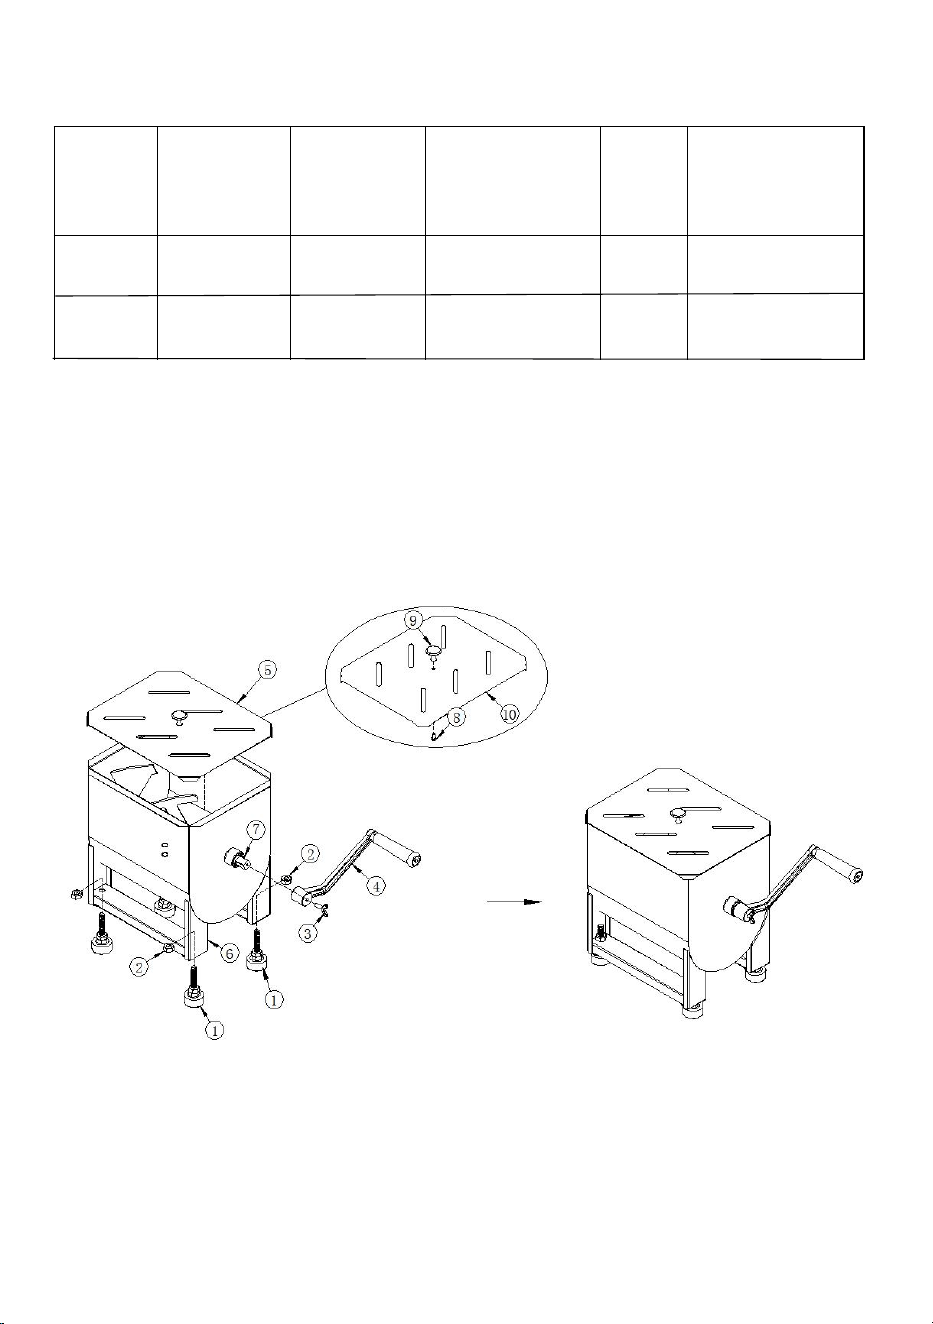
2.1.1.BX-10B
Picture1 P icture 2
Installation steps
Step 1: By adjusting the heights of feet
①
and nut
②
, fasten the meat
mixer i nto t he feet of tank
⑥
(see picture 1).
Step 2: Put the handle
④
on the square shaft
⑦
of tank
⑥
, tighten up and
Model
Rotating
speed
(R.P.M.)
Rated
power (W)
voltage Power
Ax BxC Size
(mm)
XZ-8 160 300 AC120V/60Hz Handy 240*255*358
XZ-12 160 550 AC120V/60Hz Handy 260*255*358
1.4.XZ series of meat grinder body
- 7 -
fix the handle ④ with the butterfly screw ③ (see picture 1).
Step 3: By Aligning the screw ⑧ with t he l id handle ⑨, i nstall both of them
on the center of l id ⑩ (See picture 1). Place t he l id ⑩ on t he tank ⑥ (see
picture 2).
Notes
1.Before mixing t he minced meat, clean t he tank i nside, remove t he dirty
and adjust t he suitable height to avoid t he tank tilting during operation.
2. After mixing, clean the tank i nside and put the meat mixer i n a cool and
dry place (not i n t he dishwasher).
3. When mixing t he minced meat, please don’t put the hand i n t he tank to
avoid i njury.
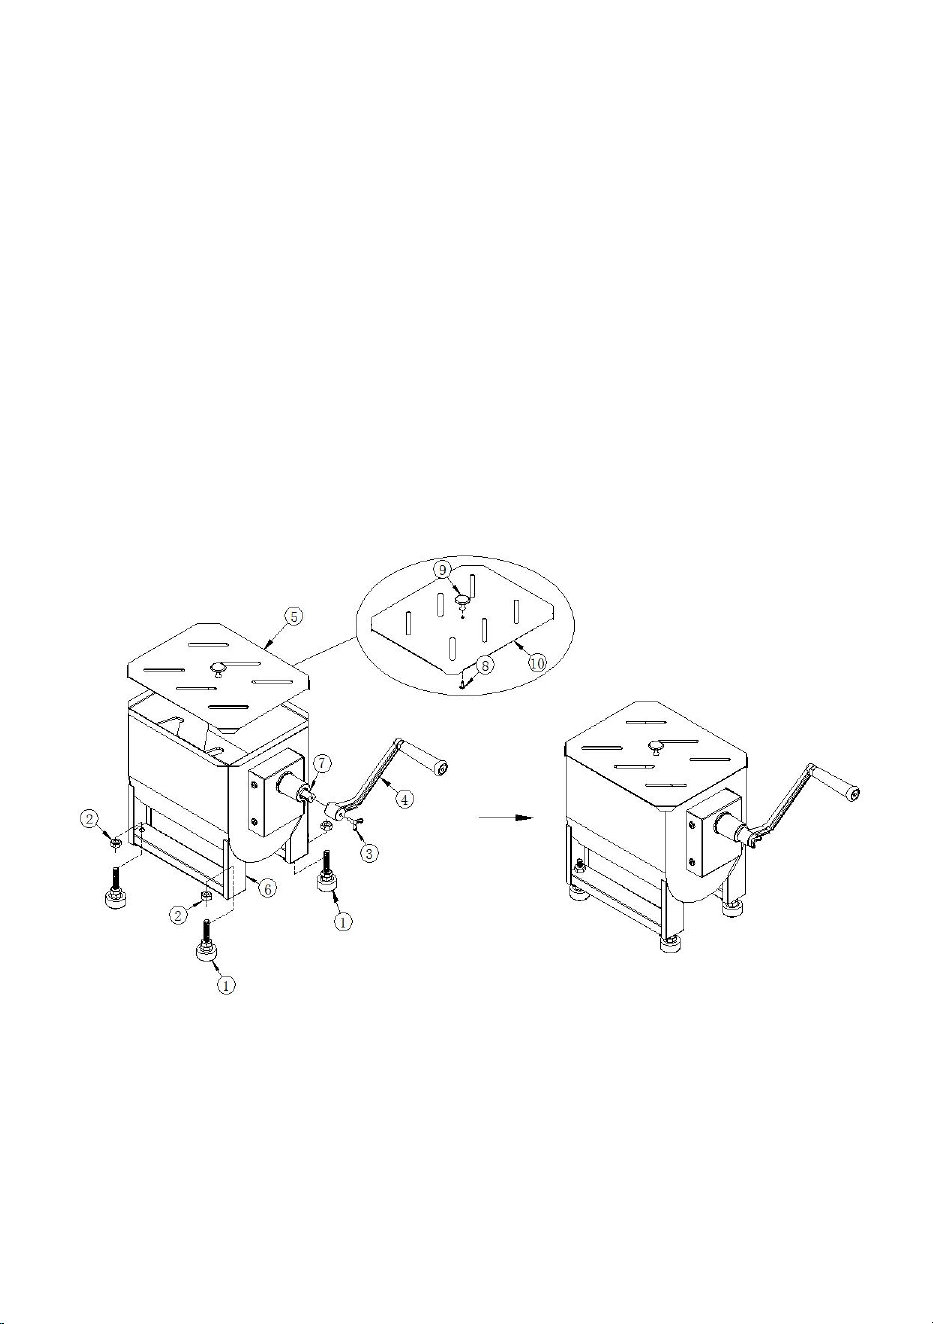
2.1.2. BX- Series
BX-10/20/30/40/60
Picture1 P icture 2
Installation steps
Step 1: By adjusting the heights of feet ① and nut ②, fasten the meat
mixer i nto t he feet of tank ⑥ (see picture 1).
Step 2: Put the handle ④ on the square shaft ⑦ of tank ⑥, tighten up and
- 8 -
fix the handle ④ with the butterfly screw ③ (see picture 1).
Step 3: By Aligning the screw ⑧ with t he l id handle ⑨, i nstall both of them
on the center of l id ⑩ (See picture 1). Place t he l id ⑩ on t he body ⑥ (see
picture 2).
Notes
1. Before mixing t he minced meat, clean t he tank i nside, remove t he dirty
and adjust t he suitable height to avoid t he tank tilting during operation.
2. After mixing, clean the tank i nside and put the meat mixer i n a cool and
dry place (not i n t he dishwasher).
3. When mixing t he minced meat, please don’t put the hand i n t he tank to
avoid i njury.
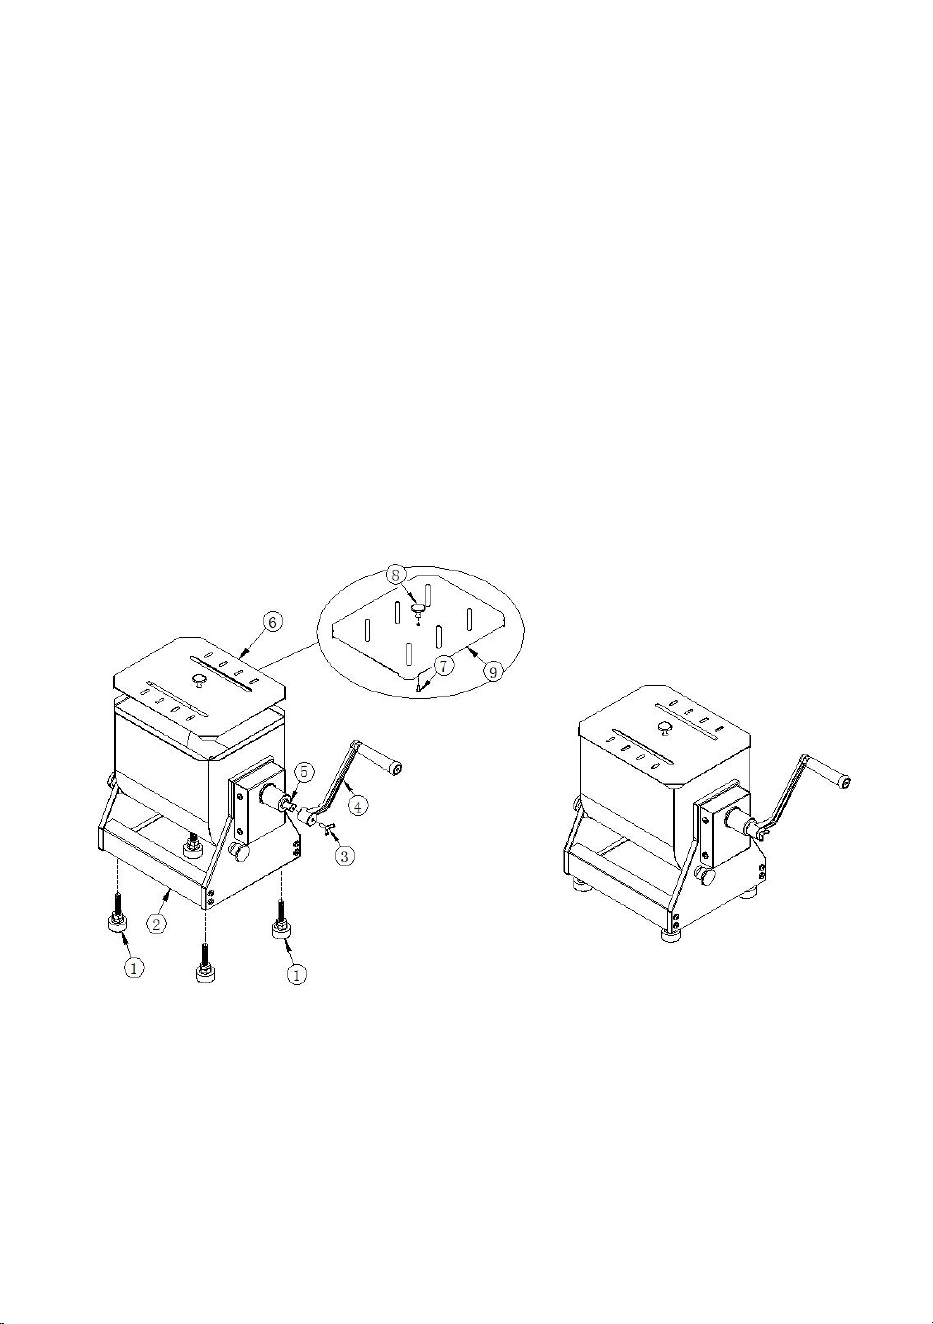
2.1.3. BX-T Series
BX-10T/20T/30T/40T
Picture1 P icture 2
Installation steps
Step 1: By adjusting the heights of feet ① and nut ②, fasten the meat
mixer i nto t he feet of tank ⑥ (see picture 1).
Step 2: Put the handle ④ on the square shaft ⑦ of tank ⑥, tighten up and
- 9 -
fix the handle ④ with the butterfly screw ③ (see picture 2).
Step 3: By Aligning the screw ⑧ with the lid handle ⑨, install both of them
on the center of lid ⑩ (See picture 1). Place the lid ⑩ on the tank ⑥ (see
picture 2).
Picture1 Picture 2
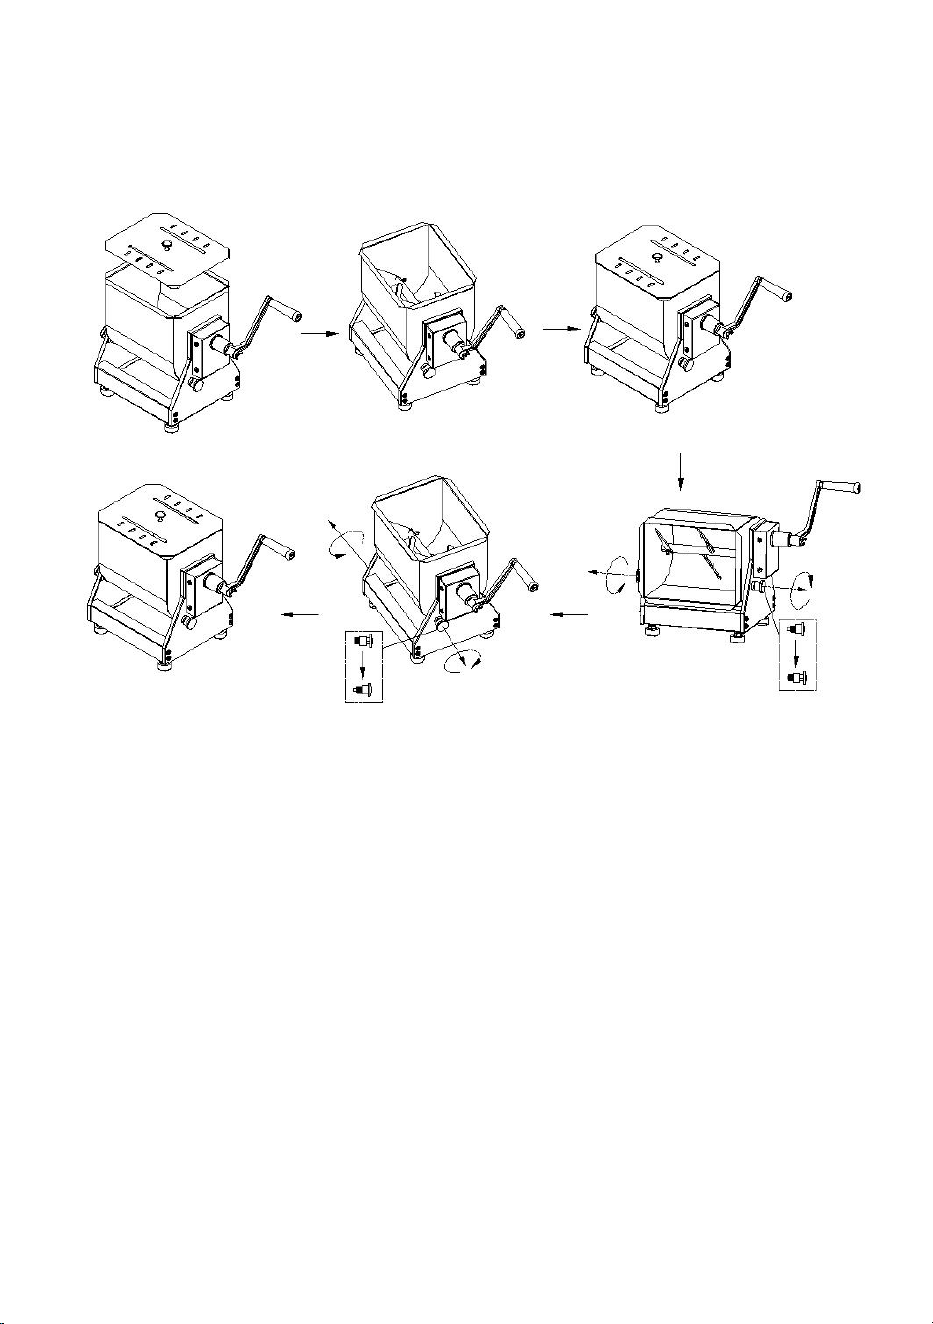
Instructions
1. Before mixing the minced meat, open the cover (see picture 1), put the
meat in the tank and put down the lid (see picture 2), then turn the handle.
When the minced meat is distributed evenly, loosen the spring pins on the
left & right sides like in picture 3, turn the body into a horizontal state, and
remove the minced meat.
2. After mixing, turn the body into a vertical state and tighten the spring pins
on the left and right sides, as in picture 4. Then, fix the body to avoid
looseness and damage.
Notes
1. Before mixing the minced meat, clean the tank inside, remove the dirt,
- 10 -
and adjust t he suitable height to avoid t he body t ilting during operation.
2. clear the tank i nside after mixing and put the meat mixer i n a cool and
dry place (not i n t he dishwasher).
3. When mixing t he minced meat, please don’t put your hand i n t he tank to
avoid i njury.
2.1.4. BX- Electric Series(The motor needs to be purchased
separately)
BX-20/30/40

- 11 -
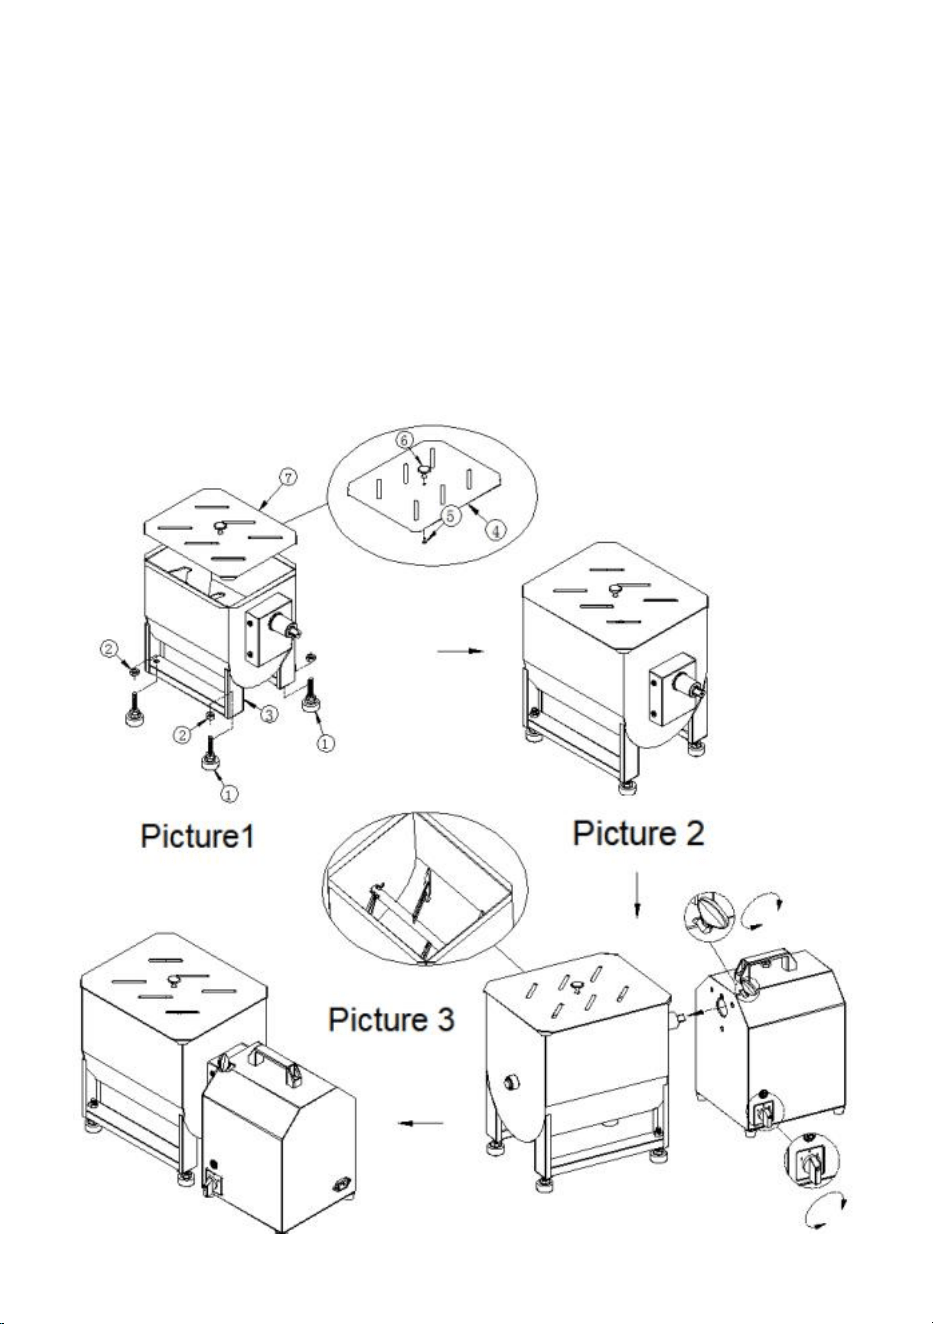
Installation steps
Step 1: By adjusting the heights of feet ① and nut ②, fasten the meat
mixer into the feet of tank ③ (see picture 1).
Step 2: By Aligning the screw ⑧ with the lid handle ⑨, install both of them
on the center of lid ⑩ (See picture 1). Place the lid ⑩ on the tank ⑥ (see
picture 2).
Step 3: By adjusting the height of feet ①, match and connect the taper
sleeve with the hole of meat grinder body, then tighten up the upper locking
bolt.
Instructions
1. Before mixing the minced meat, open the lid, put the minced meat into
the tank inside (see picture 3) and put down the lid. By adjusting the
suitable gear, start to mix the minced meat until it is evenly distributed, then
open the lid and take out the minced meat.
2. After mixing, clean the tank inside and put the meat mixer in a safe place
Notes
1. Before mixing the minced meat, clean the tank inside, remove the dirty
material, and adjust the suitable height to prevent the tank from tilting
during operation.
2. After mixing, clean the tank and put the meat mixer in a cool and dry
place (not in the dishwasher).
3. When mixing the minced meat, please don’t put your hand in the tank to
avoid
injury.
- 12 -
Picture1 Picture 2
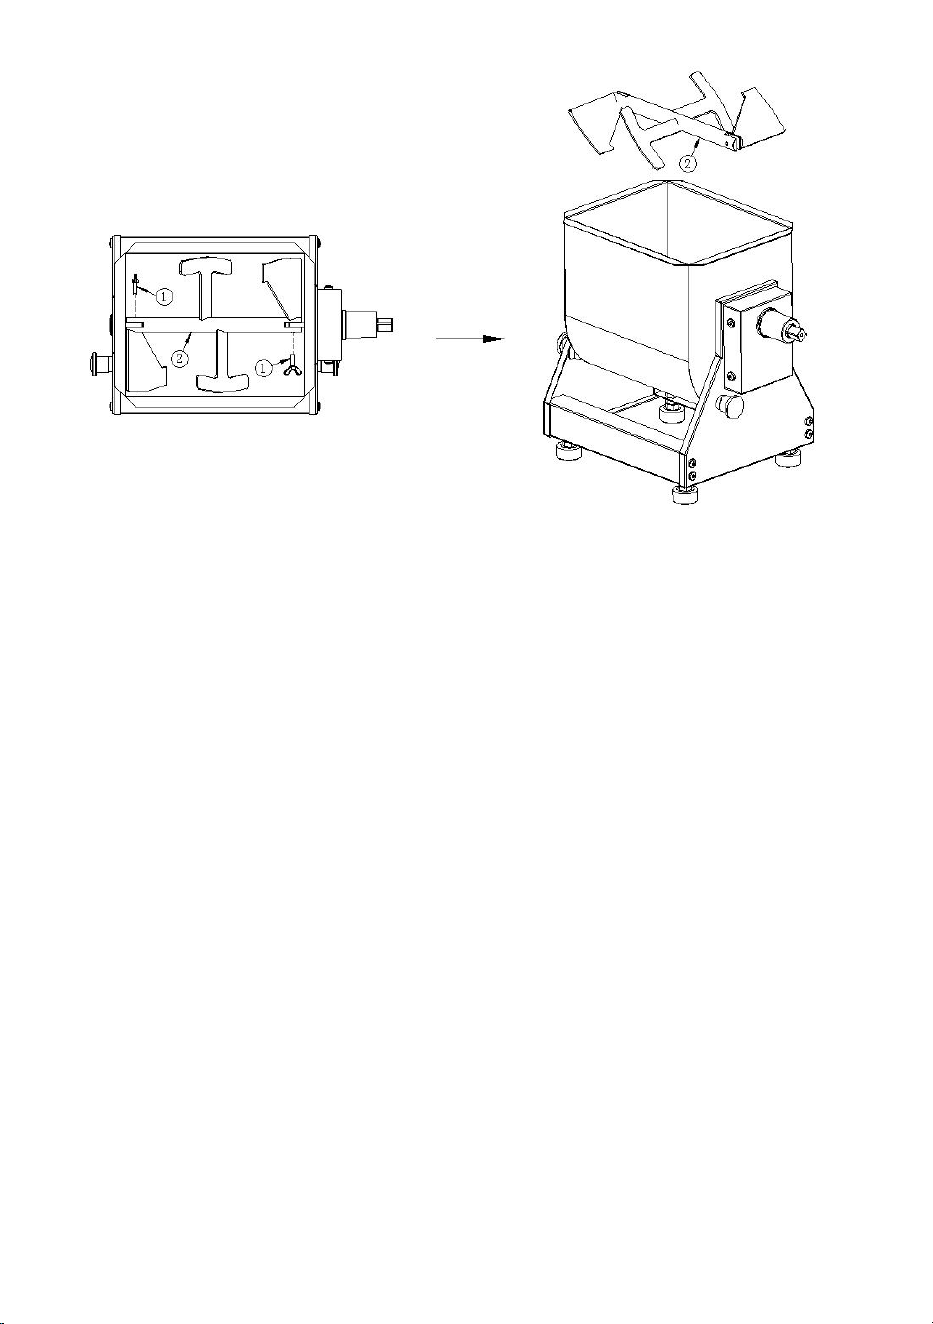
Cleaning steps: When cleaning all the series of meat mixer, remove the
butterfly screw
①
on left and right sides, then take out the mixing shaft
assembly ② (see picture 2). Finally clean the tank with the food safety
detergent and the water.
USAGE
3.1 USAGE
First Time Use
1.Unpack and inspect your machine immediately after receiving.If there are
any latent defects or damage to the machine, then immediately contact
your supplier.
2.Save all packaging materials in case the machine needs to be returned
or inspected by the freight carrier.
3.Remove any protective film from all surfaces (if applicable).
4.Read this instruction manual completely before installing and operating
this product. When in doubt, contact your supplier.

- 13 -
5.Before using the appliance for the first time,it is recommended to clean
the appliance according to the manual instruction
6.Remove the lid from the product.
7.Add the mixture from top to down. Do not exceed the recommended
maximum capacity.
8.Place the lid back on top.
9.Rotate the handle to stir the mixture. Repeat this process until all the
mixtures are evenly distributed.
10.Remove the mixture from the tank.
11.Always clean the appliance frequently after use.
Manufacturer: Shanghaimuxinmuyeyouxiangongsi
Address: Shuangchenglu 803nong11hao1602A-1609shi, baoshanqu,
shanghai 200000 CN.
Imported to AUS: SIHAO PTY LTD. 1 ROKEVA STREETEASTWOOD
NSW 2122 Australia
Imported to USA: Sanven Technology Ltd. Suite 250, 9166 Anaheim
Place, Rancho Cucamonga, CA 91730
REP
UK
YH CONSULTING LIMITED. C/O YH Consulting
Limited Office 147, Centurion House, London
Road, Staines-upon-Thames, Surrey, TW18 4AX
REP
EC
E-CrossStu GmbH
Mainzer Landstr.69,
60329 Frankfurt am Main.