PRODUCT# CP-UIH06-1
-1-
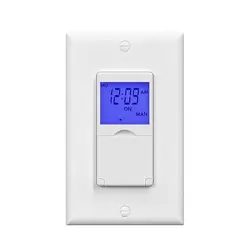
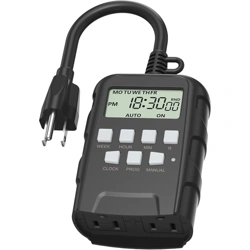
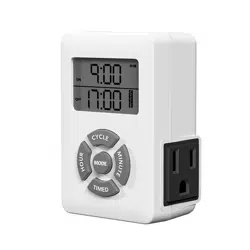
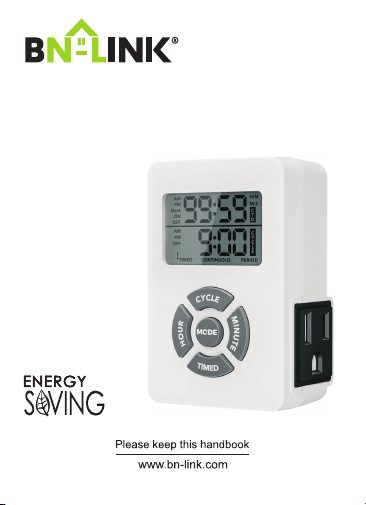
Digital Repeat Cycle Timer
PRODUCT RATINGS
WARNINGS
-2-
A. Initial Set Up
-3-
Part 1- Reset the Timer
Press and hold the R button on the side of the timer for 3
seconds.
Note: At this stage, no work mode will be displayed or
executed.
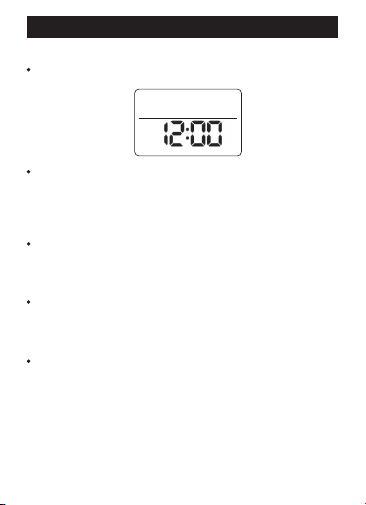
Part 2- Set the Current Time
Press and hold the MODE button, then press the HOUR
button simultaneously to set the hour .
The hour cycles from 12AM to 11PM.
Press and hold the MODE button, then press the MINUTE
button simultaneously to set the minute .
The minute cycles from 00 to 59.
Note: You can set the current time in the time interface or
during other CYCLE operations but not in CTD working
mode.
OFF
AM
-4-
1.1 Enter the Setting Mode
Press and hold the TIMED button to enter the mode.
1.2 Set the ON Time
• The top row 1 ON will blink.
• Press and hold the HOUR button to set the hour.
• Press and hold the MINUTE button to set the minutes.
1.3 Set the OFF Time
• Press the TIMED button to switch to the bottom row 1OFF.
• Press and hold the HOUR button to set the hour.
• Press and hold the MINUTE button to set the minutes.
1.4 Set Additional Groups
• Press the TIMED button to cycle through the settings
for 2ON, 2OFF, 3ON, and 3 OFF.
• After 3OFF, it will return to 1ON.
•
•
•
1.5 Exit & Confirm Timer Group Setting
Press and hold the TIMED button in any blinking
interface to exit or confirm.
The device will automatically switch to CYCLE TIMED
working mode.
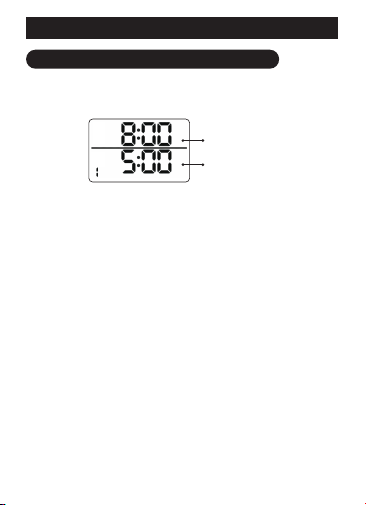
The top row shows ON
The bottom row shows OFF
B. Product Functions and Set Up Instructions
Function 1-Setting Daily ON-OFF Timing
AM
ON
PM
OFF
-5-
1.6 Clear or Restore Settings
Press the CTD button in any setting interface to clear
or restore settings.
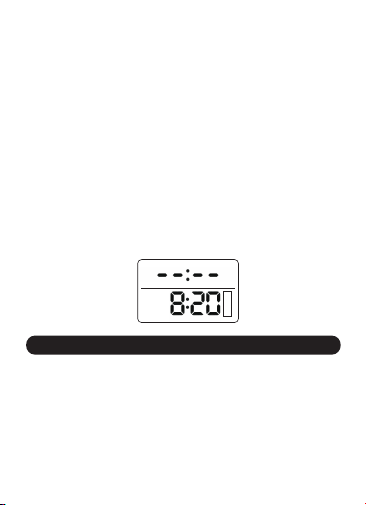
Cleared settings will display as "--:--."
1.7 Default Settings
The last saved settings will display upon entering the
setting interface. If no settings exist, "--:--" will be
displayed.
•
•
•
Function 2-Cycle Duration Setting
2.1 Enter the Setting Mode
Press and hold the CYCLE button.
2.2 Select Time Format
• Press the “MODE” button to choose between H:M
(hours and minutes) or M:S (minutes and seconds).
2.3 Set ON Time
• The upper row ON will blink.
• Press and hold the HOUR and MINUTE buttons to set
the desired time.
•
ON
OFF
H:M
C
Y
C
L
E
ON
OFF
M:S
C
Y
C
L
E
-6-
2.4 Set OFF Time
• Press the CYCLE button to switch to the lower row
OFF.
• Long press the HOUR and MINUTE buttons to set the
desired time.
2.5 Return to ON Time
• Press the CYCLE button again to return to the upper
row ON setting.
2.6 Exiting CYCLE Setting Mode
• To exit, long press the CYCLE button.
• The device will automatically switch to CYCLE TIMED
working mode upon exit.
Default:
• If no timer group information has been set, the upper
row will display --:--.
Function 3- Working Mode and Switching
Press and hold the MODE button to switch modes.
After the initial long press, a short press of the MODE
button will cycle through the modes.
If no buttons are pressed for 3 seconds, the device will
automatically lock the current mode and start operating.
•
•
•
OFF
AM
TIMED
C
Y
C
L
E
3.1 Switching Between Modes:
-7-
3.2 Mode Switching Sequence:
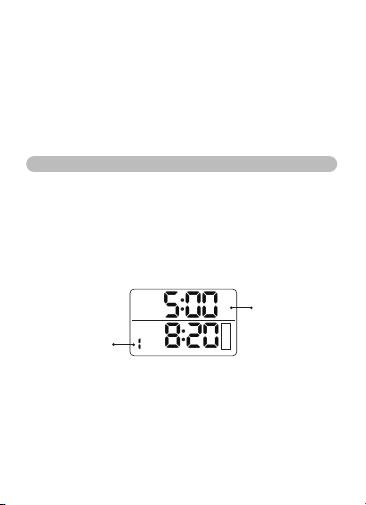
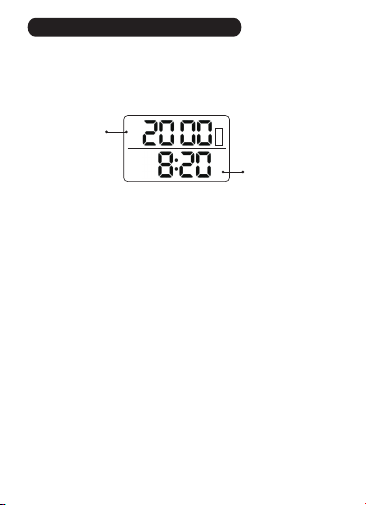
3.3 Cycle Timed
Example:
ON-OFF Timing: 8:00AM ON~5:00PM OFF
Cycle Duration:
Mode
1 minute ON, 2 minutes OFF
Display:
Output Status: Repeats 1 minute ON / 2 minutes OFF
continuously from 8:00 AM to 5:00 PM.
PM
Next
OFF
AM
TIMED
C
Y
C
L
E
Timer will turn off at
5:00 PM
Current time is 8:20
AM, during the ON
period. The cycle
starts, and
"CYCLE" flashes
Requires On-Off timing items & Cycle duration settings
1. TIME INTERFACE (OFF, no functions active)
2. CYCLE TIMED
3. CYCLE CONTINUOUS
4. CYCLE PERIOD
5. TIMED
6. Back to Time Interface (OFF)
-8-
3.5 Cycle Period
Cycle Period Setting-When switched to the CYCLE
PERIOD working mode, the setting interface will pop
up first (Different from the other three working modes).
Mode
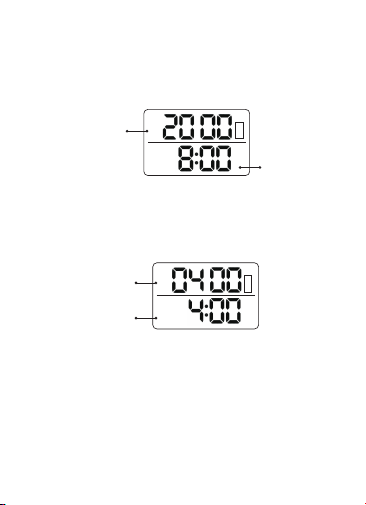
3.4 Cycle Continuous
Example: 1 minute ON, 2 minutes OFF.
Display :
Mode
ON
AM
H:M
CONTINUOUS
C
Y
C
L
E
H:M
PERIOD
C
Y
C
L
E
Currently in the ON
eriod of the cycle,
with 1minute remaining;
the number changes
every minute
Current time is 8:20
AM, operating in
CYCLE CONTINUOUS
mode, with the CYCLE
indicator flashing
Requries Cycle duration settings
Requries On-Off timing items & Cycle duration settings
The upper row shows
the cycle interval,
supporting only the
H:M format
-9-
Press the HOUR button to set the hours and the MINUTE
button to s et the minutes, with long p ress for fast
adjustment. The default display will show the last saved
setting each time you enter.
After setting, short press the CYCLE button to complete
the setup and start the CYCLE PERIOD.
In the setting interface, short press the MODE button
will switch to the TIMED working mode. (If the PERIOD
time is changed, the settings will be saved.)
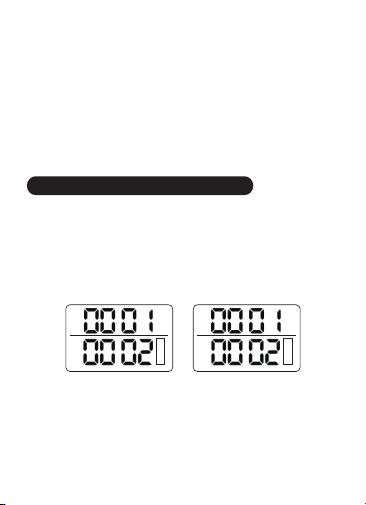
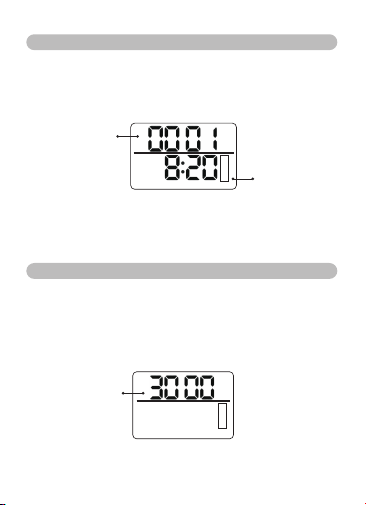
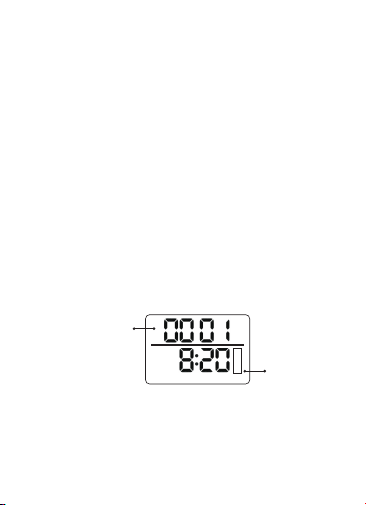
Example:
Cycle: The device will turn ON at H:M 00:01 and OFF
at 00:02
Interval: The set time is H:M 30:00, representing a 30-
hour duration
Display:
H:M
PERIOD
C
Y
C
L
E
ON
AM
The current cycle is in the
ON period, with 1 minute
remaining. The number
updates every minute
The current time
is 8:20 AM, and
it is in CYCLE
PERIOD mode.
The CYCLE
character is
flashing

-10-
The CYCLE PERIOD mode will automatically exit 30
hours and 00 minutes after the cycle starts and return
to the time display interface(See figure below)
3.6 Timed Mode
Example: Timed- 8:00AM ON~5:00PM OFF
Example Display:
Output Status: The output remains on between 8:00
AM and 5:00 PM.
OFF
AM
OFF
AM
TIMED
PM
Next
The timer will turn
off at 5:00 PM
Operating in TIMED
mode, the current
time is 8:20 AM,
within the ON time
period of Timer Group 1
Requries Cycle duration settings
-11-
Function 4-Countdown Function
Activate Countdown
Press and hold the CTD button for 2 seconds in the
time interface or any working mode.
Left side: Choose ON or OFF. Press the MODE button
to switch.
CTD ON indicates countdown on mode: Socket output
is turned on first, then off after the countdown ends.
This repeats daily.
CTD OFF indicates countdown off mode: Socket output
is turned off first, then on after the countdown ends.
This repeats daily.
To reset the countdown, short press the TIMED button
to immediately set the countdown time to 00:00.
•
ON
OFF
AM
C
T
D
H:M
Displays the
current time (without
the CYCLE character)
The numbers blink.
Press the HOUR
button to set hours,
and the MINUTE button
to set minutes. Long
press for fast adjustment
-12-
Countdown Operation:
Example Display 1:
After setting the countdown (time not 00:00), short
press the CTD button to start the countdown
immediately.
Example Display 2:
(This screen shows the countdown in CTD ON mode
after the work time ends, initiating the rest time
countdown until the next cycle)
Countdown Exit:
Press and hold the CTD button to exit.•
ON
AM
C
T
D
H:M
OFF
AM
C
T
D
H:M
Countdown remaining
time 20 hours, product
is ON, "C TD" blinks; the
numbers change every
minute
Displays the
current time
Displays the current time
Countdown remaining 4
hours, product is OFF,
"CTD" is steady; the
numbers change every
minute
-13-
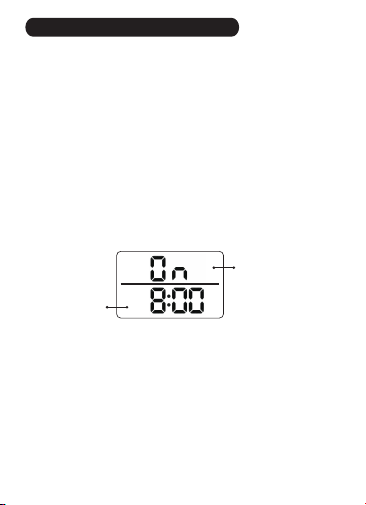
Function 5-Always ON Function
•
•
the
•
•
Always ON can be used if the product is for regular
socket use.
Press and hold the MINUTE button for 2 seconds in
time interface or any CYCLE mode.
In CTD mode, first hold the CTD button to exit
countdown mode.
Display:
To exit, press and hold the MINUTE button for 2
seconds again.
AM
"On" in the center,
indicating Always ON
Displays the
current time

-14-
C.WARRANTY

-15-
D.CONTACT US