wood block
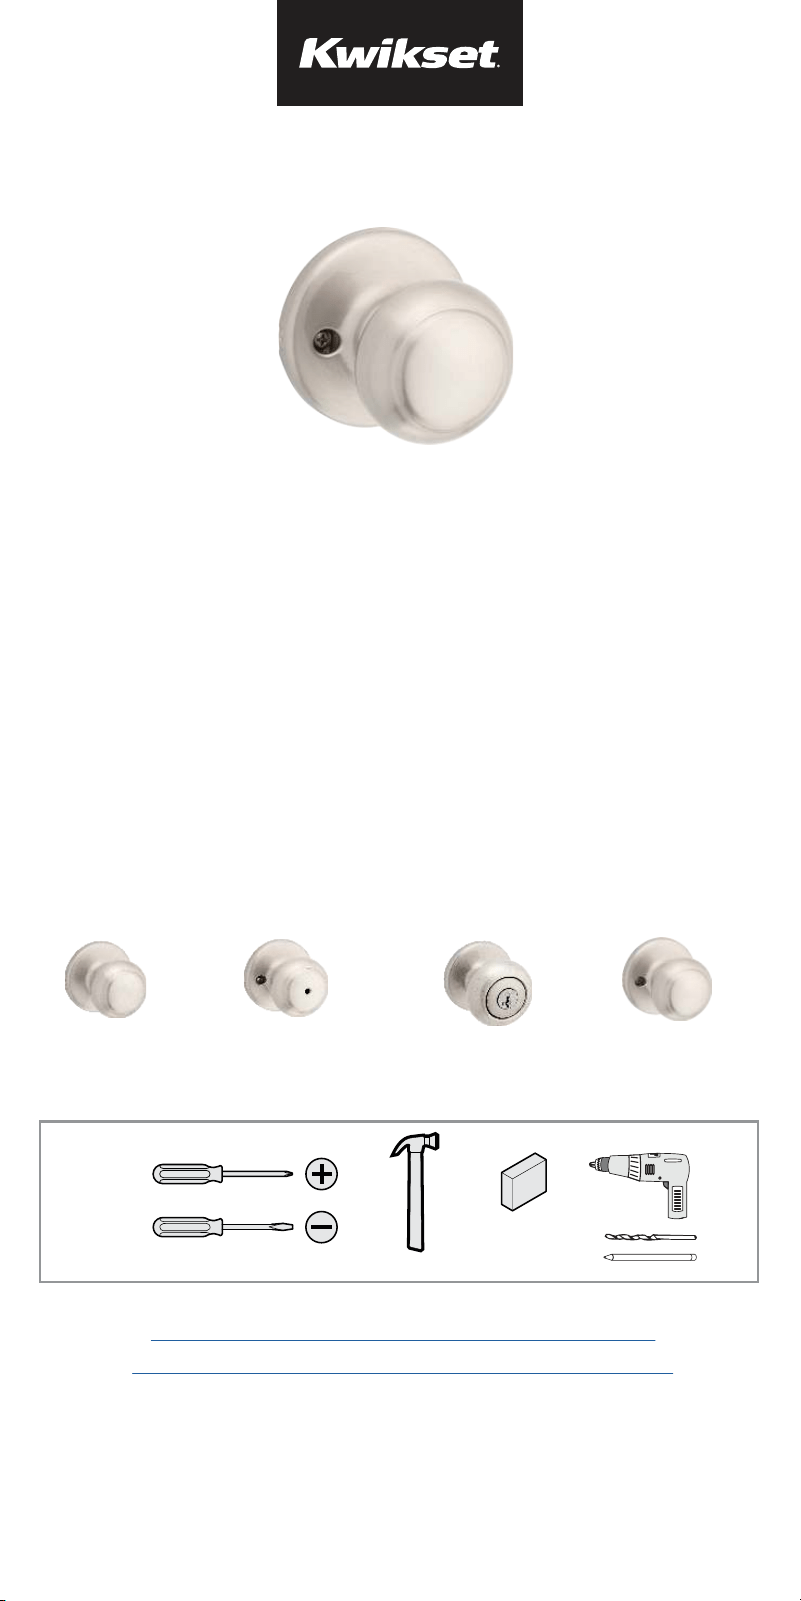
*Tools
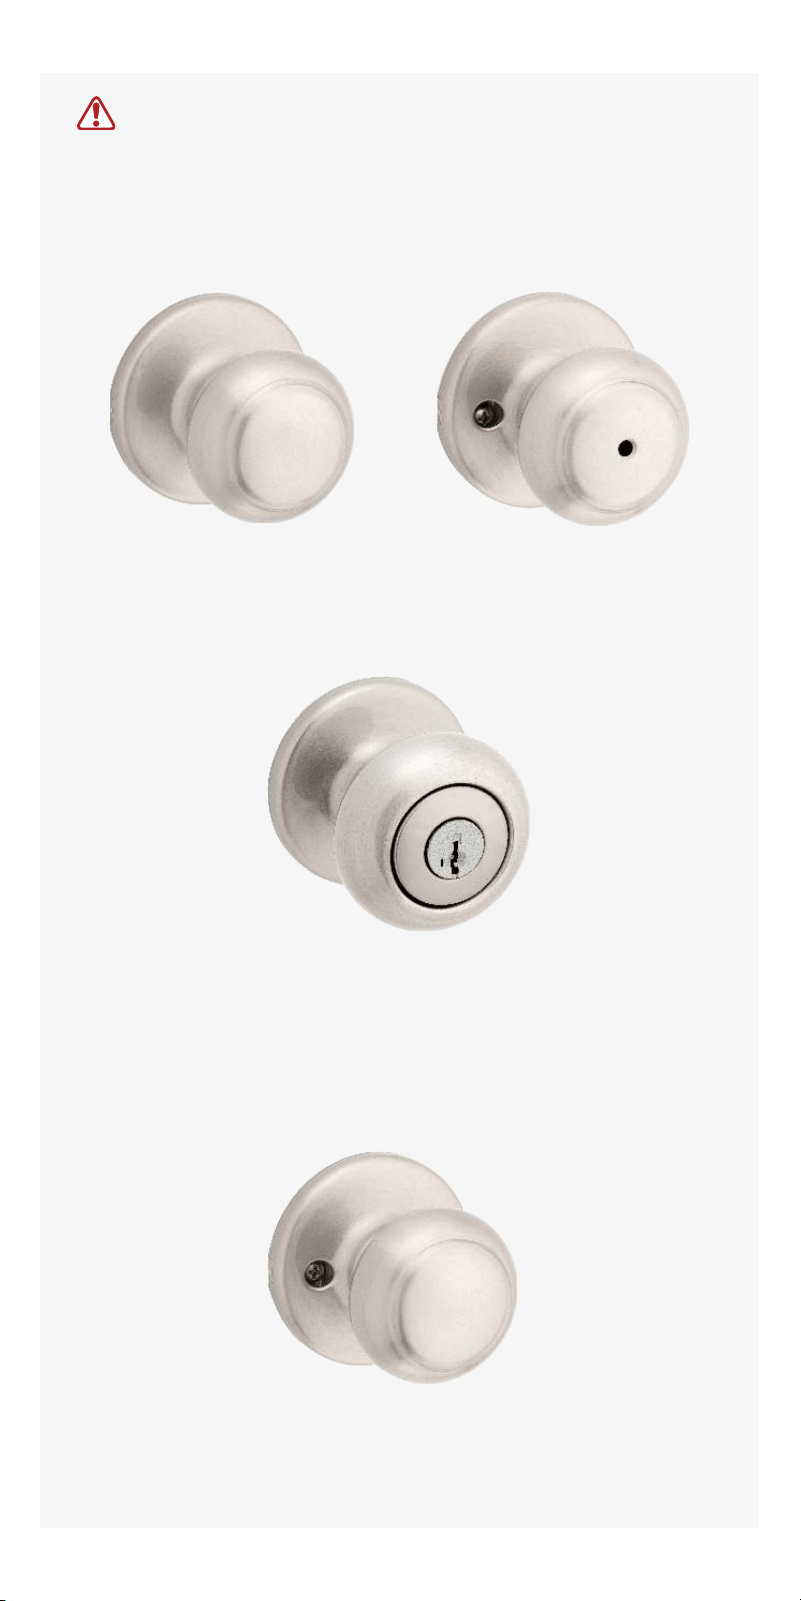
Passage
(Hall/ Closet)
Privacy
(Bed/ Bath)
Entry
(Keyed)
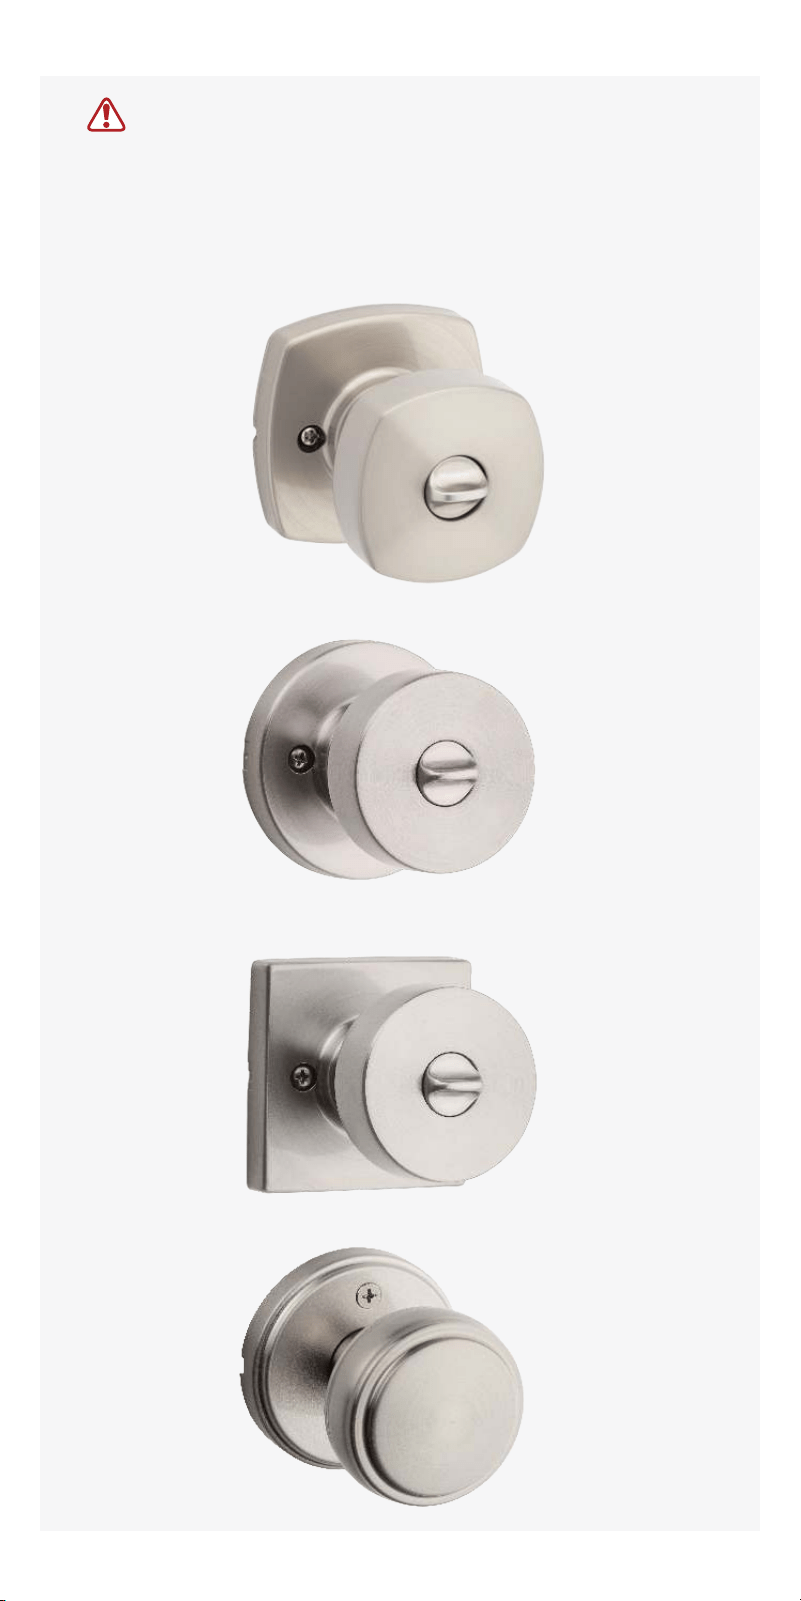
Inactive
(Non-Rotating)
*Tools will depend on install type
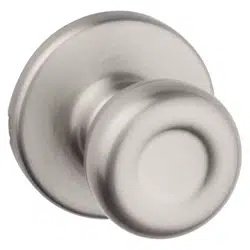
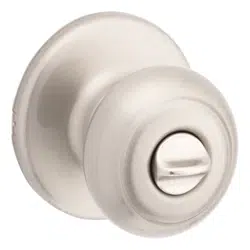
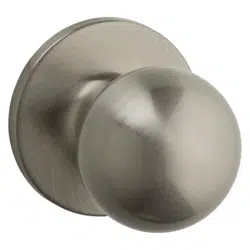
This manual can be used to install a variety of knobs.
Please determine your function type prior to installation.
Door Prep: If you need help in preparing your door
1
54845-001
Rev 02
English
www.kwikset.com
1-800-327-5625
Welcome to the Kwikset family!
This guide will get you ready to install
your new knob.
If you have any issues, please visit our
support center:
kwikset.com/support
or call us at 1-800-327-5625.
Drilling template: If you need help in drilling your door
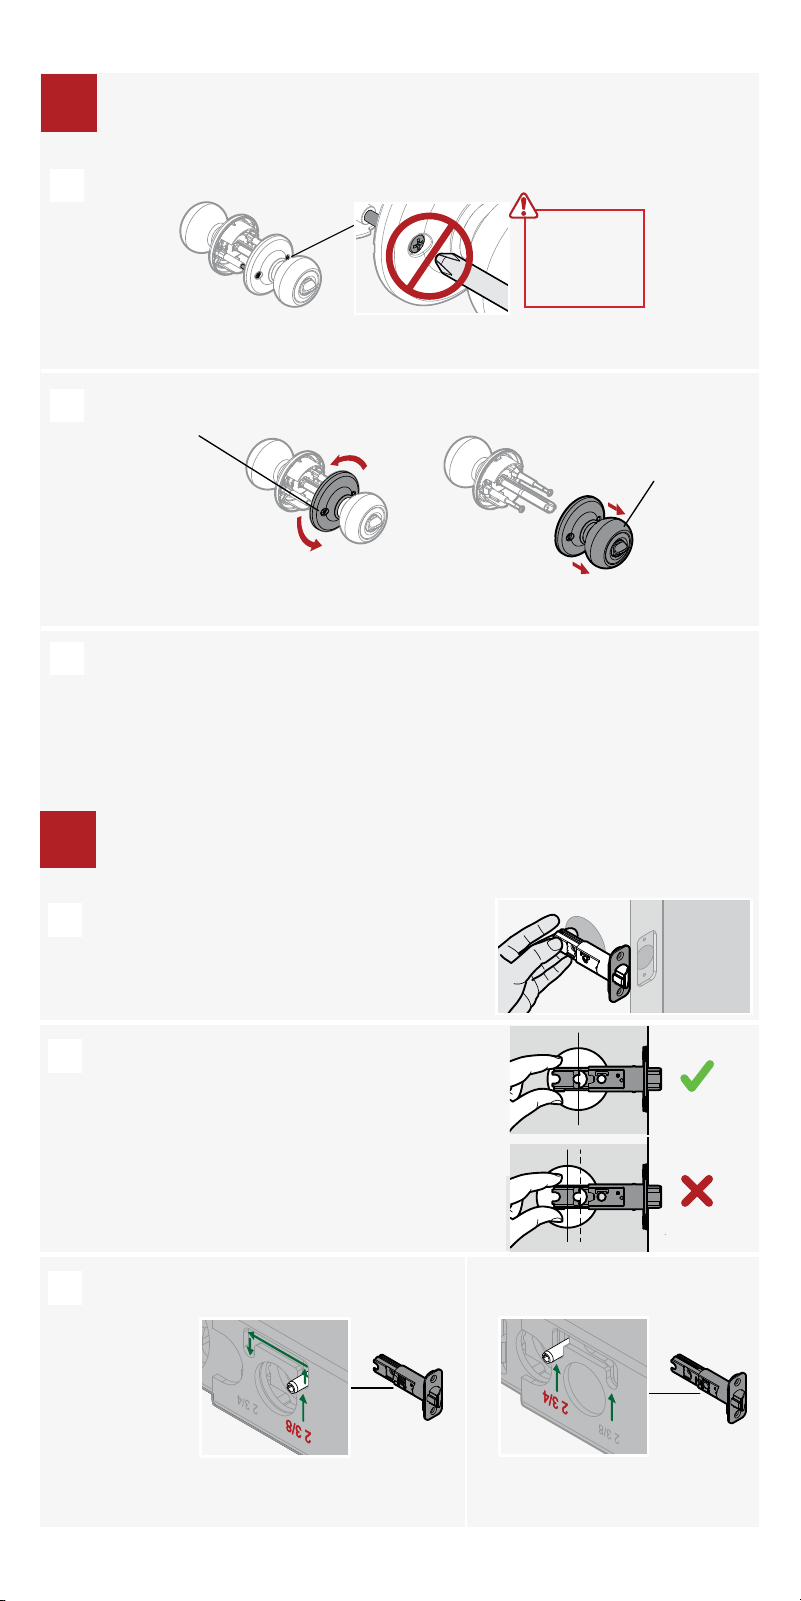
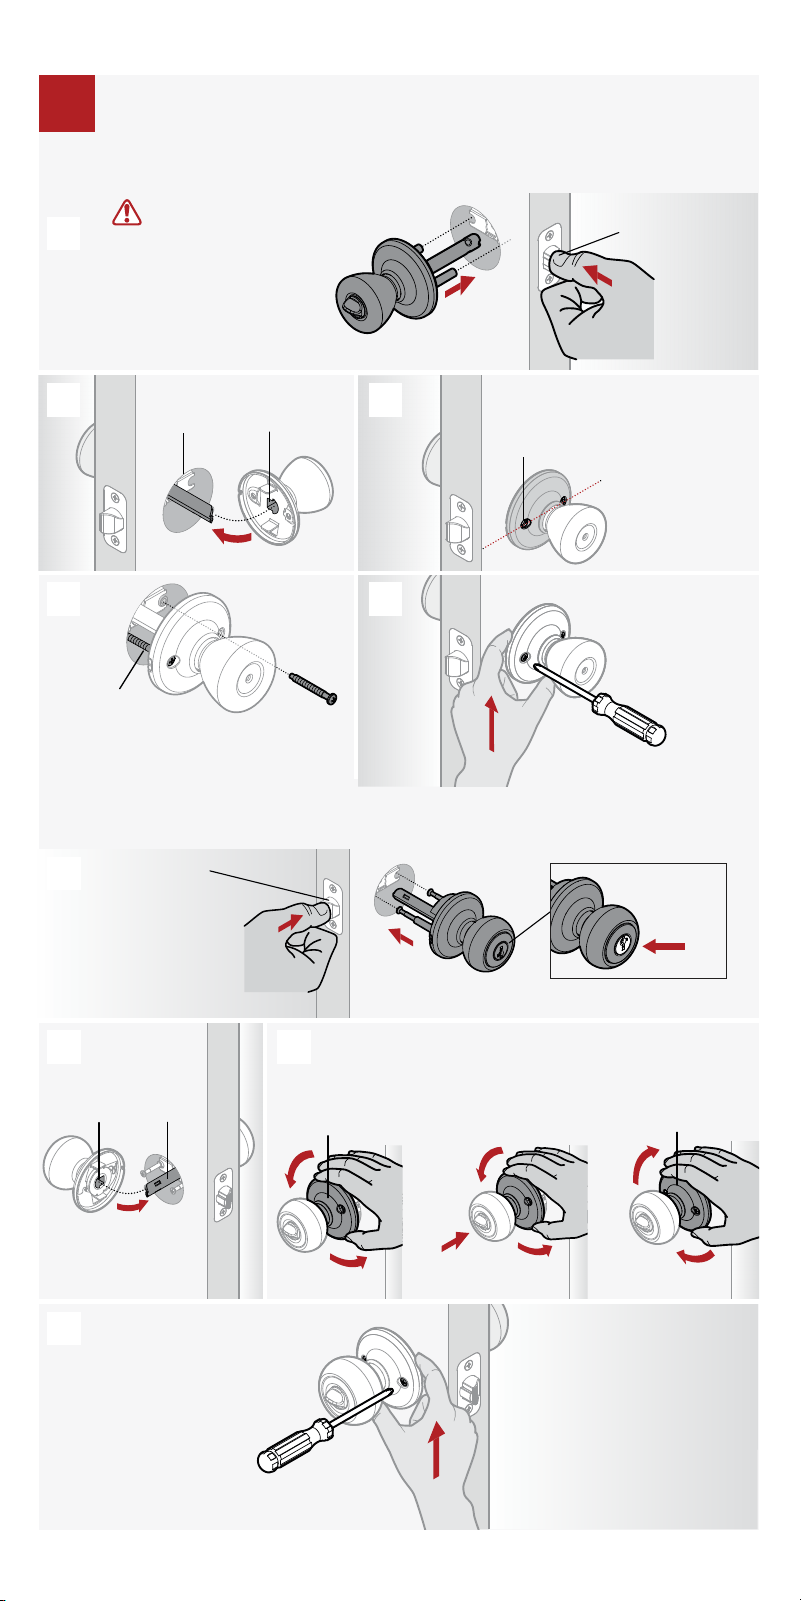
Hold the latch in front of the door hole,
with the latch face flush against the door
edge.
If the latch holes are centered in the door
hole, no adjustment is required. Proceed
to step 3.
If the latch holes are NOT centered, adjust
latch. See “Latch Adjustment” (step C).
Latch Adjustment (only if needed)
Move the pin to
extend the latch.
not centered
centered
A
B
C
2
Adjust the backset of the latch (if needed)
2
Do not
remove
screws!
A
B
C
Twist the
side with the
holes.
counter-clockwise
Pull to
separate
knobs.
Set knobs aside until step 4.
Separate knobs (if pre-assembled)
If installing a non-rotating knob, skip to step 4
1
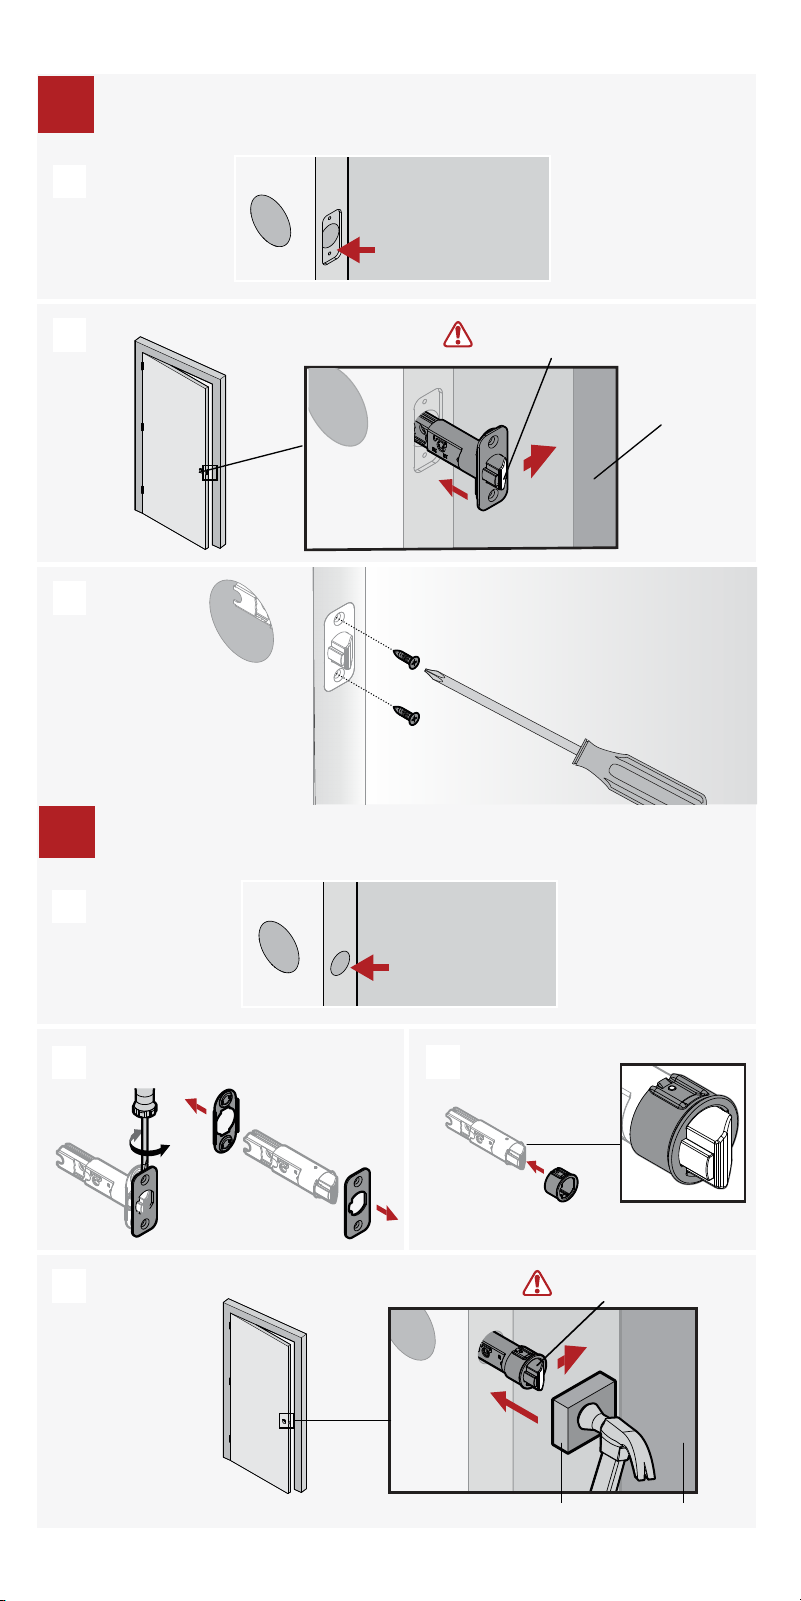
Door edge NOT
chiseled
Remove plates with flat head
screwdriver
Install drive-in collar
Wood block
Slant of latch bolt
faces door frame
Use hammer
and wood
block to tap in
latch without
damaging it.
Door frame
Install latch (non-chiseled door)
3
3
A
B
D
C
Door edge chiseled
Install latch (chiseled door)
Slant of latch bolt
faces door frame
Door frame
3
A
B
C
4
Installing Inactive knobs, proceed to page 8, step 4d.
Passage
(Hall/ Closet)
Privacy
(Bed/ Bath)
Entry
(Keyed)
Inactive
(Non-Rotating)
Installation instructions differ by knob design.
Installing Passage, Privacy or Entry for
the below imaged knobs, follow directions on page 5.
Option 4a: Install passage, & privacy knobs
Option 4b: Install entry knobs
Option 4d: Install inactive knobs
exterior
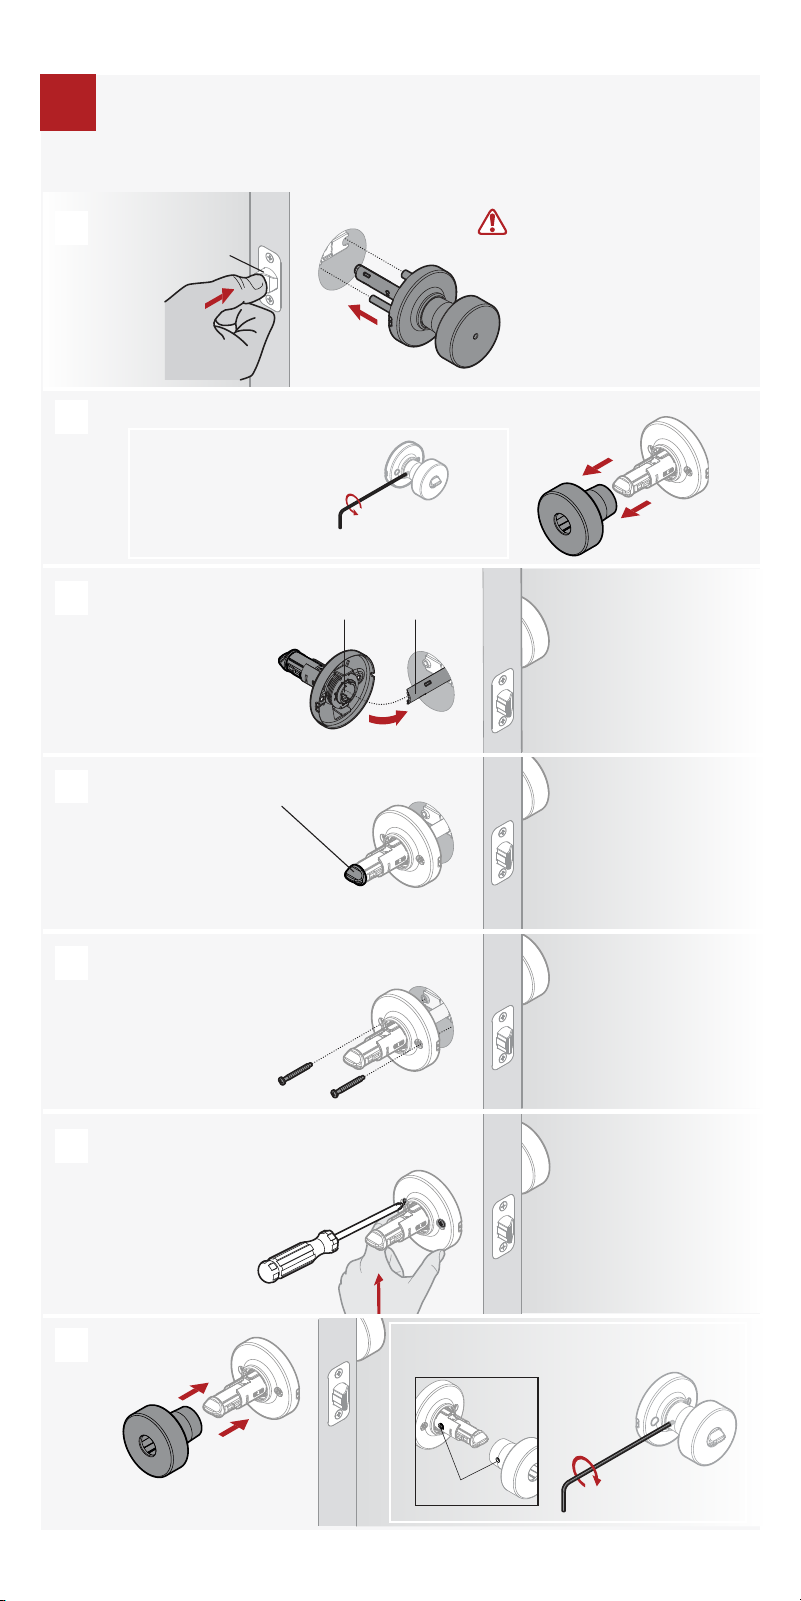
Press latch
bolt to install
exterior knob.
Align round edges.
1. Twist counter-
clockwise
2. Push while
twisting
3. Twist clockwise
To catch screws:
interior
A
B
D
C
Option 4b: Install entry knobs then proceed to step 5
5
4
Push up on knob
while tightening
screws to keep
latch horizontal
and centered.
Align round edges.
Tip: Pull knob
slightly away
from door to see
where screws insert.
Ensure holes
are horizontal.
Press latch bolt
to install knob.
IMPORTANT: If installing
a passage lock on an
entry door, make sure the
knob with the screw holes
is on the interior side of
the door.
exterior
interior
A
B C
ED
Option 4a: Install passage, & privacy knobs then proceed to step 5
OK if flipped
exterior
Install knobs:
Passage, Privacy & Entry
clockwise
Press latch bolt to
install exterior
knob.
If the knob won’t sit
flush, rotate turnbutton
to align.
Insert screws and
tighten by hand.
(Screws may be positioned
horizontal or vertical)
Install interior knob
base.
Push up on knob base while tightening screws
to keep latch horizontal and centered.
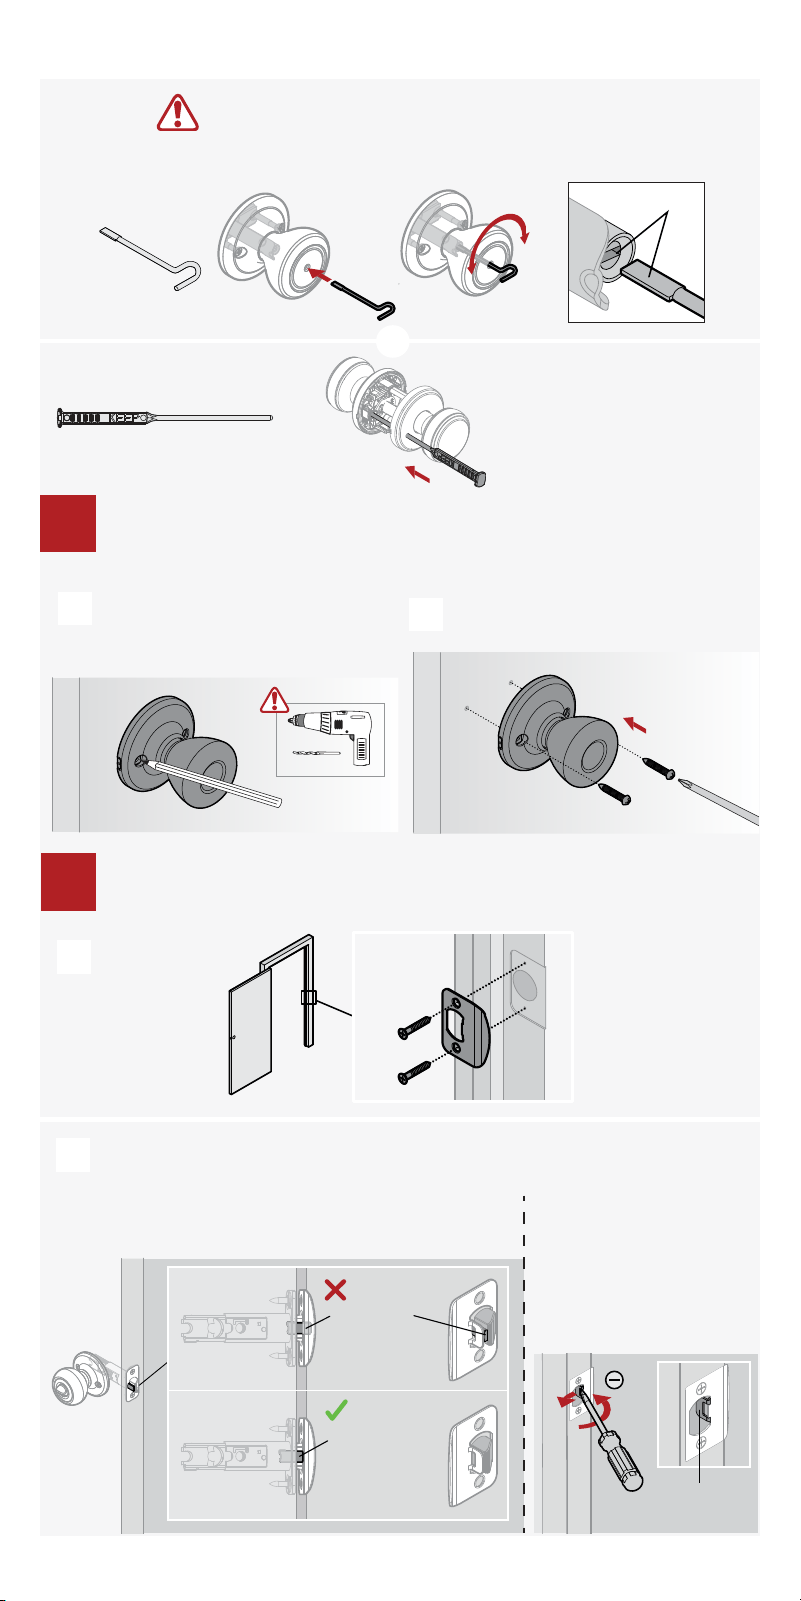
Install knob.
Remove knob.
Loosen the pre-installed
set screw.
counterclockwise
IMPORTANT: If installing a
passage lock on an entry
door, make sure the knob
with the screw holes is on the
interior side of the door.
exterior
A
B
D
C
E
F
G
Align round edges.
Tip: Pull knob slightly
away from door to see
where screws insert.
Install knobs:
Passage, Privacy & Entry
4
interior
interior
interior
7
Option 4c: Install passage, privacy, & entry knobs then proceed to step 5
Align holes on knob and knob base before
tightening the pre-installed set screw.
For Privacy Locks ONLY
Install inactive (non-rotating) knobs
4
A
Install strike to door frame
5
A
If small bolt of latch enters strike hole,
reposition strike.
small bolt
in strike hole
small bolt NOT
in strike hole
If latch is loose in the
strike, adjust the strike
tab so it grips the latch
bolt better when the
door is closed.
tab
Close door, test latch operation and make adjustments as needed:
B
align
B
Mark drill holes using the knob, then
drill 1/8” (3 mm) 1/2” (13 mm) deep.
(Screws may be positioned horizontal
or vertical)
8
Option 4d: Install inactive knobs then proceed to step 5
To unlock, insert emergency
tool fully.
Your emergency tool may look different depending on your model.
or
Copyright © 2025 ASSA ABLOY Americas Residential Inc. All rights reserved
SmartKey Rekeying Instructions
For rekeying instructions, you can also visit:
https://www.kwikset.com/support/answers/how-to-re-key-your-smartkey-security-locks
WARNING: This Manufacturer advises that no lock can provide
complete security by itself. This lock may be defeated by forcible or
technical means, or evaded by entry elsewhere on the property. No
lock can substitute for caution, awareness of your environment, and
common sense. Builder’s hardware is available in multiple
performance grades to suit the application. In order to enhance
security and reduce risk, you should consult a qualified locksmith or
other security professional.
If you have any issues, please visit our
support center:
kwikset.com/support
or call us at 1-800-327-5625.