
Technical Support and E-Warranty Certificate www.vevor.com/support
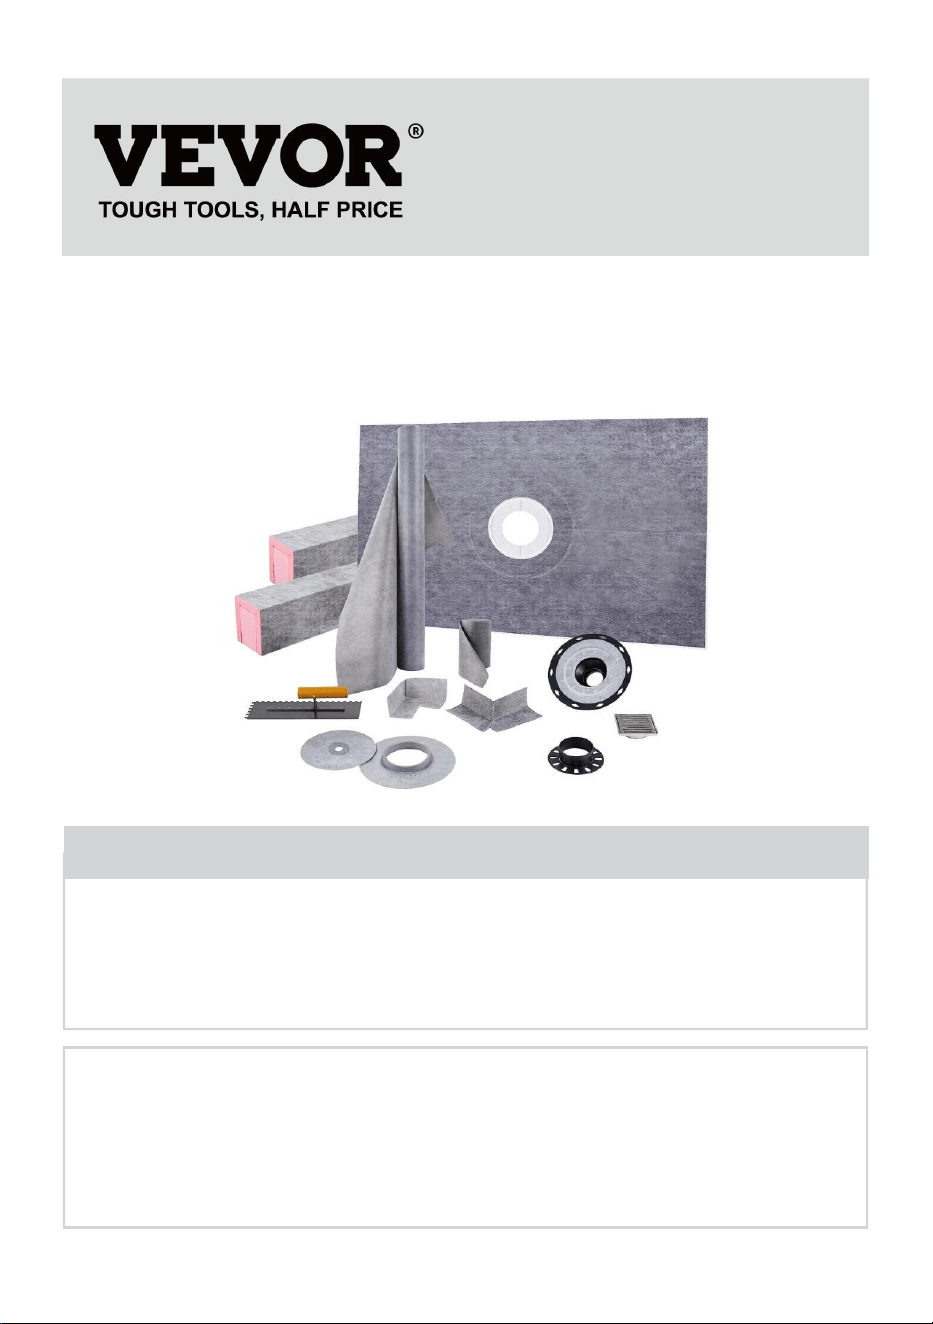
WATERPROOF SHOWER SUBSTRATE
MODEL:
JQ-3860PA/JQ-3860ZA/JQ-3860ZP/JQ3860PP
JQ-4848AJQ-4848P/JQ-4860A/JQ-4860P
JQ-4872A/JQ*4872P/JQ-7272A/JQ-7272P
We continue to be committed to provide you tools with competitive price.
"Save Half", "Half Price" or any other similar expressions used by us only represents an
estimate of savings you might benefit from buying certain tools with us compared to the major
top brands and dose not necessarily mean to cover all categories of tools offered by us. You
are kindly reminded to verify carefully when you are placing an order with us if you are
actually saving half in comparison with the top major brands.
- 1 -
MODEL:JQ-3860PA/JQ-3860ZA/JQ-3860ZP/JQ3860PP
JQ-4848AJQ-4848P/JQ-4860A/JQ-4860P
JQ-4872A/JQ*4872P/JQ-7272A/JQ-7272P
Have product questions? Need technical support? Please feel free to
contact us:
Technical Support and E-Warranty Certificate
www.vevor.com/support
NEED HELP? CONTACT US!
This is the original instruction, please read all manual instructions
carefully before operating. VEVOR reserves a clear interpretation of our
user manual. The appearance of the product shall be subject to the
product you received. Please forgive us that we won't inform you again if
there are any technology or software updates on our product.
WATERPROOF SHOWER
SUBSTRATE
- 2 -
Warning-To reduce the risk of injury, user must read
instructions manual carefully.
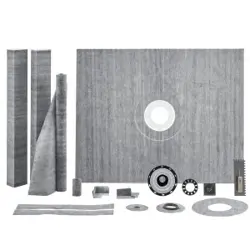
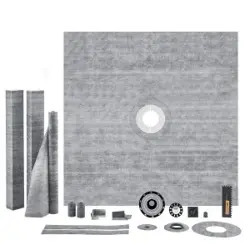
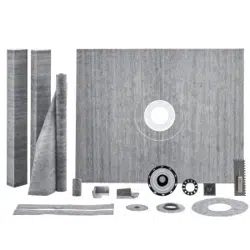
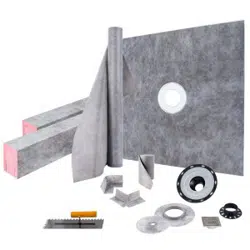
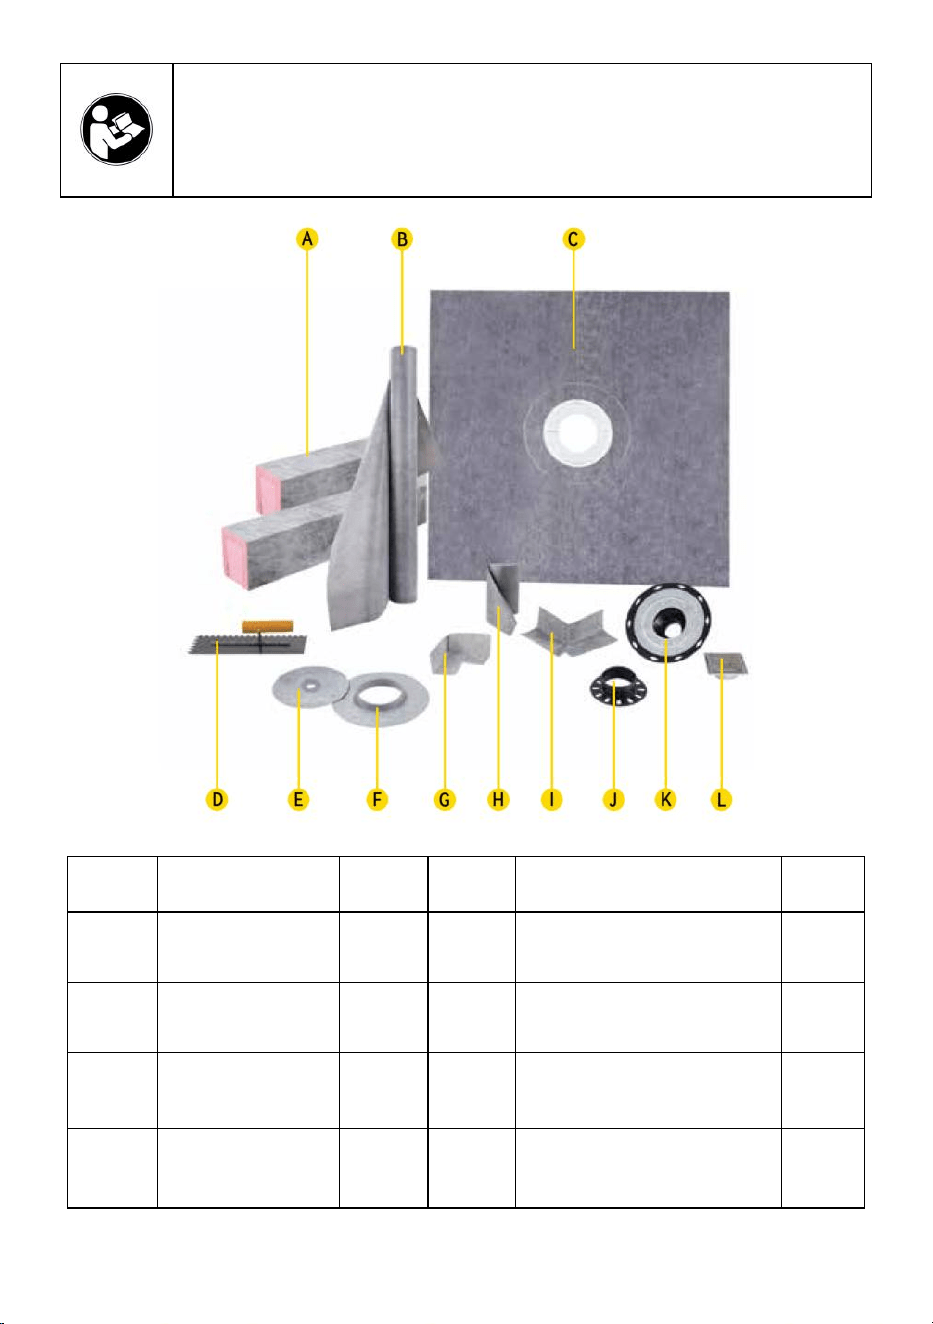
Code
Name
QTY.
Code
Name
QTY.
A
Shower Curb
2
G
Waterproofng Corners
1
4
B
Waterproofng
Membrane
1
H
Waterproofng Strip
1
C
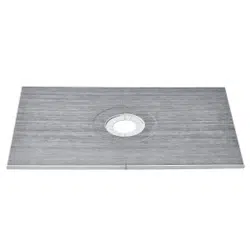
Tray
1
I
Waterproofing
Corners 2
2
D
Trowel
1
J
Drain Adjustment
Ring
1
- 3 -
E
Mixing Valve
Seal
1
K
Bonding Flange
1
F
Pipe Seal
1
L
Drain Grate
1
◆The number of Waterproofng strips (H) of JQ-7272A and JQ-7272P are
2pcs.
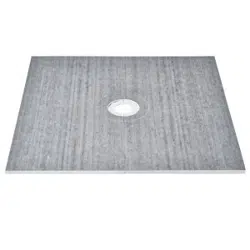
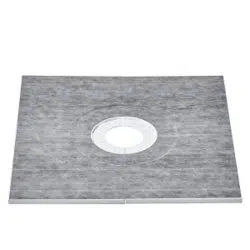
Ceramic and stone tiles are durable, easy to maintain, and hygienic,
representing the ideal surface coverings, particularly in wet areas such as
showers and bathtub surrounds.
However, these coverings are not inherently waterproof. They must be
installed in conjunction with a waterproofing system that effectively
manages moisture to protect moisture-sensitive building materials and
control mold growth.
Model
Specification
(inch)
Colour
Flange
Material
Shower Tray
Hole
JQ-3860PA
38*60
Gray
ABS
Offset
JQ-3860ZA
38*60
ABS
Centre
JQ-3860ZP
38*60
PVC
Centre
JQ3860PP
38*60
PVC
Offset
JQ-4848A
48*48
ABS
Centre
JQ-4848P
48*48
PVC
Centre
JQ-4860A
48*60
ABS
Centre
JQ-4860P
48*60
PVC
Centre
JQ-4872A
48*72
ABS
Centre
JQ-4872P
48*72
PVC
Centre
JQ-7272A
72*72
ABS
Centre
JQ-7272P
72*72
PVC
Centre
- 4 -
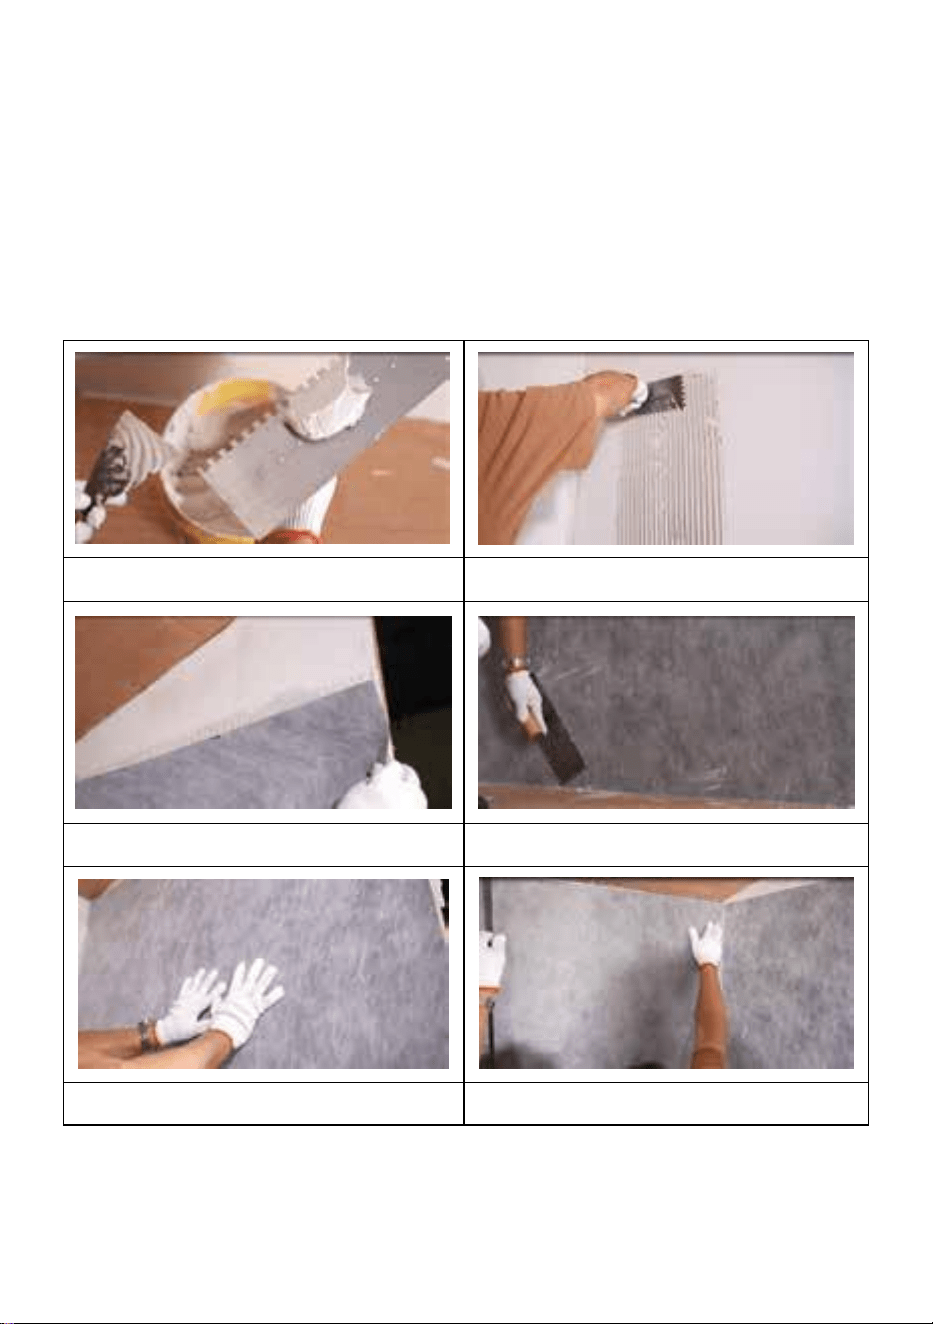
INSTALLATION STEPS
◆Clean any dust or other debris from the surface of the solid backing.
Dampen particularly dry and porous substrates in order to help prevent
premature drying or skinning of the thin-set mortar.
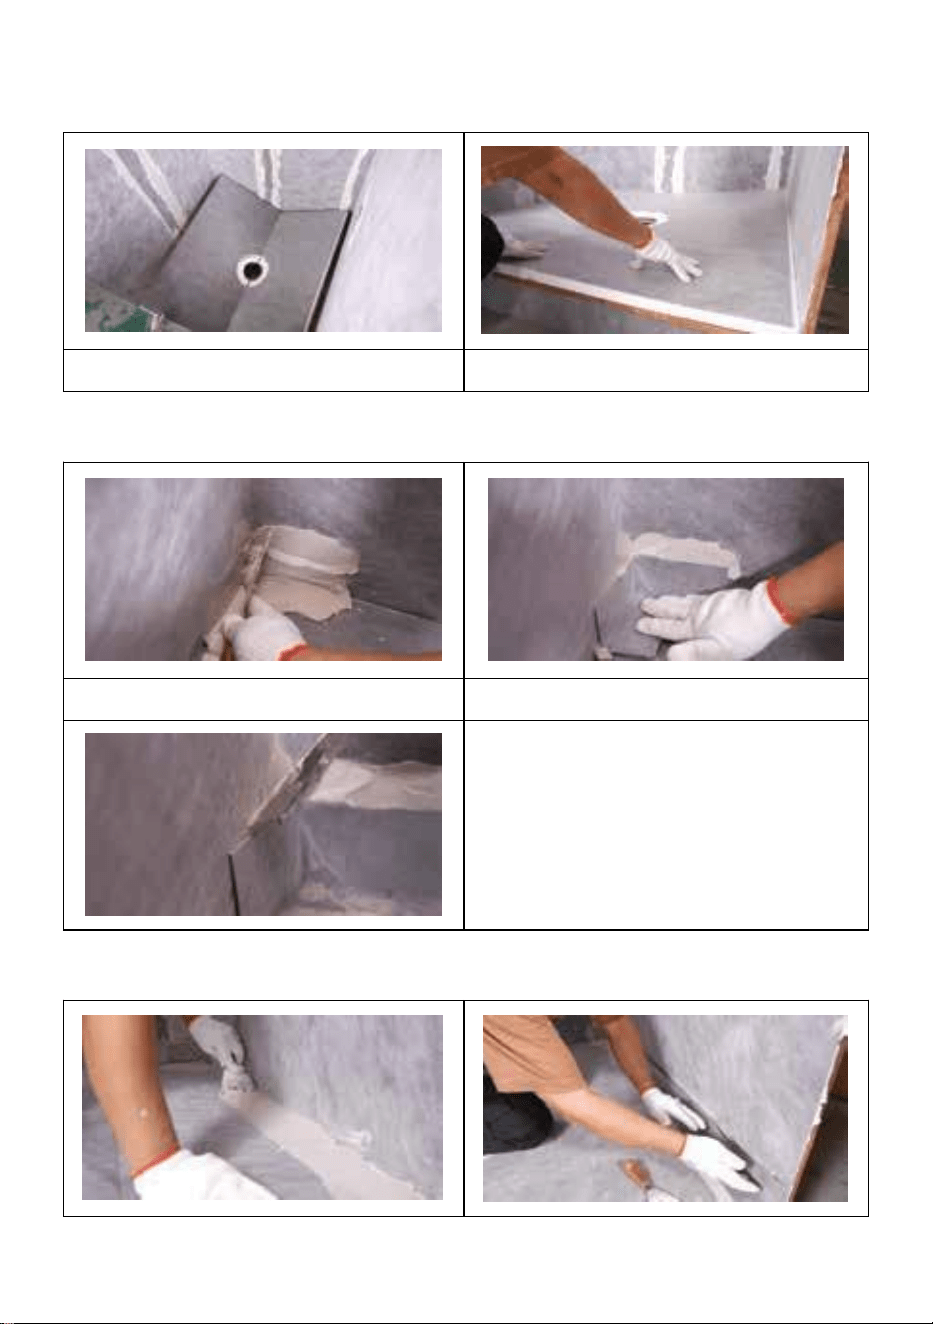
Step 1:
Prepare mortar
Brush the mortar
Cover the membrane
Trim the membrane
Make it even
Finish covering the membrane
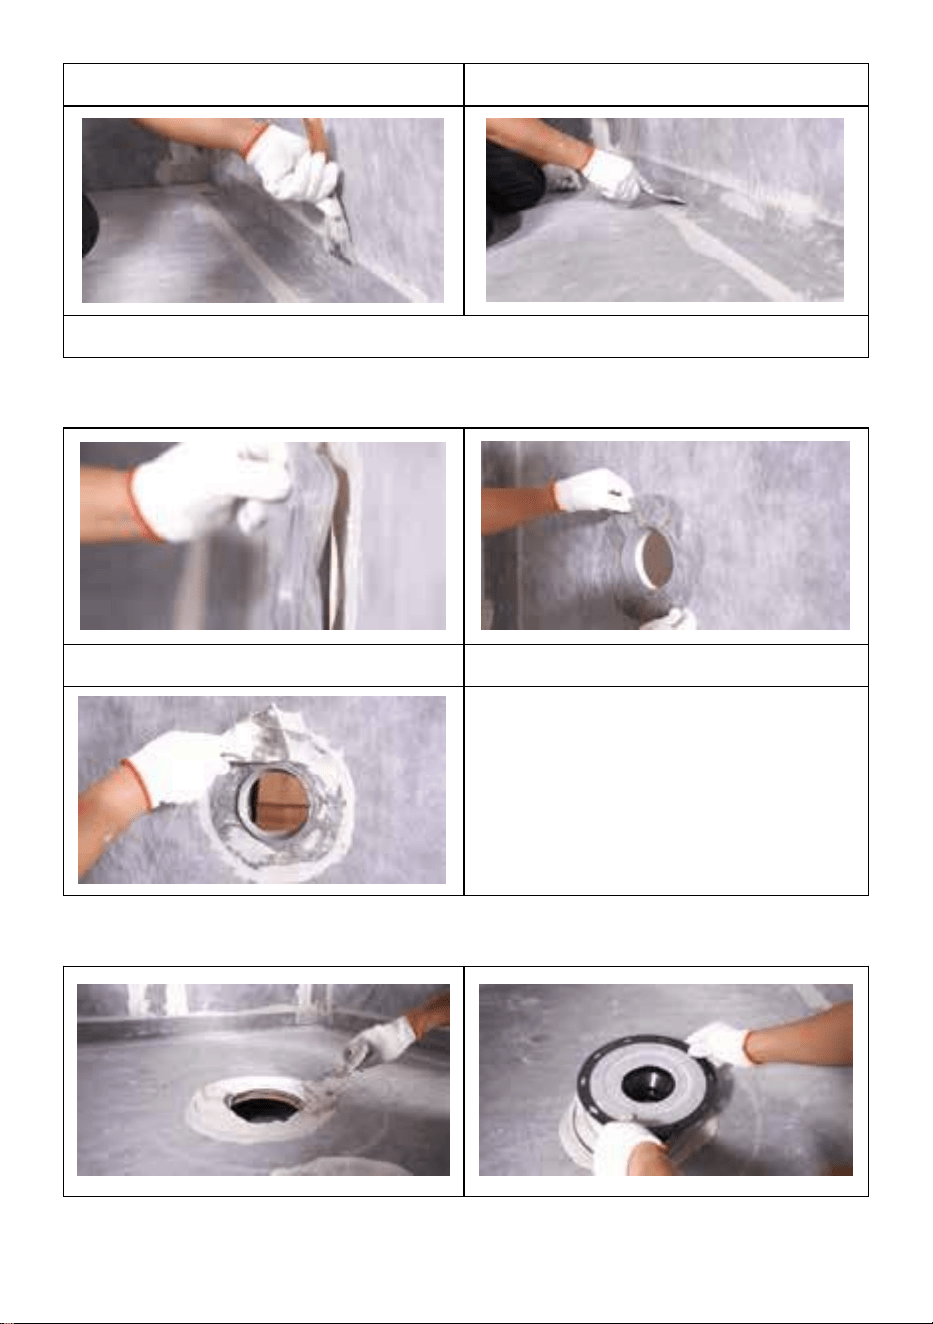
Step 2:
- 5 -
Cover the waterproofing strip on
the corner
Trim the strip
Brush the mortar
Cover the waterproofing strip on
the joint
Trim the strip
Make the wall surface even
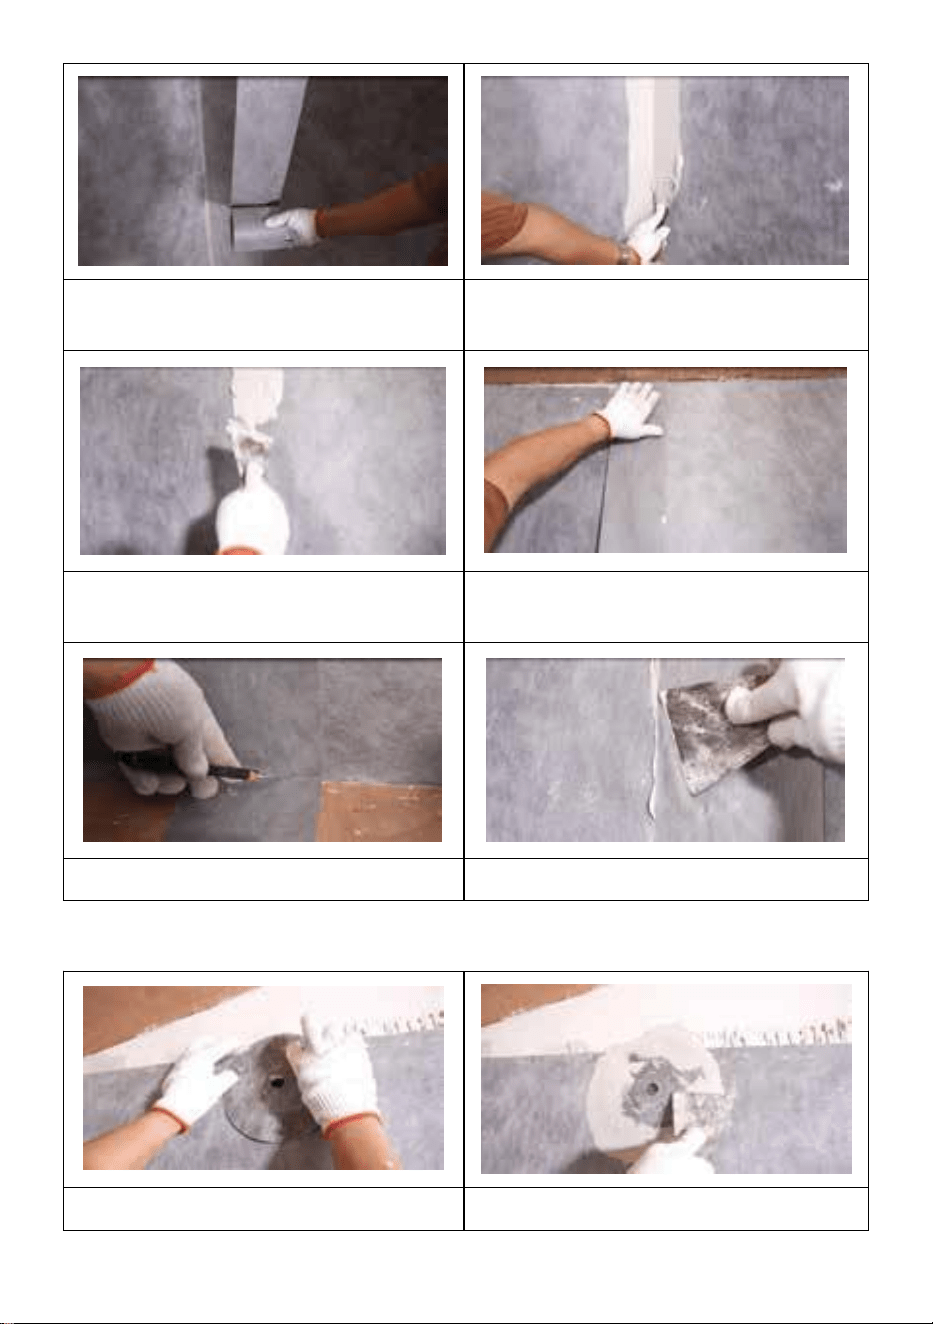
Step 3:
Cover the mixing valve seal
Make the surface even
- 6 -
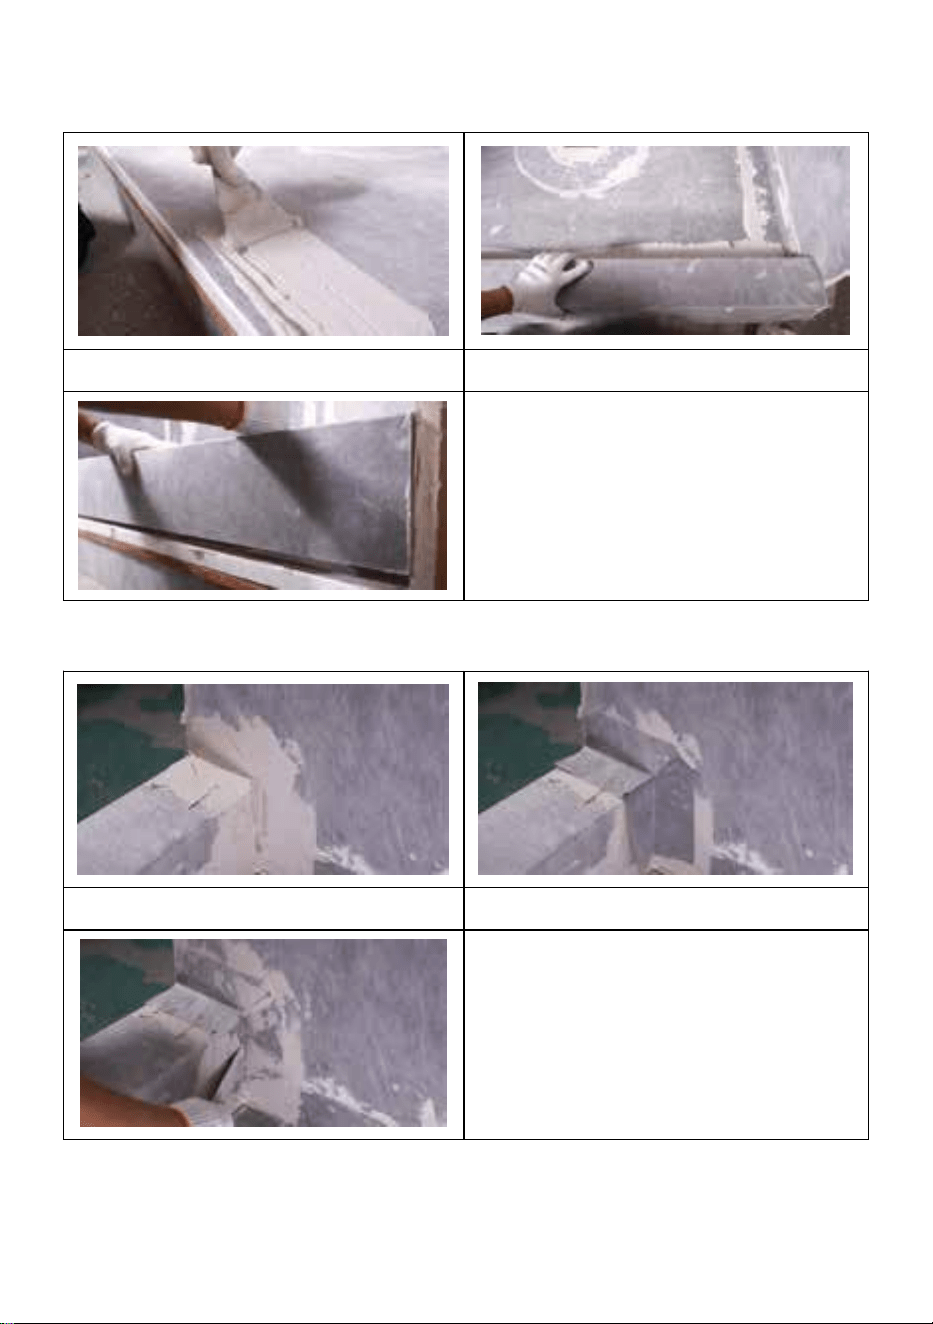
Step 4:
Unfold the tray
Embed the tray in the mortar
Step 5:
Brush the mortar
Install the waterproofing corners 1
Trim the corner
Step 6:
- 7 -
Brush the mortar
Cover the waterproofing strip
Make the surface even
Step 7:
Brush the mortar
Cover the pipe seal
Trim the pipe seal
Step 8:

- 8 -
Brush the mortar
Press the bonding flange into the
mortar
Rotate the flange to fix it firmly
Brush the mortar around
Trim the surface
Cover the waterproofing
membrane
Make the surface even
Step 9:
Install the drain adjustment ring
Ensure full coverage
- 9 -
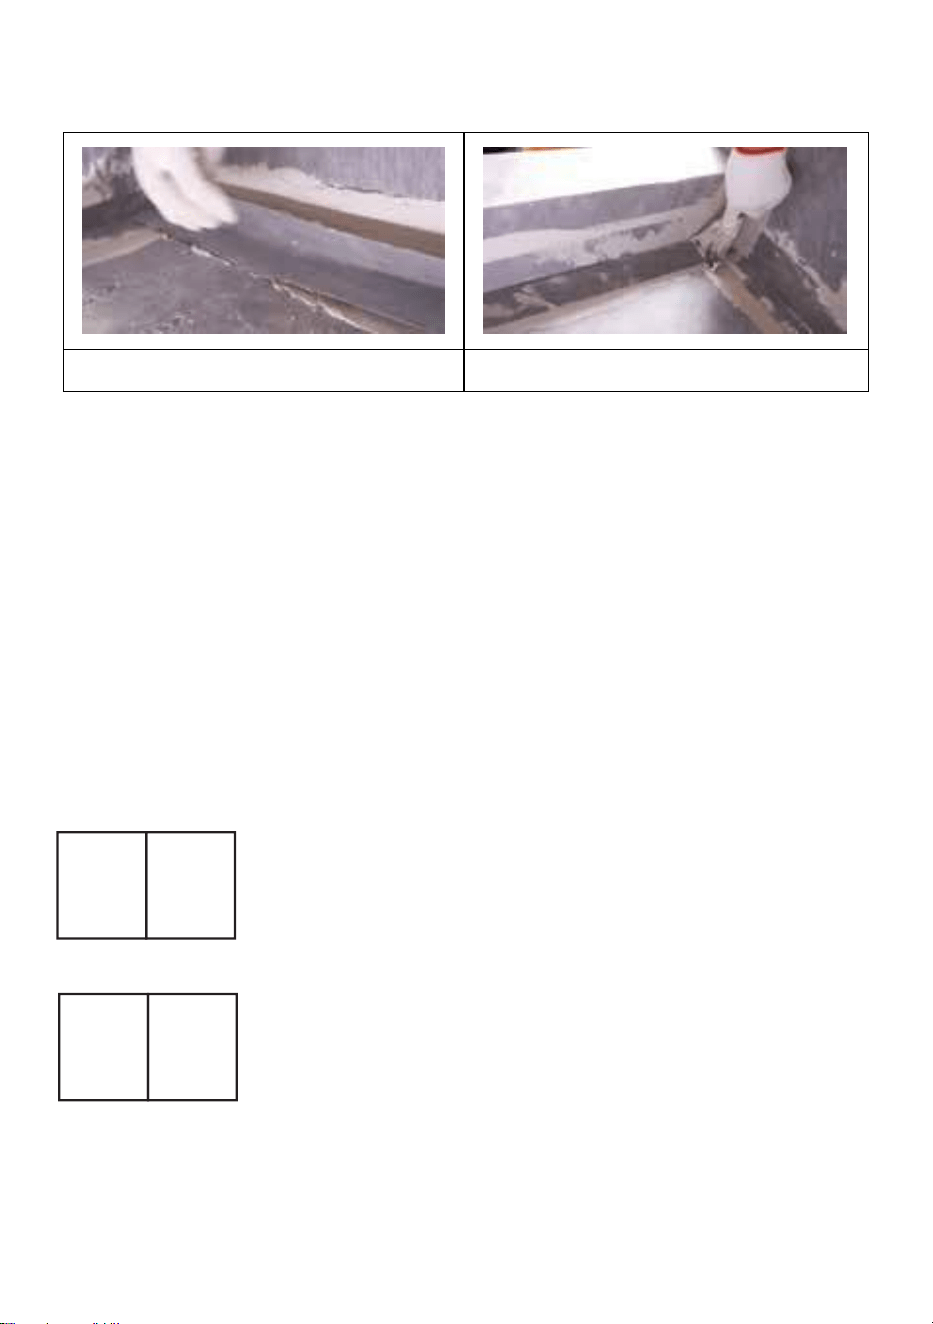
Step 10:
Brush the mortar
Press the curb
Fix the curb firmly
Step 11:
Brush the mortar
Cover the waterproofing corners 2
Trim the corner
- 10 -
Step 12:
Cover the waterproofing strip
Trim the strip
Installation of waterproof system is completed.
Manufacturer: Shanghaimuxinmuyeyouxiangongsi
Address: Shuangchenglu 803nong11hao1602A-1609shi, baoshanqu,
shanghai 200000 CN.
Imported to AUS: SIHAO PTY LTD. 1 ROKEVA STREETEASTWOOD
NSW 2122 Australia
Imported to USA: Sanven Technology Ltd. Suite 250, 9166 Anaheim
Place, Rancho Cucamonga, CA 91730
REP
EC
E-CrossStu GmbH
Mainzer Landstr.69, 60329 Frankfurt am Main.
REP
UK
YH CONSULTING LIMITED.
C/O YH Consulting Limited Office 147, Centurion
House, London Road, Staines-upon-Thames, Surrey,
TW18 4AX

- 11 -