USER MANUAL
Before using, please read the operating instructions carefully to
ensure proper application and achieve satisfactory results.
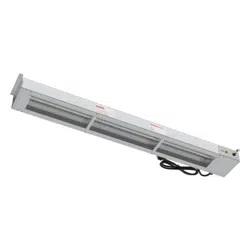
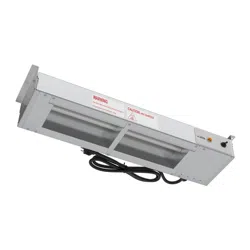
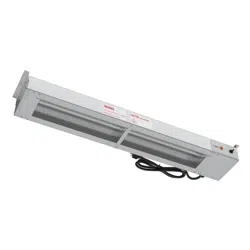
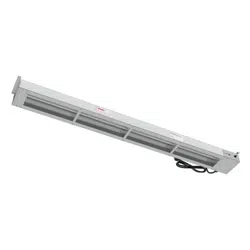
KoolMore High Wattage Commercial
Strip Warmer
Models: KM-WSTRIP-24, KM-WSTRIP-36, KM-WSTRIP-48,
KM-WSTRIP-60, KM-WSTRIP-72
STRIP WARMER
KM-WSTRIP-72

Stay informed with the latest information for your
KoolMore Strip Warmer.
If you need any assistance or have questions, our customer support
team is here to help.

3
Contents
Product Features .................................................. 4
Safety .................................................................. 5
Installation ............................................................ 6
Operation ............................................................... 8
Maintenance ........................................................ 9
Troubleshooting ................................................. 10
Warranty .............................................................. 11
4
Product Features
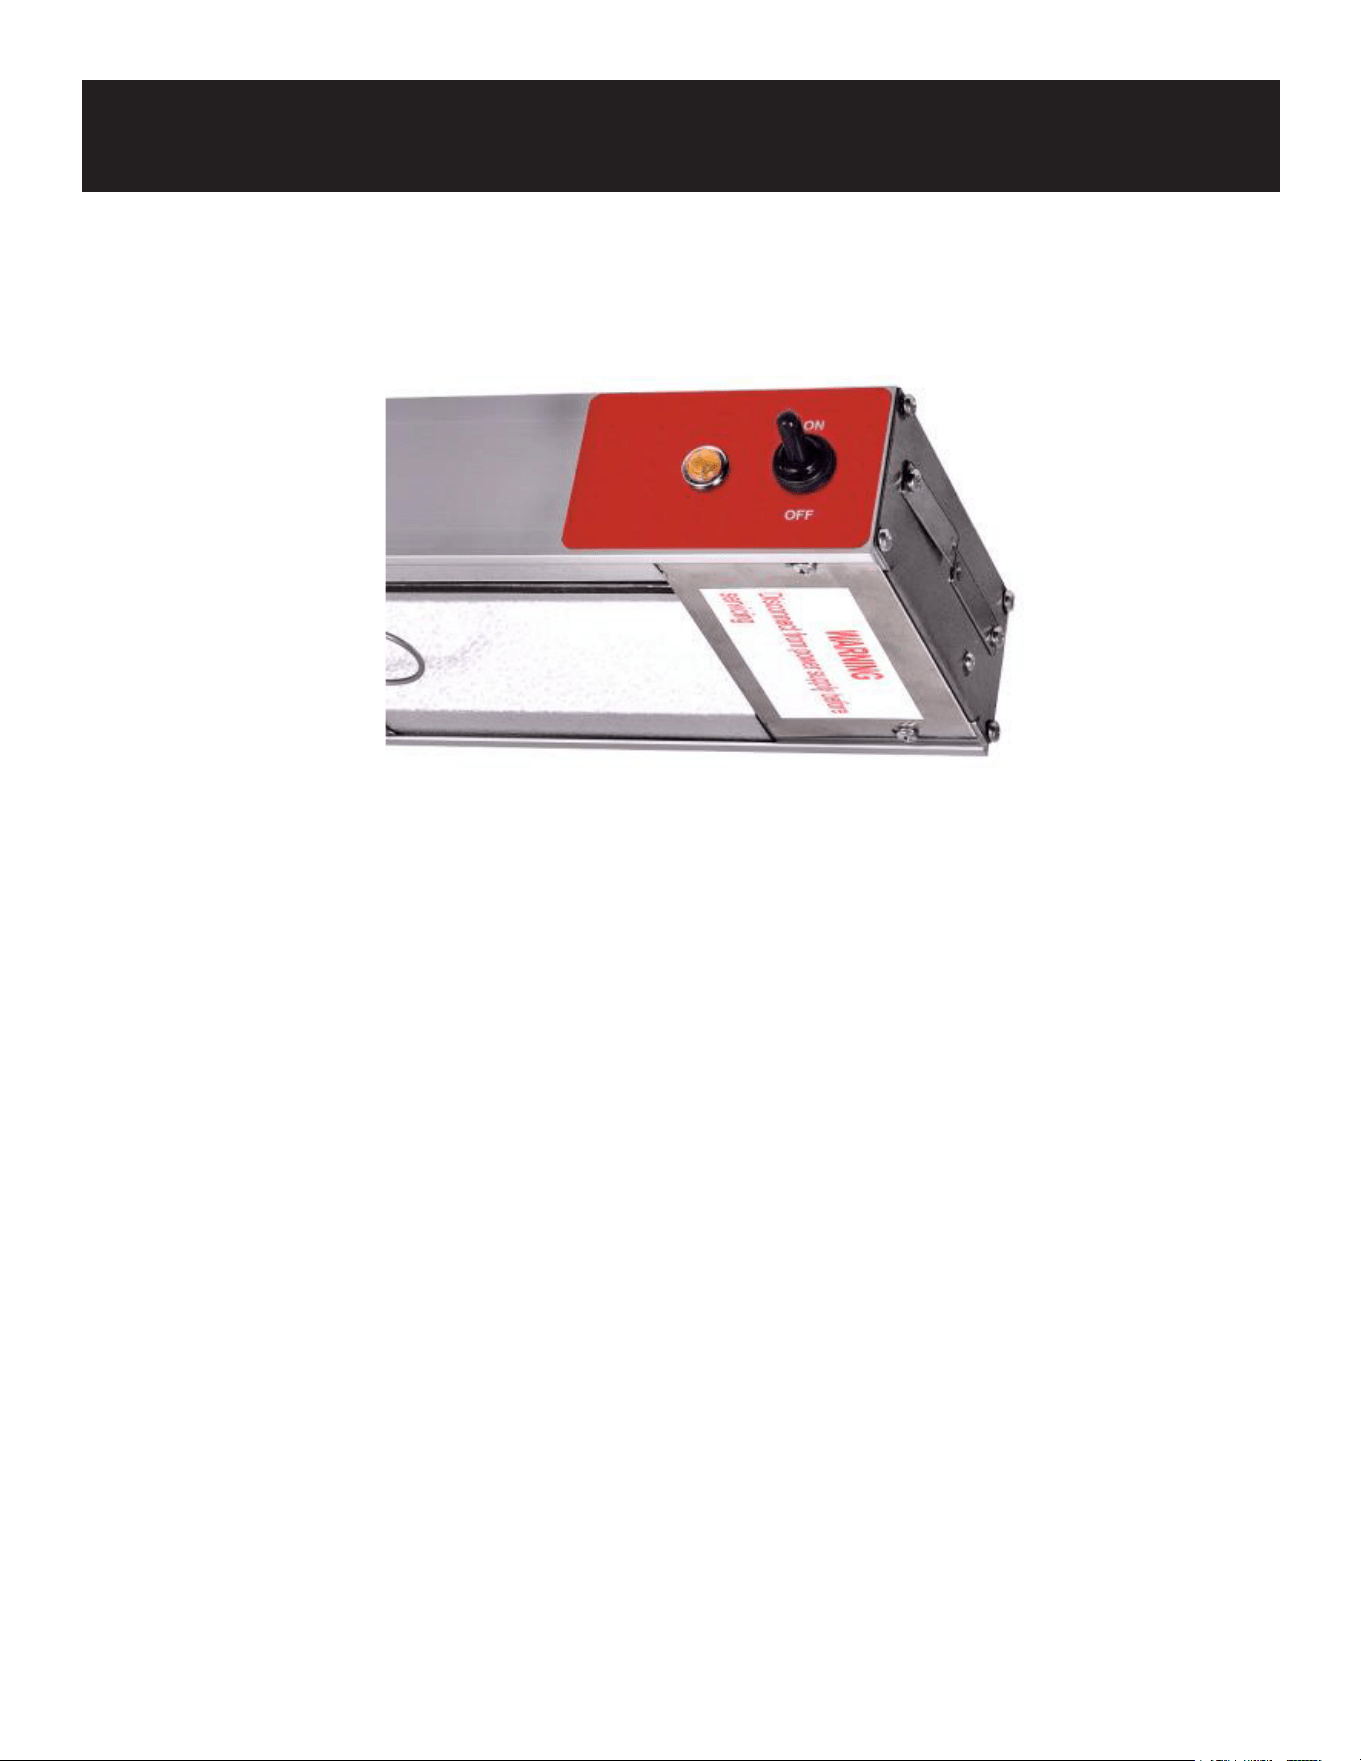
Easy-to-Use Toggle Controls: Simple toggle controls allow for effortless operation, providing a single
heat setting to maintain optimal food temperature.
Durable Heating Elements: The metal-sheathed elements deliver consistent, high-intensity heat, en-
suring food stays warm without the risk of overcooking.
Robust Stainless Steel Construction: Built to last, this warmer features heavy-duty stainless steel
with included mounting brackets for quick and secure installation.
Versatile Use: Ideal for cafeterias, restaurants, and buffet lines, making it a perfect t for any
high-trac food service environment.
User-Friendly Toggle Controls The warmer is designed with simplicity in mind, featuring one-level tog-
gle controls that are easy to use. With only a single heat setting, it prevents overheating and ensures
reliable performance. Even new employees can operate it effortlessly, making it ready for daily use
without any hassle.

5
Safety
Introduction
Please read these instructions carefully before operating this appliance. It is designed for commer-
cial use only.
Follow basic safety precautions when using electrical appliances to minimize the risk of re, electric
shock, and injury.
Thoroughly clean the machine before and after each use, following the provided cleaning guidelines.
Safety Instructions
WARNING! Before performing any service or maintenance, always disconnect the appliance from the
power source.
Hot Surfaces: This appliance becomes hot during use. To prevent burns, avoid contact with hot sur-
faces. Keep ammable materials like curtains, furniture, and other objects away from the appliance.
Supervision: Exercise caution when the appliance is in use, especially around children or if left unat-
tended.
Unplug Before Maintenance: Always unplug the appliance when it’s not in use or before cleaning,
adjusting, or servicing. Switch off the appliance and remove the plug from the power source.
Damaged Parts: Do not operate the appliance if it has a damaged cord or plug, or if it malfunctions
or has been dropped or damaged. Return it to an authorized service center for repairs or electrical/
mechanical adjustment.
Indoor Use Only: This appliance is not suitable for outdoor use or in damp locations. Never place the
appliance near water.
Proper Outlet Use: Plug the appliance into properly grounded outlets. Avoid using extension cords,
and ensure the cord is positioned away from high-trac areas to prevent tripping hazards.
Three-Prong Plug: This appliance comes with a three-prong plug for safety. Plug it only into a com-
patible outlet. Never remove the third prong or use with a two-prong extension cord.
Non-Combustible Surface: To reduce the risk of re, place the unit on a non-combustible surface
during operation.
Avoid Hazardous Locations: Do not use this appliance in areas where gasoline, paint, or other am-
mable liquids are stored or used.
6
Installation
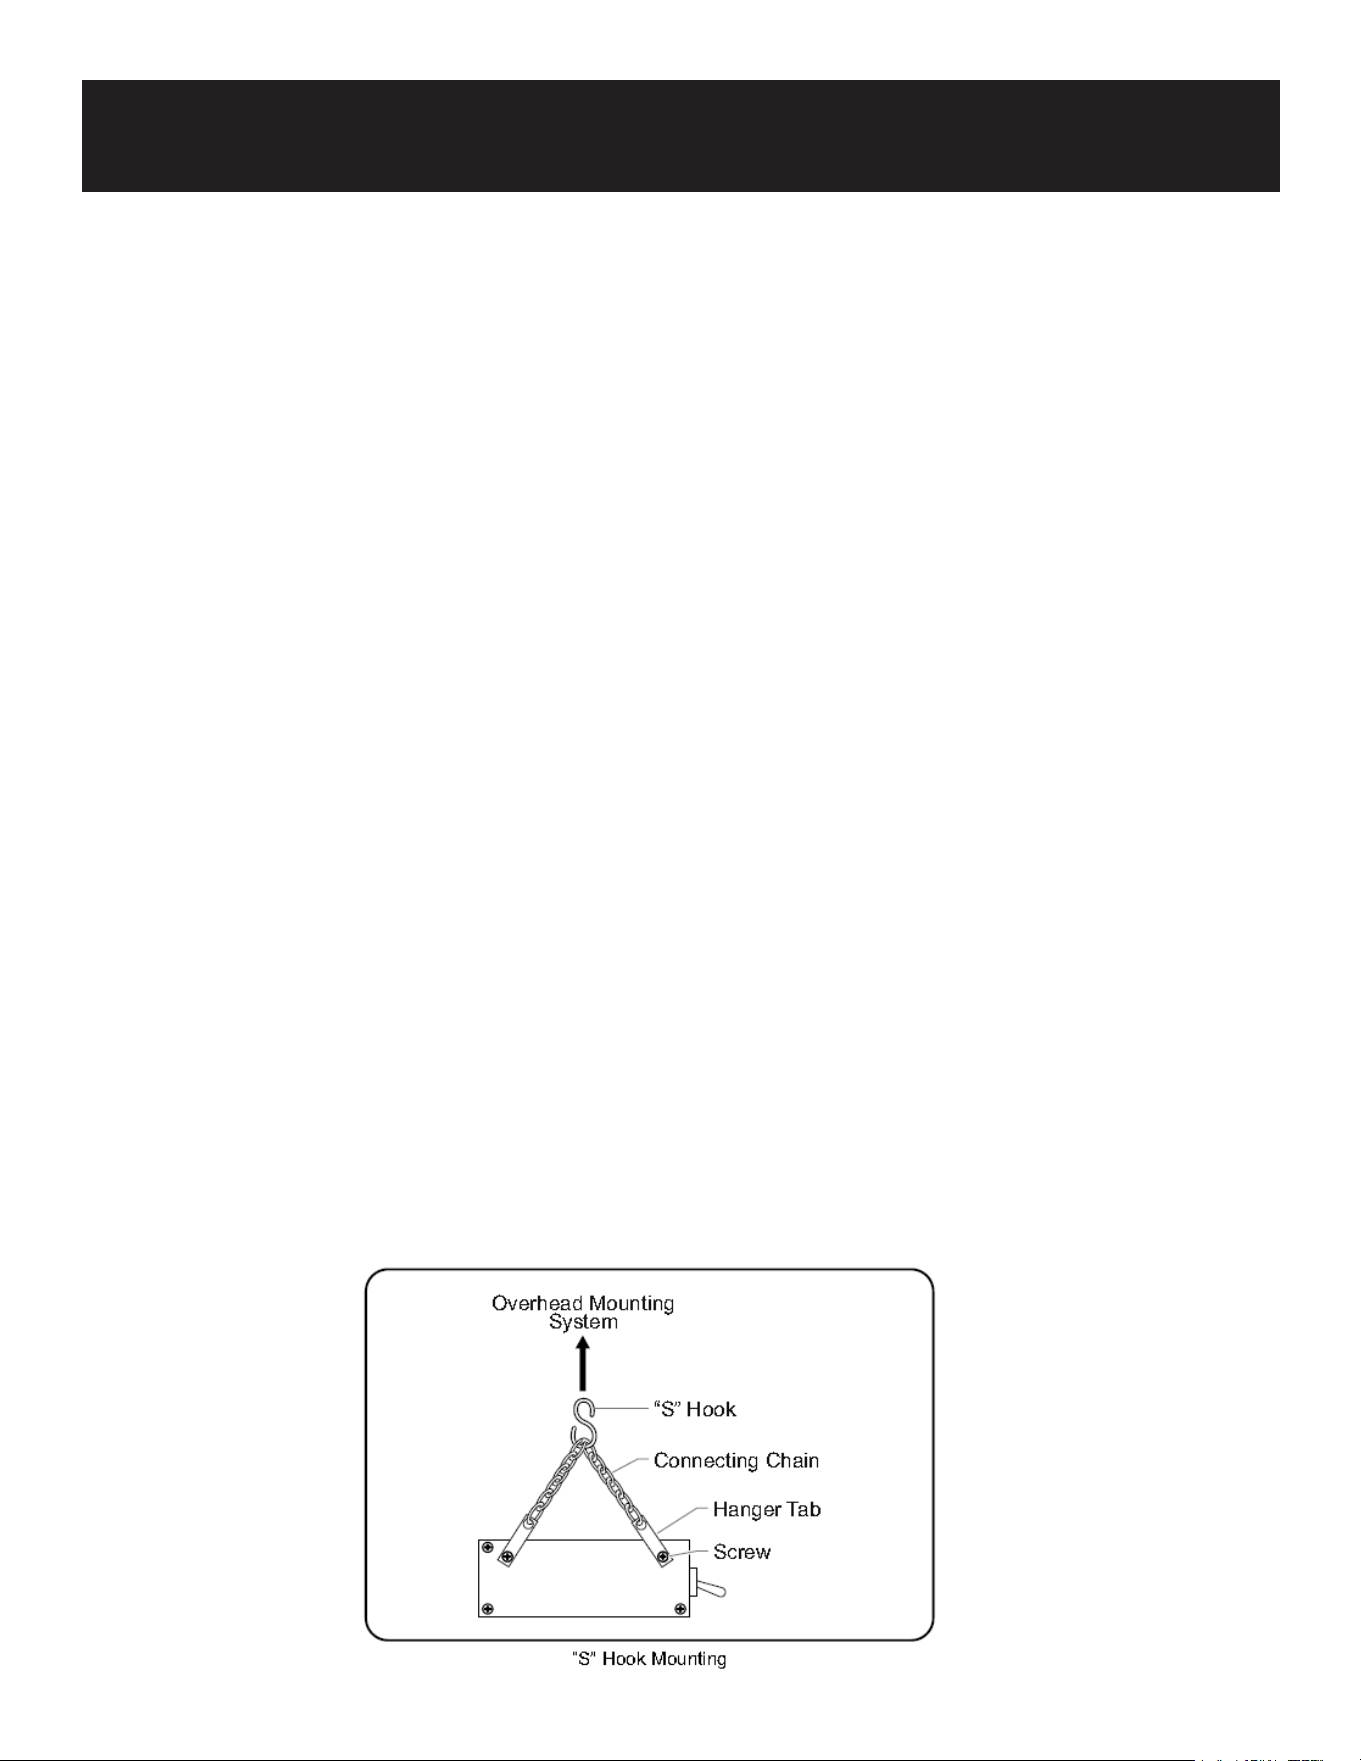
Installing Chain-Suspended Units
To mount the strip heater overhead, chain suspension with "S" hooks is used.
NOTE: If your unit was ordered with the “S” hook option, it includes two "S" hooks and two 6" chains.
Additional chain (P/N 05.03.020.00) can be purchased from Hatco or a qualied installer can suggest
an alternative overhead mounting option.
When using chains for installation:
Ensure that the chains are of adequate strength and are securely fastened to both the unit and the
mounting location.
Improperly installed chains can cause the unit to loosen and fall. Do not place any objects on top of
units that are chain-mounted.
To guarantee safe operation, follow the Clearance Requirements found in the Installation section of
this manual.
IMPORTANT: The strength of the supplied chain is sucient to hold the unit securely, but only if
mounted properly.
Installation Steps:
Prepare the overhead mounting system for the "S" hooks. Ensure that the system is secure, and posi-
tioned so the unit is suspended level, safe, and at the proper distance from walls, counters, and food.
Loosen but do not remove the screws securing the hanger tabs on both ends of the unit. Rotate the
tabs upward, then tighten the screws to secure them.
Attach one of the 6" connecting chains between the hanger tabs on each end.
Hook an "S" hook onto the center of each connecting chain.
Carefully lift the unit and attach the "S" hooks on each end to the overhead mounting system. Ensure
the unit is level.
7
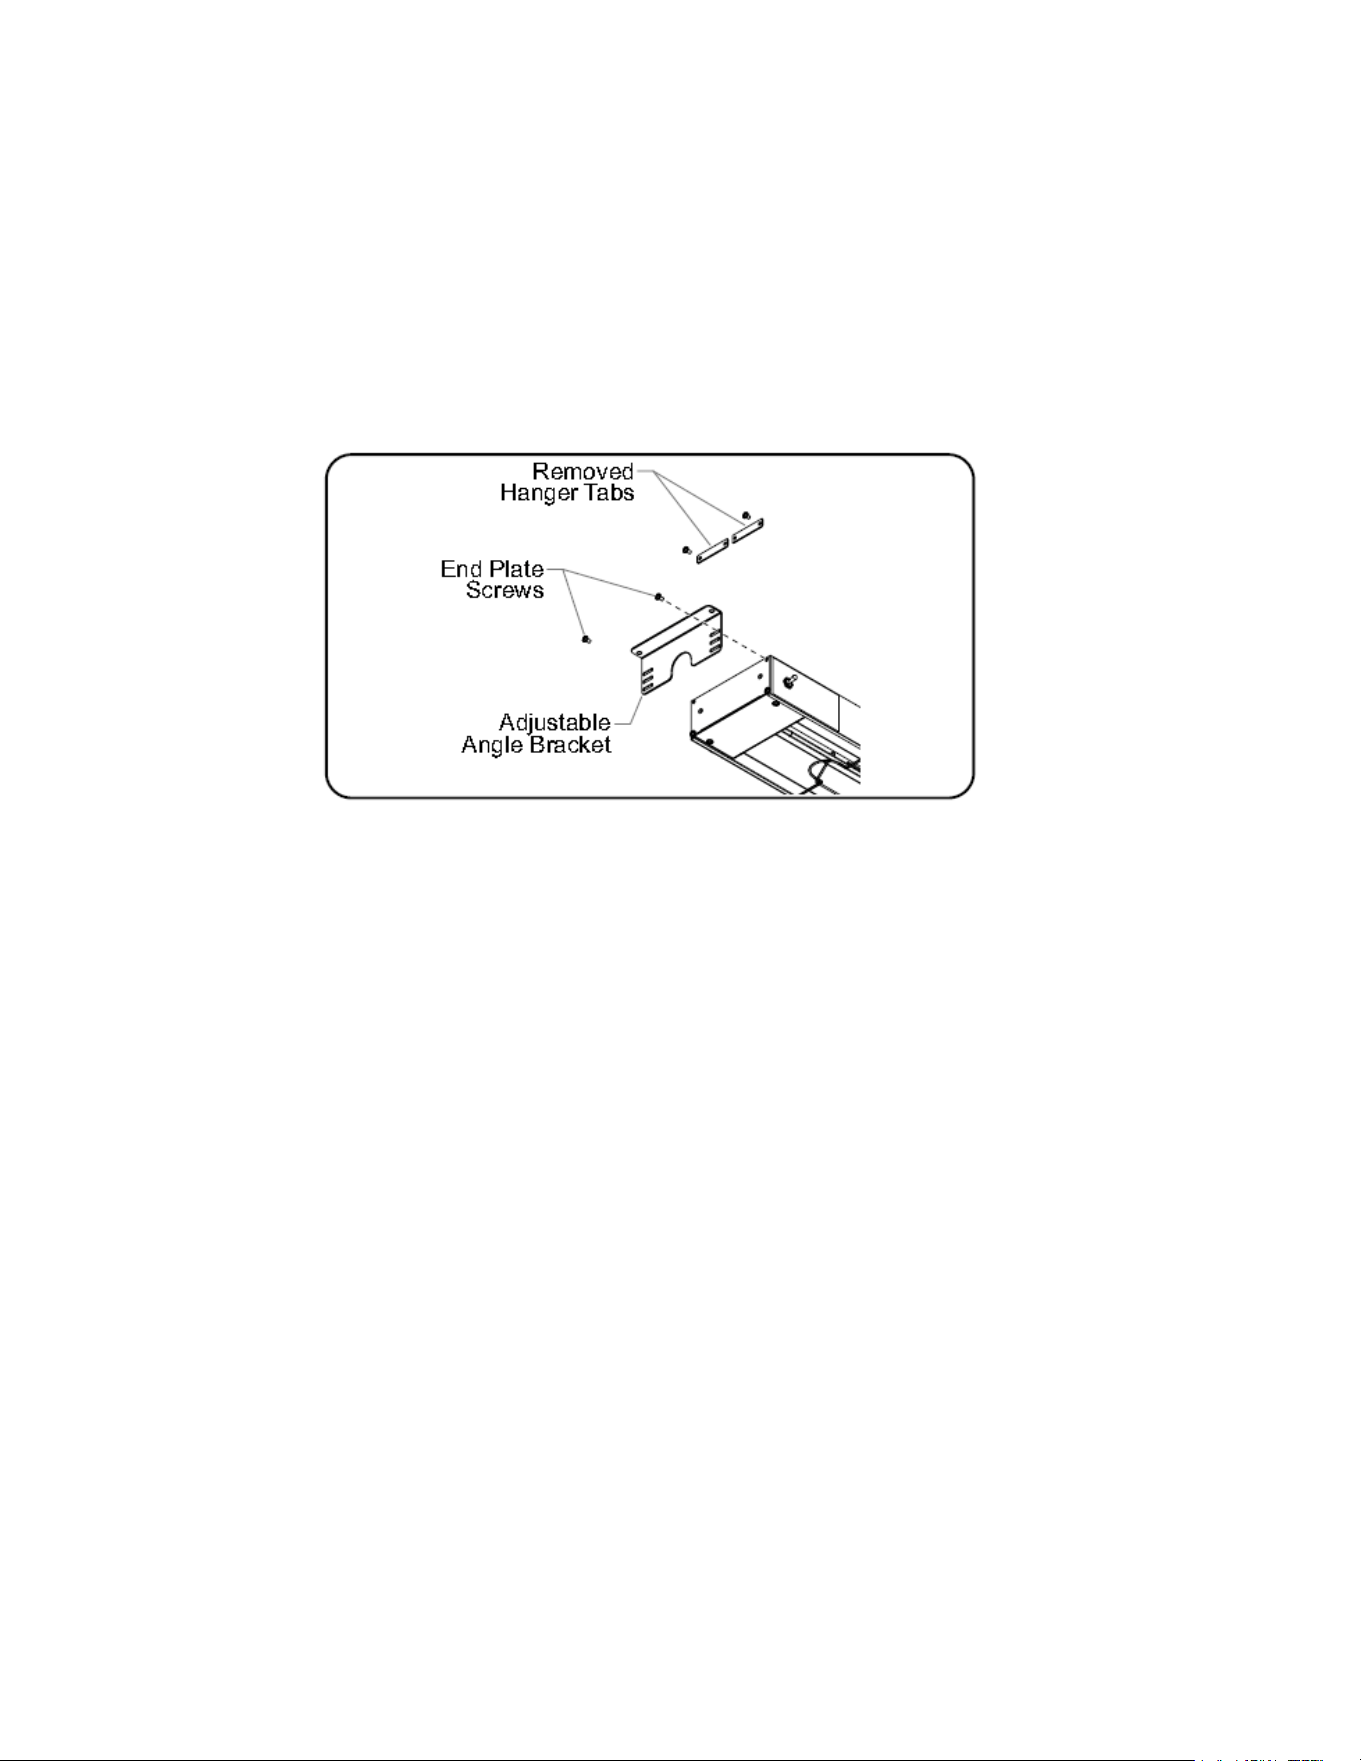
Adjustable Angle Bracket Mounting on Aluminum Models
Installation Steps:
1. Place the unit on a at surface with the heating element facing downward.
2. Remove the two screws securing the hanger tabs and detach the tabs. These components are not
required for this installation.
3. Remove the two upper screws from the end plate of the unit.
4. Align the adjustable angle bracket with the unit’s end plate mounting holes. Secure the bracket
using the previously removed end plate screws.
5. Attach the angle brackets to the underside of the shelf using the appropriate fasteners for your
installation.

8
Operation
Operation Instructions:
1. Plug the cord into a properly grounded electrical outlet that matches the unit's voltage require-
ments. Failure to ground the appliance may result in electrical shock.
2. Flip the switch to the 'On' position to activate the unit.
3. For optimal performance, position food products directly under the heating elements.
4. Turn the unit off when not in use.
5. To disconnect, switch off the unit and remove the plug from the power source.

9
Maintenance
Infrared Strip Heaters are designed for long-lasting durability and minimal maintenance.
WARNING: Electric Shock Hazard
• Turn OFF power at the switch, unplug the power cord, or turn off the power at the circuit breaker.
• Allow the unit to cool before performing any cleaning, adjustments, or maintenance.
• DO NOT submerge or saturate the unit with water. This appliance is not waterproof and should not
be operated if it has been submerged or exposed to water.
• DO NOT use excessive water, steam cleaning, or jet spray. This unit is not “jet-proof.”
• DO NOT use jetclean spray to clean the unit.
WARNING: Light Bulbs for Food Areas
• Use only light bulbs that meet or exceed National Sanitation Foundation (NSF) standards, which
are specically designed for food-holding areas. Failure to use properly coated bulbs may result in
personal injury or food contamination in the event of bulb breakage.
• The display light is either an incandescent or optional halogen bulb that illuminates the warm-
ing area. These bulbs come with a protective coating to prevent injury and contamination if they
break.
To Replace a Display Light Bulb:
1. Disconnect the power supply and allow the unit to cool completely.
2. Unscrew the old bulb and replace it with a new, specially coated incandescent or halogen bulb.
NOTICE
Use only non-abrasive cleaners and cloths. Abrasive materials can scratch the unit’s nish, affecting
both its appearance and functionality.
IMPORTANT: DO NOT use paper towels or glass cleaners to clean plastic surfaces, as they may
cause scratches. Instead, use a soft, clean, water-dampened cloth to wipe plastic parts.
Cleaning
To maintain the strip heater’s nish and ensure its longevity, it is recommended that all surfaces are
cleaned daily:
• Turn off the unit and allow it to cool completely.
• Wipe down all metal surfaces using a water-dampened, non-abrasive cloth. Use a small brush and
mild soap or stainless steel cleaner for dicult stains.
• Wipe the entire unit using a non-abrasive, dry cloth.
• If equipped, clean plastic sneeze guards using soft cleaning cloths, mild soap, and water. DO NOT
use paper towels or glass cleaners on plastic surfaces, as they can cause scratching.

10
Symptom Probable Cause Corrective Action
Unit is turned "On" but
there is no heat.
No power to the unit. Check circuit breaker and reset as
necessary.
Switch is defective. Contact an authorized service agent.
Wiring is open. Contact an authorized service agent.
Heating element is defective. Contact an authorized service agent.
Heat is inadequate. Unit mounted too high above the
target area.
Lower the unit or position it closer to
the target area.
Excessive air movement around
the strip heater target area.
Restrict or redirect air movement (air
conditioning or exhaust fan) away
from the unit.
Incorrect power supply (low). Check the power supply and ensure it
matches the unit's rating. If incorrect,
change to the proper supply.
Heat is excessive. Unit mounted too close to the
target area.
Ensure installation meets the height
specications for the model. If too
close, increase the mounting height.
Voltage supply too high. Check the power supply and ensure it
matches the unit’s rating. If incorrect,
adjust to the correct voltage.
Control switches burn
out.
Unit mounted improperly. Reinstall the unit following the
installation guidelines, ensuring
proper distance from walls, counters,
or pass-through shelves.
Remote control enclosure is
mounted too close to the heat
zone.
Move the remote control enclosure
further away from the heat zone.
Switches used are not proper. Contact an authorized service agent.
Troubleshooting

11
WARRANTY
LIMITED WARRANTY
Koolmore Supply, Inc. extends a limited warranty to the original purchaser, guaranteeing that this Koolmore
product is free from manufacturing defects in material or workmanship for one year from the date of
purchase.
Should you discover any such defect within the warranty period, Koolmore Supply, Inc., reserves the right to
repair or replace the product without charge, or to cover the cost of replacement parts and repair labor needed
to correct defects present at the time of purchase or resulting from regular usage, when the appliance has been
installed, operated, and maintained as per the instructions provided.
At its sole discretion, Koolmore Supply Inc. may decide to replace the product. In such an event, your replace-
ment appliance will carry the warranty for the remaining term of the original unit's warranty period.
This warranty is valid exclusively to the original purchaser of the product and only applicable within the United
States. The warranty commences from the date of original consumer purchase. Proof of the original purchase
date will be required to obtain service under this warranty.
Under this limited warranty, your sole and exclusive remedy will be product repair, as outlined above. All
services must be provided by a Koolmore-designated service company.
To claim warranty or request repair service:
Email support@koolmore.com. Please include your name, address, phone number, warranty repair request,
and a copy of your proof of purchase receipt. Alternatively, visit koolmore.com and use the contact us page. A
Koolmore customer service representative will promptly arrange service for your appliance.
We thank you for choosing Koolmore.
WARRANTY EXCLUSIONS
This limited warranty will not cover:
1. Failure of the product to perform during power failures or interruptions,
or due to inadequate electrical service.
2. Damage incurred during transportation or handling.
3. Damage caused by accidents, vermin, lightning, winds, re, oods, or acts of God.
4. Damage resulting from accidents, alterations, misuse, abuse, improper installation, repair, or maintenance.
This includes using any external device that alters or converts the voltage or frequency of
electricity.
5. Unauthorized product modications, repairs by unauthorized centers, or use of non-approved
replacement parts.
6. Abnormal cleaning and maintenance not aligned with the user's manual.
7. Use of incompatible accessories or components.
8. Any costs associated with repairs or replacements under these excluded circumstances shall be the
responsibility of the consumer.

12