7-PIECE WINE
GIFT SET
USER GUIDE
IVAWS20C

Thank you for purchasing the Ivation® 7-Piece Wine Gift Set.
This User Guide is intended to provide you with guidelines to ensure that operation of this product is safe
and does not pose risk to the user. Any use that does not conform to the guidelines described in this User
Guide may void the limited warranty.
Please read all directions before using the product and retain this guide for reference. This product is
intended for household use only.
This product is covered by a limited one-year warranty. Coverage is subject to limits and exclusions.
See warranty for details.
Safety Precautions
• The electronic wine opener is only intended to extract the corks from standard wine bottles.
• Do not operate or attempt to operate the electronic wine opener if either the AC/DC adapter or c
harging base stand have been damaged. This could result in electric shock. If the adapter or charging
base have been damaged, they will need to be replaced by the manufacturer or a suitably qualified
person. Do not attempt to modify or repair this device on your own.
• Do not place or store this appliance near an open flame, cooking or heating appliances, or any
similarly hot surface.
• This appliance is not intended for use in wet or damp conditions, as this creates the risk of
electric shock.
• Always make sure that the power cord is positioned so that it will not get damaged or create a
tripping hazard.
• Use only the AC/DC adapter and the charging base supplied with your unit, do not attempt to use
other parts with this device.
• Do not immerse this unit in water or any other liquid.
• This product is intended for indoor use only. Do not expose the wine opener or the charging base to
rain or other extreme outdoor conditions or environments.
• Never force the wine opener and/or preserver onto a bottle, nor should you attempt to speed up the
mechanism. The cork emover always works best when operated at its intended speed.
• Do not touch or adjust the electronic wine opener mechanism or the corkscrew spiral. You should
only hold the cork remover by its plastic housing, or else you could risk electric shock or other
severe injury.
• This appliance contains a rechargeable battery. Do not dispose of this product on a fire, as this may
cause an explosion.
• To avoid electric shock, do not open the casing. There are no user-serviceable parts inside.
• This appliance should not be used by children or persons with reduced physical, sensory, or mental
capabilities, or lack of experience and knowledge, unless they are closely supervised at all times,
and/or have received extensive instruction and training on how to use this device by a person
responsible for their safety.
! CAUTION:
The corkscrew is sharp. Keep fingers and other body parts, appendages,
and/or utensils away from the operating end of the wine opener.
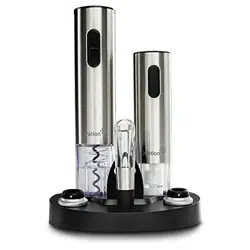
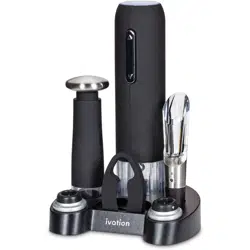
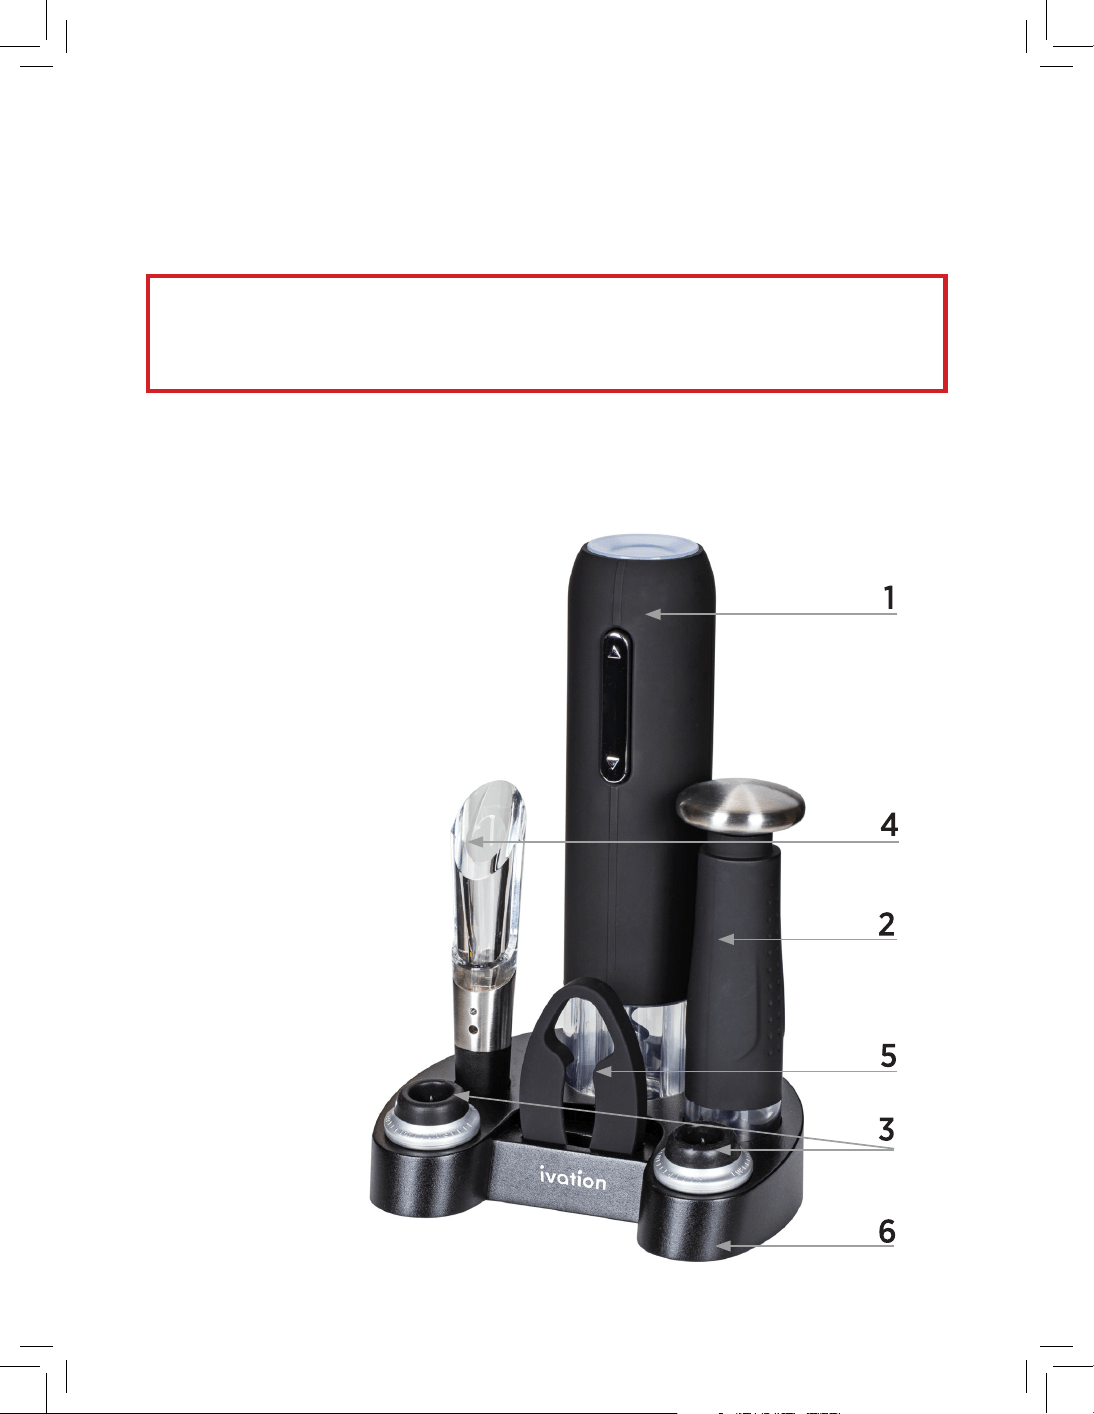
Package Contents
1 1 x Electronic wine opener
2 1 x Vacuum preserver
3 2 x Vacuum compatible wine stoppers
4 1 x Aerator pourer
5 1 x Foil cutter
6 Charging base
7 AC/DC power adapter
8 User manual
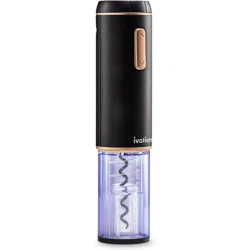
Charging the Electronic Wine Opener
We recommend that you charge the set for at least 12 hours before using it for the first time.
Follow these instructions to make sure your electronic wine opener charges correctly:
1. Connect the DC plug connection into the socket at the back of the charging base.
2. Place the electronic wine opener into its designated slot at the rear of the charging base, ensuring
that the metal connections on the base are making proper contact with the metal connections on
the bottom of the unit.
3. Insert the plug end of the AC/DC adapter into a main power outlet.
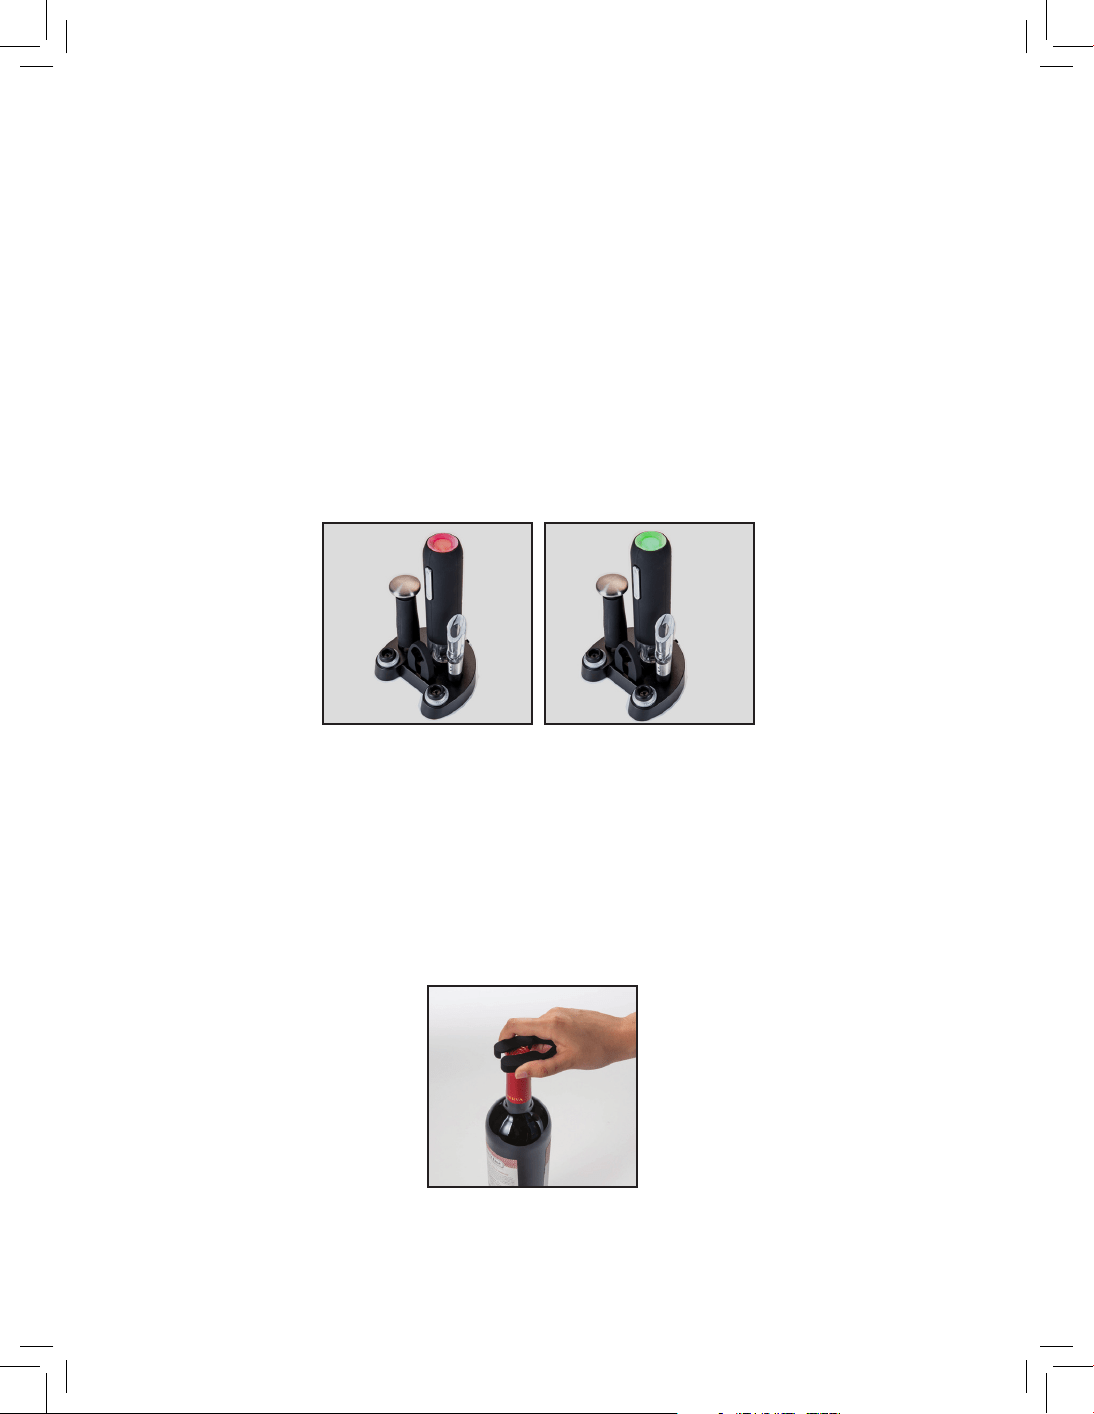
4. The charging indicator at the top of the unit will be illuminated red for the duration of the charging
process. It takes 10-12 hours for the battery to fully charge. When the battery is fully charged, the
charging indicator will turn green.
5. To stop the charging process, disconnect the AC/DC adapter from the outlet, and disconnect the
DC plug connection from the charging base.
Using the Electronic Wine Opener
1. Before extracting the cork, use the included foil cutter as pictured to remove any foil seals from
the bottle.
charging charged
Charging the Electronic Wine Opener
We recommend that you charge the set for at least 12 hours before using it for the first time.
Follow these instructions to make sure your electronic wine opener charges correctly:
1. Connect the DC plug connection into the socket at the back of the charging base.
2. Place the electronic wine opener into its designated slot at the rear of the charging base, ensuring
that the metal connections on the base are making proper contact with the metal connections on
the bottom of the unit.
3. Insert the plug end of the AC/DC adapter into a main power outlet.
4. The charging indicator at the top of the unit will be illuminated red for the duration of the charging
process. It takes 10-12 hours for the battery to fully charge. When the battery is fully charged, the
charging indicator will turn green.
5. To stop the charging process, disconnect the AC/DC adapter from the outlet, and disconnect the
DC plug connection from the charging base.
Using the Electronic Wine Opener
1. Before extracting the cork, use the included foil cutter as pictured to remove any foil seals from
the bottle.
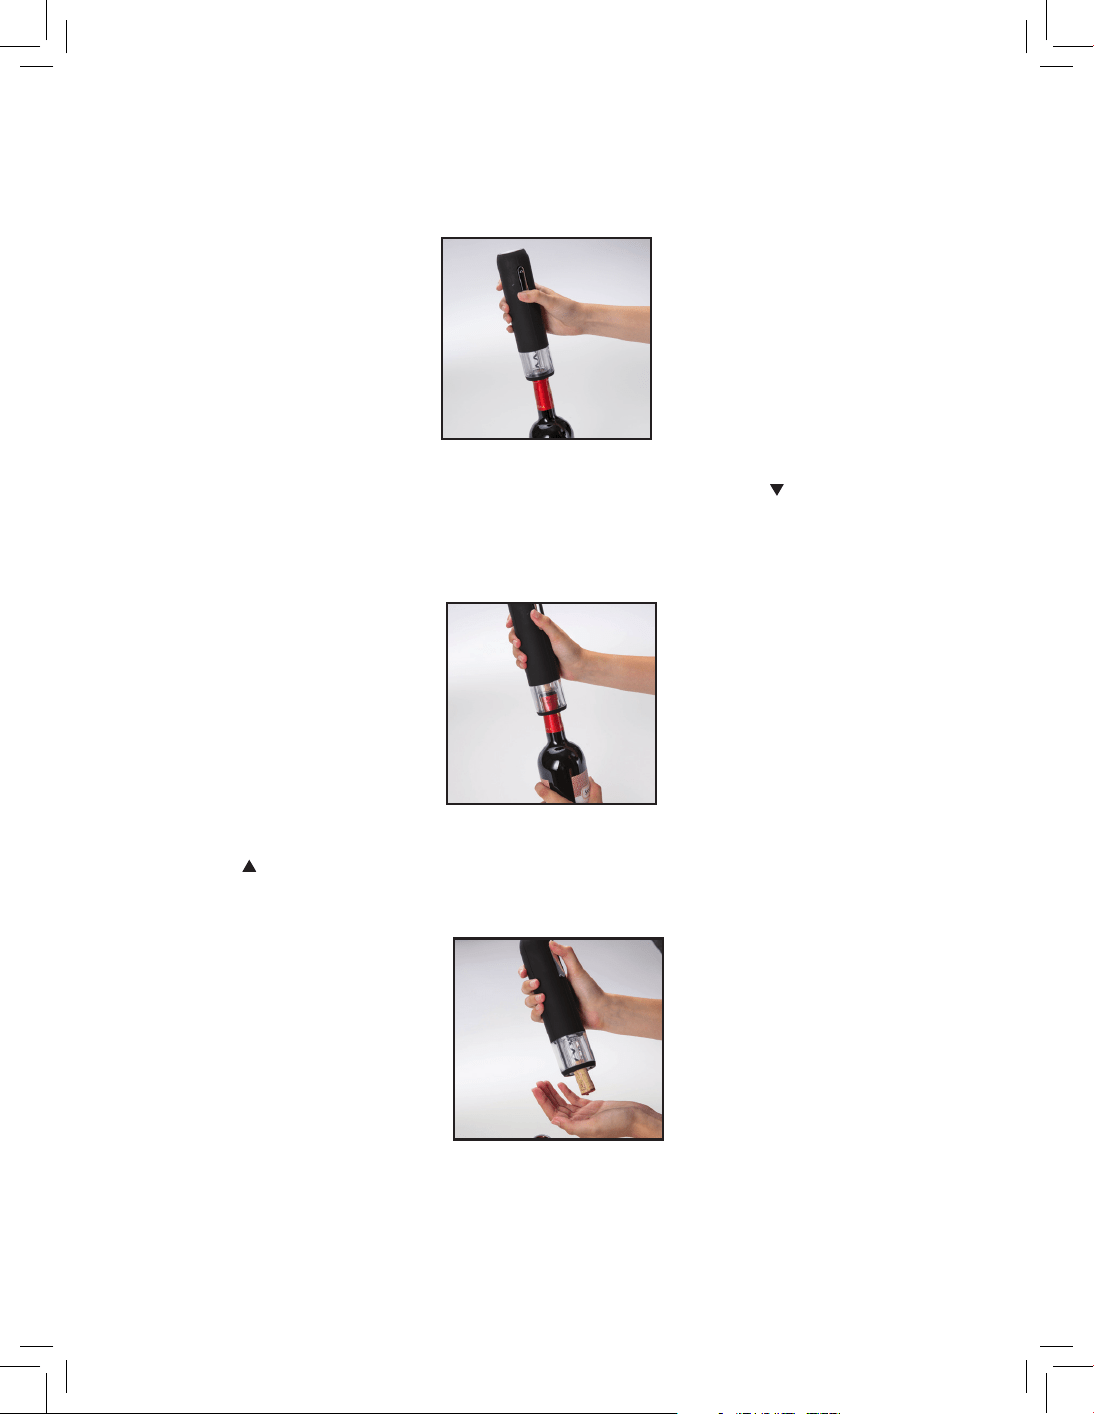
2. Place the electronic wine opener on top of the wine bottle, making sure that both bottle and opener
remain as upright as possible at all times. If the wine opener is held at an angle to the bottle it will
not remove the cork properly.
3. Hold the wine bottle and the electronic opener firmly. Press and hold the Pull ( ) button on the front
of the wine opener. The corkscrew spiral will turn in a clockwise direction, entering the cork and
gradually removing it from the bottle. When the mechanism stops, the cork will be visible through the
transparent window at the bottom of the opener, and the blue indicator light will turn o.
4. Lift the wine opener away from the bottle. To remove the cork, simply press and hold the
Release ( ) button on the front of the wine opener. The corkscrew will spin counterclockwise and
release the cork into your hand.
5. Return the wine opener to the charging base when it is not in use to protect the mechanism
from damage or wear and tear.
6. This wine opener is designed for use with traditional corks, but it may also be used with synthetic
corks. Synthetic corks are smaller and do not expand the way that a traditional cork does, so it is
possible for them to become stuck on the corkscrew. If this happens, use a small pair of pliers to
grasp and firmly hold the cork. Press and hold the Release ( ) button while holding the
cork with the pliers, and allow the cork to slowly be released. Do not try to force the corkscrew or
the cork, as this could damage the mechanism.
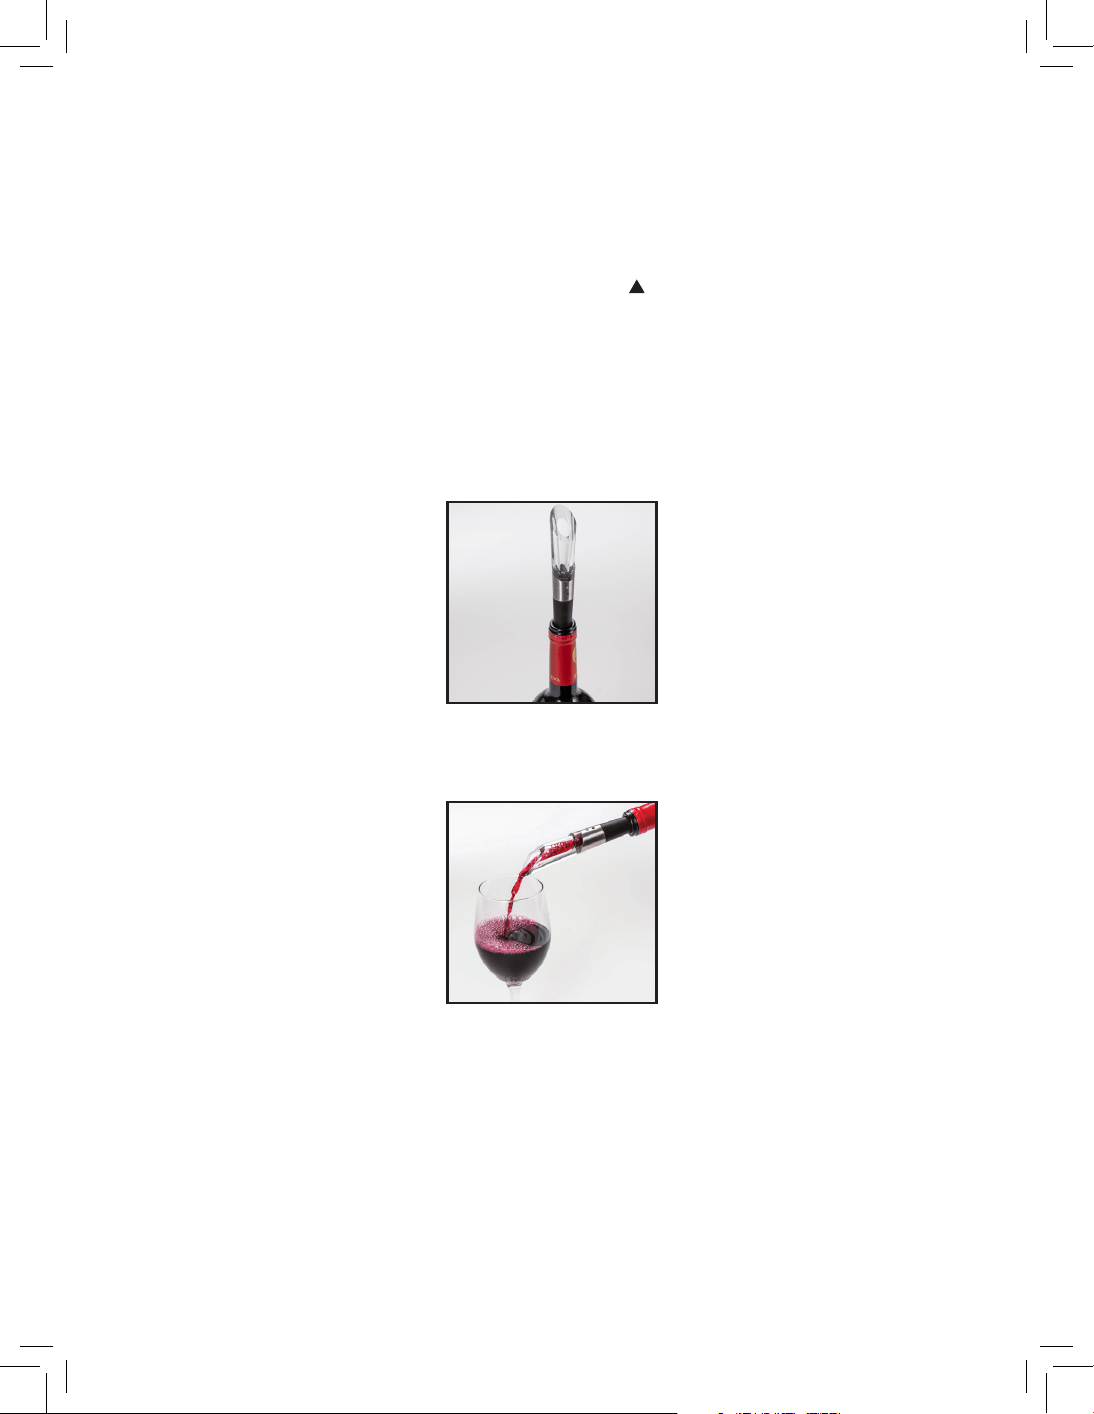
Using the Aerator Pourer
1 Place the aerator pourer into the bottle neck snugly to allow the wine to pour out smoothly without
splashing into a glass or other container.
2 The pourer aerates as wine flows through it, oxygenating the wine to give it a better, richer flavor.
Using the Vacuum Preserver and Wine Stoppers
The vacuum preserver and compatible wine stoppers will keep an already-opened bottle of wine fresh
for up to 3-5 days.
5. Return the wine opener to the charging base when it is not in use to protect the mechanism
from damage or wear and tear.
6. This wine opener is designed for use with traditional corks, but it may also be used with synthetic
corks. Synthetic corks are smaller and do not expand the way that a traditional cork does, so it is
possible for them to become stuck on the corkscrew. If this happens, use a small pair of pliers to
grasp and firmly hold the cork. Press and hold the Release ( ) button while holding the
cork with the pliers, and allow the cork to slowly be released. Do not try to force the corkscrew or
the cork, as this could damage the mechanism.
Using the Aerator Pourer
1 Place the aerator pourer into the bottle neck snugly to allow the wine to pour out smoothly without
splashing into a glass or other container.
2 The pourer aerates as wine flows through it, oxygenating the wine to give it a better, richer flavor.
Using the Vacuum Preserver and Wine Stoppers
The vacuum preserver and compatible wine stoppers will keep an already-opened bottle of wine fresh
for up to 3-5 days.
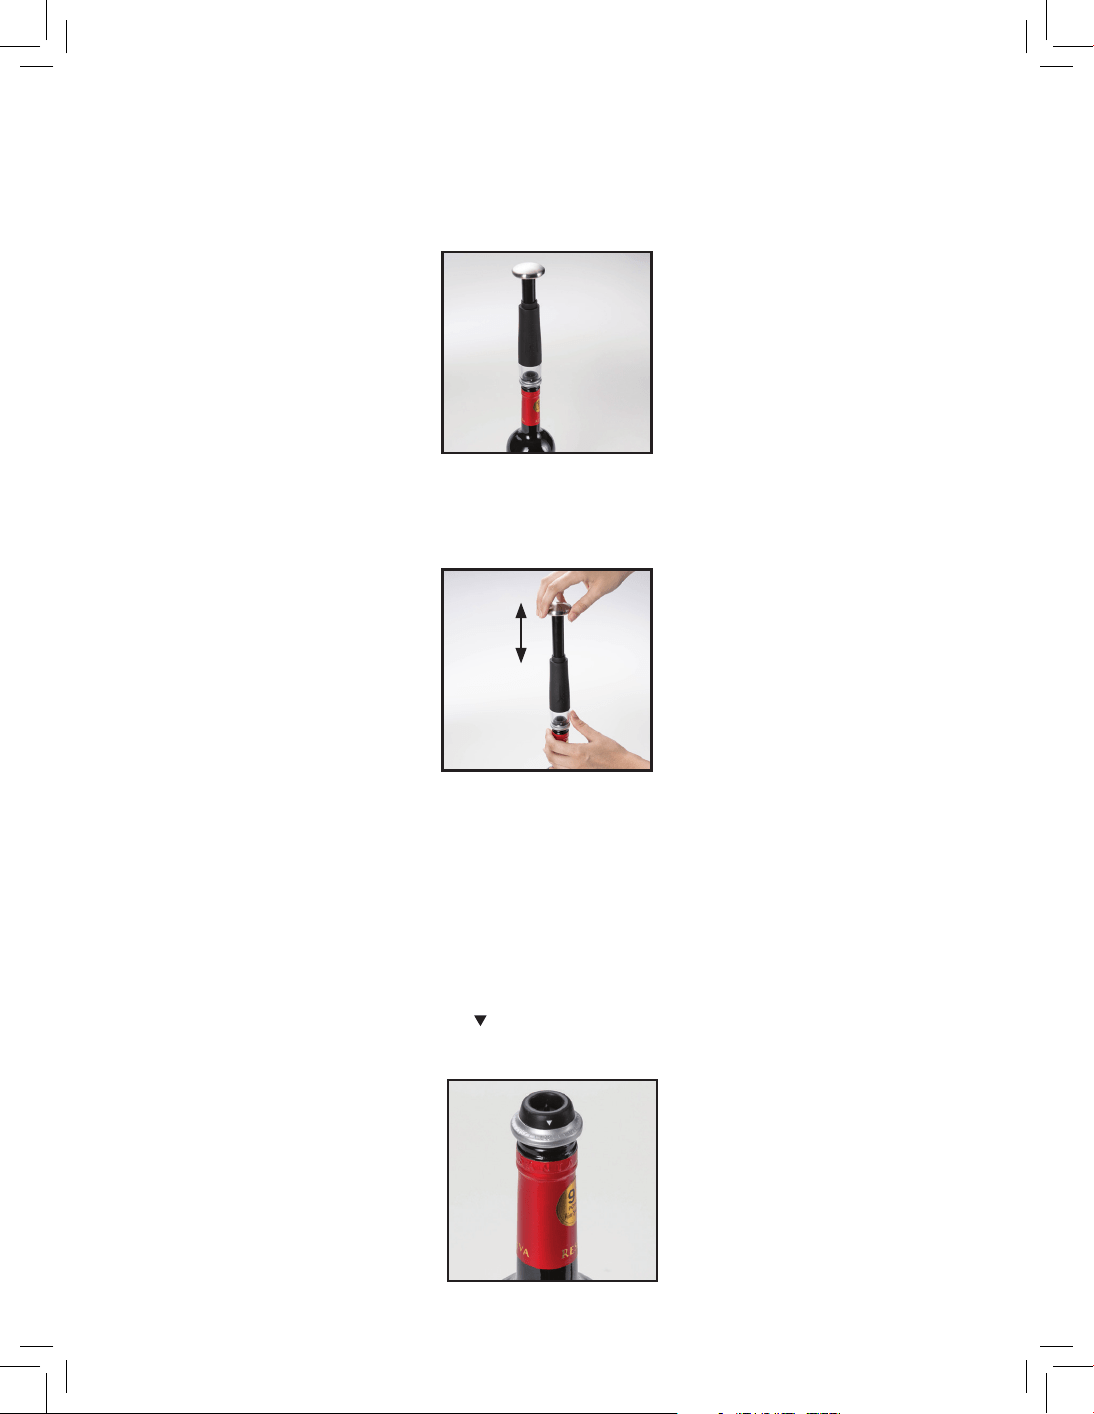
Sealing a Bottle
1. Put one of the wine stoppers into the neck of the bottle until it is firmly seated and makes a seal
around the entire neck.
2. Place the vacuum preserver opening on top of the stopper and use the pump handle to push up
and down, vacuuming the air out of the bottle.
3. When it becomes hard to operate the pump handle, stop and remove it from the wine stopper.
4. If there is more than half a bottle of wine remaining, the above three steps should suciently
remove the air and seal the bottle. For less than half a bottle of wine, we recommend repeating
steps 1-3 a second time, to ensure all the air has been removed.
Using the Date Indicator on the Stoppers
1. On the stoppers you will find a printed ( ) symbol above a series of lines marking numbers from 1-31.
This allows you to mark the date you seal your wine bottle so you can keep track.
2. To use the indicators, swivel the arrow around until it lines up with the date on which you sealed
the bottle as shown.
Removing the Stoppers from a Sealed Bottle
1. Press the pin in the center point on top of the stopper to release any air.
2. Firmly hold the bottle with one hand, and gently ease the wine stopper away from the bottle
with the other hand.
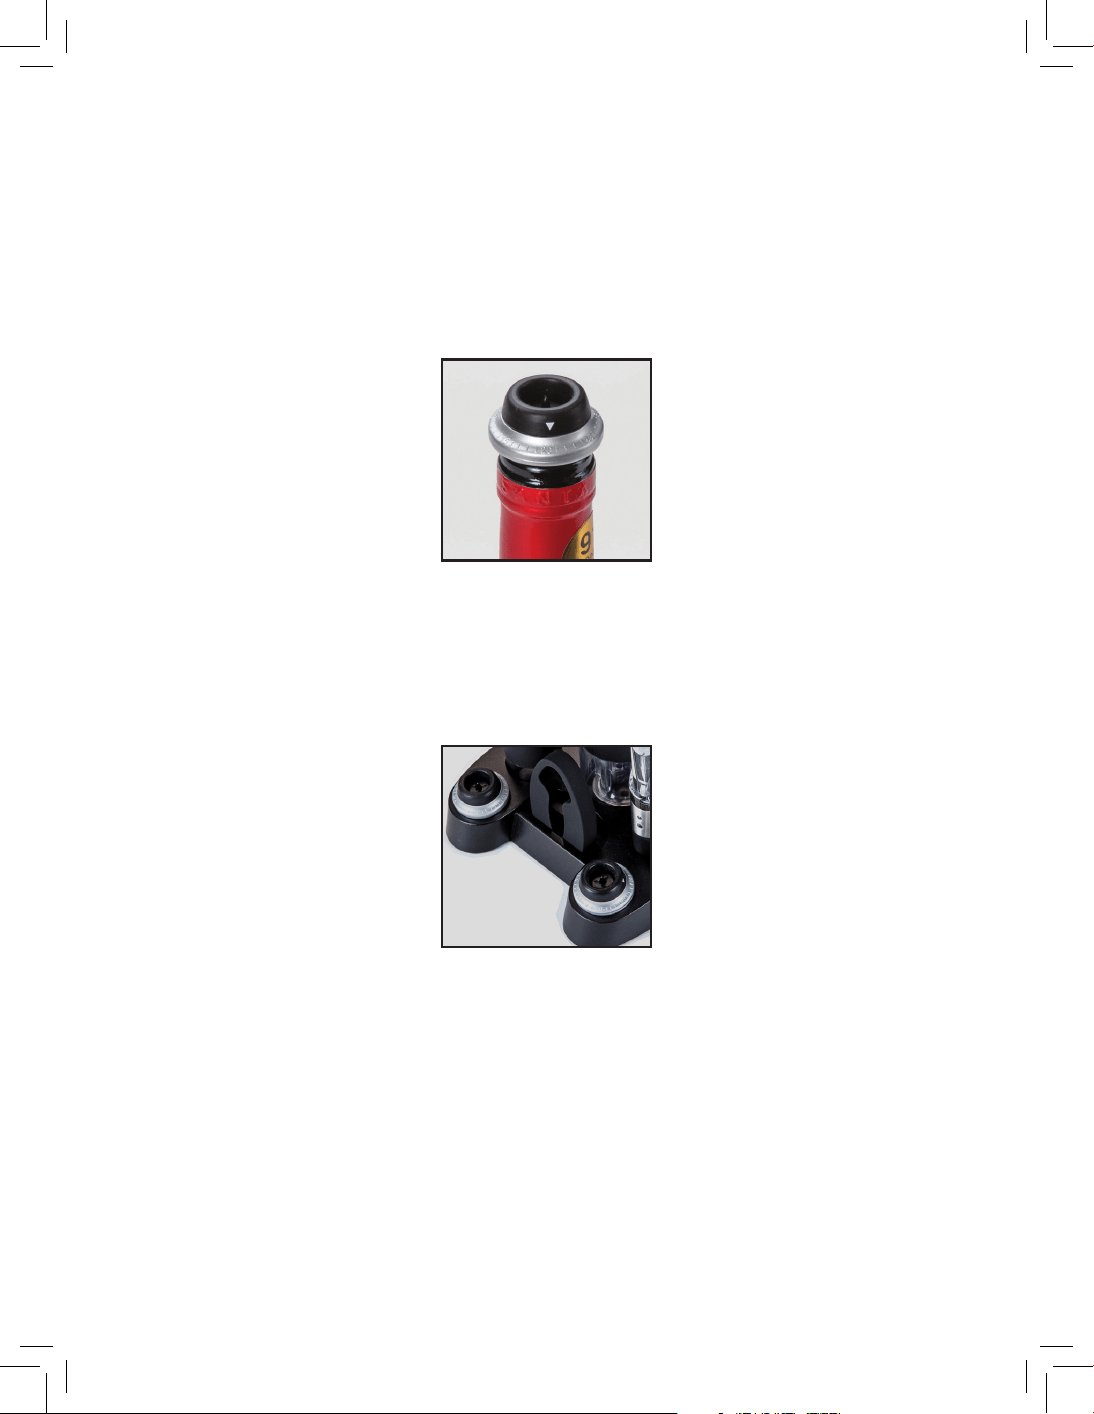
3. Rinse and store the wine stopper in a safe, clean place until you need them next. (There are
two handy compartments to store the wine stoppers in the charging base.)
Care and Maintenance
• After usage, return your electronic wine opener to the charging base so that it is fully charged and
available to use when you need it next.
• To clean, wipe the outside of the charging base with a lightly dampened soft cloth or a sponge.
• Do not submerge the charging base or the electronic wine opener in water.
• Do not use harsh detergents to clean any components.

Battery and Product Disposal Information
This wine set contains a unit which includes rechargeable batteries. Before you dispose of your wine gift
set, especially the electronic wine opener, you should remove the battery pack and dispose of it
responsibly. To remove the battery pack, remove all four (4) screws from the rear cover of the wine
opener. The battery pack is located within. Dispose of it according to local regulation.
The WEEE directive (Waste Electrical and Electronic Equipment; 2002/96/EC) has been put in place to
ensure that electronic and electrical equipment is recycled using the best available treatment, recovery,
and recycling techniques to ensure human health and high level environment protection. Your product
is designed and manufactured with high quality materials and components which can be recycled and
reused.
Do not mix products bearing the crossed-out bin symbol with your general household waste.
Please recycle them in local electronic waste disposal facilities. Check with your local
authorities or township for electronic recycling information.

Questions or problems? Contact us!
info@myivation.com
1-866-849-3049
Distributed by
C&A Marketing, Inc.
114 Tived Lane East
Edison, NJ 08837 USA
Europe: C&A Europe
167 Hermitage Road
Crusader Industrial Estate
London N4 1LZ
United Kingdom
Made in China
Ivation is a trademark of C&A IP Holdings, LLC in the U.S.
©2018. All rights reserved.
All other products, brand names, company names, and logos are trademarks of their respective owners, used merely to
identify their respective products, and are not meant to connote any sponsorship, endorsement or approval.