
Technical Support and E-Warranty Certificate www.vevor.com/support
Kitchen Sink User Manual
We continue to be committed to provide you tools with competitive price.
"Save Half", "Half Price" or any other similar expressions used by us only represents an
estimate of savings you might benefit from buying certain tools with us compared to the
major top brands and doses not necessarily mean to cover all categories of tools offered by
us. You are kindly reminded to verify carefully when you are placing an order with us if you
are actually saving half in comparison with the top major brands.
1
Have product questions? Need technical support? Please feel free to
contact us:
CustomerService@vevor.com
NEED HELP? CONTACT US!
This is the original instruction, please read all manual instructions
carefully before operating. VEVOR reserves a clear interpretation of our
user manual. The appearance of the product shall be subject to the
product you received. Please forgive us that we won't inform you again if
there are any technology or software updates on our product.
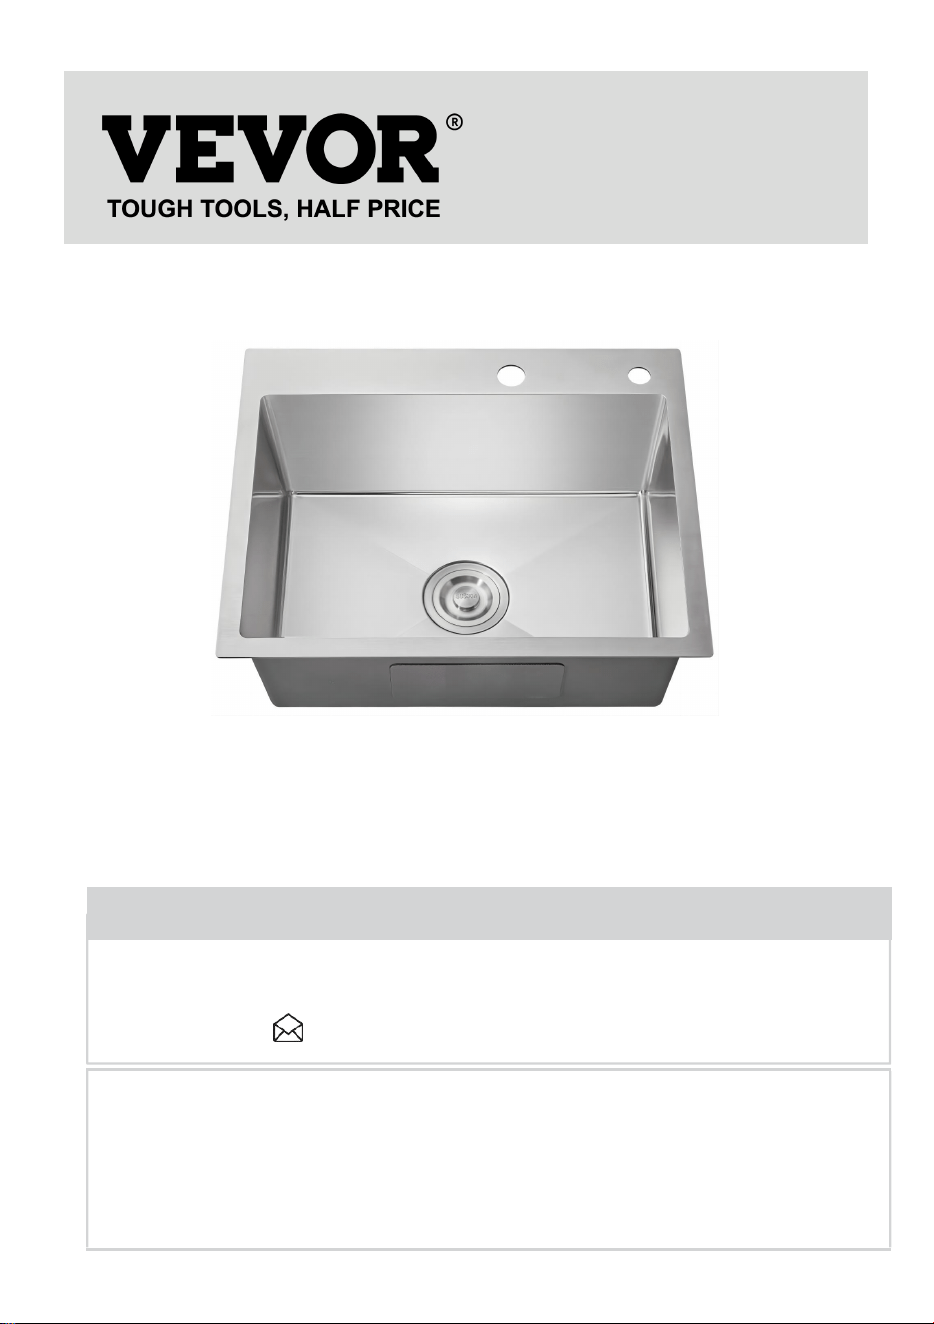
SHIPPING SCALE
2
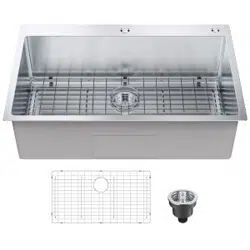
KM-SC-2302-SKU1
KM-SC-2302-SKU2
KM-SC-2302-SKU3

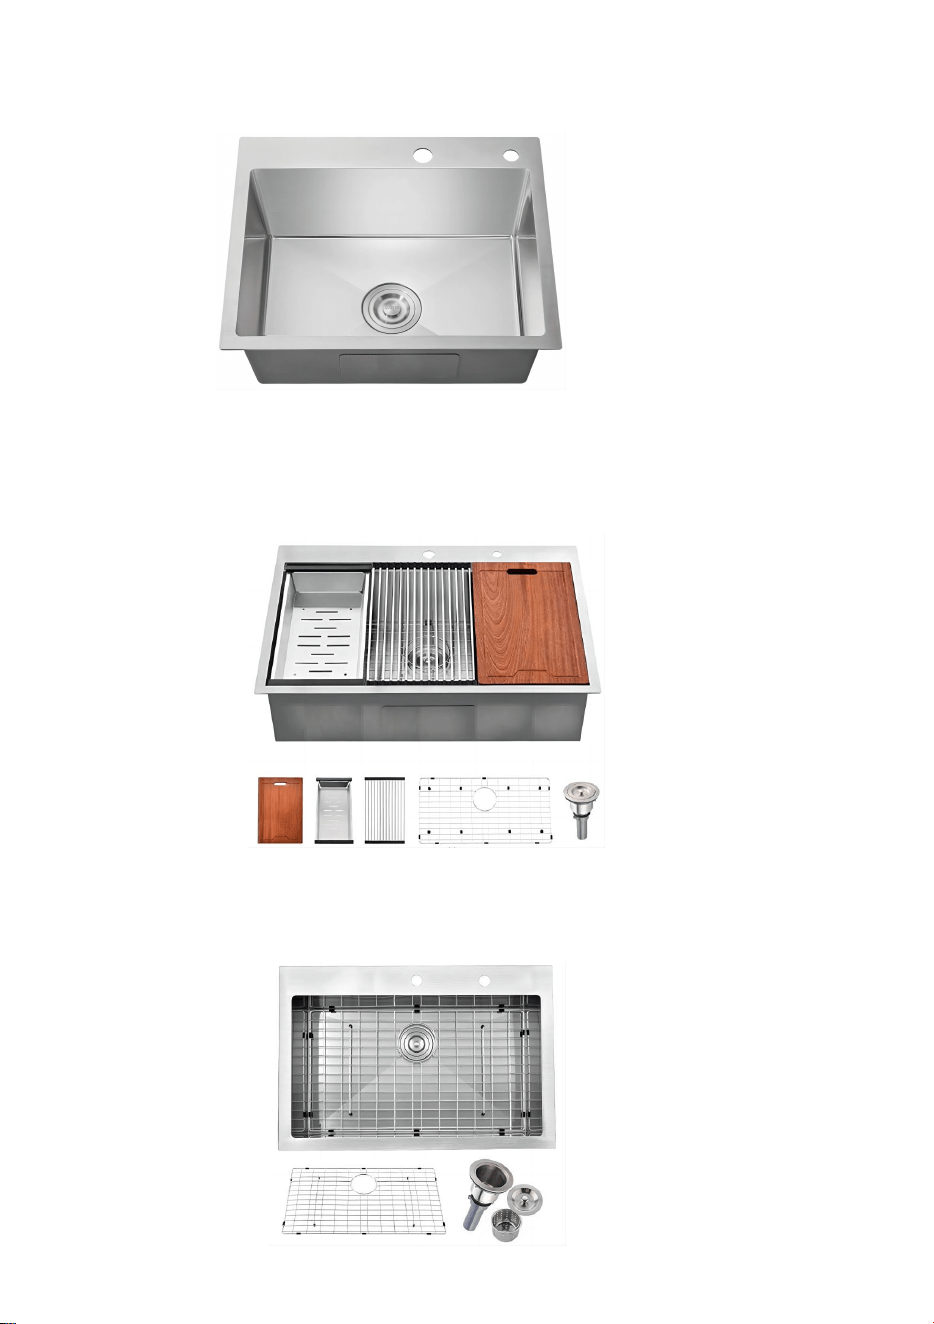
3
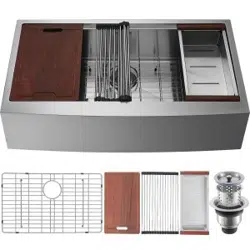
KM-SC-2302-SKU4
KM-SC-2302-SKU5
KM-SC-2302-SKU6
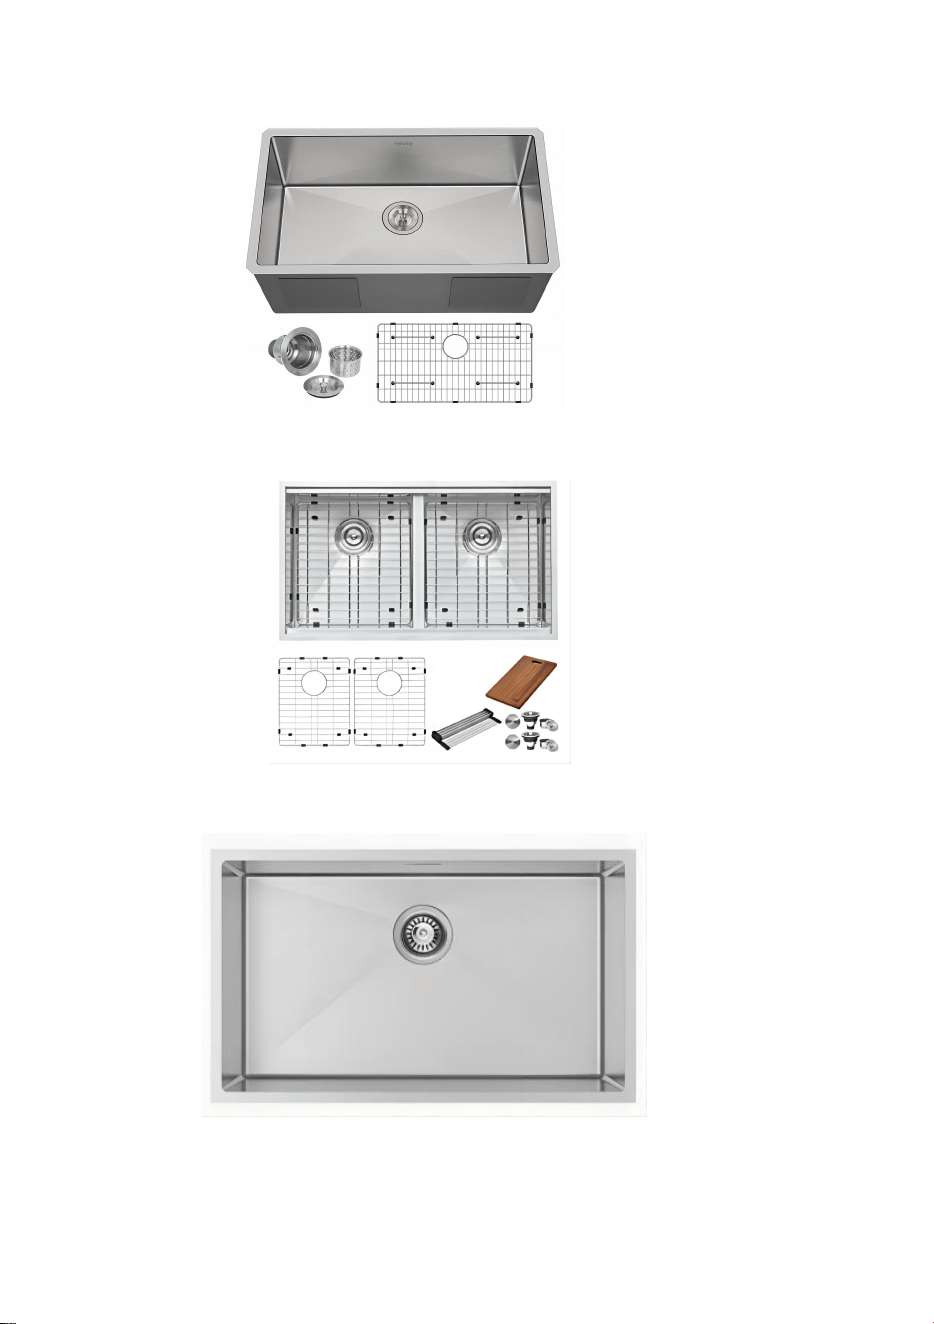
4
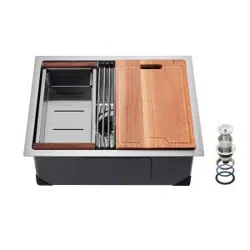
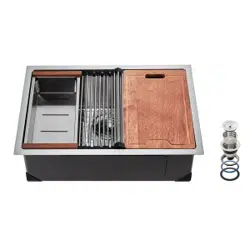
KM-SC-2302-SKU7
KM-SC-2302-SKU8
KM-SC-2302-SKU9
5
Technical Specifications
Model
N. W.
G. W.
Carton Size
SKU1
KM-SC-2302-
SKU1
8.9
KG
11.9
KG±3%
700*625*280
mm±10mm
SKU2
KM-SC-2302-
SKU2
14.7
KG
17.7
KG±3%
905*625*280
mm±10mm
SKU3
KM-SC-2302-
SKU3
11.7
KG
14.5
KG±3%
905*625*280
mm±10mm
SKU4
KM-SC-2302-
SKU4
12.5
KG
15 KG±3%
830*540*280
mm±10mm
SKU5
KM-SC-2302-
SKU5
9.6
KG
12.2
KG±3%
830*525*280
mm±10mm
SKU6
KM-SC-2302-
SKU6
12.7
KG
15 KG±3%
880*550*280
mm±10mm
SKU7
KM-SC-2302-
SKU7
10 KG
12.4
KG±3%
880*550*280
mm±10mm
SKU8
KM-SC-2302-
SKU8
14.7
KG
17.7
KG±3%
905*550*280
mm±10mm
SKU9
KM-SC-2302-
SKU9
9.6
KG
12.2
KG±3%
830*525*280
mm±10mm
SAFETY
Note / Remark. Caution / Warning.
Read the instruction manual.
Read this material before using this product. Failure to do so can
result in serious injury. Save This Manual.
Assembly precautions
1.Assemble only according to these instructions. Improper assembly can
create hazards.

6
2. Wear ANSI-approved safety goggles and heavy-duty work gloves
during assembly.
3.Keep assembly area clean and well lit.
4.Keep bystanders out of the area during assembly.
5.Do not assemble when tired or when under the influence of alcohol,
drugs or medication.
6.Weight capacity and other product capabilities apply to properly and
completely assembled product only.
7.Assemble on a flat, level, hard and smooth surface capable of safely
supporting a fully loaded Kitchen Sink.
Use precautions
TO PREVENT SERIOUS INJURY AND DEATH FROM TIPPING:
1. DO not sit, stand on this Kitchen Sink.
2. This product is not a toy. Do not allow children to play with or near this
item.
3. Do not exceed weight capacities, evenly distributed from bottom up. Be
aware of dynamic loading! Sudden load movement may briefly create
excess load causing product failure. Do not exceed capacity of Kitchen
Sink.
4. Empty Kitchen Sink before moving.
5. Use only on a flat, level, hard and smooth surface capable of safely
supporting a fully loaded Kitchen Sink.
6. Use as intended only.
7. Inspect before every use; do not use if parts are loose or damaged.
7
WARNING!
DO NOT let comfort or familiarity with product (gained from repeated use)
replace strict adherence to the product safety rules. You can suffer serious
personal injury if you use this product unsafely or incorrectly.
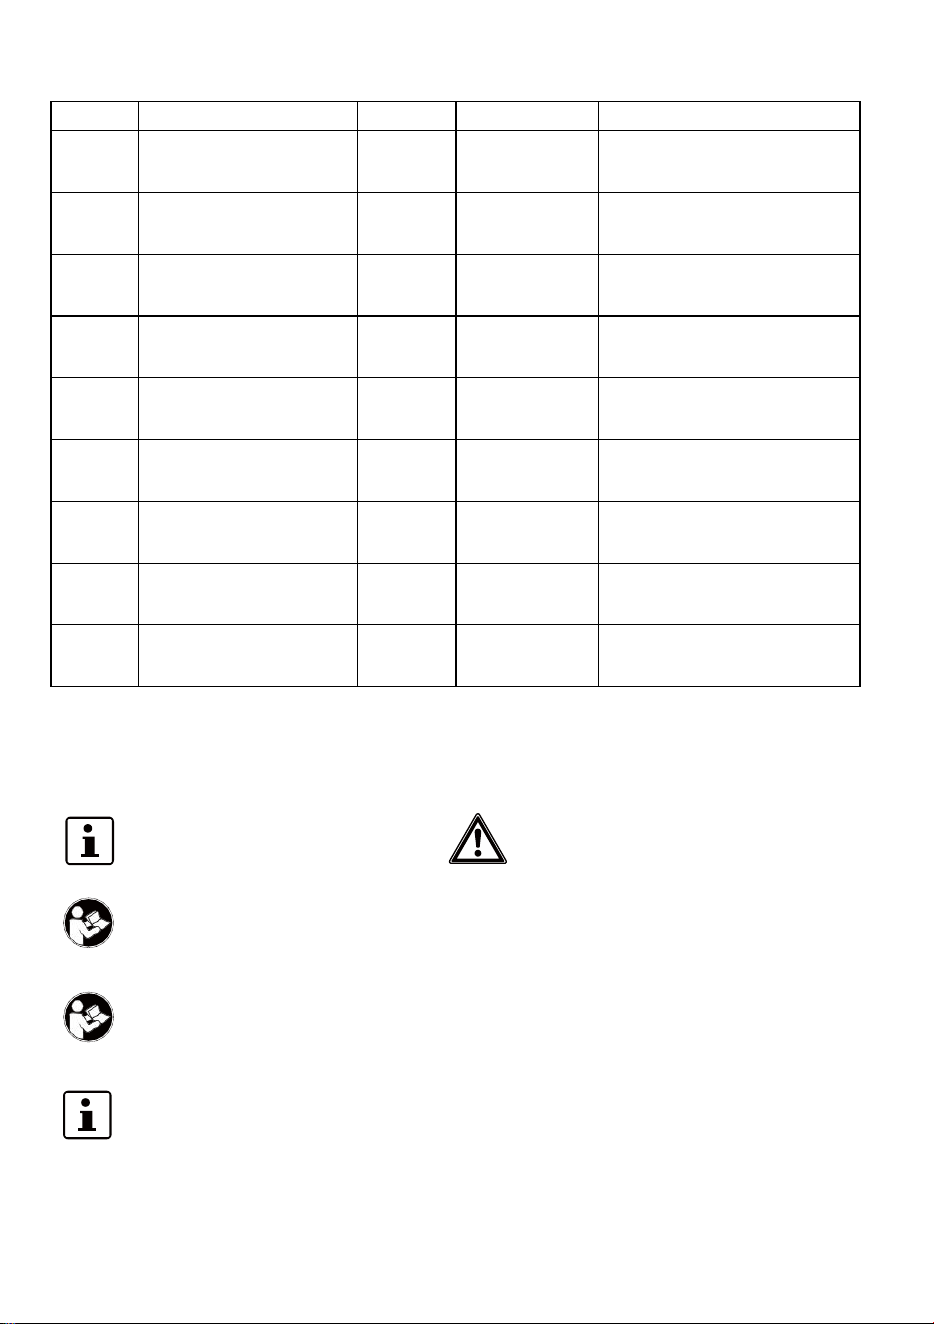
Installation Instructions
Note: Please open the hole according to the opening plate. Opening the hole
after receiving goods is recommended to avoid mildew and reduce
bacterial growth.
Warm suggestions: because the installation is more complicated, please
choose a professional with installation experience for installation
The Sink of mounting under the
countertop (SKU1~SKU3)
Step1:Inside the opening plate, the opening plate in the kitchen table needs
to open the position
8
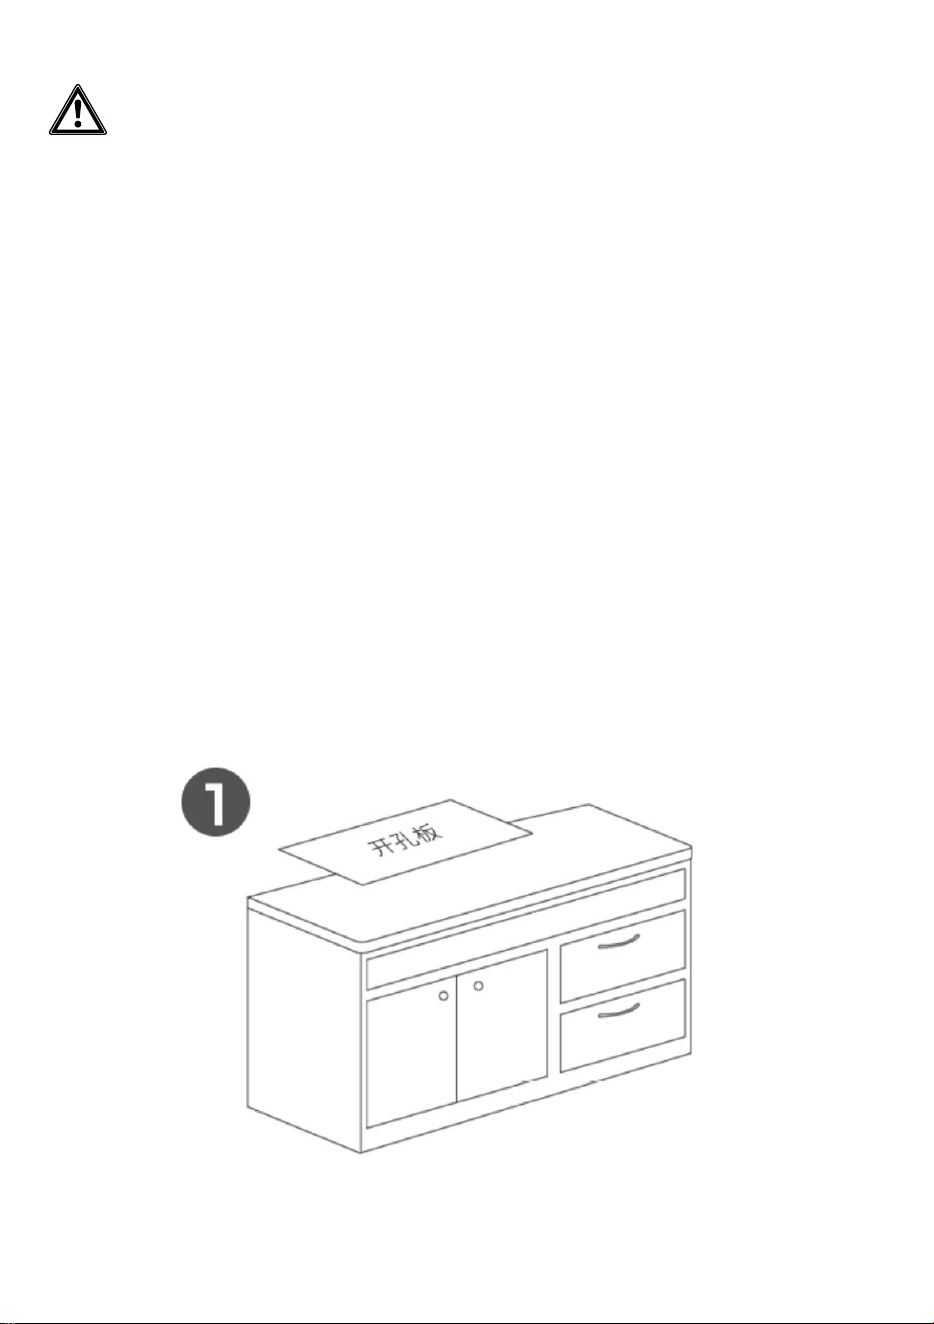
Step2: Make a drawing along the opening plate with a pencil and cut it with a
cutting tool
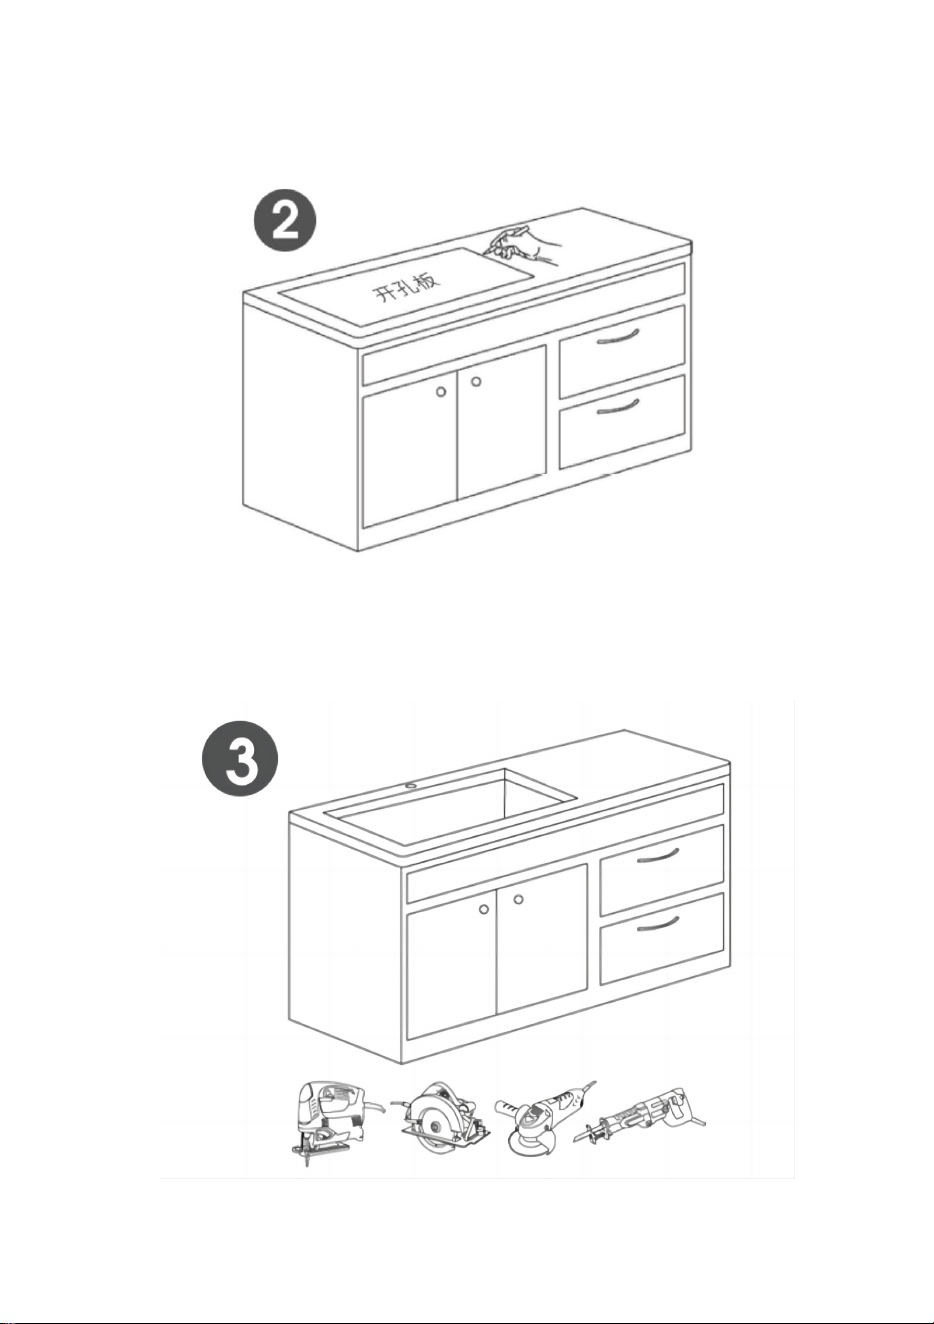
Step3: cut through the countertop along the delineated outline Carefully
9
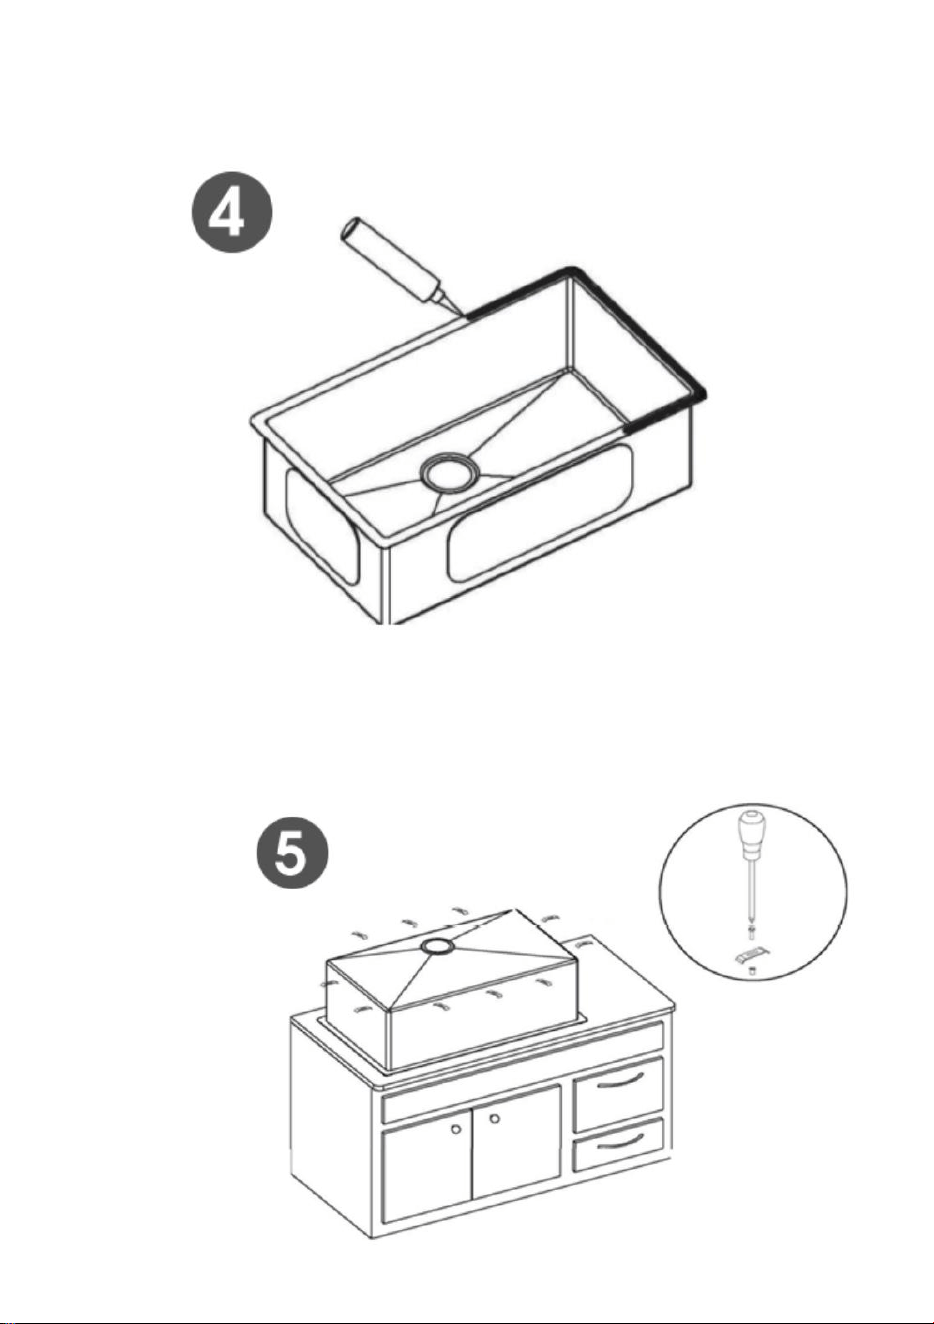
Step4: Apply the adhesive to the table hole or around the tank, place the sink
upside in the hole, and press it hard
Step5: Fix the sink and countertop with fittings and tighten it (This accessory
is not used as a gift, there are many ways under the installation, customers
can install the sink according to the actual situation)
10
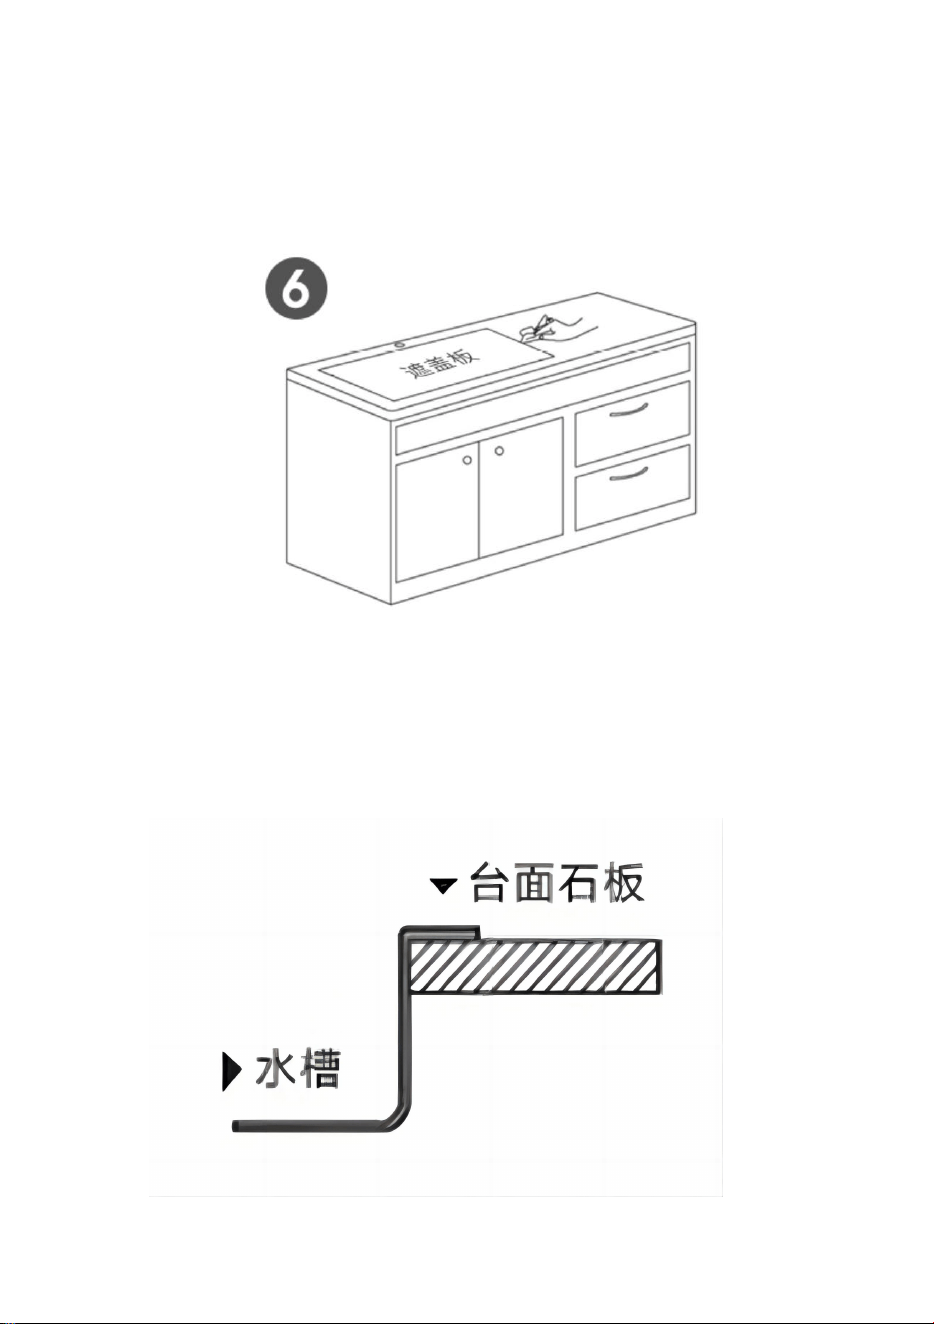
Step6:After the installation of the sink, please cover it with the shielding board to
prevent the decoration dust, paint adhesion, air-liquid corrosion and other
pollution of your products
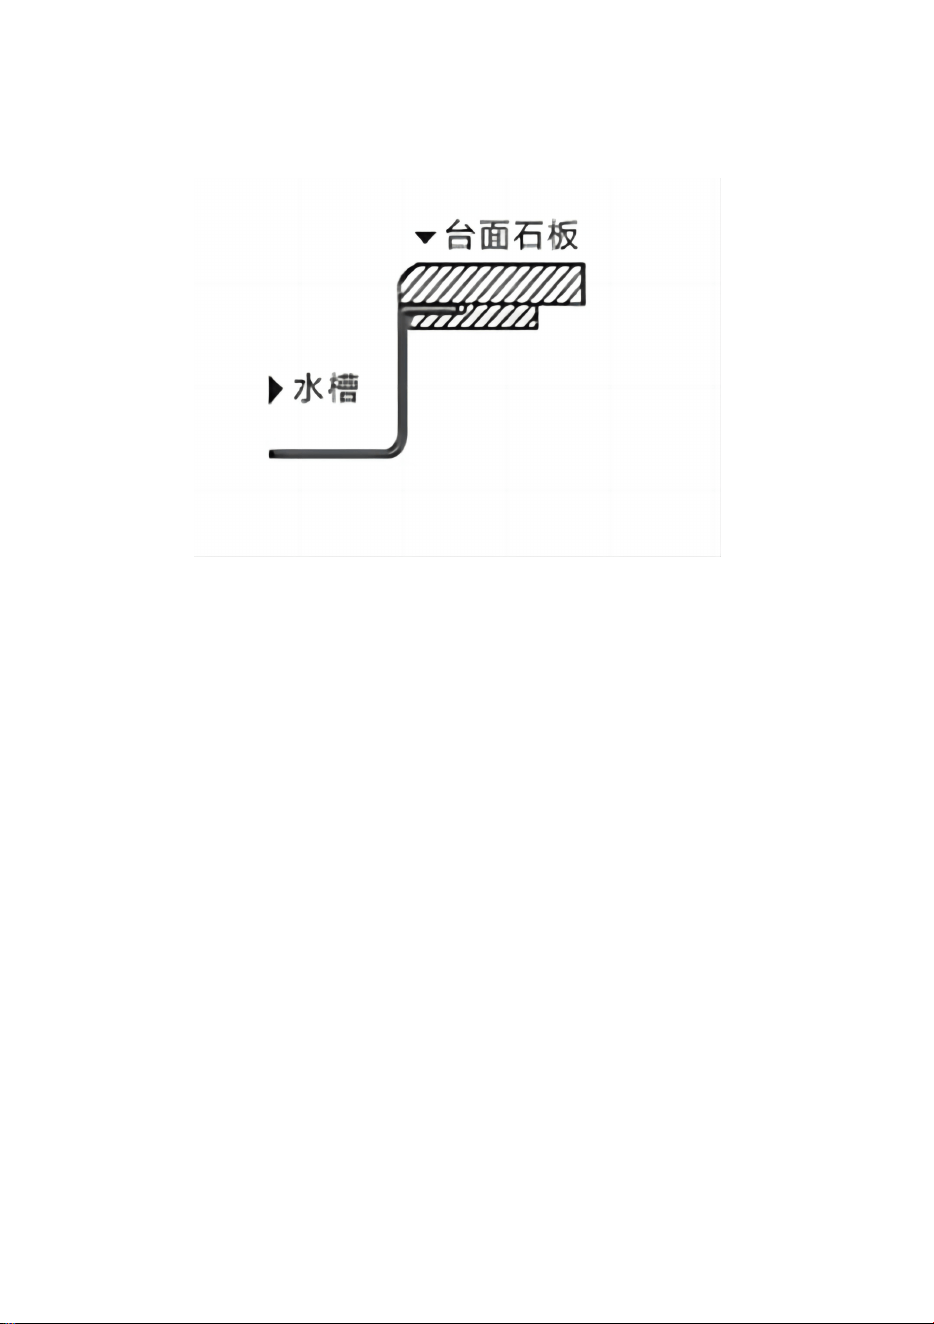
Installation diagrammatic sketch
11
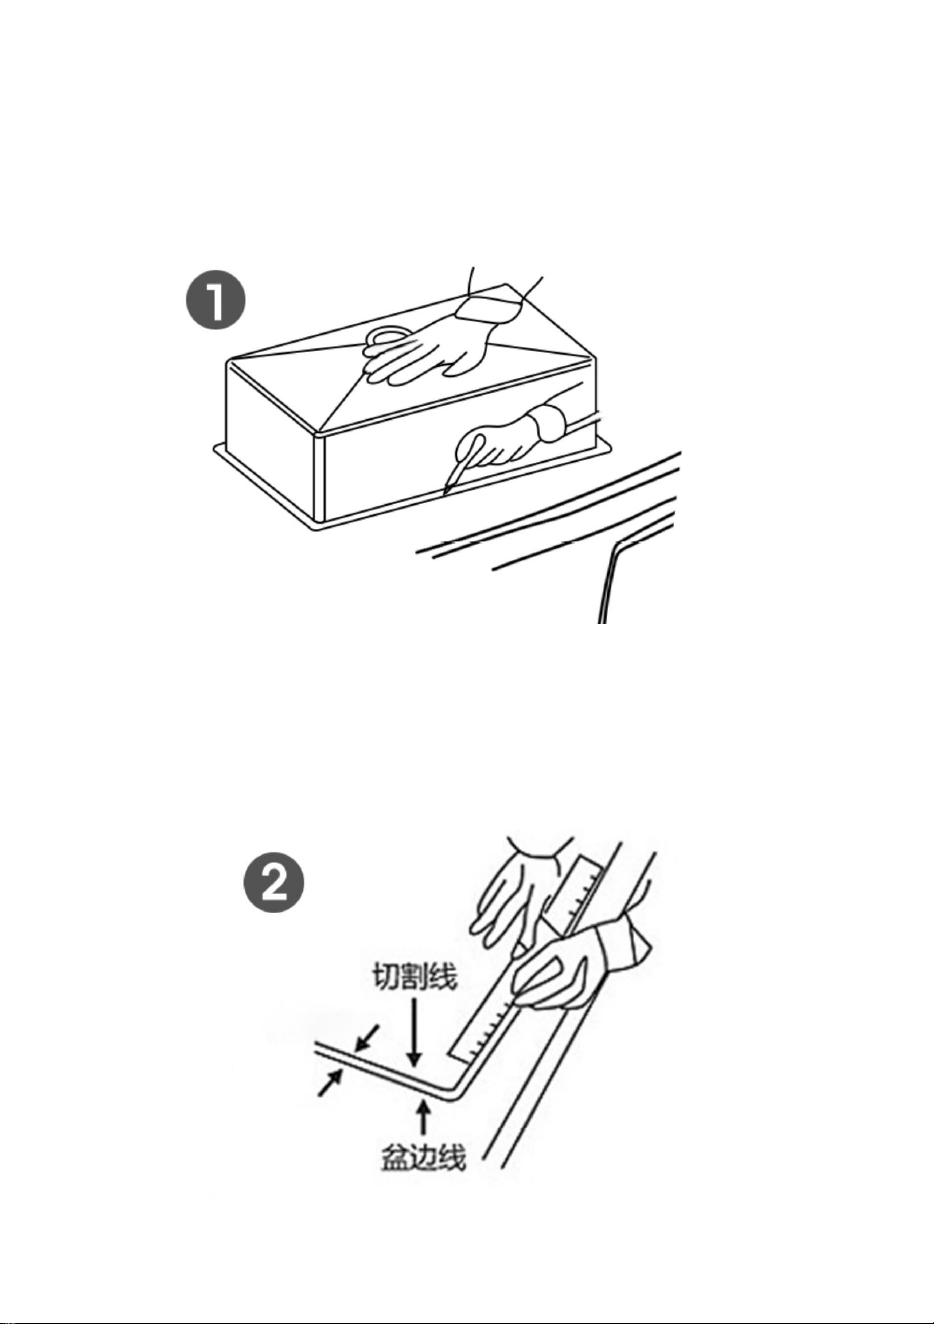
The Sink of mounting on the countertop
(SKU4~SKU9)
Step1: Place the sink in the installation position, press the sink, and trace the
outline along the edge of the sink;
Step2: Take open the sink and draw the cutting line in the outline of the sink
12
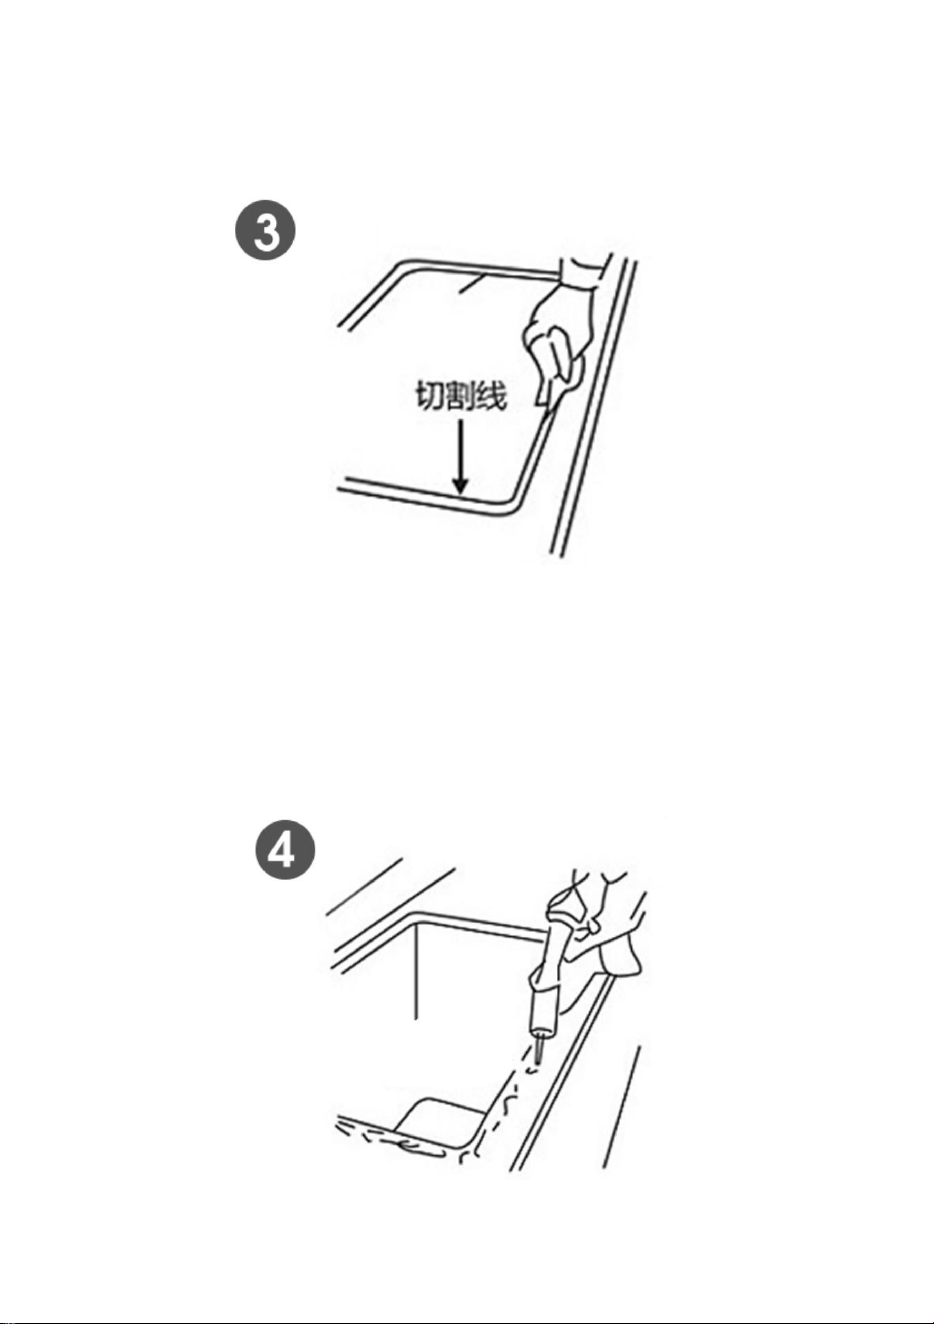
Step3: drill a hole in the cutting line, put the saw blade and cut along the
cutting line, and smooth the cut with sandpaper
Step4: Fill in transparent silicone on the outside of the incision for some
installation master glass glue
13
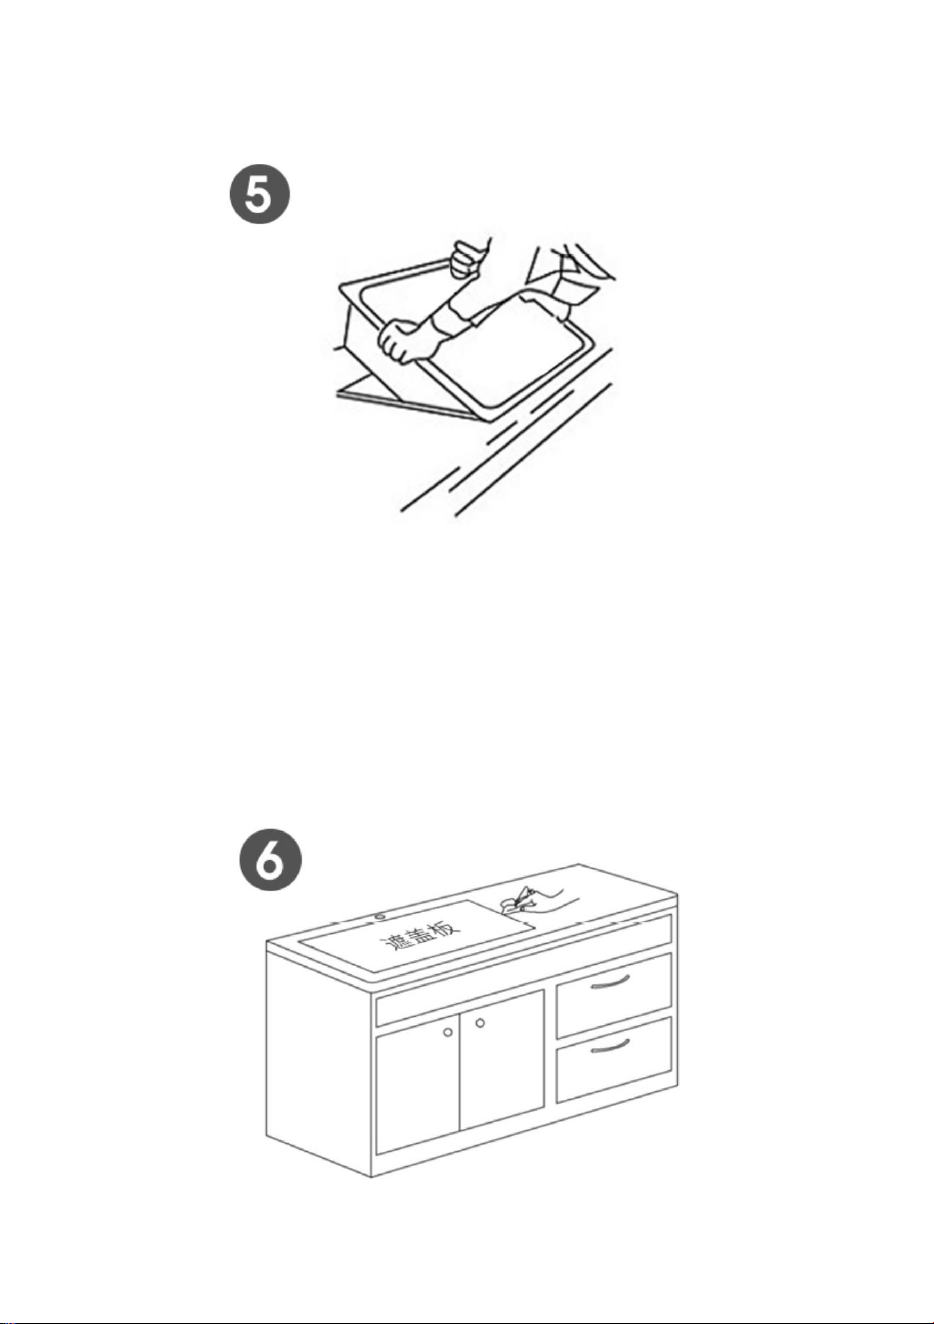
Step5: After the kitchen faucet is installed, slowly put the sink close to the
leading edge, cover the glue and slowly put flat
Step6: After the installation of the sink, please cover it with the shielding
board to prevent the decoration dust, paint adhesion, air-liquid corrosion and
other pollution of your products
14
Installation diagrammatic sketch
MAINTENANCE/ Service
In order to extend the service life of the sink, customers should pay
attention to the maintenance of the sink after buying the sink. The specific
maintenance and cleaning methods are as follows:
1. The decoration of the house should pay attention to the window
ventilation to avoid the decoration materials issuing corrosive gas, and
oxidation of the sink's surface, resulting in floating rust in the sink.
2. Can not directly cut items on the sink, can not be hard or rusty items in
contact with the sink for a long time or stored for a long time, do not use
steel wire ball to scrub the sink, the residual iron elements in the sink will
also cause floating rust, but also scratch the sink.
3. Please use a sponge or cloth; if cleaning with a cleaning agent, please
choose a neutral cleaning agent and gently scrub.
4. The surface of the tank should not contact the water containing heavy
metals (heavy water). Due to the heavy content of gold, the subordinate
water will cause the tank discoloration and rust spots. If this phenomenon
occurs, please immediately dry the tank with a towel.
5. The sink should try to avoid prolonged contact with strong bleach
powder, household chemicals and soap.
6. If this happens, clean it with water and dry the sink with a towel
immediately.
7. Clean the sink using a neutral detergent in case the sink appears
"floating rust" or "mildew." The toothpaste can be coated in the rust point

15
and spots and scrubbed clean with a rag.
8. If there is a chemical agent, cleaning agent, paint, oil pollution and other
residues in the tank, please clean it immediately.
Disposal
This products should be disposed of in accordance with local regulations.
If you are unsure how to proceed, contact your local authority.
Only qualified technicians are authorized to undertake the repair of Stand
Alone Sink.
For your safety , please observe all safety notes, precautions, and details
in this manual.
Warranty
1.This warranty shall only cover claims for damage due to a fault in the
product's manufacture.
2.If a warranty claim is made, the party entitled to warranty cover must
present the proof of purchase, including the purchase date.
3.Customers’ satisfaction is always the motivation of our brand growth. We
promise to help you solve any issues . Please just let us know if you need
help.
OUR SERVICE TEAM PROMISES TO REPLY TO YOUR MESSAGE WITHIN
24H.
Scope of Warranty
1.We guarantee that VEVOR products are produced in accordance with iso
9001 Quality Management procedures and are free of manufacturing defects
tor the period of warranty.
2.This warranty covers faults in the products due to manufacturing defects
within 1 year from date of purchase.After inspection by sales representative,
defective products will be replaced or repaired with equivalent goods free of
charge.
3.Any warranty claim made during warranty period shall not extend the overall
period of warranty coverage.
4.Warranty periods:Warranty claim date