INSTALLATION GUIDE
for the
SBA-POL-RZG2-DK-MM50
SKU# 99815
2014-Up Polaris RZR
Thank you for choosing a JL Audio Stealthbox® for your automotive sound system.
With proper installation, your new vehicle-specific enclosed subwoofer system
will deliver years of listening pleasure.
We strongly recommend that you have your new Stealthbox® installed by your
authorized JL Audio dealer. The installation professionals employed by your
dealer have the necessary tools and experience to disassemble and reassemble
your vehicle properly. If you prefer to perform your own installation, please read
this installation guide completely before beginning the process.
If you choose to perform the installation yourself, it is absolutely
vital that the Stealthbox
®
be properly mounted to the vehicle
according to these instructions. Failure to mount the enclosure
properly presents two problems:
1) The sub-bass performance will suffer due to the movement of the
enclosure caused by the force exerted by the woofer(s).
2) A loose enclosure presents a serious safety hazard in the event of a
collision or sudden deceleration.
INSTALLATION
DIFFI CULT Y:
ESTIMATED TIME:
1 HOUR
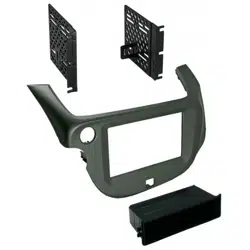
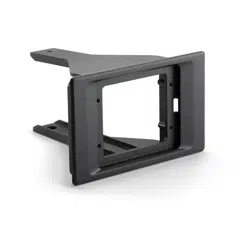
Dash Kit for MediaMaster® MM50
Continued on Next Page
1
5
OUT
OF
SBA-POL-RZG2-DK-MM50 INSTR_SKU# 011541
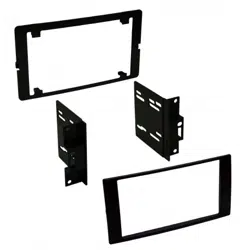
INCLUDED HARDWARE
1
2
Continued on Next Page
Page 2 • JL Audio, Inc., 2019
SBA-POL-RZG2-DK-MM50 INSTR_SKU# 011541
BOM ID Qty Description
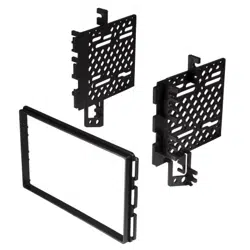
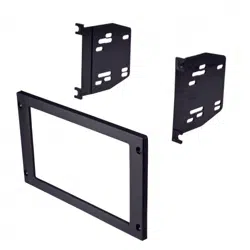
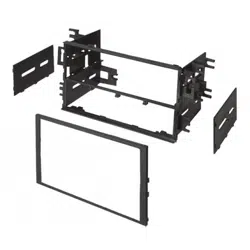
1 1 Dash Kit
2 4
#8 x 3/4” Stainless Steel Phillips Pan Head Screw
Page 3 • JL Audio, Inc., 2019
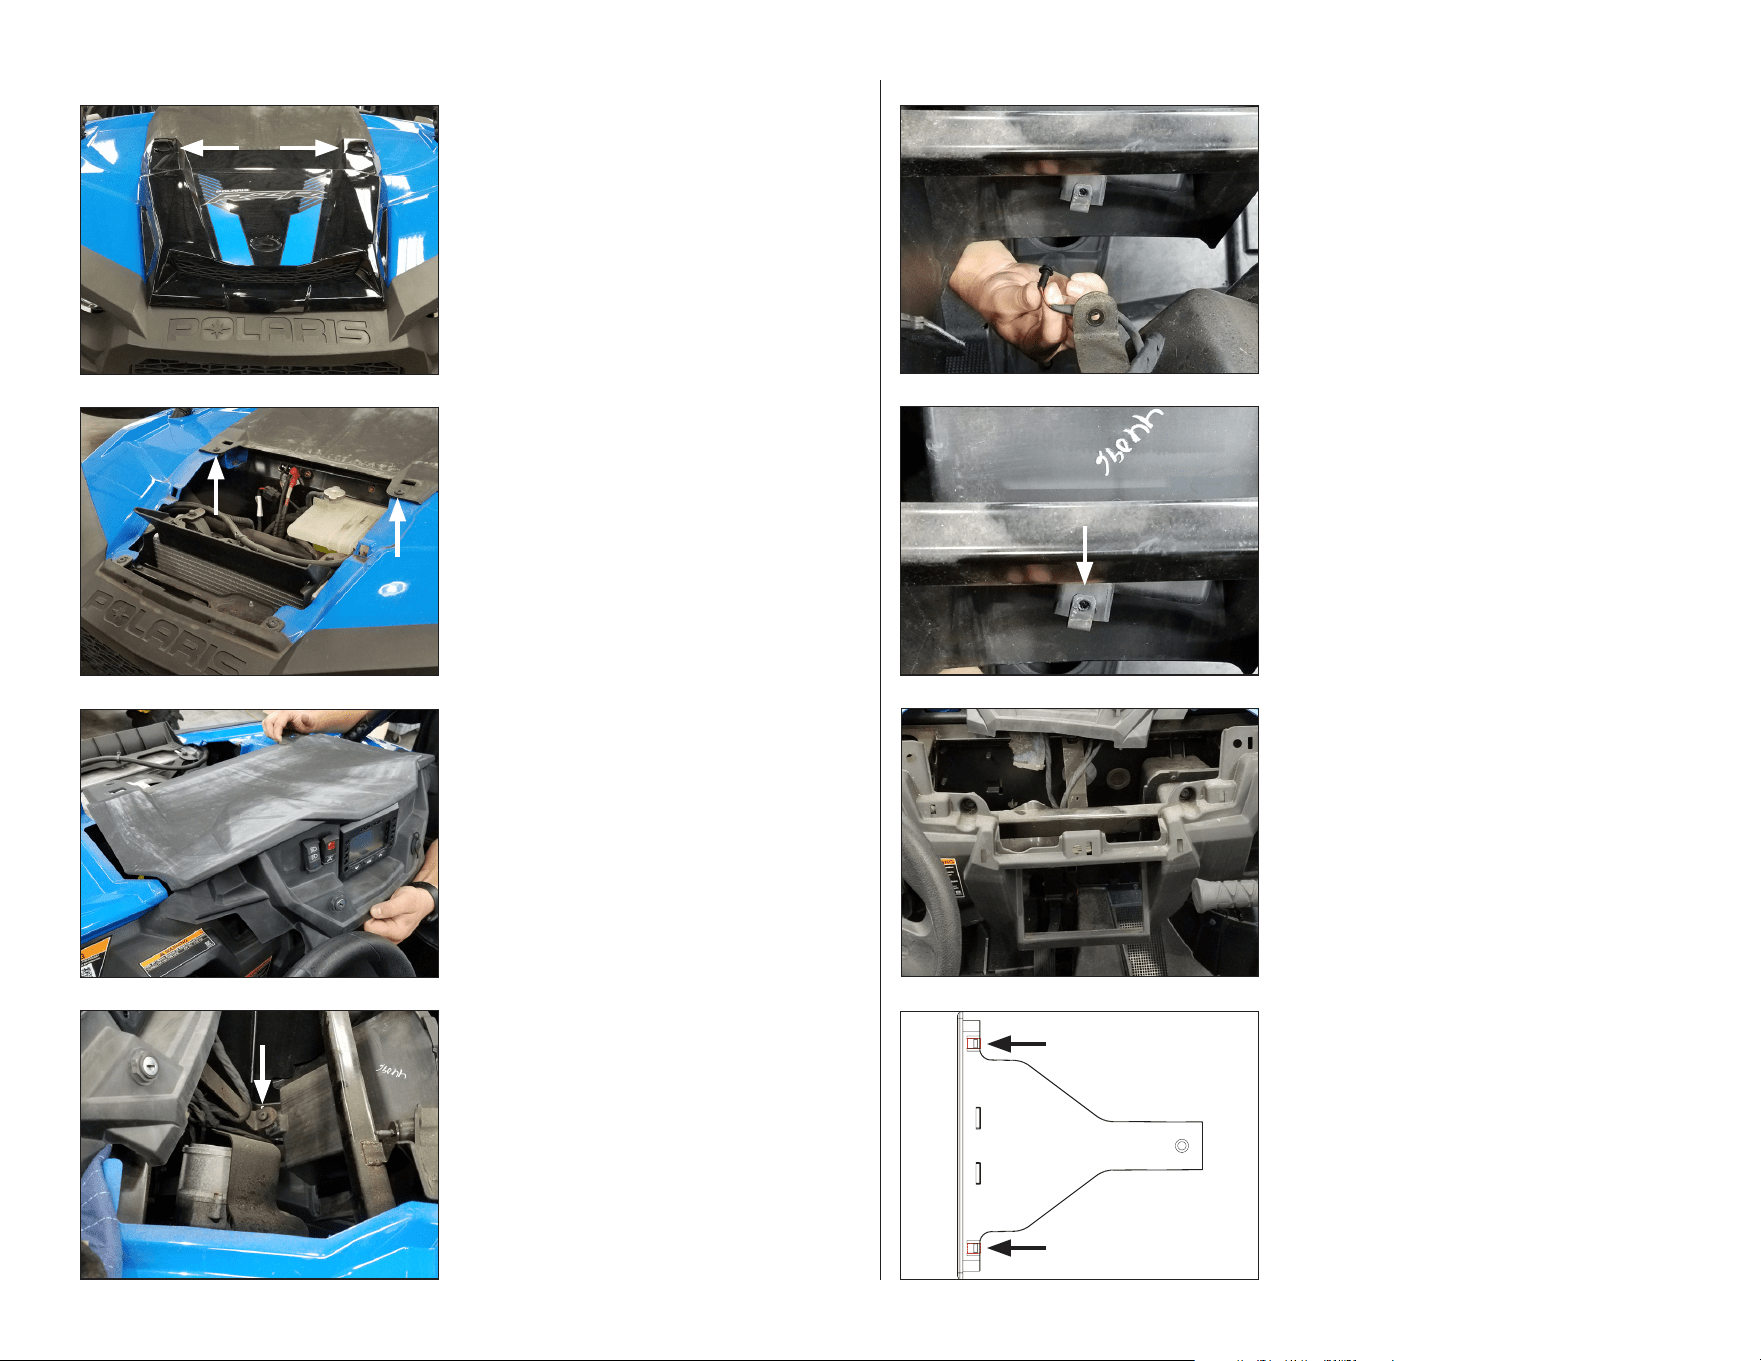
STEP 7
Unclip the lower dash panel, and remove the
panel from the vehicle.
STEP 4
Remove the indicated Torx bolt from behind
the lower dash panel.
STEP 3
Carefully unclip the upper dash panel by
pulling toward the rear of the vehicle.
STEP 2
Remove the front cover from the vehicle.
Remove the indicated Torx bolts from front of
the upper dash panel.
STEP 1
NOTE: This manual illustrates the
installation of the Dash Kit in a 2014-2018
model vehicle. The installation procedure is
the same for 2019-Up models.
Turn the front cover latches and unclip the
cover.
SBA-POL-RZG2-DK-MM50 INSTR_SKU# 011541
STEP 6
Remove the indicated U-nut from the lower
dash panel.
STEP 5
Unclip and remove the dash light from the
lower dash panel.
STEP 8
Note the two indicated outer tabs on the
bottom of the Dash Kit.
For 2014-2018 model vehicles: Leave the tabs
in place.
For 2019-Up model vehicles: Use a pair of
pliers to break off the tabs.
Bottom View
Page 4 • JL Audio, Inc., 2019
CONGRATULATIONS!
You have completed the installation for this
model! Enjoy your new Stealthbox® Accessory!
All specifications are subject to change without notice. “JL Audio®” and “How we play®” are registered trademarks of JL Audio, Inc. “Ahead of the Curve” and its respective logo are trademarks
of JL Audio, Inc.
Printed in USA • ©2019 JL Audio, Inc. • For more detailed information please visit us online at www.jlaudio.com.
(954) 443-1100
www.jlaudio.com
JLA-SKU# 011541 • ver. 06.12.2019 • 10369 NORTH COMMERCE PARKWAY • MIRAMAR, FLORIDA • 33025 • USA
®
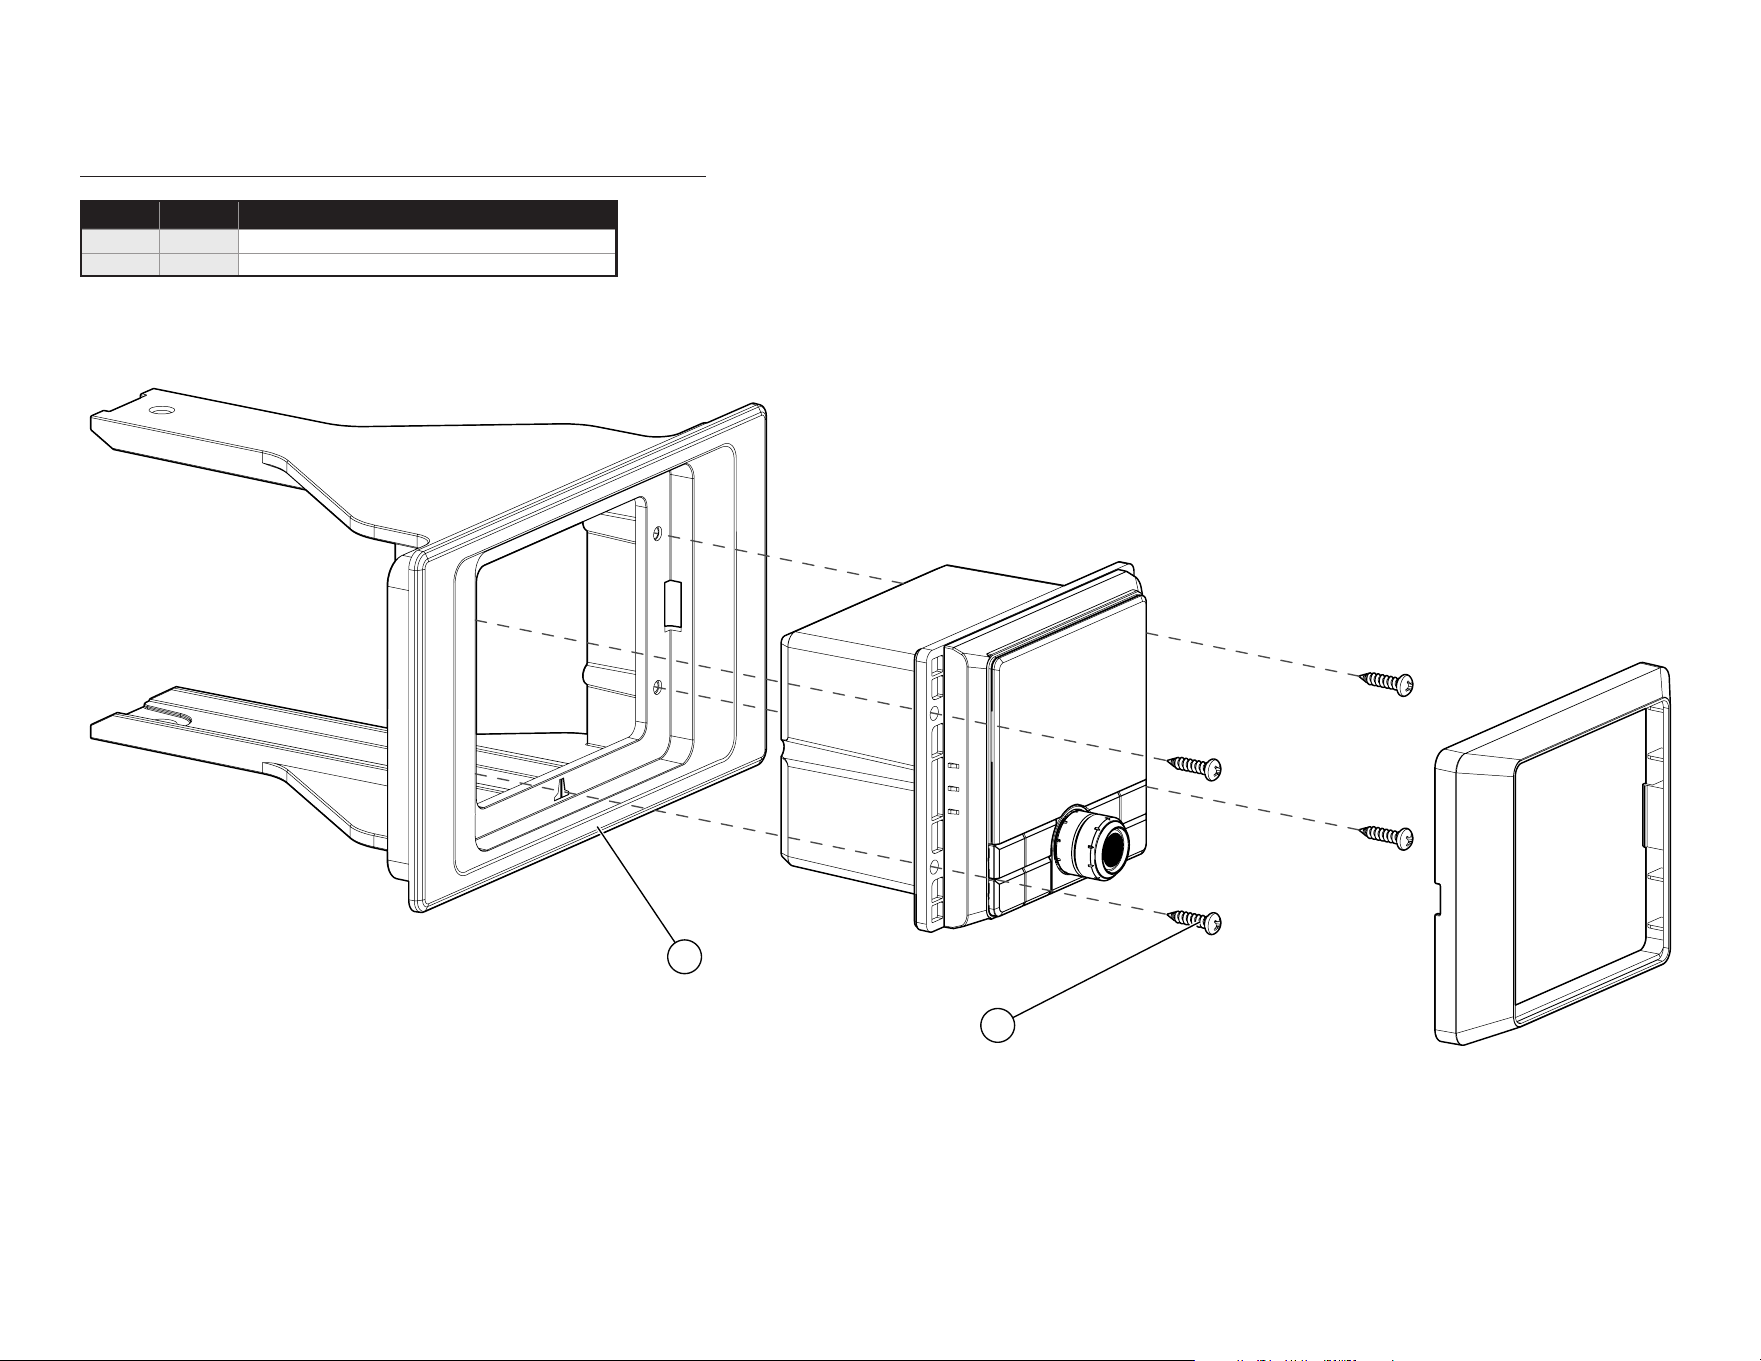
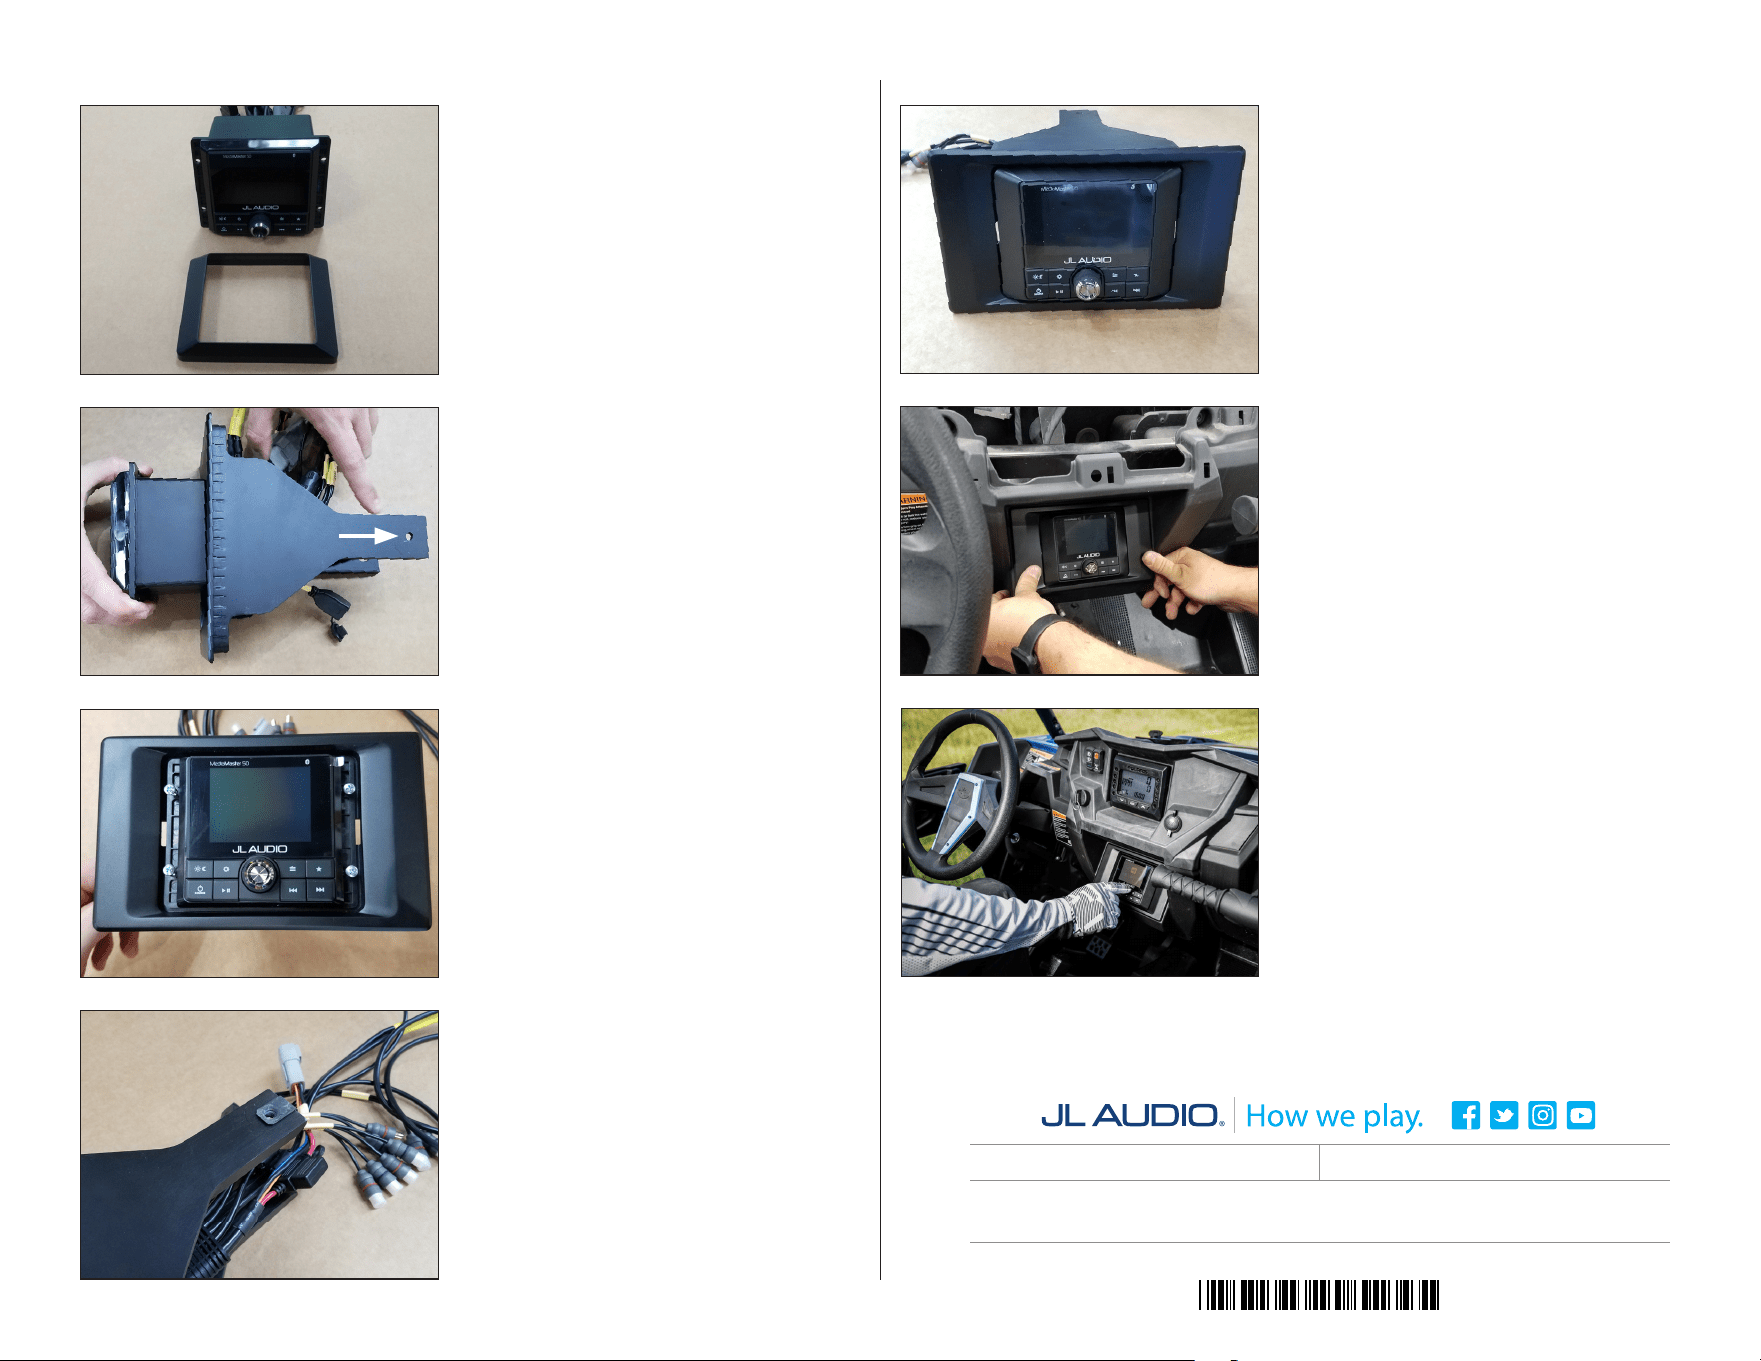
STEP 12
Slide the factory U-Nut removed from Step 6
over the upper hole in the back of the Dash Kit,
as shown.
STE P 11
Align the holes of the MM50 mounting flange
with the holes in the Dash Kit flange.
Pass a #8 x 3/4” Stainless Steel Phillips Pan Head
Screw through each of the holes in the MM50
mounting flange, thread into the holes in the
Dash Kit flange, and fully tighten.
STEP 10
With the smaller hole to the top, pass all wiring
and cables of the MM50 through the Dash Kit,
as shown. Slide the MM50 back until flush with
the Dash Kit flange.
STEP 9
Remove the trim ring from the MM50.
SBA-POL-RZG2-DK-MM50 INSTR_SKU# 011541
STEP 14
Pass all wiring and cables of the MM50 through
the opening in the lower dash panel. Push the
Dash Kit into the panel until it snaps into place.
Reinstall the dash light. Reinstall the Torx bolt
removed in Step 4 through the factory U-Nut
installed in Step 12. Reinstall the upper dash
panel and Torx bolts, and the front cover.
STEP 13
Reinstall the trim ring onto the MM50.
*011541*