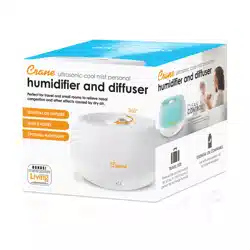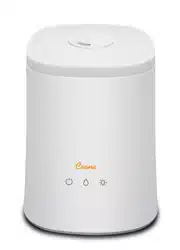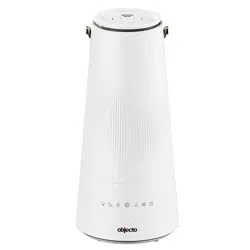

H10 Top Filling Smart Humidifier
Digital Display & Smart App Control

READ AND SAVE THESE INSTRUCTIONS
WHEN USING ELECTRICAL APPLIANCES, BASIC SAFETY PRECAUTIONS
SHOULD ALWAYS BE FOLLOWED TO REDUCE THE RISK OF FIRE, ELECTRIC
SHOCK, AND INJURY TO PERSONS, INCLUDING THE FOLLOWING:
Only use the humidifier in accordance with the specifications outlined in this manual.
Usage other than what has been specified here may result in serious injury.
1.Check the voltage of your electricity supply is the same as that indicated on the
appliance.
2.DO N
OT add water to moisture outlets directly, or it will damage the unit.
3.Do not allow children to play with any product packaging, such as plastic bags.
4.To avoid fire hazards, NEVER put the cord under rugs, near heat registers, radiator,
stoves, or heaters.
5.DO NOT place humidifier near heat sources such as stoves, radiators and heaters.
6.Do not attempt to refill the humidifier without first unplugging the unit from the
electrical outlet.
7.DO NOT operate any appliance
with a damaged cord or plug if it has been dropped
or damaged in any manner. Contact appliance manufacturer for examination or
repair.
8. Always place the humidifier on a firm, flat, level surface.
9.DO NOT allow the moisture outlet to directly face the wall.
10.NEVER tilt, move, or attempt to empty unit while it is operating.
11.Power off the unit and unplug before removing the water tank or moving the unit.
12.DO NOT attempt to repair or adjust any electrical or mechanical fun
ctions of this

unit. Doing so will void your warranty. The inside of the unit contains no user
serviceable parts. All service should be performed by qualified personnel only.
13.Do not plug the cord with wet hands: electric shock could result.
14.NEVER use detergent, gasoline, glass cleaner, furniture polish, and paint thinner,
or other household solvents to clean any part of the humidifier.
15.Do not pour water into any openings other than the water tank.
16.Excessive humidity in a roo
m can cause water condensation on windows and some
furniture. If this happens, turn the humidifier OFF.
17.Never place the base under water or immerse in liquids.
18. Regarding maintenance, filling, cleaning and descaling of the appliance, refer to
the related chapter in the manual.
19.This appliance can be used by children above ages 8 years and people with
reduced physical, sensory or mental capabilities or lack of experience and knowledge
if they have been given superv
ision or instruction concerning use of the appliance in a
safe way and understand the hazards involved.
20.Children shall not play with the appliance.
21.Cleaning and user maintenance shall not be made by children without supervision.
22.The appliance is only to be used with the power supply cord provided with the
appliance.
23.Unplug the appliance during filling and cleaning.
24.The excess of moisture may wet the surface where the humidifier is placed.
25.If the supply
cord is damaged, it must be replaced by the manufacturer to avoid
hazard.
26. Be aware that high humidity levels may cause growth of bacteria.
27.Do not permit the area around the humidifier to become damp or wet. If dampness
occurs, lower the output of the mist. Do not allow absorbent materials, such as

carpeting, curtains, drapes, or tablecloths, to become damp.
28.Never leave water in the reservoir when the appliance is not in use.
29.Empty and clean the humidifier before storage.
30.Empty the tank and refill every third day. Before refilling, clean it with fresh tap
water. Remove any scale, deposits, or film that has formed on the sides of the tank or
on interior surfaces and wipe all surfaces dry.
31. DO NOT add essential oils into the water tank or base chamber. This will
damage
the humidifier. Only add essential oils to the aroma pad.

PRODUCT SPECIFICATIONS AND PARTS
SPECIFICATIONS
ITEM NUMBER: H10 Smart
MODEL NUMBER: HM-63S-WH
HUMIDIFYING MODE: Ultrasonic Top Fill Warm & Cool Mist
POWER SUPPLY: 120V, 60Hz
TANK CAPACITY: 6L/ 1.58 gallons
DIMENSIONS: 8.78" x 8.78" x 18.7" (L x W x H - inches)
PARTS
Mist nozzle
Top cap
Control panel
Base
Handle
Water tank
Aroma tray
Brush
Air outlet
GETTING STARTED
SET UP
Select a firm, flat location - at least 12 inches away from any wall or object for proper air flow.
Place the humidifier on a water-resistant surface, as water can damage furniture and flooring. Do
not place unit directly on carpet, towels, blankets or other absorbent surfaces.
We will not accept responsibility for damage caused by water spillage.
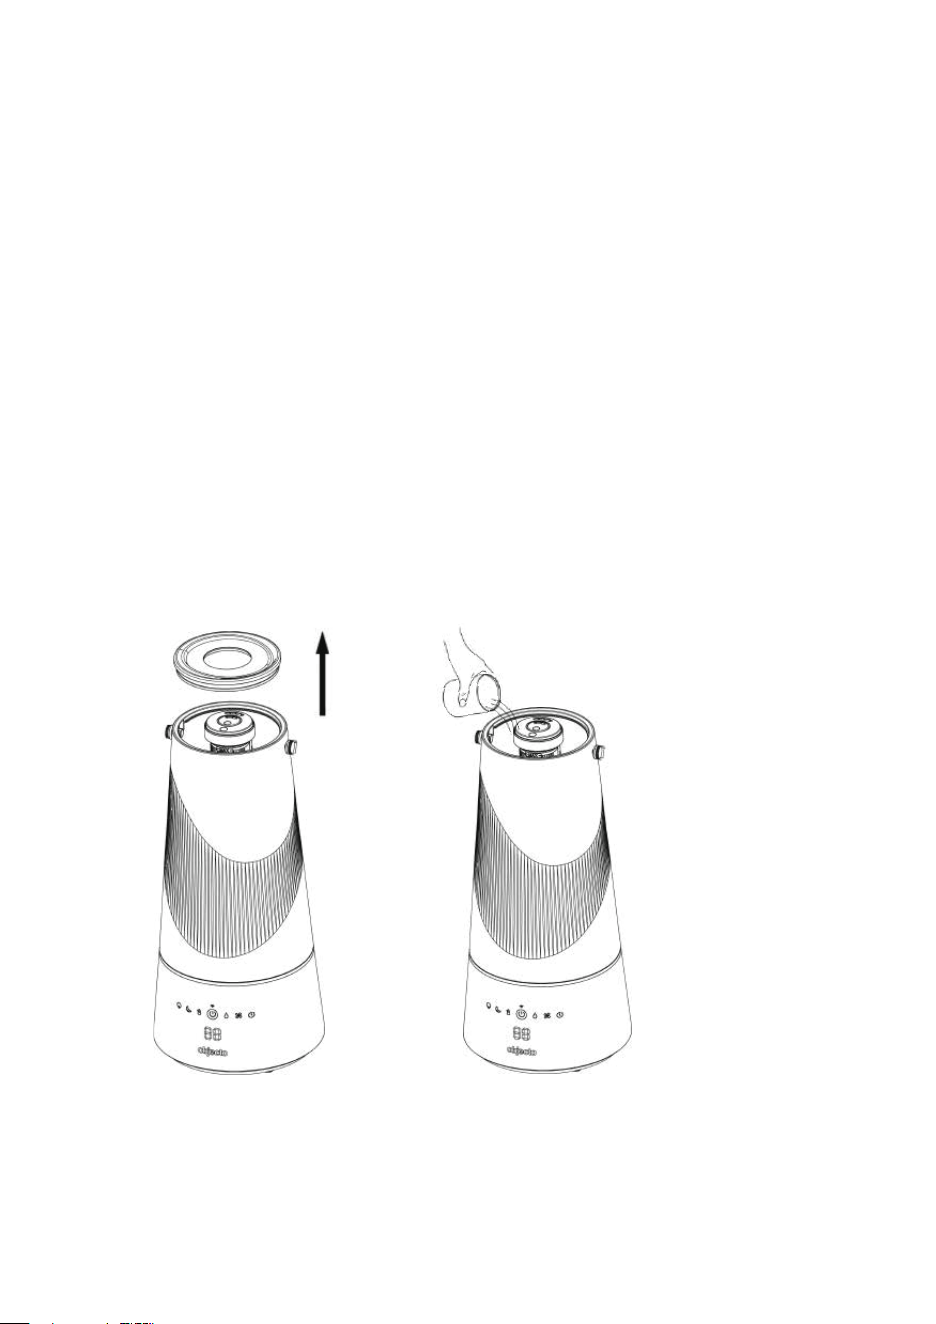
FILLING
Make sure the unit is unplugged.
Add water to the humidifier by following the diagram in A or B.
A. Re
move the top cap and add water directly to the tank.
B. Remove the top cap and take the water tank off the unit base and fill the water tank with water before
returning it to the base.
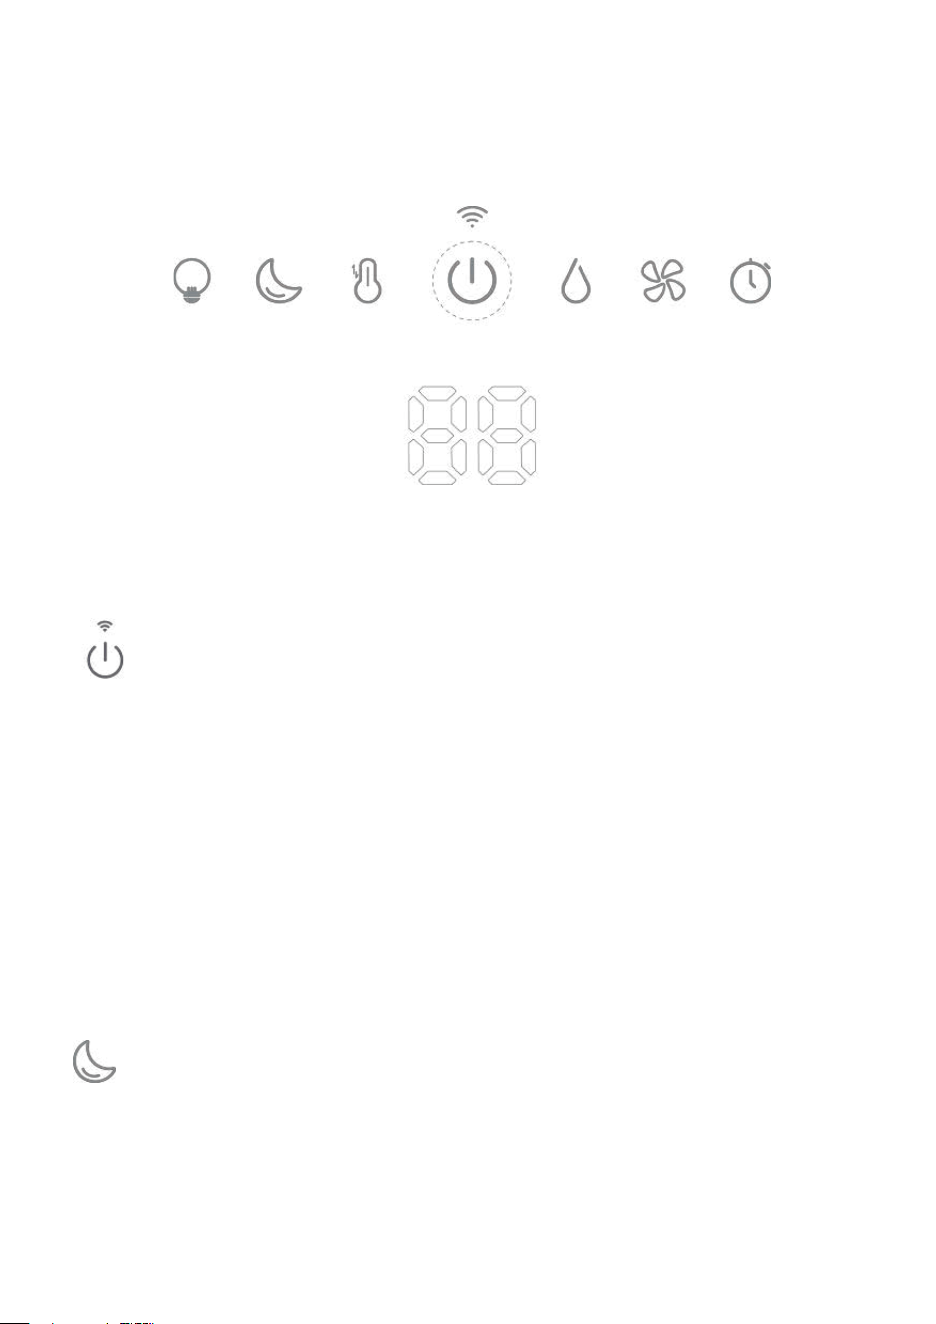
FUNCTIONS AND FEATURES
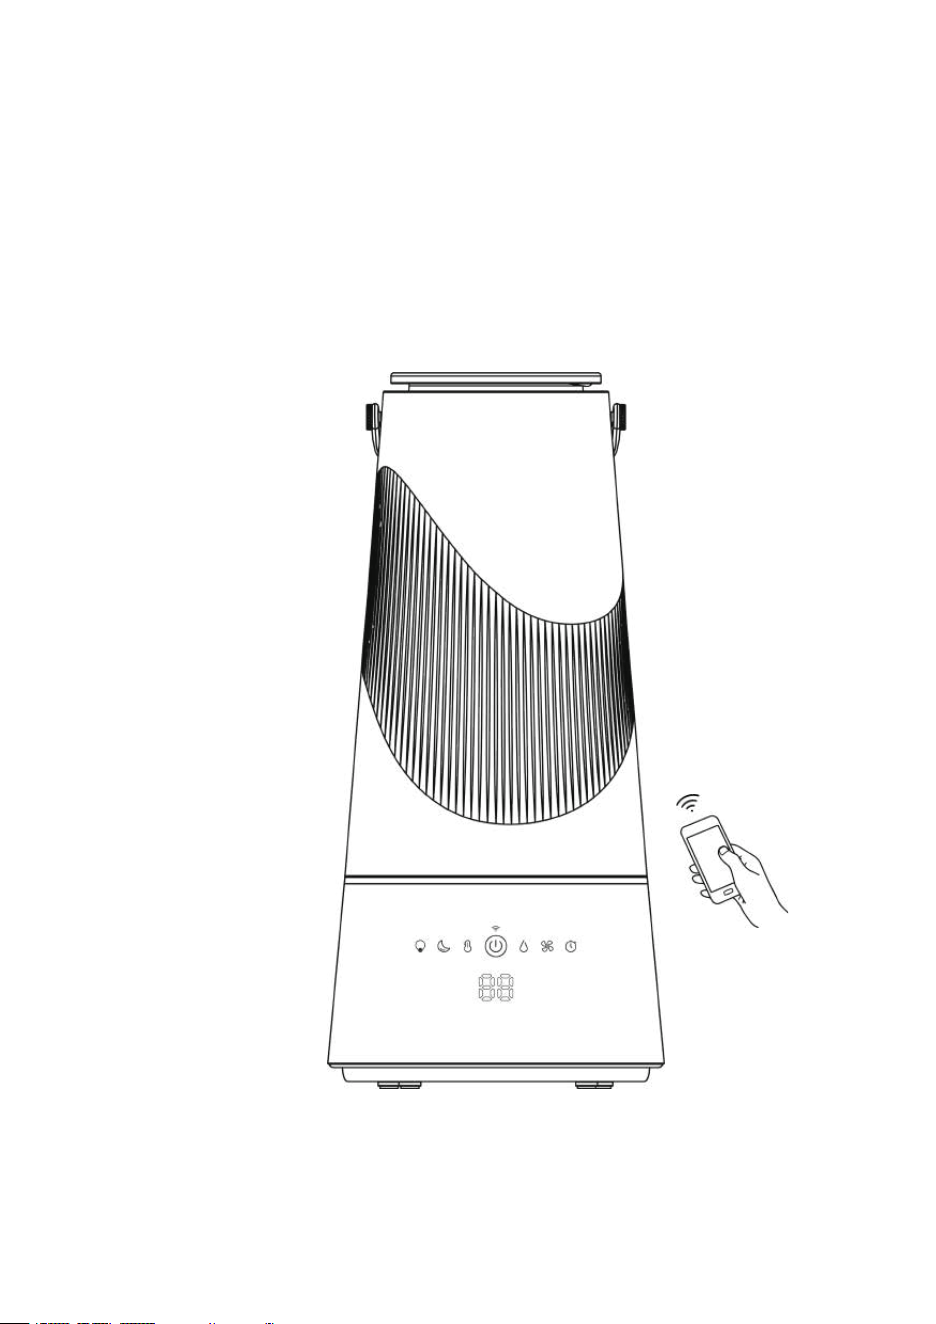
POWER & WIFI BUTTON
Short Press the Power Button to turn on or switch off the device.
The LED screen displays the humidity level between 30% and 80%. If it displays “LO”, the humidity
level of the ambient air is less than 30%. If it displays “HI”, the humidity level of the ambient air is more
than 80%.
Press and hold for 3-5 seconds to active the WIFI function.
SLEEP MODE BUTTON
Press this button to enter sleep mode.
Under sleep mode, the screen displays “SP” for 5 seconds then all lights and screen will turn off.
Press this button again to exit the sleep mode.
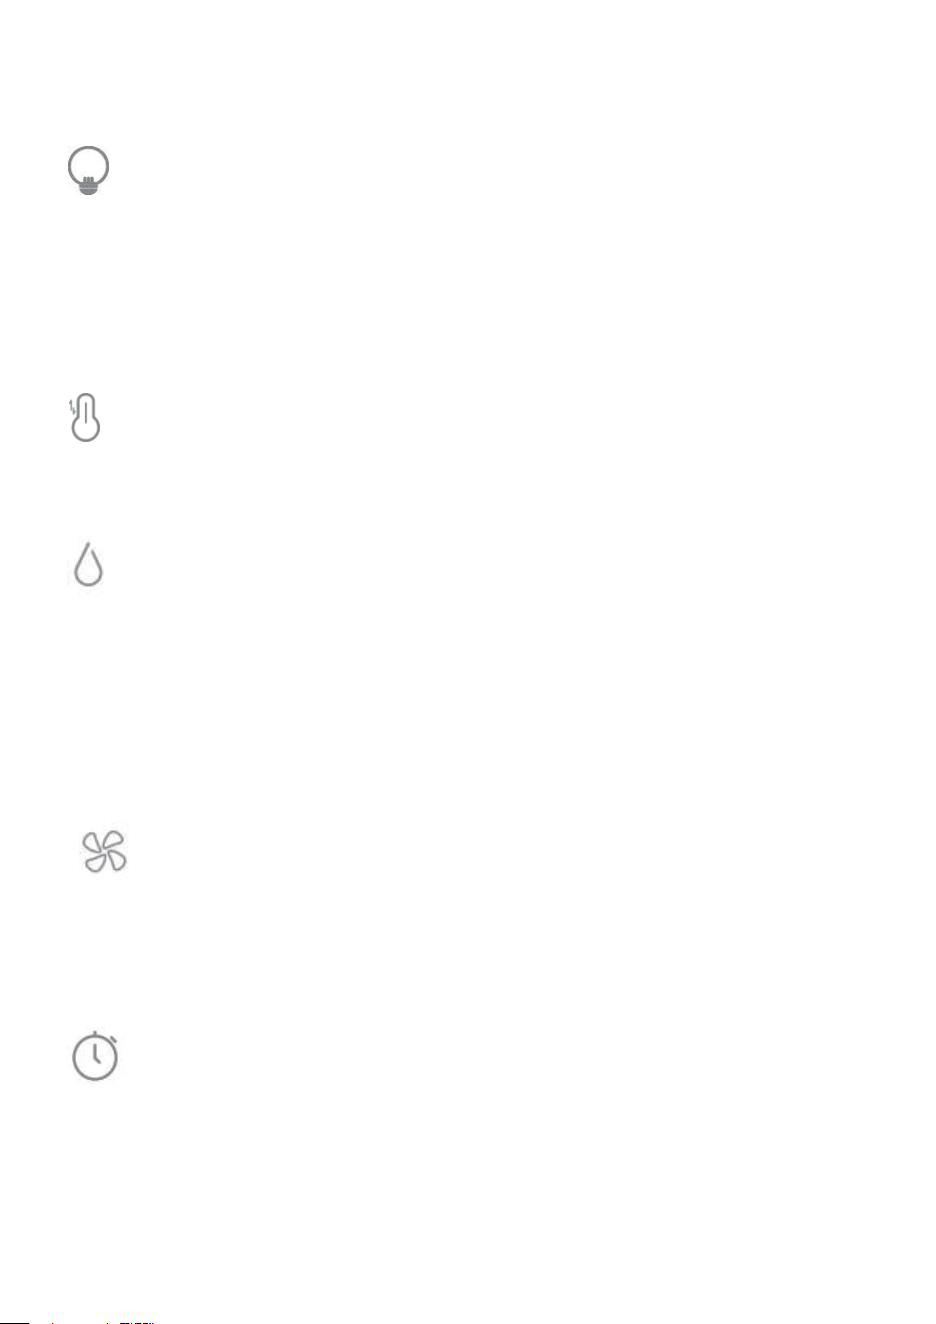
NIGHT LIGHT BUTTON
1
st
press: The night light is activated and circulates through 7 colors automatically.
2
nd
-8th press: The night light will change in 7 colors
9
th
press: The night will be turned off.
HEATING BUTTON
Press the Heating Button to turn the heating function on or off.
HUMIDITY SETTING BUTTON
Press the humidity setting button to set the targeted humidity level. The humidity level can be
set from 40% to 80%, in 5% increments. The LED screen will display the level selected or “CO”
for de
fault setting. We recommend a humidity level between approximately 40% and 60%. The device
will stop mist output when the ambient air reaches the required humidity level and resumes when the
humidity level drops by 5%.
SPEED BUTTON
Press this button to select the mist output volume, from Low, Medium to High, and the LED
screen will show 1 at low mist, 2 at medium mist, 3 at high mist.
TIMER SETTING BUTTON
Press the Timer Button to set the desired operation time. Select from 1 to 12 h
ours or CO for
continuous operation. The screen will display the time selected or “CO” for continuous
operation. After 5 seconds, the screen automatically switches to the real time ambient relative humidity.
The machine will stop automatically when the selected operating time has elapsed.
No Water in Water Tank or No Water Tank on the base
If there is no water in the water tank, the Power Button will turn red and flash, and the LED screen
will display
E1
.
If tank is removed, the indicator of Power Button will turn red and the LED screen will display
E2
.
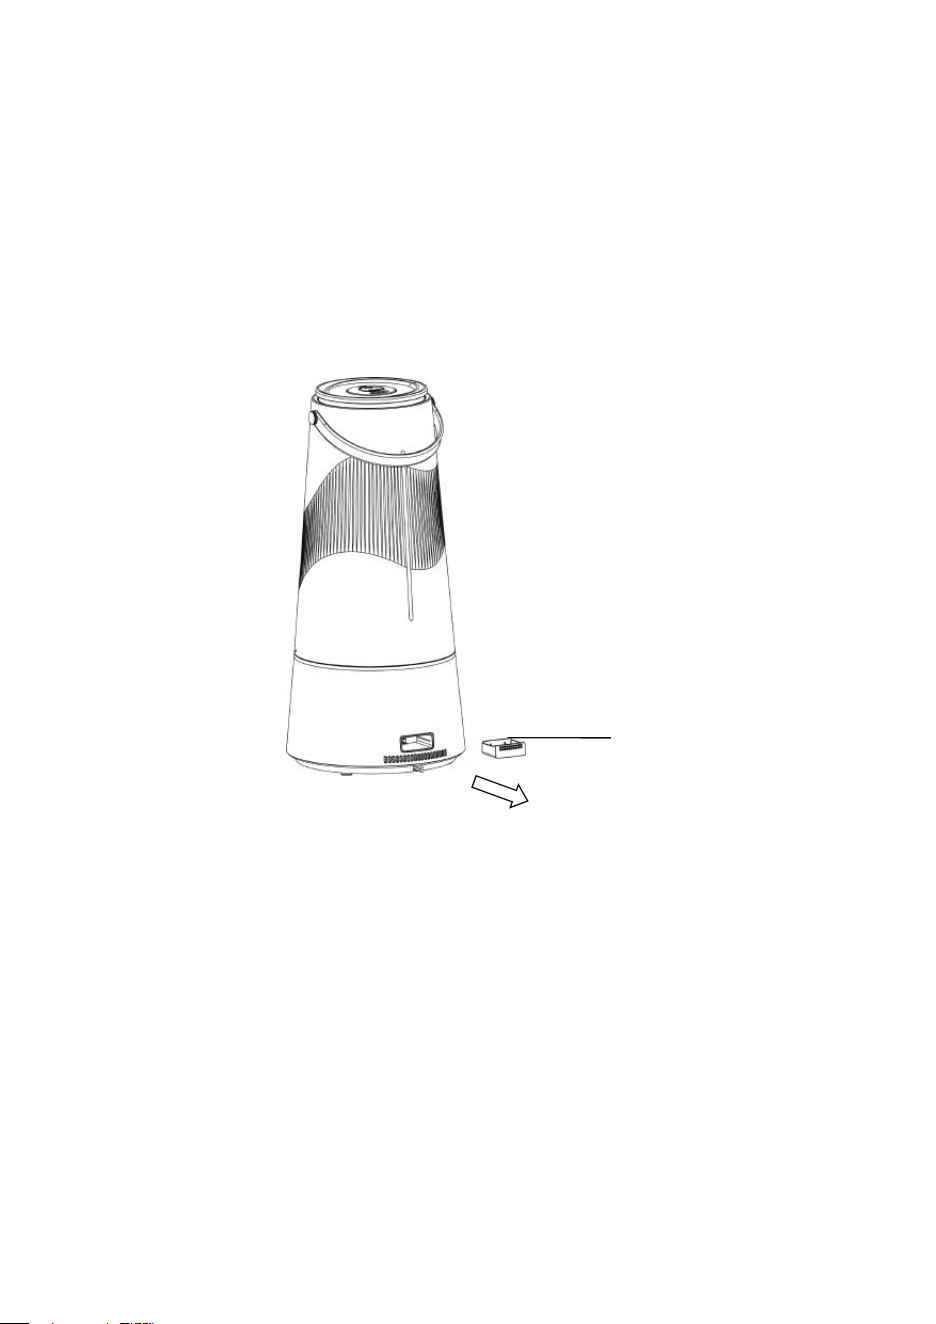
ESSENTIAL OIL
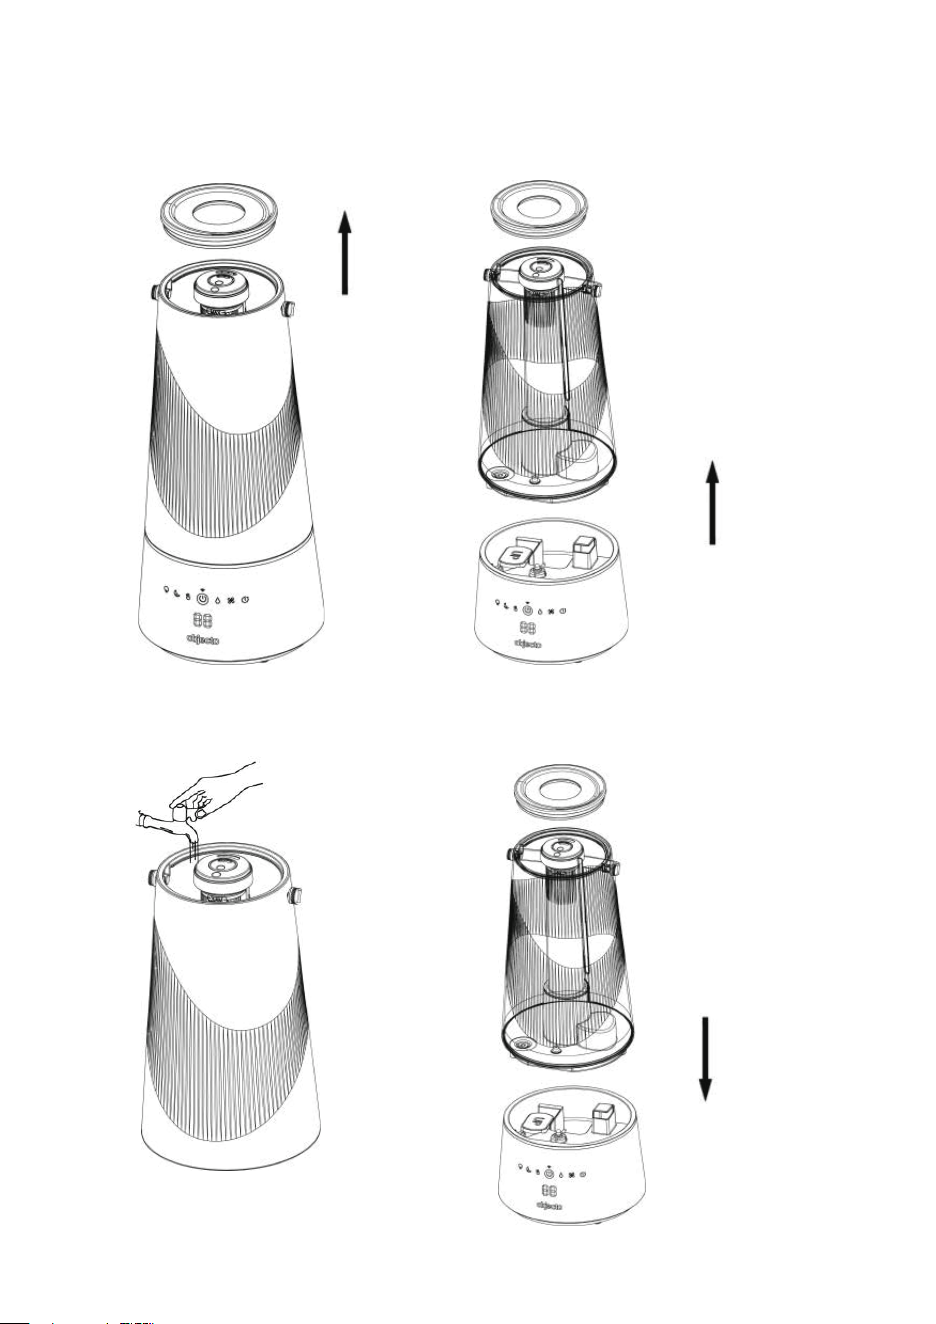
1. An aroma pad is included in the aroma tray on the back of the unit.
2. Remove the tray from the unit.
3. Add a few drops of an essential oil – add more drops on your aroma pad to strength preference.
4. Return the tray into the unit.
Do not use any other liquids or cleaning solutions in the aroma pad, do not drop the
essential oil directly into the water tank or water chamber, this will damage the unit.
Aroma tray

How to connect WIFI
1. Make sure your phone is connected to your WIFI Network (Not your phone data) during the
processes of adding the device to your Smart APP.
2. Make sure the power button on the display is flashing.
If not, press and hold the power button for 5 seconds to activate the WIFI connection.
Step 1: Download the “Smart Life” APP.
To download the Smart Life app, scan the QR code or search “Smart Life” in the Apple App Store® or
Google Play Store.
Step 2: Add your humidifier to your Smart Life APP
Turn on your smart phone Bluetooth, then on the + sign on the top right press ADD Device and the APP
will search for your humidifier , the device will appear, you need to click "Go to add" and select your
device. Enter your WIFI password of your network.
Step 3: Control the device via Smart APP
The device will appear in your Smart Life APP. You can control the humidifier via your phone from
anywhere, just make sure your phone is connecte
d to the internet, and the humidifier is connected to
your WIFI.
If your humidifier needs to connect to a new WIFI connection, you will need to reconnect the device as
above.

Why isn’t my humidifier connecting to the app?
Make sure your phone has Bluetooth® turned on and is not currently connected to another Bluetooth
device.
• During the setup process, you must be on a secure Wi-Fi network. Confirm that the network is
working correctly.
• Make sure the Wi-Fi password you entered is correct.
• Make sure your humidifier and phone are within 30 ft / 10 m of each other.
• Reset the humidifier by pressing and holding for 15 seconds. Then try connecting again
CLEANING
CLEANING
• Always unplug the unit before servicing.
GENERAL CLEANING
• Inside the base of the unit. Pour excess water out of the unit. Wash out the unit with fresh
water using the cleaning brush and a soft cloth as needed. Do not submerse the base of the
unit into water, or allow water to enter through the air inlets or air outlet.
• Water tank. Empty water tank. Remove the top cover and clean the inside of the tank with fresh
water, vinegar solution and cloth or light brush. Rins
e after cleaning with fresh water.
• Outer surface of the unit. Wipe the surface of the unit with a soft, damp cloth if needed.
DESCALING
• Depending on usage and water type, cleaning to remove scale may be required
weekly or every other week to improve unit performance.
• If you live in a hard water area, we recommend the use of distilled water for your
humidifier. This will help reduce the output of minerals or ‘white dust’.
Warning:
• Do not clean the unit or water tank with cleanin
g chemicals of any kind as they may
contain bleach. Use vinegar solution ONLY.

ULTRASONIC DISK
1. Unplug unit.
2. Remove the tank and empty all water from unit base and tank.
3. Locate the ultrasonic disk on the inside center of the base unit.
4. Use ONLY the enclosed cleaning brush to gently clean the disk and remove build up and
deposits.
5. Drain water in the base according to the drainage direction. Make sure water won’t flow into the
Air Exhaust.
Do not scrub or scrape the ultrasonic disk.
If scale becomes difficult to remove with brush:
1. Fill the Base wi
th: mixture of 1 tsp. white vinegar and 1 tsp. Water.
2. Let solution stand for 5 minutes.
3. With the vinegar in the Base, clean all interior surfaces with a soft cloth or brush to help
remove scale.
4. Also check mist nozzle, filter and mist tube in water tank. Clean as needed.
5. Rinse the Base thoroughly with water to remove scale and vinegar solution.
END OF SEASON STORAGE
• Follow the Cleaning and Descaling instructions when the humidifier will be stored at the end
of the season
.
• Dry the humidifier completely before storing. DO NOT store with water inside the Base or
Water Tank.
• Pack the unit in its original carton and store in a cool, dry location.
NOTE: IF YOU EXPERIENCE A PROBLEM, DO NOT ATTEMPT TO OPEN THE MOTOR
HOUSING YOURSELF. DOING SO WILL VOID YOUR WARRANTY AND CAUSE DAMAGE
TO THE HUMIDIFIER OR PERSONAL INJURY.
TROUBLESHOOTING GUIDE
PROBLEM SOLUTION
My humidifier does not work.
Plug the humidifier into a working outlet and turn it on by pressing
the power button.
Make sure the tank is correctly attached to the base and filled
with water.
Little or no mist comes out
Excessive Water: There may be too much water in the base
chamber. Empty excess water from the base.
The water in the tank might be nearly used up
Detergent residue or oil may be in tank, wash out tank and try
again.
Make sure the nozzle is not blocked
The humidity level is low.
The surface of the ultrasonic disk is dirty: Clean the ultrasonic
disk.
The water temperature in the unit may be too low
The mist has an unpleasant
smell.
Change water regularly to avoid dirty water accumulation
Clean the humidifier thoroughly and fill it with fresh water.
White dust appears around
the humidifier
We recommend using purified or distilled water to fill the
humidifier. Avoid using water with high mineral content.
Unit has stopped working.
No or low water. Unplug the unit and refill tank.
Water is accumulating outside
the unit or area surrounding
unit.
Avoid running the humidifier in a room with over 60% relative
humidity.
Make sure to place the humidifier on a flat, level surface.
Increased noise level.
The unit must be placed on a flat, level surface. Make sure it is
NOT placed on a soft or absorbent surface.
Red light on the power button.
Indicates low water. Unplug and refill the water tank.

My humidifier is offline.
Make sure the humidifier is plugged in. The humidifier may
appear to be offline if it is unplugged, or if the outlet does not
have power.
Make sure your router is connected to the internet and your
phone's network connection is working.
Reset the humidifier using one of these options:
a. Delete the humidifier from the Smart Life app. Swipe left
(iOS®) or press and hold (Android), then tap Delete. Then
reconfigure your humidifier with the Smart Life app.
b. Press and hold for 5 seconds. Then reconfigure your humidifier
with the Smart Lif
e app.
Note: Power outages, internet outages, or changing Wi-Fi routers
may cause your humidifier to go offline.

FCC Notice
Caution: The user is cautioned that changes or modifications not expressly approved by the party
responsible for compliance could void the user's authority to operate the equipment.
This device complies with Part 15 of the FCC Rules. Operation is subject to the following two
conditions: (1) this device may not cause harmful interference, and (2) this device must accept any
interference received, including interference that may cause undesired operation.
NO
TE: This equipment has been tested and found to comply with the limits for a Class B digital device,
pursuant to Part 15 of the FCC Rules. These limits are designed to provide reasonable protection
against harmful interference in a residential installation. This equipment generates, uses and can
radiate radio frequency energy and, if not installed and used in accordance with the instructions, may
cause harmful interference to radio communications. However, there is no g
uarantee that interference
will not occur in a particular installation.
If this equipment does cause harmful interference to radio or television reception, which can be
determined by turning the equipment off and on, the user is encouraged to try to correct the
interference by one or more of the following measures:
-- Reorient or relocate the receiving antenna.
-- Increase the separation between the equipment and receiver.
-- Connect the equipment into an outlet on a circ
uit different from that to which the receiver is
connected.
-- Consult the dealer or an experienced radio/TV technician for help.
FCC Radiation Exposure Statement
This equipment complies with FCC radiation exposure limits set forth for an uncontrolled environment.
This equipment should be installed and operated with a minimum distance of 20cm between the
radiator and your body. This transmitter must not be co-located or operating in conjunction with any
other antenna
or transmitter.

FEDERAL COMMUNICATION COMMISSION INTERFERENCE STATEMENT - PART 18
This device complies with part 18 of the FCC Rules.
This equipment generates and uses ISM frequency energy and if not installed and used properly, that is
in strict accordance with the manufacturer’s instructions, may cause interference to radio and television
reception. It has been type tested and found to comply with limits for an ISM Equipment pursuant to part
18 of FCC Rules, which are designed to provi
de reasonable protection against such interference in a
residential installation. However, there is no guarantee that interference will not occur in a particular
installation. If this equipment does cause interference to radio or television reception, which can be
determined by tuning the equipment off and on, the user is encouraged to try to correct the interference
by one or more of the following:
• Reorient the receiving antenna of radio or television.
• Relocate the
equipment with respect to the receiver.
• Move the equipment away from the receiver.
• Plug the equipment into a different outlet so that the equipment and receiver are on different branch
circuits.
Conduct only the user maintenance found in this manual. Other maintenance and servicing can cause
harmful interference and can void the required FCC compliance. The manufacturer is not responsible
for any radio or TV interference cause by unauthorized modification to the equi
pment. It is the
responsibility of the user to correct such interference.
FCC SDOC SUPPLIER'S DECLARATION OF CONFORMITY
Hatzlachh Supply Inc. hereby declares that this equipment is in compliance with the FCC Part 18
Subpart B. The declaration of conformity may be consulted in the support section of our website,
accessible from www.objecto.com