
Technical Support and E-Warranty Certificate www.vevor.com/support
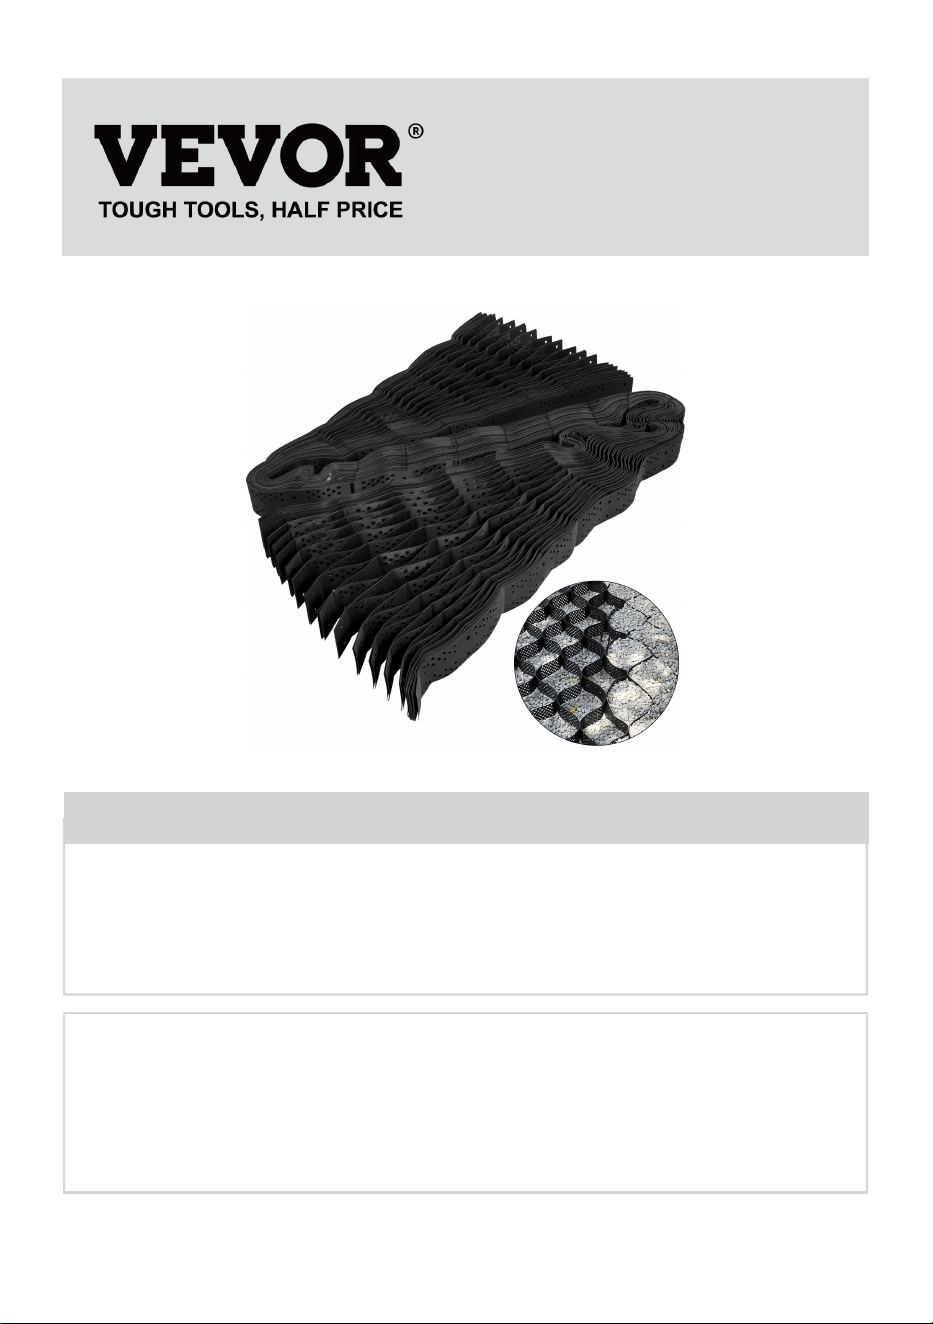
GEO GRID
MODEL:50-400/50-450/75-500/100-450
We continue to be committed to provide you tools with competitive price.
"Save Half", "Half Price" or any other similar expressions used by us only represents an
estimate of savings you might benefit from buying certain tools with us compared to the major
top brands and dose not necessarily mean to cover all categories of tools offered by us. You
are kindly reminded to verify carefully when you are placing an order with us if you are
actually saving half in comparison with the top major brands.
- 1 -
MODEL:50-400/50-450/75-500/100-450
Have product questions? Need technical support? Please feel free to
contact us:
Technical Support and E-Warranty Certificate
www.vevor.com/support
NEED HELP? CONTACT US!
This is the original instruction, please read all manual instructions
carefully before operating. VEVOR reserves a clear interpretation of our
user manual. The appearance of the product shall be subject to the
product you received. Please forgive us that we won't inform you again if
there are any technology or software updates on our product.
Geo Grid

- 2 -
IMPORTANT SAFEGUARDS
WARNING: Read and understand this entire manual before
operating or servicing this product. Failure to follow these
warnings and instructions can cause personal injury or
damage to valuable property.
Avoid children using geo grid. And this product is not a toy. Do not allow
children to play with.
Keep away from sharp points,blades and other items.
2. Wear ANSI-approved work gloves during construction.
3. Keep construction area well-lit.
4. Keep bystanders out of the area during construction.
5. Do not operate when tired or when under the influence of alcohol, drugs
or medication.
6.Product capabilities apply to properly and completely assembled product
only.
7. For additional information regarding the parts listed in the following
pages, please refer to the Assembly Diagram of this manual. Unwrap and
separate all parts in a clean work area. Please keep small spare parts out
of children's reach.
SAVE THESE INSTRUCTIONS
PREPARATIONS
Clean the project area according to the requirements of the drawings,
ensuring the flatness and cleanliness of the area.
When the ground area is uneven, it is necessary to clean the ground or
add a layer of supplementary material to pave it.
Before construction, the size of each exposed compartment hopper
should be calculated based on the stretching length of each group of
compartments. The excess part at the connection is generally not within
the calculated length to prevent uneven hopper size and affect the
appearance.
- 3 -
SIMPLE INSTRUCTION
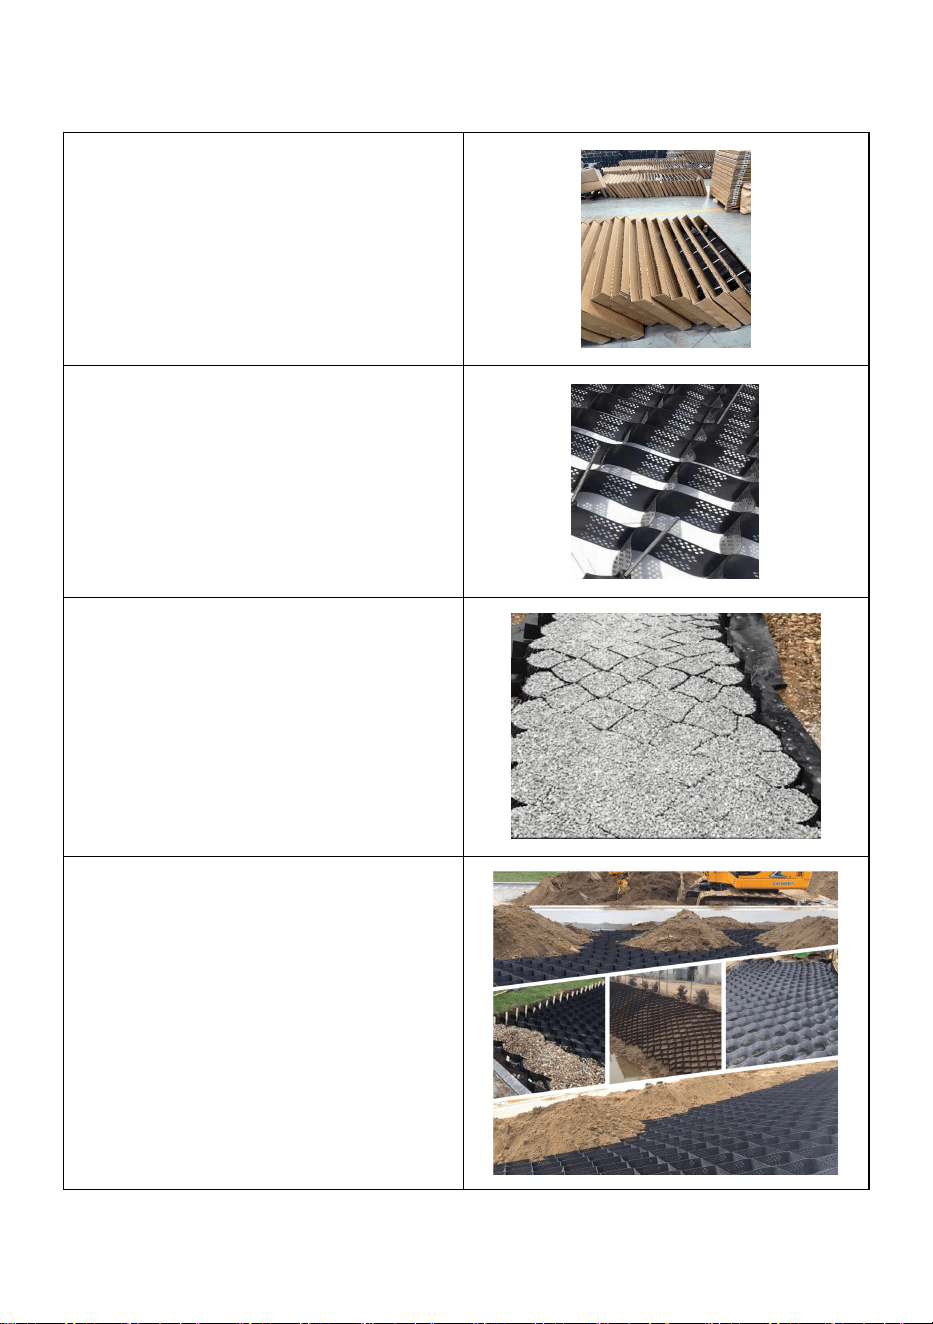
Step1:Open the cardboard box
and remove the geo grid
Step2:First, fix the edge of the geo
grid , fully expand the geo grid,
and connect it properly
Step3:Connect the geo grid and
start backfilling.
The geo grid driveway is perfect
for slopes or flat areas and works
for patios, parking areas,
driveways, walking paths, and
more.

- 4 -
LAYING PROCESS AND SPECIFIC METHODS:
1.Unfold the bundled grid, place its outer edge along the gray line, and fix
both ends with grid accessories anchor rods to fill the soil inside the cell.
Generally, fill it to two-thirds of the height of the geotechnical cell first,
and compact the soil inside with an iron rod.
The main purpose is to facilitate the overall linear adjustment after the
formation of the geotechnical cell.
2.At this point, the connection of the second compartment can be carried
out, and the interior of the first compartment can continue to be filled with
soil to a height exceeding two-thirds of the panel height. Then, use an
iron rod to compact the soil with a heavy hammer.
The remaining soil can be filled together during the filling of the wall cell
until the entire cell construction is completed.
3.When adjusting the panel line type, attention should be paid to identifying
the parts that are not easily deformed for line control.
For compartment panels, the accessories connected to the panel can
serve as control points.
4.After positioning, the filling should be uniform to ensure uniform size
inside the cell; In addition, fine-grained soil must be used for filling the
interior of the cell, especially in the areas that come into contact with the
exposed materials of the cell panel, to avoid local bulges on the surface
of the panel and affect its aesthetics.
5.For stacked flexible retaining wall walls, the panels are fixed as one with
the wall, and there is no need to control the elevation of each layer. After
controlling the elevation of the bottom layer, subsequent layers can be
controlled according to the filling thickness.

- 5 -
Caution:
It is necessary to pay attention to the weight of the rolling machine and
use a construction machine that is suitable for the foundation
condition;
Determine the height of the filling soil based on the foundation
conditions, generally greater than or equal to 30 centimeters;
SPECIFICATIONS
Model
50-400
50-450
75-500
100-450
Depth
50mm
50mm
75mm
100mm
Load
9.2t/㎡
9.2t/㎡
9.2t/㎡
9.2t/㎡
Unfold
size
(mm)
8200*1200
5200*2740
7600*2900
5200*2700
Cell size
(mm)
200*200
240*210
250*250
240*210
Material
HDPE
HDPE
HDPE
HDPE
Color
black
black
black
black
Manufacturer: Shanghaimuxinmuyeyouxiangongsi
Address: Shuangchenglu 803nong11hao1602A-1609shi, baoshanqu,
shanghai 200000 CN.
Imported to AUS: SIHAO PTY LTD. 1 ROKEVA STREETEASTWOOD
NSW 2122 Australia
Imported to USA: Sanven Technology Ltd. Suite 250, 9166 Anaheim

- 6 -
Place, Rancho Cucamonga, CA 91730
REP
UK
YH CONSULTING LIMITED. C/O YH Consulting
Limited Office 147, Centurion House, London
Road, Staines-upon-Thames, Surrey, TW18 4AX
REP
EC
E-CrossStu GmbH
Mainzer Landstr.69,
60329 Frankfurt am Main.