

Technical Support and E-Warranty Certificate www.vevor.com/support
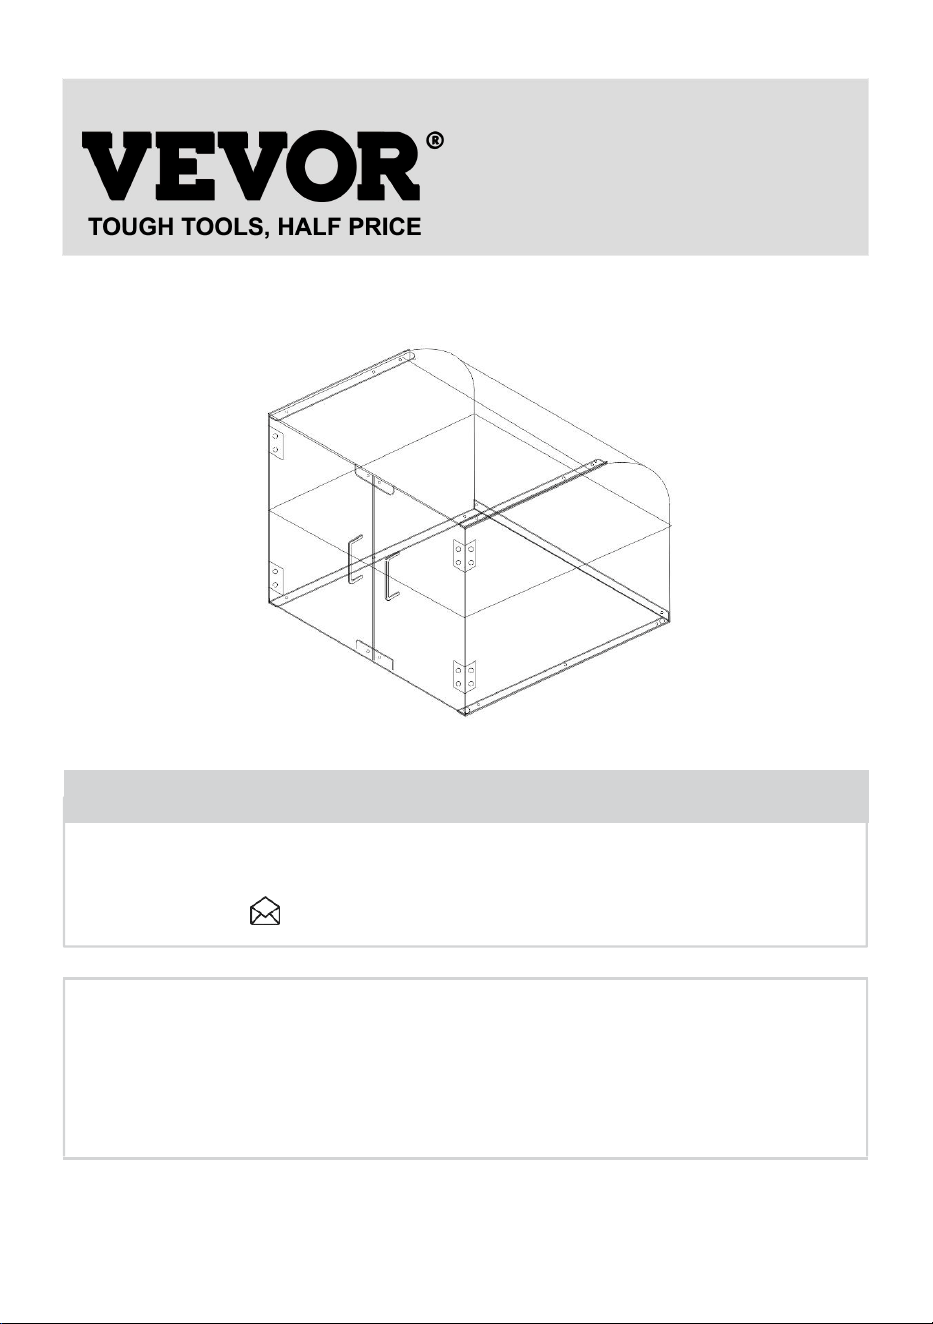
BAKERY DISPLAY CASE
USER MANUAL
We continue to be committed to provide you tools with competitive price.
"Save Half", "Half Price" or any other similar expressions used by us only represents an
estimate of savings you might benefit from buying certain tools with us compared to the major
top brands and doses not necessarily mean to cover all categories of tools offered by us. You
are kindly reminded to verify carefully when you are placing an order with us if you are
actually saving half in comparison with the top major brands.
1
Thanks for purchasing one of our products.
Please read the assembly instructions carefully before the installation.
Model:CX-03
Have product questions? Need technical support? Please feel free to
contact us:
CustomerService@vevor.com
NEED HELP? CONTACT US!
This is the original instruction, please read all manual instructions
carefully before operating. VEVOR reserves a clear interpretation of our
user manual. The appearance of the product shall be subject to the
product you received. Please forgive us that we won't inform you again if
there are any technology or software updates on our product.
BAKERY DISPLAY CASE

2
ASSEMBLY PRECAUTIONS
1. Assemble needs to follow these instructions. Incorrect assembly can be
a hazard.
2. Wear safety goggles and heavy-duty work gloves during assembly.
3. Do not assemble when tired or under the influence of alcohol, drugs or
medication.
4. Weight capacity and other product capabilities only apply to a properly and
completely assembled product.
5. Keep the assembly area clean and well-lit.
6. Keep bystanders out of the area during assembly.
USE PRECAUTIONS
WARNING: TO PREVENT SERIOUS INJURY AND DEATH FROM
TIPPING:
1. This product is not a toy. Do not allow children to play with or approach
this item.
2. Use as intended only. Do not sit or stand on the product.
3. Inspect before every use. Do not use it if parts are loose or damaged.
4.
Use on flat, level, and hard surfaces only
.
5. Do not exceed the listed weight capacity. Tighten all knobs securely
before applying load. Be aware of dynamic loading! The sudden load
movement may briefly create an excess load, causing product failure.
3
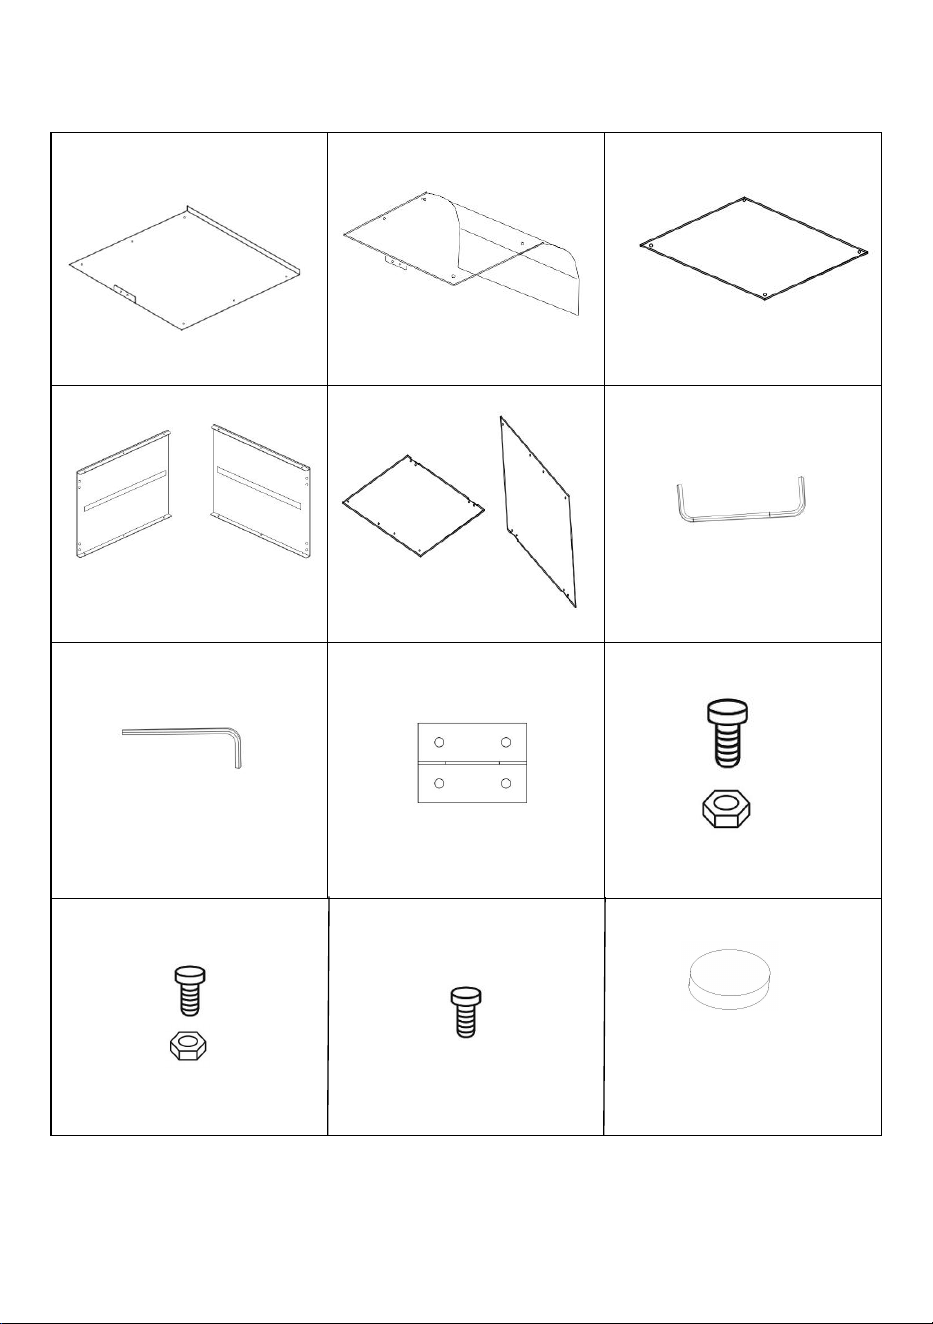
PARTS LIST
NOTE: Part not shown to actual size.
1pcs
1pcs
1pcs
1+1pcs
2pcs
1+1pcs
4pcs
16set
M4×15
M4×10
4pcs
4pcs
16set
1pcs
M4×10

4
QTY
DESCRIPTION
1
Base Plate
1
Left Side Seal Plate
1
Right Side Seal Plate
1
Top Plate
1
Righ tside door
1
Left side door
2
Door handle
4
Hinge
1
Middle layer plate
16
Bolt Assembly M4*15
16
Bolt Assembly M4*10
4
Screw M4*10
1
Inner Hexagon Spanner
4
Silicone bottom foot
Please identify each part and check to ensure that all are accounted for.
5
ASSEMBLY STEPS
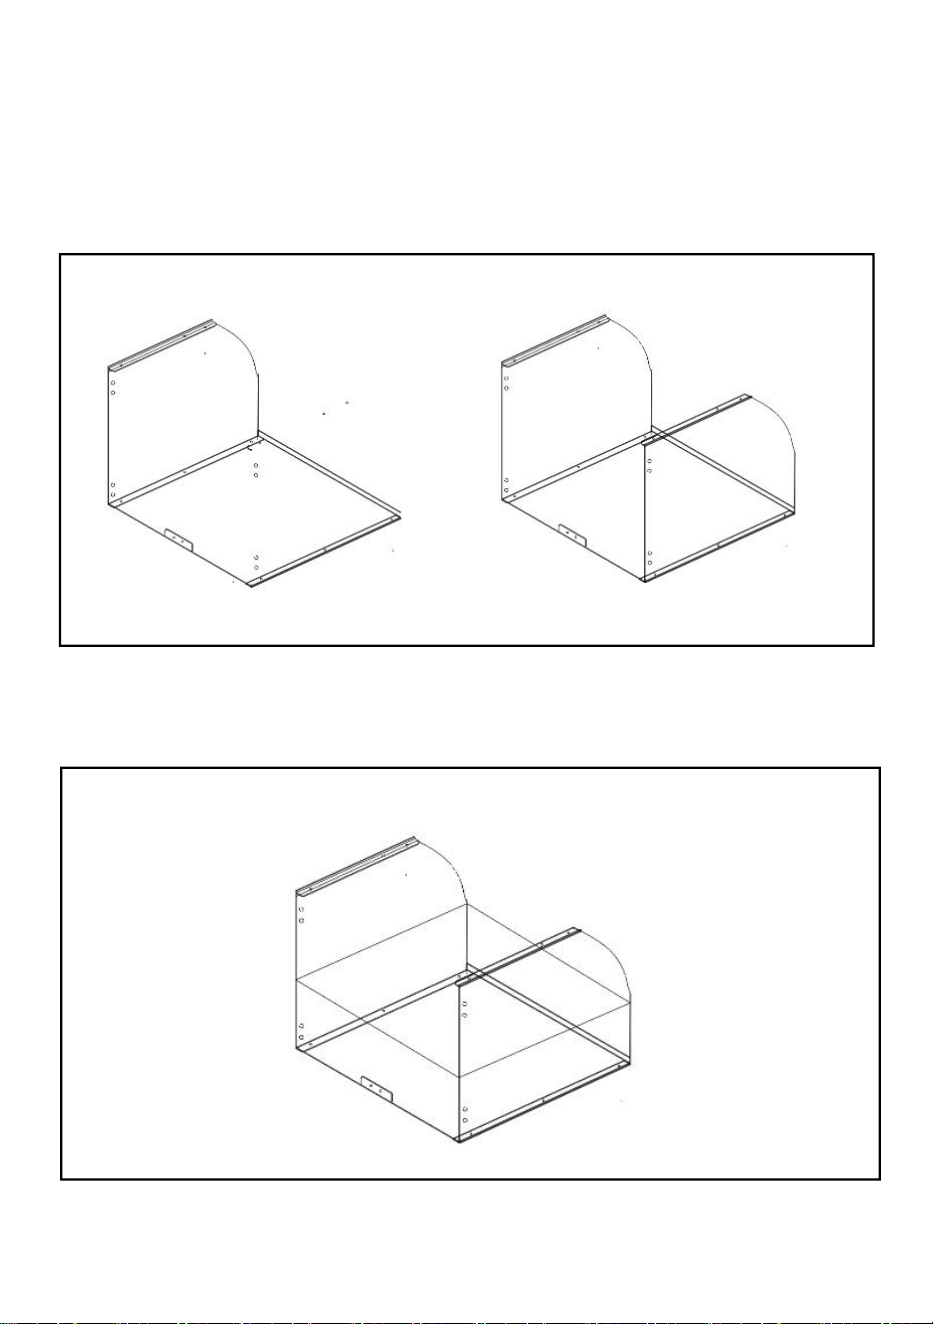
STEP 1
Install the left and right bracket panels on the bottom plate, pay attention to
distinguish the left and right panels.The screw assembly used is M4×15.
STEP 2
Install the middle layer plate on the frame where the left and right support
plates have been installed.The screw assembly used is M4×15.
6
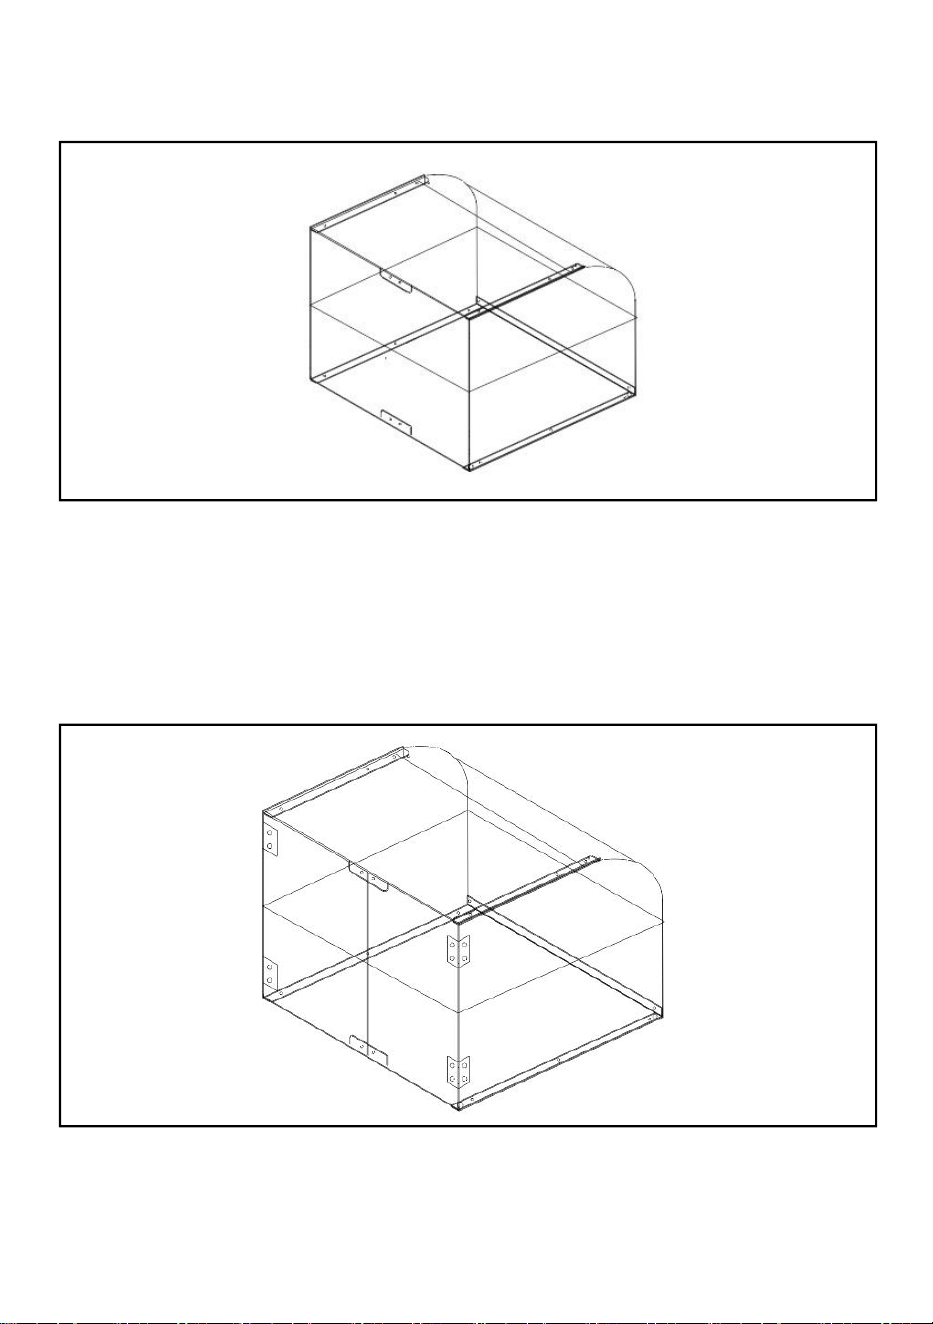
STEP 3
Install the top on and above the frame.The screw assembly used is M4×15.
STEP 4
Install the left and right sealing door panels on the frame, and pay attention
to distinguish between the left and right door panels.The screw assembly
used is M4×10.
7
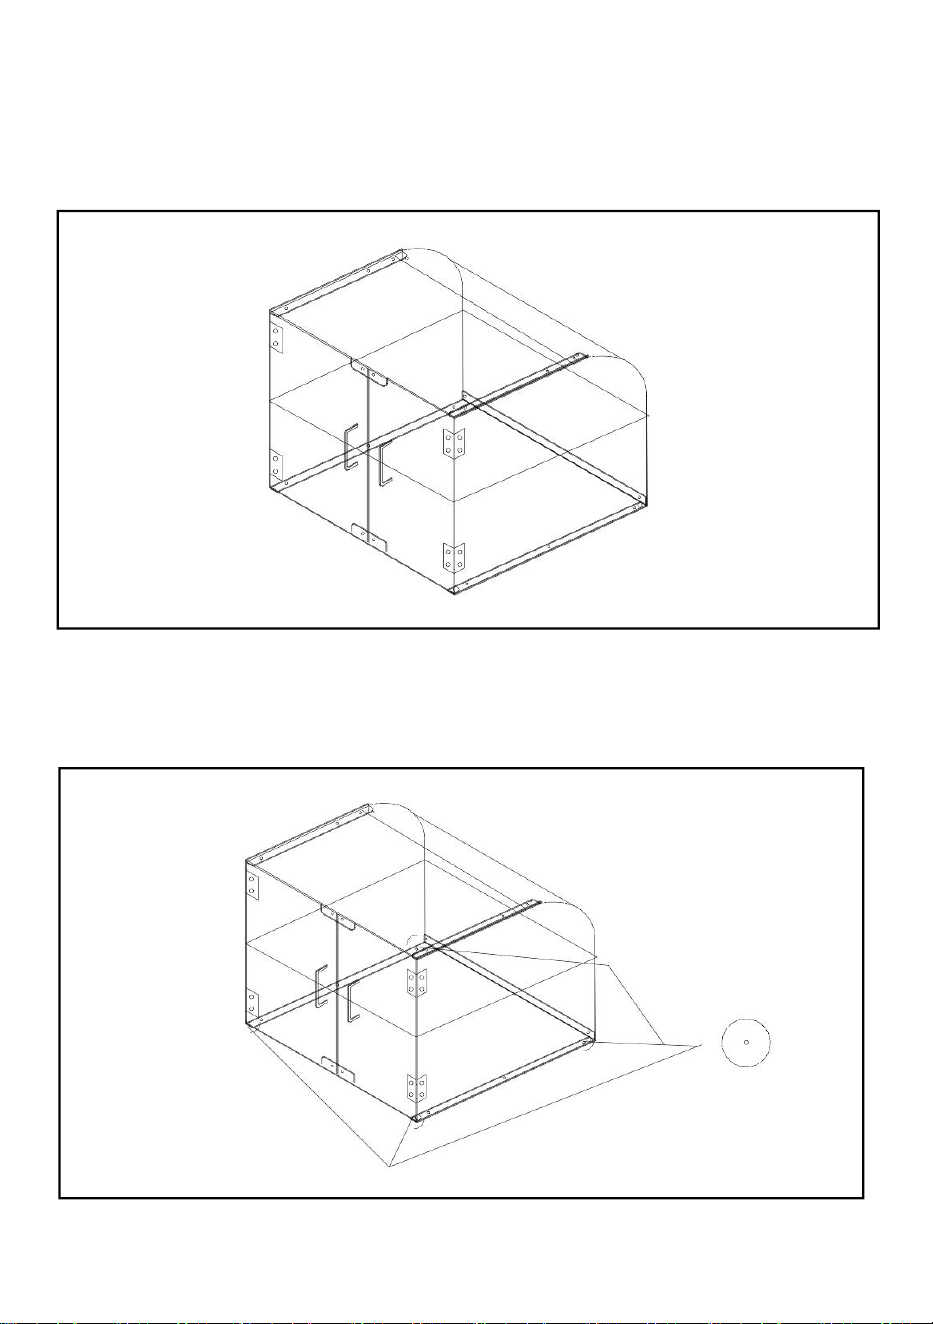
STEP 5
Install the door handle on the left and right sealing plates.The screw used
is M4×10.
STEP 6
Install the silicone base foot at the 4 corners of the bottom.
Install the tray.

8
Cleaning
-For cleaning, wipe the surface with a damp (not wet) cloth or wipe dry
with a clean lint free cotton cloth.