Loading ...
Loading ...
Loading ...
- 20 -
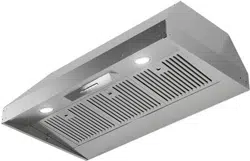
BUTTON : Controls the LED lights. There are three illumination levels.
Press the button Once for HIGH; Twice for MEDIUM; Three times for LOW; Four times for OFF.
BUTTON 0: Turns both the Blower and Lights On and Off
BUTTON 1: Blower motor operates on LOW speed.
BUTTON 2: Blower motor operates on MEDIUM speed.
BUTTON 3: Blower motor operates on HIGH speed.
POWER BOOST
Press and Hold BUTTON 3 for 2 seconds.
This will increase airflow to a fourth and even higher speed for 10 minutes.
When activated the button will blink to alert you it is running.
After 10 minutes the blower speed will return to its last setting.
To manually stop the POWER BOOST before 10 minutes has elapsed:
Press BUTTON 3 and it will revert to HIGH speed, or
Press BUTTON 0 to shut the blower off completely
NOTE: The POWER BOOST function will operate even when the hood is off.
BUTTON T: Activates and Deactivates the TIMER Function
Pressing BUTTON T (whether the blower is off or running) will cause the motor to run at LOW
speed for 5 minutes before shutting off the blower and lights automatically.
While the TIMER is activated, you can change speed or engage POWER BOOST, the hood
will still shut off after 5 minutes.
To manually turn the unit off before 5 minutes has elapsed:
Press BUTTON T or BUTTON 0.
Your XO range hood is controlled by these
electronic push buttons which illuminate when
activated.
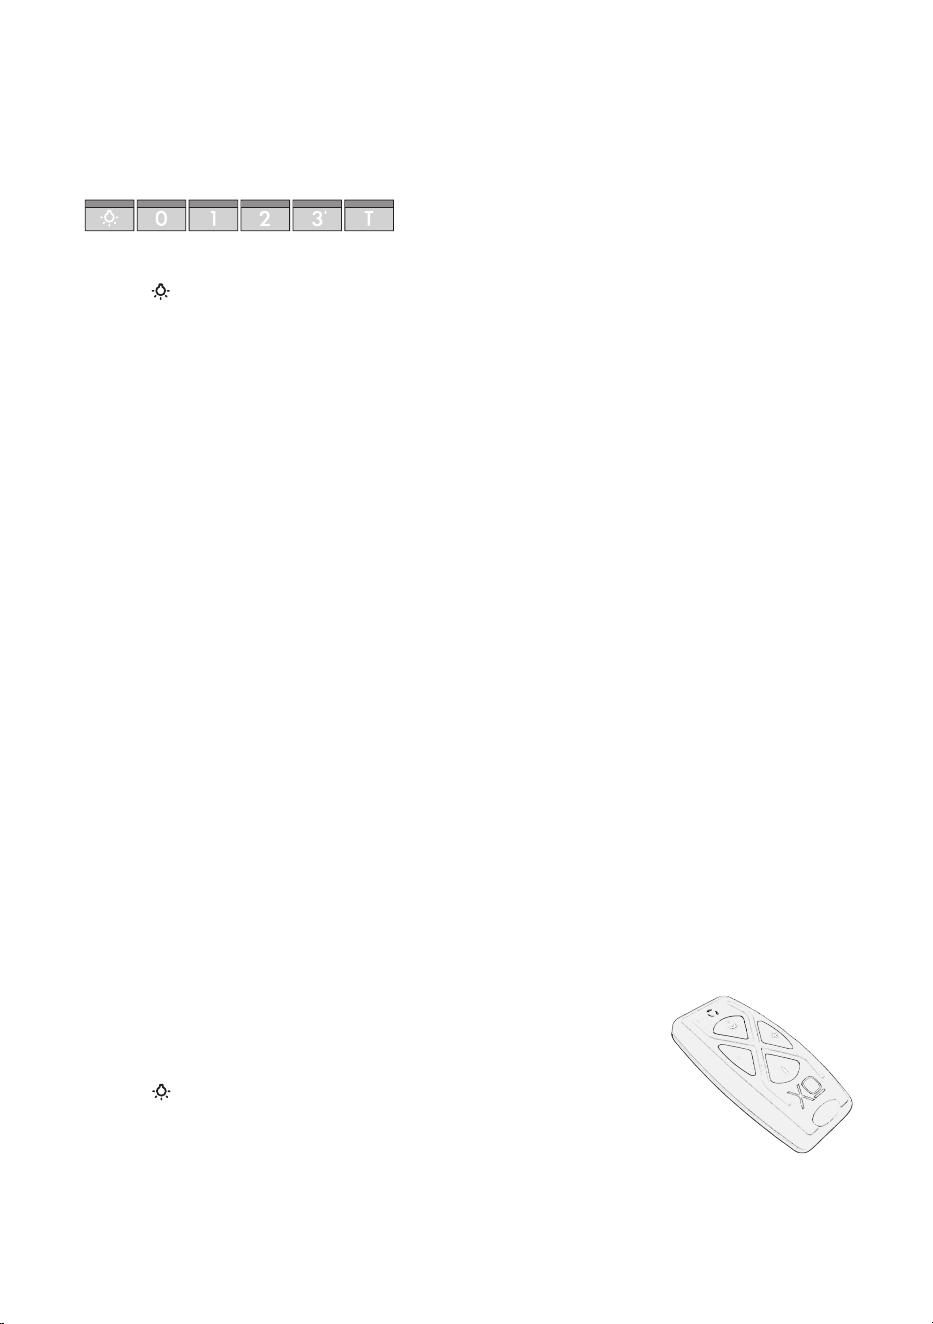
OPTIONAL REMOTE CONTROL (purchased separately)
The remote control must be synchronized prior to use.
To synchronize the remote control with the hood follow these simple
steps:
1. Standing near the hood, while it is not running, press and hold
BUTTON on the hood for 4 seconds -the button should start to
blink for 5 seconds.
2. When the button on the hood starts to blink, Press any button on
the remote. The hood and remote are now synchronized.
3. If the synchronization fails for any reason, repeat steps 1 and 2.
XOVREMOTE1
easy to operate
Loading ...
Loading ...
Loading ...