Loading ...
Loading ...
Loading ...
(7)
IMPORTANT INFORMATION -
This dispenser is equipped with a Self re-setting thermal fuse.
Turn the thermostat to OFF position and fi ll tank with water before plugging the power cord from
the tank into an electrical outlet.
If tank is empty and the thermostat set in the ON position when the power cord is connected, the
self re-setting fuse in the heater control will disconnect the current to the heater after approximately
one minute, thus protecting the heater from a “dry start” failure. The fuse in the heater control
will self-reset after approximately 1/2 hour. Turn on the water supply to the tank and continue the
installation.
Continued misuse will cause damage to the appliance and is detectable thus, voiding the warranty.
STEP 7 - Test Installation
Plug electrical cord into a grounded 3-prong outlet. Do not use an outlet controlled by an off/on wall switch.
Turn thermostat control dial clockwise to the highest position. Maximum temperature will be reached in about
15 minutes and dispenser will be ready for use. Lower the temperature setting by turning thermostat control dial
counterclockwise if you notice vapor or a boiling noise. To raise or lower the water temperature, rotate the ther-
mostat dial. At the LOW setting of thermostat dial water temperature will be approximately 140°F (60˚C) ±5
and the HIGH setting of the thermostat dial water temperature will be approximately 190°F (88°C) ±5°.
CLEANING AND MAINTENANCE | Seasonal Shutdown
To prevent damage when dispenser is exposed to freezing temperatures, water
must be drained.
1. Unplug dispenser tank to power supply.
2. Turn thermostat control dial to OFF position (fully counter clockwise).
3. Turn faucet on and run water until water is cold.
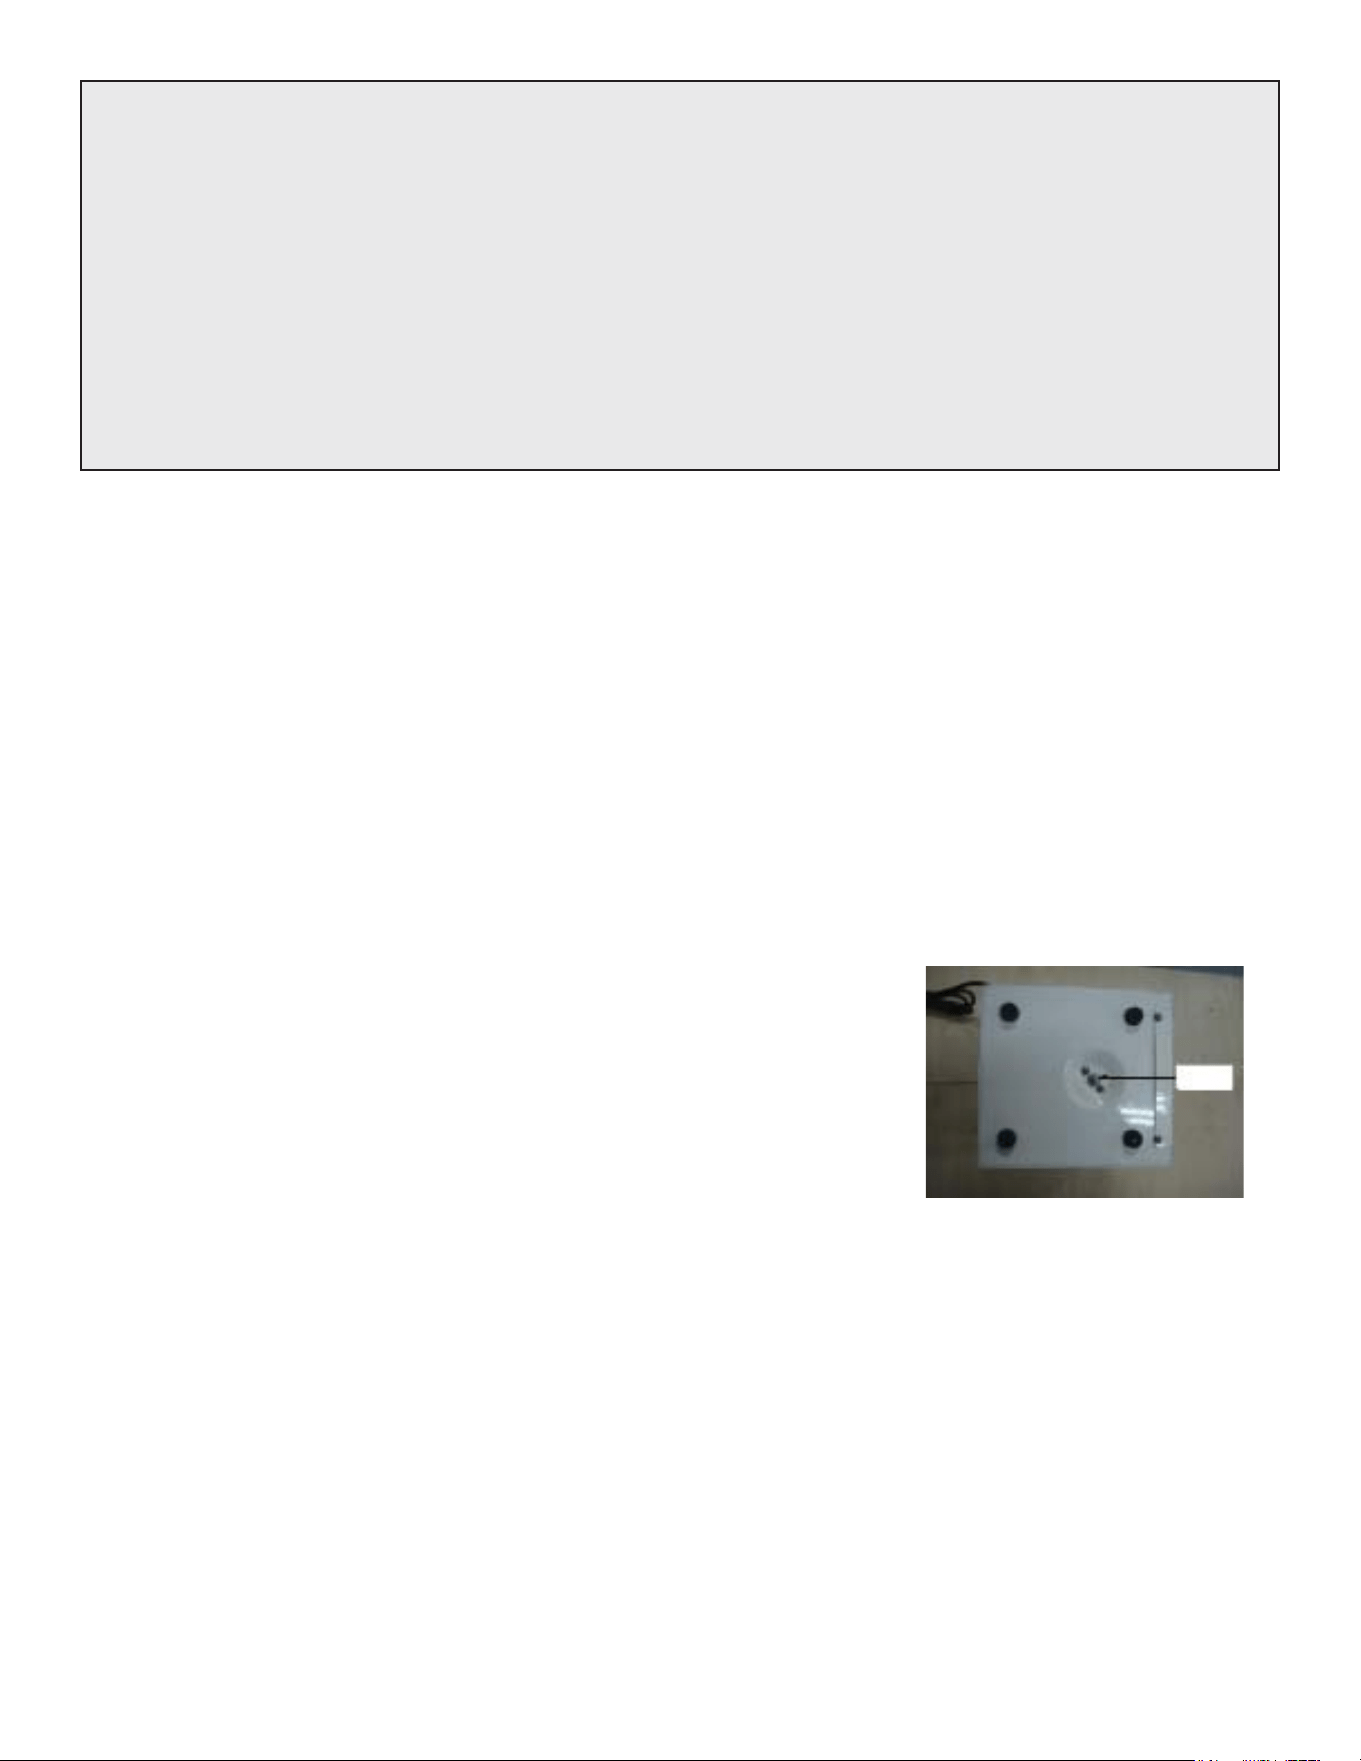
4. Place a 3 quart container under the drain plug at bottom of the tank. Use a
screwdriver to remove the screw and O-ring in the drain tube opening. When
tank is fully drained replace O-ring and screw. Tighten to reseal the drain.
5. Only use mild cleaners to clean the faucet and plastic components.
Cleaners with acids, abrasives, alkaline or organic solvents will result in
deterioration of the plastic components and void the warranty.
NOTE: Do not plug
appliance into power supply
if tank is empty.
drain
Loading ...
Loading ...
Loading ...