
Loading ...
Loading ...
Loading ...
4
ONE-KEY™
To learn more about the ONE-KEY™ functionality
for this tool, go to milwaukeetool.com/One-Key. To
download the ONE-KEY™ app, visit the App Store
®
or Google Play™ from your smart device.
ONE-KEY™ Indicator
Solid Blue Wireless mode is active and
ready to be congured via the
ONE-KEY™ app.
Blinking Blue Tool is actively communicating with
the ONE-KEY™ app.
Blinking Red
Tool is in security lockout and can
be unlocked by the owner via the
ONE-KEY™ app.
OPERATION
WARNING
To reduce the risk of injury or tem-
porary eects on vision, do not
look directly into the laser when it is on.
CAUTION
Use of controls or adjustments or
performance of procedures other
than those specied herein may result in hazard-
ous radiation exposure.
NOTICE
Perform the Accuracy Field Check
procedure immediately upon unboxing
of each new laser and before exposure to jobsite
conditions. See "Accuracy Field Check" for
information. Should any deviation from listed
product accuracy be found, please contact an
authorized MILWAUKEE service center. Failure to
do so could result in rejection of warranty claim.
Turning the Rotary Laser ON/OFF
• To turn the laser ON, press the power button. When
powered on, the laser will begin the leveling se-
quence. Once level and ready to use, the Leveling
Mode Indicator LED will become solid green.
• To turn the laser OFF, press the power button. The
laser diode will turn o, the head will stop rotating,
and all LEDs will turn o.
Rotational Mode
When the laser initially turns on, the laser will auto-
matically start to self-level. The laser head will rotate
at 600 RPM, and the laser beam will become visible.
Auto-Leveling Mode
When the laser initially turns on, the laser will au-
tomatically start to self-level. The Leveling Mode
Indicator LED will begin ashing green.
• During the leveling process, the Bump Alarm will not
be active. When the laser is leveled, the Leveling
Mode Indicator LED will be solid green, and the laser
head will start to rotate. The laser will be ready for
use.
• If the leveling process fails by the one-minute timer
or is out of the leveling range, the Leveling Mode
Indicator LED ashes red, the laser diode turns o
and stops rotating, and an audible tone will sound.
NOTE: If the laser fails to level, ensure the laser is
on a stable and at surface. This error occurs when
the working surface causes the laser to be outside
the leveling range. After, try pressing the Leveling
button or power cycling the laser to trigger a relevel.
If the problem persists, please contact an authorized
MILWAUKEE service center for support.
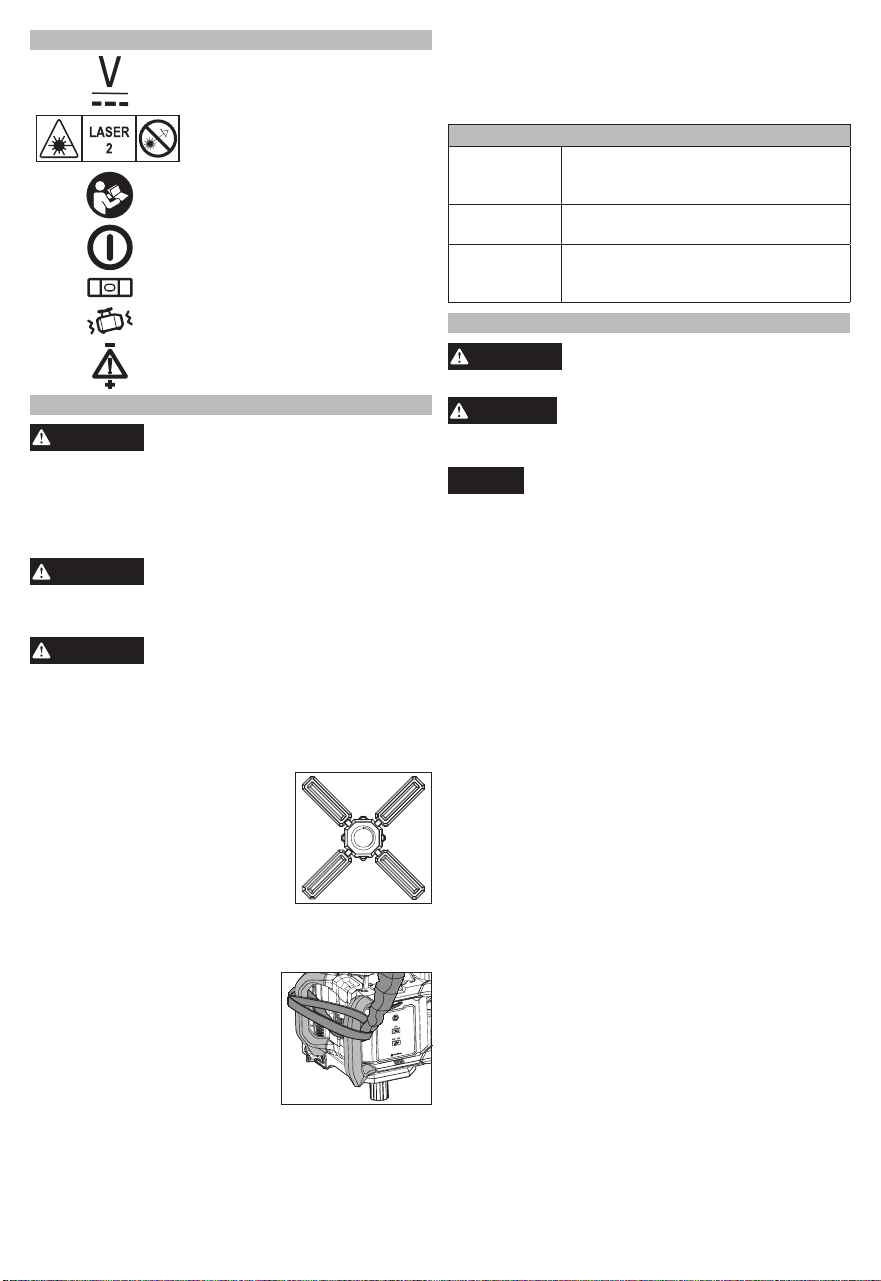
SYMBOLOGY
Volts
Direct Current
LASER RADIATION
DO NOT STARE INTO BEAM
CLASS 2 LASER PRODUCT
Read Operator's Manual
Power Button
Leveling Button
Bump Alarm LED
Coin Cell Polarity Indicator
ASSEMBLY
WARNING
Recharge only with the charger
specied for the battery. For spe-
cic charging instructions, read the operator's
manual supplied with your charger and battery.
Removing/Inserting the Battery
To remove the battery, push in the release buttons
and pull the battery pack away from the tool.
WARNING
Always remove the battery pack
any time the tool is not in use.
To insert the battery, slide the pack into the body
of the tool. Make sure it latches securely into place.
WARNING
Only use accessories specically
recommended for this tool. Others
may be hazardous.
To reduce the risk of injury or damage, securely
mount/attach the laser before starting an opera-
tion. Injury/damage may occur if the laser falls.
Mounting the Rotary Laser
The rotary laser can be mounted to a
tripod or Rotary Laser Wall Mount:
• If working overhead, ensure the
laser is secure before operating
and attached to a MILWAUKEE
35 lb rated lanyard.
• Ensure the laser and accessories
are on a stable surface.
• Use the 5/8"-11 threaded insert to mount the laser
on a tripod or Rotary Laser Wall Mount.
Lanyard Attachments
Use MILWAUKEE Lanyards to
help reduce the risks associated
with dropped tools. Complies
with ANSI/ISEA 121:2018.
1. Follow instructions provided
with tool lanyard.
2. When using the lanyard,
user must attach both short
handles together properly, as shown above, before
operation.
WARNING! To reduce the risk of serious injury or
death, use only lanyards rated for the weight of
the tool.
Loading ...
Loading ...
Loading ...