Loading ...
Loading ...
Loading ...
13Section 3 — controlS & operation
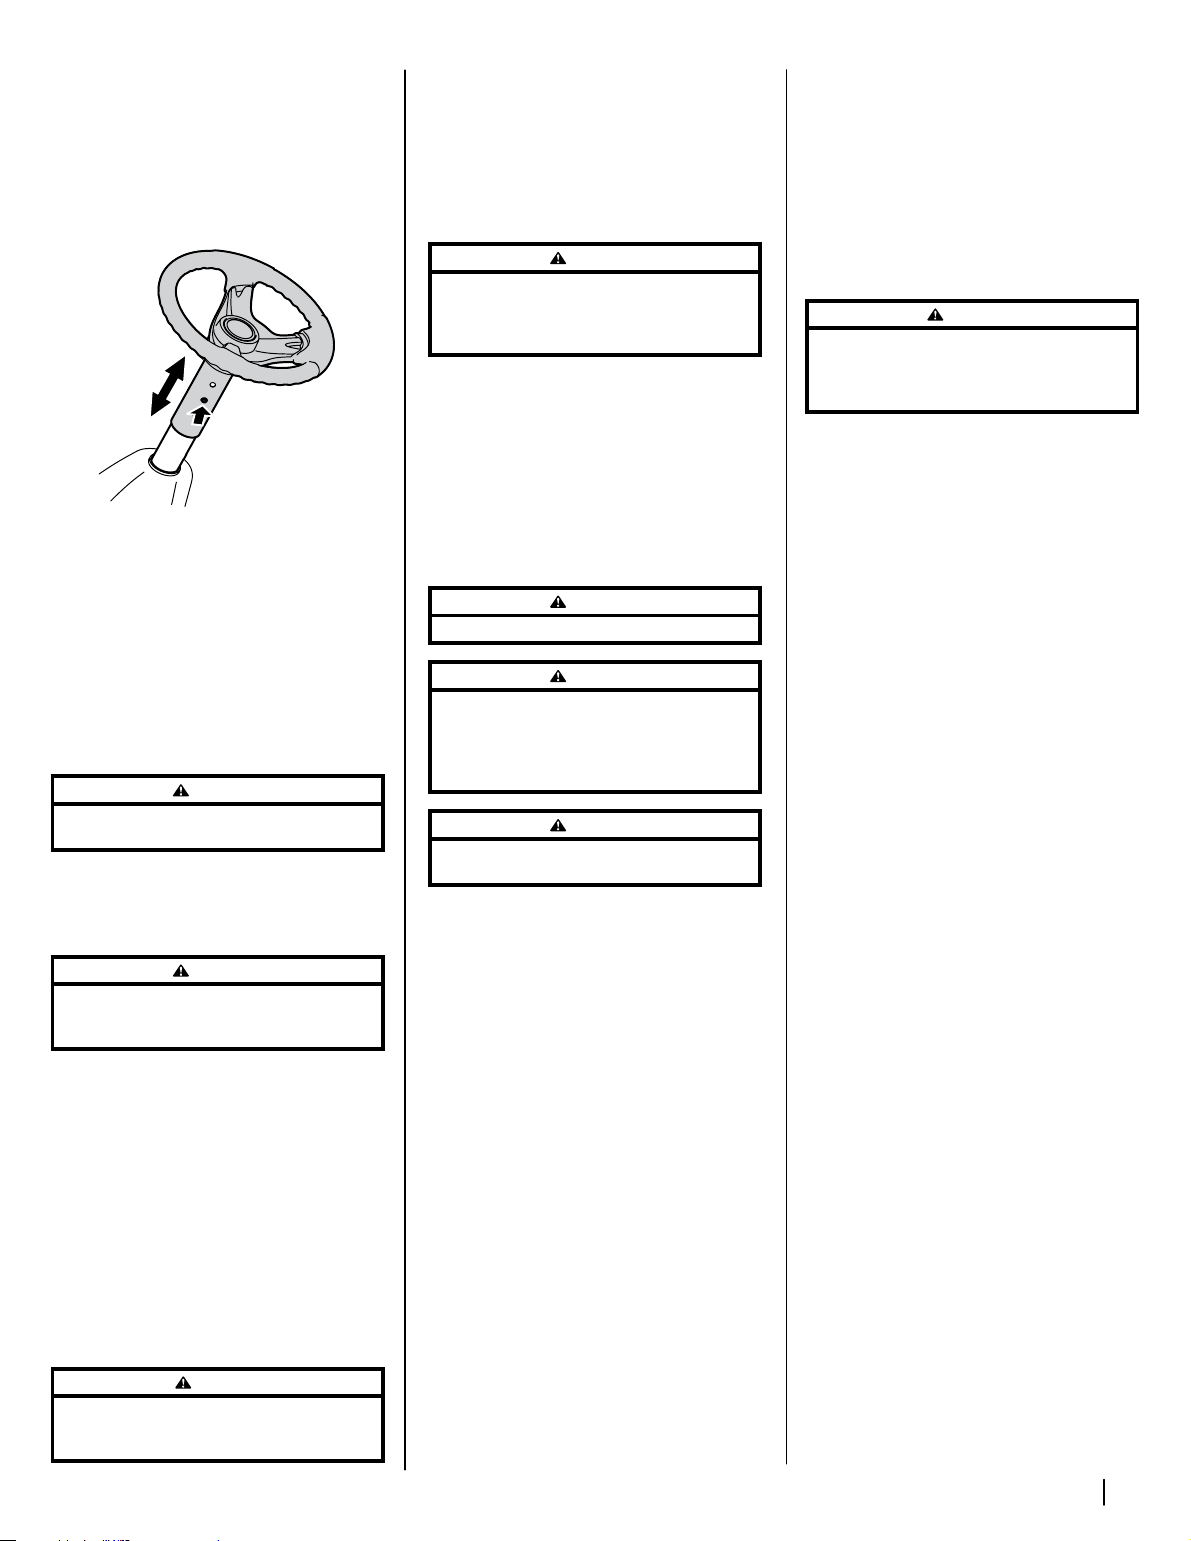
Steering Wheel Height Adjustment (If equipped)
To adjust the height of the steering wheel:
1. Sit in the operator’s seat and place your
hands on the steering wheel.
2. Push the button (a) on the steering column
and raise or lower the steering wheel to the
desired position. See Figure 3-2.
(a)
Figure 3-2
Note: Once the desired position is achieved, lift
up and down on the steering wheel to make
sure it locks into place and the button (a) on the
steering column releases into a locked position.
Do not operate this riding mower unless the
steering column is in a locked position.
Setting the Cutting Height
Select the height position of the cutting deck by
placing the deck lift lever in any of the different
cutting height notches on the right side of the fender.
WARNING
Keep hands and feet away from the discharge opening of
the cutting deck.
Refer to Leveling the Deck in the Maintenance
& Adjustments section of this manual for more
detailed instructions regarding deck adjustment.
Starting the Engine
WARNING
Do not operate the riding mower if the interlock system is
malfunctioning. This system was designed for your safety
and protection.
Note: Refer to the Assembly & Set-Up section of
this manual for gasoline and oil fill-up instructions.
1. Insert the key into the ignition module.
2. Place the PTO lever in the disengaged (OFF)
position.
3. Engage the riding mower’s parking brake.
4. Activate the choke control (if equipped)
by moving the throttle/choke control lever
(if equipped) all the way forward into the
choke position.
5. Turn the key clockwise to the START
position. After the engine starts, release the
key. It will return to the NORMAL MOWING
MODE/RUN position.
CAUTION
Do NOT hold the key in the START position for longer than
ten seconds at a time. Doing so may cause damage to your
engine’s electric starter.
6. After the engine starts, deactivate the choke
(if equipped) by placing the throttle/choke
control (if equipped) into the FAST position.
Note: Do NOT operate this riding mower
with the choke control activated. Doing so
will result in a “rich” fuel mixture and can
cause the engine to run poorly.
Stopping the Engine
WARNING
If you strike a foreign object, stop the engine, disconnect the
spark plug wire and ground against the engine. Thoroughly
inspect the machine for any damage. Repair the damage
before restarting and operating.
1. If the blade is engaged, place the PTO lever
in the disengaged (OFF) position.
2. Place the throttle/choke control (if
equipped) or throttle control (if equipped)
near the SLOW position.
3. Turn the key counter-clockwise to the STOP
position.
4. Remove the key from the ignition module to
prevent unintended starting.
Driving the Riding Mower
WARNING
Avoid sudden starts, excessive speed and sudden stops.
WARNING
Do not leave the seat of the riding mower without first
placing the PTO (Blade Engage) lever in the disengaged (OFF)
position, depressing the clutch-brake pedal and engaging the
parking brake. If leaving the riding mower unattended, also
turn the ignition key OFF and remove the key.
WARNING
Always look down and behind before and while backing up
to avoid a back-over accident.
1. Move the throttle/choke control (if
equipped) or throttle control (if equipped)
into the FAST position.
2. Place the shift lever in either the FORWARD or
REVERSE position on 6-speed riding mowers.
On hydro riding mowers, slowly engage
the forward drive pedal to travel FORWARD
until the desired speed is reached. To travel
in REVERSE, slowly engage the reverse drive
pedal until the desired speed is reached.
3. Depress the clutch-brake pedal and move
the speed control lever out of the parking
brake position and into the desired speed
setting on 6-speed riding mowers. On hydro
riding mowers depress the brake pedal and
move the parking brake lever out of the
parking brake position.
4. Release clutch-brake pedal slowly to put the
riding mower in motion on 6-speed riding
mowers. On hydro riding mowers slowly
depress the forward or reverse drive pedal
until the desired speed is reached.
5. The riding mower is brought to a stop by
depressing the clutch-brake pedal or brake
pedal.
Important: Do NOT use the shift lever (if
equipped) to change the direction of travel
when the riding mower is in motion. Always
use the clutch-brake pedal (if equipped) to
bring the riding mower to a complete stop
before shifting.
Important: First-time operators should use
speed positions 1 or 2 on the shift lever (if
equipped). Become completely familiar with
the riding mower’s operation and controls
before operating the riding mower at higher
speeds.
Note: When operating the riding mower
initially, there will be little difference
between the highest two speeds on the
shift lever (if equipped) until after the belts
have seated themselves into the pulleys
during the break-in period.
WARNING
Before leaving the operator’s position for any reason,
disengage the blade, place the shift lever(if equipped) in
neutral, engage the parking brake, shut engine OFF and
remove the key.
Important: When stopping the riding
mower for any reason while on a grass
surface, always:
• Place the shift lever into neutral.
• Engage the parking brake.
• Shut the engine OFF and remove
the key. Doing so will minimize
the possibility of having your lawn
‘‘browned’’ by hot exhaust from your
riding mower’s running engine.
If 6-speed riding mower stalls with speed control
lever (if equipped) in high speed, or if riding
mower will not operate with speed control lever
(if equipped) in a low speed position, proceed as
follows:
• Place shift lever (if equipped) in
NEUTRAL.
• Restart engine.
• Place speed control lever (if
equipped) in highest speed position.
• Release clutch-brake pedal (if
equipped) fully.
• Depress clutch-brake pedal (if
equipped).
• Place speed control lever (if
equipped) in desired position.
• Place shift lever (if equipped) in
either FORWARD or REVERSE, and
follow normal operating procedures.
Loading ...
Loading ...
Loading ...