Loading ...
Loading ...
Loading ...
12 49-1000592 Rev. 2
Installation Instructions
INSTALLATION INSTRUCTIONS
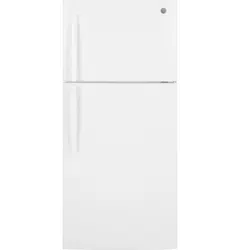
1
HANDLE FASTENERS
1. If the door swings needs to be reversed, see
WKH5HYHUVLQJWKH'RRU6HFWLRQ
2. Install the handle fasteners with a Phillips
VFUHZGULYHULQWRWKHKROHVRQWKHIUHH]HUDQG
fresh food doors.
+DQGOH)DVWHQHU
2
HANDLE INSTALLATION
1. Attach each handle to the door handle
fasteners with set screws using a 1/8" Allen
wrench.
2. Tighten the set screws at the top and bottom
RIHDFKKDQGOH127('RQRWRYHUWLJKWHQ
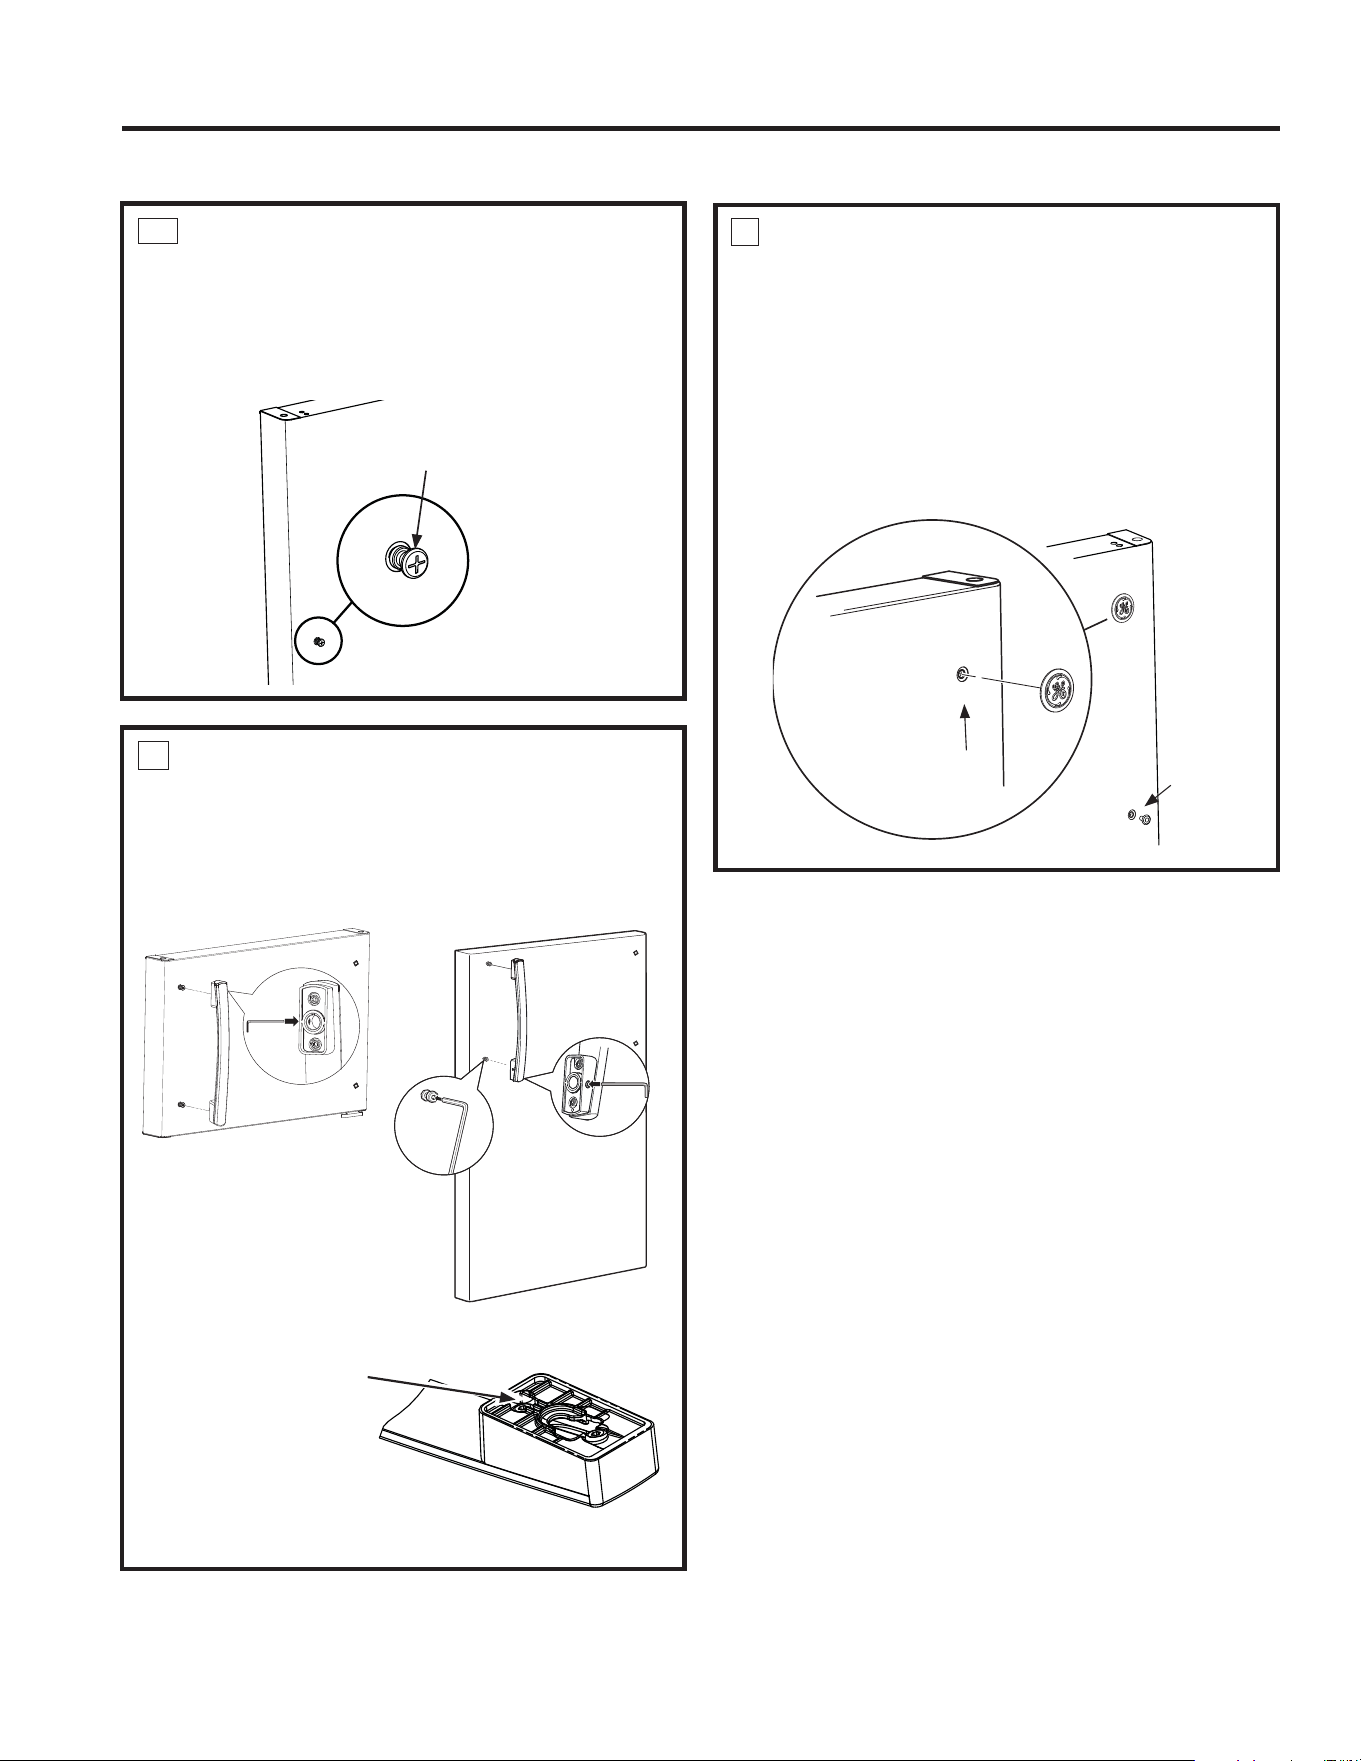
3
BADGE AND PLUG BUTTON
INSTALLATION ON FREEZER
DOOR
1. Remove the plug button from the top, unused
handle mounting hole.
2. Locate the GE Appliances badge in the crisper
pan and remove paper backing.
3. Carefully orient the badge correctly and apply
LWWRWKHXQXVHGWRSIUHH]HUKDQGOHKROH
For Stainless Steel Handles Only
'RQRWUHPRYHWKH¿OP
that covers the door
contact surface shown
in the picture. This
¿OPSURWHFWVWKHGRRU
surface from direct
contact with the handle.
INSTALLING THE DOOR HANDLE
NOTE: Be sure to remove
¿OPEHIRUHKDQGOHLQVWDOODWLRQ
if applicable)
Plug
button
GE Appliance
badge location for
right swing doors
Loading ...
Loading ...
Loading ...