
Loading ...
Loading ...
Loading ...
15
If you do not want the 3mm gap, you will have the option to route the wood according to the bracket’s
dimensions. Then proceed to install the bracket following the instructions below.
Installing the handle on the overlay panel
If reusing the handle that came with the unit:
1. Unscrew the studs located on the front face of the door and set them aside for later use.
2. Remove the screws from the door and proceed to mark their positions on the overlay panel by using
the handle as a guide.
3. Use a 3/16” (5mm) drill bit to make the holes on the overlay panel for the screws.
4. Insert the screws, making sure to leave the head of the screw flush with the surface of the panel
(countersink screws if necessary).
5. Take the studs you saved in Step 1 and screw them back. They are now projecting from the face of
the panel.
6. Place the handle over the mounting studs and, using the supplied Allen key, tighten the securing
grub screws to fix the handle. Refer to “Installing a Stainless Steel Handle” (Refer to page 13).
If using a customer supplied handle(s):
1. Attach the handle to the overlay panel by using flat head or countersunk screws.
2. Unscrew the studs located on the front face of the door and save them for later possible use.
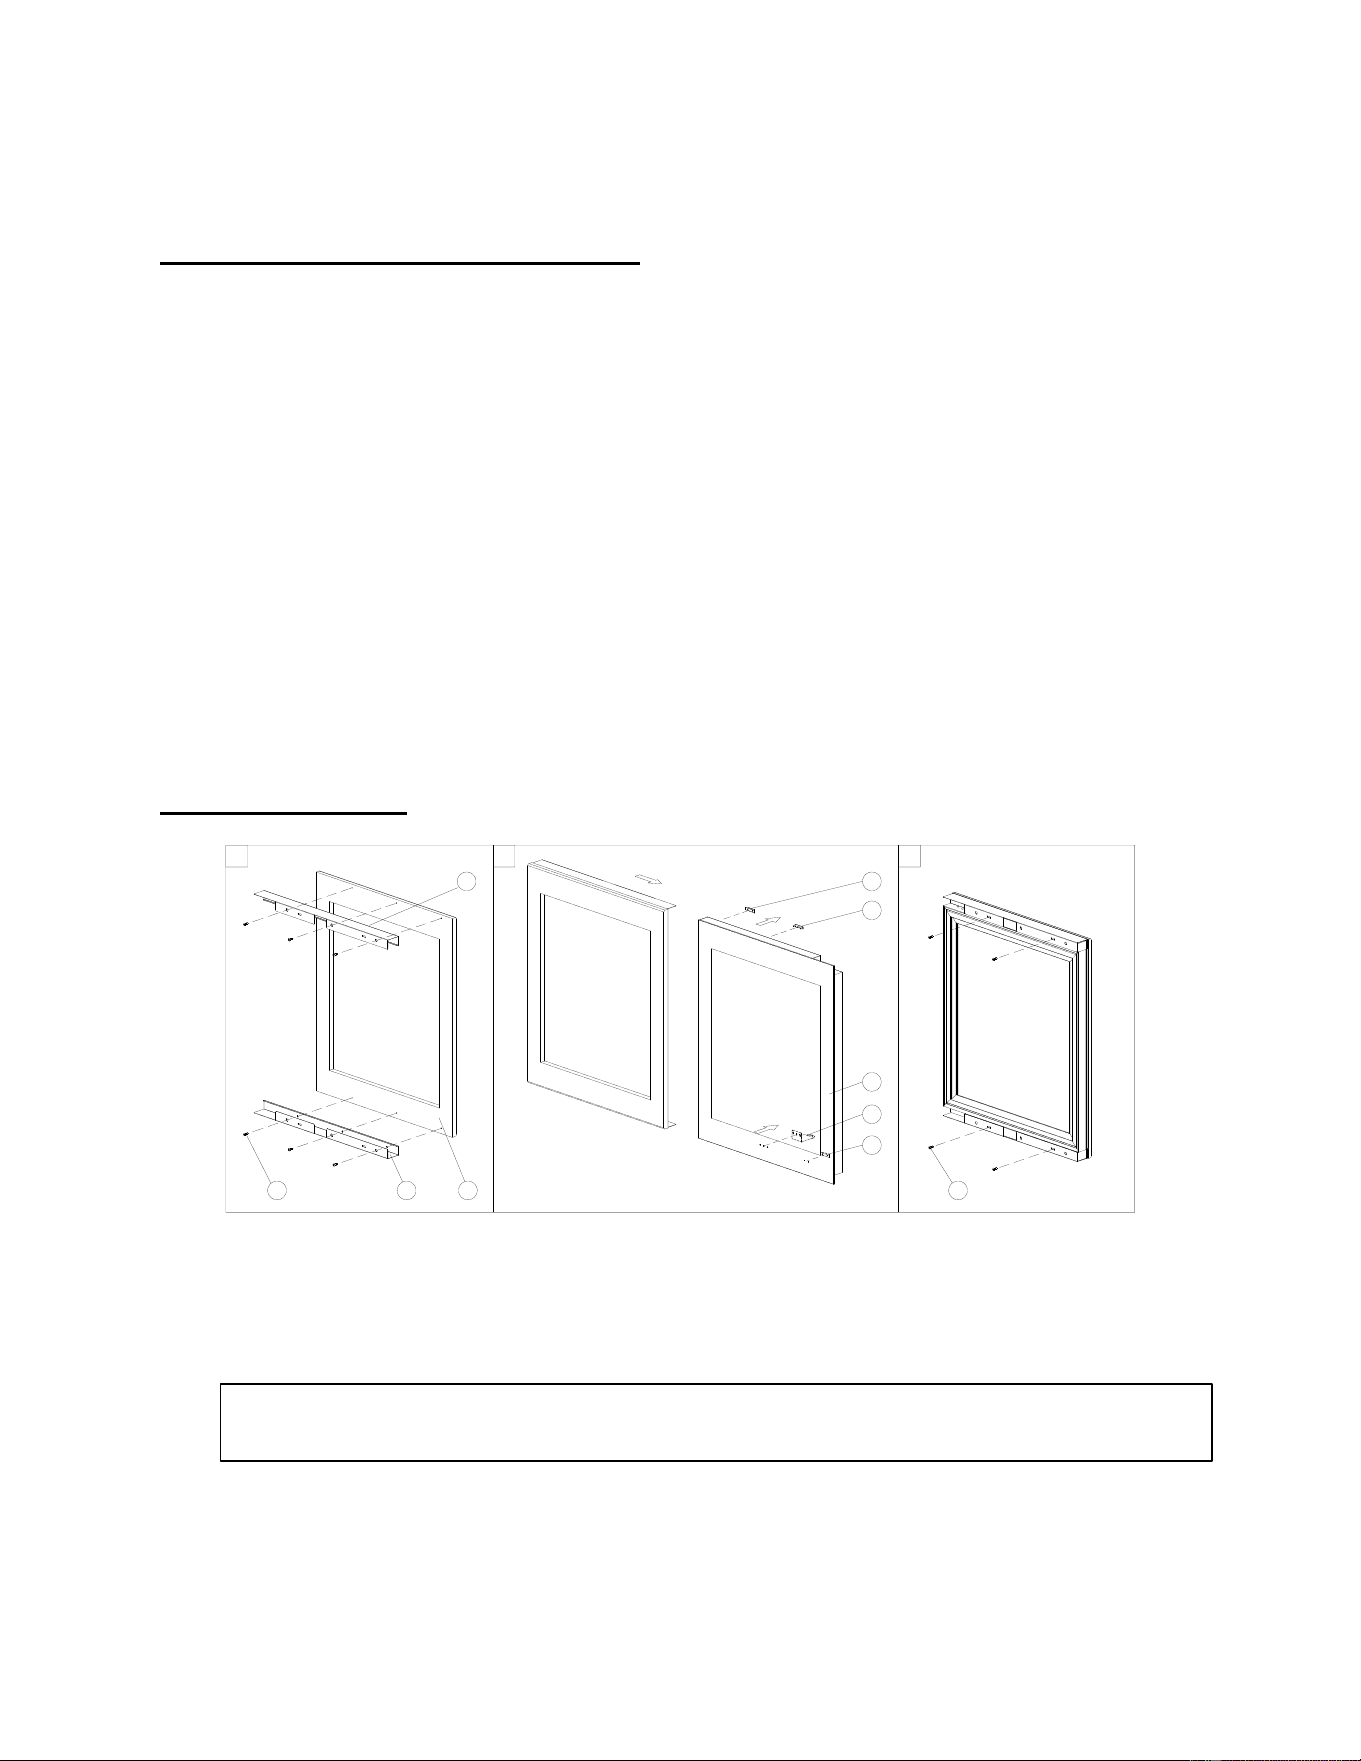
Installing the Bracket
1 2
3
1 2
3 9
5
6
7
8
5
4
1. Lay the wooden panel (3) on a flat surface.
2. Place the bottom bracket (2) along the edge of the panel.
3. Attach the bracket (2) to the wooden panel by using three ½” Phillips self-tapping screws (1).
4. Repeat steps 2-3 for the top bracket.
NOTE: The two brackets must be horizontally spaced according to the specific dimensions of your
unit’s door.
5. Prepare the unit for panel installation, by removing the lock bracket (8) and magnetic activator (5)
from the bottom of the door and remove the magnetic activator (4) & hole plugs (6) from the top of
Loading ...
Loading ...
Loading ...