

Copyright
©2024 Hanwha Vision Co., Ltd. All rights reserved.
Trademark
Each of trademarks herein is registered. The name of this product and other trademarks mentioned in this manual are the registered trademark of
their respective company.
Restriction
Copyright of this document is reserved. Under no circumstances, this document shall be reproduced, distributed or changed, partially or wholly,
without formal authorization.
Disclaimer
Hanwha Vision makes the best to verify the integrity and correctness of the contents in this document, but no formal guarantee shall be
provided. Responsibility for the use of this document and the subsequent outcomes shall be borne entirely by the user. Hanwha Vision
reserves the right to change the contents of this document without prior notice.
Warranty
Hanwha Vision Co., Ltd. shall repair a product free of charge if the product does not work properly when operating it under normal usage
conditions.
The warranty period for products is 3 years, except in the following events :
●
If a system malfunctions due to the execution of programs unrelated to system operation
●
If data is damaged due to virus infection
●
If the product has changed over time or has defects caused by natural wear during use
●
If there are sensory phenomena that do not aect the product quality and functionality (e.g. product noise)
❖ Appearance, specification, etc. of the product is subject to change for performance improvements without prior notice.
The latest update can be downloaded from the Hanwha Vision website. (www.HanwhaVision.com)
❖ The default administrator ID is "admin" and the password must be set when logging in for the first time.
Please change your password every three months to safely protect personal information and to prevent the damage of the information theft.
Please, take note that it's a user's responsibility for the security and any other problems caused by mismanaging a password.
AIBox
User Manual
English _3
overview
Standards Approvals
■
Any changes or modifications in construction of this device which are not expressly approved by the party responsible for compliance could void
the user's authority to operate the equipment.
■
This device complies with part 15 of the FCC Rules. Operation is subject to the following two conditions : (1) This device may not cause harmful
interference, and (2) this device must accept any interference received, including interference that may cause undesired operation.
■
This equipment has been tested and found to comply with the limits for a Class A digital device, pursuant to part 15 of the FCC Rules.
These limits are designed to provide reasonable protection against harmful interference when the equipment is operated in a commercial
environment.
This equipment generates, uses, and can radiate radio frequency energy and, if not installed and used in accordance with the instruction
manual, may cause harmful interference to radio communications. Operation of this equipment in a residential area is likely to cause harmful
interference in which case the user will be required to correct the interference at his own expense.
■
Reorient or relocate the receiving antenna.
■
Increase the separation between the equipment and receiver.
■
Connect the equipment into an outlet on a circuit different from that to which the receiver is connected.
■
Consult the dealer or an experienced radio/TV technician for help.
CAUTION
●
RISK OF EXPLOSION IF BATTERY IS REPLACED BY AN INCORRECT TYPE. DISPOSE OF USED BATTERIES
ACCORDING TO THE INSTRUCTIONS.
●
Do not ingest battery, Chemical Burn Hazard.
●
This product contains a coin / button cell battery. If the coin / button cell battery is swallowed, it can cause
severe internal burns in just 2 hours and can lead to death.
●
Keep new and used batteries away from children. If the battery compartment does not close securely, stop
using the product and keep it away from children.
If you think batteries might have been swallowed or placed inside any part or the body, seek immediate
medical attention.
ATTENTION
●
IL Y A RISQUE D'EXPLOSION SI LA BATTERIE EST REMPLACÉE PAR UNE BATTERIE DE TYPE INCORRECT.
METTRE AU REBUT LES BATTERIES USAGÉES CONFORMÉMENT AUX INSTRUCTIONS.
●
Ne pas ingérer la pile, risque de brûlure chimique.
●
Ce produit contient une pile de type bouton/pièce de monnaie. Si la pile de type bouton/pièce de monnaie est
avalée, elle peut causer de graves brûlures internes en seulement 2 heures et peut entraîner la mort.
●
Gardez les piles neuves et usagées hors de portée des enfants. Si le compartiment de la pile ne se ferme pas
correctement, cessez d’utiliser le produit et gardez-le d’atteinte des enfants.
Si vous suspectez que des piles ont été avalées ou insérées dans une partie du corps, consultez un médecin
sans tarder.
ImpORTANT SAfETy INSTRUCTIONS
Read these operating instructions carefully before using the unit.
Follow all the safety instructions listed below.
Keep these operating instructions handy for future reference.
1) Read these instructions.
2) Keep these instructions.
3) Heed all warnings.
4) Follow all instructions.
5) Do not use this apparatus near water.
6) Clean the contaminated area on the product surface with a soft, dry cloth or a damp cloth.
(Do not use a detergent or cosmetic products that contain alcohol, solvents or surfactants or oil constituents
as they may deform or cause damage to the product.)
7) Do not block any ventilation openings, Install in accordance with the manufacturer's instructions.
8) Do not install near any heat sources such as radiators, heat registers, stoves, or other apparatus (including
amplifiers) that produce heat.
9) Do not defeat the safety purpose of the polarized or grounding- type plug. A polarized plug has two blades
with one wider than the other. A grounding type plug has two blades and a third grounding prong. The
wide blade or the third prong are provided for your safety. if the provided plug does not fit into your outlet,
consult an electrician for replacement of the obsolete outlet.
10) Protect the power cord from being walked on or pinched particularly at plugs, convenience receptacles, and
the point where they exit from the apparatus.
11) Only use attachments/accessories specified by the manufacturer.
12) Use only with the cart, stand, tripod, bracket, or table specified by the manufacturer, or sold with the
apparatus. When a cart is used, use caution when moving the cart/apparatus combination to avoid injury
from tip-over.
13) Unplug this apparatus during lightning storms or when unused for long periods of time.
14) Refer all servicing to qualified service personnel. Servicing is required when the apparatus has been
damaged in any way, such as power-supply cord or plug is damaged, liquid has been spilled or objects have
fallen into the apparatus, the apparatus has been exposed to rain or moisture, does not operate normally, or
has been dropped.
• OvERvIEW

4_ overview
overview
ABOUT USER mANUAl
This document contains the instructions for AIBox. Please read this manual carefully before using the product for proper
use.
●
This document explains how to use the product based on its defaults and default screens.
●
The information in this manual may vary, depending on the product's software update and our policies, and is
subject to change without notice to the user.
ABOUT TARgET READERS
This manual contains information for users of AIBox.
ABOUT pRODUCT USAgE
Users of this product can perform the following operations :
●
Real-time monitoring of camera videos registered in AIBox
●
Sending video data, AI metadata, and Bestshot to devices connected to AIBox
Before using this product, please make sure that the product is the latest software version. You can visit Hanwha Vision
website (www.HanwhaVision.com) to check and download the latest software version.

English _5
CONTENTS
OvERvIEW
3
3 Important Safety Instructions
4 About User Manual
4 About Target Readers
4 About Product Usage
5 Contents
6 What is Web Viewer?
6 System Requirements
6 Checking the IP Address
6 Setting the Password
7 Connecting the Web Viewer
8 Screen Layout of the Live Viewer
STARTINg WEB vIEWER
6
lIvE vIEWER
8
SETUp vIEWER
9
9 Screen Layout of the Setup Viewer
9 Setting the Camera
9 Channel setup
12 Profile info
12 Camera password
13 Setting the Event
13 Event rule setup
14 Alarm input
14 Schedule
14 MQTT
27 Troublishooting
AppENDIx
27
16 Setting the Network
16 IP & Port
18 DDNS
19 IP filtering
19 HTTPS
20 802.1x
20 FTP
21 E-mail
21 SNMP
22 Certificate management
23 Setting the System
23 Date/Time/Language
23 User
24 System management
25 Log
26 Setting Open platforms
26 Open platform
• OvERvIEW
6_ starting web viewer
starting web viewer
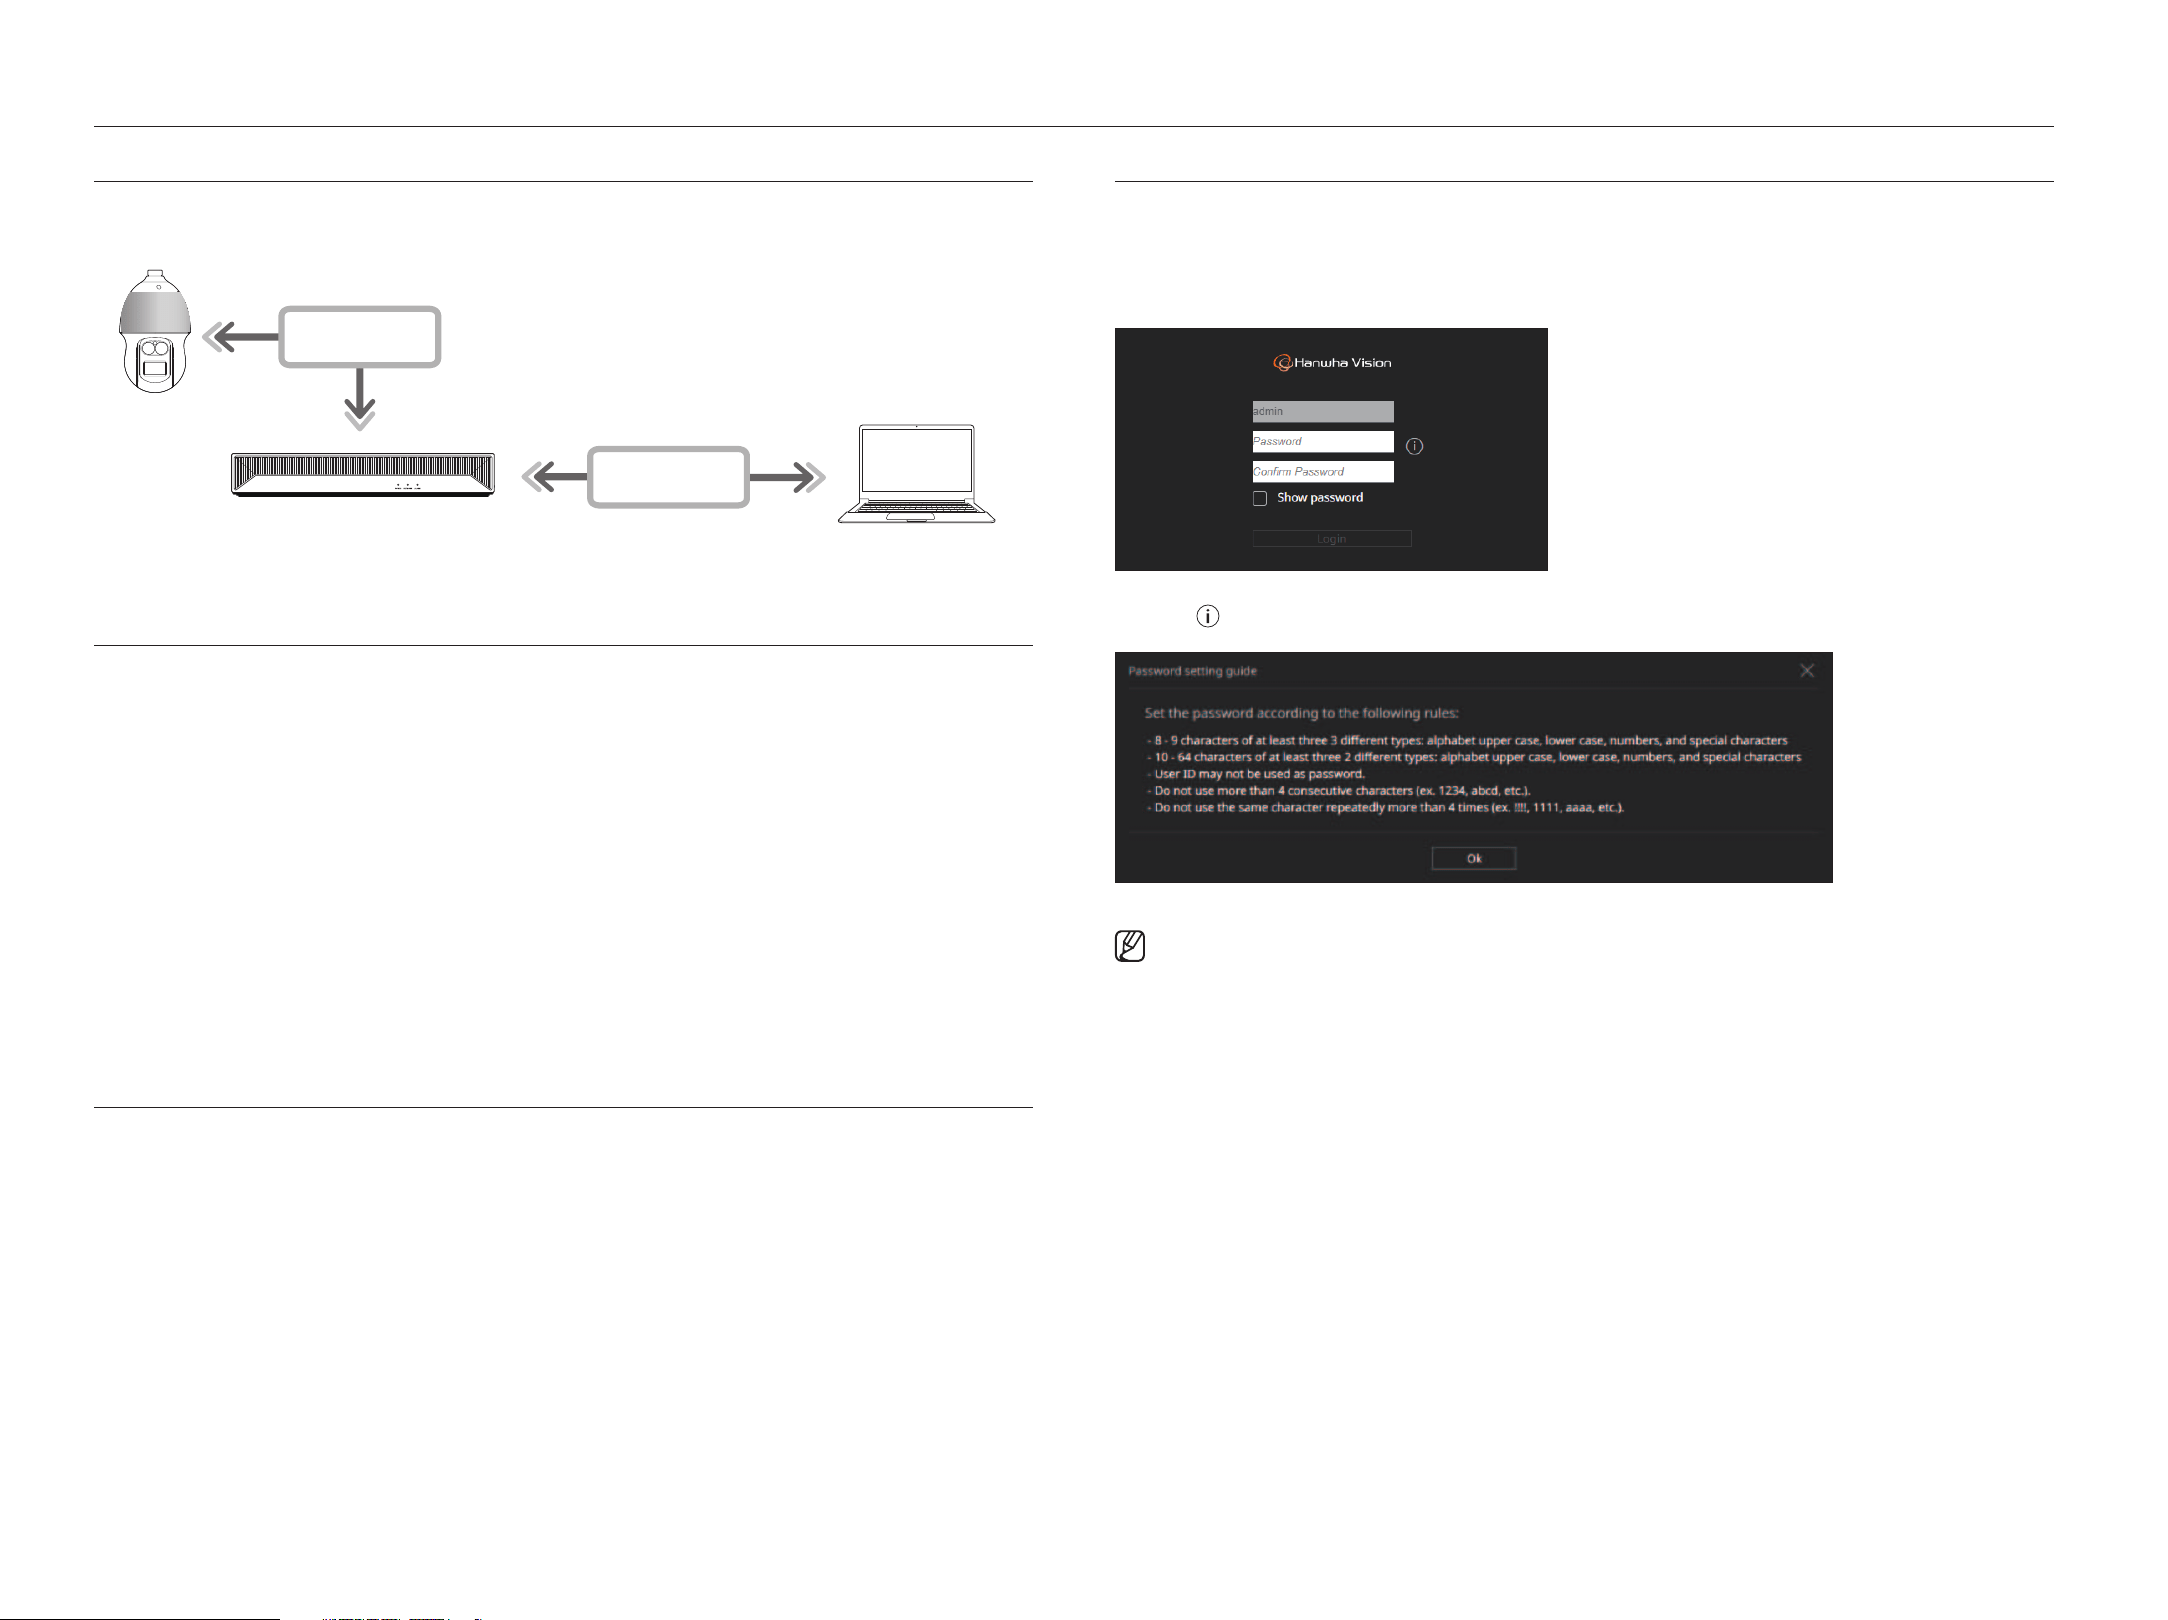
WhAT IS WEB vIEWER?
The web viewer is software that allows you to remotely access devices through a PC browser for real-time monitoring or
configuration.
NETWORK
NETWORK
AIBox
Network Camera
Remote PC
SySTEm REqUIREmENTS
The following lists the minimum suggested hardware and operating system requirements needed to run the Web
Viewer.
●
Use the browser recommended by the OS.
Ex.) Microsoft recommended browser : Microsoft Edge
●
Supported browsers : Chrome, Edge, and Safari
●
Supported OS : Works on all of the Windows, Linux, and OS X environments given the platform-independent nature
of the web.
●
Tested environments : Tested and certified to run on Windows® 10 with Edge 117, Google Chrome™ 117 and Intel®
Core™ i7-7700 processor 3.60 GHz with NVIDIA® GeForce® GTX™ 1050 or Intel™ HD Graphics 630.
●
Performance restrictions : The performance of users’ CPU/GPU may impact the video playback performance of the
web viewer.
The video quality may decrease depending on the settings, such as high resolution or transfer bandwidth, when
playing H.265 video in Chrome.
ChECkINg ThE Ip ADDRESS
The IP address of AIBox to access the web viewer can be seen in "Wisenet Device Manager".
The "Wisenet Device Manager" program can be installed by accessing the Hanwha Vision website (www.HanwhaVision.
com) and downloading from the "Support > Online Tool" menu.
1.
Run "Wisenet Device Manager".
2. Click <Search> to display the connected devices.
3. Check the IP address of AIBox in the list.
SETTINg ThE pASSWORD
When accessing the web viewer for the first time or after a factory reset, set the password of AIBox.
1.
Open your web browser and enter the IP address of AIBox in the address bar.
2.
Enter the password of the administrator account and click <login>.
3. Click < > to view the basic guide for setting a password. Refer to the password setup rules.
■
Be sure to remember or record the password not to forget it.
starting web viewer
English _7
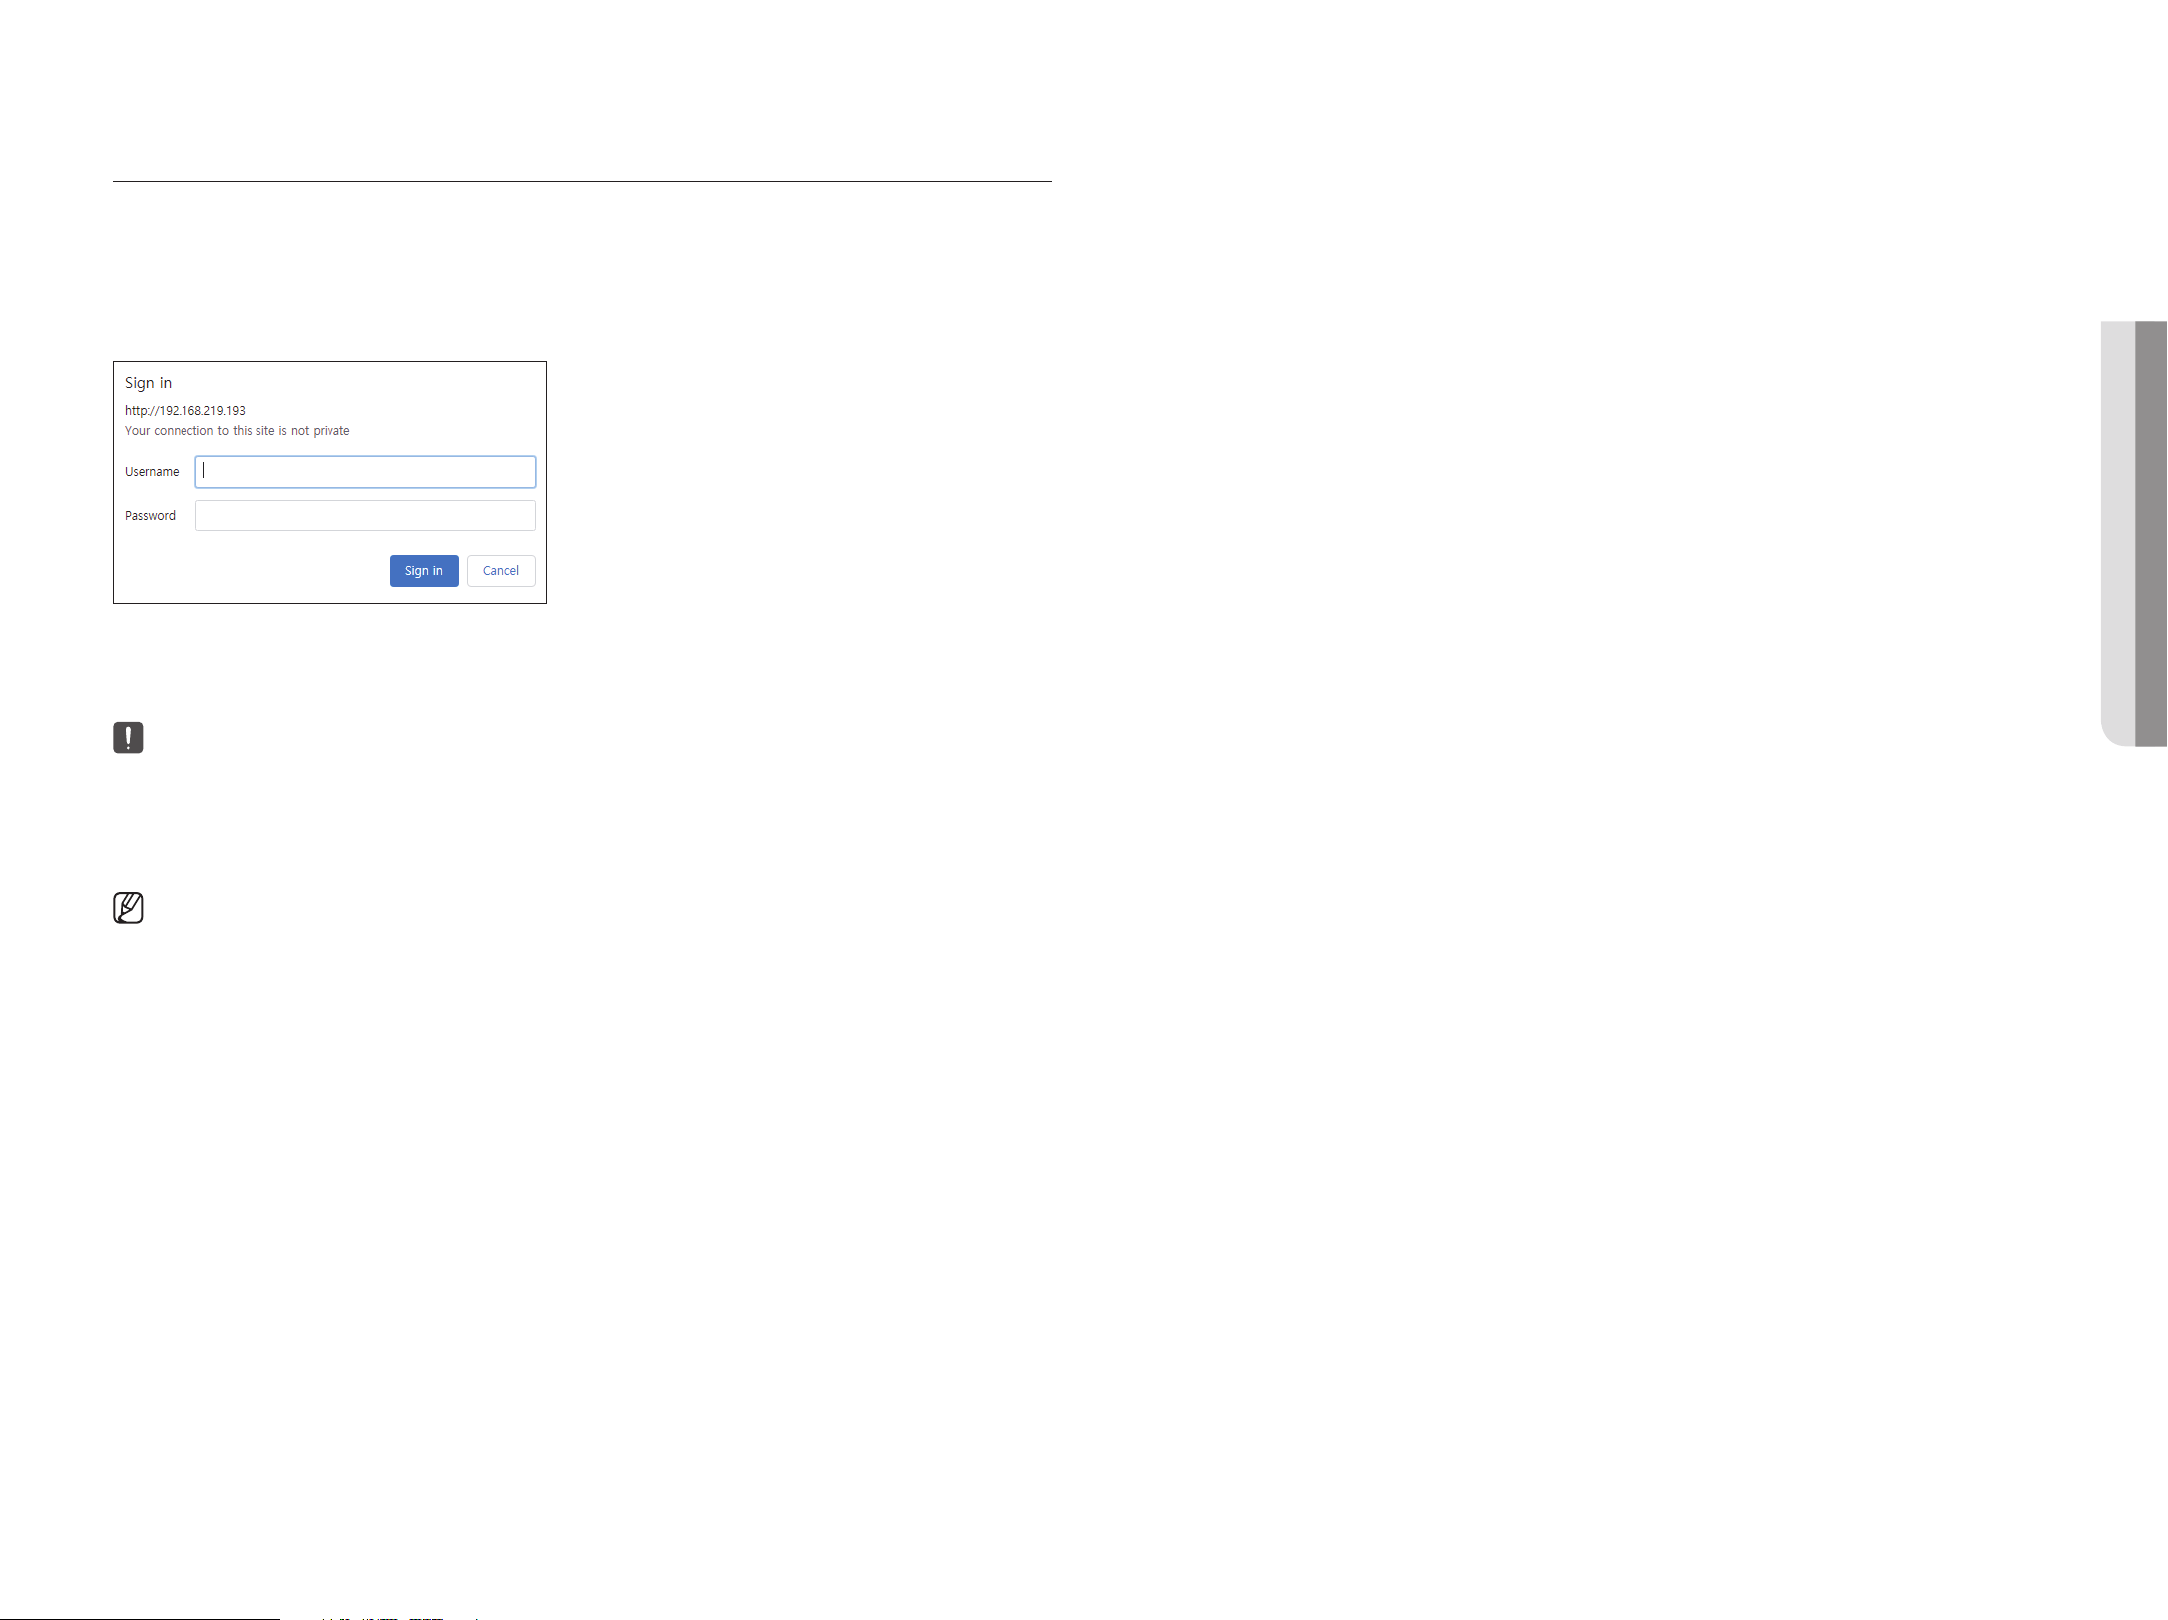
CONNECTINg ThE WEB vIEWER
1. Open your web browser and enter the IP address of AIBox in the address bar. The <Sign in> window appears.
2. Enter <User name> and <password> and click <Sign in>.
●
User name : Enter "admin".
●
Password : Enter the set password.
3. After you log in, the Live Viewer main screen appears.
■
All settings are applied according to the AIBox settings.
■
If you change the web port when connecting to the web viewer, you may fail to access since the applicable port is blocked. In this case, change the port
to a different port.
■
Please change your password every three months to safely protect personal information and to prevent the damage of the information theft.
Please, take note that it's a user's responsibility for the security and any other problems caused by mismanaging a password.
■
The administrator’s password can be changed in the "Setup > System > User" menu.
• STARTINg WEB vIEWER
8_ live viewer
live viewer
You can see the videos of the cameras registered in the AIBox.
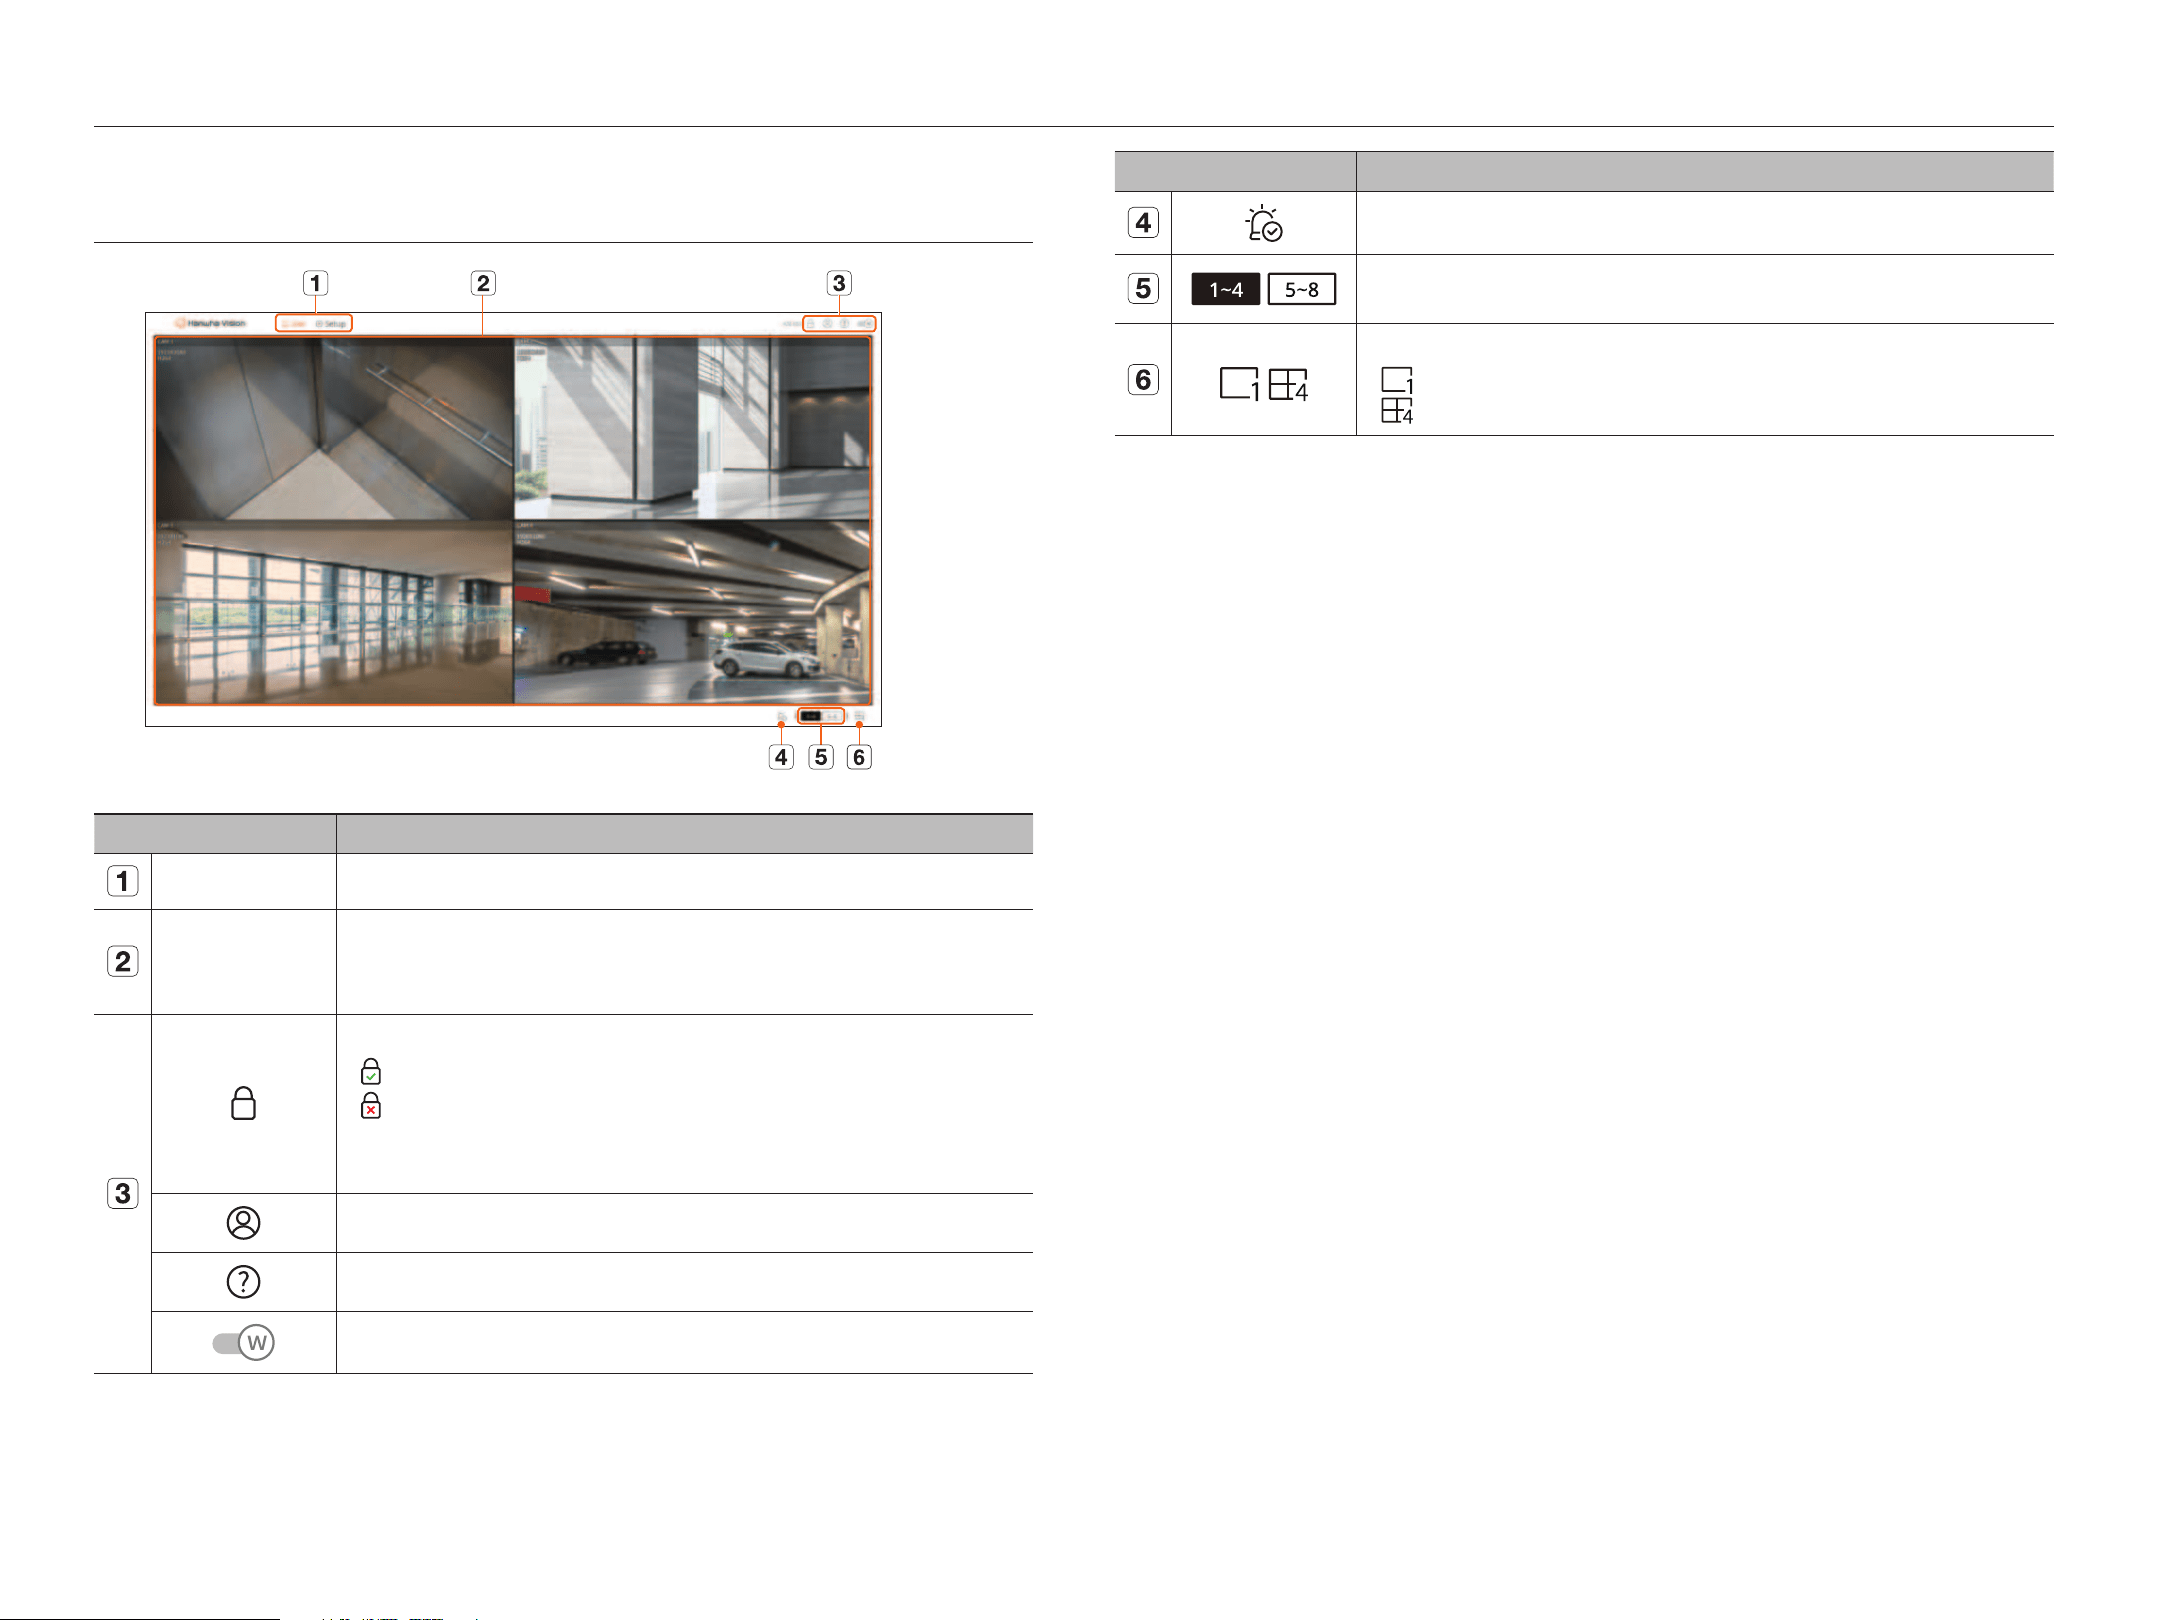
SCREEN lAyOUT Of ThE lIvE vIEWER
Menu Description
Menu Clicking on each menu takes you to the corresponding menu screen.
Video window
It displays the videos of the cameras connected to the AIBox.
●
Double-click the desired video from the video split-screen to switch to a single screen. If you double-click the video in the
single screen, the split screen appears again.
It displays the IP address and mutual authentication status of the viewer receiving video signals from the AIBox.
●
: Mutual authentication connection using the WISENET device certificate
●
: Mutual authentication connection without using the WISENET device certificate
●
– : Connection with no mutual authentication
●
No viewer connected : There is no viewer connected to the AIBox.
The ID of the connected user appears.
It is connected directly to the Hanwha Vision website (www.HanwhaVision.com).
Changes the color theme of Web Viewer.
Menu Description
It stops an alarm or beep sound for event occurrence or system status change.
The selected channel appears in the video window.
/
The selected split screen is applied to the video window.
●
: Displays channels 1 to 8 on a single screen.
●
: Displays channels 1 to 4 and 5 to 8 on 4-split screens.
live viewer

English _9
setup viewer
setup viewer
You can configure settings for cameras, events, networks, systems, and open platforms.
SCREEN lAyOUT Of ThE SETUp vIEWER
Item Description
Menu Click each menu to go to the menu screen.
Top menu list Configure the settings or select a parent item to change the existing settings.
Sub-menu list Among the sub-menus of selected parent menu, select a desired item to set.
Detailed Menu Click desired item's input field to change and enter a desired value.
Apply Apply the modified settings.
Revert Revert to the settings used before the change.
SETTINg ThE CAmERA
You can configure the settings for channels, profiles, and camera passwords.
Channel setup
You can register a network camera for each channel and make connection between.
Setup > Camera > Channel setup
●
: Displays the cameras of the channel as a list or thumbnails.
■
Camera searched with ONVIF does not provide previews.
●
Camera name : Displays the camera name. Click <
> to change the camera name.
■
You can enter up to 15 characters including spaces.
●
IP address : Displays the IP address of a network camera.
●
Model : Displays the camera model name.
●
Protocol : Displays the protocol information of a registered network camera.
●
Status : Displays the connection status.
●
Setup : Click <
>
to change the connection information of the camera.
■
If you cannot register a camera after initializing the system, check the network setting. As the system is initialized and the network setting is
reset, the camera's network bandwidth is different from the product's network bandwidth, so it is impossible to register a camera.
• SETUp vIEWER
10_ setup viewer
setup viewer
Registering Network Cameras Automatically
1. Click <Auto detect> in the <Channel setup> field.
The <Auto detect> window appears.
2.
Select a camera to register in the <Searched camera> list and click
.
You can check the selected camera in the <Camera to register> list.
■
If you search for the camera again or if the IP is an old IP that was not assigned by the DHCP server (e.g. 192.168.1.100), click < > to check
whether it has been assigned or not.
■
<Status> displays the camera authentication status. In the <Auth failed> state, click <
> to enter the camera ID and password.
■
Click a header at the top of the list to sort the list again by the clicked header.
3.
To change the IP address of the camera, select the desired camera from the <Camera to register> list and
press the <Change I
p> button.
4. Click <Apply> to register the selected camera.
■
To change the camera ID and password in the web viewer, if the camera has already been registered in AIBox, change the ID and password to be
the same as those of the camera.
■
If the camera is in factory reset state, it defaults to the ID and password set in the "Setup > Camera > Camera password" menu.
■
If the camera’s ID and password have already been set, the same values set in the "Setup > Camera > Camera password" menu
(up to 3 sets)
■
Wisenet camera is registered via Wisenet protocol while a third party camera is registered via ONVIF protocol.
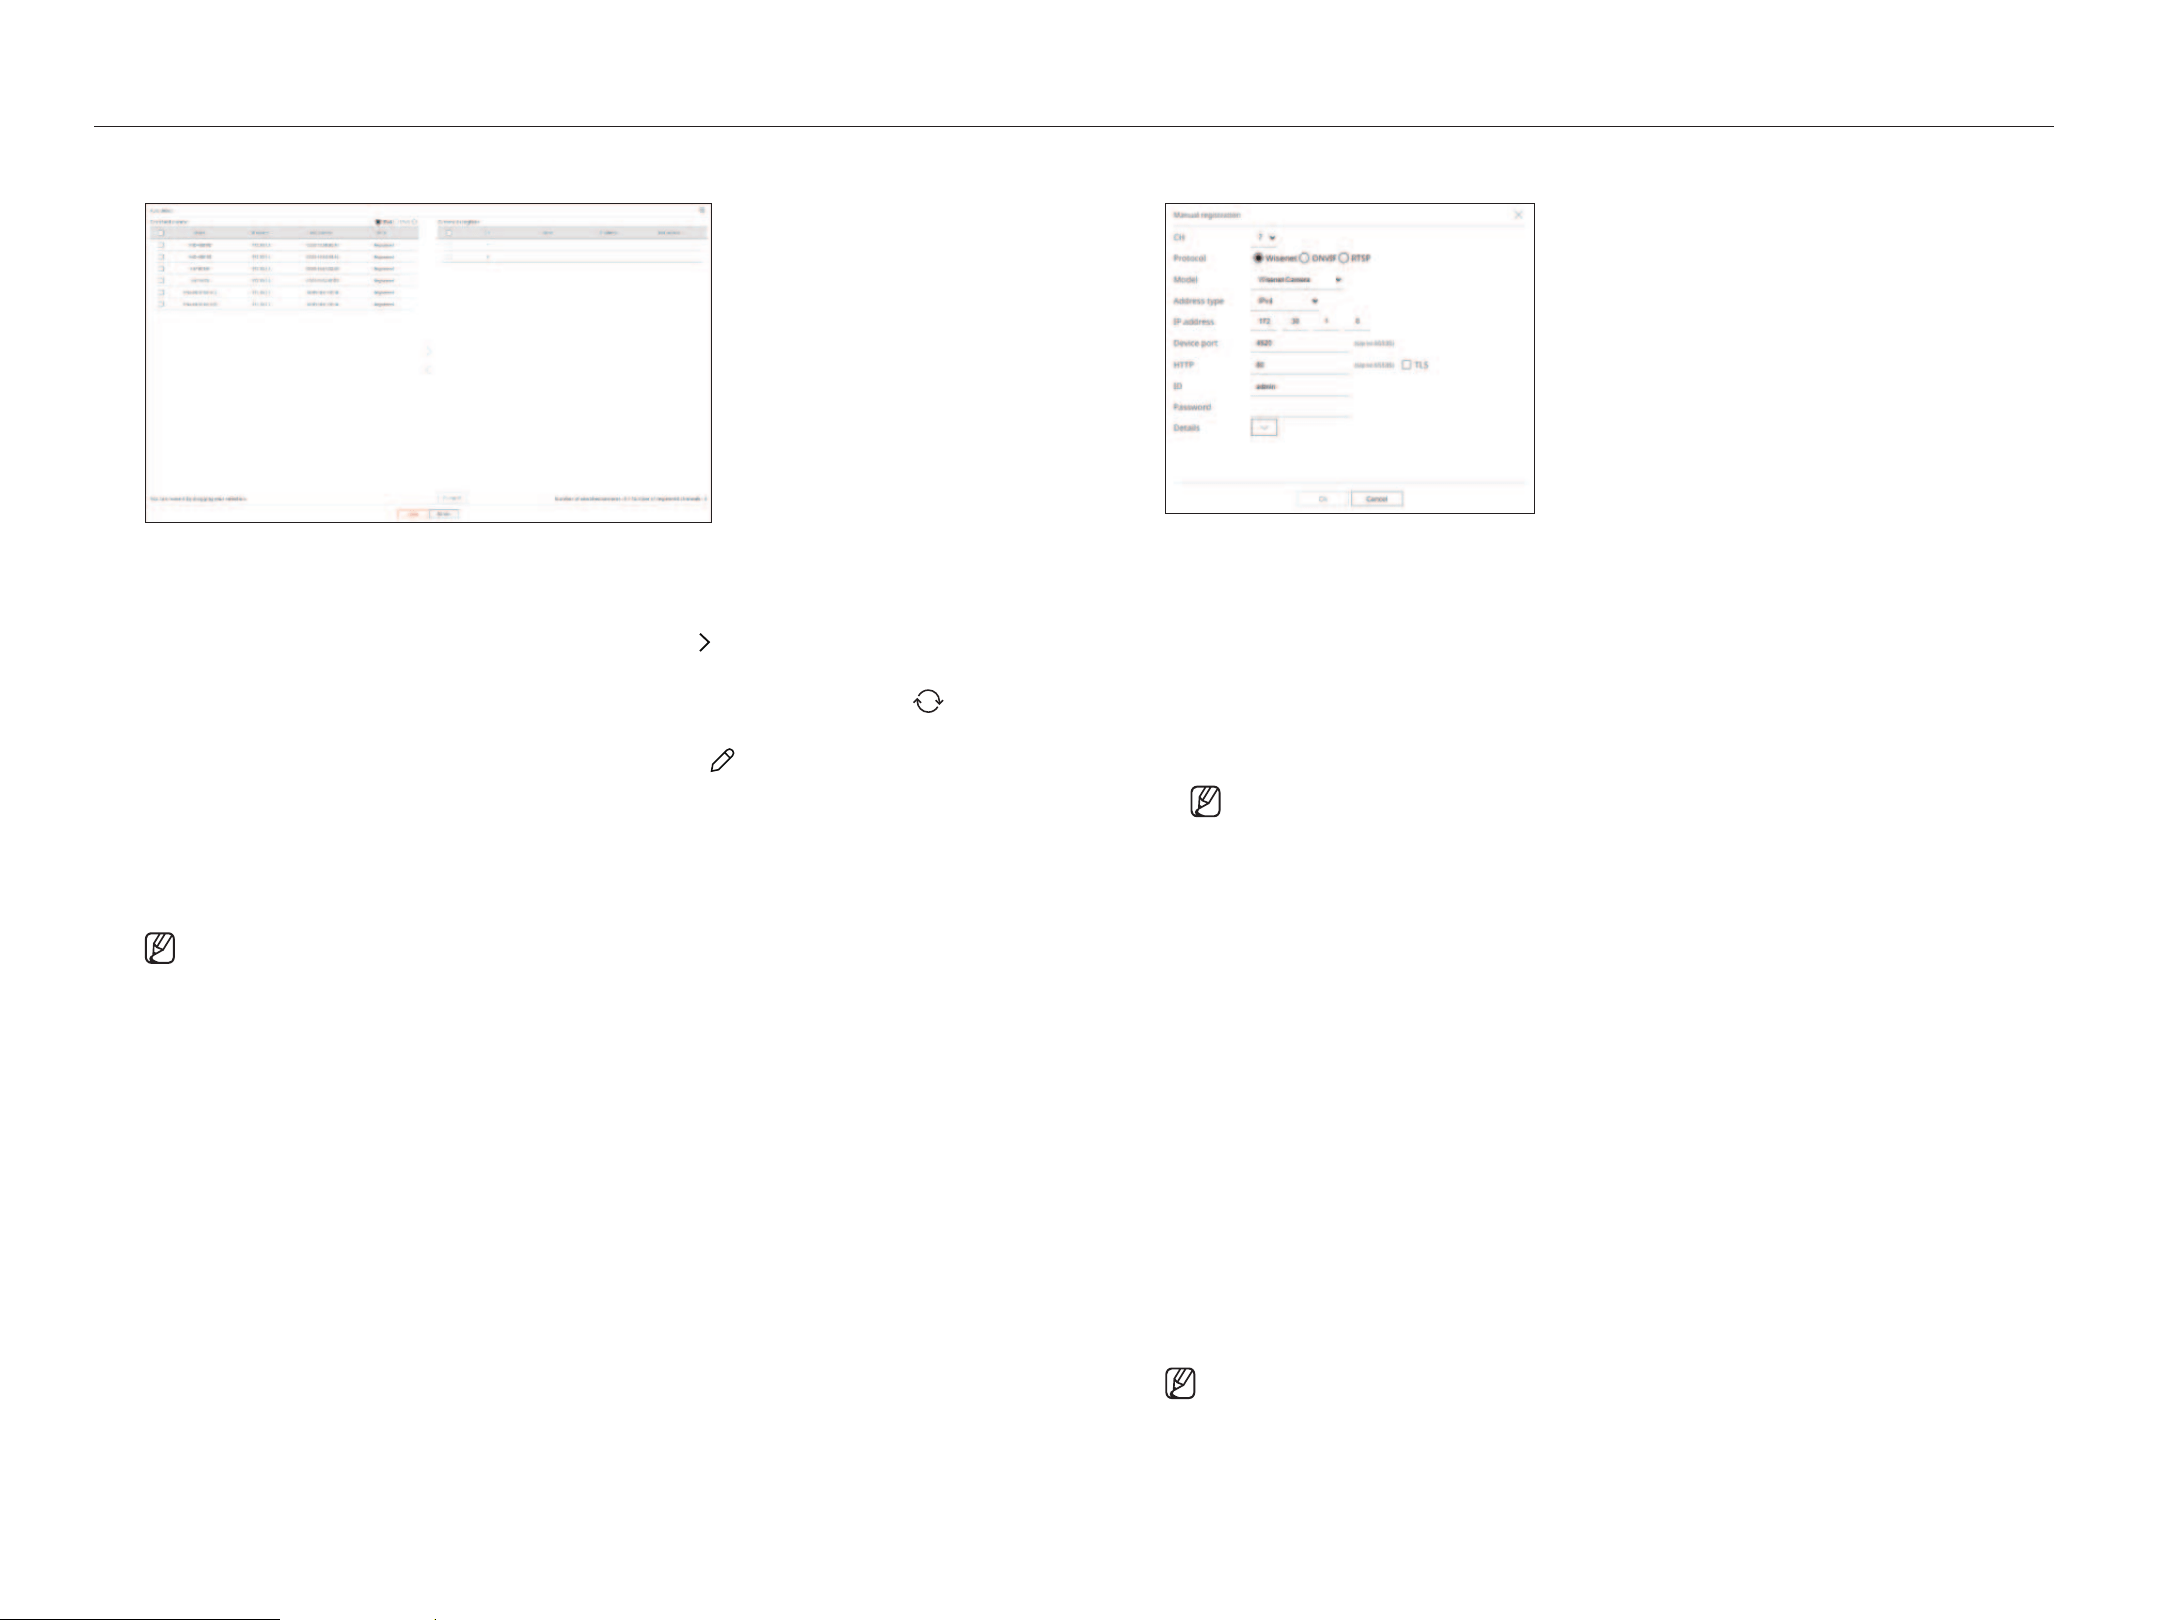
Registering Network Cameras manually
1. Click <manual> in the <Channel setup> field.
The <
manual registration> window appears.
2. Select a channel and protocol used to connect to a camera.
The input items may differ depending on the selected protocol.
●
Wisenet : Wisenet camera's protocol can be used.
●
ONVIF : Means the camera supports ONVIF protocols. When connecting a camera that its name cannot be
found from the list, select <ON
vIf>.
■
When a camera is registered with ONVIF, if the difference in system time between the camera and AIBox is 2 minutes or more, you can’t
register it. In this case, synchronize the time for the camera and AIBox.
●
RTSP : Comply with RFC 2326, one of "Real Time Streaming Protocol (RTSP)" for real-time streaming.
3.
If you select <Wisenet>, set the following items.
●
Model : Select a camera model.
– Unknown : Select when the camera model cannot be identified.
– Wisenet Camera : You can register Hanwha Vision's cameras.
– Wisenet Multi-Channel : You can register Hanwha Vision's multi-directional cameras or multi-imager
cameras. A multi-channel camera is a camera that has multiple camera modules in one body. Auto-
registering your cameras to AIBox lets you register multiple channels at once. However, if you want to
manually register it, you need to register one channel at a time.
●
Address type : Select a connection address format of the camera.
■
The supported address type may differ depending on the type of the connected product.
– IPv4/IPv6 : Used to directly enter the IP address of the camera.
–
Wisenet DDNS : This is available only if the camera is registered with the Wisenet DDNS (ddns.
hanwhasecurity.com) server. Provide the registered domain for DDNS ID.
e.g. In case of https://ddns.hanwha-security.com/snb5000, enter "snb5000" for Wisenet DDNS.
–
URL : Used for URL address input.
■
The DDNS specs supported by each camera can be checked in the user manual of the corresponding camera.

English _11
●
IP address : Provide the IP address of the camera.
●
Device port : Enter the device port of the camera.
■
Depending on the camera type, some device ports may not be supported.
●
HTTP/HTTPS : Enter the HTTP/HTTPS port of the camera.
■
If TLS is enabled, you can set the HTTPS port.
●
TLS : Check to use the TLS (Transport Layer Security).
●
ID : Provide the ID of the camera that you want to register.
●
Password : Enter the password of the camera to be registered.
●
Details : Click < > to select a streaming mode.
– Streaming mode : TCP, UDP, HTTP, Multicast
4. If you select <ONvIf>, set the following items.
●
Address type : Select a connection address format of the camera.
●
IP address : Enter the camera's IP address.
●
HTTP/HTTPS : Enter the HTTP/HTTPS port of the camera.
■
If TLS is enabled, you can set the HTTPS port.
●
TLS : Check to use the TLS (Transport Layer Security).
●
Channel : Enter the channel to register the camera in.
●
ID : Enter the camera ID.
●
Password : Enter the camera password.
●
Details : Click < > to select an authentication mode and streaming mode.
– Authentication mode : Username token, Digest
– Streaming mode : TCP, UDP, HTTP
5. If you select <RTSp>, set the following items.
●
URL : Enter your RTSP access address. For more information, see your camera user manual.
●
ID : Enter the camera ID.
●
Password : Enter the camera password.
●
Details : Click < > to select a streaming mode.
– Streaming mode : TCP, UDP, HTTP, HTTPS
■
In <Details>, you can select a streaming mode from the following:
– TCP : The connection to network camera operates in the RTP over TCP mode.
– UDP : The connection to network camera operates in the RTP over UDP mode.
– HTTP : The connection to network camera operates in the RTP over TCP (HTTP) mode.
– HTTPS : The connection to network camera operates in the RTP over TCP (HTTPS) mode.
– Multicast : You can efficiently use the network bandwidth by sending the same video stream to multiple users at the same time.
Both AIBox and camera must support the Multicast.
■
When the ONVIF protocol is selected, you can select an authentication mode in <Details>.
– Username token : This authentication method uses the user ID and password. Authentication may fail if time synchronization is not working
between devices.
– Digest : This authentication method is used in HTTP, and is recommended when using the ONVIF protocol.
If you want to check the error details of camera registration
If you failed to register a camera, the reason for the failure appears.
●
Connection failed due to unknown reason. : This message appears if the camera has failed to be registered
due to unknown connection status.
●
Disconnected because camera account has been locked. : When you enter a wrong ID/password 5 times to
login to the camera account, this message appears.
Try to log in again after 30 seconds. If the same message appears, you may need to check whether someone
has tried to access your camera account from the outside.
●
Connected successfully. : This message appears if the camera is connected successfully.
●
model information is wrong. please provide the correct model name. : This message appears if the model
information provided for registering the camera is incorrect.
●
Authentication has failed. : This message appears if the ID or password provided for registering the camera is
incorrect.
●
Connection failed due to max users. : This message appears if the concurrent user count exceeds the upper
limit.
●
Connection has failed due to a wrong hTTp port. : This message appears if the HTTP port number of the
camera is invalid.
●
Connection has failed. Unknown connection error. : This message appears if the camera has failed to be
connected due to a unknown error.
●
User model modification : When registering a new camera, it is named according to the device's default if
user set the model to <Wisenet Camera>. In case if automatic registration fails, user can change the model
name of camera to be registered.
To edit camera profile
For more information about changing the profile, refer to the "Setup viewer > Setting the Camera > profile
info" page.
■
For cameras, if applied with one profile only, the produced frame rate is fixed as the profile specifies; if applied with multiple profiles, produced
video stream's frame rate is not guaranteed. For example, if applied with 2 profiles of 30fps, the camera may transmit streams at 20fps.
Deleting a Network Camera
1. Click <Delete> in the <Channel setup> field.
2. When the delete window appears, select the camera channel to delete.
■
Click <All channels> to select cameras for all channels.
3. Click <Ok> to delete the camera of the selected channel.
• SETUp vIEWER
12_ setup viewer
setup viewer
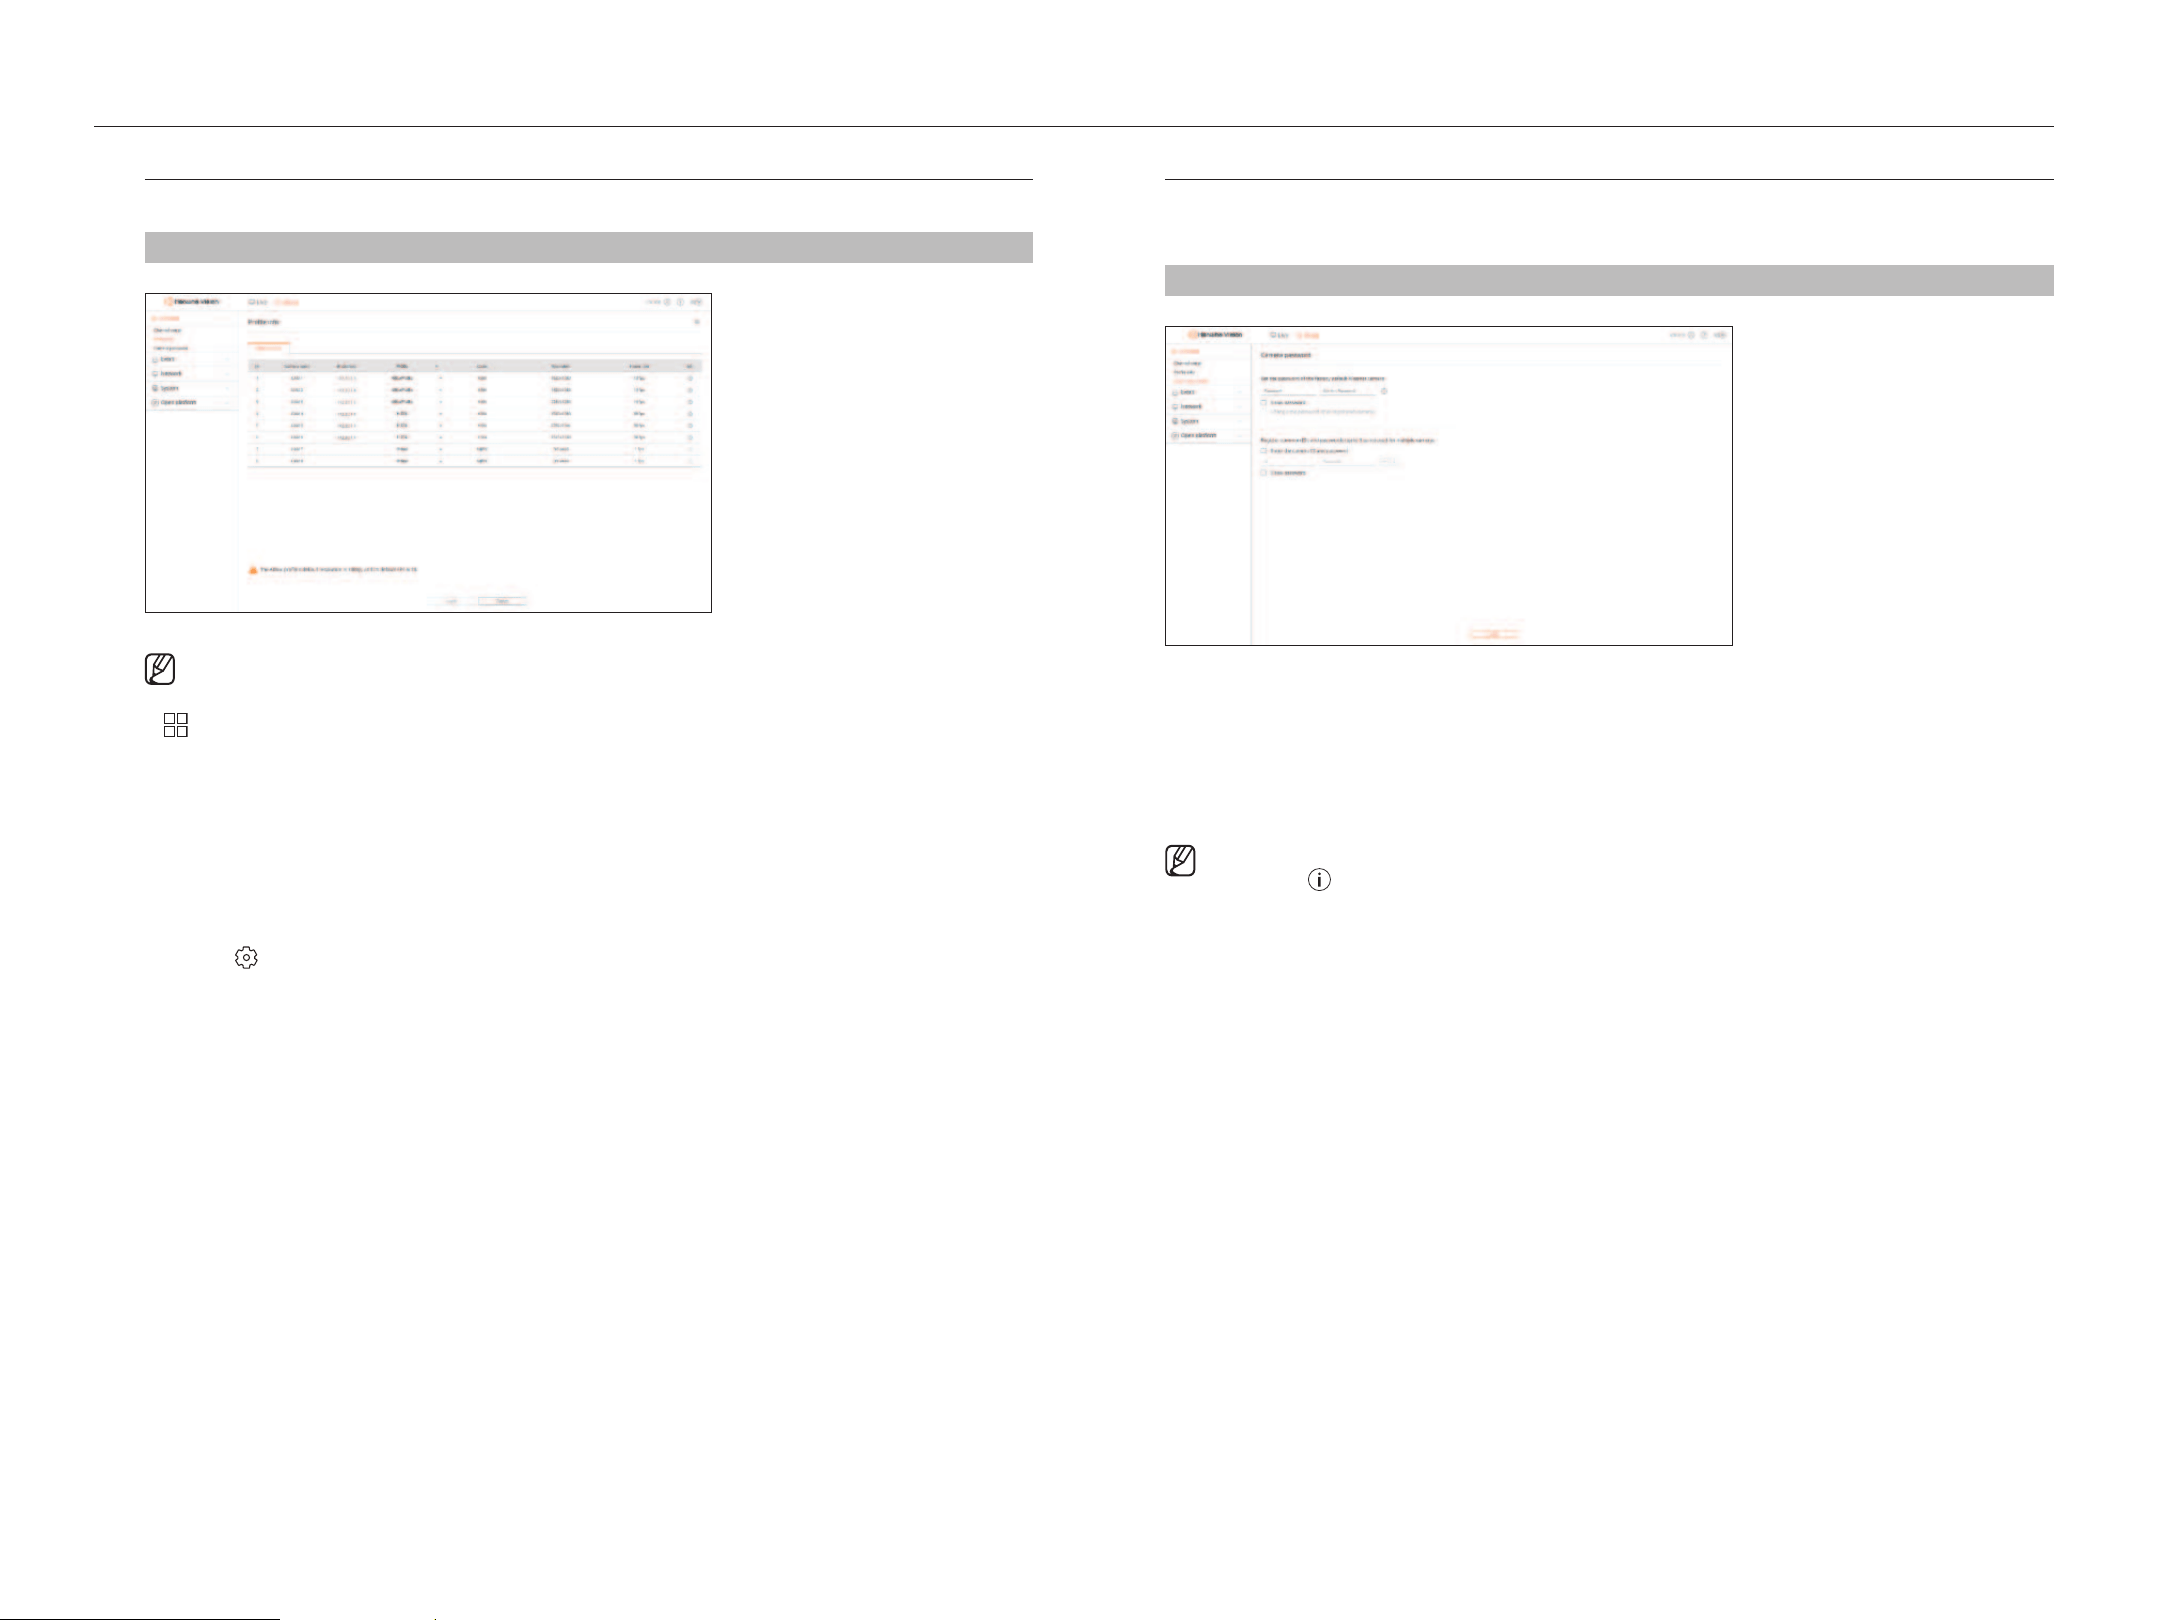
profile info
You can select a profile for AI event analysis, and the selected profile is output to AIBox's Live Viewer.
Setup > Camera > profile info
■
You can configure the settings only for the profiles that are supported by the camera.
●
: Displays the cameras of the channel as a list or thumbnails.
●
Camera name : Displays the camera name.
●
IP address : Displays the IP address of a network camera.
●
Profile : You can select the profile for the selected channel.
●
Codec : Displays the codec of the selected channel.
●
Resolution : Displays the resolution of the selected channel.
●
Frame rate : Displays the frame rate of the selected profile.
●
Edit : If <
> is clicked, through the web viewer of the selected camera, you can add, delete, or modify the
video profile.
Camera password
You can change the passwords of all registered cameras at once.
You can register the camera’s ID and password.
Setup > Camera > Camera password
●
Password : Enter a new password according as the factory default to the password setting rules.
The initial password for the camera must be entered.
●
Confirm password : Enter the password again.
●
ID : Enter the ID of the camera whose ID and password are set.
●
Password : Enter the password of the camera whose ID and password are set.
■
When the password is in factory reset, it can be changed and managed in a batch.
■
If you click < >, the default guide for password setup appears.
■
If you check <Show password>, the current password is displayed as the actual input characters.
■
If you check <Change the password of all registered cameras>, the passwords of all cameras are changed with the entered password.
■
Up to 3 sets of camera ID with password and password can be registered.
With the camera ID and password, you can automatically search for the camera in the "Channel setup > Auto detect" screen for registration.
■
The password of a camera registered with ONVIF cannot be changed.
English _13
SETTINg ThE EvENT
You can set the event-related settings such as whether or not an event is detected for each channel and whether an
alarm occurs
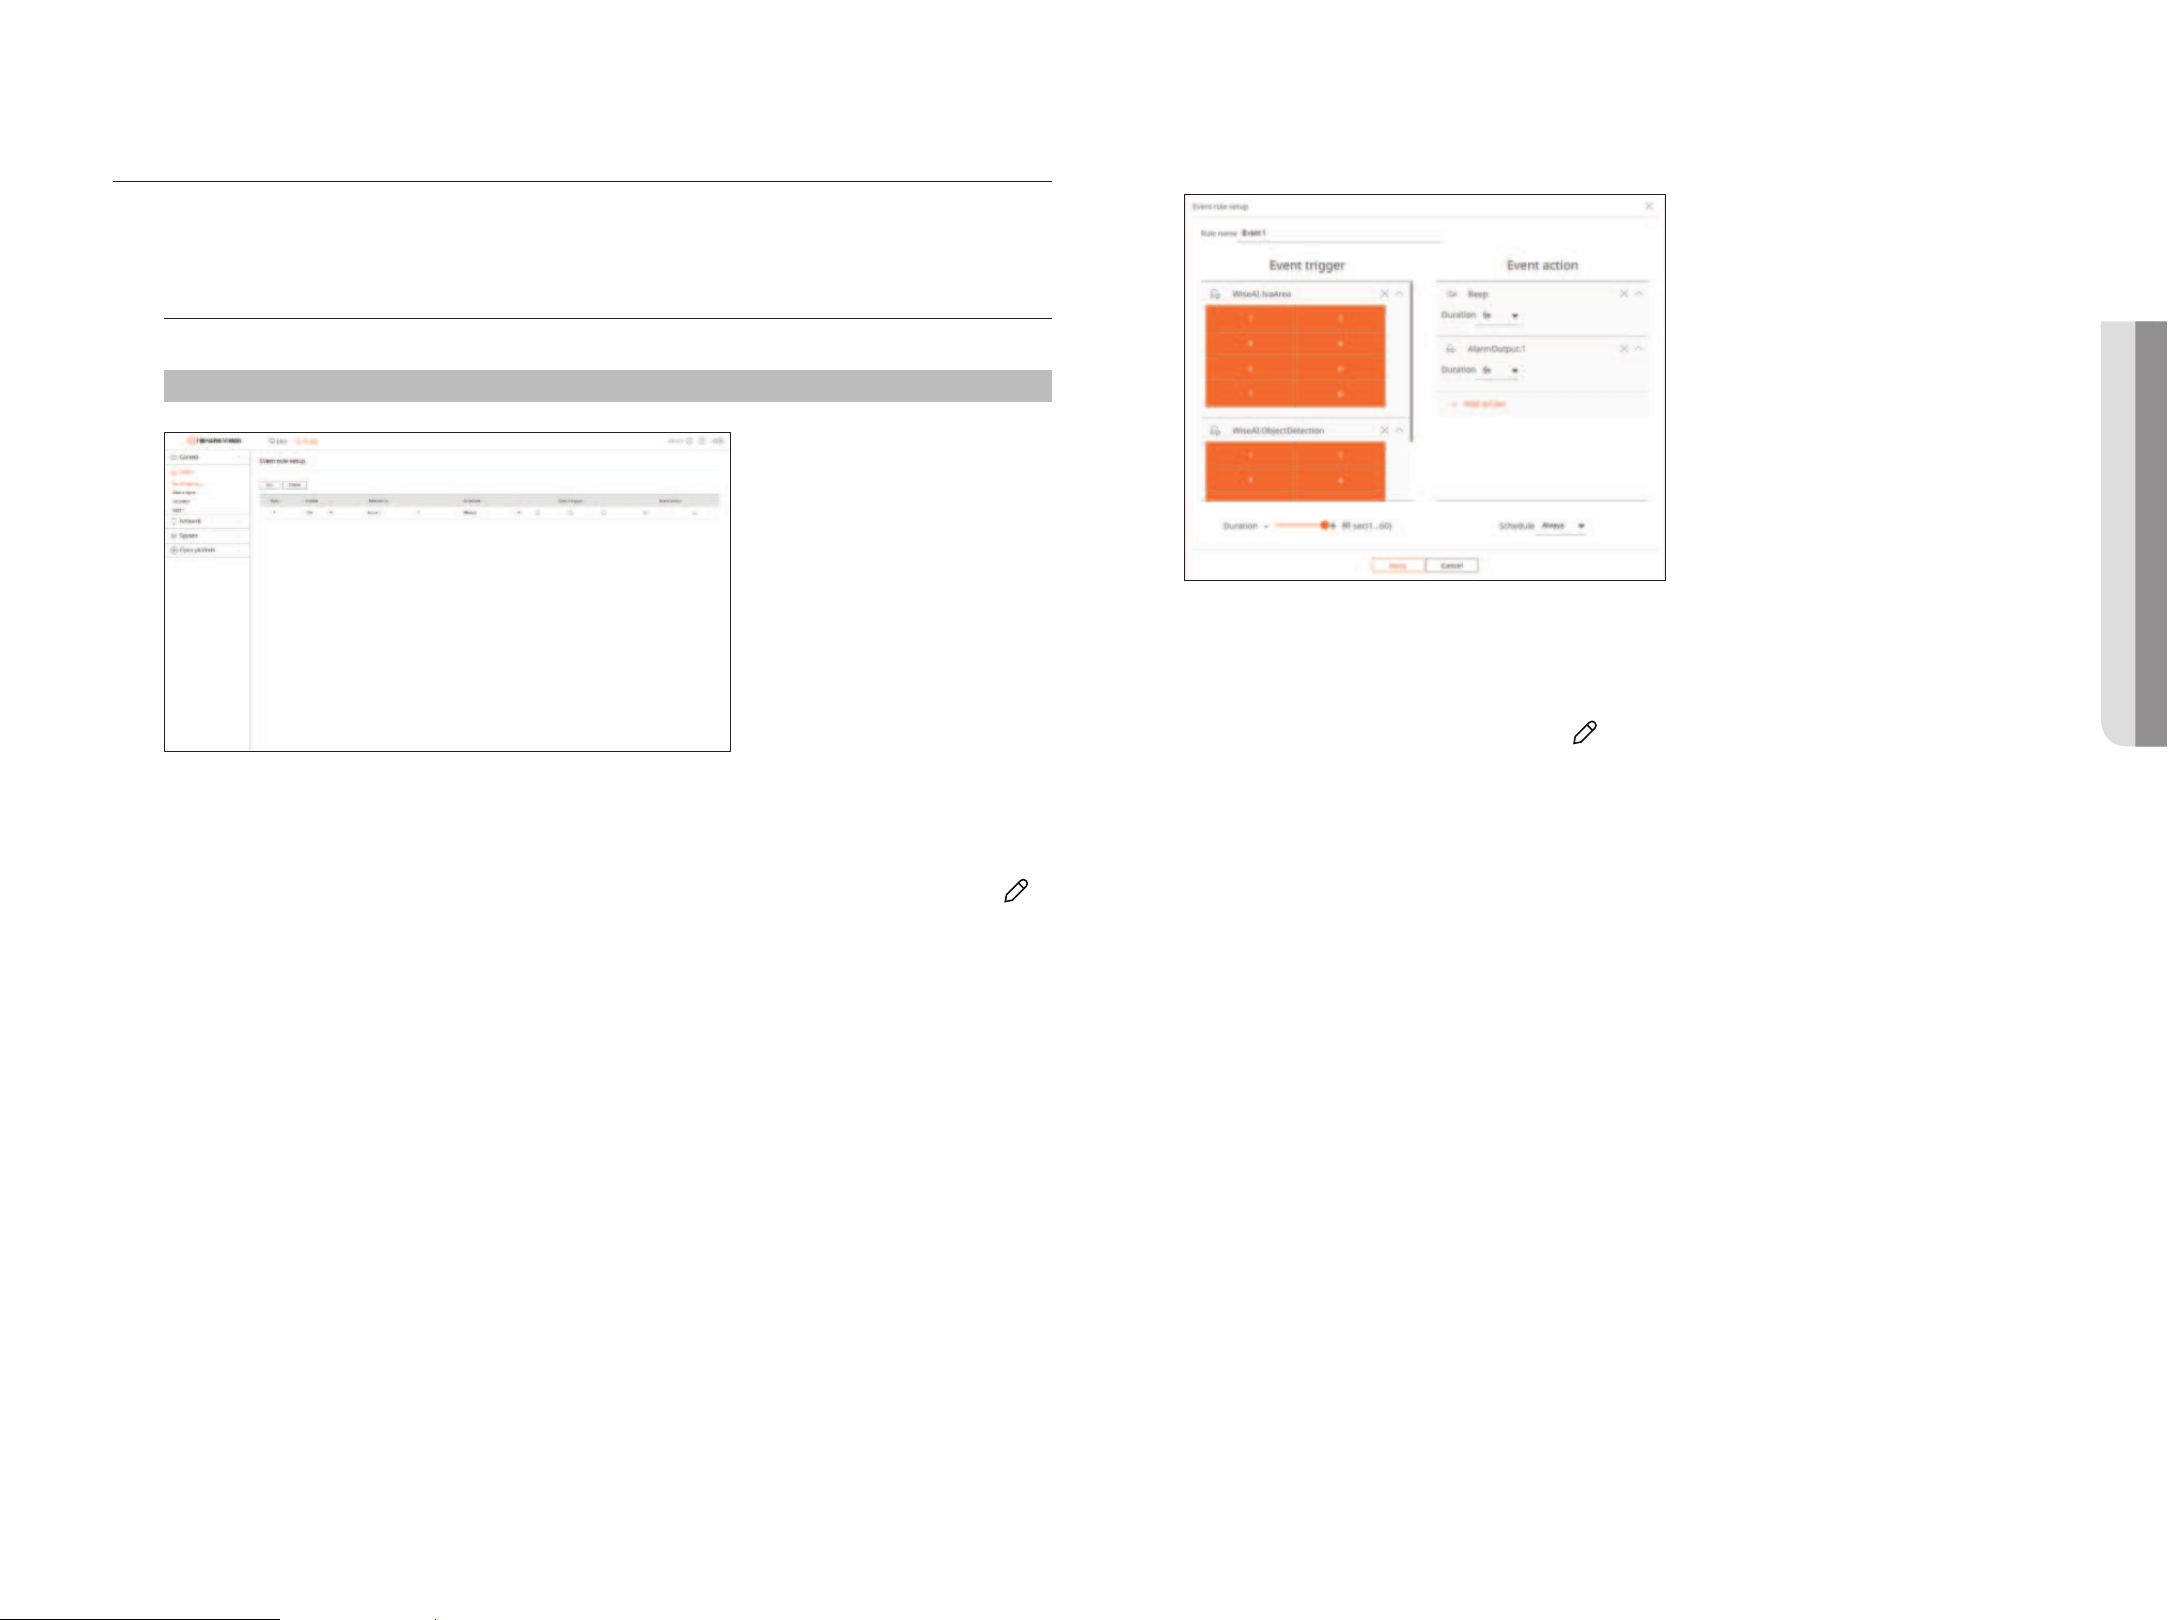
Event rule setup
You can set the event trigger and action rule to output an alarm when an event occurs.
Setup > Event > Event rule setup
●
Add : Select <Create rule> or <Copy rule> to add a new event rule.
●
Delete : Deletes the selected event rule.
●
Enable : Select whether or not to enable the event rule.
●
Rule name : Displays the name of the event rule. You can change the name of the event rule by clicking < >.
●
Schedule : You can change the schedule set in the event rule.
●
Event trigger : You can change the event trigger set in the event rule.
■
The displayed event trigger items may differ depending on the events that may occur in the AI application (WiseAI or open application) installed for
each channel.
■
If you select the <OpenSDKAppStatus.WiseAI> event trigger as <Inactive>, an application stop is detected as an event. The event can be
confirmed with the desired event action.
●
Event action : You can change the event action set in the event rule.
– AlarmOutput, Beep, FTP, MQTT, E-mail
Registering a New Event Rule
1. Click <Add> in the <Event rule setup> field.
2. Click <Create rule>.
●
Copy rule : Select a created event rule to be added to the event list.
You can change the rule name by clicking < >.
3. If the <Event rule setup> window appears, set its details.
●
Rule name : Enter the name of the event rule.
●
Event trigger : Click <+ Add trigger> to set the event trigger and channel.
■
Up to three event triggers can be added.
■
Execution time is the waiting time to recognize the occurrence of the selected event. Select multiple event triggers for configuration.
The event action runs only when all the selected event triggers occur within the execution time.
■
To select a channel to detect an event trigger, click or drag the desired channel in the channel table. It appears in orange when a channel is
selected.
●
Event action : Click <+ Add action> to set the event action.
– AlarmOutput : Select an alarm out port and set the alarm execution time.
– Beep : A beep is sounded upon occurrence of an event.
– FTP : When an event occurs, the image is sent via the set FTP server.
– MQTT : When an event occurs, the MQTT massage is sent.
– E-mail : Set up users to receive e-mail when an event occurs.
■
Set the event receiver in the "Setup > Network > E-mail" menu.
■
Event action will run only when all set event triggers occur. If only one of the multiple events set has occurred, the event action will not run.
■
Set the event action only when necessary.
●
Schedule : Select a schedule to run the event action.
4. Click <Apply> to register the event rule.
• SETUp vIEWER
14_ setup viewer
setup viewer
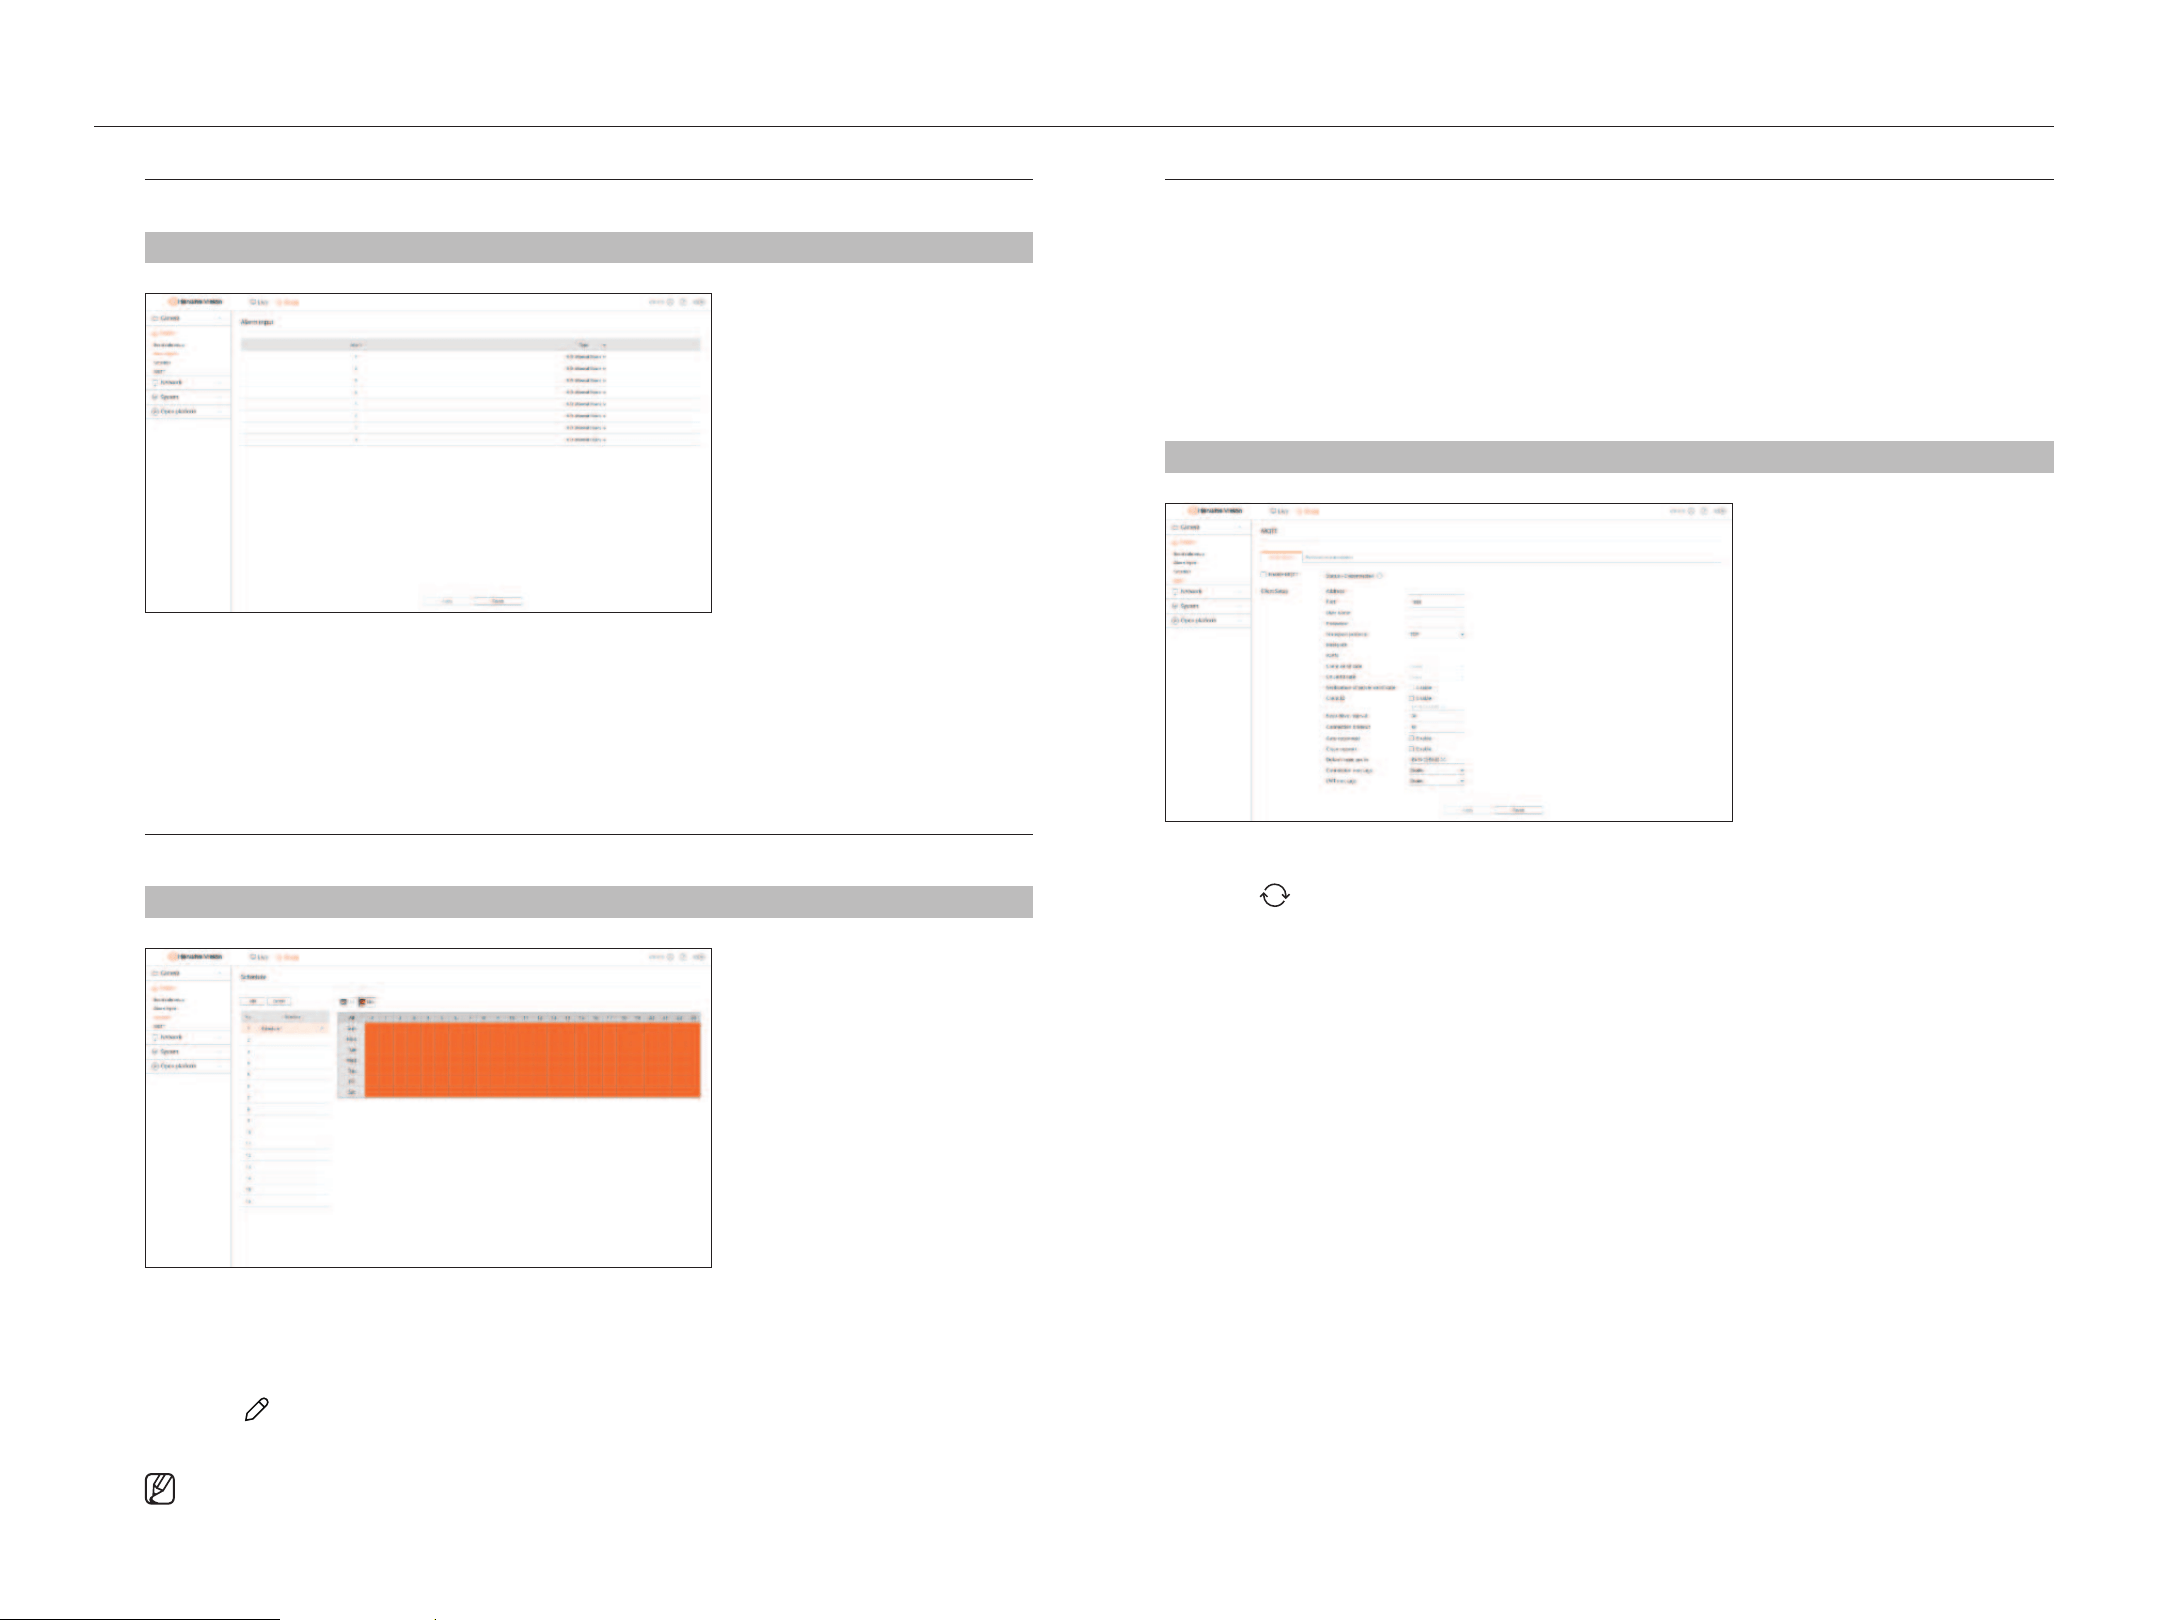
Alarm input
You can set the operation of the alarm sensor.
Setup > Event > Alarm input
●
Type : Select a mode to enable the alarm sensor.
– N.O. (Normal Open) : Sensor is always open. If the sensor is closed, it generates alarm.
– N.C. (Normal Close) : Sensor is always closed. If the sensor is opened, it generates alarm.
– Disable : Alarm sensor is disabled. Alarm is not used.
Schedule
When setting the event rule, you can set the operating time of the event action.
Setup > Event > Schedule
●
Add : Add a schedule by setting the desired day and time.
– Off : Displayed in white and no alarm is output even if an event occurs.
– On : Displayed in orange and an alarm is output only when an event occurs.
■
Click < > to change the schedule name.
●
Delete : Delete the selected schedule.
■
You cannot delete a schedule in use.
mqTT
MQTT (Message Queueing Telemetry Transport) is a messaging protocol based on Publication/Subscription.
Because it is designed to transmit lightweight messages, it requires a small code space or minimal network
bandwidth to connect remote devices. Additionally, you can easily exchange data with multiple devices.
Setting up the Client
You can set the MQTT client information and enter the MQTT broker information for AI BOX clients to connect to.
The MQTT broker receives declarations from the client to subscribe to messages on specific topics and relays the
messages.
Setup > Event > mqTT > Client setup
●
Enable MQTT : If checked, the set broker is connected.
– Click <
> to update the connection status to the broker.
●
Address : Enter the domain and IP address of the broker. This field is required.
●
Port : Enter the port number to connect to the broker. This field is required.
●
User name : Enter the client ID.
●
Password : Enter the client password.
●
Transport protocol : Select any of TCP, TLS, WebSocket, and WebSocketSecure.
●
Basepath : Setting is allowed when WebSocket and WebScoketSecure are enabled. The URL of the final broker
is Address:port/basepath.
●
ALPN : Enter the ALPN supported by the broker. Setting is allowed when TLS or WebSocket is enabled.
●
Client certificate : Select any of the client certificates installed in AI BOX. Setting is allowed when TLS or
WebSocket is enabled.
You can add certificates in the "Network > Certificate management > Client certificate" menu.
●
CA certificate : Select any of the CA certificates installed in AI BOX. Setting is allowed when TLS or WebSocket is
enabled.
You can add certificates in the "Network > Certificate management > CA certificate" menu.
English _15
●
Verification of server certificate : When TLS or WebSocket is enabled, check <Enable> to see the server
certificate.
●
Client ID : When the broker is connected, the user-defined client ID is used. Check <Enable> and enter the
desired ID. Otherwise, you are connected with a random ID.
●
Keep alive interval : Check whether the broker is connected every set time. Enter it in seconds.
●
Connection timeout : If there is no response from the broker within the set time, the broker is disconnected.
Enter in seconds and set the value greater than <keep alive interval>.
●
Auto reconnect : Check <Enable> to automatically attempt to connect the broker every minute.
●
Clean session : Check <Enable> to delete all information (e.g. client ID, messages) remaining in the previous
session upon connection between the client and broker.
If not checked, the information of the previous session is retained.
e.g. When a session is reconnected, the client can receive messages on the topic without subscription to the
topic of the previous session.
●
Default topic prefix : When the default topic prefix is set, the final topic is created by combining the default
topic prefix and message topic. When additionally publishing MQTT, you can set whether or not to use the
default topic prefix.
●
Connection message : This message is sent by the client to the broker when the connection is complete.
You can add messages in the "Event > mqTT > publication/subscription > publication" menu.
●
LWT message : The LWT (Last Will and Testament) message is declared in advance for the broker to send the set
message to a specific topic when the client is disconnected from the broker.
You can add messages in the "Event > mqTT > publication/subscription > publication" menu.
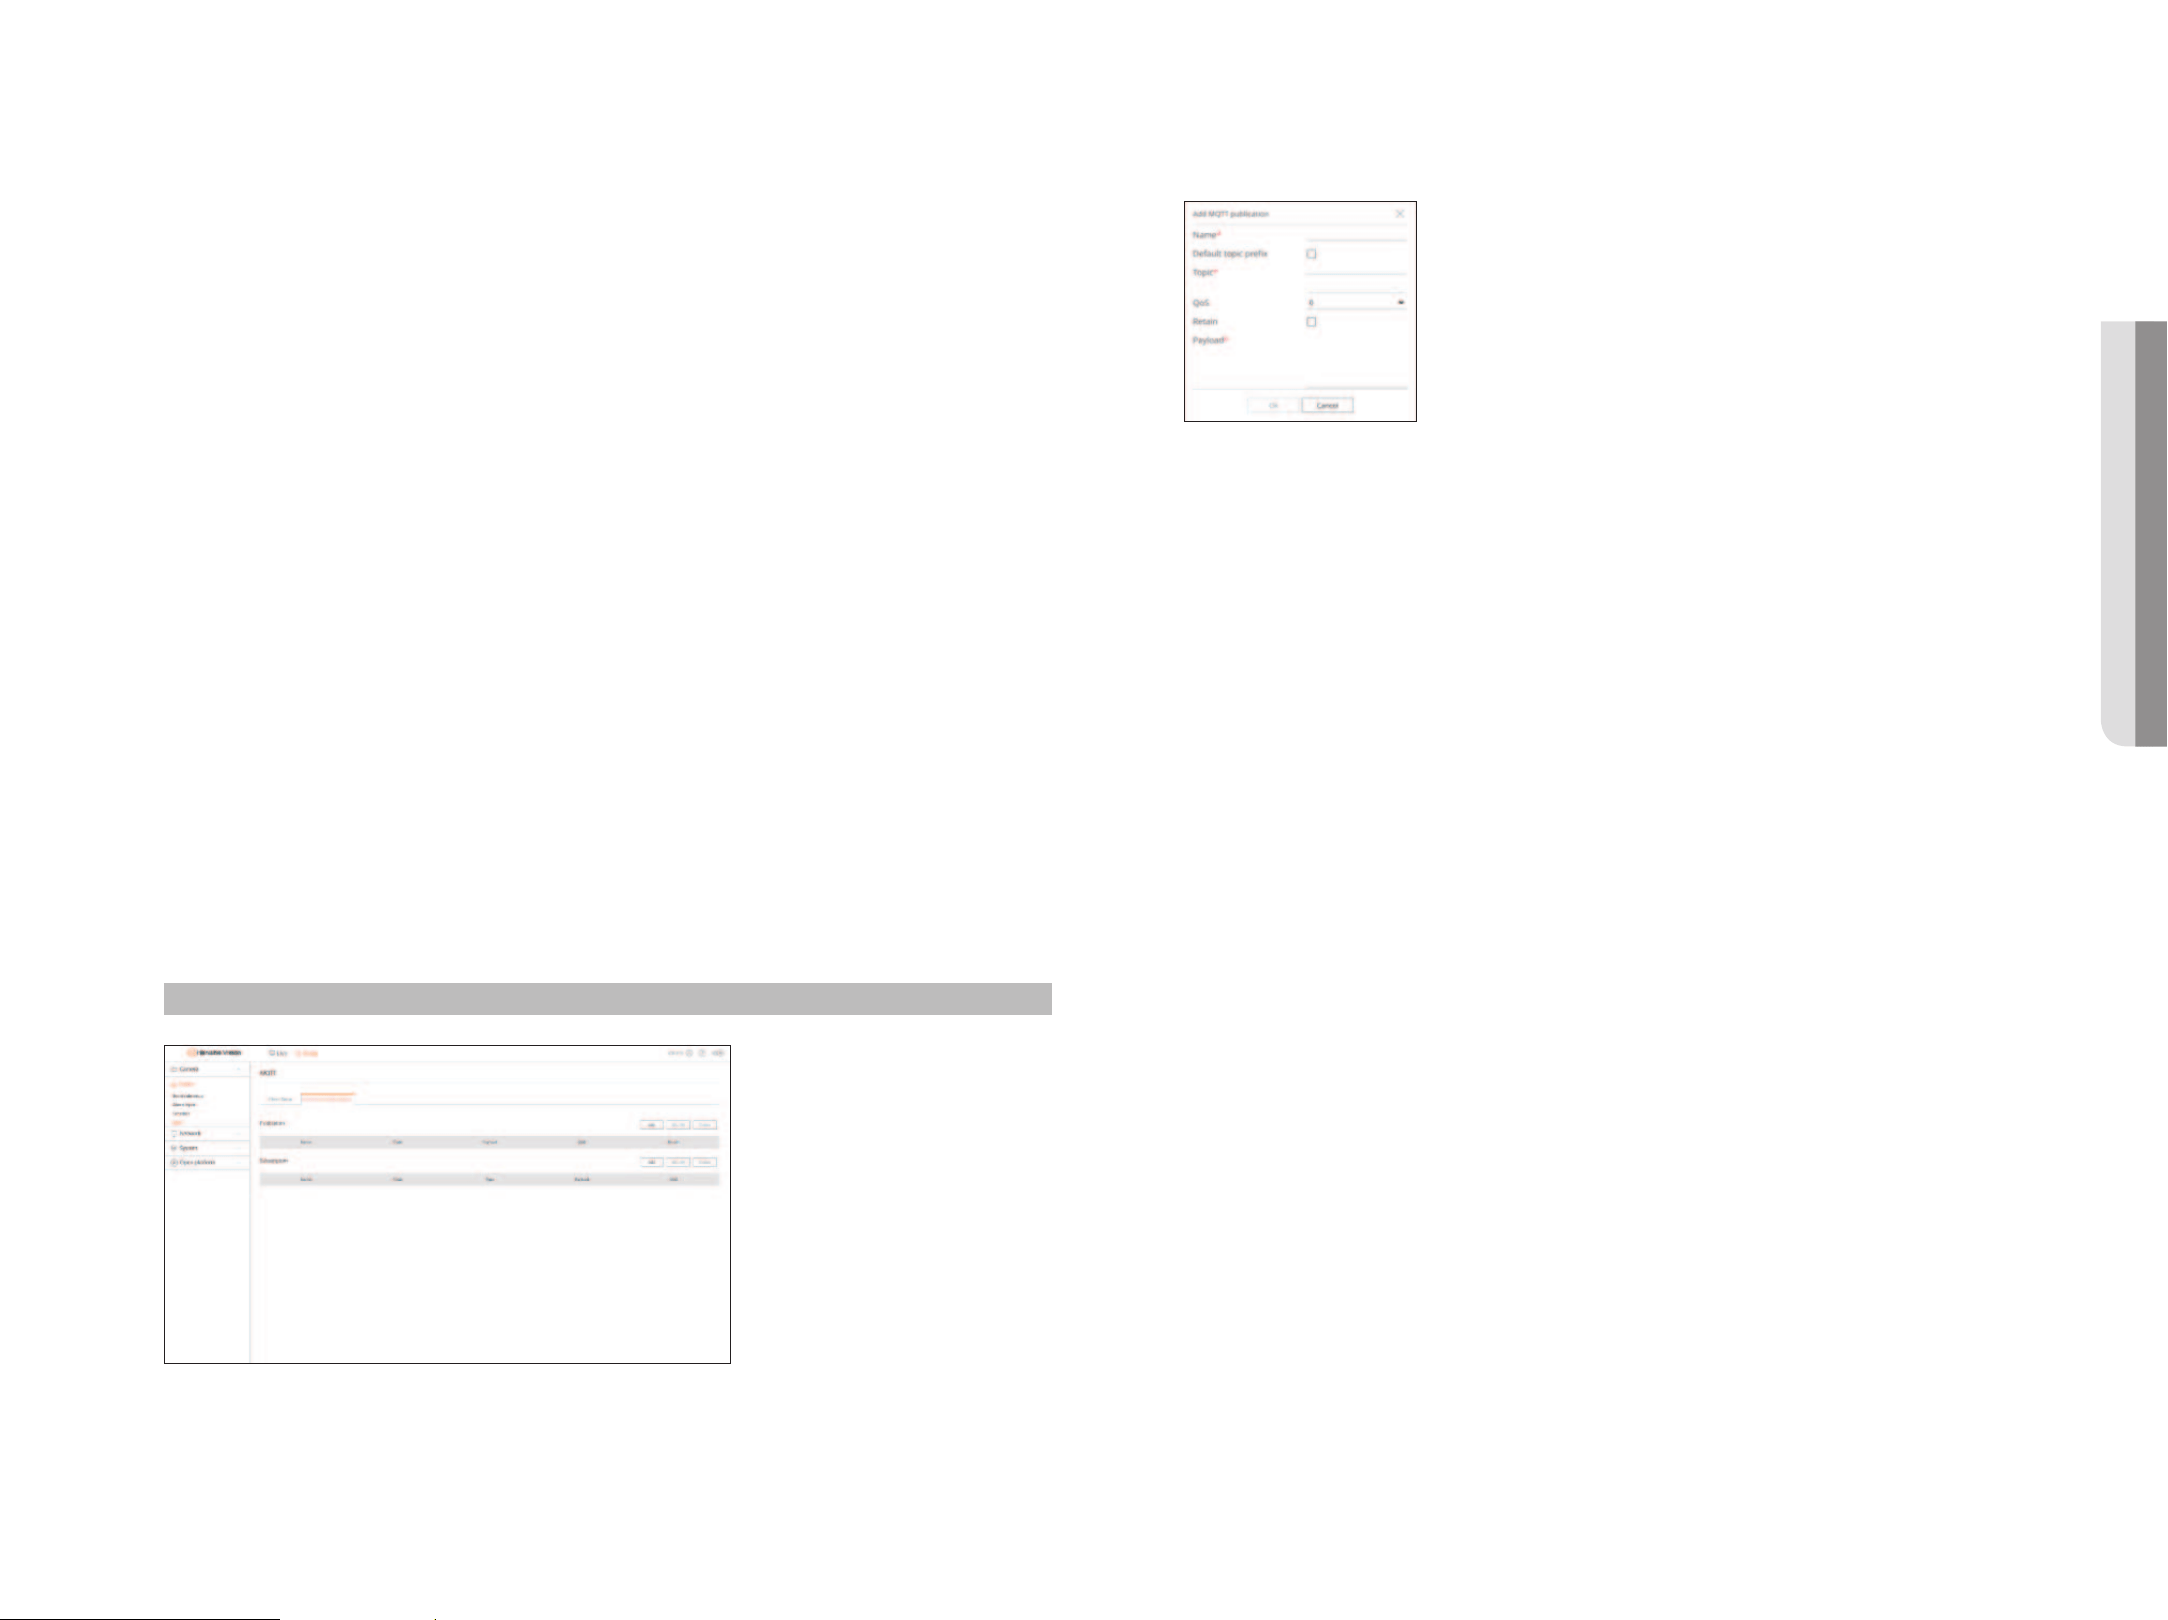
Configuring for publication/subscription
You can add, modify, or delete publication and subscription messages so that the MQTT client can publish and
subscribe to messages on specific topics via the MQTT protocol.
When the publisher publishes a topic and messages in the broker, the broker delivers the topic to subscribers,
and the subscribers subscribe to the messages on the topic. Any client can be a publisher or a subscriber because
it is not specified.
Setup > Event > mqTT > publication/subscription
Adding mqTT publications
1. In Publication, click <Add>. The <Add mqTT publication> window appears.
●
Name : Enter the name for the message to publish.
●
Default topic prefix : Check to include the set default topic prefix when publishing messages. In this case,
the default topic prefix is sent combined with the publishing topic.
e.g. If the default topic prefix is "AIBox" and the publishing topic is "connection", the message, "AIBox/
connection" is sent.
●
Topic : Enter the topic to publish.
●
QoS (Quality of Service) : Select a desired level for MQTT publication.
– 0 : Does not proceed with any additional steps for the client and broker to check the received items and
respond to the counter part when the client sends messages along with a topic so the results are not
guaranteed.
– 1 : Send the same topic and message several times until the client who sent a topic and message receives
the confirmation of its receipt from the broker.
– 2 : It is ensured that a broker receives the same topic and messages only once through the handshake
between the client and the broker.
●
Retain : Check if you want the broker to store the published messages and later transmit them to new
subscribers to the topic.
●
Payload : Enter the content for the message to publish.
2. Click <Ok> to complete it.
■
To modify the MQTT publication information, select the desired items and click <Modify>.
■
To delete the MQTT publication information, select the desired items and click <Delete>.
• SETUp vIEWER
16_ setup viewer
setup viewer
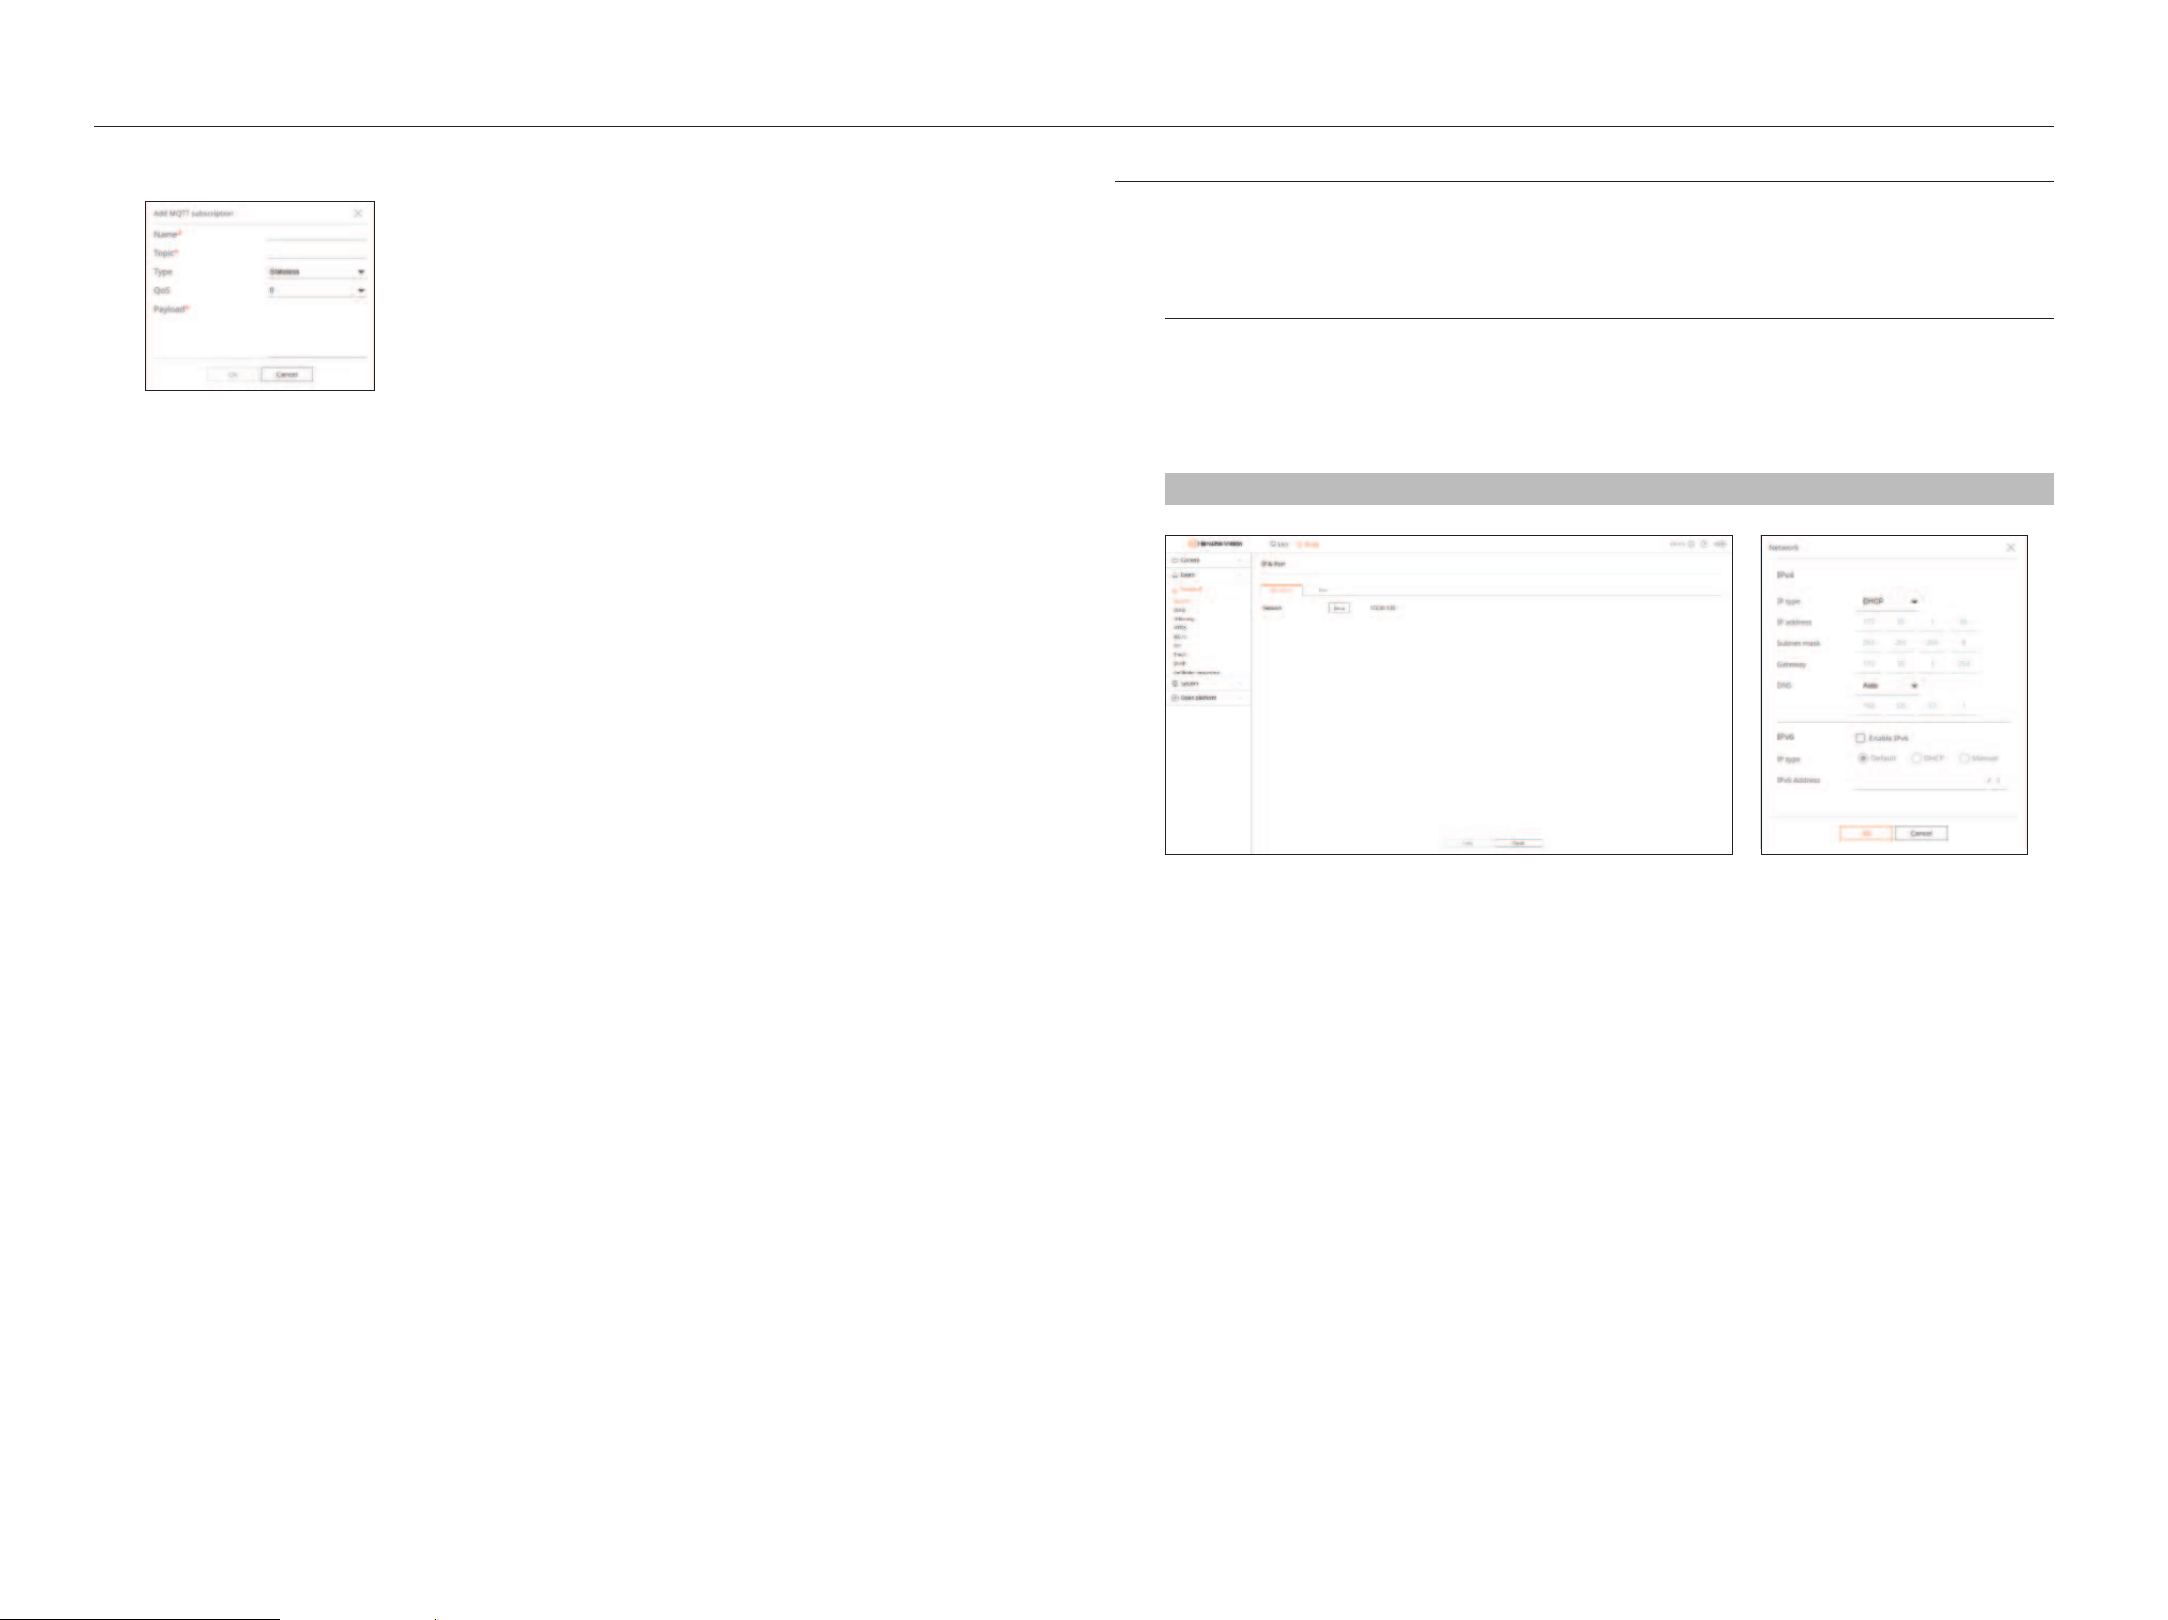
Adding mqTT Subscriptions
1. In Subscription, click <Add>. The <Add mqTT subscription> window appears.
●
Name : Enter the name of the message to subscribe to.
●
Topic : Enter the topic to subscribe to.
●
Type : Select a subscription type.
– Stateless : Converts the MQTT message to a stateless message.
– Stateful : Converts the MQTT message to a condition. Payload is used as a state.
●
QoS (Quality of Service) : Select a desired level for MQTT subscription.
– 0 : Does not proceed with any additional steps for the client and broker to check the received items and
respond to the counter part when the client sends a topic so the results are not guaranteed.
– 1 : Send the same topic several times until the client who sent a topic receives the confirmation of its
receipt from the broker.
– 2 : It is ensured that a broker receives the same topic only once through the handshake between the
client and the broker.
●
Payload : Enter the content for the message to subscribe.
2. Click <Ok> to complete it.
■
To modify the MQTT subscription information, select the desired items and click <Modify>.
■
To delete the MQTT subscription information, select the desired items and click <Delete>.
SETTINg ThE NETWORk
You can set various network functions, such as monitoring live video by connecting to a network from a remote location
and receiving an event by e-mail.
Ip & port
You can set the network connection route and protocol.
Setting the Network Connection
Sets the protocol and environment of the network.
Setup > Network > Ip & port > Ip address
●
Setup : You can change the network settings.
●
Network : You can access the web viewer with the network information.
– IP type : Select the type of network access.
■
Manual : IP address, subnet mask, gateway, and DNS can be directly entered.
■
DHCP : IP address, subnet mask, and gateway can be automatically set.
The DNS value can be directly entered only when you have selected <Manual>.
English _17
Connecting and Setting the Network
Networking may differ from the connection method, check your environment before setting the connection
mode.
When no router is used
●
manual mode
– Internet connection : Static IP, leased line, and LAN environments allows connection between the AIBox and
remote users.
– Network settings : Set the <Ip type> of the connected AIBox to <manual>.
■
Consult your network manager for IP, Gateway and Subnet mask.
●
DhCp mode
– Internet connection : Connect the AIBox directly to a cable modem, DHCP ADSL modem or optical LAN.
– Network settings : Set the <Ip type> of the connected AIBox to <DhCp>.
When a router is used
■
To avoid IP address conflict with the AIBox's static IP, check the following :
●
Setting the AIBox with a static Ip
– Internet connection : You can connect the AIBox to an IP router connected with a cable modem or to a
router in the Local Area Network (LAN) environment.
●
Setting the AIBox network
1. Set the <Ip type> of the connected AIBox to <
manual
>.
2. Check whether the set IP address is in the static IP range provided by the IP router.
IP address, Gateway, and Subnet mask : Consult your network manager.
■
If a DHCP server is configured with starting address (192.168.0.100) and end address (192.168.0.200), you should set the IP address out of the
configured DHCP range (192.168.0.2 ~ 192.168.0.99 and 192.168.0.201 ~ 192.168.0.254).
3. Check the gateway address and subnet mask are equal to those set in the IP router.
●
Setting the DhCp Ip address of the router
1. To access the IP router's configurations, open a web browser on the local PC that is connected to the IP router
and enter the router's address (ex : https://192.168.1.1).
2. At this stage, make the local PC's windows network configurations to the below example :
e.g. IP address : 192.168.1.2
Subnet mask : 255.255.255.0
Gateway : 192.168.1.1
– Once connected to the IP router, it prompts with password. While entering nothing to the User Name field,
enter "admin" in the password field and click <Ok> to access the router configuration page.
– Access the router's DHCP configuration menu and set its DHCP server activation, and provide the start and
end address.
■
Start address : 192.168.0.100
■
End address : 192.168.0.200
■
Above steps may differ from the router devices depending on the manufacturer.
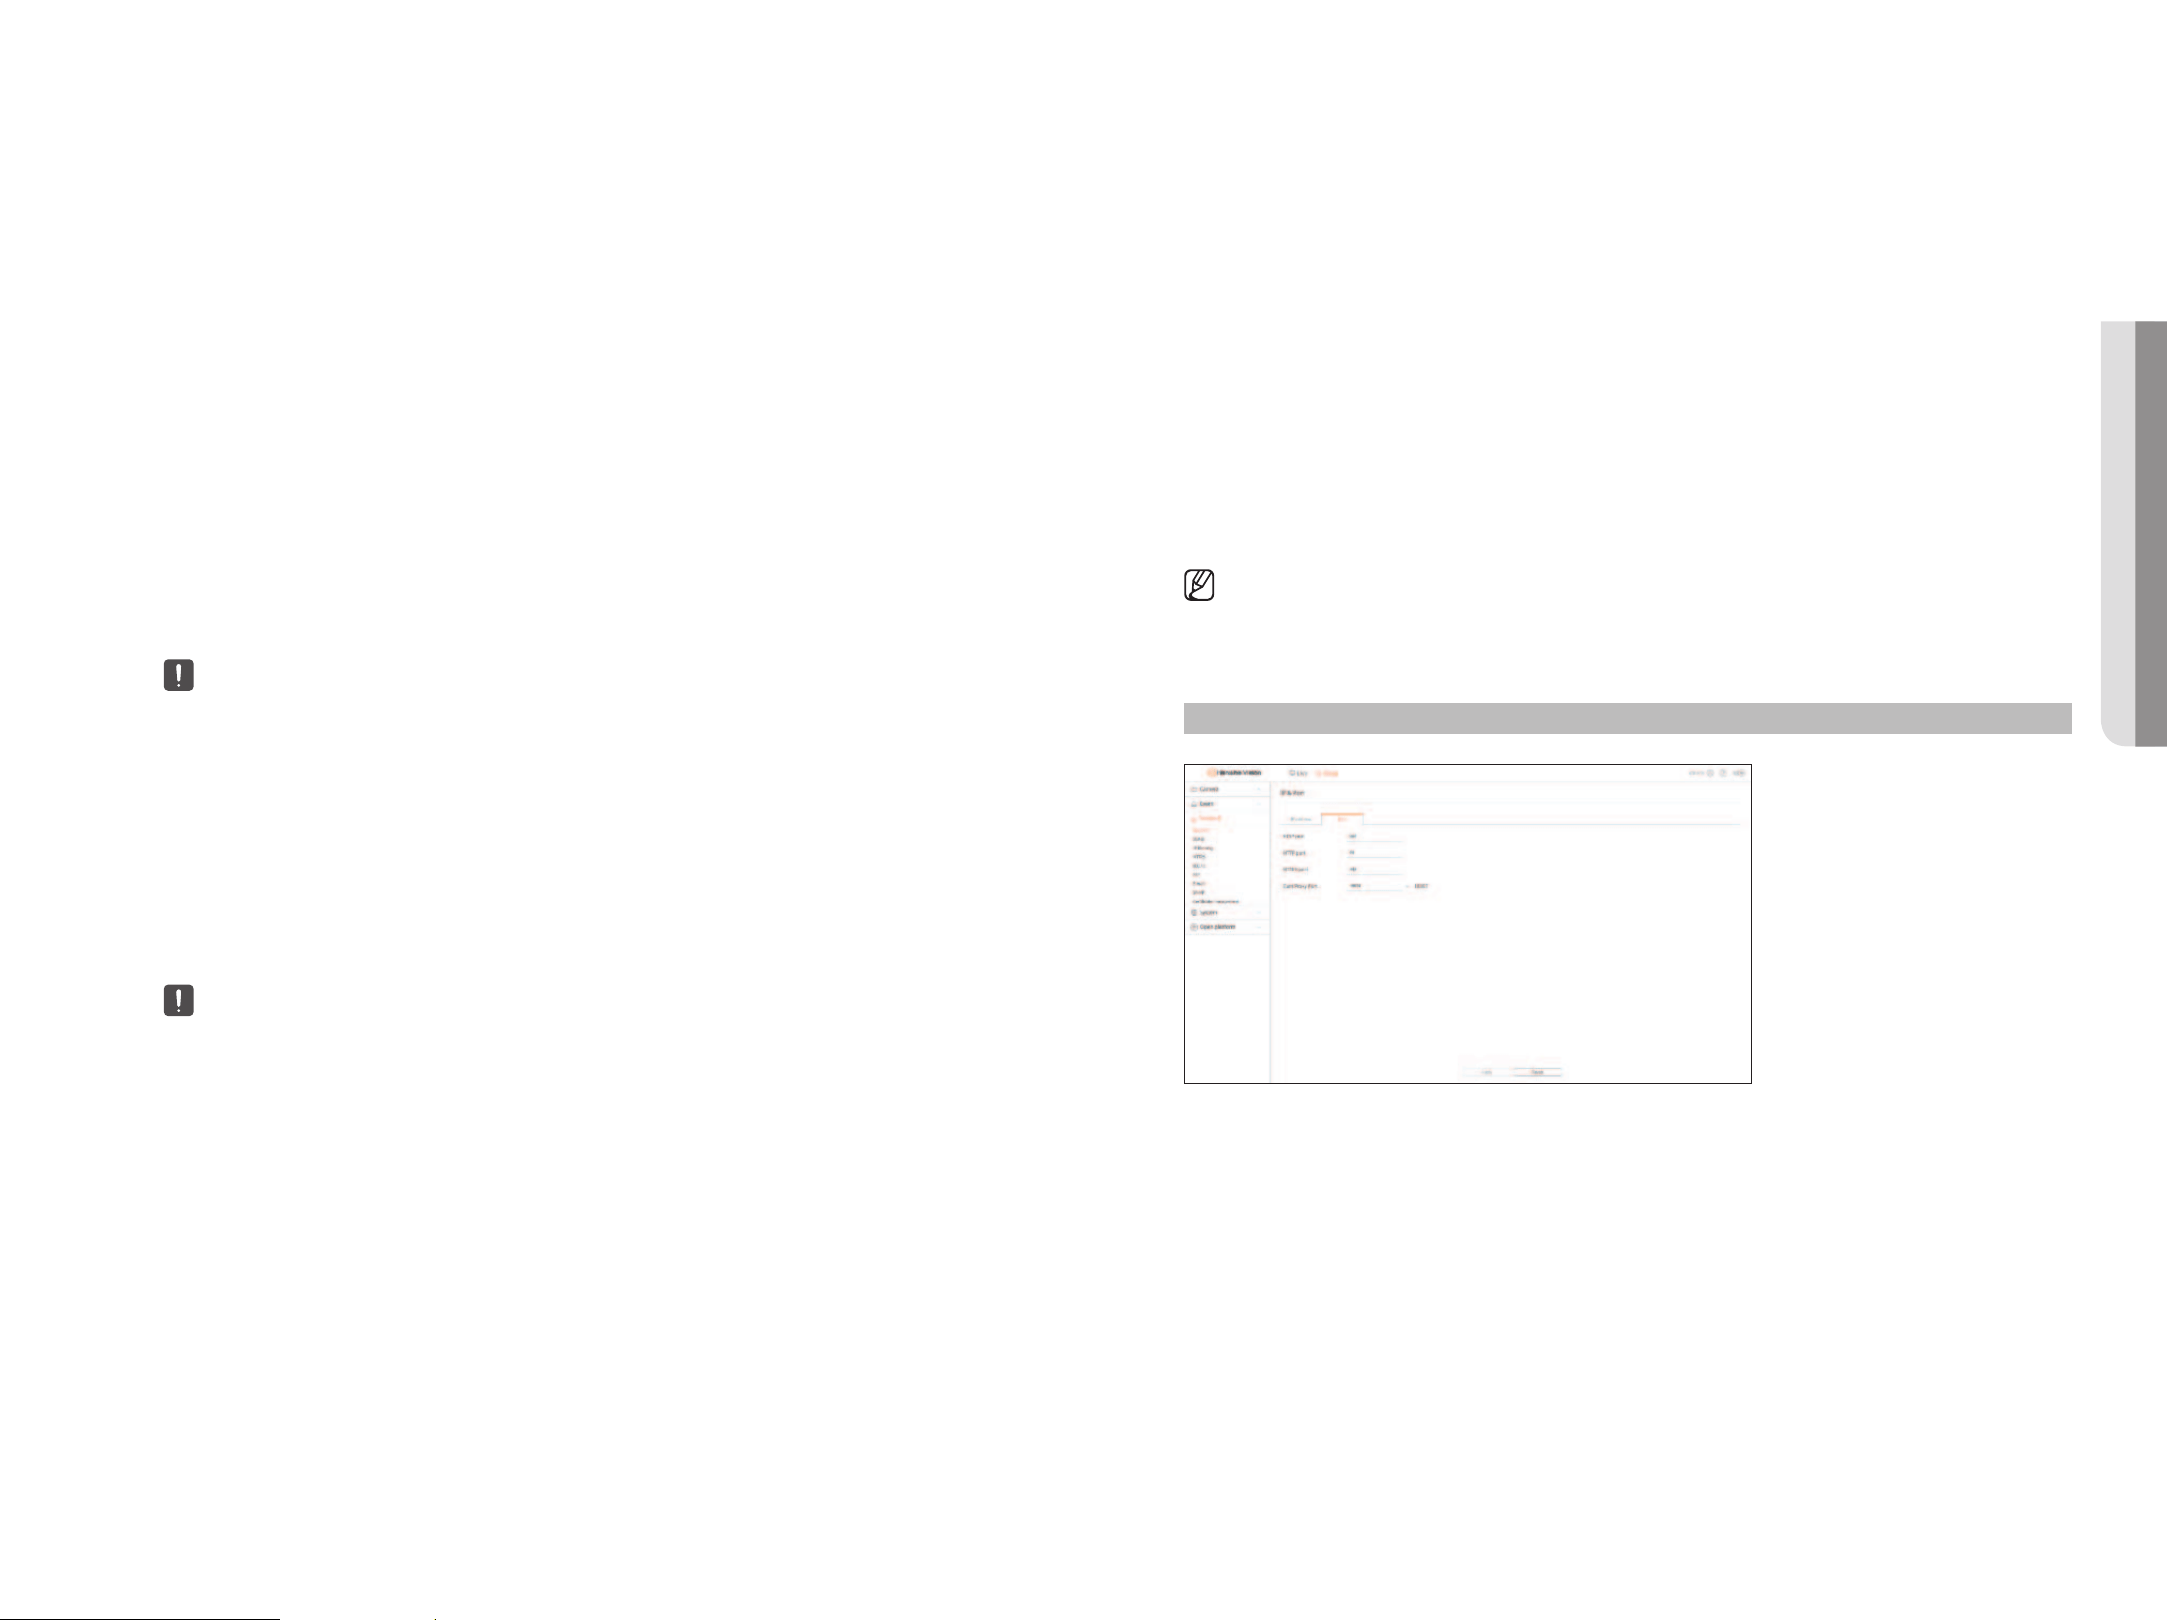
Configuring port Settings
Setup > Network > Ip & port > port
●
RTSP port : Used to transmit videos over the network. The initial value is <554>.
●
HTTP port : Enter the port value for the HTTP web viewer. The initial value is set to <80>.
●
HTTPS port : Enter the port value for the HTTPS web viewer. The initial value is set to <443>.
■
HTTPS is an enhanced version of the HTTP web communication protocol. If security is important when accessing the web viewer, enable the HTTPS
port.
●
Cam Proxy Port : Sets the camera proxy port. The default value is set to <10000>.
• SETUp vIEWER
18_ setup viewer
setup viewer
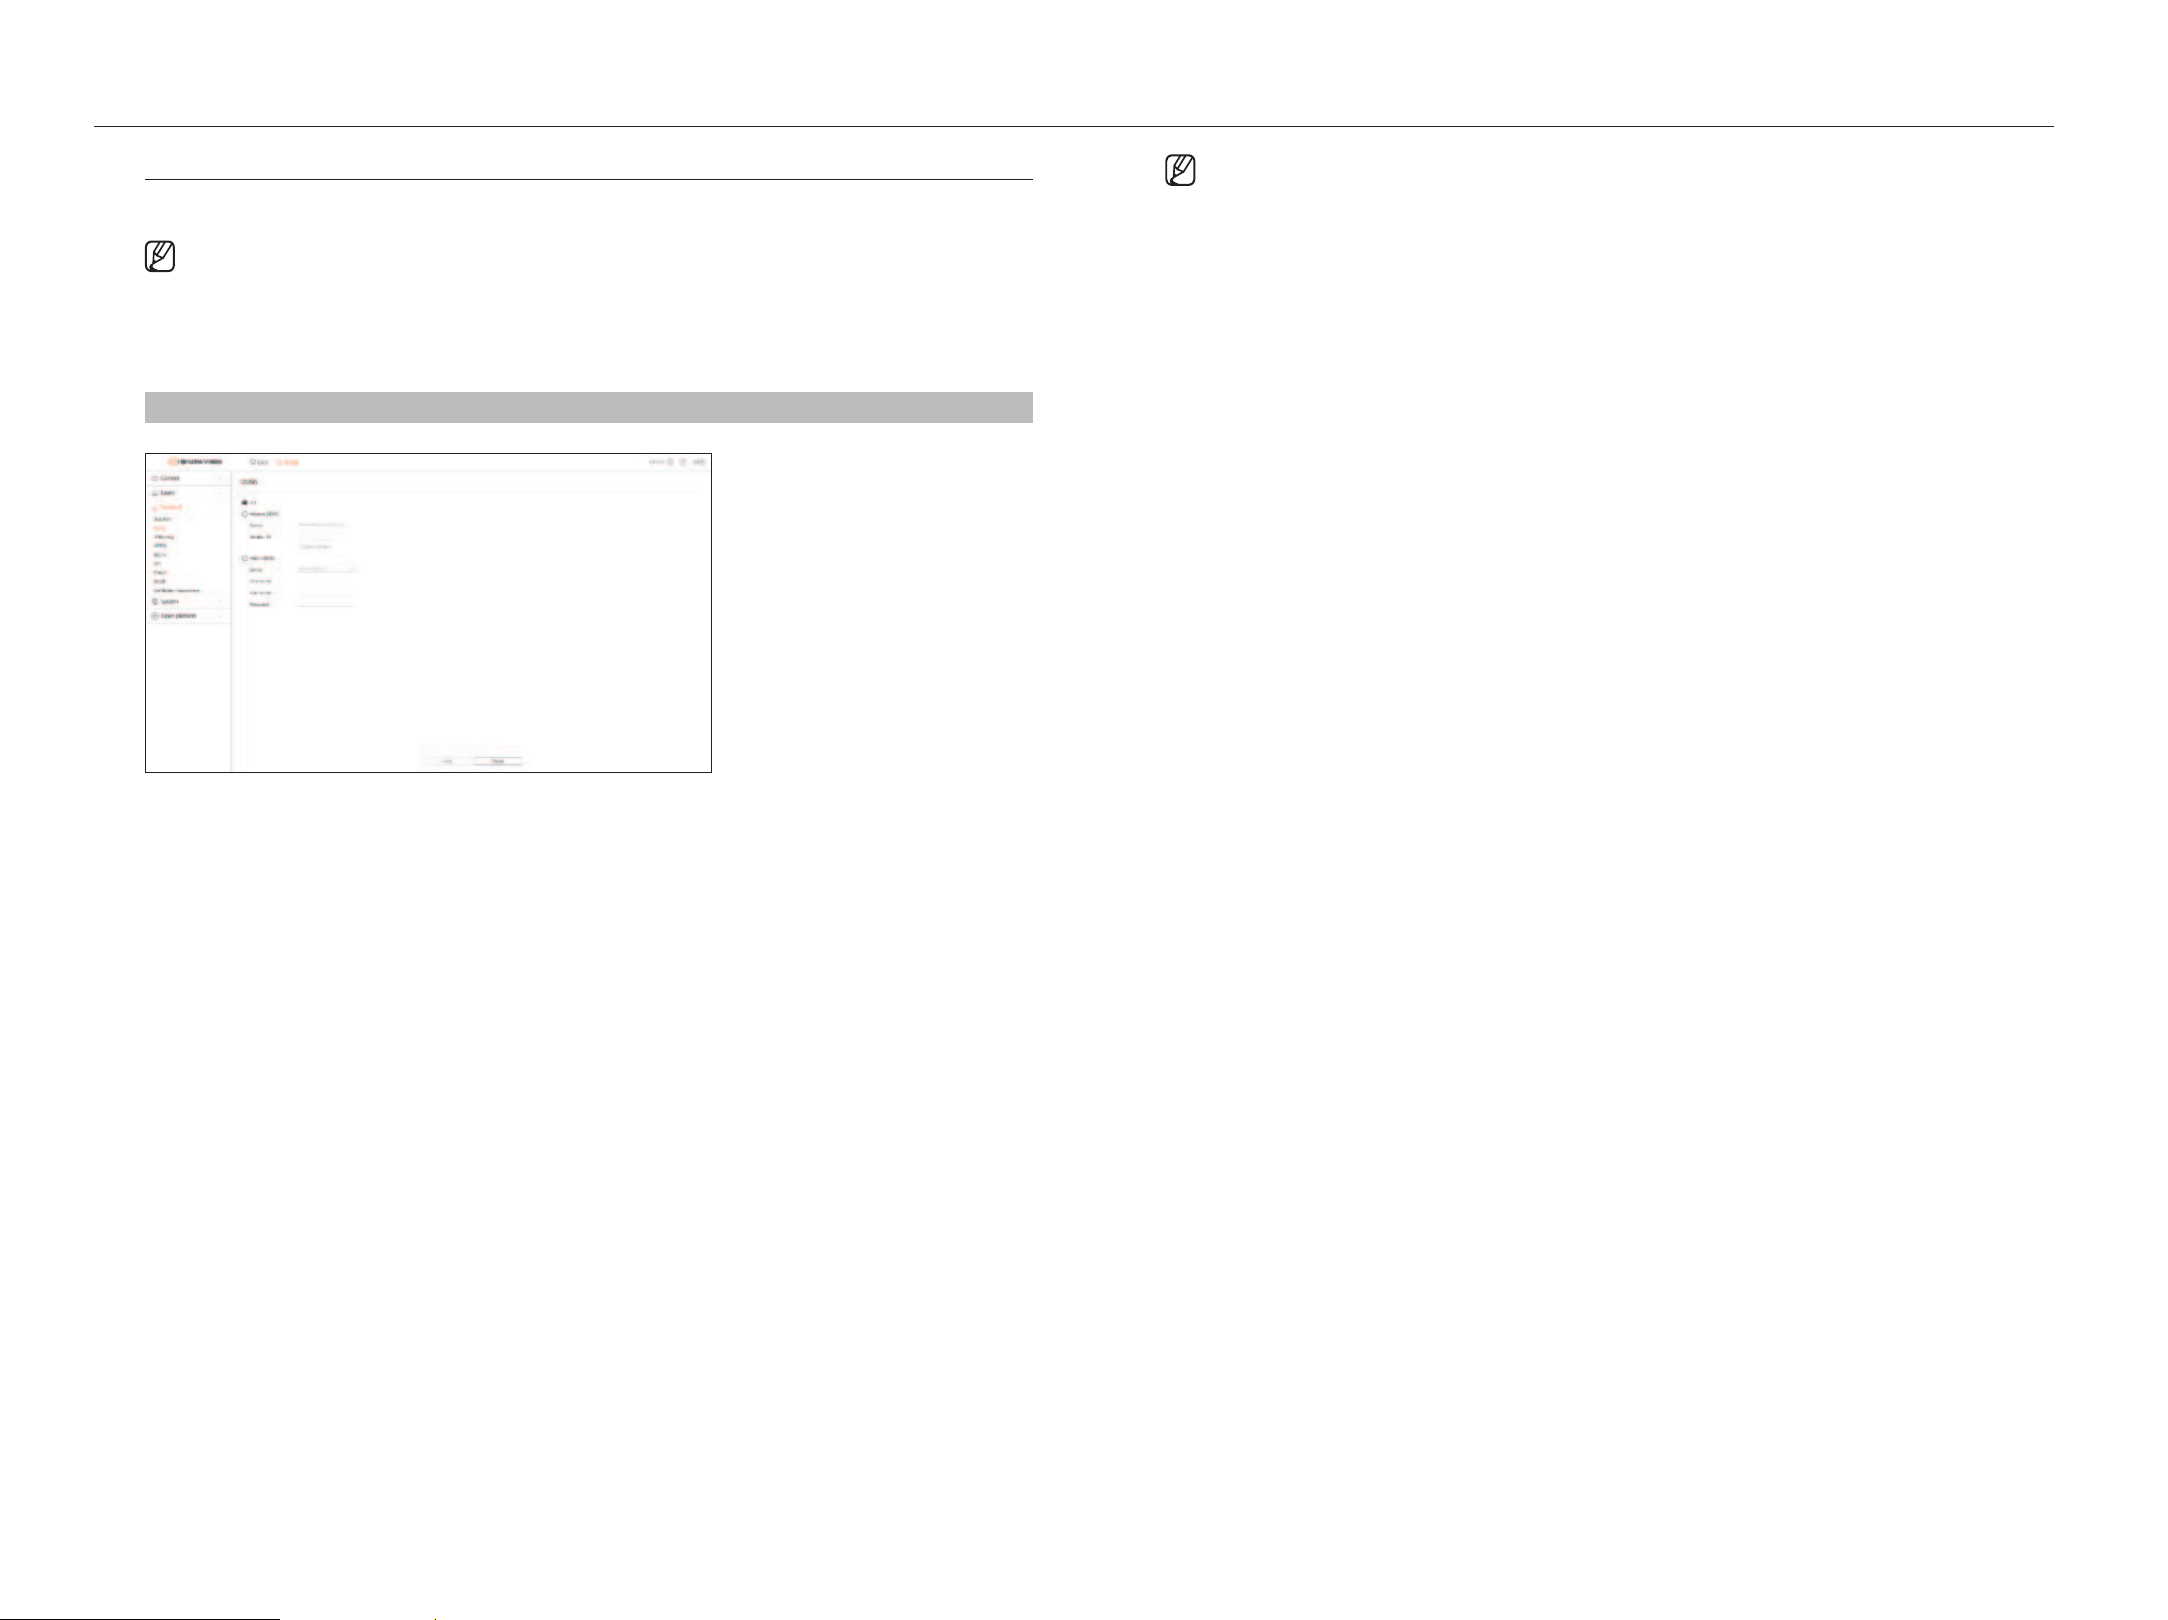
DDNS
If a remote user accesses the network, you can set whether or not to use DDNS and the site to be connected.
■
DDNS is a short form of Dynamic DNS(Domain Name System).
DNS (Domain Name System) is a service that routes a domain name consisting of user friendly characters (ex : www.google.com) to an IP
address consisting of numbers (64.233.189.104). DDNS (Dynamic DNS) is a service that registers a domain name and the floating IP address
with the DDNS server so that the domain name can be routed to the IP address even if the IP is changed in a dynamic IP system.
■
To use DDNS, enable the router's port forwarding and UPnP features. For more information, see your router’s user manual.
Setup > Network > DDNS
●
Off : Select if you do not use DDNS.
Setting the Wisenet DDNS
●
Wisenet DDNS : Select if you use the DDNS server provided by Hanwha Vision. To use Wisenet DDNS, sign up at
its website (ddns.hanwha-security.com) and register the product in "
my DDNS > Register product".
●
Server : Displays the name of the DDNS server to use.
●
Product ID : Enter the product ID registered in the Wisenet DDNS server.
●
Quick connect : When using a router that supports the UPnP (Universal Plug and Play) feature, it automatically
supports opening ports for external connection.
When connecting Quick Connect, its progress message appears.
– quick connect successful. : Message for a successful connection.
– please check the network setup. : It occurs when the network settings are wrong. Check the network
settings.
–
please enable Upnp feature in router. : Message appears if the router requires UPnP function enabled.
– failed to find the router. : Message appears if the router is not found. Check the router's configurations.
– Restart the router. : Message appears if the router should be restarted.
– failed to connect. : This message appears if the connection fails due to a unknown error.
■
If the router does not support the UPnP feature or you want to use the DDNS server without using <Quick connect>, set the router’s port
forwarding to <Manual>.
■
If you do not use the double NAT environment or the router’s port has not been set, the DDNS status appears as <Success>. However, the
DDNS connection from the viewer to the AIBox may fail.
■
For DDNS connection, an external network must have been connected.
■
If you are setting up a port that is already in use, then the connection might fail. Check the port setup of your router.
■
If a port conflicts, it automatically changes to another port. Check the changed port information of the AIBox in the "Setup > Network >
IP & Port > Port" menu.
■
If there is a port conflict, see the user manual of the connected router and check the port forwarding or UPnP settings.
Setting the public DDNS
●
Public DDNS : Select if you use the DDNS server provided by a public site. You can use it after signing up for the
service.
●
Server : Select a DDNS site to use.
●
Host name : Enter the host name registered with the DDNS site.
●
User name : Enter the user name registered with the DDNS site.
●
Password : Enter the user password registered with the DDNS site.

English _19
Ip filtering
You can prepare the list of IP addresses to allow or block access to a specific IP address. You can manage IP
addresses separately for IPv4 and IPv6.
Setup > Network > Ip filtering
●
Filtering type
– Deny : Restricts access to the registered IPs.
– Allow : Allows access only to the registered IPs.
●
IPv4/IPv6 : Select the tab for the IP type to register.
●
Add : You can add more items to filter.
●
Delete : You can delete any registered filter.
●
Enable : Select whether to enable registered IP filtering.
●
IP address : Displays the registered IP address. You can change the setting by double-clicking the IP address or
clicking <
>.
●
Prefix : Displays the prefix to be filtered. You can change the setting by double-clicking the prefix or clicking
<
>.
●
Filtering range : If you enter an IP address or prefix, the ranges of IP addresses to block or permit are displayed.
■
If a camera's IP address is not included in the Permit list or is in the Deny list, access to the camera is rejected.
■
For IPv4, camera IP filtering through PoE port is not immediately applied. (Previous connections are maintained, and filtering is applied on next
login.)
hTTpS
You can choose a secured connection system or install a certificate.
Setup > Network > hTTpS
●
Secure connection system : Considering the security level, you can select a secure connection method
according to your environment.
HTTPS (Hypertext Transfer Protocol Secure) is a more secure version of HTTP that exchanges data through the
encryption and decryption of the user's page request at the TLS (Transport Layer Security).
–
HTTP (Does not use a secure connection) : Transmits data without encryption.
– HTTPS (Use a secure connection) : Establishes a secure connection with a unique certificate provided by the
AIBox.
■
Mutual authentication : Use to proceed with this to enhance the security. If <Allow all connections> is selected, AIBox can be connected
without mutual authentication. If <Allow only mutually authenticated connections> is selected, AIBox can be connected only when
mutual authentication is successful.
●
TLS settings : You can select the Cipher mode or TLS version to use for encrypted communication.
– Cipher mode : Provides cipher suites in several algorithm combinations to be used for TLS encrypted
communication such as key exchange, authentication, and encryption.
<Secure cipher suites only> uses only highly secured cipher suites.
For backward compatibility, select <All compatible cipher suites>. However, it may be vulnerable to
security because it contains all cipher suites, regardless of whether they are secure or not.
–
Version : You can select the TLS protocol version to be used for encrypted communication.
■
If the <Cipher mode> is set to <Secure cipher suites only>, you can select <TLS 1.2> or <TLS 1.3>.
■
If the AIBox is connected to an external Internet or installed in the environment where security is important, HTTPS connection is
recommended.
• SETUp vIEWER
20_ setup viewer
setup viewer
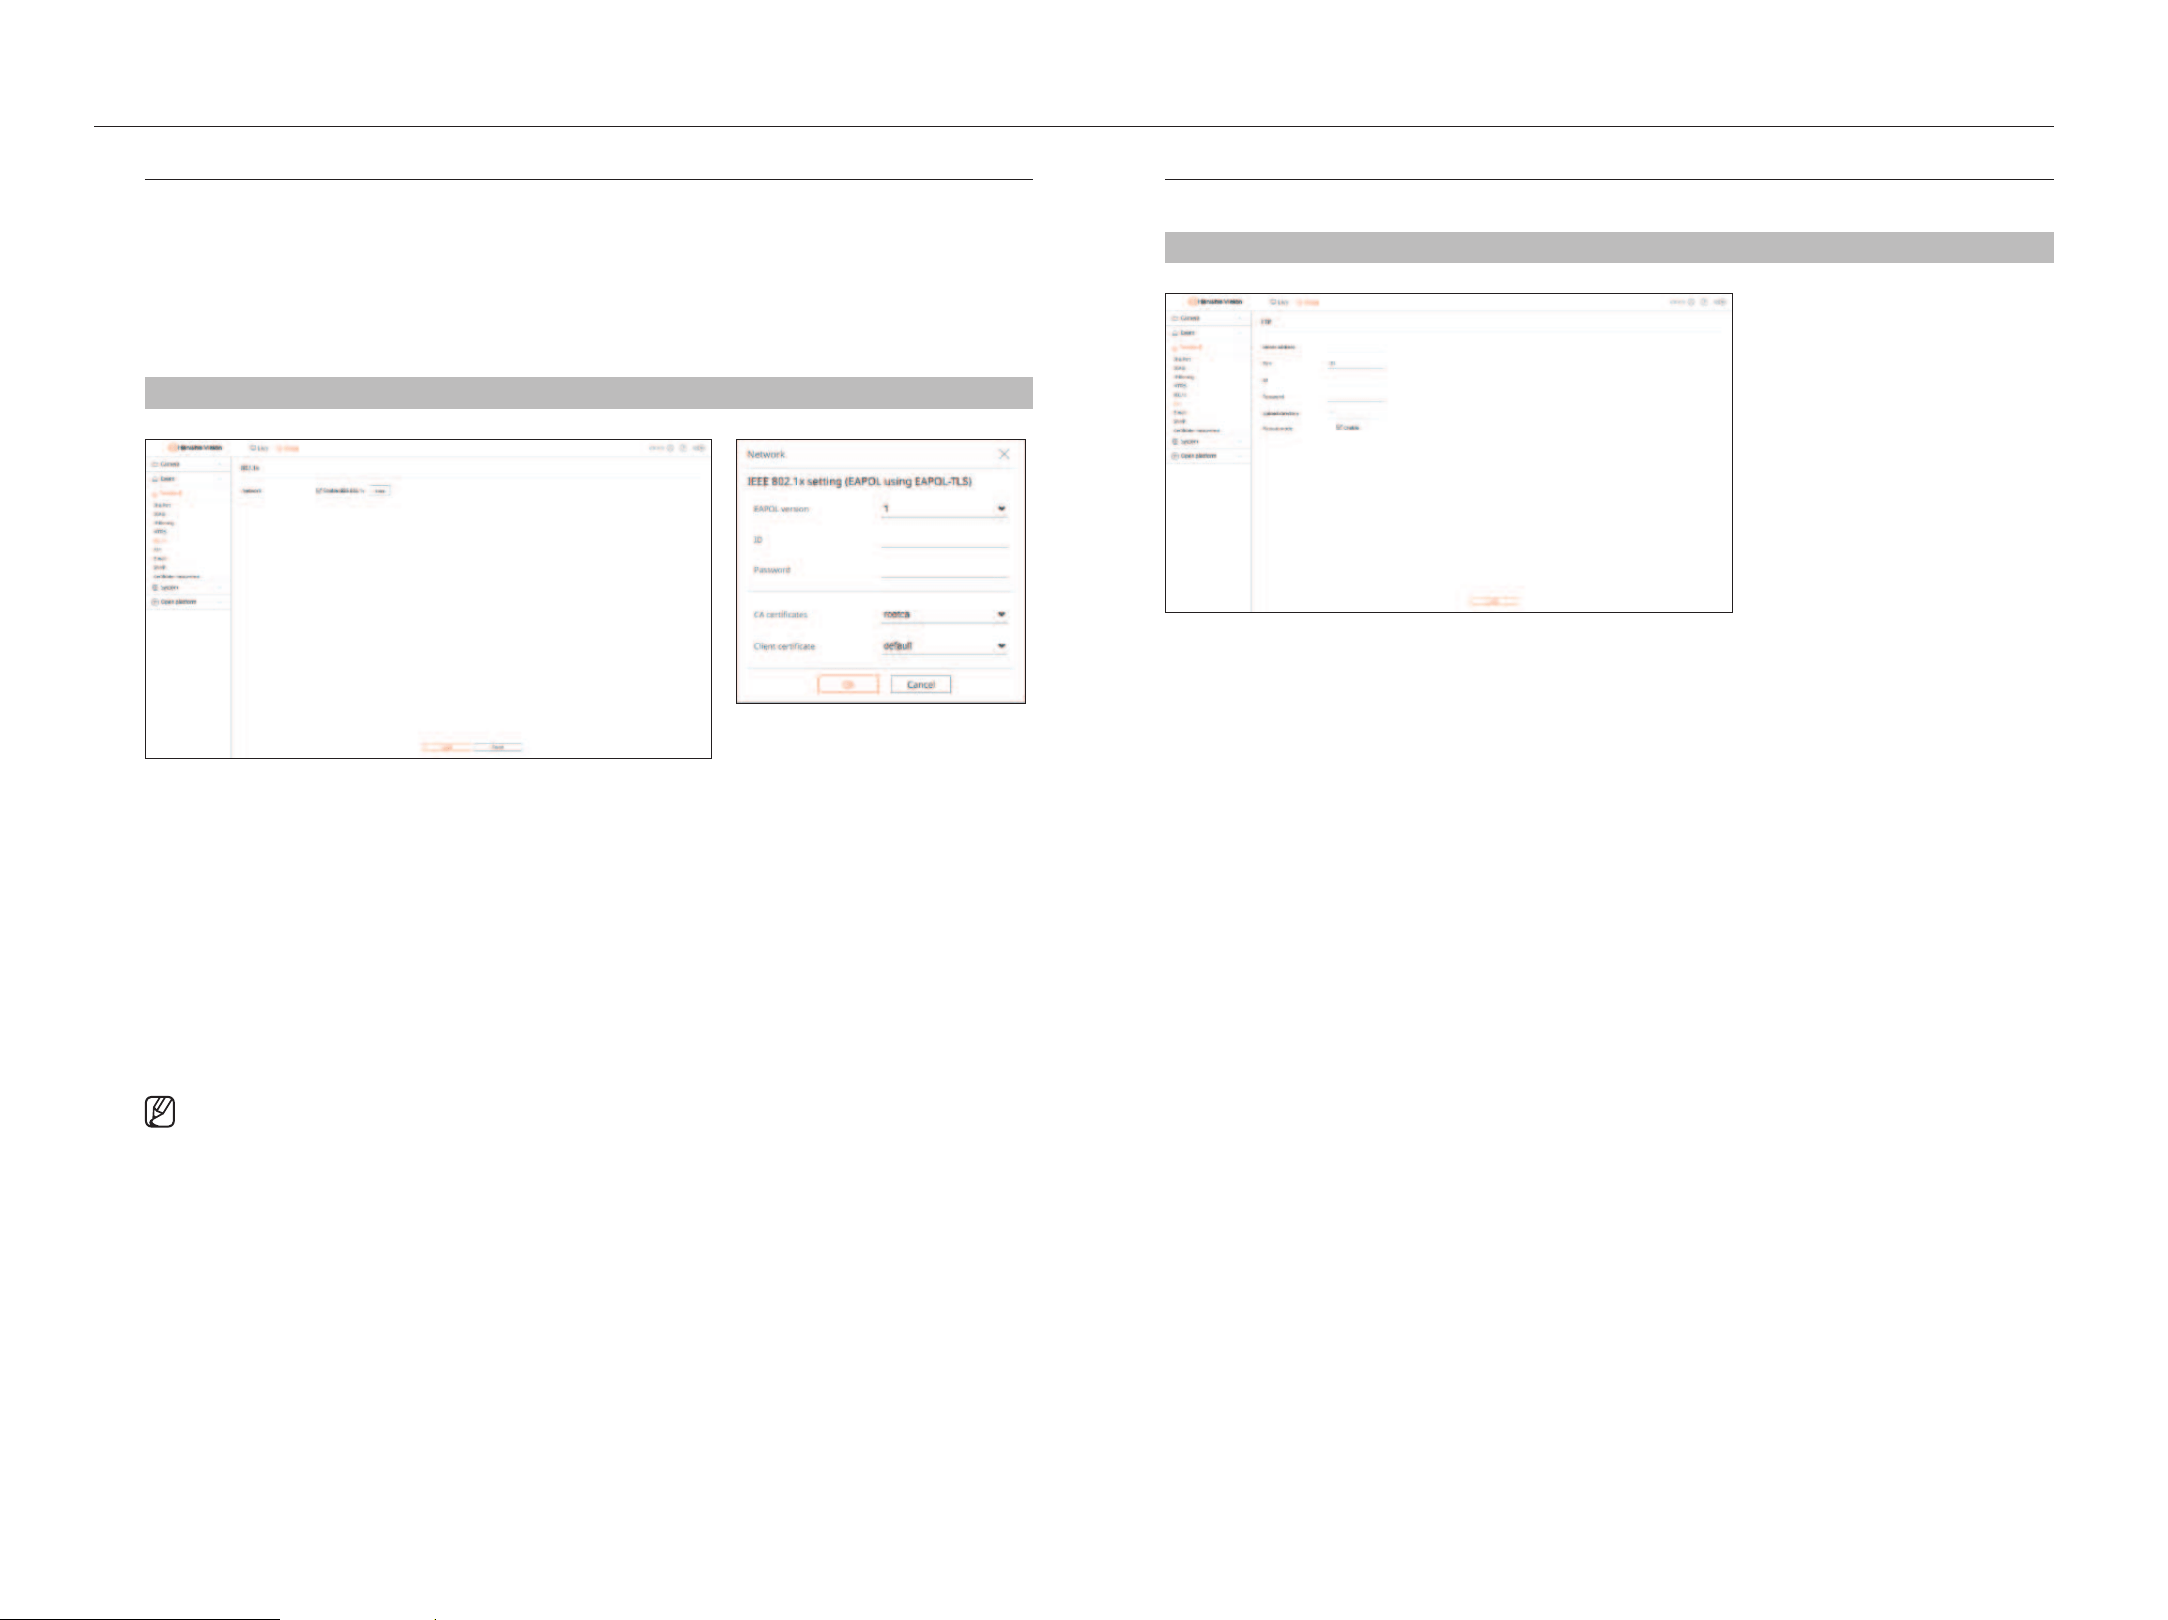
802.1x
When connecting to a network, you can select whether to use the 802.1x protocol and install a corresponding
certificate.
802.1x is an authentication system between a server and a client, which prevents hacking, virus infection, and
information leakage of transmitted and received network data.
802.1x can be used to block the unauthorized client access and increase security by allowing only authenticated
users to communicate.
Setup > Network > 802.1x
●
Setup : If <Enable IEEE 802.1x> is checked, you can change the configuration.
●
EAPOL version : Select the EAPOL version to be used as protocol.
■
Some switch hubs will not operate if you set them to version <2>. Select the version <1>, which is the EAPOL default.
●
ID : Enter the ID provided by the RADIUS server administrator.
■
If the entered ID does not match the ID of the client's certificate, it won't be processed properly.
●
Password : Enter the password provided by the RADIUS server administrator.
■
If the password you entered does not match that of the client's private key, it won't be processed properly.
●
CA certificate : Select if your public certificate includes the public key.
●
Client certificate : Select if the public certificate includes a client's authentication key.
■
For successful implementation of the 802.1x operating environment, the administrator must use the RADIUS server.
In addition, the switch hub connected to the server must be a device that supports 802.1x.
■
If the times of the RADIUS server, switch hub, and AIBox do not match, the communication between devices may not work.
■
The 802.1x protocol adopted by the AIBox is EAP-TLS.
■
You need to install all two certificates to use 802.1x.
fTp
If an event occurs while the camera is recording video, you can transfer image files using an FTP server.
Setup > Network > fTp
●
Server address : Enter the FTP server address to transfer video upon occurrence of event.
●
Port : Enter the port value of the FTP web viewer. The default value is set to <21>, and enter a value between 1
and 65535.
●
ID : Enter the user ID to authenticate when connecting to the FTP server.
●
Password : Enter the user password to authenticate when connecting to the FTP server.
●
Upload directory : Enter the path of the FTP server to save the transmitted event images in.
●
Passive mode : Check <Enable> if passive mode is required due to firewall or FTP server settings.
●
Apply : It runs the transmission test to the specified sever.
English _21
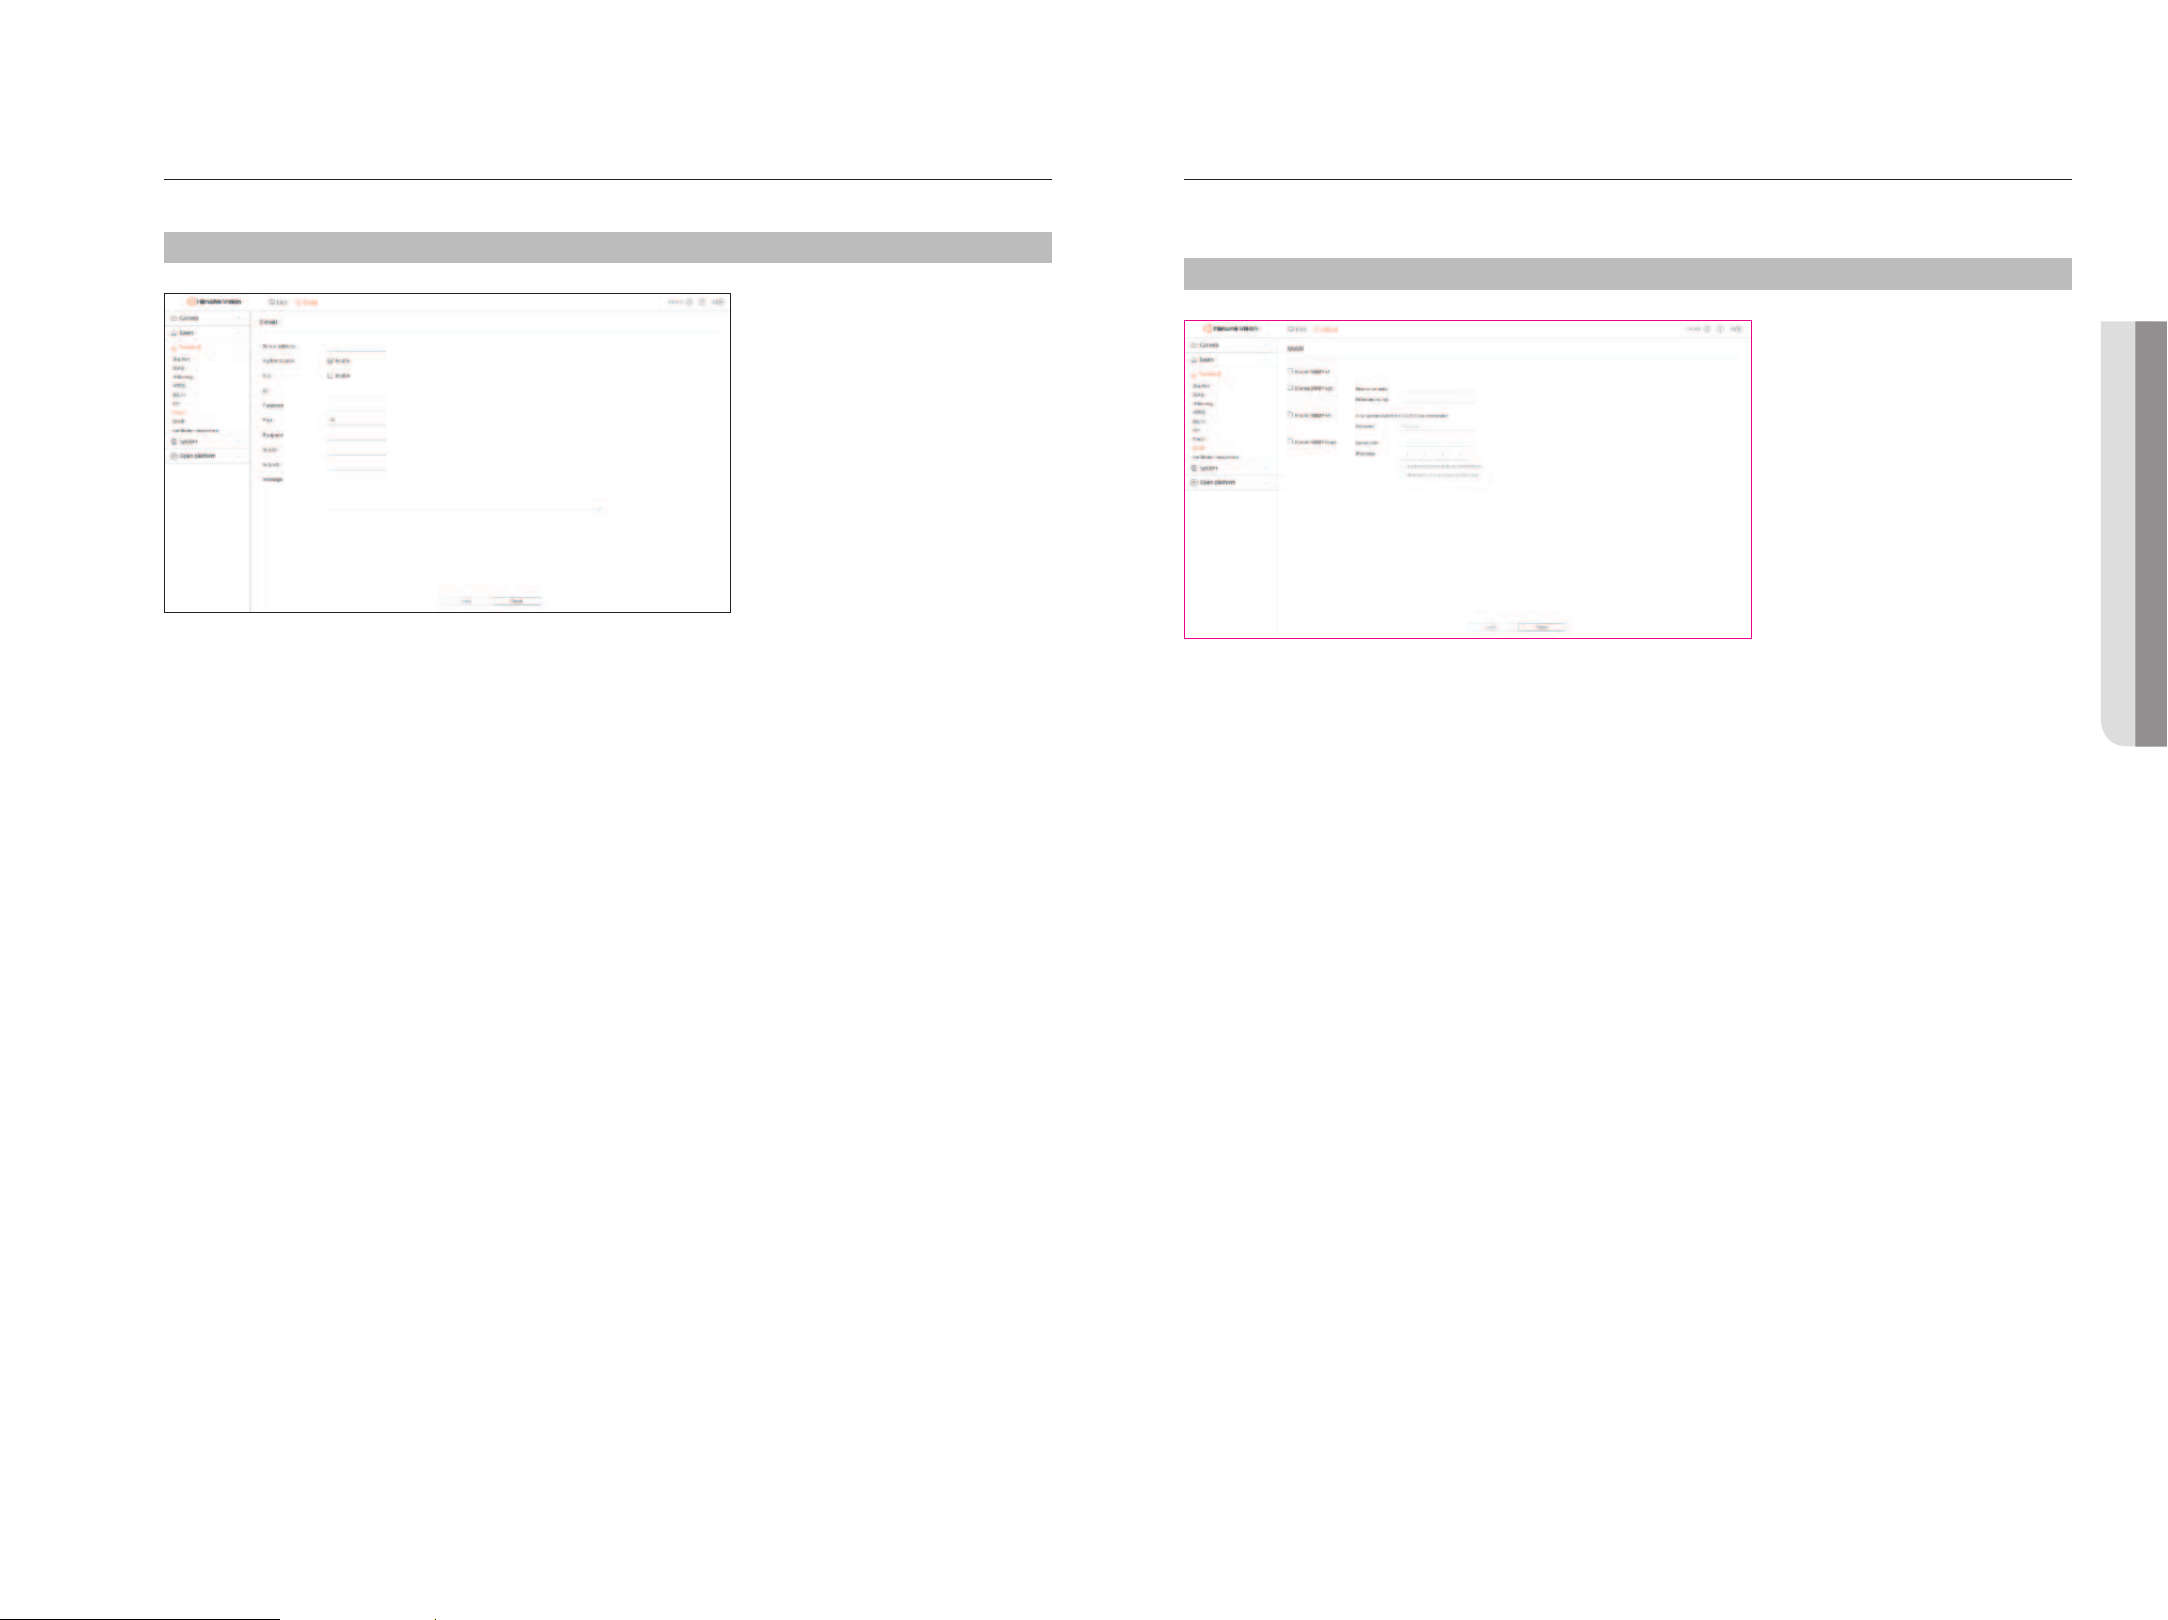
E-mail
If an event occurs while the camera is recording video, you can transfer image files using the email system.
Setup > Network > E-mail
●
Server address : Enter the SMTP server address to transfer video upon occurrence of event.
●
Authentication : When email transmission is authenticated with ID and password, check <Enable>.
●
TLS : For an email server that requires security, check <Enable>.
●
ID : Enter the ID to authenticate when connecting to the server.
●
Password : Enter the password to authenticate when connecting to the server.
●
Port : Enter the connection port.
●
Recipient : Enter the email address of the recipient.
●
Sender : Enter the email address of the sender.
●
Subject : Enter the subject of the email.
●
Message : Enter the message details.
●
Apply : It runs the transmission test to the specified sever.
SNmp
The SNMP protocol allows system or network administrators to remotely monitor and configure the network
devices.
Setup > Network > SNmp
●
Enable SNMP v1 : SNMP v1 is used.
●
Enable SNMP v2c : SNMP v2c is used.
– Read community : Enter a read-only community name to access the SNMP information.
– Write community : Enter a write-only community name to access the SNMP information.
●
Enable SNMP v3 : SNMP v3 is used. It operates only when the SSL/TLS has been authenticated.
– Password : Set the initial user password for SNMP v3.
●
Enable SNMP traps : Use to send important events and statuses to the Admin System.
– Community : Enter the name of the trap community that receives messages.
– IP address : Enter the IP address to send the message to.
– Authentication failure notification : If the community information is incorrect, the event is delivered to the
entered IP address.
– Network connection notification : If the network is reconnected, the event is delivered to the entered IP
address.
• SETUp vIEWER
22_ setup viewer
setup viewer
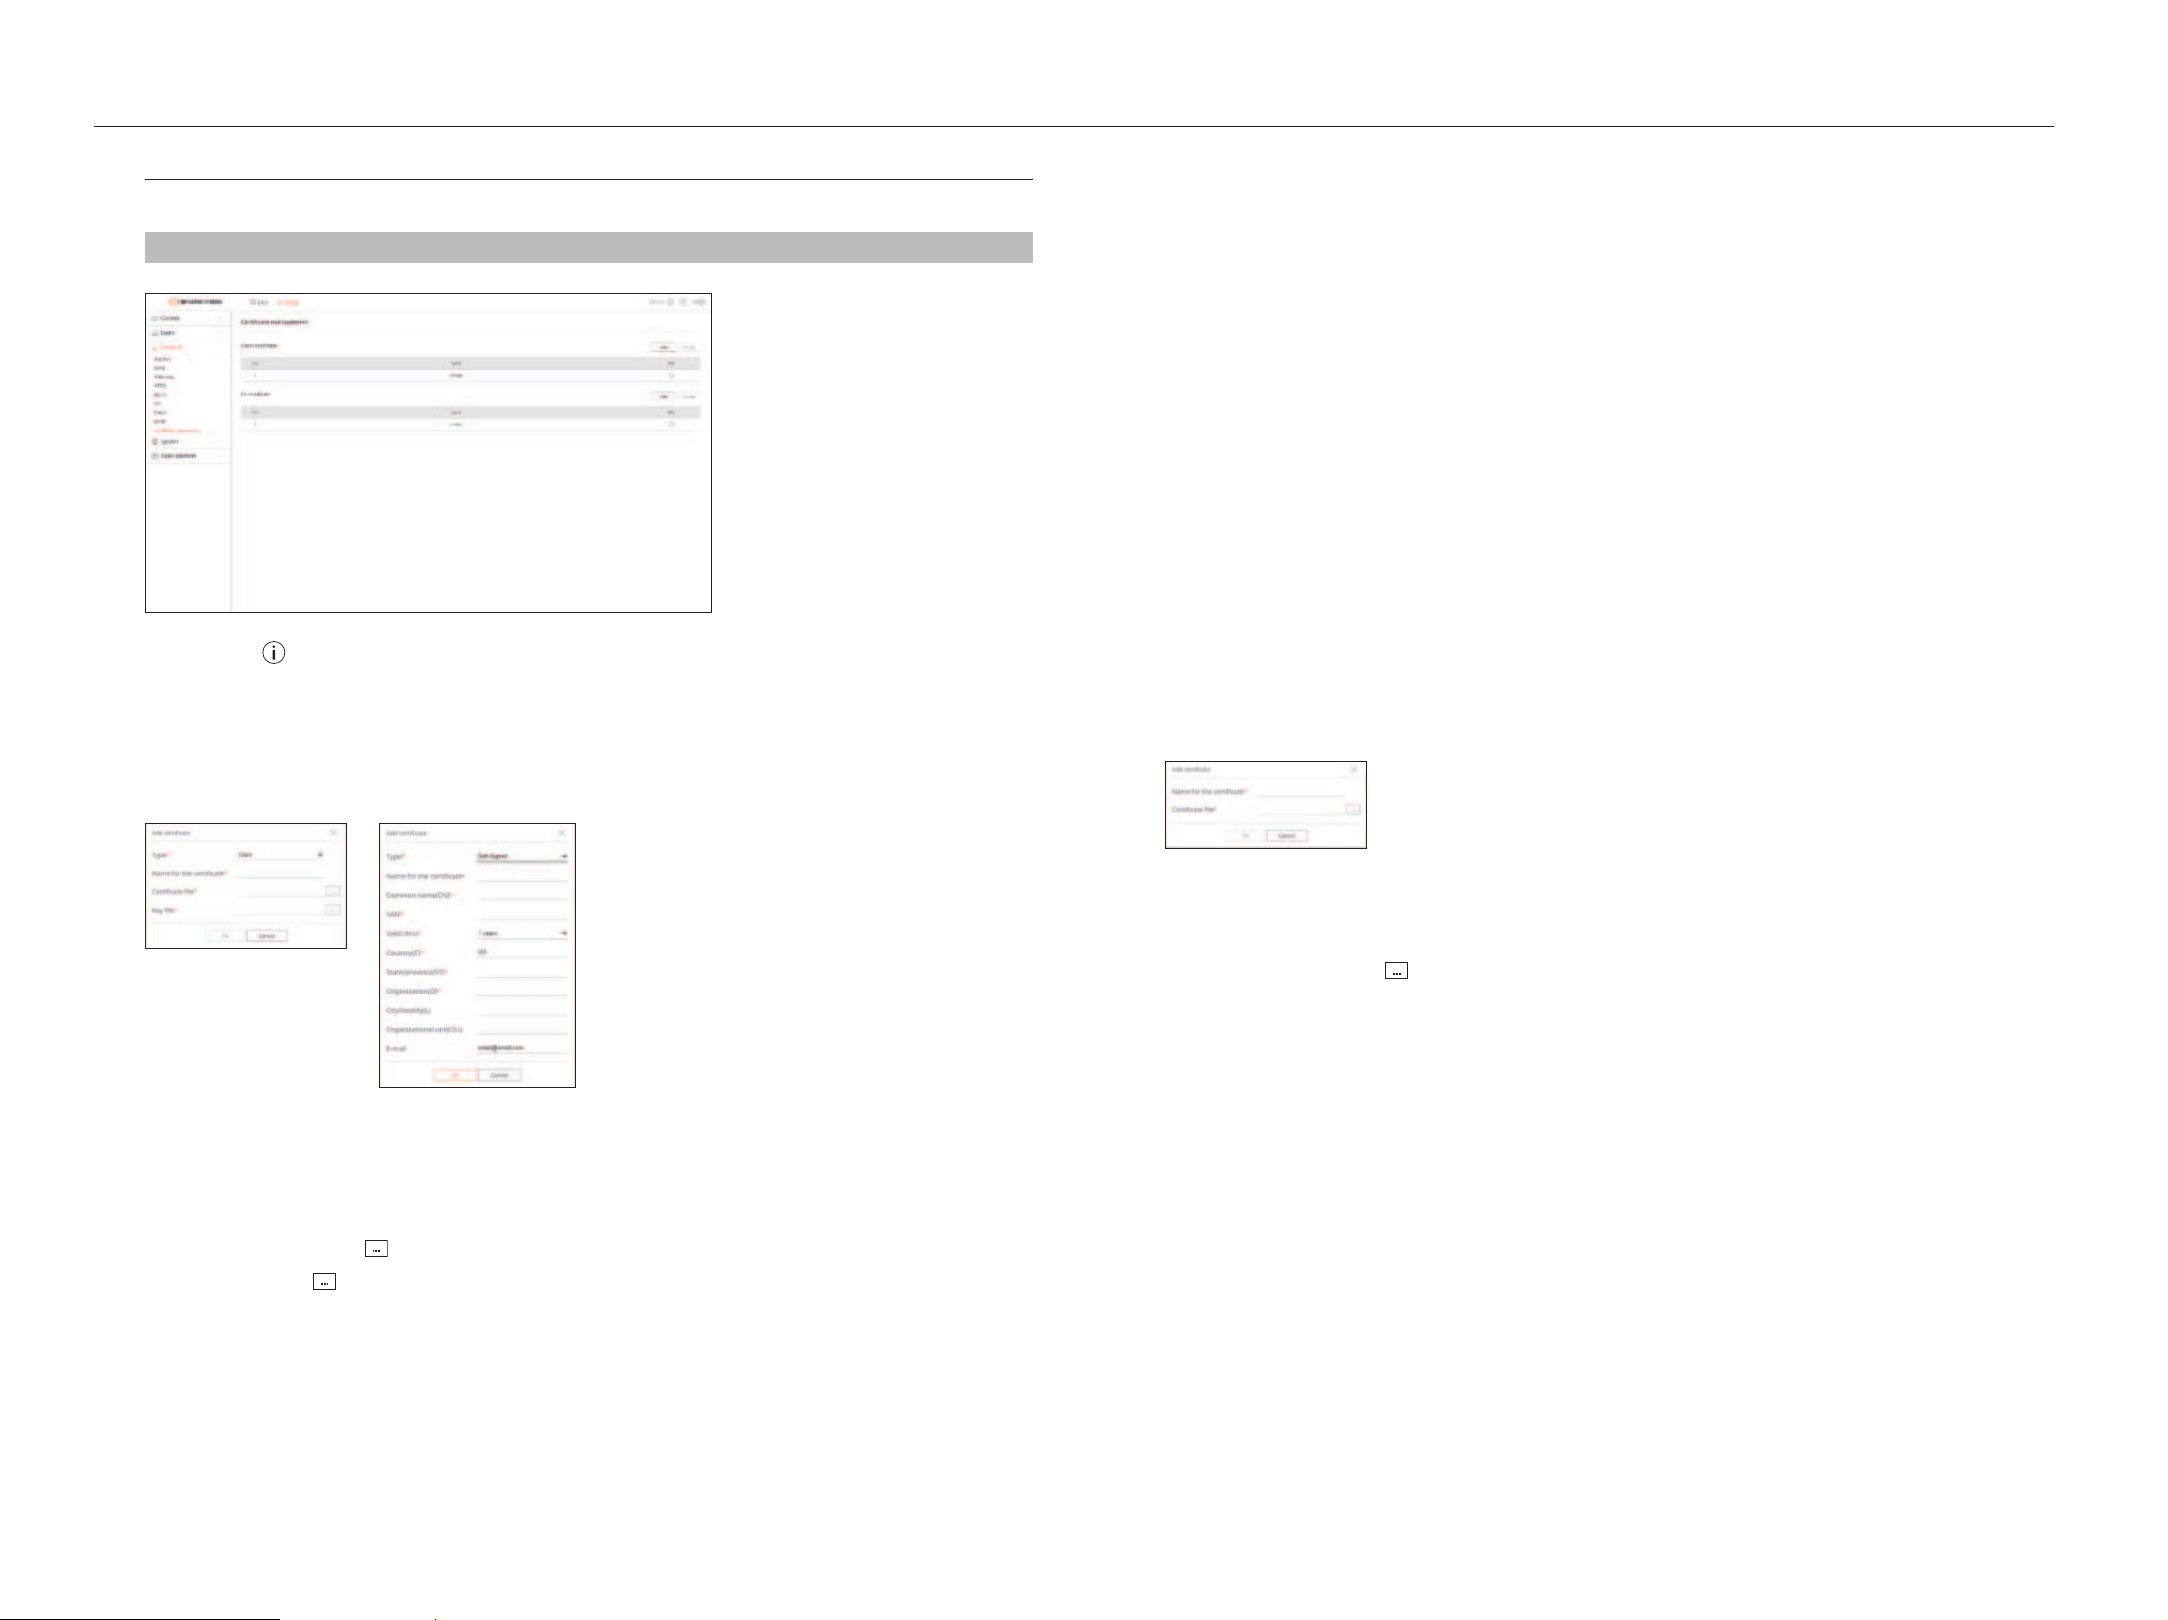
Certificate management
You can manage client certificates and CA certificates separately, and add or delete them.
Setup > Network > Certificate management
●
Info : Click <
> to see the certificate details.
Client certificate
A client certificate is created or applied by user.
The device certificate provided by Hanwha Vision is registered by default, and this certificate cannot be deleted.
1. To add a certificate, click <Add>. The <Add certificate> window appears.
2. If there is any certificate file, select the <Client> type.
●
Name for the certificate : Enter the certificate name.
●
Certificate file : Click < > and select a certificate file.
●
Key file : Click < > and select a key file.
3. To create a certificate, select the <Self-Signed> type.
●
Name for the certificate : Enter the certificate name.
●
Common name(CN) : Enter the common name of the certificate.
●
SAN : Enter the certificate SAN (Subject Alternative Name).
●
Valid thru : Select an expiration date of the certificate.
●
Country(C) : Enter the country. Up to two letters are allowed.
●
State/province(ST) : Enter the state or province.
●
Organization(O) : Enter the name of the organization.
●
City/locality(L) : Enter the locality information.
●
Organization unit(OU) : Enter the organization unit.
●
E-mail : Enter the email address.
4.
Click <Ok>.
You can check the certificate added in the client certificate list.
■
To delete a certificate, select a certificate to delete and click <Delete>.
CA certificate
A CA certificate is issued by a CA (Certificate Authority).
The root CA certificate provided by Hanwha Vision is registered by default, and this certificate cannot be deleted.
1. To add a certificate, click <Add>. The <Add certificate> window appears.
●
Name for the certificate : Enter the certificate name.
●
Certificate file : Click < > and select a certificate file.
2.
Click <Ok>.
You can check the certificate added in the CA certificate list.
■
To delete a certificate, select a certificate to delete and click <Delete>.
English _23
SETTINg ThE SySTEm
You can set the date, time and language displayed when using the system, and query system information or log
information.
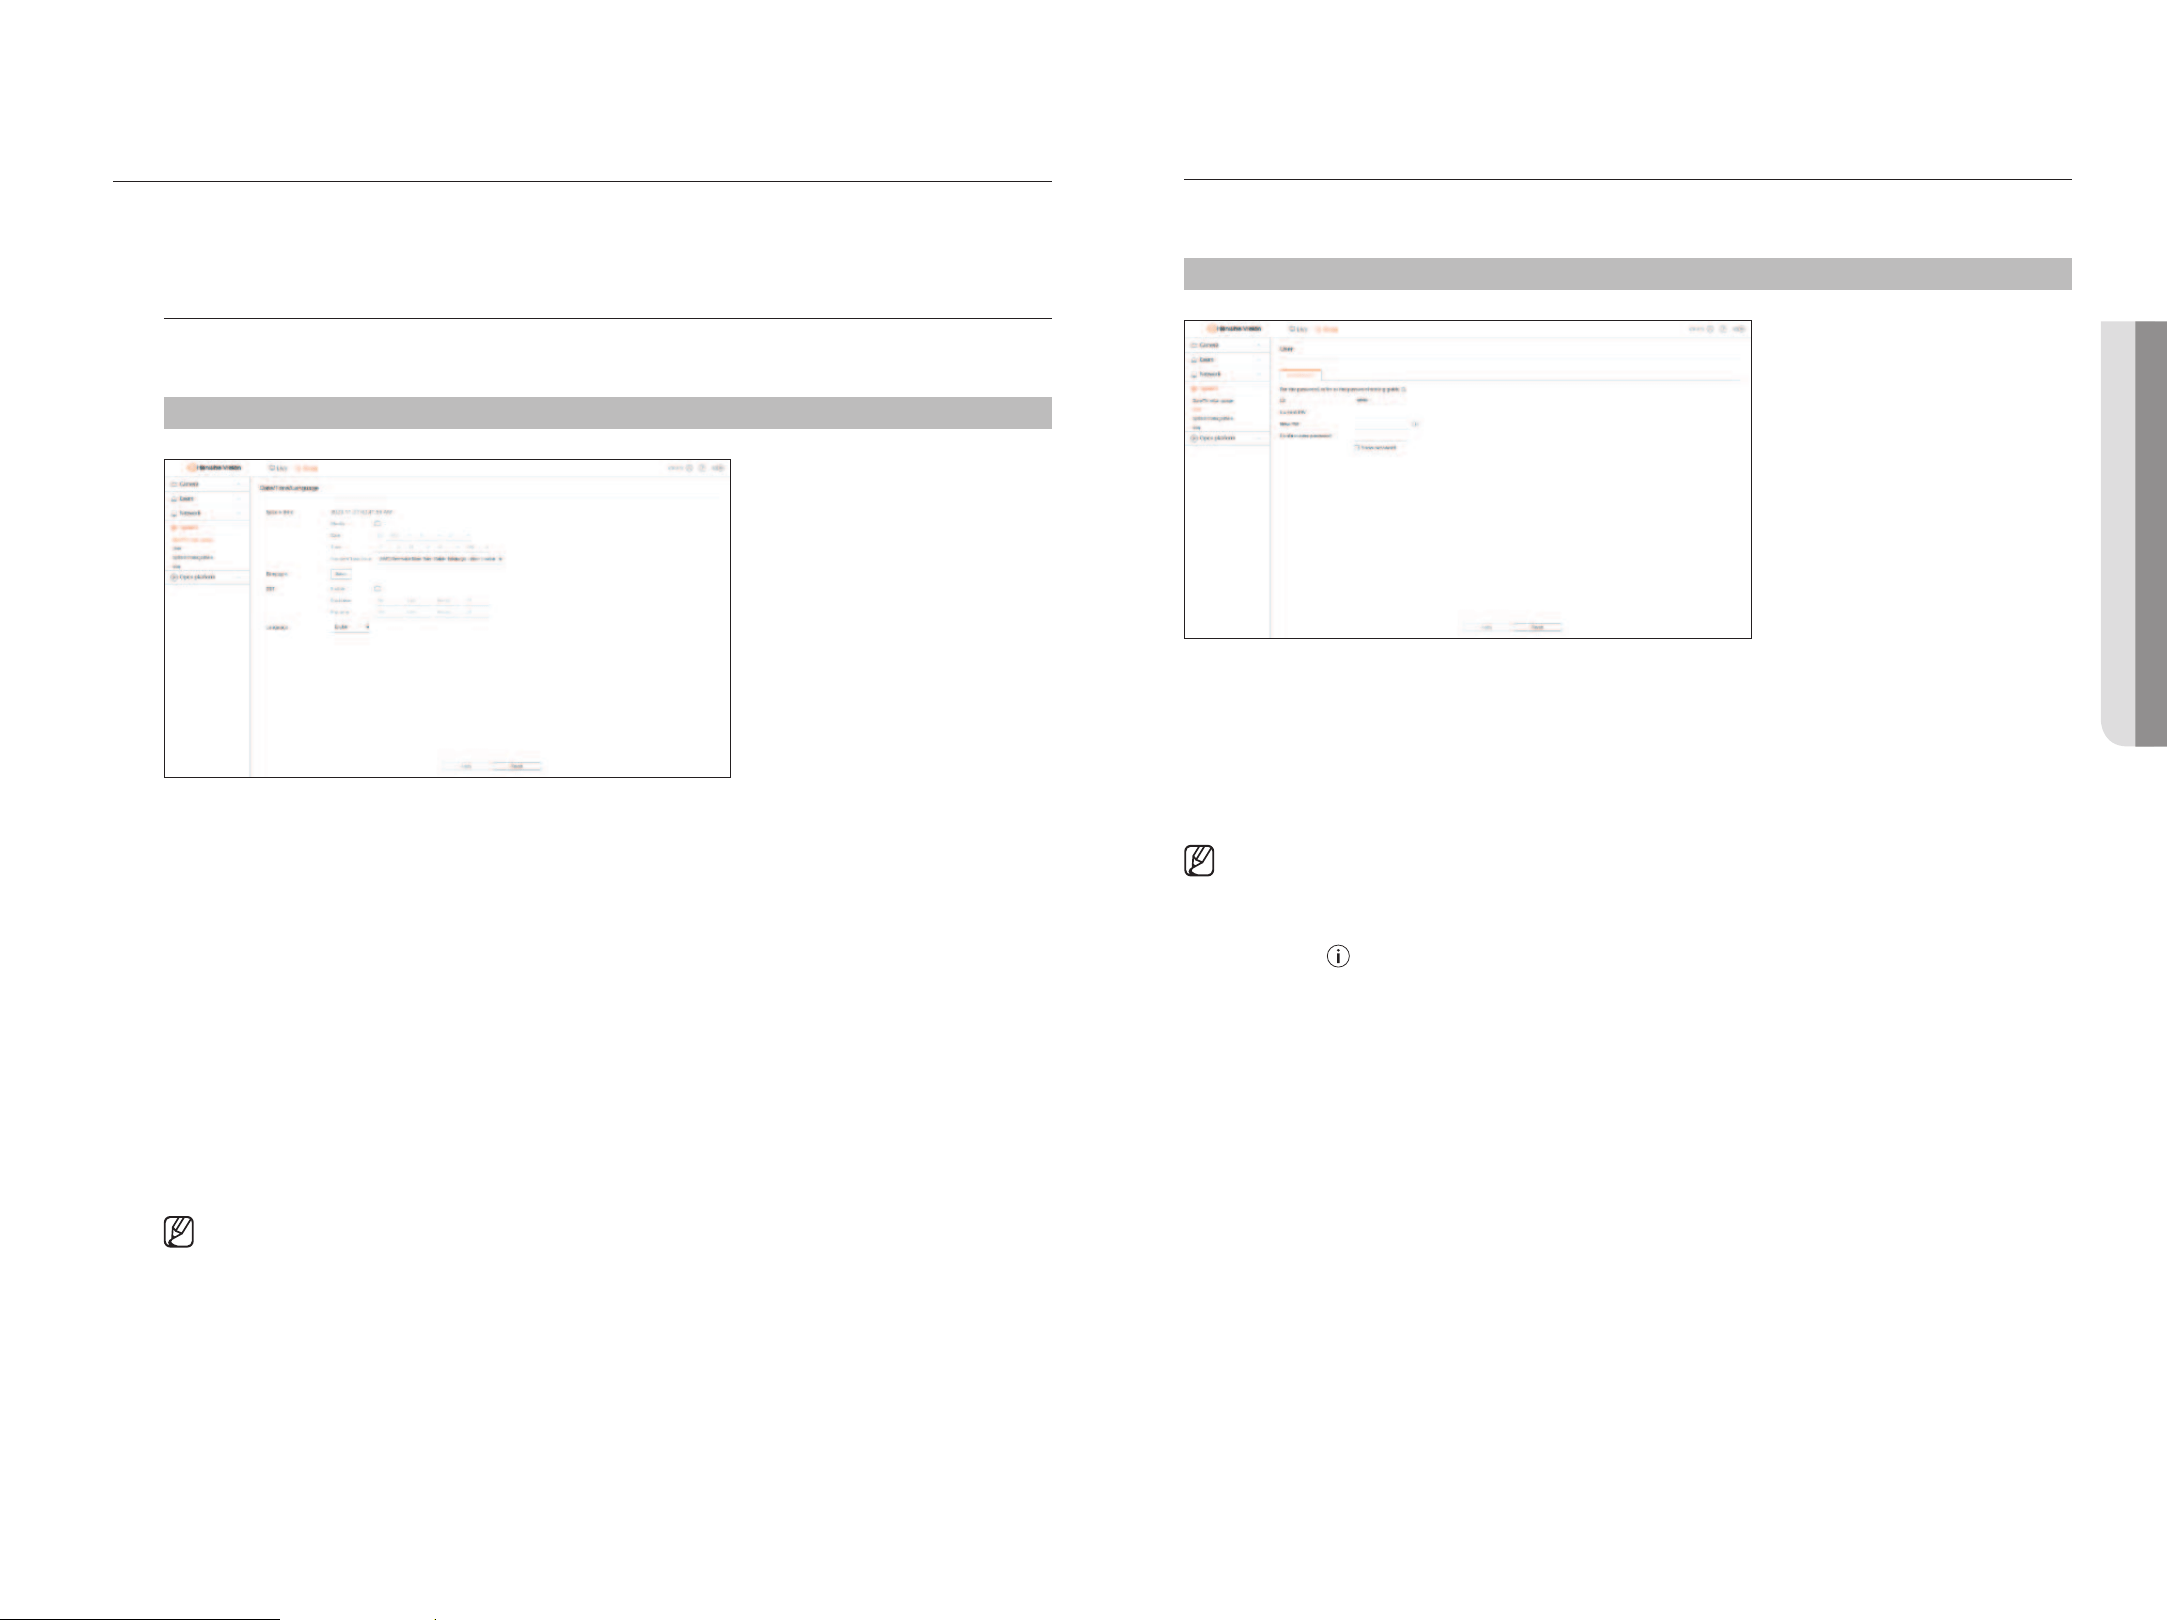
Date/Time/language
You can check and setup the current Date/Time and time related properties, as well as the language used for the
interface on the screen.
Setup > System > Date/Time/language
●
System time : Displays the date and time selected in <Standard Time Zone>.
If <
modify> is checked, you can change the date and time on the screen.
■
GMT (Greenwich Mean Time) is standard World Time and the basis of world time zone.
●
Time sync : Specify the use of synchronization with the time server.
Click <Setup> to display the <time synchronization setup> screen.
If <Synchronize with NT
p server> is used, the current time of the AIBox is synchronized by the server set in
<NT
p server address>. Accordingly, the time cannot be changed manually.
– Synchronize with NTP server : Select whether or not to use the synchronization with the time server.
– NTP server address : Enter the IP or URL address of the time server.
●
DST : Set up Daylight Saving Time with its period to make the time earlier than the GMT of its time zone by 1
hour during the set period.
■
Depending on the selected time zone, the DST information may appear differently.
●
Language : Select your language. Sets the language for the interface.
■
Depending on the location of the product release, the language and standard time setup may vary.
User
You can change the administrator's ID and password. The administrator can use and set all menu items and
functions.
Setup > System > User > Administrator
●
ID : Change the admin ID. If the ID being used is changed, you are automatically logged out.
●
Current PW : Enter the current password.
●
New PW : Enter new password.
●
Confirm new password : Enter the new password again.
■
If you check <Show password>, the password that appeared to be encrypted is displayed as the actual input characters.
■
The initial administrator ID is "admin" and the password must be set when logging in for the first time.
■
Be sure to change your password every three months to safely protect personal information and to prevent the damage of the information
theft.
Please, take note that it’s a user’s responsibility for the security and any other problems caused by mismanaging a password.
■
If you click < >, the default guide for password setup appears.
• SETUp vIEWER
24_ setup viewer
setup viewer
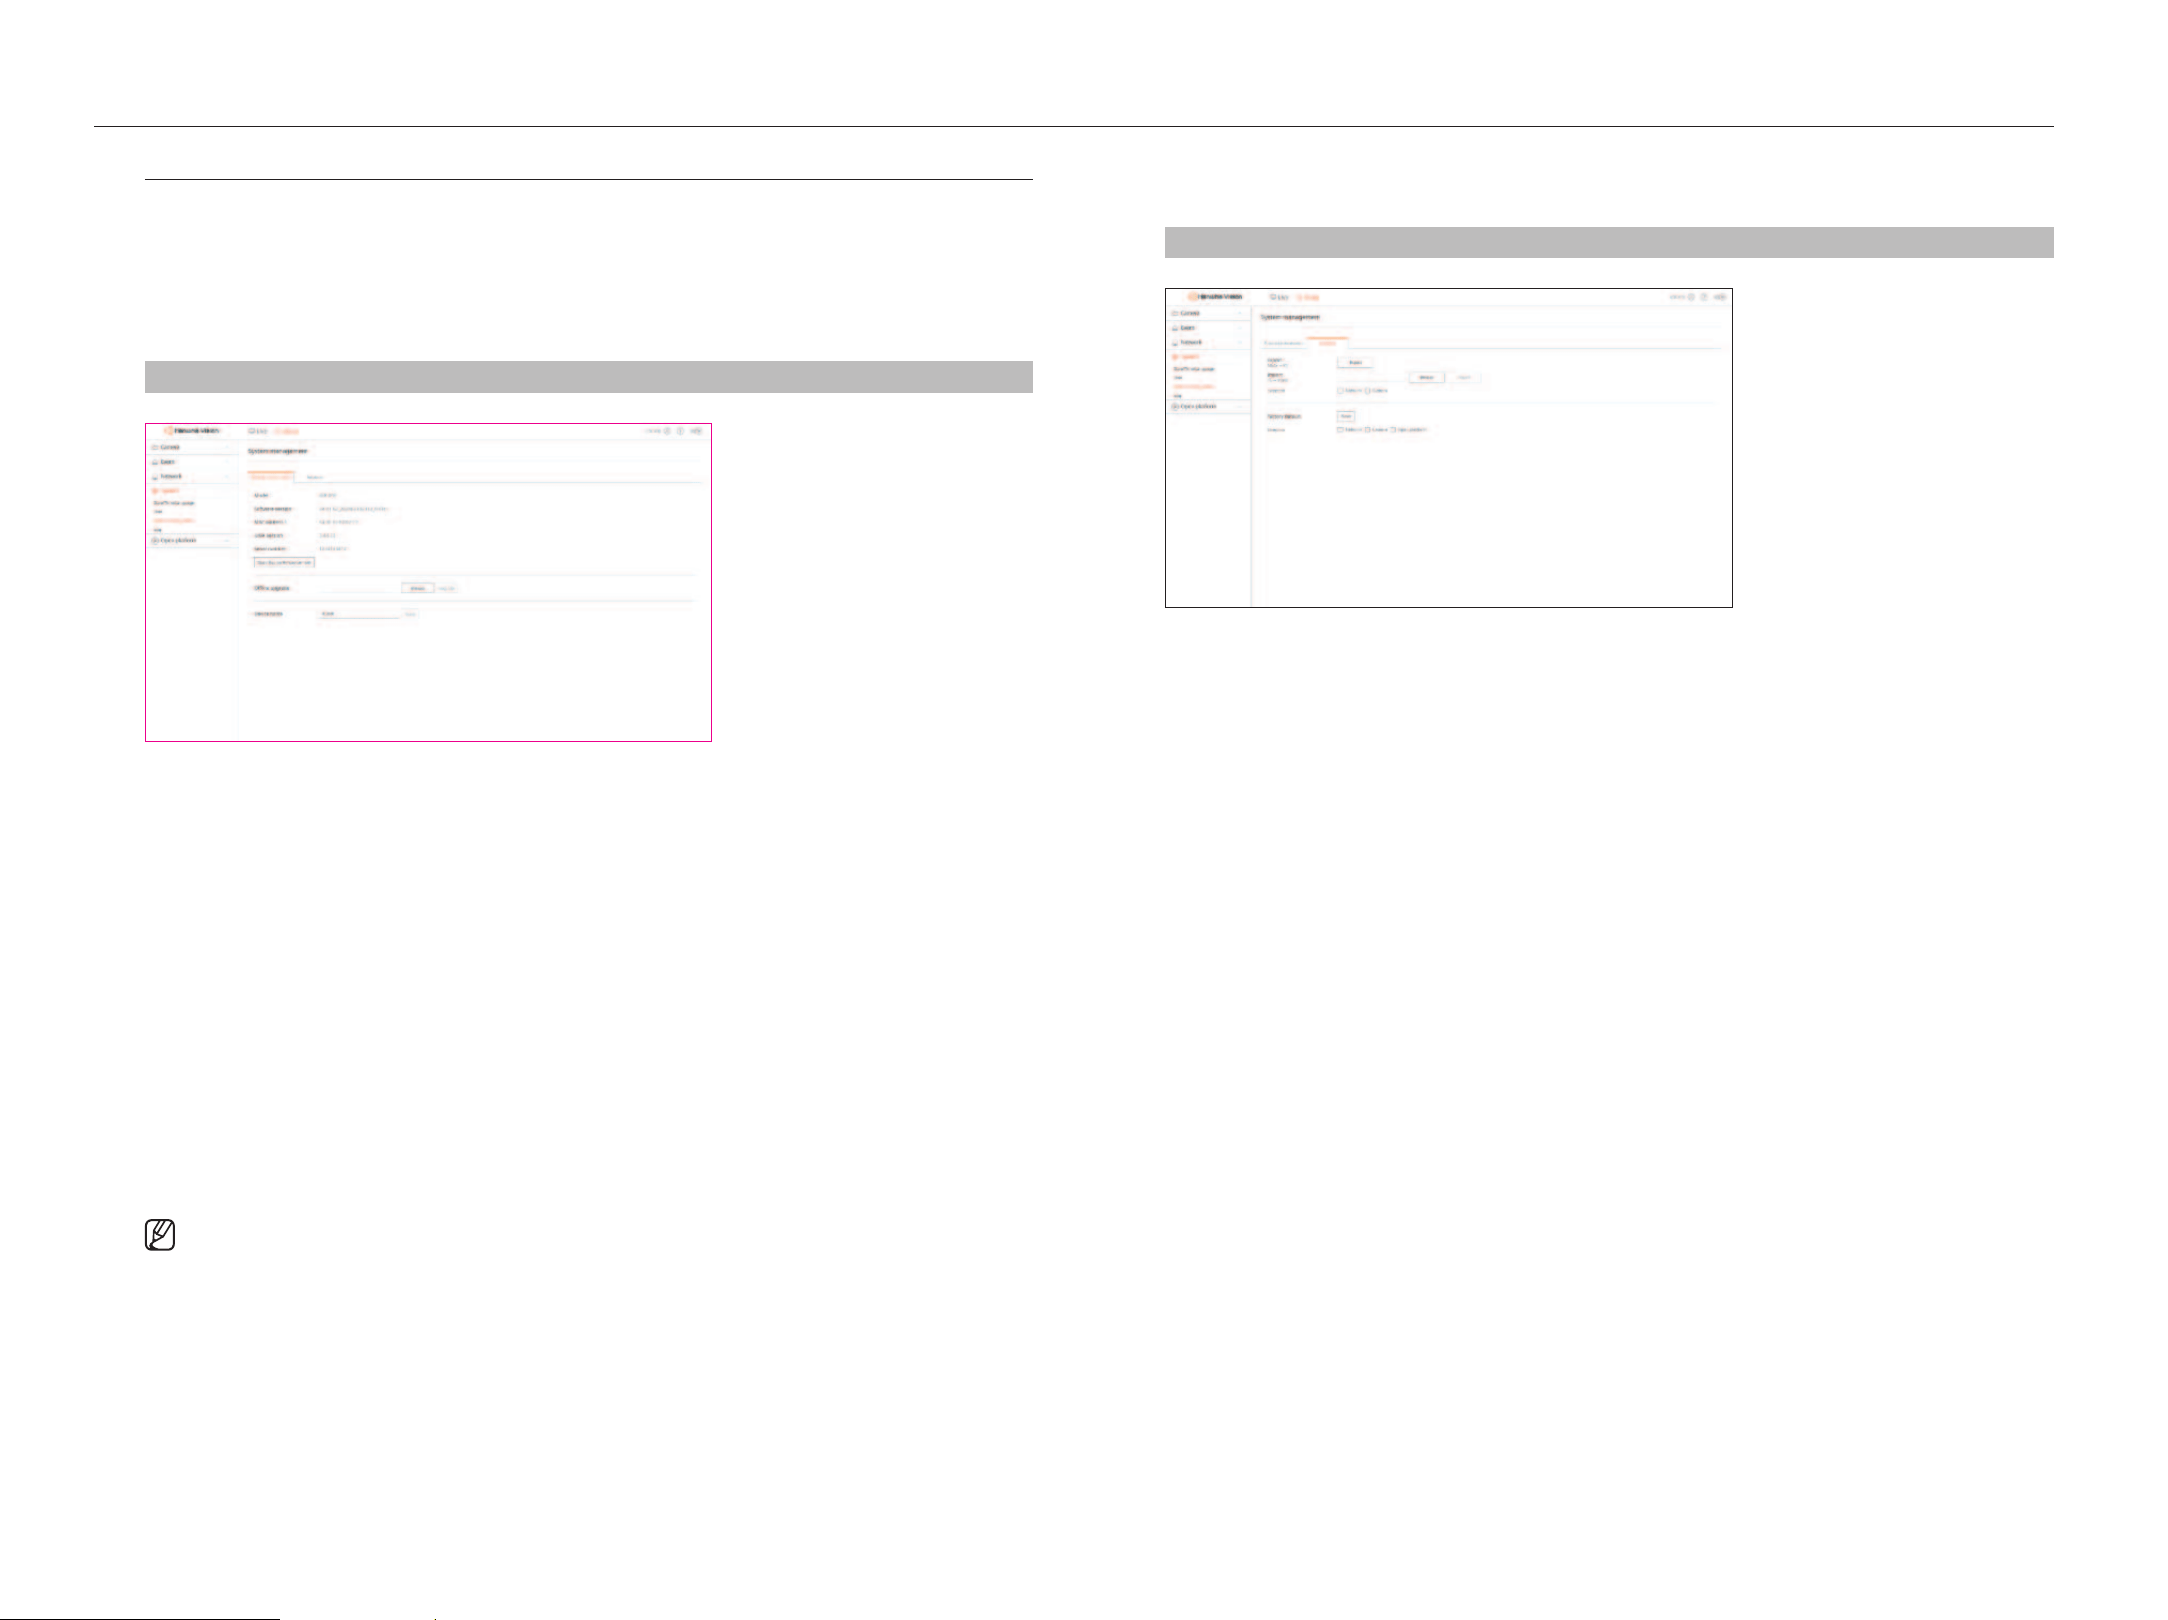
System management
You can check the current system version and update to a new version, export data, setting initialization, and
more.
Checking the System Information
You can check the current software version and MAC address before proceeding with the upgrade.
Setup > System > System management > product information
●
Model : Displays the product model name.
●
Software version : Displays the software version of the product. You can check the software version and
upgrade to the latest version.
●
MAC address : Displays the Mac address of the product.
●
UWA version : Displays the UWA version of the product.
●
Serial number : It displays the product serial number.
●
Open Source Announcement : The open source license of the product is saved as a file.
●
Offline upgrade : You can upgrade if there is any higher version than the current software.
– Click <Browse> and select the software file from your PC or USB memory. If you click <Upgrade>, software
upgrade is performed and the system automatically reboots after completion. Do not turn off the power
until the system completes rebooting.
●
Device name : Displays the name of the device in use. In addition, you can change the name of the device.
Enter a desired name and click <Apply>.
■
To differentiate multiple AIBoxes in VMS, Device Manager, and such, it is recommended to enter different device names for each device.
■
Depending on the AIBox model, the displayed system information may differ.
managing the Settings
You can export the information set in the AIBox to your PC and apply the same information to other AIBoxes.
Setup > System > System management > Settings
●
AIBox → PC : The settings for AIBox are stored on your PC.
– If you select <Export>, a confirmation window appears. Click <Ok> to store the settings of AIBox as a file.
●
PC → AIBox : The settings on your PC are applied to AIBox.
– If you select the exception setting, you can import all information but the selected information.
– Click <Browse> and select the configuration file from your PC. Click <Import> to the display the
confirmation window. Click <Ok> to apply the settings to the AIBox.
■
The <Export> and <Import> settings can be used in the same software version only.
●
Factory default : Resets the product to its factory default settings. However, logs won't be reset. Anything
selected under exception setting won't be part of the factory reset.
A confirmation pop-up appears when you click <Reset>. Click <Ok> to reset the selected items.
English _25
log
You can check the logs related to login/logout, system, and events and save them as files.
Checking Access logs
The access log displays the user's login/logout information and the date and time of execution.
Setup > System > log > Access log
●
Search date : Select a date for search.
●
Log type : Select a log type for search.
●
Search : Displays the searched results in the log list.
●
Export : The searched logs are saved into your PC.
Checking System logs
The system log displays system information such as system startup, system shutdown, network, software
upgrade, factory reset, MQTT connection, and menu setting change, as well as the date and time of execution.
Setup > System > log > System log
●
Search date : Select a date for search.
●
Log type : Select a log type for search.
●
Search : Displays the searched results in the log list.
●
Export : The searched logs are saved into your PC.
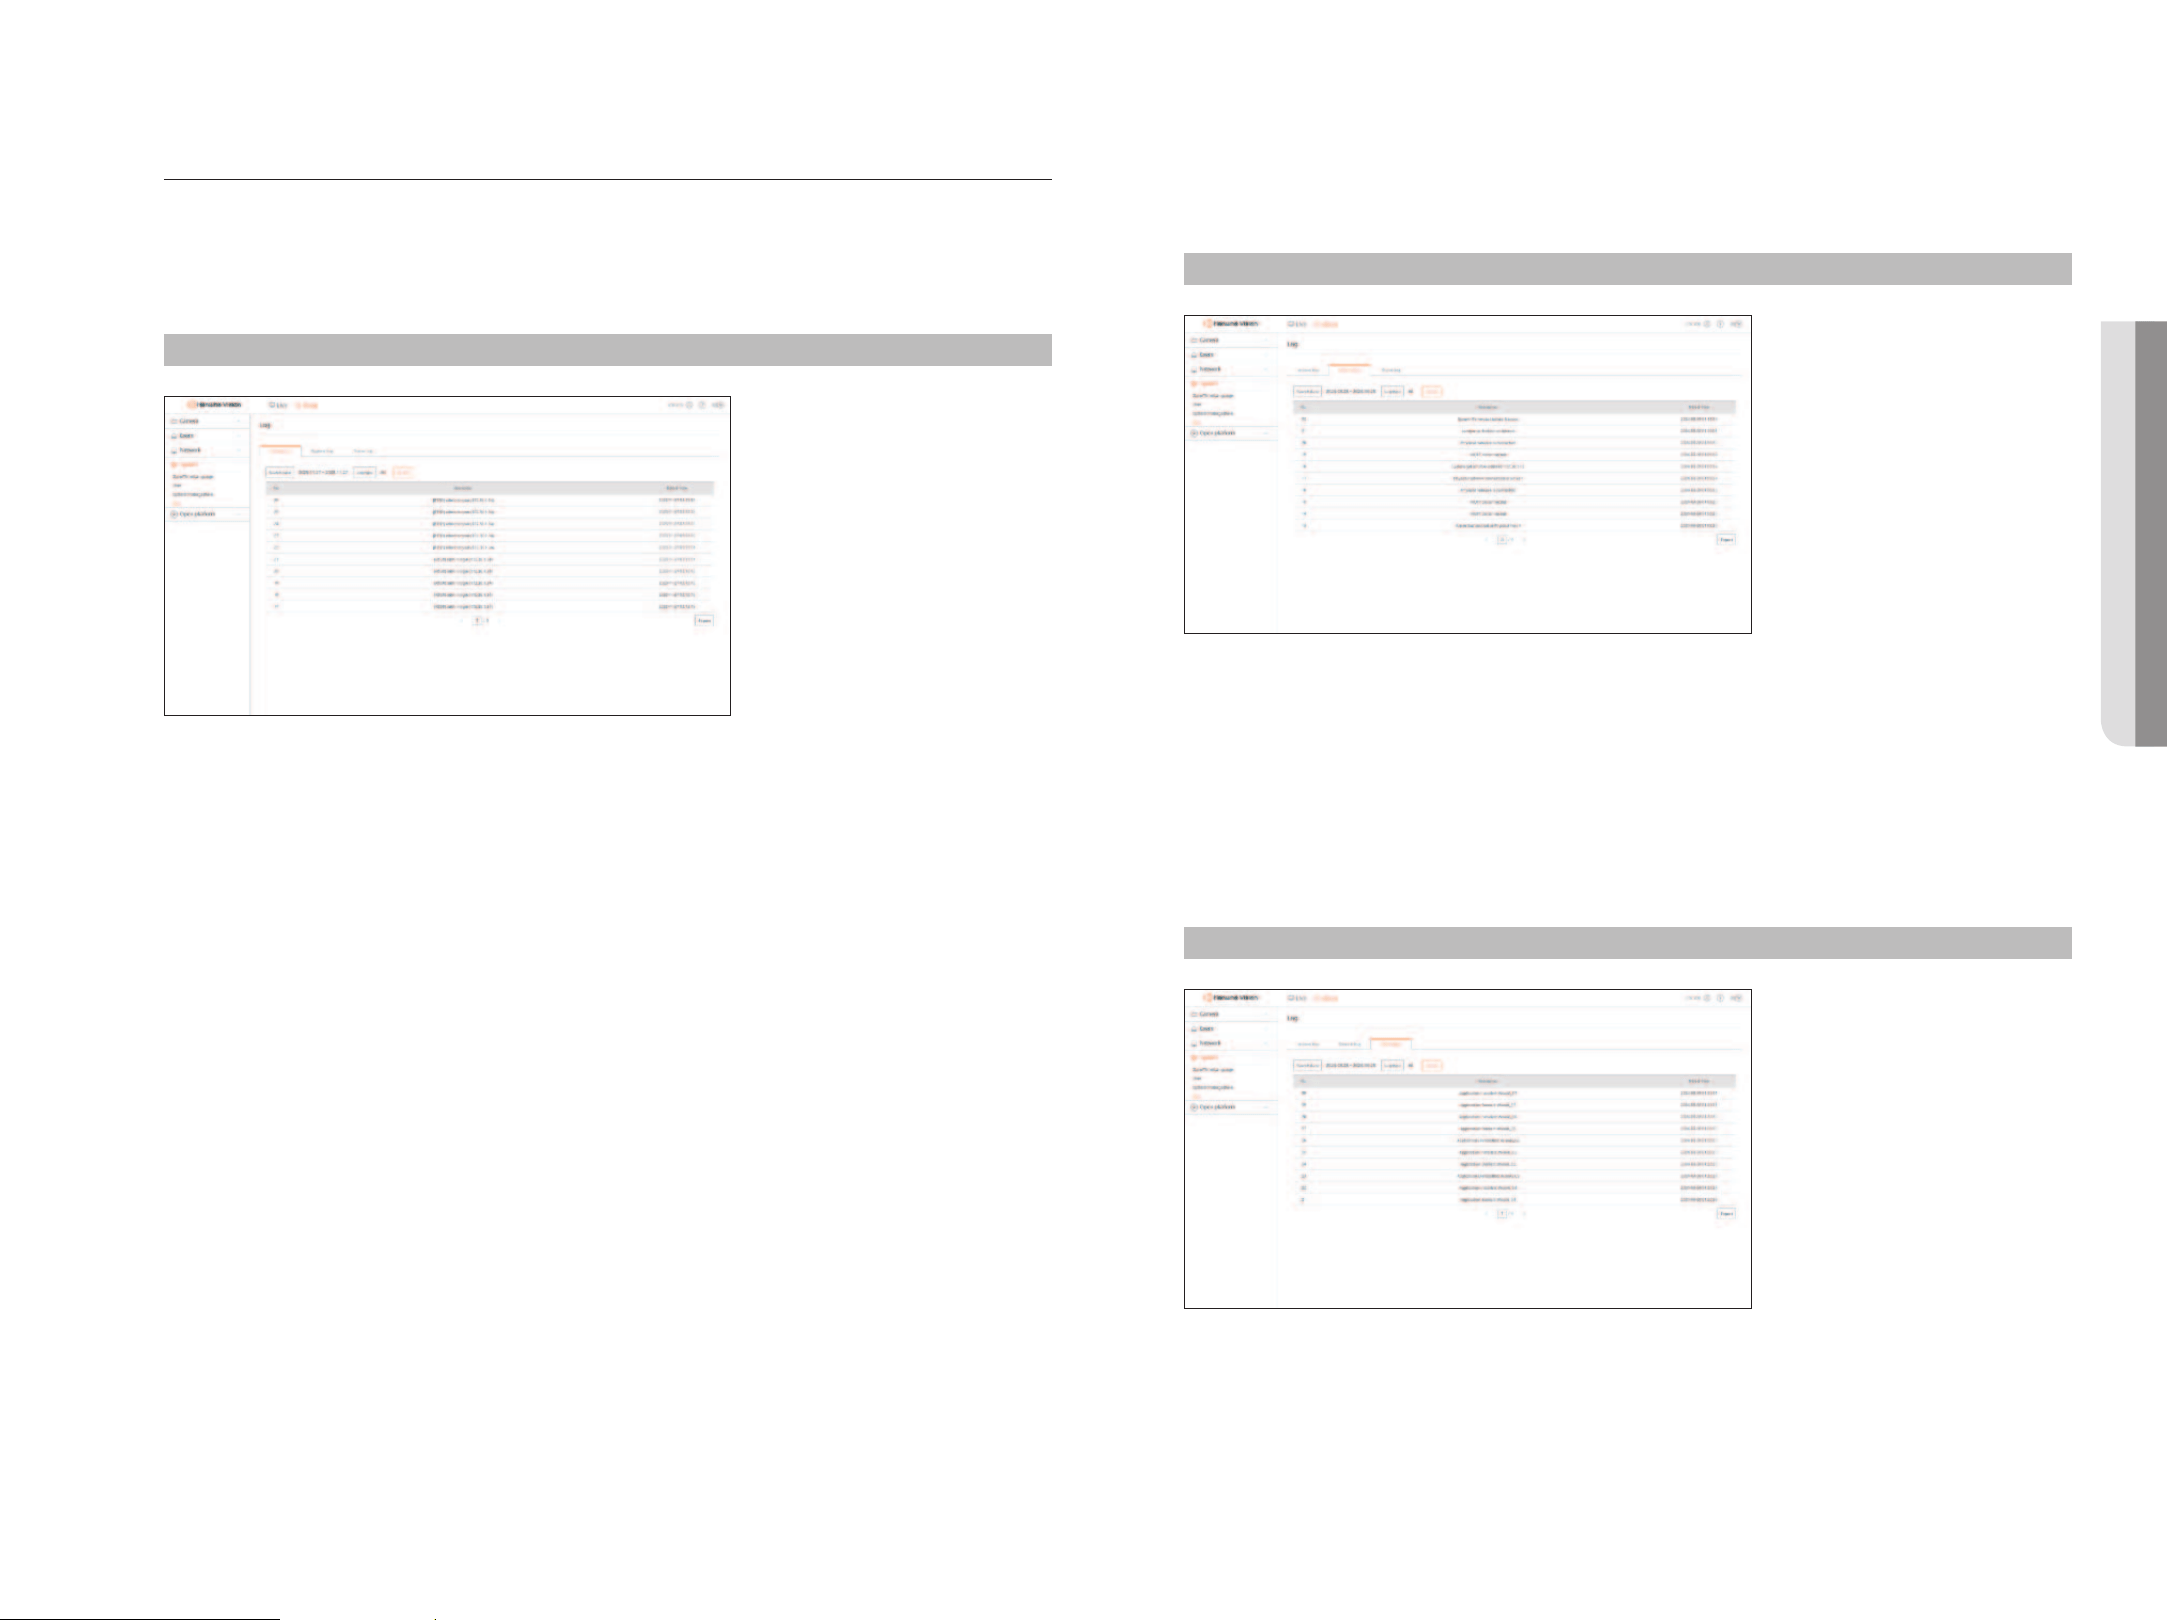
Checking Event logs
The event log displays event information such as alarm input/output and camera events, as well as the date and
time of execution.
Setup > System > log > Event log
●
Search date : Select a date for search.
●
Log type : Select a log type for search.
●
Search : Displays the searched results in the log list.
●
Export : The searched logs are saved into your PC.
• SETUp vIEWER
26_ setup viewer
setup viewer
SETTINg OpEN plATfORmS
In addition to Hanwha Vision's WiseAI application installed by default in the AI BOX, you can use various functions by
installing additional applications.
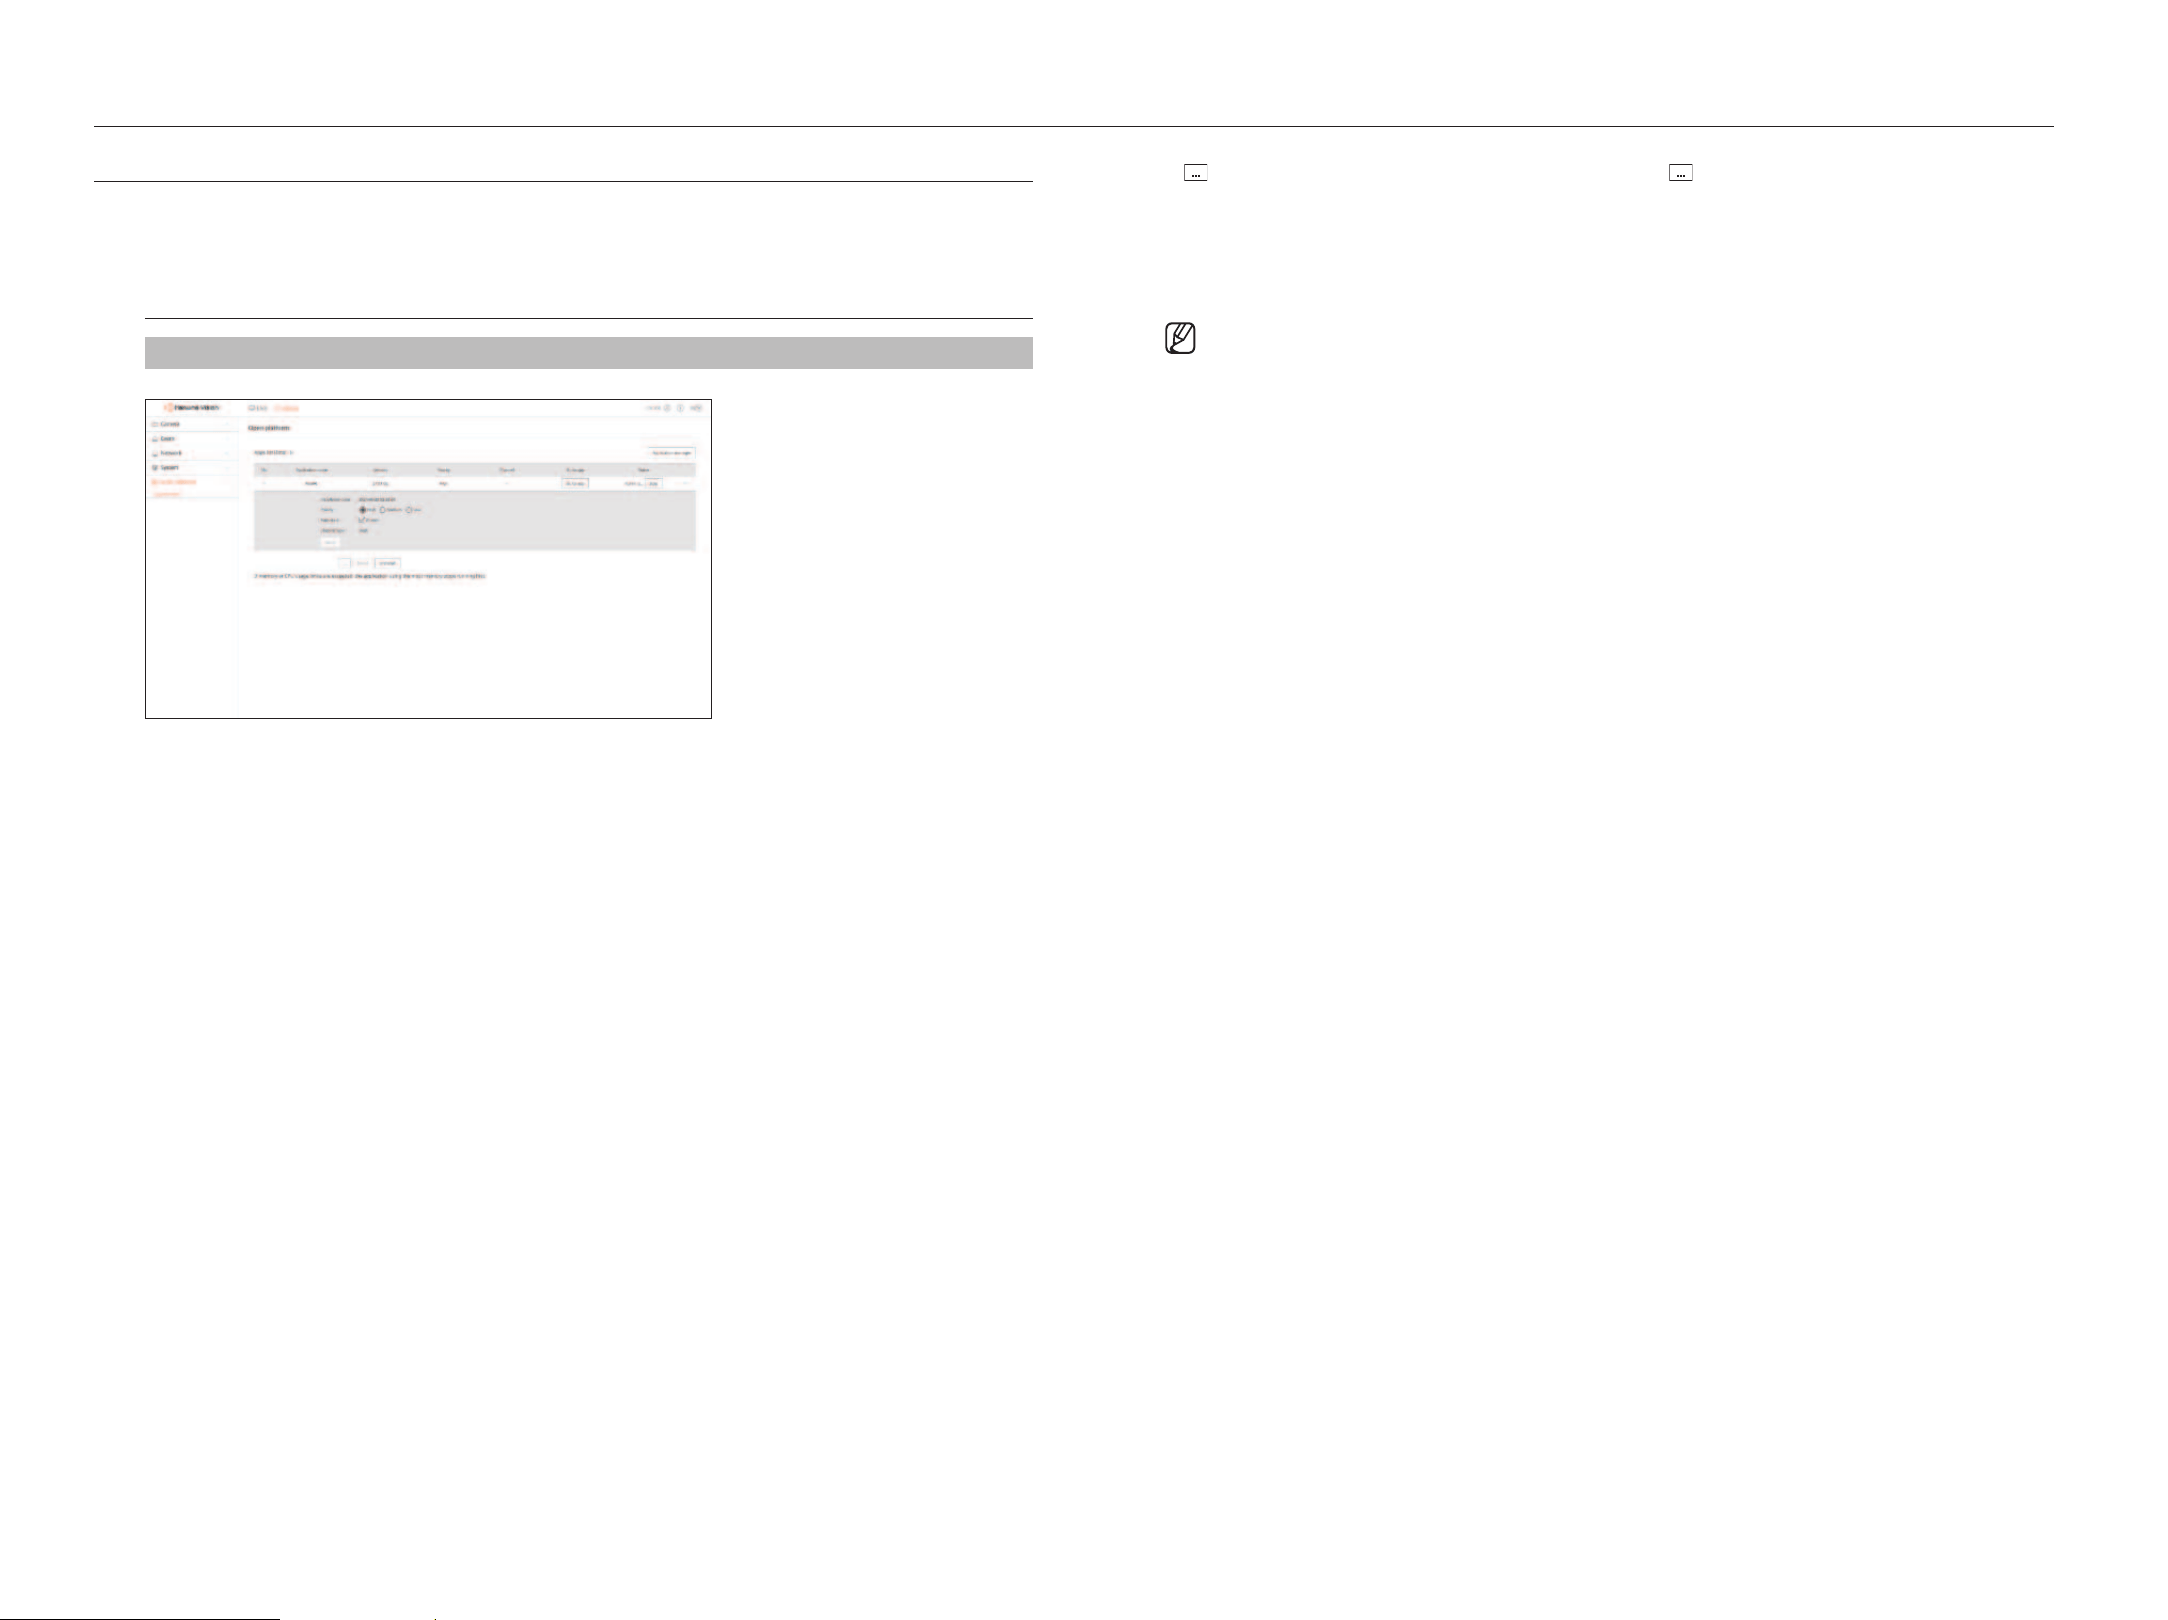
Open platform
Setup > Open platform > Open platform
●
Application manager : Displays the name of the application in use, memory usage, CPU usage, created thread
count, and duration.
■
If the memory usage or CPU usage is close to 100%, the applications with the highest memory usage may be stopped to protect your system.
■
If the application in use runs multiple functions or the resolution of the AI analysis profile exceeds 1080p, it may overload the memory or CPU usage.
In this case, reduce part of functions of the application that has been stopped due to high memory usage. If the AIBox profile's resolution exceeds
1080p, change it to 1080p in the “Setup > Camera > Profile info” menu.
●
Application name : Displays the application name.
●
Version : Displays the application version.
●
Priority : It displays the priorities of running applications. If the <Total> that can be checked in <Application
manager>, increases, lower priority applications are forcibly terminated first.
The <Total> is the total resource share including AIBox's main tasks and applications.
●
Go to app : Goes to the event settings screen provided by the application.
●
Status : Displays the action status of the application. Click <Stop> or <Start> to stop or start the application.
●
V : It displays the detailed information of the application. To change the settings, change them to the desired
settings and then click <Apply>.
– Installation date : It displays the date when the application was installed.
– Priority : You can change the priority of the application. Select any of <high>, <medium>, and <low>.
– Auto start : If <Enable> is selected, the application is automatically run when the main task of AIBox is
executing.
– Channel type : It is displayed as <multi> or <Single> depending on the number of channels supported by
the application.
In case of the applications that support only a single channel, you can change to the desired channel. Before
changing the channel, stop the applications running first.
●
/
Install : The application is installed on the channel. Click < > select an application file to install, and click
<Install>.
●
Uninstall : To install an application other than the current one, you must first delete the application you are
using. Click <Uninstall>, check any channel to delete, and click <Apply>.
■
Only one application can be installed for each channel.
■
You can recognize the situation where the application stops for possible actions. In the “Setup > Event > Event rule setup” menu, set the
<OpenSDKAppStatus.WiseAI> event trigger to <Inactive>. The application stop is detected as an event, and the event can be confirmed
with the desired event action.

English _27
appendix
TROUBlIShOOTINg
Problem Action
The AI analysis event does not occur and the analysis accuracy
decreases.
●
The recommended resolution of the profile set for AI analysis in the “Setup > Camera
> Profile info” menu is at least 1080p, 10fps. If it is below the setting, change it to the
recommended value.
●
If the camera resolution is below 1080p, change to the maximum value.
Video gets slow or cut off.
●
The frame number set for multiple data transmission set in camera or network environment
could differ from the actual rate of transmission.
●
If video gets slow down or cut off, check the network environment or camera conditions.
The system does not turn on and the indicator on the front
panel does not work at all.
●
Check if the power supply system is properly connected.
●
Check the system for the input voltage from the power source.
●
If the power does not turn on even after you have taken the above actions, check the power
adapter and replace it with a new one if necessary.
●
Check inside if the cables are properly connected. (FRONT)
The video input is okay, but the videos of some channels are
not properly displayed or are abnormally displayed (e.g. black
screen, B/W screen).
●
Check if the camera is properly supplied with power.
●
Check the state of the cable connected to the camera and reconnect it after replacing or
disconnecting it.
●
Check the video output connecting the camera's Web Viewer.
●
Check if the network port is properly connected and the network setting is set correctly.
●
Change the hub supporting Gigabit, it may solves.
The camera is not connected or the PC fails connection.
●
Check if the network cable is connected properly.
●
Check the network settings.
●
Check the IP settings for your PC or cameras.
●
Try the Ping Test.
●
Check if there is a different device near the product uses the same IP.
Video is too bright or dark.
●
Click < > of the desired channel in the "Setup > Camera > Profile info" menu,
access the camera web viewer, and change the configuration.
I forgot the password.
●
Contact the AIBox administrator for help.
appendix
• AppENDIx