Quick Start Guide
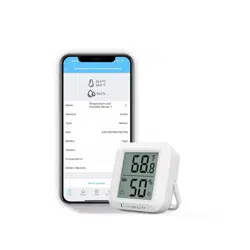
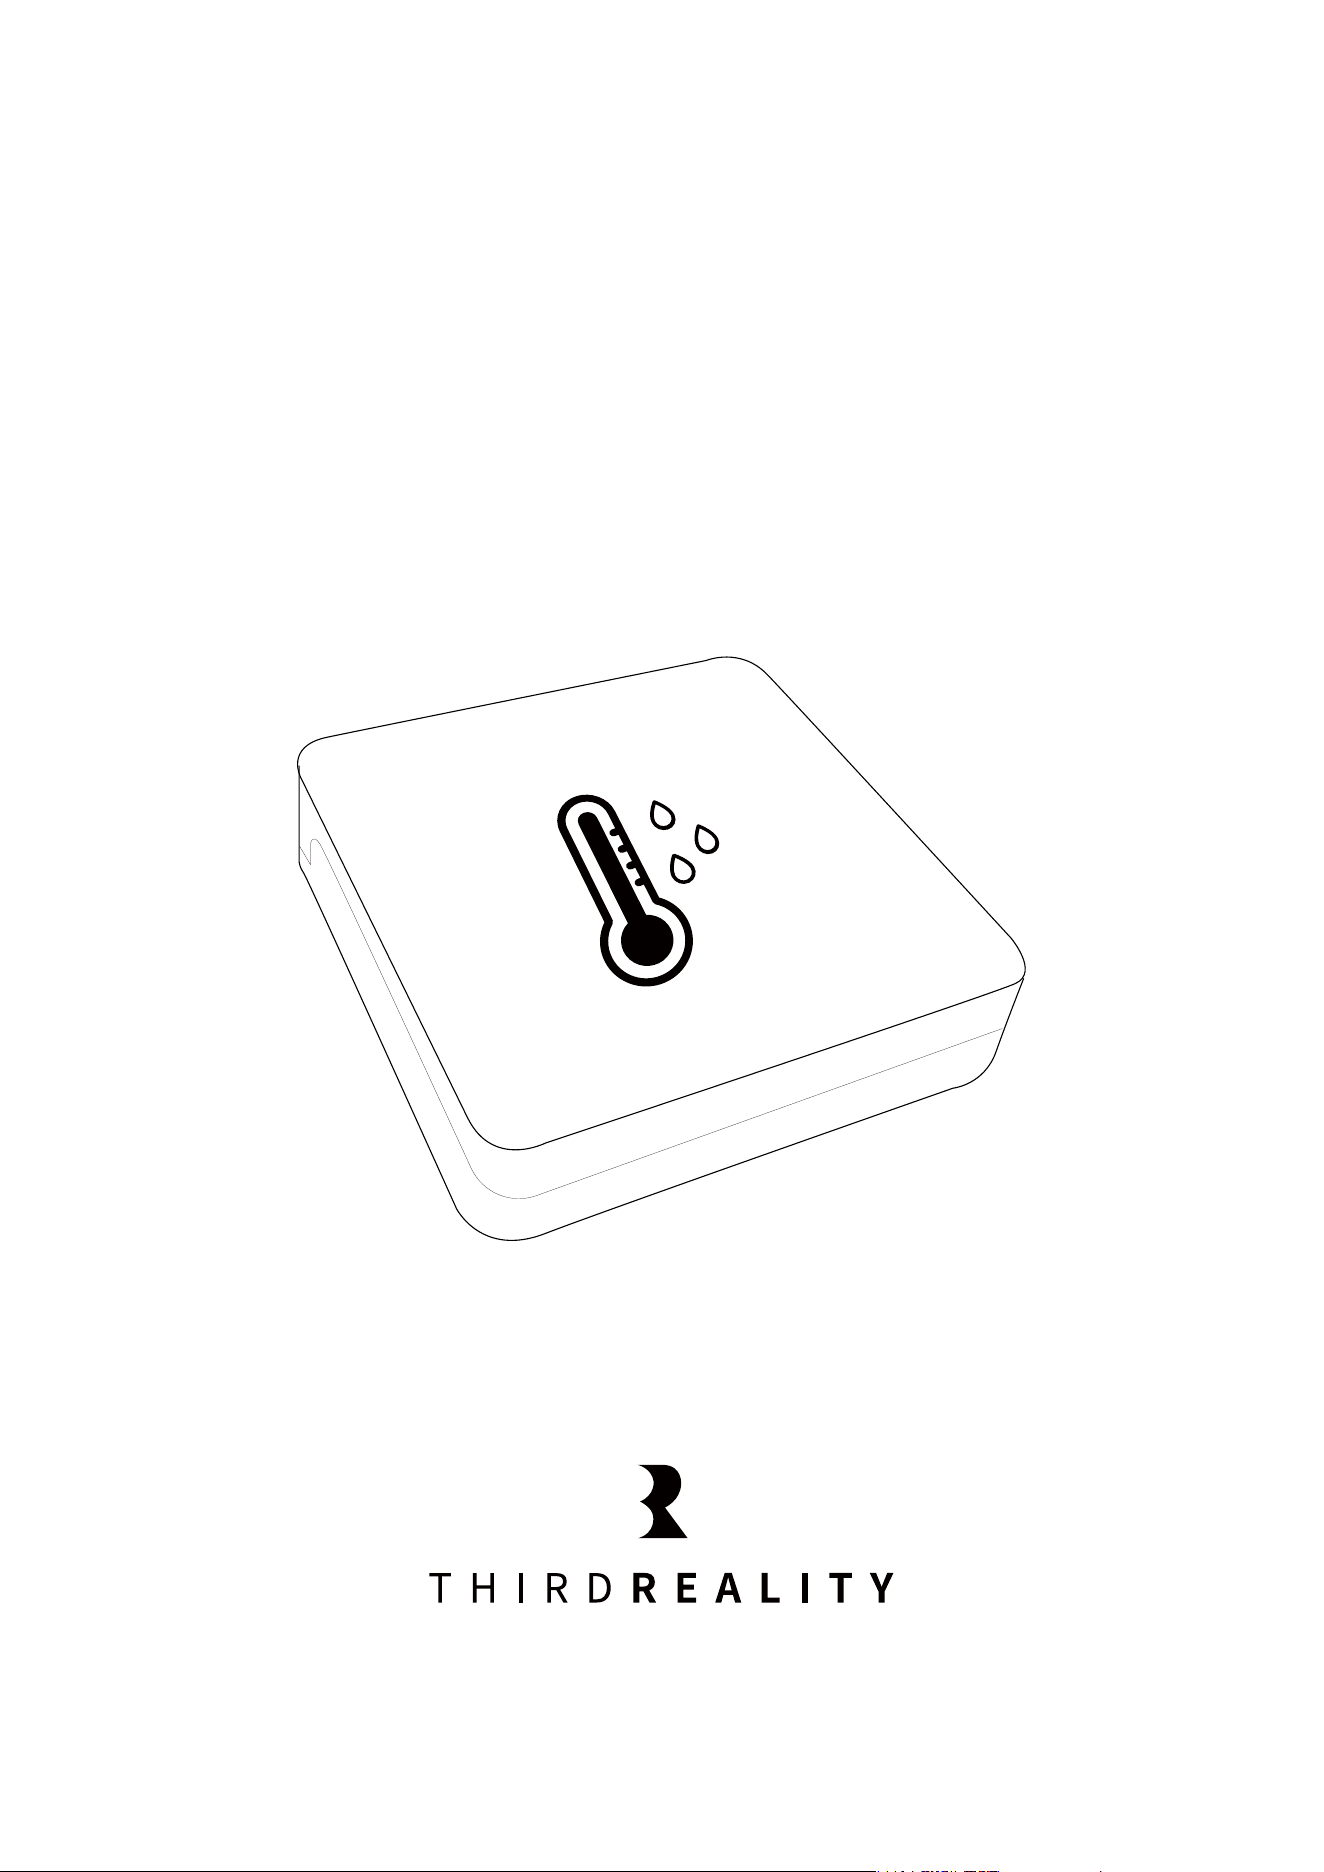
Temperature and Humidity Sensor Lite

Contents
What's in the Box
Introduction
Specification
Setup
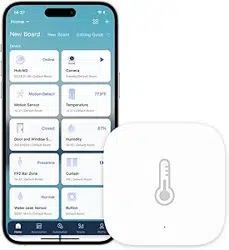
Pairing with ThirdReality
Pairing with 3R-Installer
Pairing with Amazon Echo
Pairing with SmartThings
Pairing with Hubitat
Pairing with Home Assistant
FCC Regulatory Conformance
RF Exposure
Limited Warranty
01
02
02
03
04
06
08
13
15
18
23
24
24

Quick Start Guide
What's in the Box
Temperature and Humidity
Sensor Lite
3M adhesive
AAA Battery(included)
User Guide
01
Temperature and Humidity Sensor Lite

Introduction
Specifications
We are thrilled to introduce a new generation of Zigbee Temperature and
Humidity Sensor, a new LCD-Free design to enhance your living space
with seamless connectivity, energy efficiency, and precise environmental
monitoring.
Enjoy battery-powered convenience, reliable and efficient communica-
tion, ensuring a seamless integration into your smart home ecosystem.
02
Name
Model
Dimensions
Operating Voltage
Battery Type
Wireless Connectivity
Working condition
Temperature Range
Humidity Range
Temperature Accuracy
Humidity Accuracy
Temperature and Humidity Sensor Lite
3RTHS0224Z
5.56cm×5.59cm ×1.23cm
DC 3V
AAA battery × 2 (included)
Zigbee 3.0
Indoor Use Only
-10℃~50℃ (14℉~122℉)
0-95%
±1℃
±2%

Make sure the device has power by inserting a new battery.
Press and hold the reset button for 5 seconds until the LED turns
red and then flashes in blue, indicate it enters pairing mode.
Follow the instructions of your Zigbee hub to pair the sensor.
Note: If not successfully paired to the Zigbee hub within 3 min, the
sensor will exit pairing mode. To enter pairing mode again, press
the reset button until the LED turns red and release. The LED turns
blue and flashes, indicating that it is in pairing mode.
Setup
1.
2.
03

App: Third Reality App
Device: ThirdReality Smart Hub
Register and sign in your ThirdReality account, set up your ThirdRe-
ality smart hub, make sure both the Third Reality app and the
smart hub's firmware are in the latest version.
Push to open the back cover of the sensor and install the batteries.
Press the reset button until the LED turns red and release. The LED
turns blue and flashes, indicating that it is in pairing mode. It will
exit pairing mode after 3 min if not paired.
Tab "+" in the up right in the Third Reality App, follow the
on-screen instructions to add device.
1.
2.
3.
4.
Pairing with ThirdReality
Pairing steps:
04

05

App: 3R-Installer App
Device: Smart Bridge MZ1
Set up your smart bridge, make sure both the 3R-Installer App and
the smart bridge's firmware are in the latest version.
Push to open the back cover of the sensor and install the batteries.
Press the reset button until the LED turns red and release. The LED
turns blue and flashes, indicating that it is in pairing mode. It will
exit pairing mode after 3 min if not paired.
Tap the smart bridge icon to enter the devices page, tap "+ Bridge
ZIGBEE Devices" to start Zigbee pairing, follow the on-screen
instructions to add device.
Tab Link With Matter Enabled Services, copy the Manual Setup
Code or Scan the QR Code within 3 min, then you can add the
bridge to other Matter supported ecosystems through multi-admin.
1.
2.
3.
4.
5.
Pairing with 3R-Installer
Pairing steps:
06

07

App: Amazon Alexa
Devices: Echo speakers with built-in Zigbee hub, Echo 4th Gen, Echo Plus
1st & 2nd Gen, Echo Studio
Ask Alexa to check for updates before pairing.
Install the batteries. Press the reset button until the LED turns red
and release. The LED turns blue and flashes, indicating that it is in
pairing mode. It will exit Zigbee pairing mode after 3 min if not
paired.
Tab "+" in the Alexa App, choose "Other" and "Zigbee" to add
device, the Temperature and Humidity Sensor Lite will be added.
Create routines to control other connected devices.
1.
2.
3.
4.
Pairing with Amazon Echo
Pairing steps:
Direct Pairing:
08

09

10

App: Amazon Alexa
Devices: Echo speakers with built-in Zigbee hub, Echo 4th Gen, Echo Plus
1st & 2nd Gen, Echo Studio
Note: Humidity value is not exposed to Alexa.
Temperature and Humidity Sensor Lite added through ThirdReality Skill
cannot be used as triggers for Alexa routines.
Ask Alexa to check for updates before pairing.
Install the batteries. Press the reset button until the LED turns red
and release. The LED turns blue and flashes, indicating that it is in
pairing mode. It will exit Zigbee pairing mode after 3 min if not
paired.
Follow instructions Pairing with ThirdReality.
Open your Alexa app, enable Third Reality skill in Skills & Games.
Devices paired in Third Reality app will be automatically added into
Alexa
1.
2.
3.
4.
5.
Pairing with Amazon Echo
Pairing steps:
11
Via Alexa Skill:

12

App: SmartThings App
Devices: SmartThings Hub 2nd Gen(2015) and 3rd Gen(2018), Aeotec
Smart Home Hub.
Before pairing, check for updates to make sure the SmartThings
Hub firmware is up to date.
Install the batteries. Press the reset button until the LED turns red
and release. The LED turns blue and flashes, indicating that it is in
pairing mode. It will exit Zigbee pairing mode after 3 min if not
paired.
Open the SmartThings App, tap "+" on the upper right corner to
"Add device" and then tap "Scan for nearby devices".
1.
2.
3.
Pairing with SmartThings
Pairing steps:
13

The Temperature and Humidity Sensor Lite will be paired with the
SmartThings hub.
Create routines to control connected devices.
4.
5.
14

Website: http://find.hubitat.com/
Install the batteries. press the reset button until the LED turns red
and release. The LED turns blue and flashes, indicating that it is in
pairing mode. It will exit Zigbee pairing mode after 3 min if not
paired.
Tab "Add Device" in Hubitat Devices page.
Choose "Zigbee", then "Start Zigbee Pairing".
Type in a device and room name and click "Next" to complete pair-
ing.
1.
2.
3.
4.
Pairing with Hubitat
Pairing steps:
15

16

15

Device: Zigbee dongle
Install the batteries. Press the reset button until the LED turns red
and release. The LED turns blue and flashes, indicating that it is in
pairing mode. It will exit Zigbee pairing mode after 3 min if not
paired.
Make sure Home Assistant Integrations Zigbee Home Automation
Setup is ready, then go to "Configuration" page, click "integration".
Then click the "Devices" on the Zigbee item, the click "Add Devic-
es".
After the pairing is completed successfully, it will show up in the
page.
Back to "Devices" page, then you can find the device dded.
Click to enter in the control interface to set the device.
Click "+" belongs to Automation and then you can add different
actions.
1.
2.
3.
4.
5.
6.
7.
Pairing With Home Assistant
Zigbee Home Automation
18

19

20

Install the batteries. press the reset button until the LED turns red
and release. The LED turns blue and flashes, indicating that it is in
pairing mode. It will exit Zigbee pairing mode after 3 min if not
paired.
Make sure Home Assistant Zigbee2MQTT Setup is ready .
Click "permit join (All)" to add device.
Create automation and then you can add different actions.
1.
2.
3.
4.
Zigbee2MQTT
21

22

FCC Regulatory Conformance
This device complies with part 15 of the FCC rules. Operation is subject
to the following two conditions: (1) this device may not cause harmful
interference, and (2) this device must accept any interference received,
including interference that may cause undesired operation.
Changes or modifications not expressly approved by the party responsi-
ble for compliance could
void the user’s authority to operate the equipment.
NOTE: This equipment has been tested and found to comply with the
limits for a Class B digital device, pursuant to part 15 of the FCC Rules.
These limits are designed to provide reasonable protection against
harmful interference in a residential installation.
This equipment generates uses and can radiate radio frequency energy
and, if not installed and used in accordance with the instructions, may
cause harmful interference to radio communications. However, there is
no guarantee that interference will not occur in a particular installation.
If this equipment does cause harmful interference to radio or television
reception, which can be determined by turning the equipment off and
on, the user is encouraged to try to correct the interference by one or
more of the following measures:
23

RF Exposure
Limited Warranty
‐Reorient or relocate the receiving antenna.
‐Increase the separation between the equipment and receiver.
‐Connect the equipment into an outlet on a circuit different from that
to which the receiver is connected.
‐Consult the dealer or an experienced radio/TV technician for help im-
portant announcement.
NOTE: The manufacturer is not responsible for any radio or TV interfer-
ence caused by unauthorized modifications to this equipment. Such
modifications could void the user’s authority to operate the equipment.
This equipment complies with FCC radiation exposure limits set forth for
an uncontrolled environment. This equipment should be installed and
operated with minimum distance 20cm between the radiator and your
body.
This transmitter must not be co-located or operating in conjunction with
any other antenna or transmitter.
For limited warranty, please visit www.3reality.com/devicesupport.
For customer support, please contact us at info@3reality.com or visit
www.3reality com.
For help and troubleshooting related to Amazon Alexa, visit the Alexa
app.
24

ISED Statement
‐ English: This device complies with Industry Canada license‐exempt
RSS standard(s).Operation is subject to the following two conditions: (1)
This device may not cause interference, and (2) This device must accept
any interference, including interference that may cause undesired oper-
ation of the device.The digital apparatus complies with Canadian CAN
ICES‐3 (B)/NMB‐3(B).
‐ French:Le présentappareilestconforme aux CNR d'Industrie Canada
applicables aux appareils
radio exempts de licence. L'exploitationestautorisée aux deux conditions
suivantes: (1) l'appareil ne doit pas produire de brouillage, et (2) l'utilisa-
teur de l'appareildoit accepter tout brouillageradioélectriquesubi,
mêmesi le brouillageest susceptible d'encompromettre le fonctionne-
ment.
This radio transmitter has been approved by Industry Canada to operate
with theantenna types listed with the maximum permissible gain indi-
cated. Antenna types not included in this list, having a gain greater than
the maximum gain indicated for that type, are strictly prohibited for use
with thisdevice.
Le présentémetteur radio aétéapprouvé par Industrie Canada pour
fonctionner avecles types d'antenneénumérés ci-dessous et ayant un
gain admissible maximal. Les types d'antenne non inclusdanscetteliste,
etdont le gain estsupérieur au gain maximal indiqué, sontstrictementint-
erdits pour l'exploitation de l'émetteur.
25

Radiation Exposure Statement
Déclarationd'exposition aux radiations
This equipment complies with Canada radiation exposure limits set
forth for an uncontrolled environment. This equipment should be
installed and operated with minimum distance 20cm between the radia-
tor & your body.
Cetéquipementestconforme Canada limitesd'exposition aux radiations
dans un environnement non contrôlé. Cetéquipementdoitêtreinstallé et
utilisé à distance minimum de 20cm entre le radiateur et votre corps.
Caution:
(i)The device for operation in the band 5150‒5250 MHz is only for indoor
use to reduce the potential for harmful interference to co-channel
mobile satellite systems;
Avertissement:
(i)les dispositifsfonctionnantdans la bande de 5150 à 5250MHz son-
tréservésuniquement pour uneutilisation à l'intérieurafin de réduire les
risques de brouillagepréjudiciable aux systèmes de satellites mobiles
utilisant les mêmescanaux;
26