Loading ...
Loading ...
Loading ...
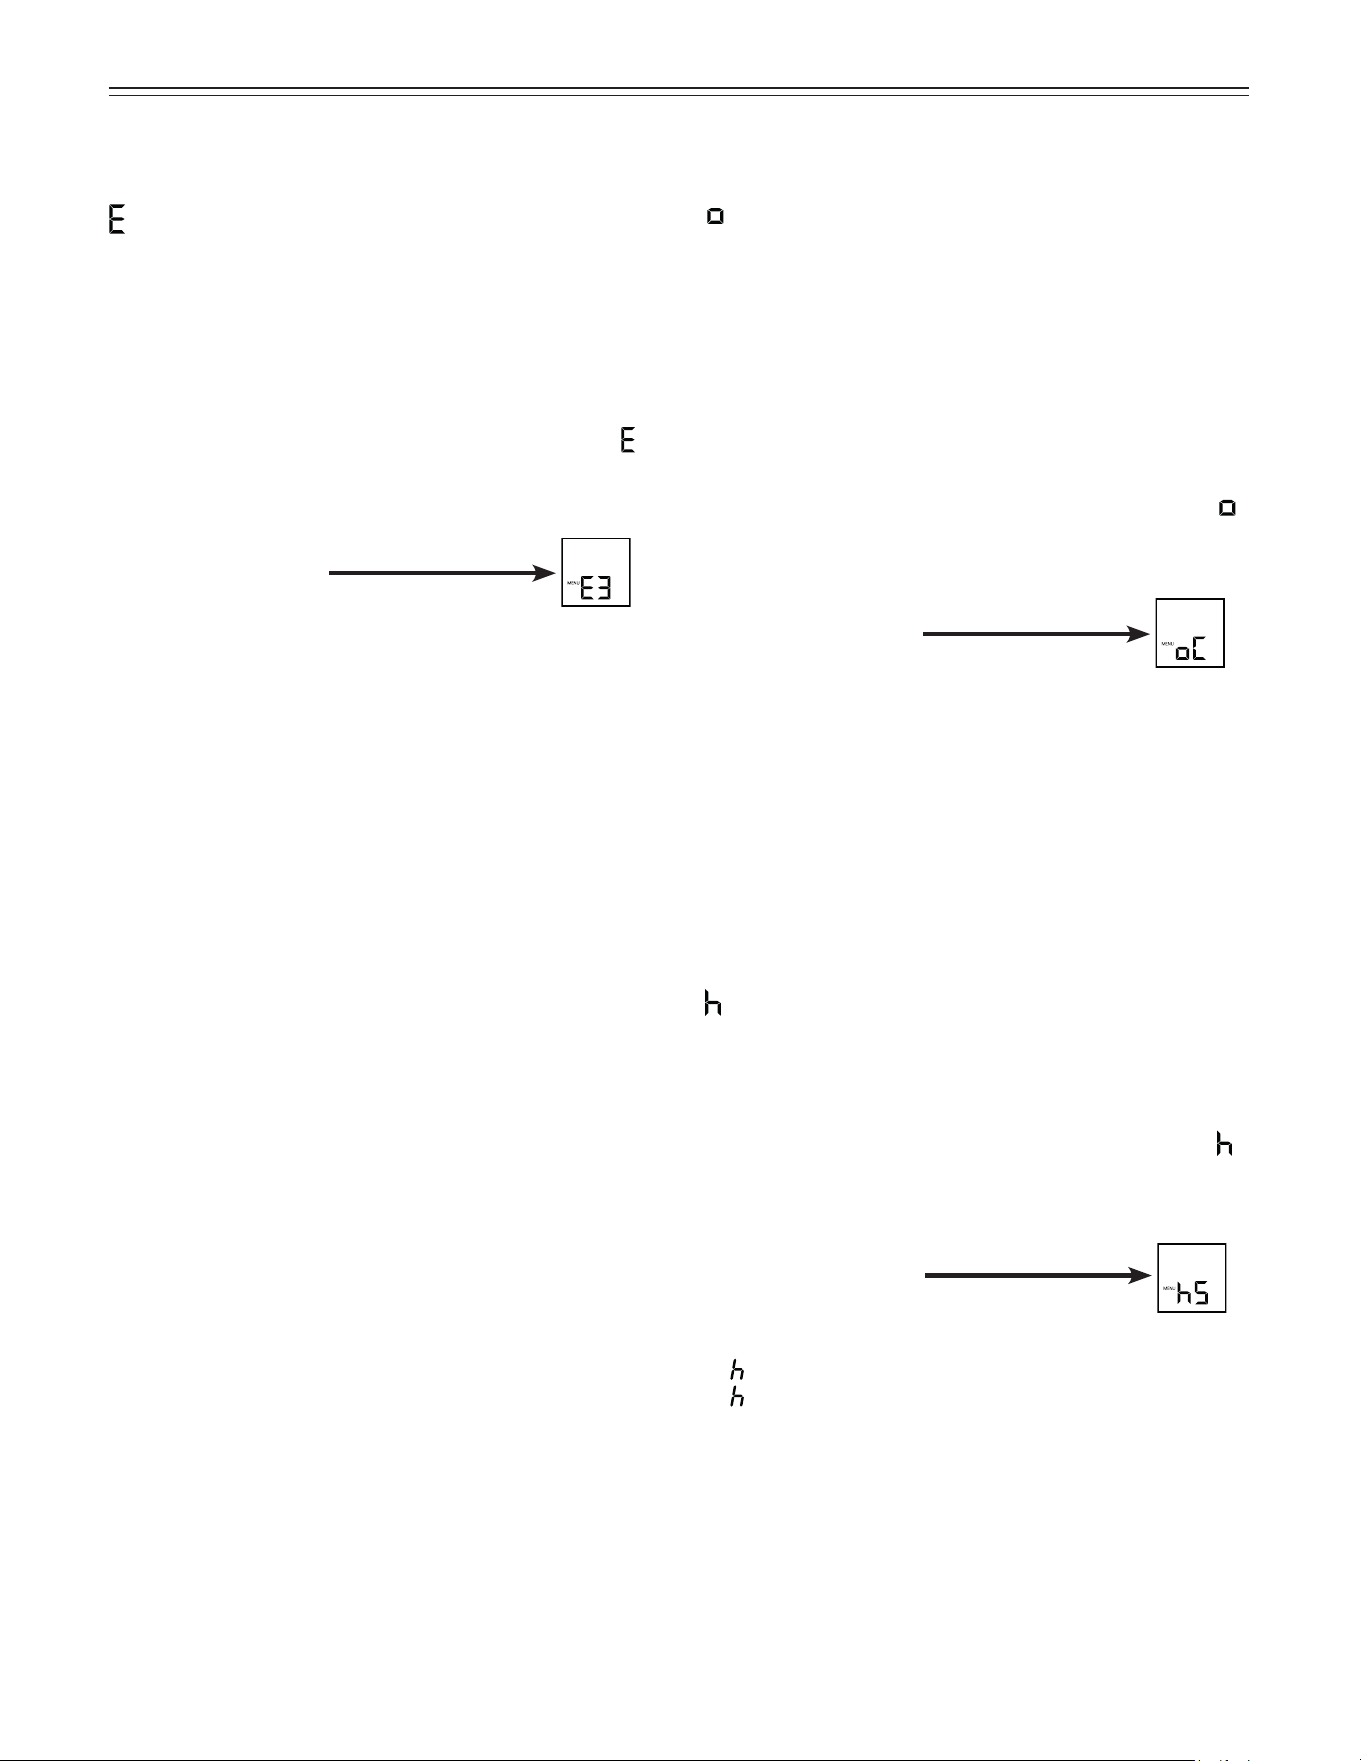
13
o
peraTion
= Temperature display mode
You can choose the unit of temperature for the display
in degrees Fahrenheit or degrees Celsius.
The factory setting is degrees Fahrenheit.
How to change the temperature display to
degrees Celsius
• Activate the setup mode by touching the SuperFrost
icon for 5 seconds.
• Touch the freezer compartment Down icon until
appears in the freezer temperature display.
• Touch the SuperFrost icon
- the display shows
• Touch the SuperFrost icon again
- the temperature reading is now displayed in
degrees Celsius.
• Exit setup mode by touching the freezer compartment
On/Off icon.
Note
To change the temperature display back to degrees
Fahrenheit, follow the steps above.
= Display brightness
How to adjust the display brightness
• Activate the setup mode by touching the SuperFrost
icon for 5 seconds.
• Touch the freezer compartment Down icon until
appears in the freezer temperature display.
• Touch the SuperFrost icon
- the display shows
• Touch the freezer compartment
Up/Down icons to select
0 = minimum to
5 = maximum brightness
• Touch the SuperFrost icon at the desired value.
• Exit setup mode by touching the freezer compartment
On/Off icon.
= Water quantity for ice cube tray
If the ice cubes produced by the ice maker are too
small, the inflowing water quantity can be adjusted.
How to adjust the water quantity
• Activate the setup mode by touching the SuperFrost
icon for 5 seconds.
• Touch the freezer compartment Down icon until
appears in the freezer temperature display.
• Touch the SuperFrost icon
- the display shows
• Touch the freezer compartment Up icon
once only so E 4 appears in the display.
IMPORTANT
Do not increase for more than one step. If the
adjusted value is too high, the ice cube tray of the
ice maker could overflow.
• Touch the SuperFrost icon again.
• Exit setup mode by touching the freezer compartment
On/Off icon.
Check the ice cube size within the next days. If the ice
cubes are still smaller than desired, follow the steps
above again.
Setup Mode - Figure 6
Loading ...
Loading ...
Loading ...