
User Manual
Version 1.0

Table of Contents
Get started 6
What's in the box 6
Charge your tracker 7
Set up 8
See your data in the Fitbit app 8
Unlock Fitbit Premium 9
Wear Charge 6 10
Placement for all-day wear vs. exercise 10
Fasten the band 11
Handedness 12
Wear and care tips 13
Change the band 13
Remove a band 13
Attach a band 14
Basics 15
Navigate Charge 6 15
Basic navigation 15
Quick settings 16
Button shortcut 18
Adjust settings 18
Display 19
Quiet modes 19
Other settings 20
Check battery level 20
Set up device lock 21
Adjust always-on display 22
Turn off the screen 23
Clock Faces and Apps 24
Change the clock face 24
2

Open apps 24
Find Phone 25
Notifications from your phone 26
Set up notifications 26
See incoming notifications 26
Manage notifications 27
Turn off notifications 27
Answer or reject phone calls 28
Respond to messages (Android phones) 29
Timekeeping 30
Set an alarm 30
Dismiss or snooze an alarm 30
Use the timer or stopwatch 31
Activity and Wellness 32
See your stats 32
Track a daily activity goal 33
Choose a goal 33
Track your hourly activity 33
Track your sleep 34
Set a sleep goal 34
Get insights into your long-term sleep behaviors 34
Learn about your sleep habits 34
Manage stress 35
Use the EDA Scan app 35
Check your stress management score 36
Advanced health metrics 36
Exercise and Heart Health 38
Track your exercise automatically 38
Track and analyze exercise with the Exercise app 39
Customize your exercise settings 41
Check your workout summary 42
Check your heart rate 42
3

Custom heart-rate zones 44
Earn Active Zone Minutes 44
Receive heart-rate notifications 45
See your heart rate on equipment and apps 46
Check your daily readiness score 46
View your cardio fitness score 47
Share your activity 47
Contactless Payments 48
Use credit and debit cards 48
Set up contactless payments 48
Make purchases 48
Change your default card 50
Pay for transit 50
Lifestyle 51
Control music with YouTube Music controls 51
GoogleMaps 52
Update, Restart, and Erase 53
Update Charge 6 53
Restart Charge 6 53
Erase Charge 6 54
Troubleshooting 55
Heart-rate signal missing 55
GPS signal missing 55
Other issues 56
General Info and Specifications 57
Sensors andComponents 57
Materials 57
Wireless technology 57
Haptic feedback 57
Battery 58
Memory 58
Display 58
4

Get started
Boost your routine with Fitbit Charge 6*, the only premium fitness tracker with
Google built in. With the fitness tools you need to stay motivated and crush your
goals, running your day and your routine has never been easier.
Take a moment to review our complete safety information at support.google.com.
Charge 6 is not intended to provide medical or scientific data.
*Fitbit Charge 6 works with most phones running Android 9.0 or newer or iOS 15 or newer and requires a Google
Account, Fitbit mobile app and internet access. Some features require a Fitbit mobile app and/or a paid
subscription. See fitbit.com/devices for more information.
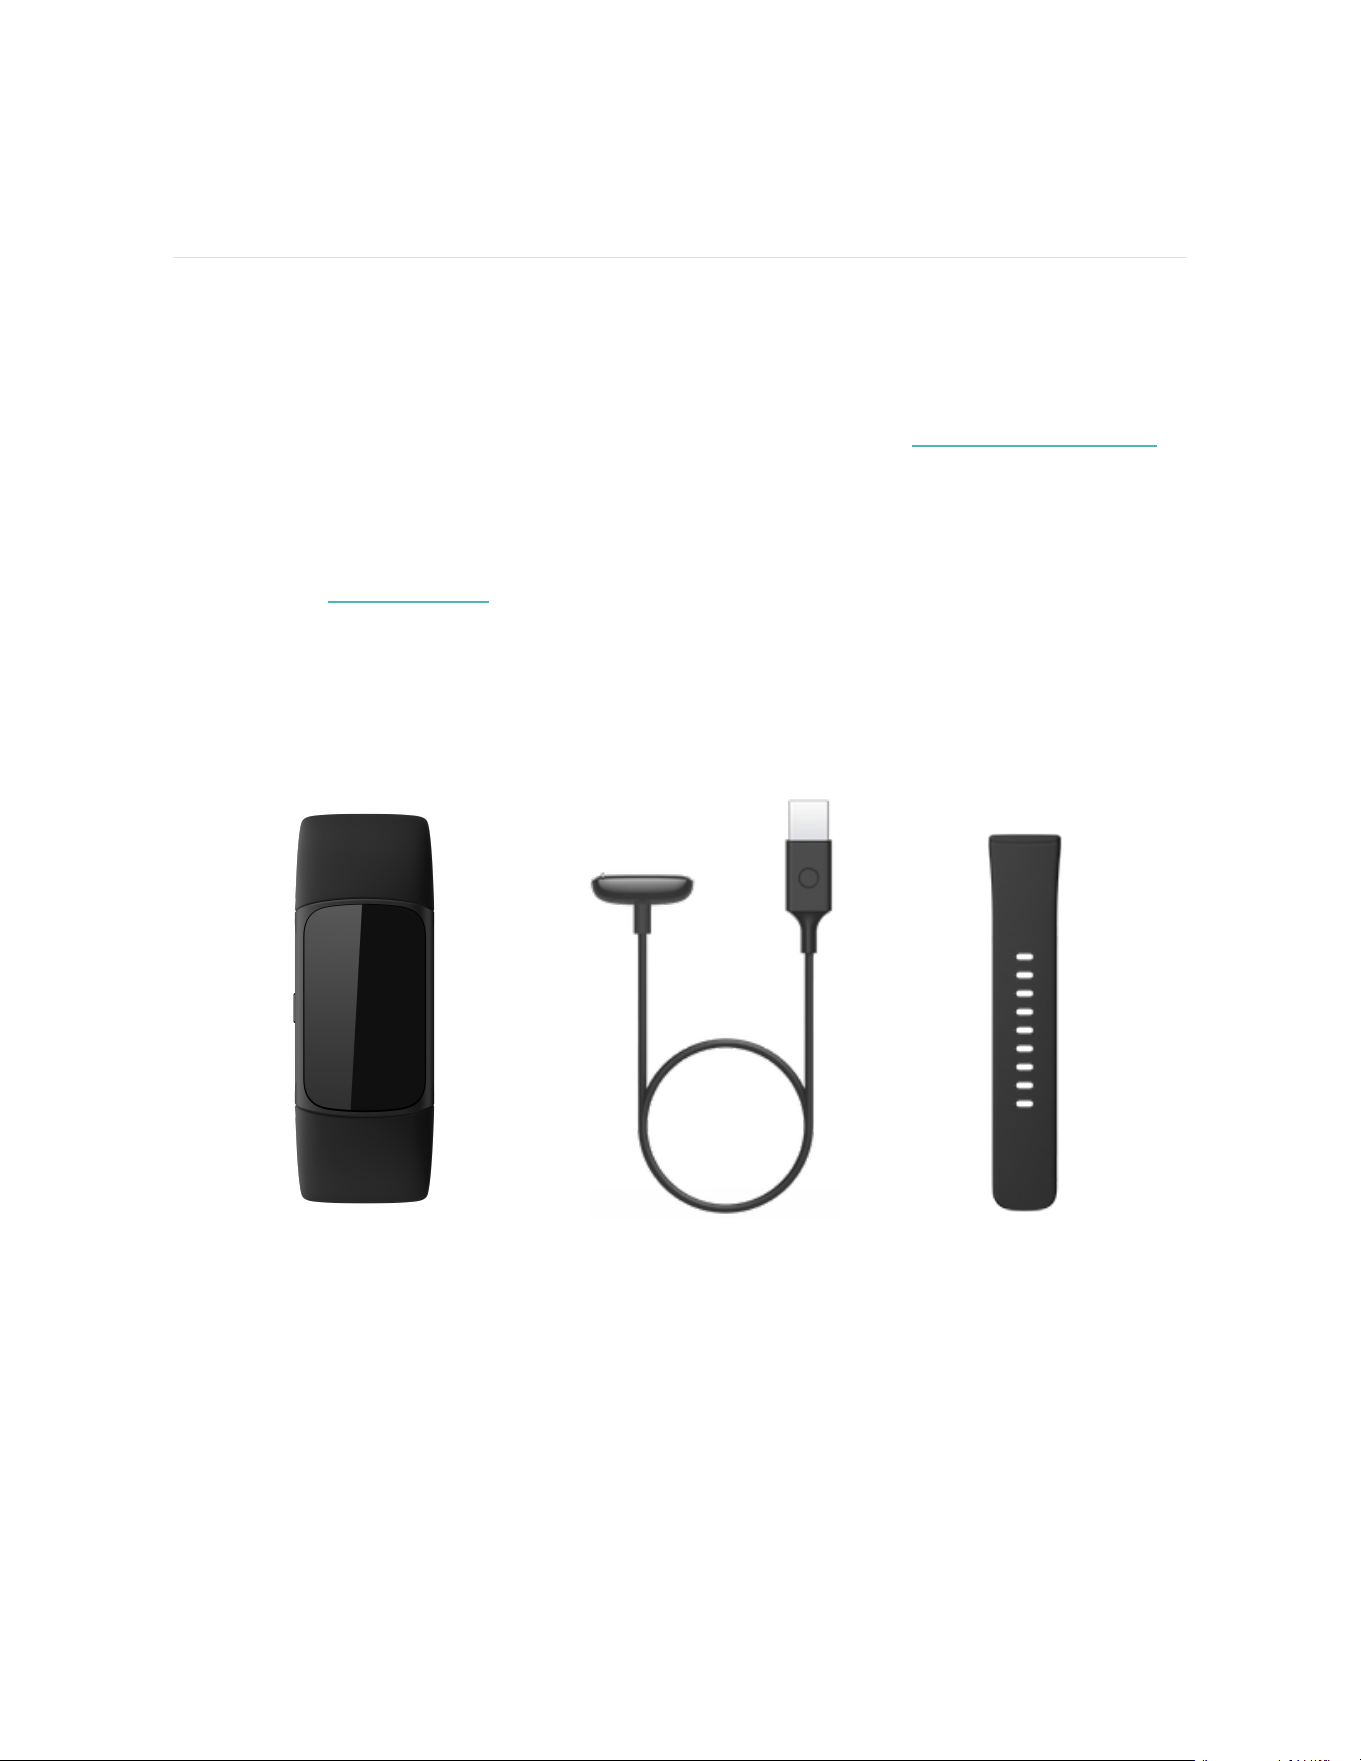
What's in the box
Your Charge 6 box includes:
Tracker with small band
(color and material varies)
Charging cable Additional large band
The detachable bands on Charge 6 come in a variety of colors and materials, sold
separately.
6
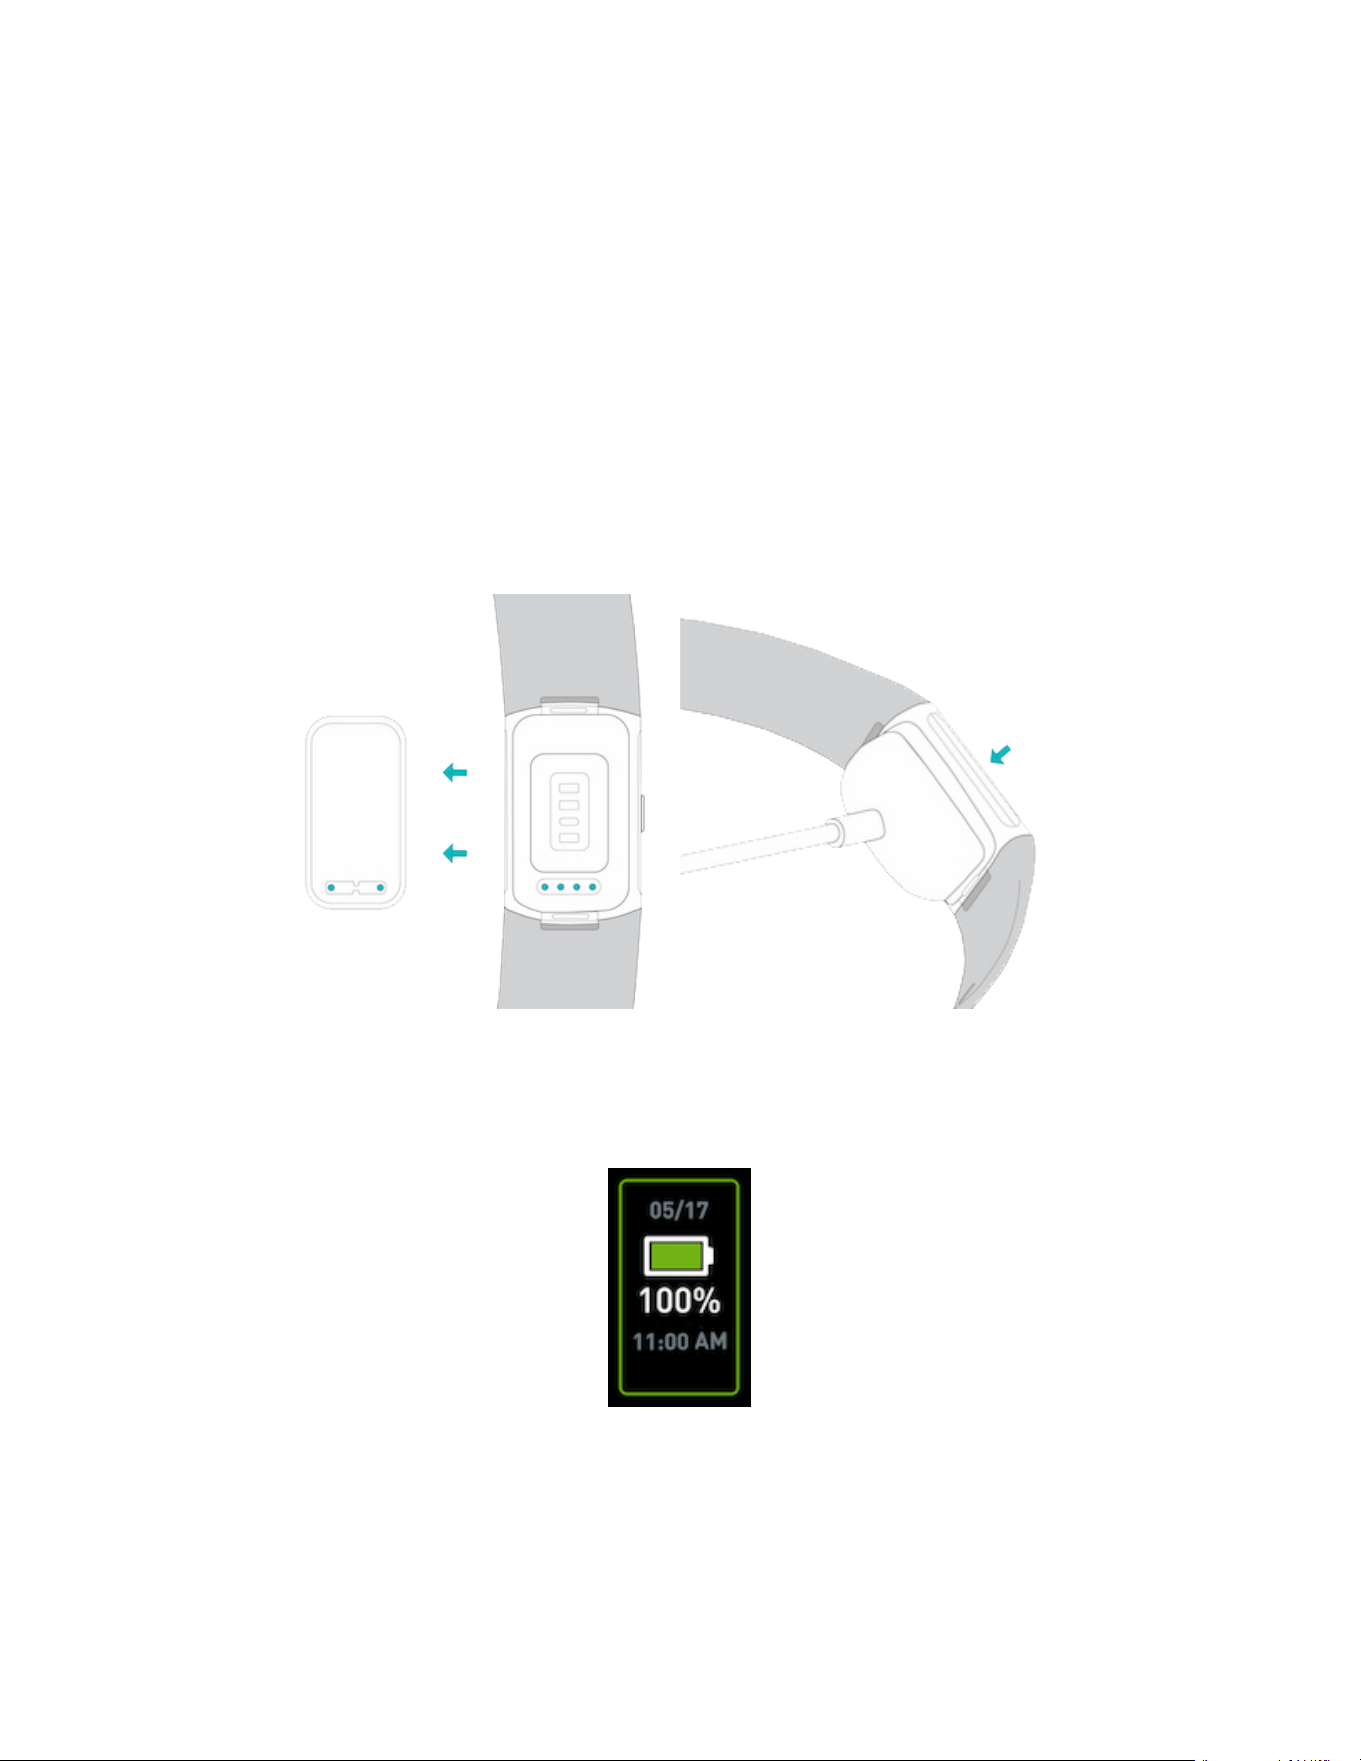
Charge your tracker
A fully-charged Charge 6 has a battery life of up to 7 days. Battery life and charge
cycles vary with use and other factors; actual results will vary.
To charge Charge 6:
1. Plug the charging cable into the USB port on your computer, a UL-certified
USB wall charger, or another low-energy charging device.
2. Hold the other end of the charging cable near the port on the back of the
tracker until it attaches magnetically. Make sure the pins on the charging cable
align with the port on the back of your tracker.
Charging fully takes about 1-2 hours. While Charge 6 charges, double-tap the screen
or press the button to turn it on and check the battery level. Swipe right on the
battery screen to use Charge 6. A fully charged tracker shows a solid battery icon.
7
Set up
Set up Charge 6 with the Fitbit app for iPhones and iPads or Android phones. The
Fitbit app is compatible with most popular phones. See fitbit.com/devices to check
if your phone is compatible.
To get started:
1. Download the Fitbit app:
l
Apple App Store for iPhones
l
Google Play Store for Android phones
2. Install the app, and open it.
3. Tap Sign in with Google, and follow the on-screen instructions to set up your
device.
When you're done with setup, read through the guide to learn more about your new
tracker and then explore the Fitbit app.
For more information, see the related help article.
See your data in the Fitbit app
Open the Fitbit app on your phone to see your health metrics, activity and sleep
data, choose a workout or mindfulness session, and more.
8

Unlock Fitbit Premium
Fitbit Premium is your personalized resource in the Fitbit app that helps you stay
active, sleep well, and manage stress. A Premium subscription includes programs
tailored to your health and fitness goals, personalized insights, hundreds of
workouts from fitness brands, guided meditations, and more.
Customers can redeem a Fitbit Premium trial subscription in the Fitbit app.
1
For more information, see the related help article.
1
New and returning Fitbit Premium users only. Must activate membership within 60 days of device activation
(requires valid payment method). Automatically renews at $9.99/mo* after trial ends. Cancel before to avoid
recurring fees. Content and features may change, and are not available in all regions. This membership cannot be
gifted. See here for more details. T&C apply.
* UK regional renewal rate is £7.99/mo.
9
Wear Charge 6
WearCharge 6 around your wrist. If you need to attach a different size band, or if
you purchased another band, see the instructions in "Change the band" on page13.
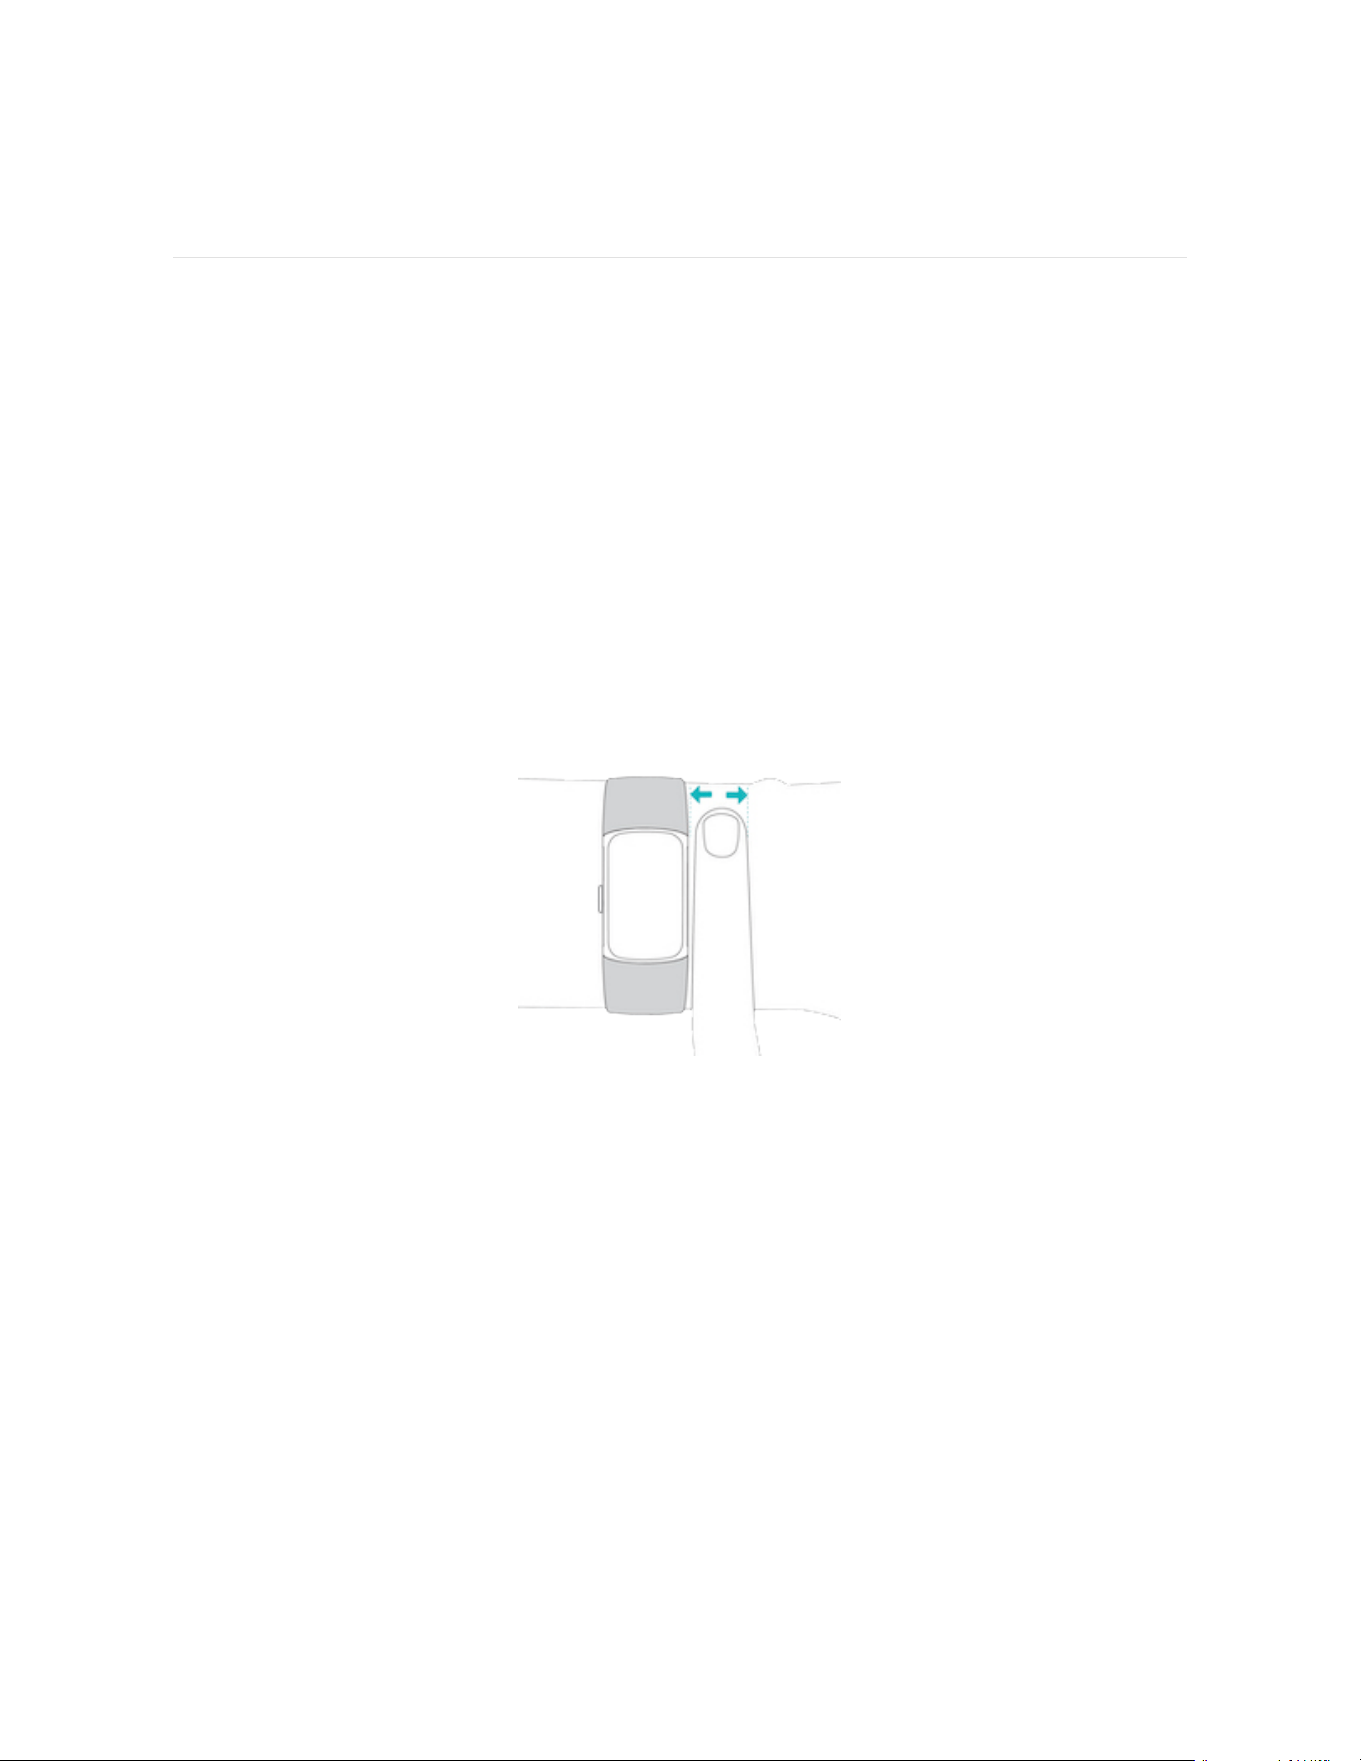
Placement for all-day wear vs. exercise
When you're not exercising, wear Charge 6 a finger's width above your wrist bone.
In general, it's always important to give your wrist a break on a regular basis by
removing your tracker for around an hour after extended wear. We recommend
removing your tracker while you shower. Although you can shower while wearing
your tracker, not doing so reduces the potential for exposure to soaps, shampoos,
and conditioners, which can cause long-term damage to your tracker and may
cause skin irritation.
For optimized heart-rate tracking while exercising:
l
During a workout, experiment with wearing your tracker a bit higher on your
wrist for an improved fit. Many exercises, such as bike riding or weight lifting,
cause you to bend your wrist frequently, which could interfere with the heart-
rate signal if the tracker is lower on your wrist.
10
l
Wear your tracker on top of your wrist, and make sure the back of the device
is in contact with your skin.
l
Consider tightening your band before a workout and loosening it when you’re
done. The band should be snug but not constricting (a tight band restricts
blood flow, potentially affecting the heart-rate signal).
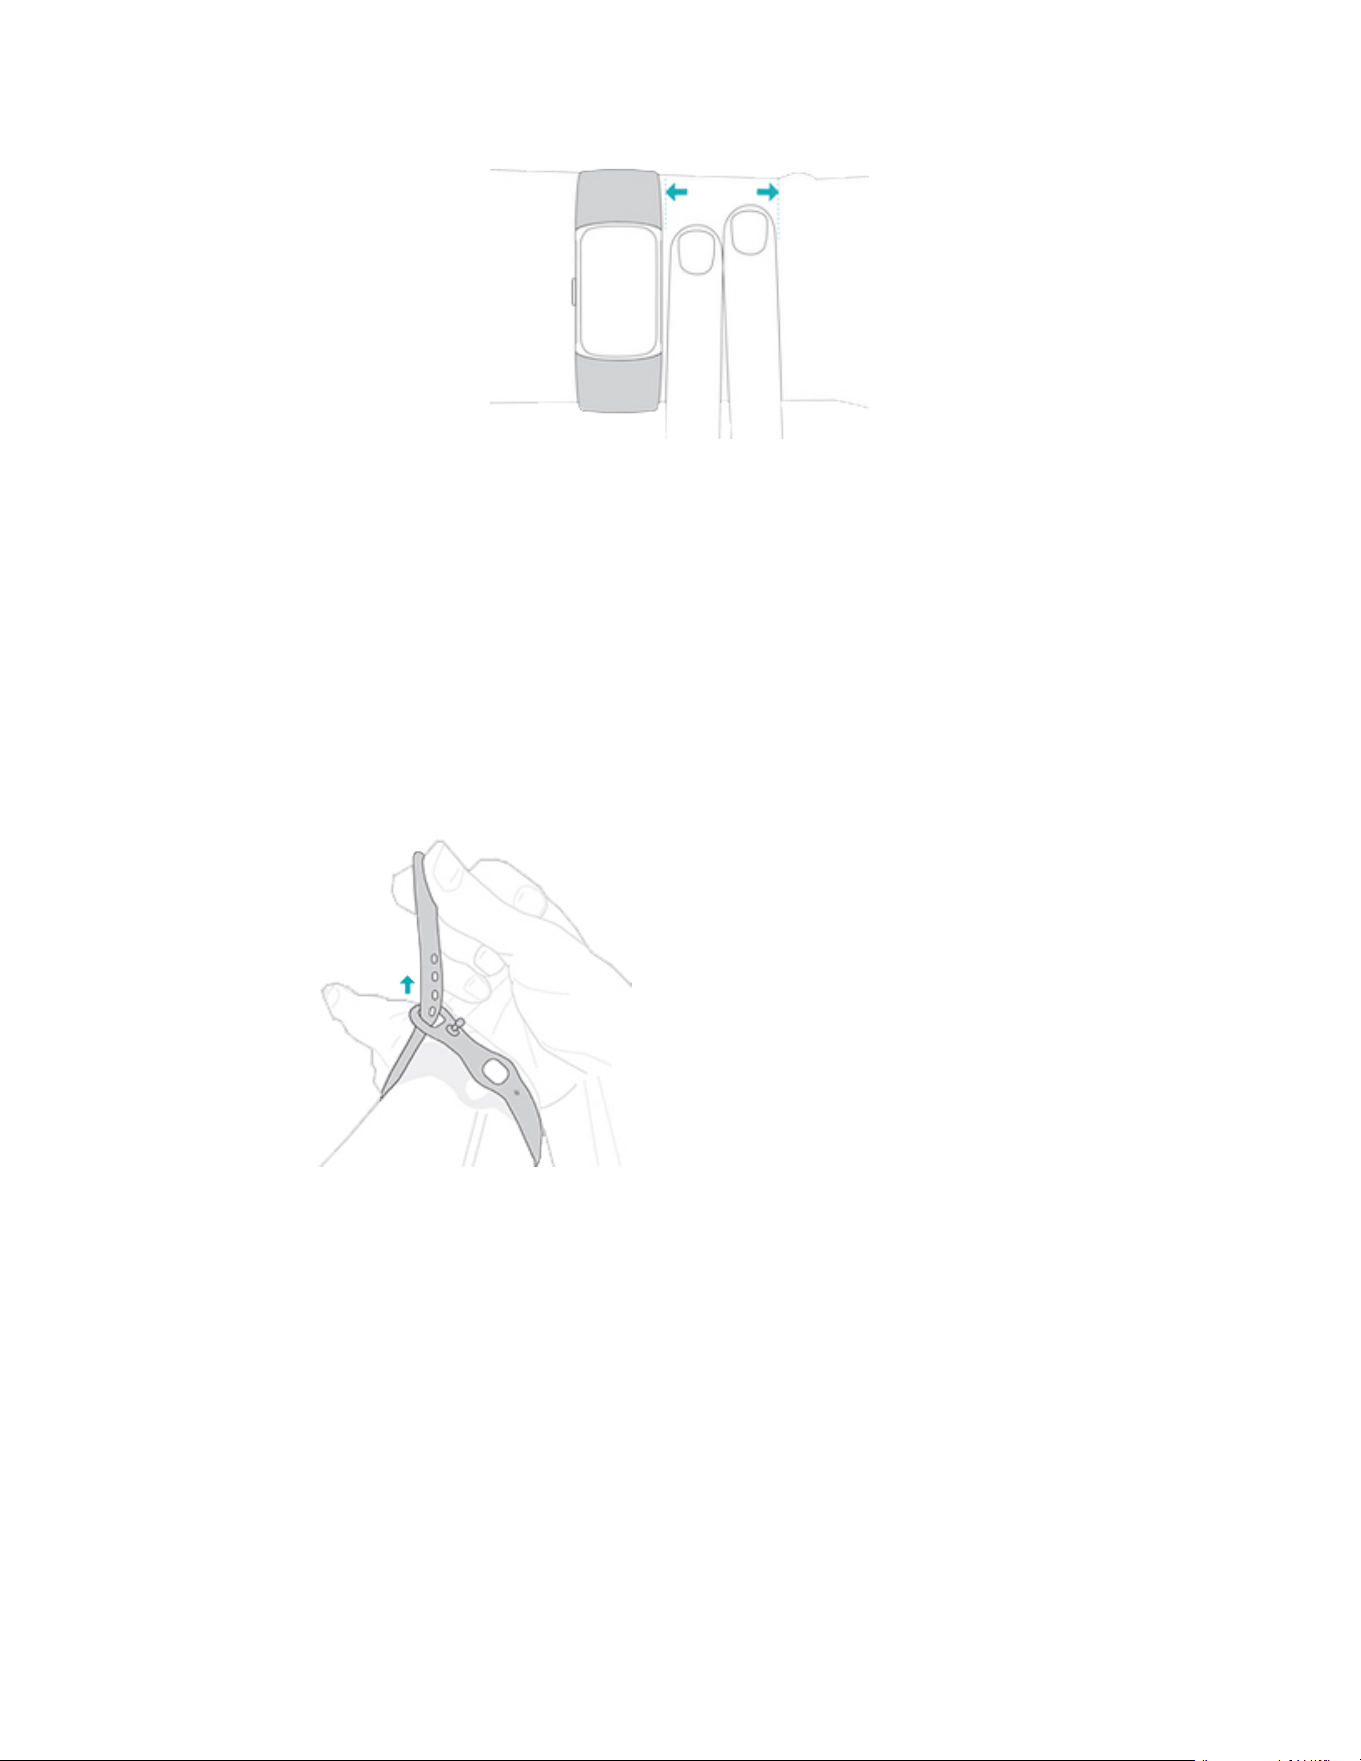
Fasten the band
1. Place Charge 6 around your wrist.
2. Slide the bottom band through the first loop in the top band.
11

3. Tighten the band until it fits comfortably, and press the peg through one of
the holes in the band.
4. Slide the loose end of the band through the second loop until it lies flat on
your wrist. Make sure the band isn’t too tight. Wear the band loosely enough
that it can move back and forth on your wrist.
Handedness
For greater accuracy, you must specify whether you wear Charge 6 on your
dominant or non-dominant hand. Your dominant hand is the one you use for writing
and eating. To start, the Wrist setting is set to non-dominant. If you wear Charge 6
on your dominant hand, change the Wrist setting in the Fitbit app:
From the Today tab in the Fitbit app, tap the devices icon Charge 6
Wrist Dominant.
12
Wear and care tips
l
Clean your band and wrist regularly with a soap-free cleanser.
l
If your tracker gets wet, remove and dry it completely after your activity.
l
Take your tracker off from time to time.
For more information, visit the Fitbit Wear & Care page.
Change the band
Charge 6 comes with a small band attached and an additional large, bottom band in
the box. Boththe top and bottom bands can be swapped with accessory bands,
sold separately on fitbit.com. For band measurements, see "Band size" on page58.
Fitbit Charge 5 bands are compatible with Fitbit Charge 6.
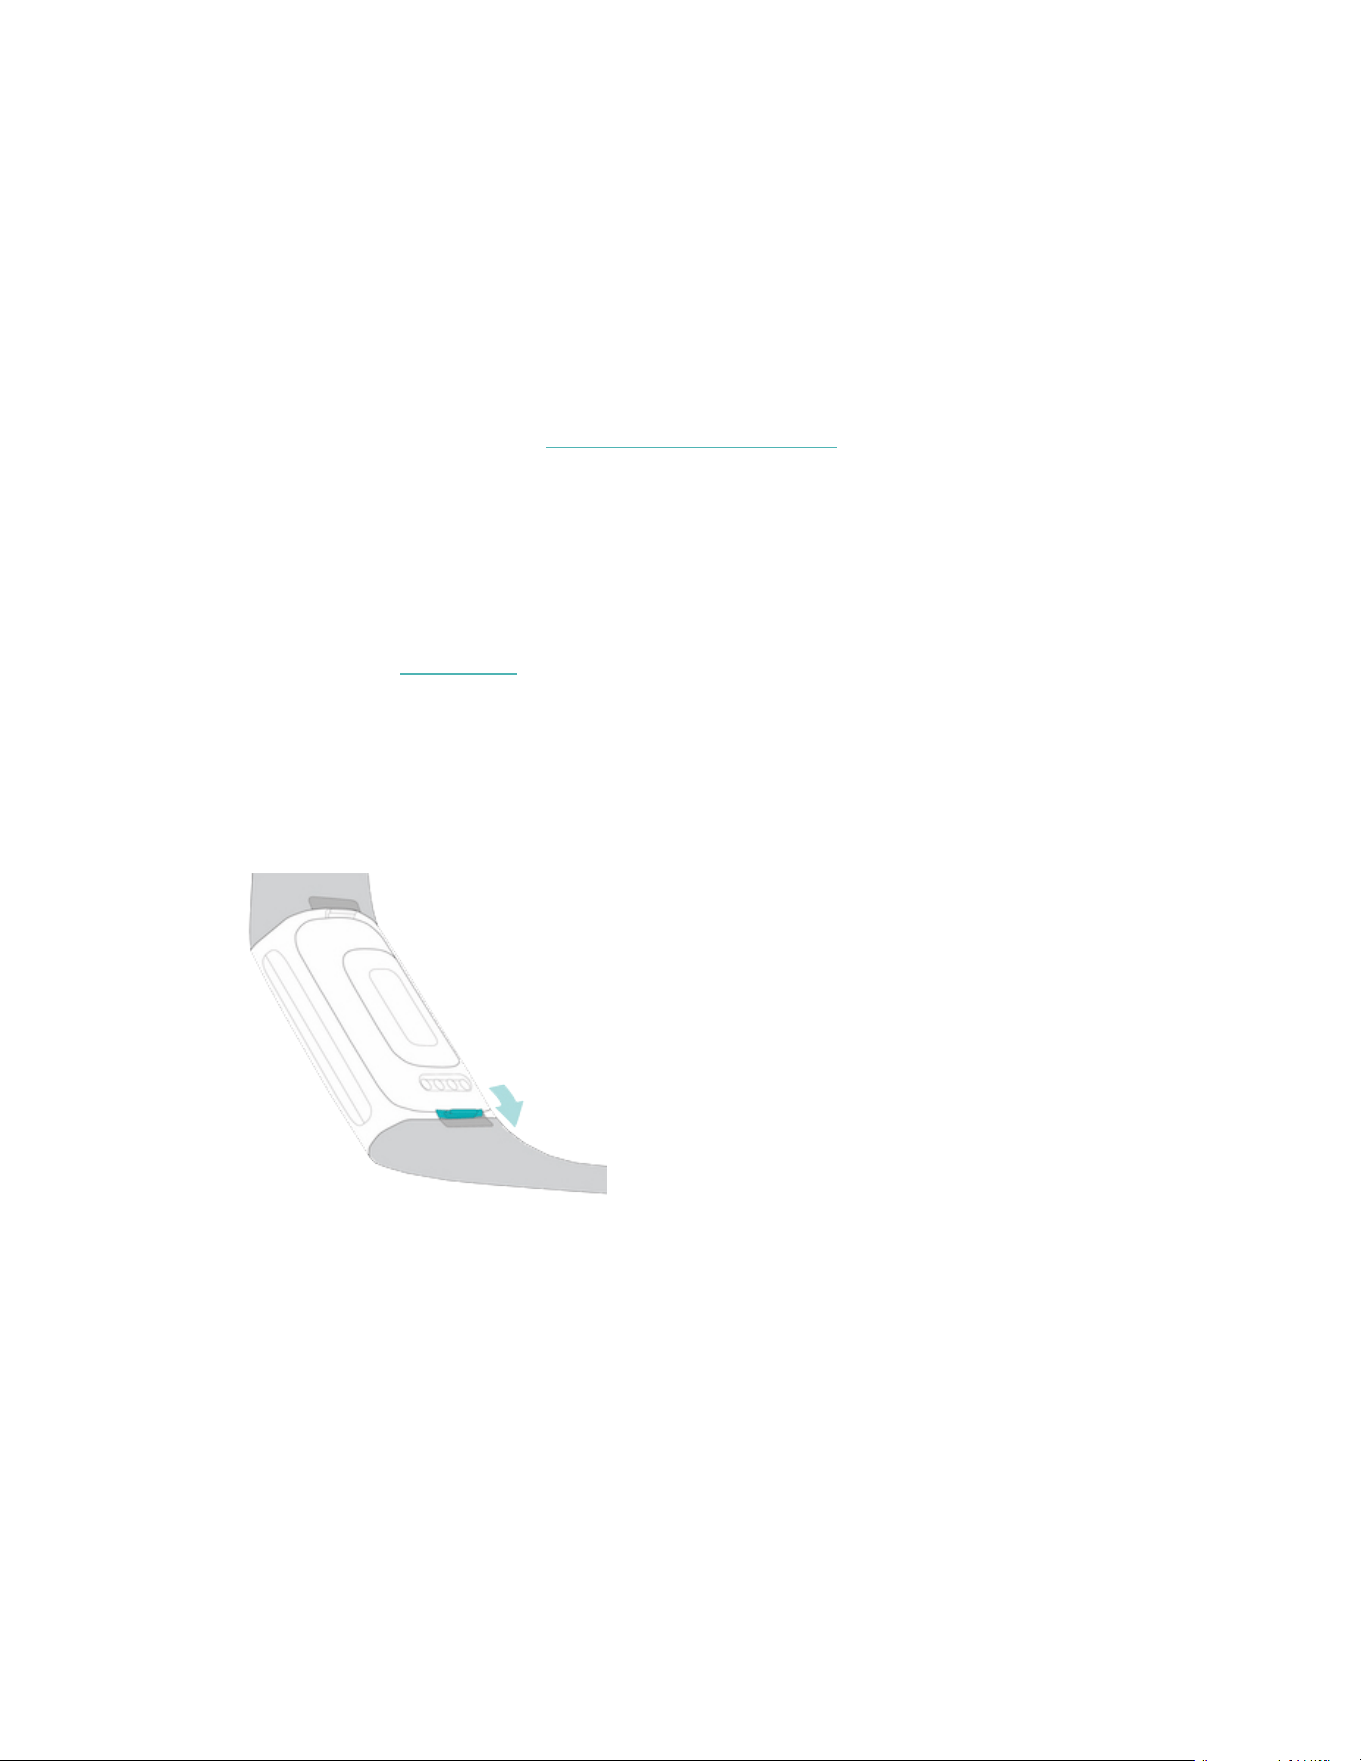
Remove a band
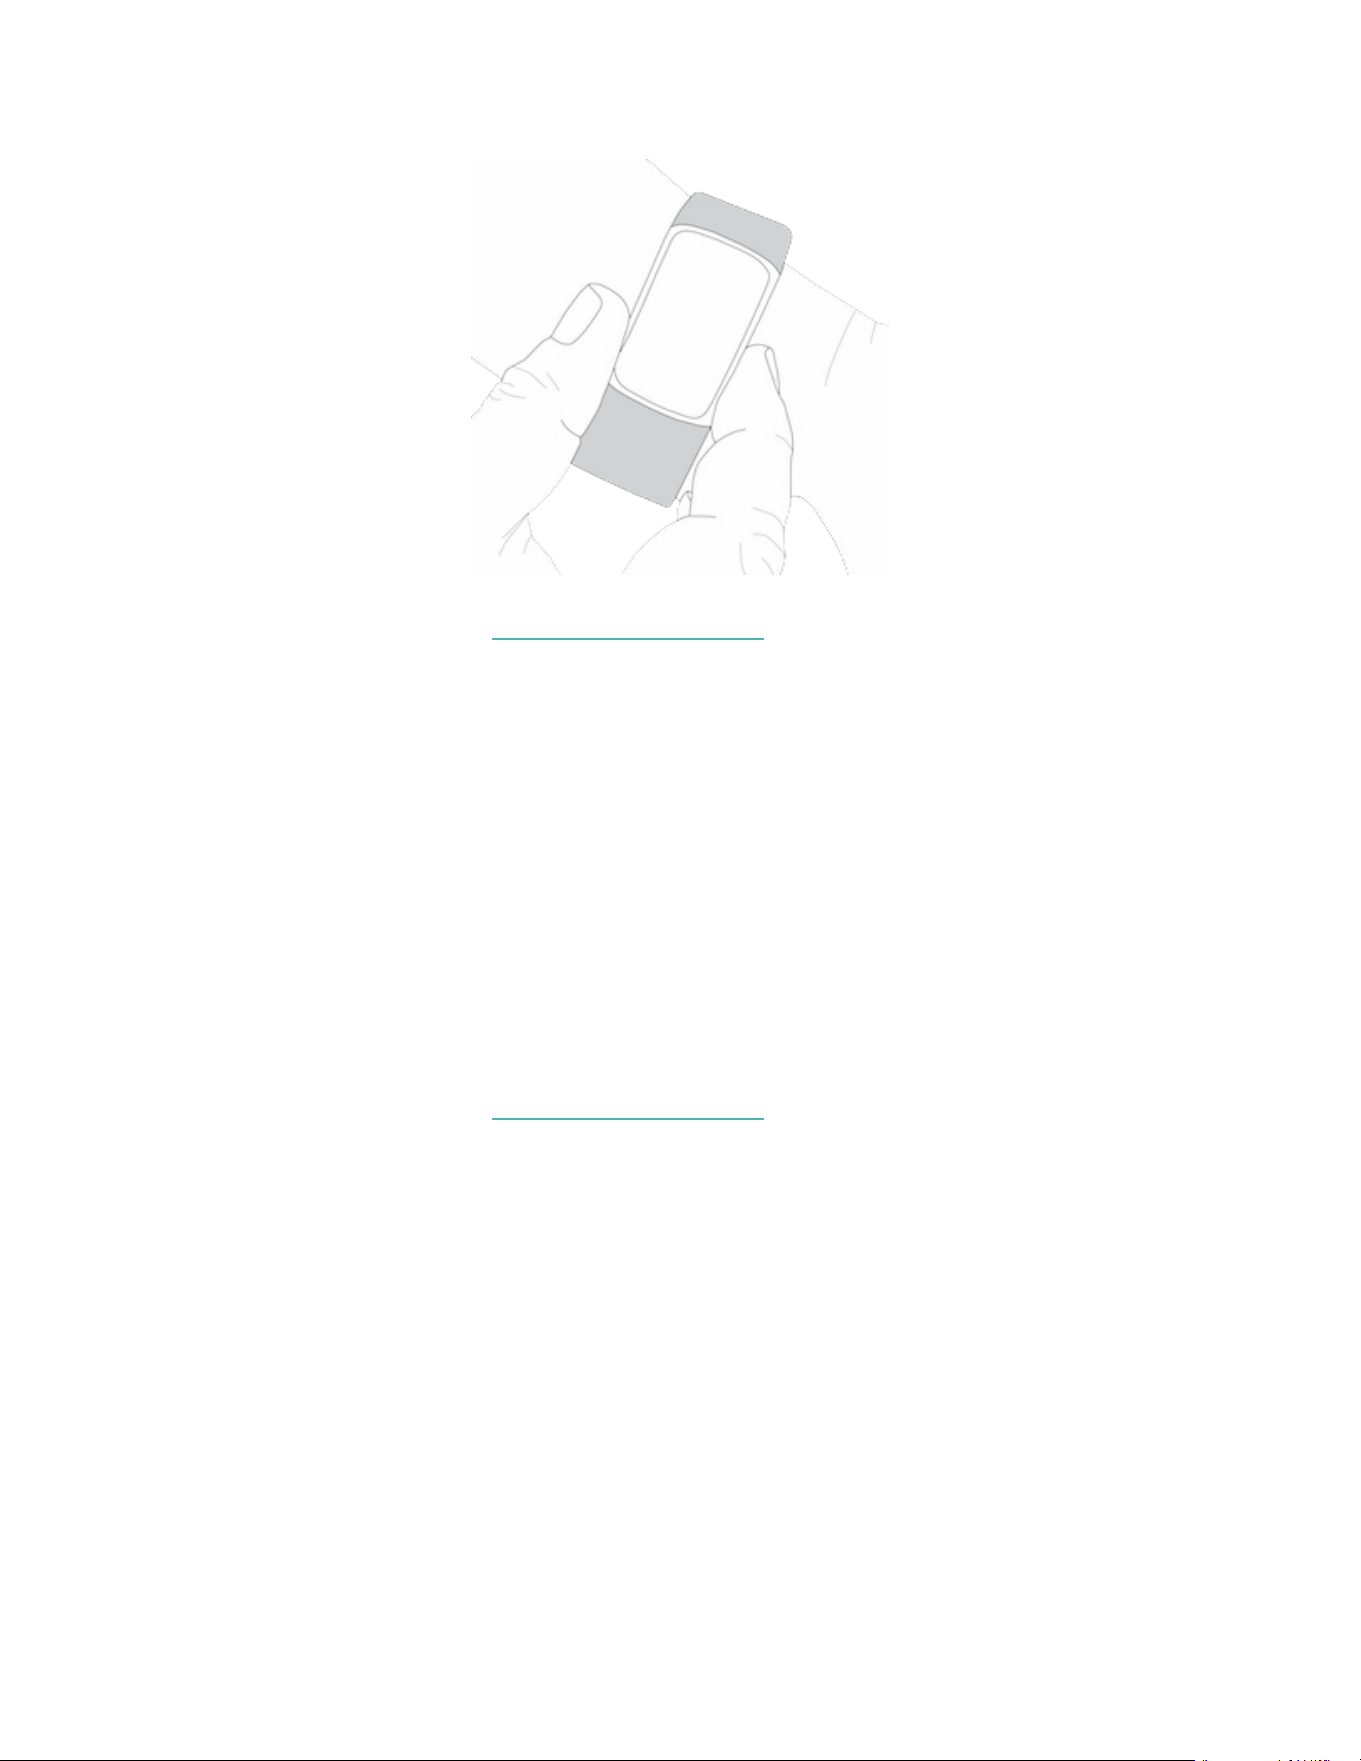
1. Turn over Charge 6 and find the band latches.
2. To release the latch, use your fingernail to press the flat button toward the
band.
13
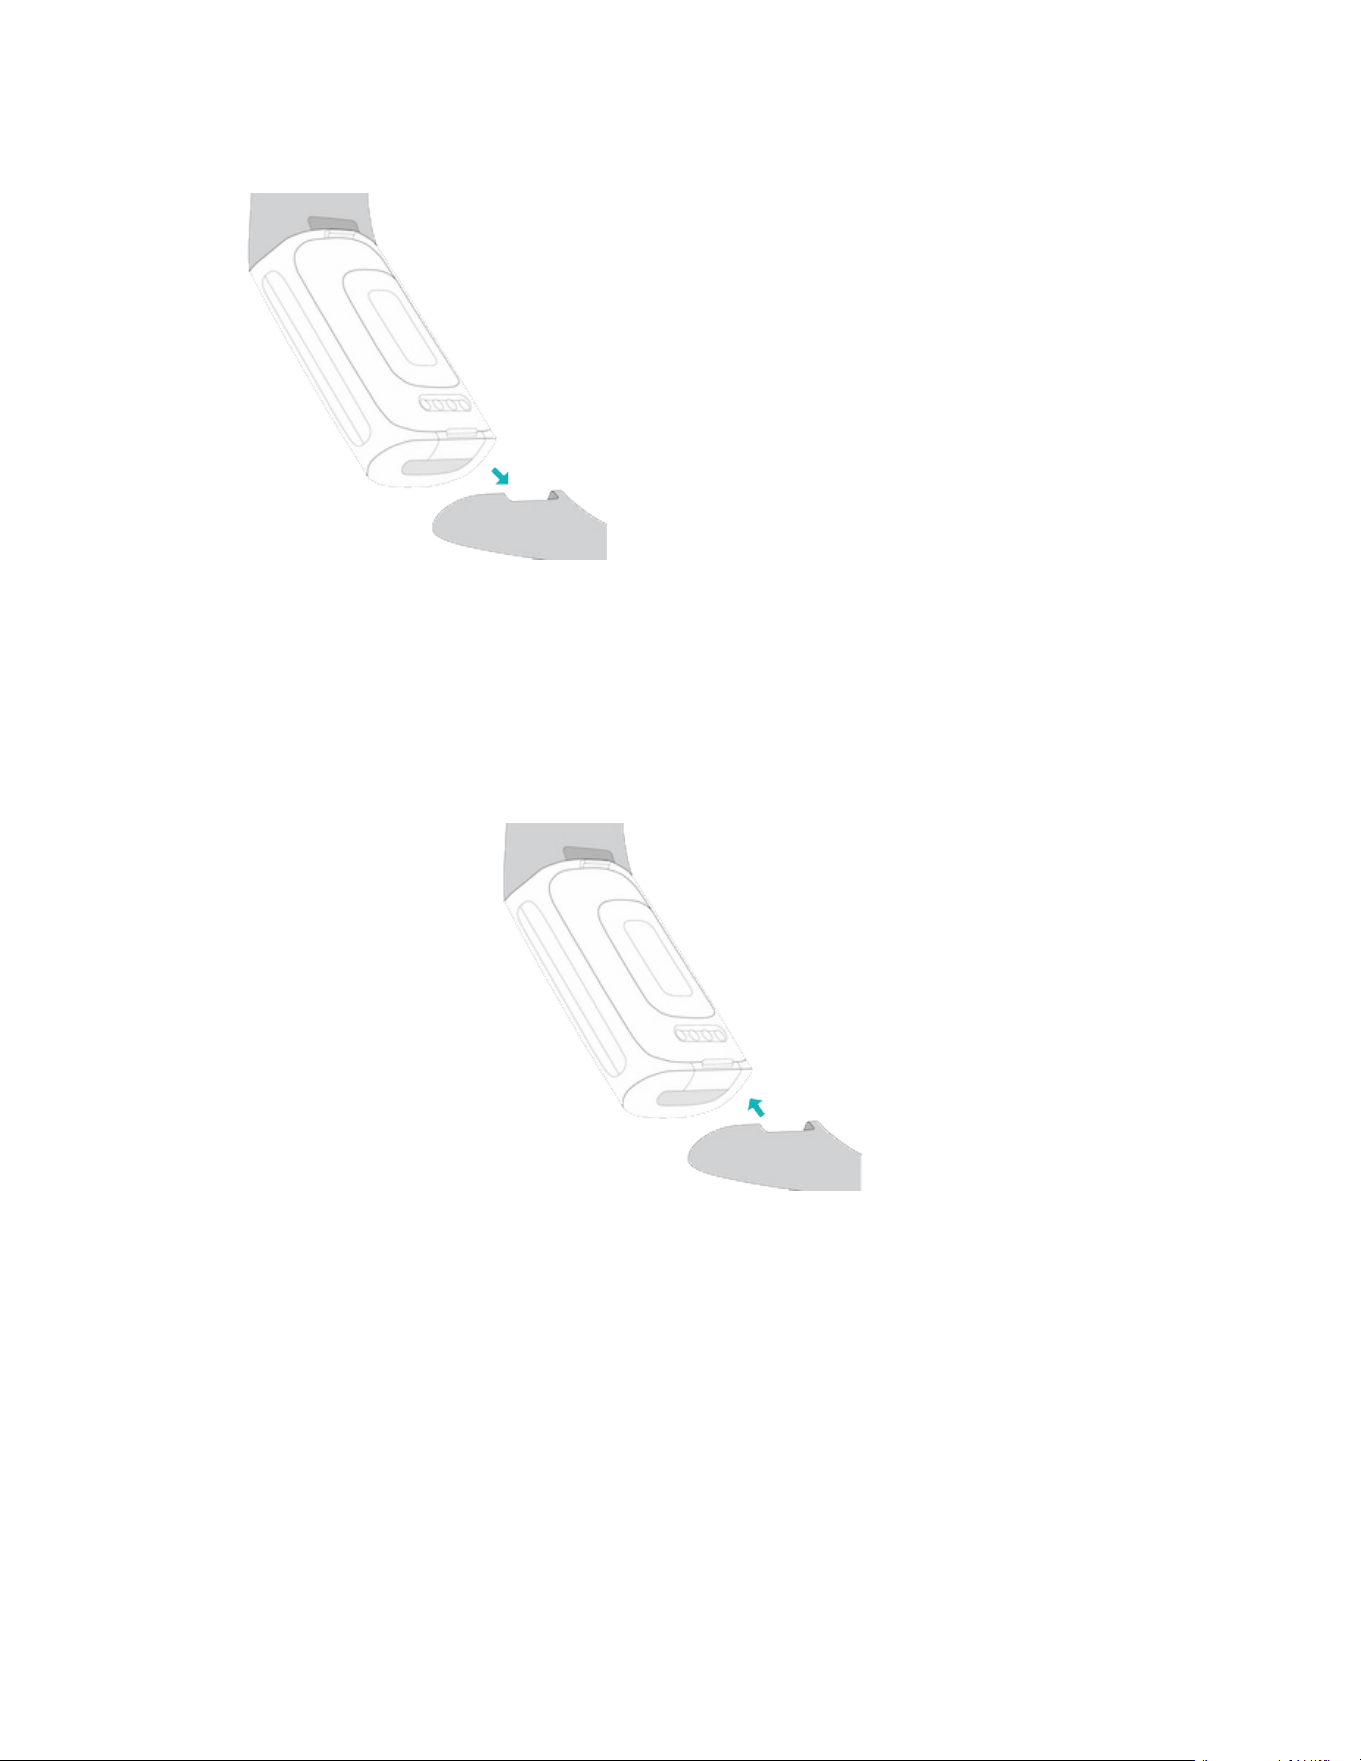
3. Gently pull the band away from the tracker to release it.
4. Repeat on the other side.
Attach a band
To attach a band, press it into the end of the tracker until you hear a click and it
snaps into place. The band with the loops and peg attaches to the top of the
tracker.
14

Basics
Learn how to manage settings, navigate the screen, and check the battery level.
Navigate Charge 6
Charge 6 has a colorAMOLEDtouchscreen display and 1 button.
Navigate Charge 6 by tapping the screen, swiping side to side and up and down, or
pressing the button. To preserve battery, the tracker’s screen turns off when not in
use, unless you turn on the always-on display setting. For more information, see
"Adjust always-on display" on page22.
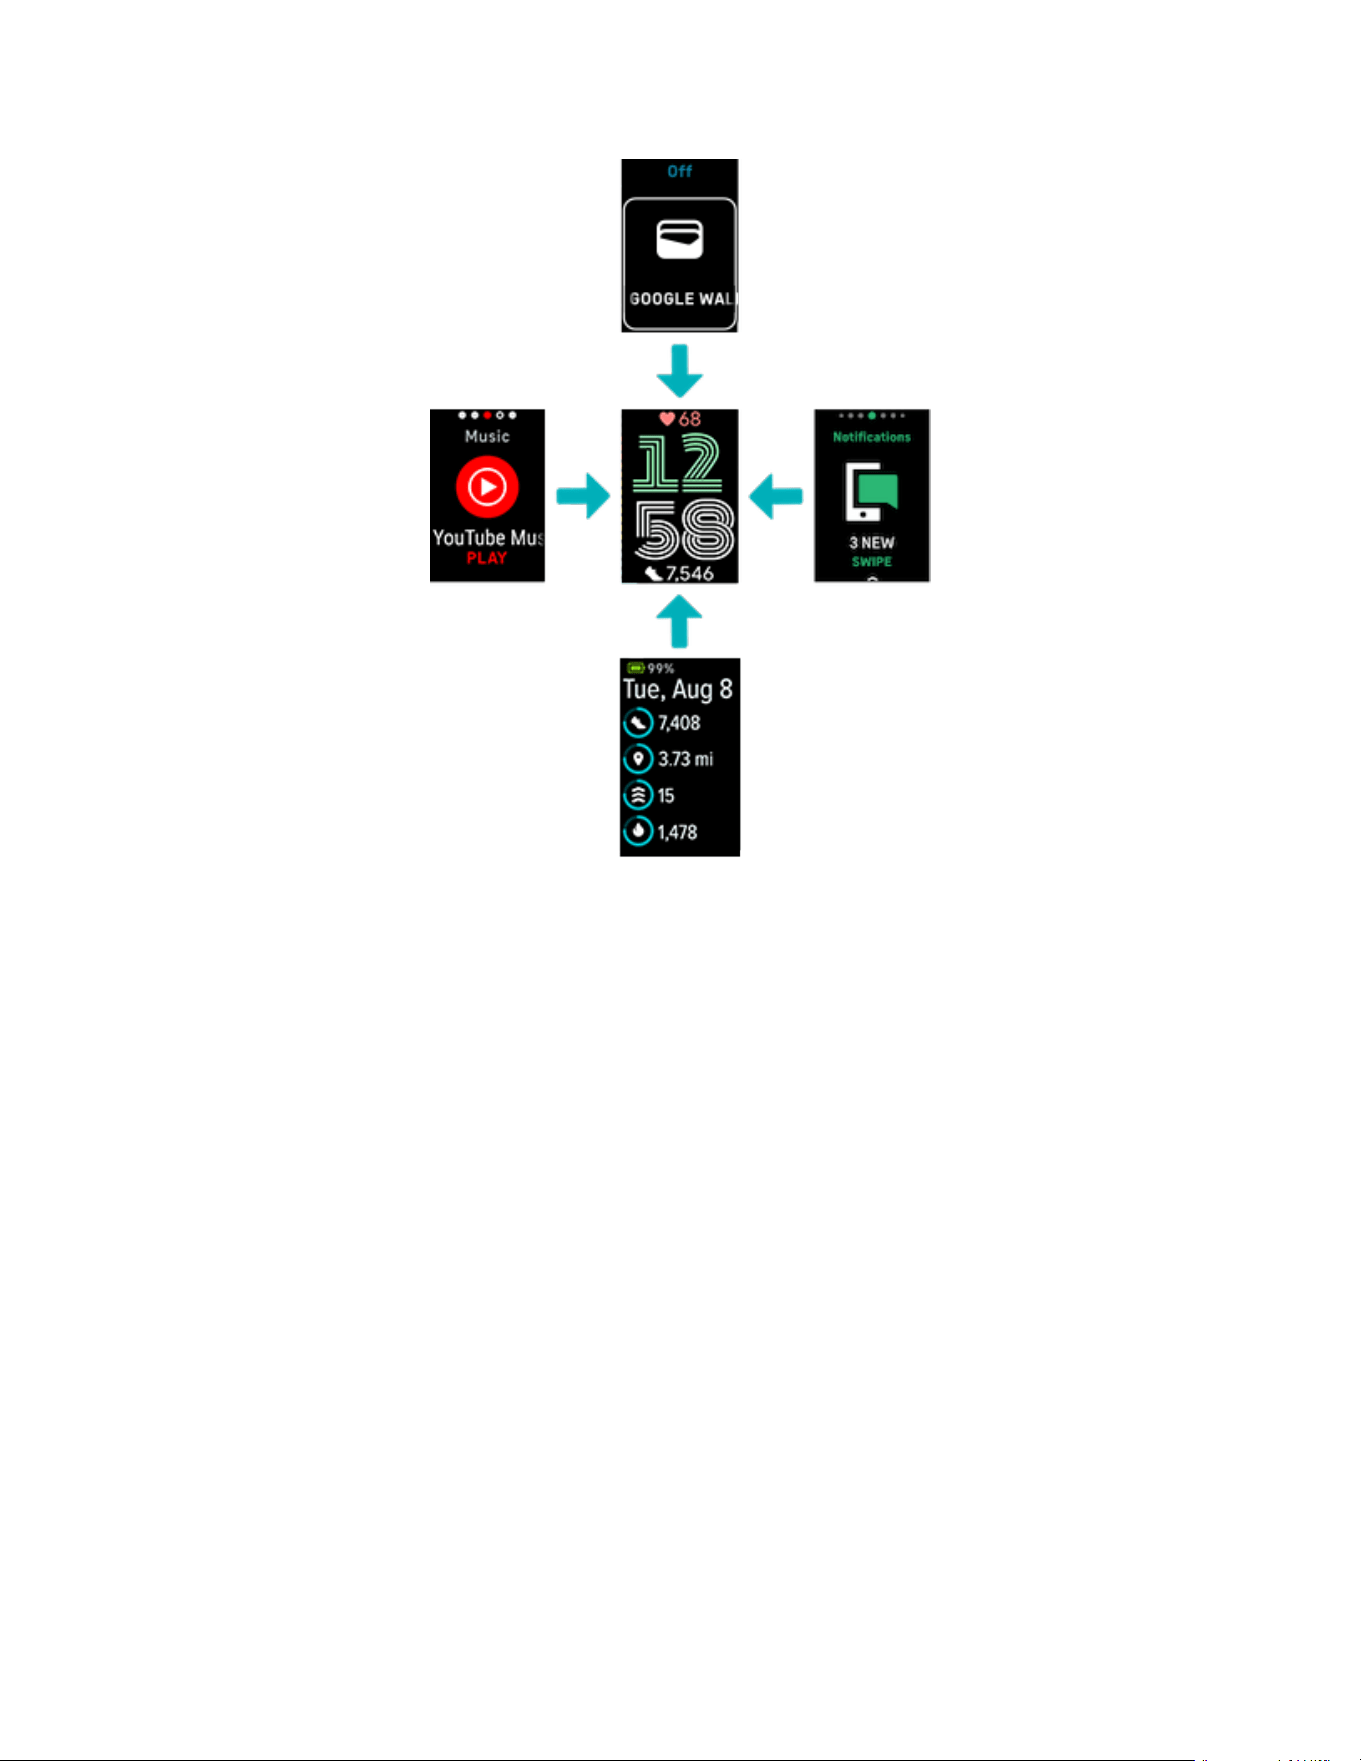
Basic navigation
The home screen is the clock.
l
Firmly tap the screen twice, press the button, or turn your wrist to wake
Charge 6.
l
Swipe down from the top of the screen to access quick settings, the Payments
app, the Find Phone app, and the Settings app. While in quick settings, swipe
right or press the button to return to the clock screen.
l
Swipe up to see your daily stats. To return to the clock screen, swipe right or
press the button.
l
Swipe left and right to see the apps on your tracker.
l
Swipe right to go back to a previous screen. Press the button to return to the
clock screen. For best results, place your thumb and index finger on either side
of the tracker and squeeze to press the button.
15
Quick settings
For a faster way to access certain settings, swipe down from the clock face.Tap a
setting to adjust it. When you turn off a setting, the icon appears dim with a line
through it.
16

Settings app
Tap the Settings app to open it. For more
information, see "Adjust settings" on the next page.
Water lock Turn on the water lock setting when you're in water, for
example showering or swimming, to prevent your
screen from activating. When water lock is on, your
screen locks, and the water lock icon appears at the
bottom. Notifications and alarms still appear on your
tracker, but you must unlock your screen to interact
with them.
To turn on water lock, swipe down from the clock
screen tap Water Lock firmly tap your screen
twice. To turn off water lock, firmly double-tap the
middle of the screen with your finger. If you don't see
"Unlocked" appear on screen, try tapping harder.
Turning off this feature uses the accelerometer in your
device, which takes more force to activate.
Note that water lock turns on automatically when you
start a swim in the Exercise app.
Find Phone
Tap to open the Find Phone app . For more
information, see "Find Phone" on page25.
HRon equipment Turn on HRon equipment to connect Charge 6 to
compatible exercise equipment and see your real-time
heart rate directly on the display. For more
information, see "See your heart rate on equipment and
apps" on page46.
Sleep mode When the sleep mode setting is on:
l
Notifications, goal celebrations, and reminders
are muted.
l
The screen's brightness is set to dim.
l
The screen stays dark when you turn your wrist.
To wake Charge 6, firmly tap the screen twice.
17
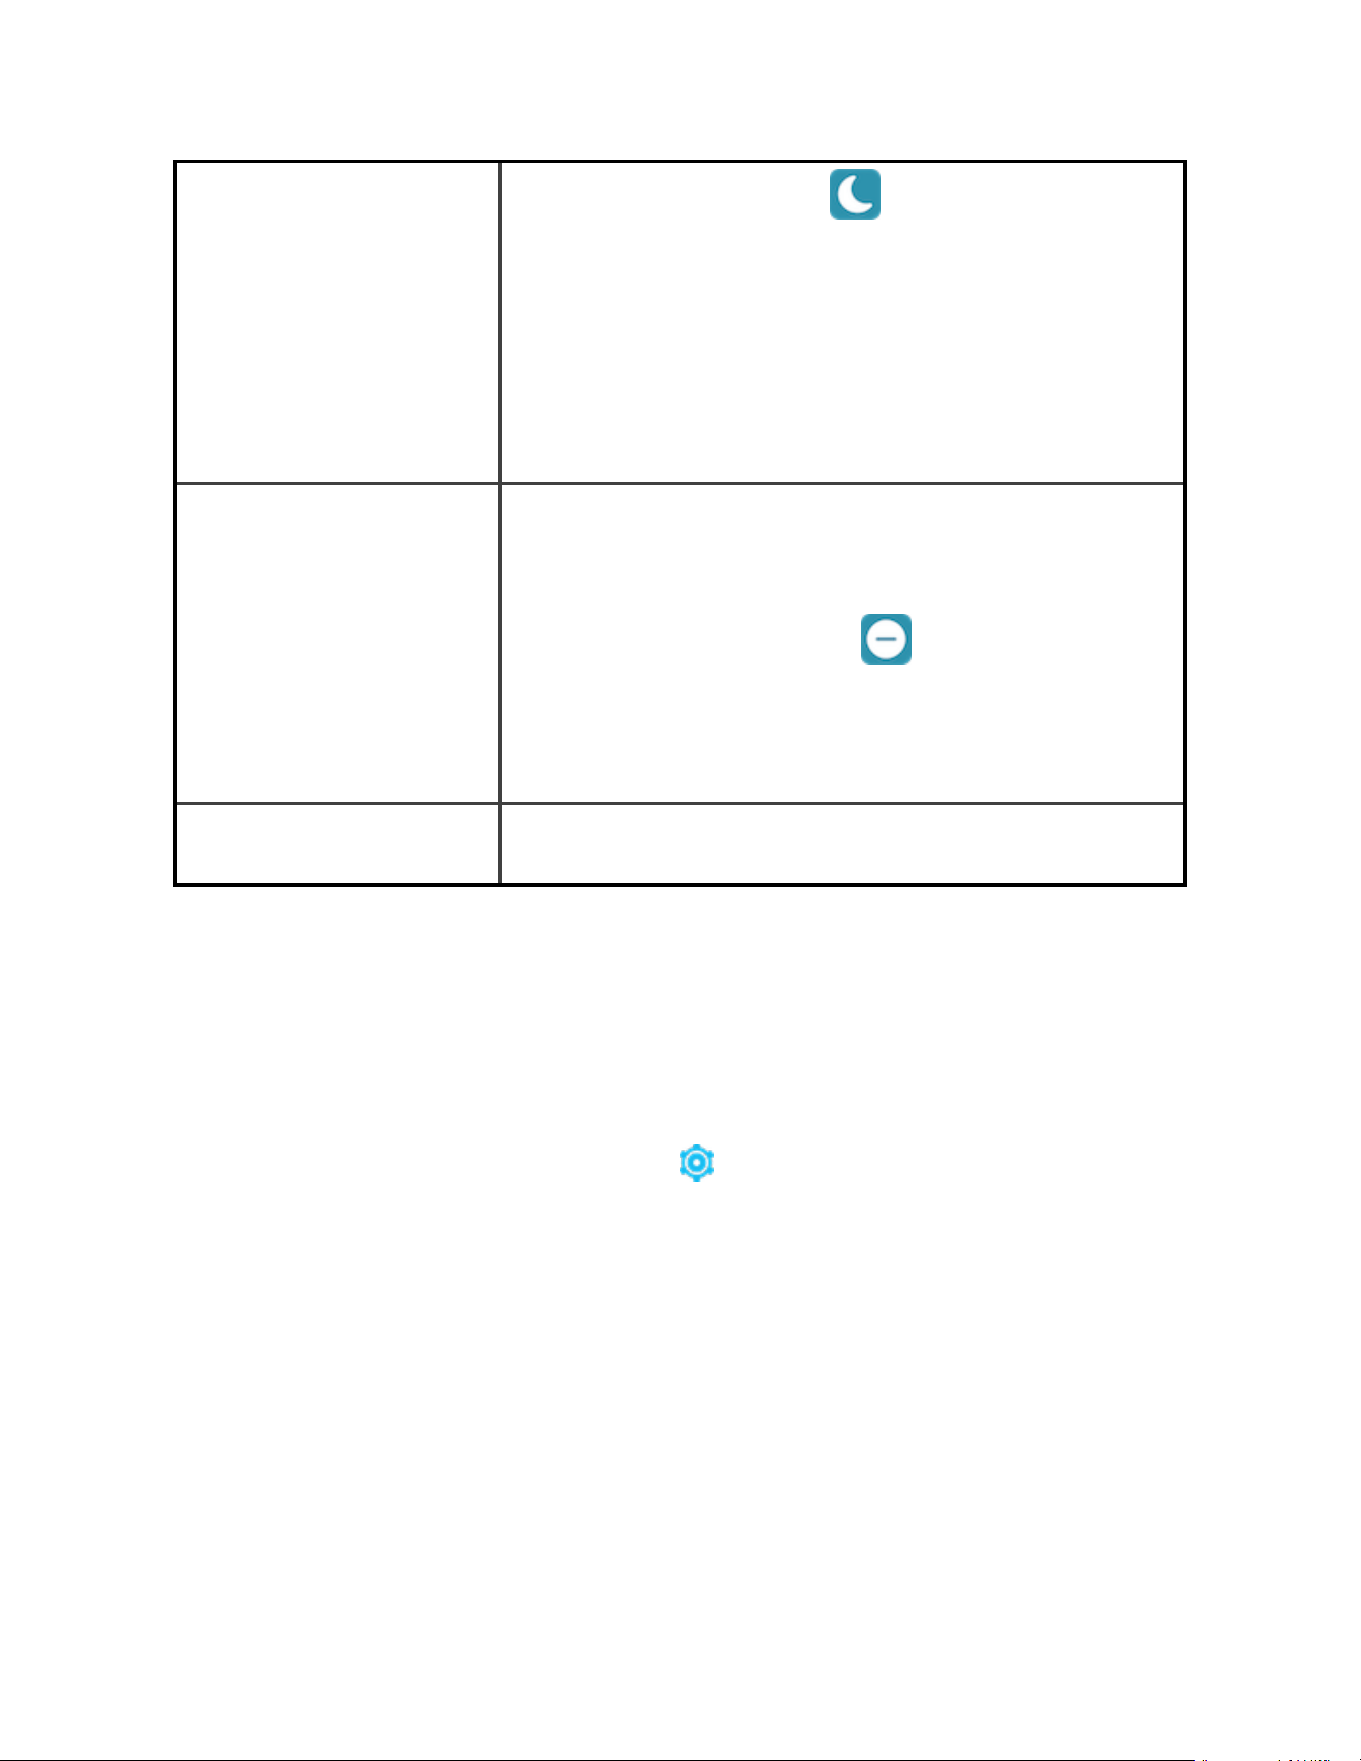
l
The sleep mode icon illuminates in quick
settings.
Sleep mode turns off automatically when you set a
sleep schedule. For more information, see "Adjust
settings" below
You can't turn on the do not disturb setting and sleep
mode at the same time.
DNDmode When the do not disturb setting is on:
l
Notifications, goal celebrations, and reminders
are muted.
l
The do not disturb icon illuminates in quick
settings.
You can't turn on the do not disturb setting and sleep
mode at the same time.
Google Wallet Make contactless payments from your wrist. For more
information, see "Contactless Payments" on page48.
Button shortcut
Double-press the button to open contactless payments.
Adjust settings
Manage basic settings in the Settings app . Swipe down from the clock screen
and tap the Settings app to open it. Tap a setting to adjust it. Swipe to see the full
list of settings.
18
Display
Brightness Change the screen's brightness.
Screen
wake
Change whether the screen turns on when you turn your wrist.
Screen
timeout
Adjust the amount of time before the screen turns off or switches to
the always-on display clock face.
Always-on
display
Turn always-on display on or off. For more information, see "Adjust
always-on display" on page22.
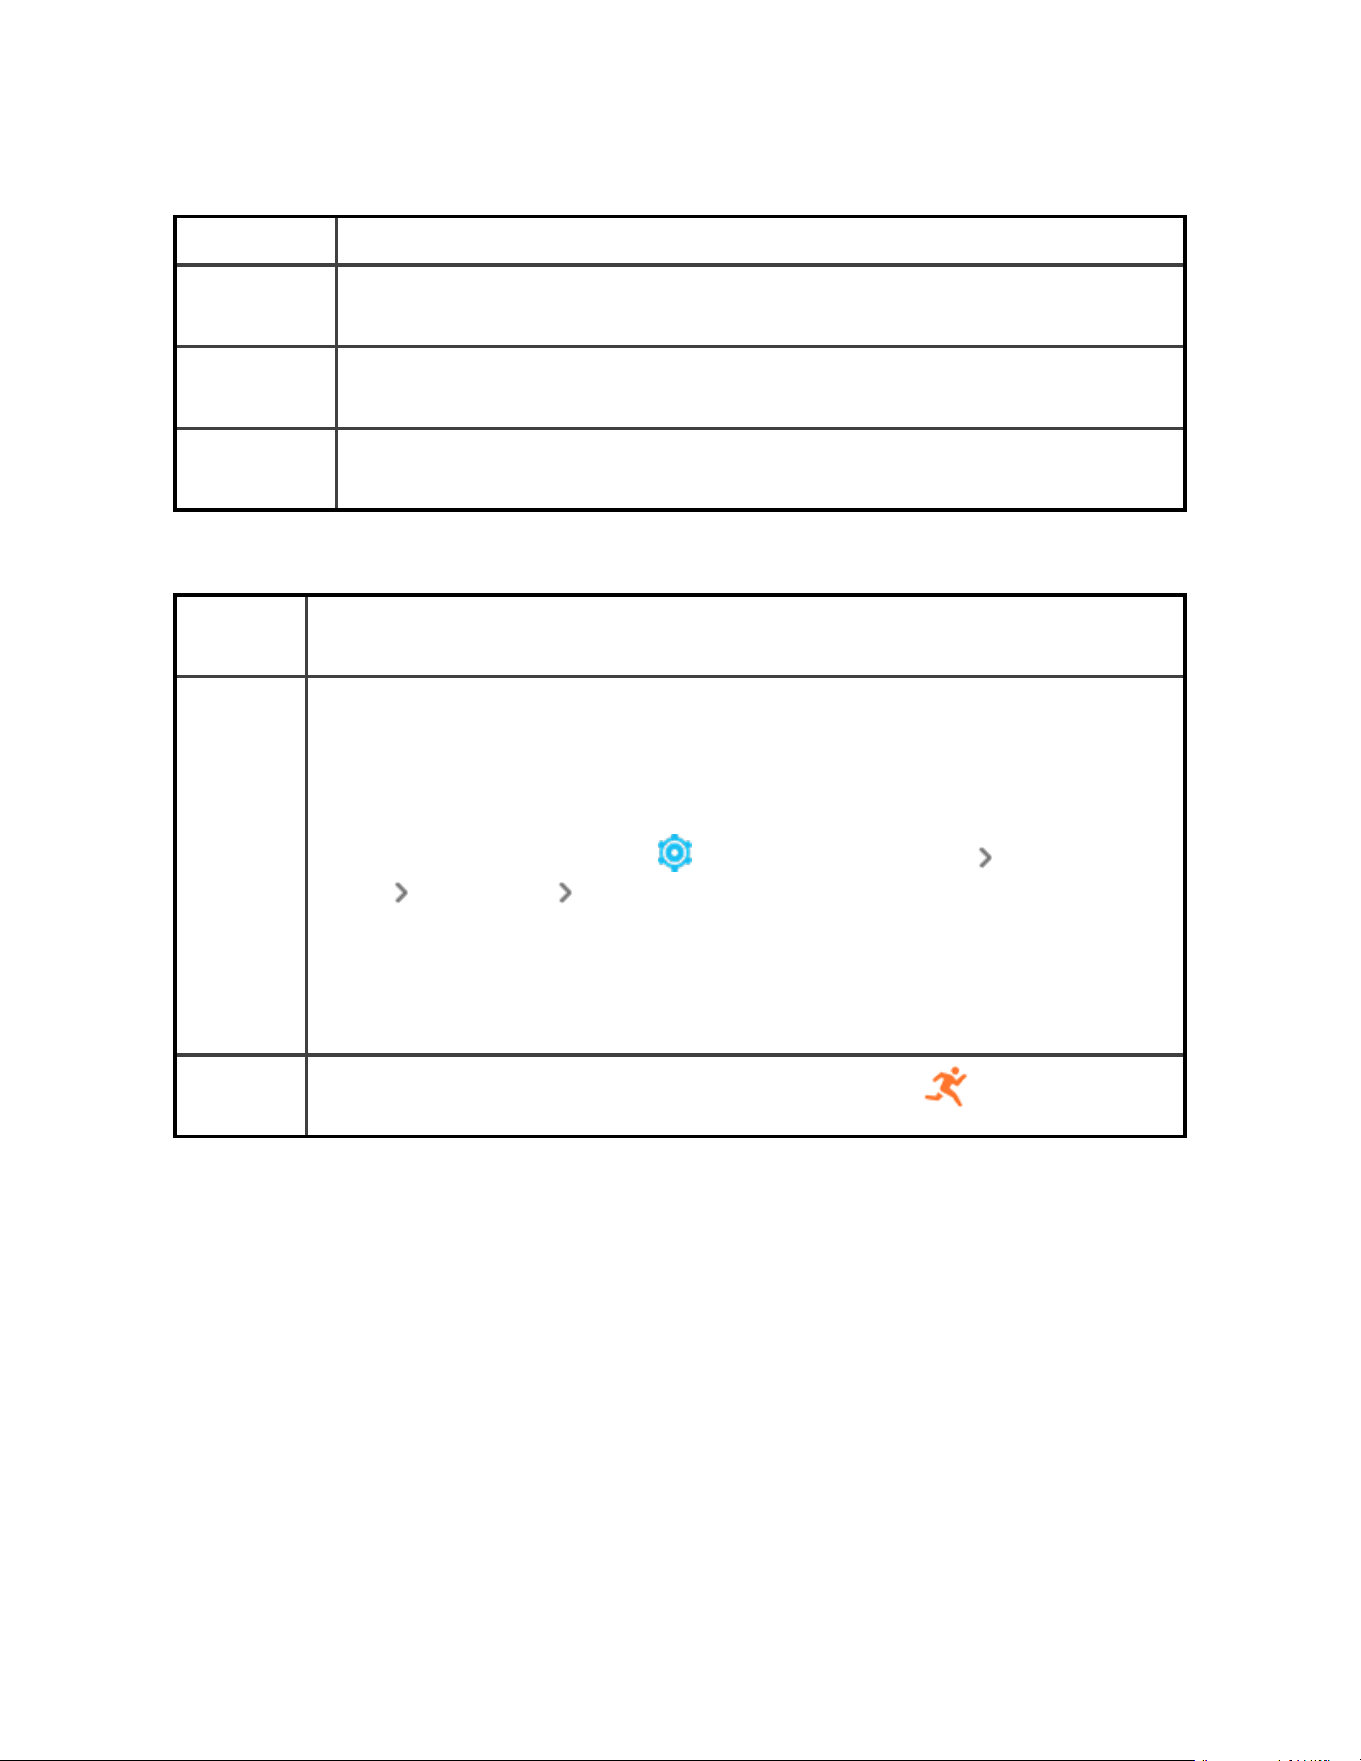
Quiet modes
Do not
disturb
Turn off all notifications.
Sleep
mode
Adjust sleep mode settings, including setting a schedule for the mode
to automatically turn on and off.
To set a schedule:
1.
Open the Settings app and tap Quiet modes Sleep Mode
Schedule Interval.
2. Tap the start or end time to adjust when the mode turns on and
off. Swipe up or down to change the time, and tap the time to
select it. Sleep mode automatically turns off at the time you
schedule, even if you manually turned it on.
Exercise
focus
Turn off notifications while using the Exercise app .
19
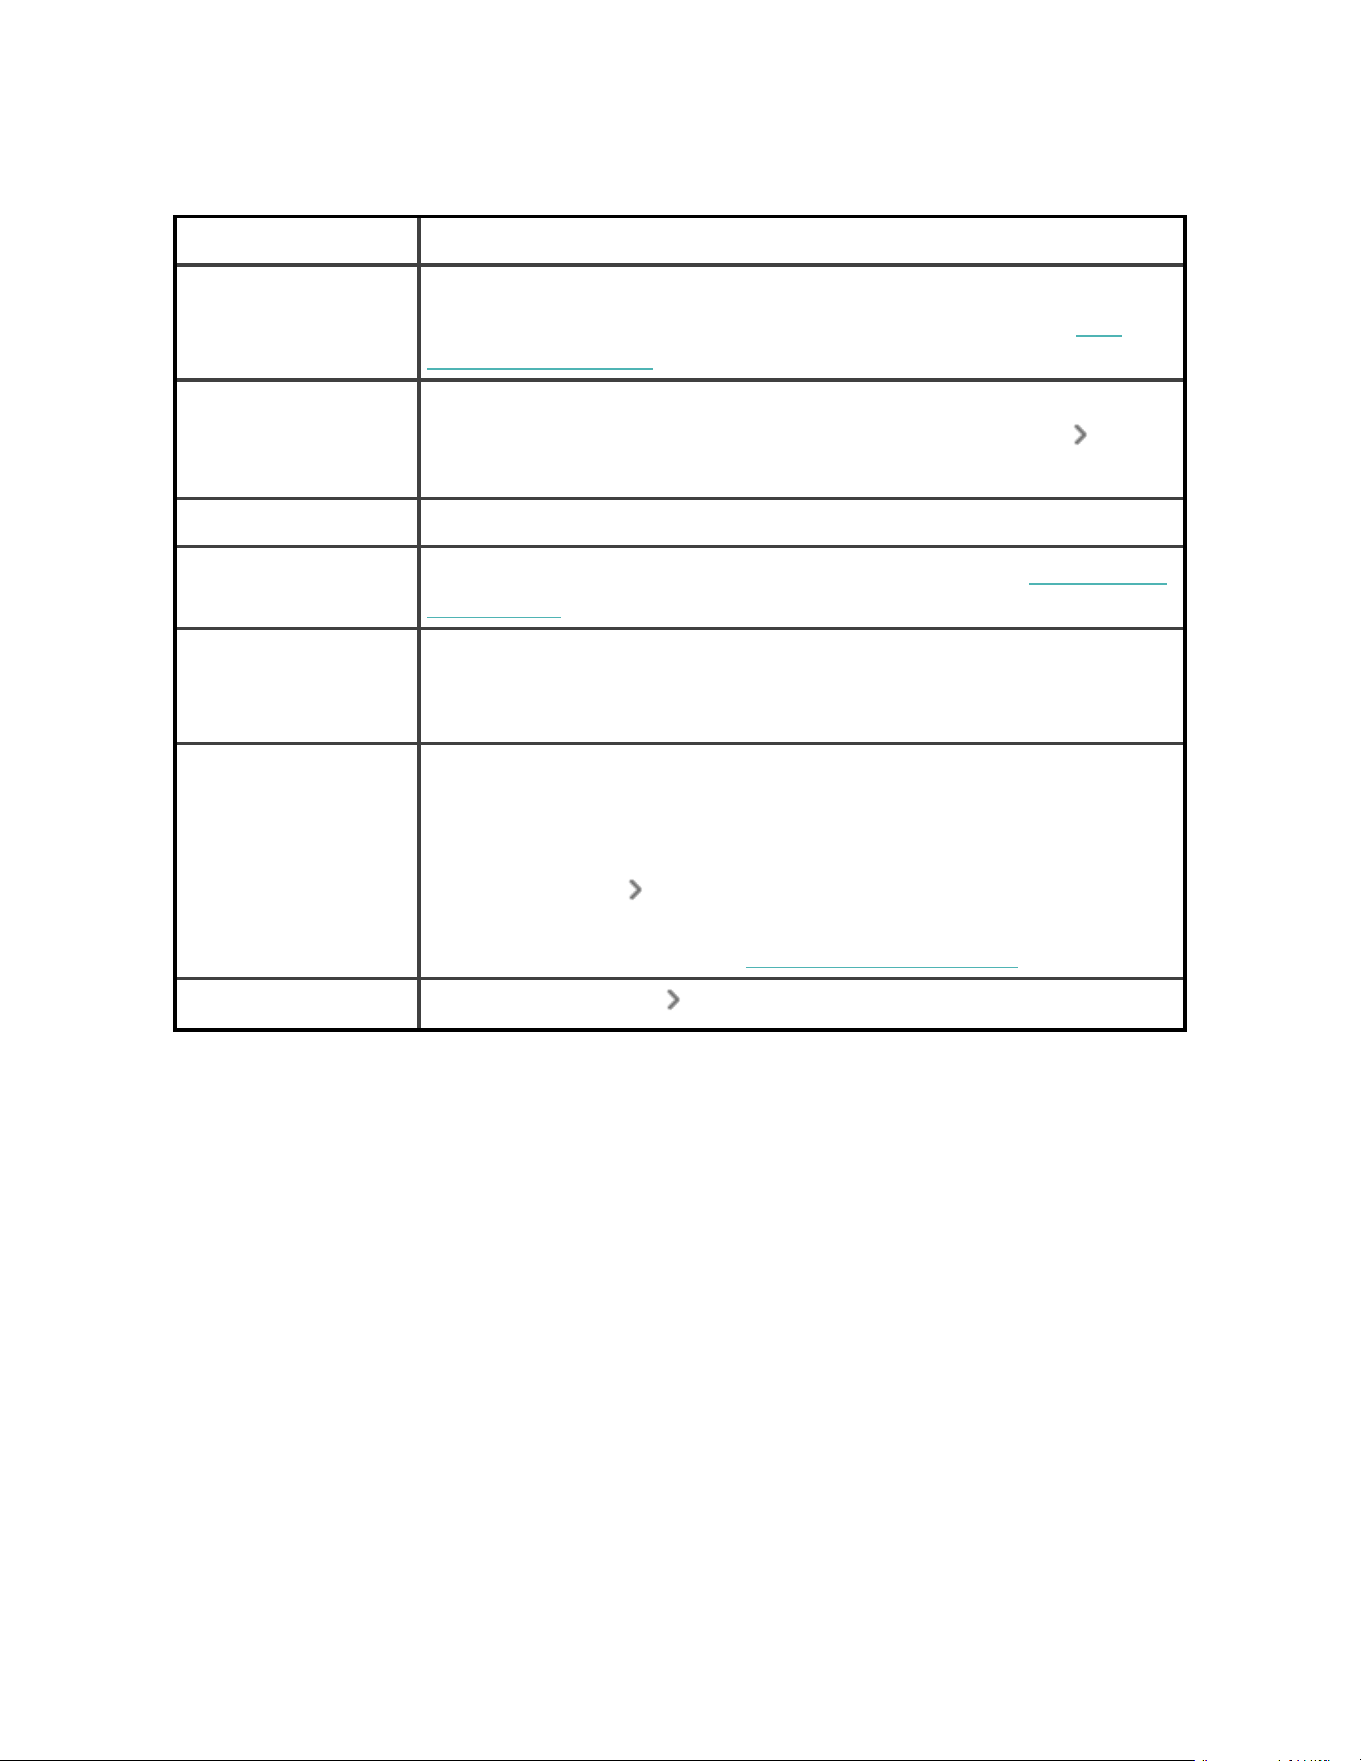
Other settings
Heart rate Turn heart-rate tracking on or off.
AZMnotifications Turn the heart-zone notifications that you receive during
everyday activity on or off. For more information, see the
related help article.
Button lock Prevent the button on your tracker from activating while your
screen is off. To turn on Button Lock, tap the setting Turn
on.
Vibrations Adjust your tracker's vibration strength.
GPS Choose the GPS mode. For more information, see the related
help article.
Magnify settings Turn on Magnify to zoom in when you triple-tap the screen.
Choose between 2x and 3x magnification. To zoom out again,
tap the screen once.
Device Info View your tracker's regulatory information and activation
date, which is the day your tracker's warranty begins. The
activation date is the day you set up your device.
Tap Device Info System Info to see the activation date.
For more information, see the related help article.
Restart device
Tap
Restart device Restart
to restart your
tracker
.
Check battery level
From the clock face, swipe up. The battery level is at the top of the screen.
20
If your tracker's battery is low (20% or lower), a warning appears and the battery
indicator turns orange. If your tracker's battery is critically low (8% or lower), a
second warning appears and the battery indicator flashes.
When the battery is low:
l
If you’re tracking an exercise with GPS, GPS tracking turns off
l
Always-on display turns off
l
You can't use quick replies
l
You won't receive notifications from your phone
Set up device lock
When you set up contactless payments, you're asked to set up a personal 4-digit
PINcode.
Manage your PINcode in the Fitbit app:
21
From the Today tab in the Fitbit app, tap the devices icon Charge 6
Device Lock.
For more information, see the related help article.
Adjust always-on display
Turn on always-on display to show the time on your tracker, even when you're not
interacting with the screen.
To turn always-on display on or off:
1. Swipe down from the clock face to access quick settings.
2.
Tap the Settings app Display settings Always-on display.
3. Tap Always-on display to turn the setting on or off. To set the display to
automatically turn off during certain hours, tap Off-hours. Note that if you
have a sleep schedule set up in the sleep mode settings, off-hours can’t be
adjusted.
Turning on this feature impacts your tracker's battery life. When always-on display
is turned on, Charge 6 requires more frequent charging.
Always-ondisplay automatically turns off when your tracker's battery is critically
low.
For more information, see the related help article.
22

Turn off the screen
To turn off your tracker's screen when not in use, briefly cover the tracker face with
your opposite hand, press the button when on the clock face, or turn your wrist
away from your body.
Note that if you turn on the always-on display setting, the screen won't turn off.
23
Clock Faces and Apps
Learn how to change your clock face and access apps on Charge 6.
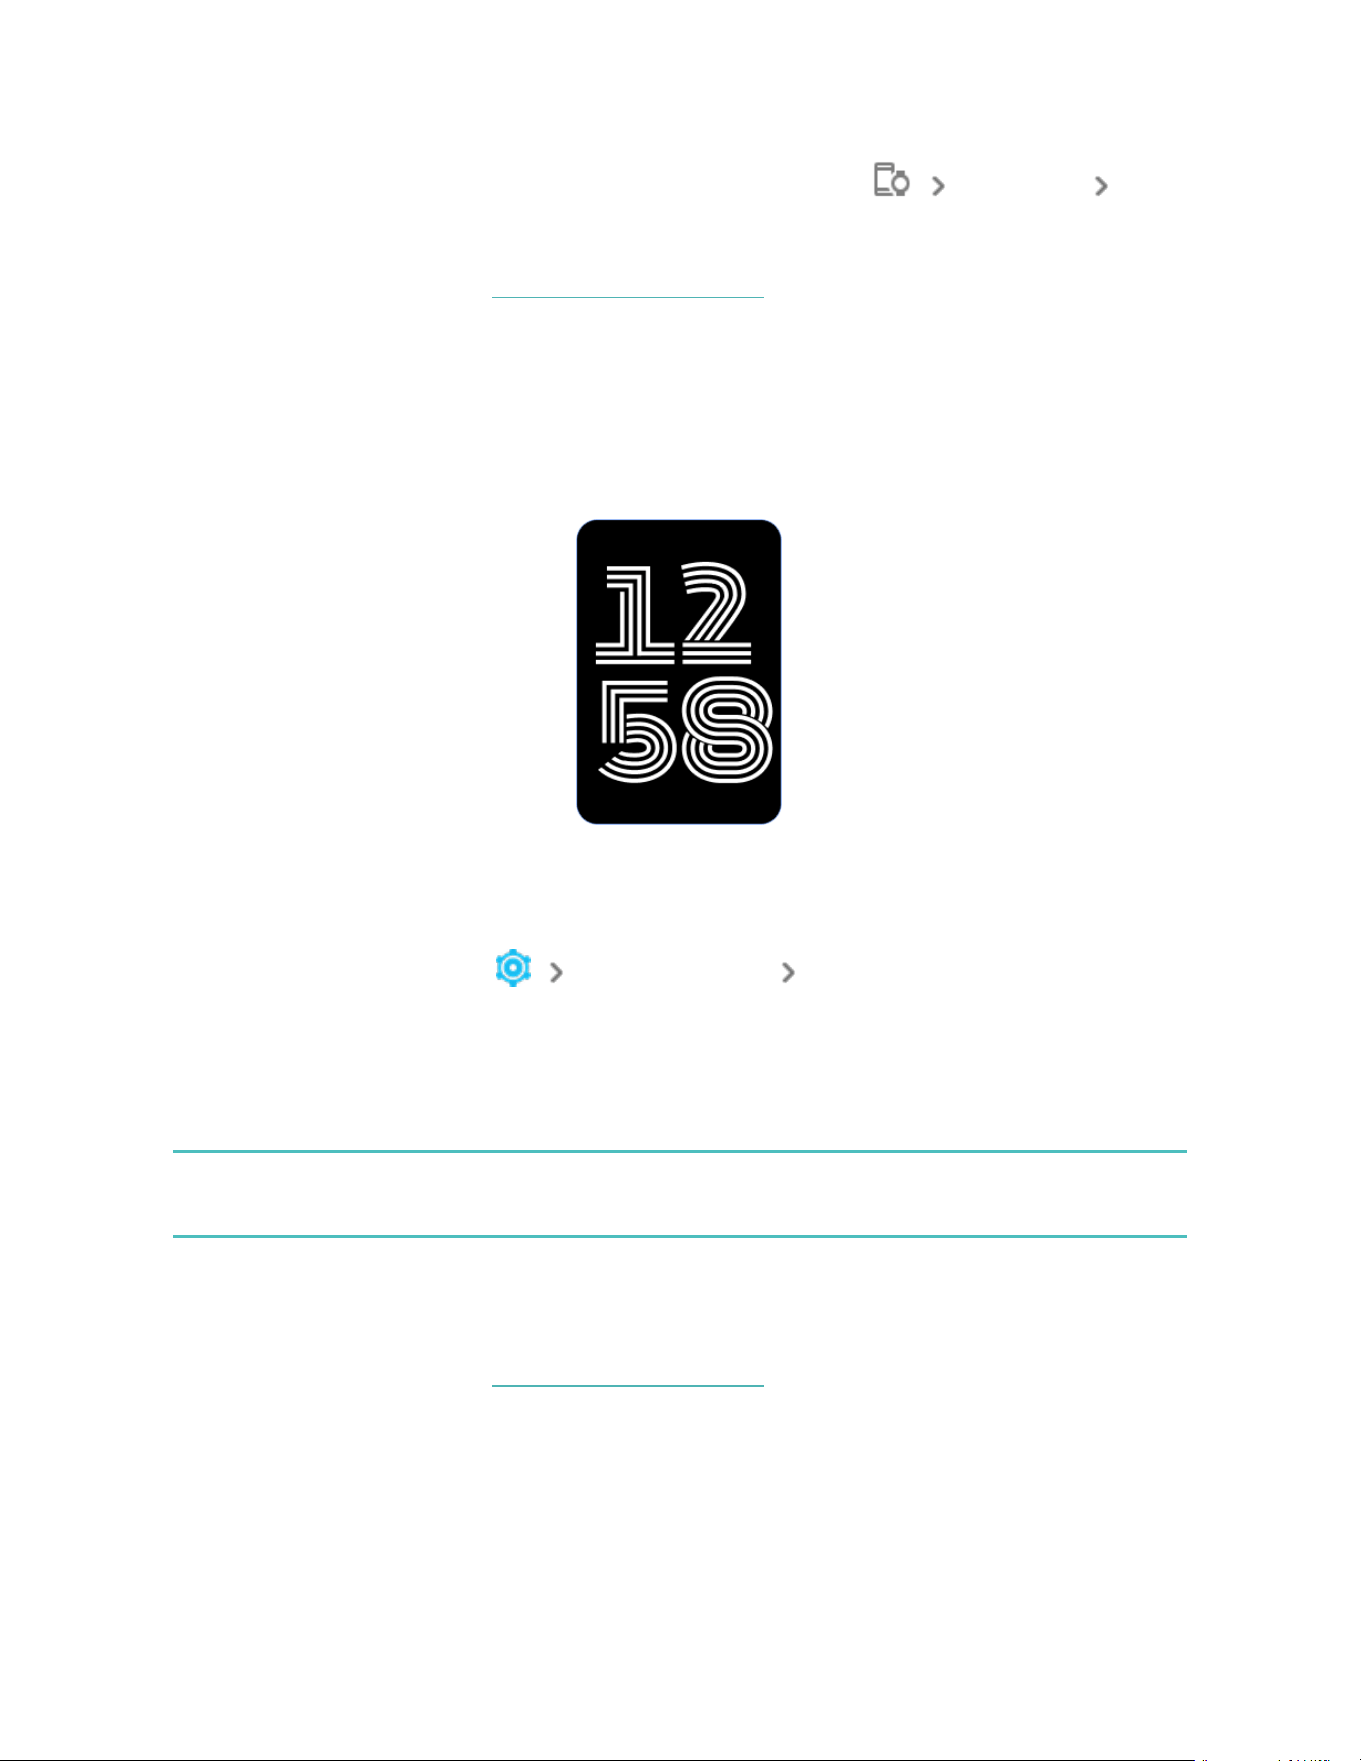
Change the clock face
The Fitbit Gallery offers a variety of clock faces to personalize your tracker.
1.
From the Today tab in the Fitbit app, tap the devices icon Charge 6.
2.
Tap Gallery Clocks tab.
3. Browse the available clock faces. Tap a clock face to see a detailed view.
4. Tap Install to add the clock face to Charge 6.
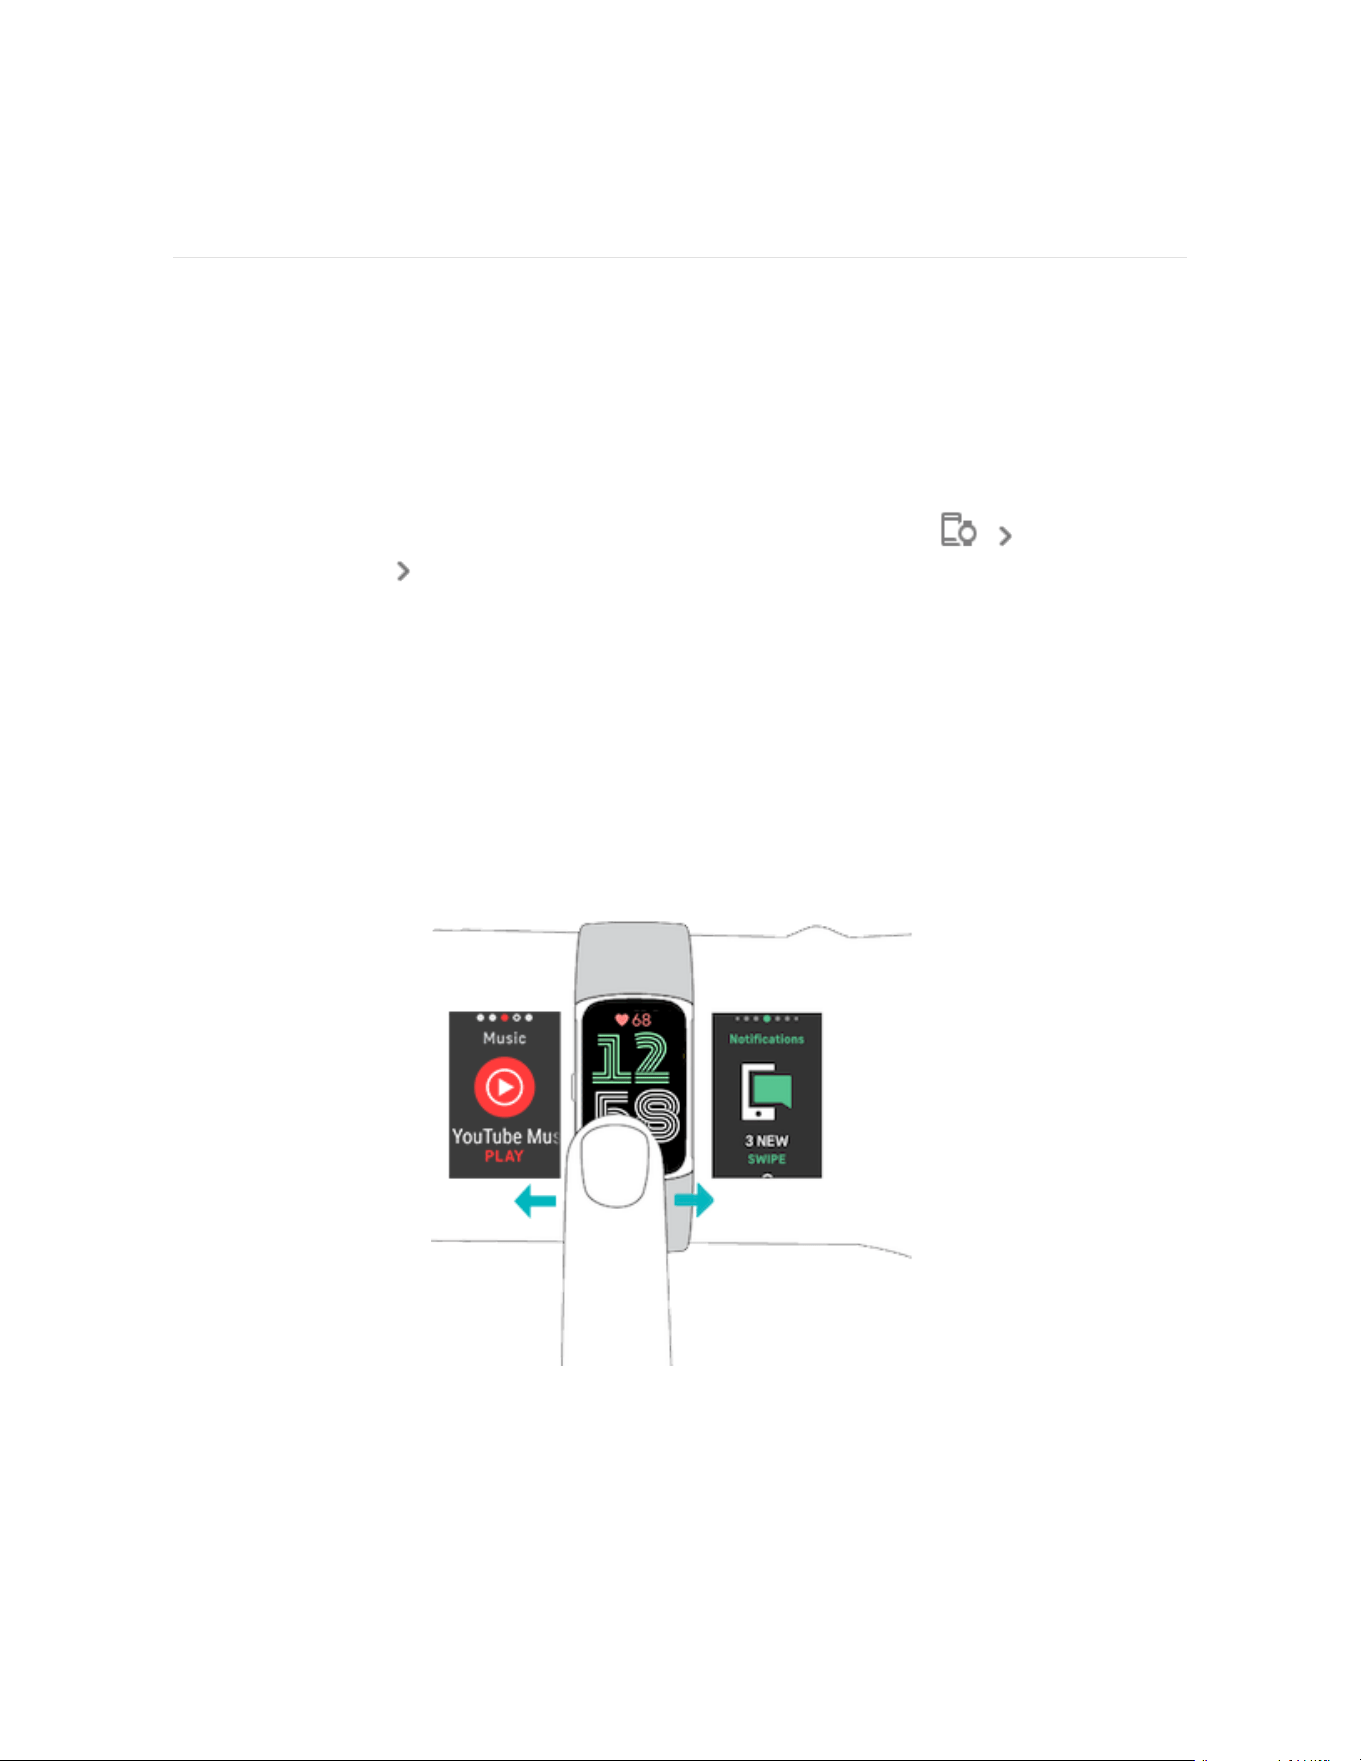
Open apps
From the clock face, swipe left and right to see the apps installed on your tracker.
Swipe up or tap an app to open it. Swipe right to return to a previous screen, or
press the button to return to the clock screen.
24

Find Phone
Use the Find Phone app to locate your phone.
Requirements:
l
Your tracker must be connected (“paired”) to the phone you want to locate.
l
Your phone must have Bluetooth turned on and be within 30 feet (10m) of
your Fitbit device.
l
The Fitbit app must be running in the background on your phone.
l
Your phone must be turned on.
To find your phone:
1. Swipe down from the clock face to access quick settings.
2. Open the Find Phone app on your tracker.
3. Tap Find Phone. Your phone rings loudly.
4. When you locate your phone, tap Cancel to end the ringtone.
25
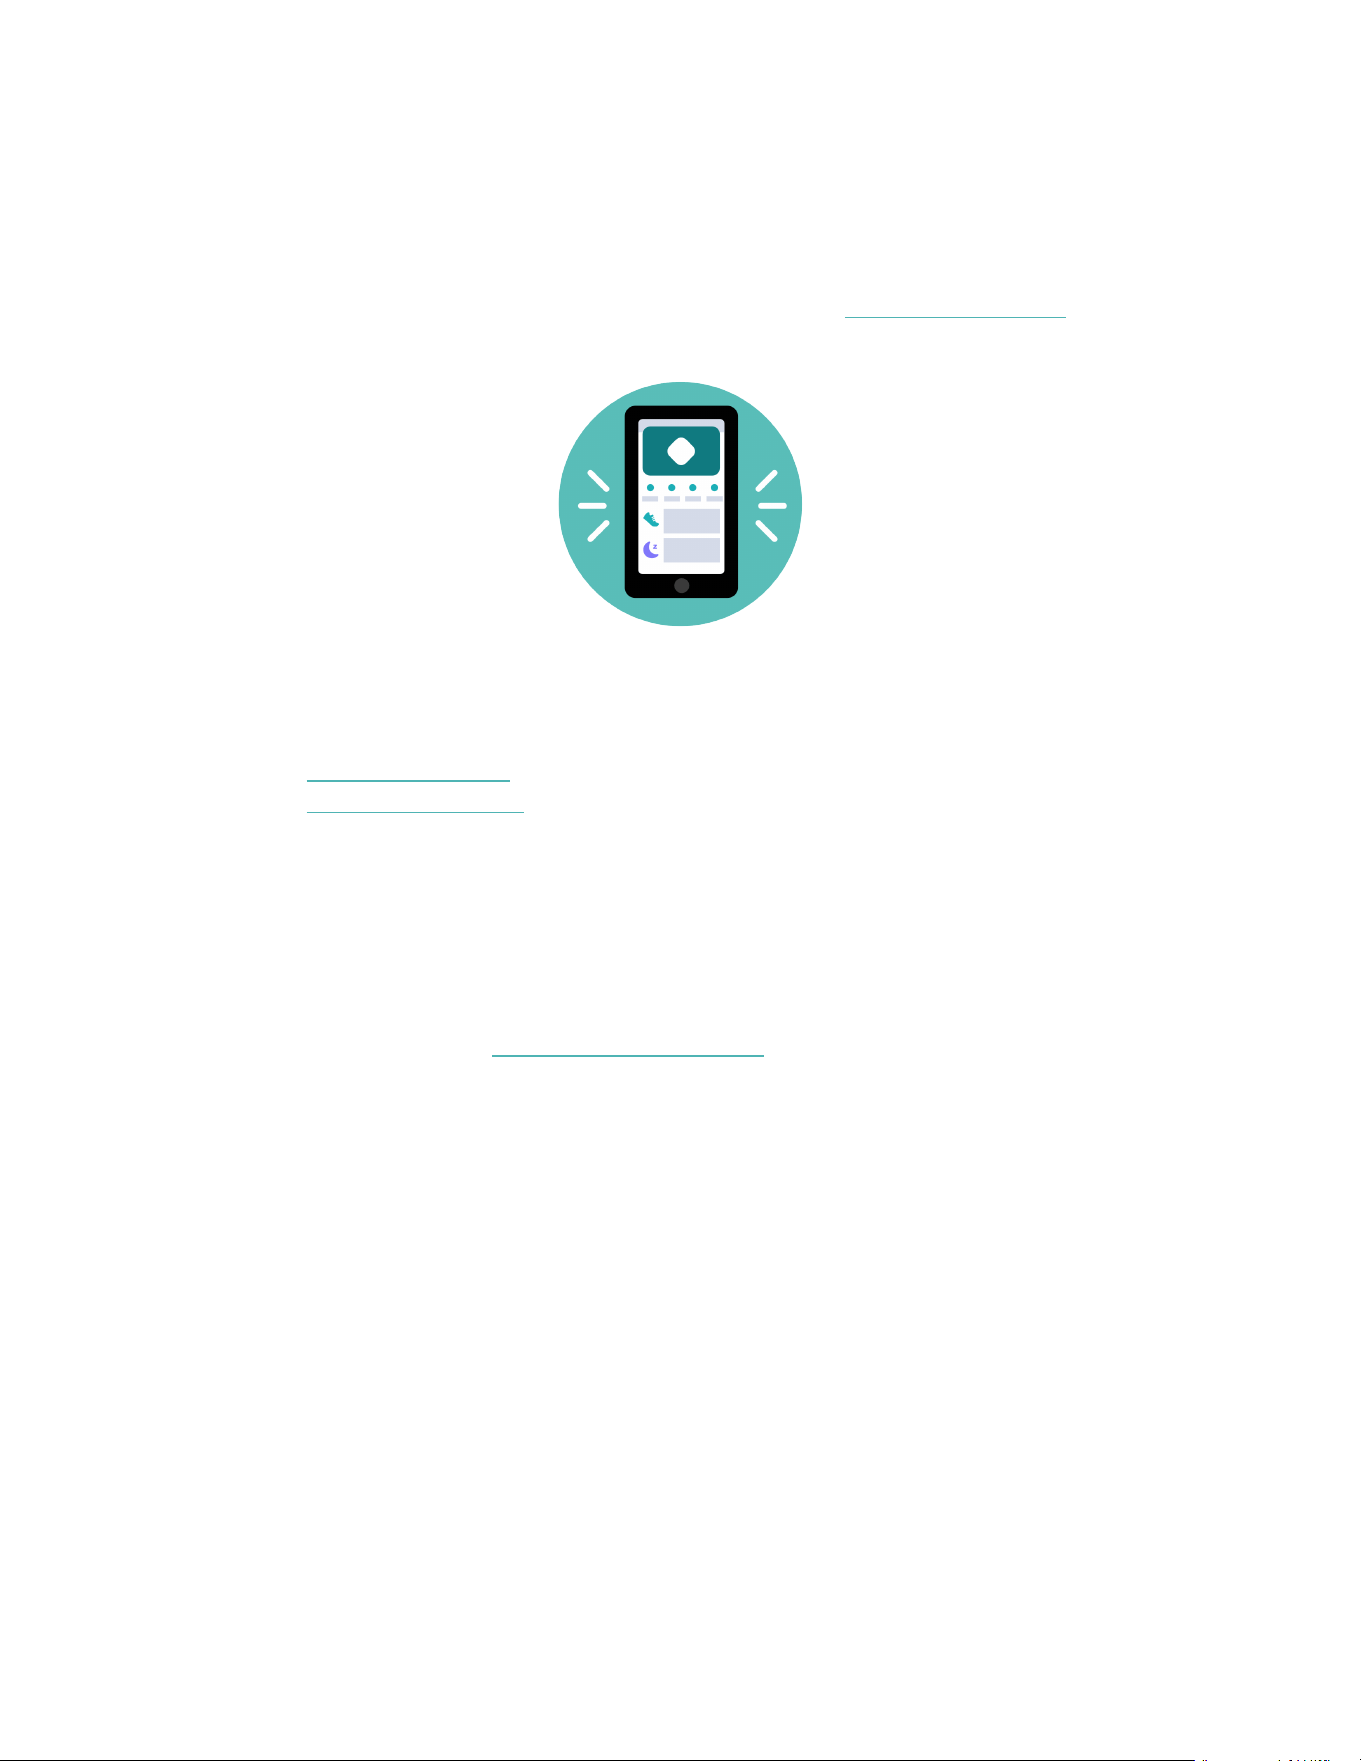
Notifications from your phone
Charge 6 can show call, text, calendar, and app notifications from your phone to
keep you informed. Keep your tracker within 30 feet of your phone to receive
notifications.
Set up notifications
Check that Bluetooth on your phone is on and that your phone can receive
notifications (often under Settings Notifications). Then set up notifications:
1.
From the Today tab in the Fitbit app, tap the devices icon Charge 6.
2. Tap Notifications.
3. Follow the on-screen instructions to pair your tracker if you haven't already.
Call, text, and calendar notifications are turned on automatically.
4. To turn on notifications from apps installed on your phone, including Fitbit and
WhatsApp, tap App Notifications and turn on the notifications you want to
see.
Note that if you have an iPhone, Charge 6 shows notifications from all calendars
synced to the Calendar app. If you have an Android phone, Charge 6 shows
calendar notifications from the calendar app you chose during setup.
For more information, see the related help article.
See incoming notifications
A notification causes your tracker to vibrate. Tap the notification to expand the
message.
If you don't read the notification when it arrives, you can check it later in the
Notifications app . Swipe right or left to the Notifications app, then swipe up to
open it.
26

Manage notifications
Charge 6 stores up to 10 notifications, after which the oldest are replaced as you
receive new ones.
Manage notifications in the Notifications app :
l
Swipe up to scroll through your notifications, and tap any notification to
expand it.
l
To delete a notification, tap to expand it, then swipe to the bottom and tap
Clear.
l
To delete all notifications at once, swipe up until you reach the end of your
notifications and tap Clear All.
l
To exit the notifications screen, press the button or swipe right.
Turn off notifications
Turn off certain notifications in the Fitbit app, or turn off all notifications in quick
settings on Charge 6. When you turn off all notifications, your tracker won't vibrate
and the screen won't turn on when your phone receives a notification.
To turn off certain notifications:
1.
From the Today tab in the Fitbit app on your phone, tap the devices icon
Charge 6 Notifications.
2. Turn off the notifications you no longer want to receive on your tracker.
27
To turn off all notifications:
1. From the clock face, swipe down to access quick settings.
2. Turn on DNDMode. All notifications and reminders are turned off.
Note that if you use the do not disturb setting on your phone, you don't receive
notifications on your tracker until you turn off this setting.
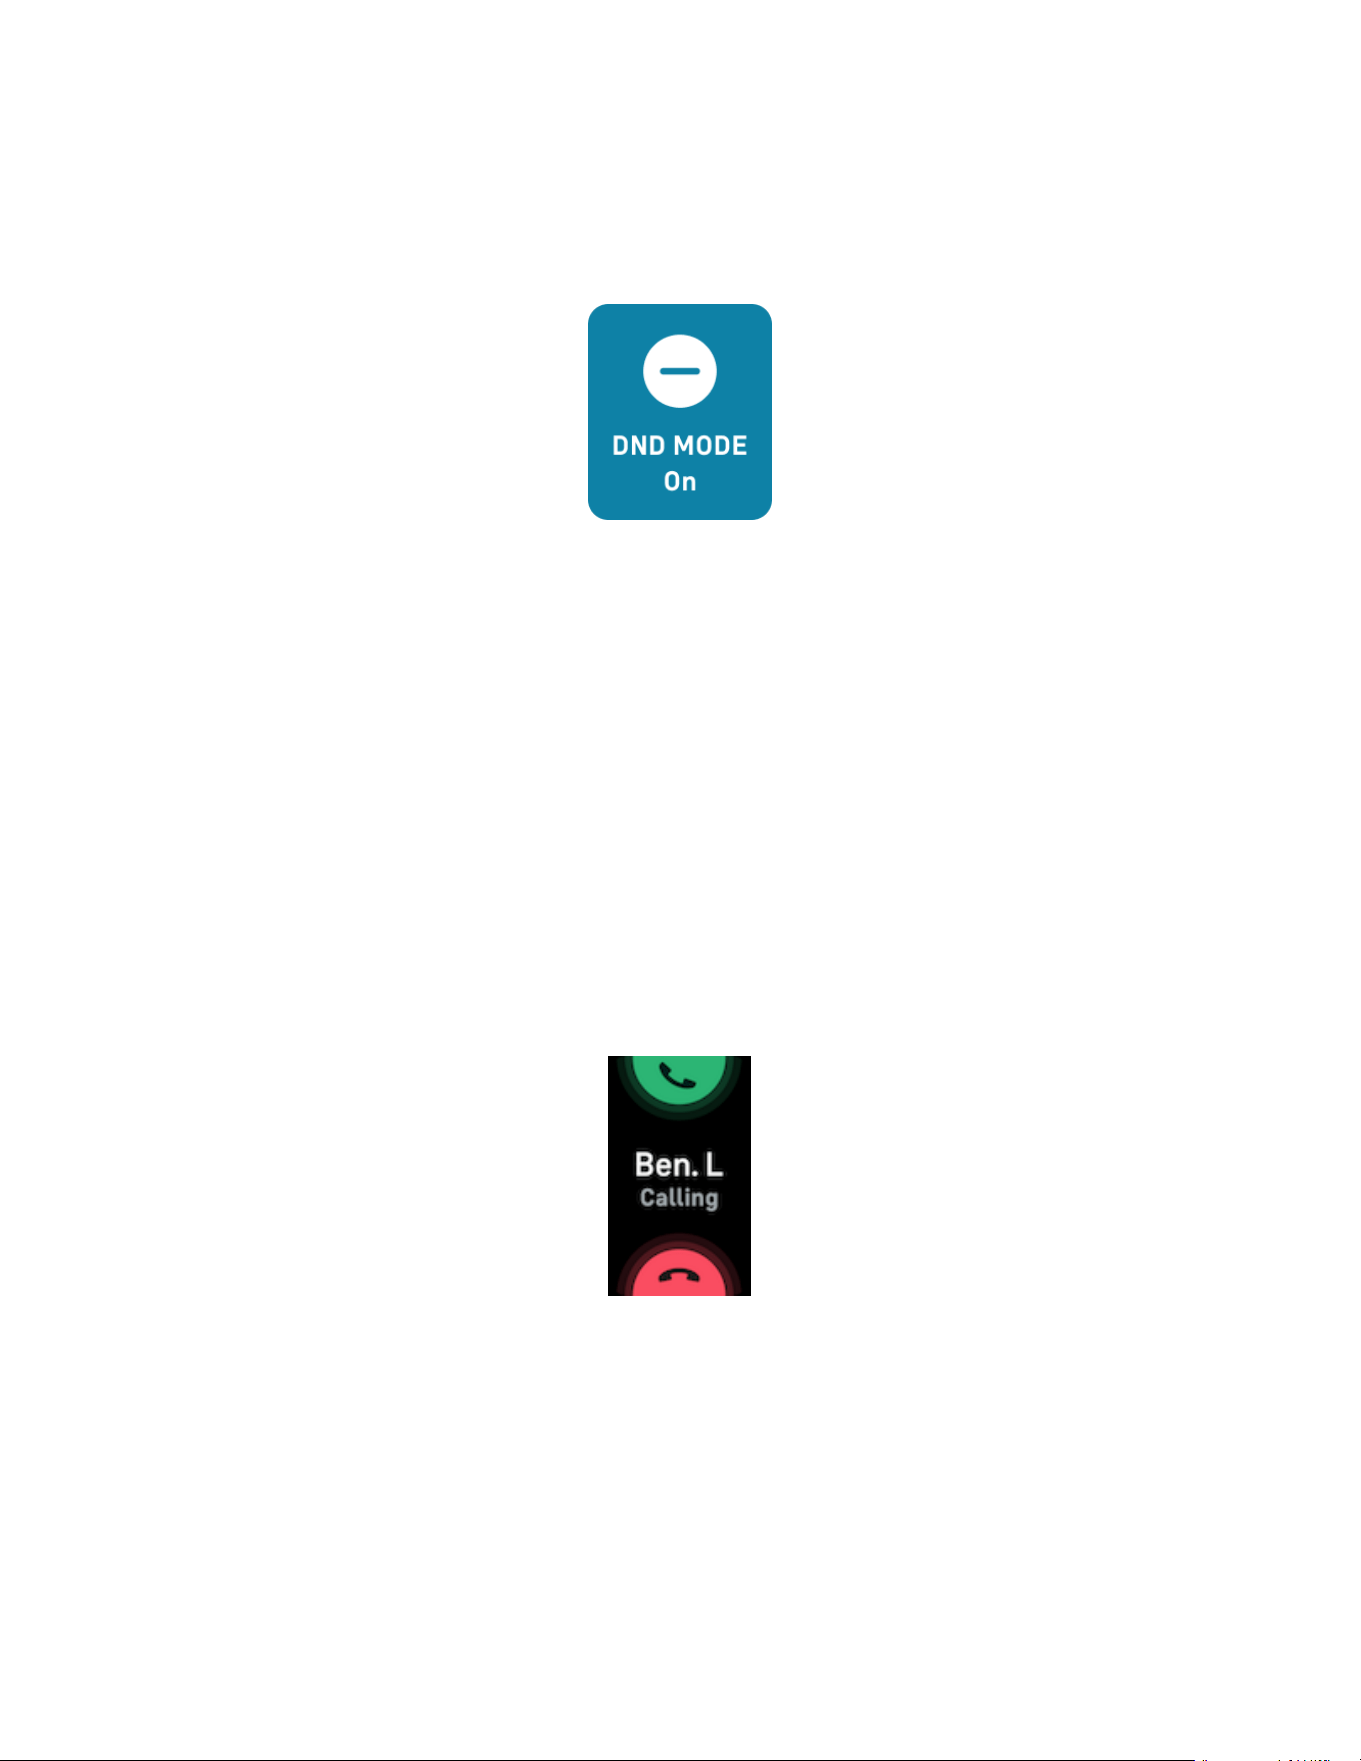
Answer or reject phone calls
If paired to an iPhone or Android phone, Charge 6 lets you accept or reject
incoming phone calls.
To accept a call, tap the green phone icon on your tracker's screen. Note that you
can't speak into the tracker—accepting a phone call answers the call on your nearby
phone. To reject a call, tap the red phone icon to send the caller to voicemail.
The caller's name appears if that person is in your contacts list; otherwise you see a
phone number.
28

Respond to messages (Android phones)
Respond directly to text messages and notifications from certain apps on your
tracker with preset quick replies. Keep your phone nearby with the Fitbit app
running in the background to respond to messages from your tracker.
To respond to a message:
1. Open the notification you want to respond to.
2. Choose how to reply to the message:
l
Tap the text icon to respond to a message from a list of quick replies.
l
Tap the emoji icon to respond to the message with an emoji.
For more information, including how to customize quick replies, see the related help
article.
29
Timekeeping
Alarms vibrate to wake or alert you at a time you set. Set up to 8 alarms to occur
once or on multiple days of the week. You can also time events with the stopwatch
or set a countdown timer.
Set an alarm
Set one-time or recurring alarms with the Alarms app . When an alarm goes off,
your tracker vibrates.
When setting an alarm, turn on Smart Wake to allow your tracker to find the best
time to wake you starting 30 minutes before the alarm time you set. It avoids
waking you during deep sleep so you're more likely to wake up feeling refreshed. If
Smart Wake can’t find the best time to wake you, your alarm alerts you at the set
time.
For more information, see the related help article.
Dismiss or snooze an alarm
When an alarm goes off, your tracker vibrates. To dismiss the alarm, swipe up from
the bottom of the screen and tap the dismiss icon . To snooze the alarm for 9
minutes, swipe down from the top of the screen or press the button.
Snooze the alarm as many times as you want. Charge 6 automatically goes into
snooze mode if you ignore the alarm for more than 1 minute.
30
Use the timer or stopwatch
Time events with the stopwatch or set a countdown timer with the Timer app
on your tracker. You can run the stopwatch and countdown timer at the same time.
If always-on display is on, the screen continues to display the stopwatch or
countdown timer until it ends or you exit the app.
For more information, see the related help article.
31
Activity and Wellness
Charge 6 continuously tracks a variety of stats whenever you wear it, including
hourly activity, heart rate, and sleep. Data automatically syncs with the Fitbit app
throughout the day.
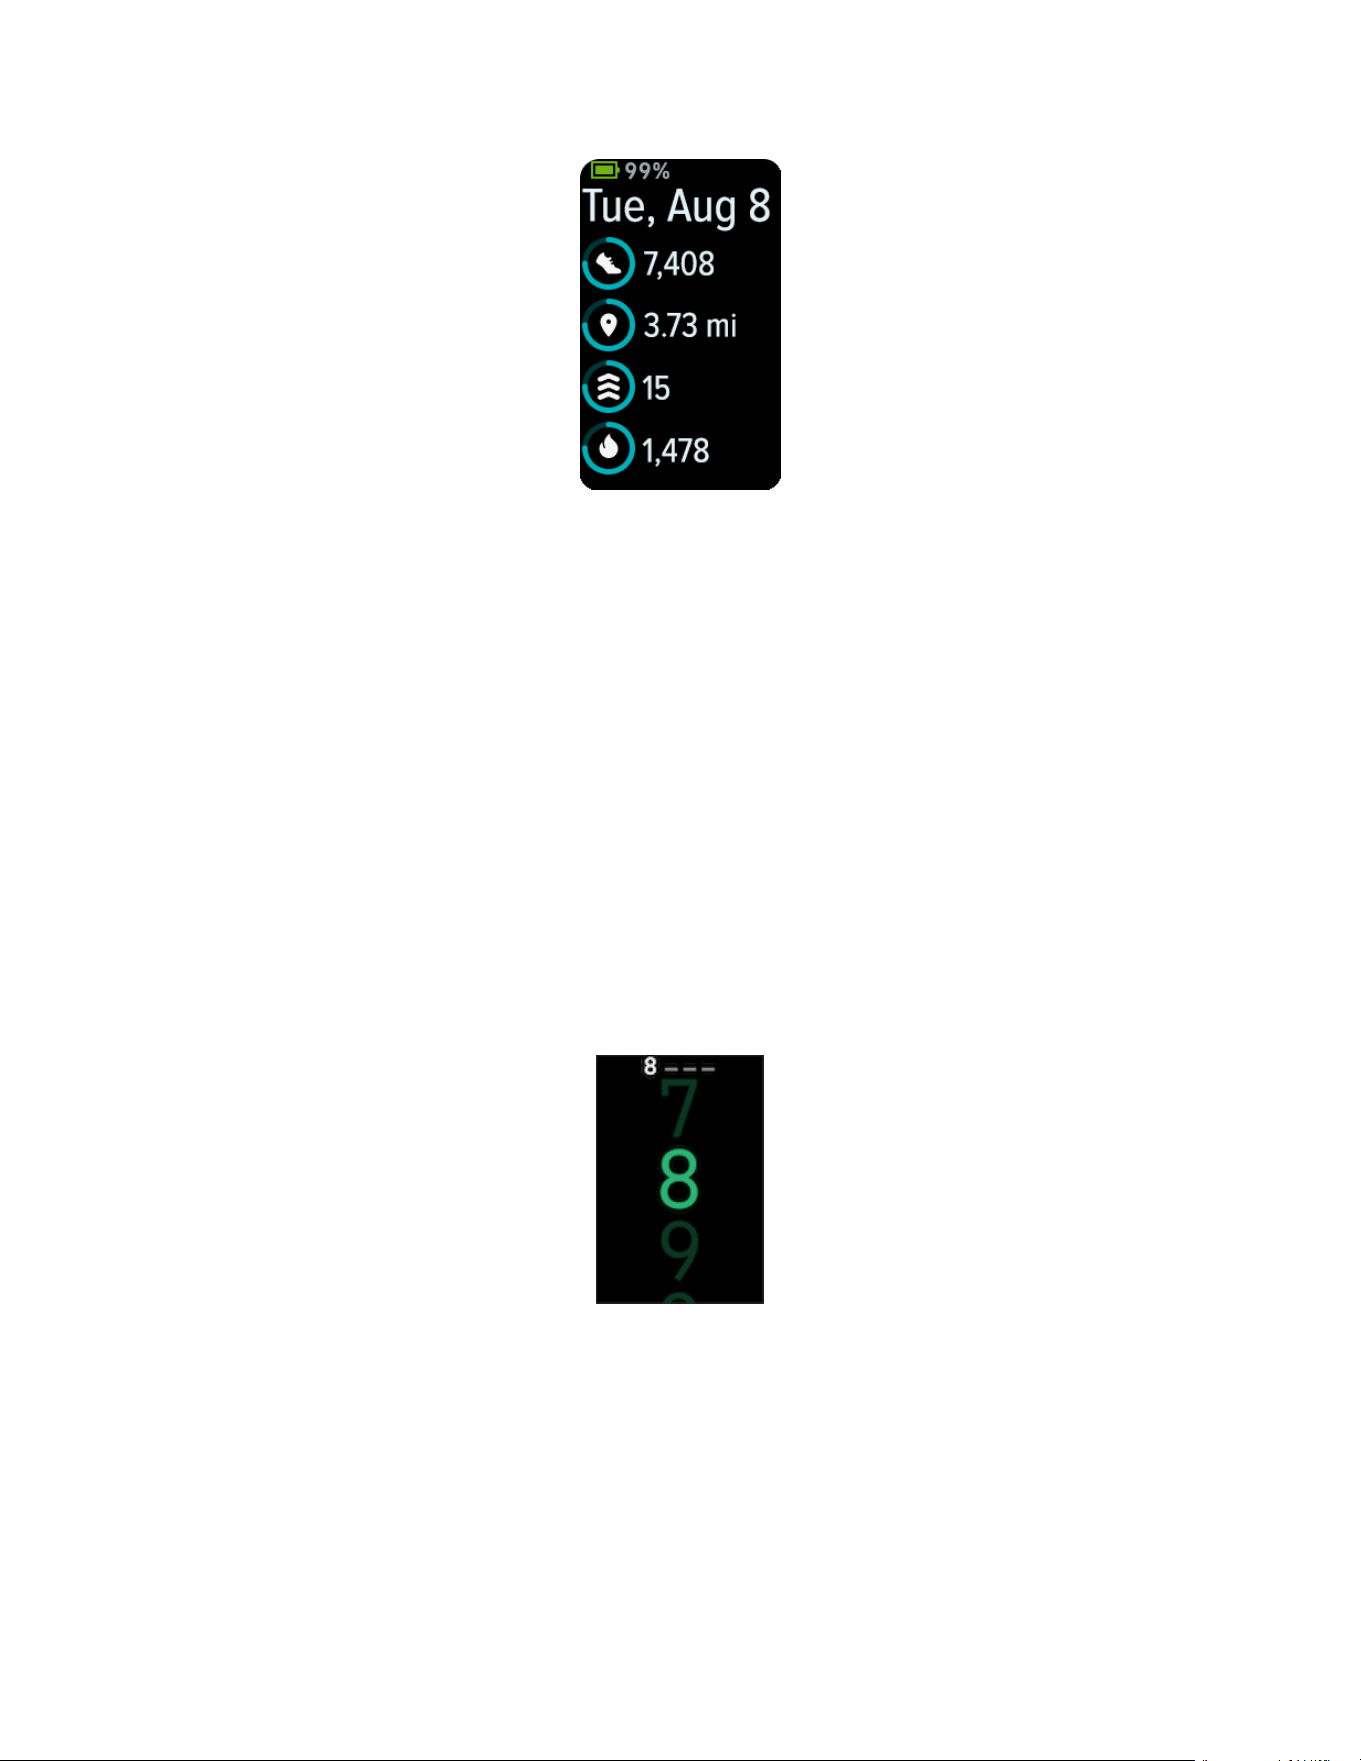
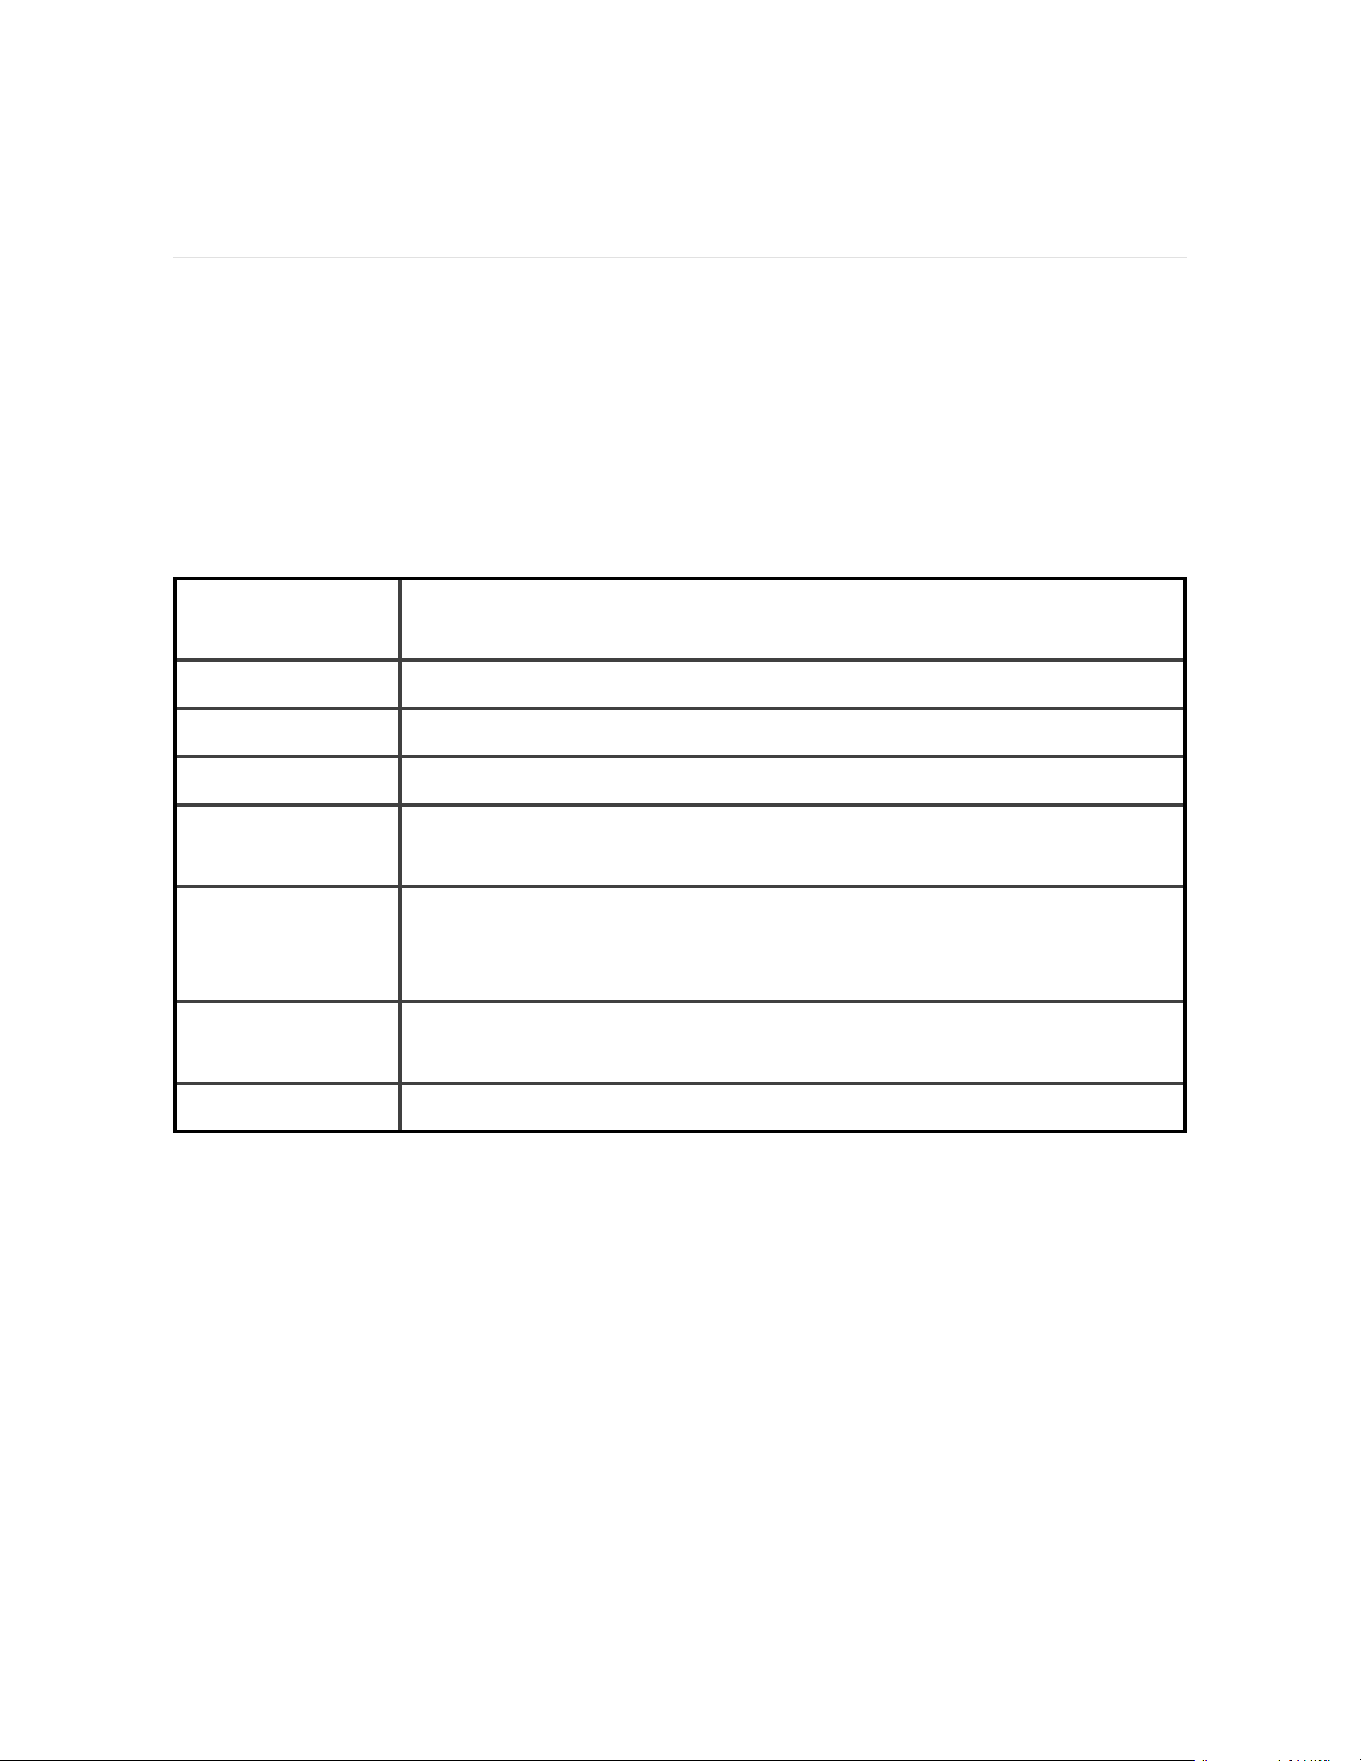
See your stats
Swipe up from the clock face to see your daily stats, including:
Core stats Steps taken today, distance covered, Active Zone Minutes, and
calories burned.
Exercise Number of days you met your exercise goal this week
Heart rate Current heart rate and resting heart rate
Hourly activity The number of hours today you met your hourly activity goal
Menstrual health Information on the current stage of your menstrual cycle, if
applicable
Oxygen
Saturation
(SpO2)
Your most recent resting SpO2 average
Readiness
(Premium only)
Your daily readiness score
Sleep Sleep duration and sleep score
If you set a goal in the Fitbit app, a ring shows your progress toward that goal.
Find your complete history and other information detected by your tracker in the
Fitbit app on your phone.
32

Track a daily activity goal
Charge 6 tracks your progress toward a daily activity goal of your choice. When you
reach your goal, your tracker vibrates and shows a celebration.
Choose a goal
Set a goal to help you get started on your health and fitness journey. To begin, your
goal is to take 10,000 steps per day. Choose to change the number of steps, or pick
a different activity goal.
For more information, see the related help article.
Track progress toward your goal on Charge 6. For more information, see "See your
stats" on the previous page.
Track your hourly activity
Charge 6 helps you stay active throughout the day by keeping track of when you're
stationary and reminding you to move.
Reminders nudge you to walk at least 250 steps each hour. You feel a vibration and
see a reminder on your screen at 10 minutes before the hour if you haven't walked
250 steps. When you meet the 250-step goal after receiving the reminder, you feel
a second vibration and see a congratulatory message.
For more information, see the related help article.
33

Track your sleep
Wear Charge 6 to bed to automatically track basic stats about your sleep, including
your time asleep, sleep stages (time spent in REM, light sleep, and deep sleep), and
sleep score (the quality of your sleep).
Charge 6 also tracks your estimated oxygen variation throughout the night to help
you uncover potential breathing disturbances, as well as your skin temperature to
see how it varies from your personal baseline and SpO2 levels, which estimate the
amount of oxygen in your blood.
To see your sleep stats, sync your tracker when you wake up and check the Fitbit
app, or swipe up from the clock face on your tracker.
For more information, see the related help article.
Set a sleep goal
To start, you have a sleep goal of 8 hours of sleep per night. Customize this goal to
meet your needs.
For more information, see the related help article.
Get insights into your long-term sleep behaviors
With a Premium subscription, understand and take steps to help improve your
sleeping habits with a monthly sleep profile. Each month, wear your Fitbit device to
sleep for at least 14 days out of the month. On the 1st of each month, check the
Fitbit app to receive a breakdown of your sleep with 10 monthly metrics, along with
a sleep animal that reflects long-term trends in your sleep behaviors.
For more information, see the related help article.
Learn about your sleep habits
With a Fitbit Premium subscription, see more details about your sleep score and
how you compare to your peers, which can help you build a better sleep routine and
wake up feeling refreshed.
34
For more information, see the related help article.
Manage stress
Track and manage your stress with mindfulness features.
Use the EDA Scan app
The EDA Scan app on Charge 6 detects electrodermal activity which may
indicate your body's response to stress. Because your sweat level is controlled by
the sympathetic nervous system, these changes can show meaningful trends about
how your body responds to stress.
1.
On your tracker, swipe left or right to the EDA Scan app and tap to open it.
2. To begin a scan the same length as your previous scan, tap the play icon. To
change the length of time for the scan, swipe up and tap Edit length tap
your desired number of minutes.
3. Gently hold the sides of your tracker with your thumb and index finger.
4. Remain still and keep your fingers on your tracker until the scan is complete.
5. If you remove your fingers, the scan pauses. To resume, place your fingers
back on the sides of your tracker. To end the session, tap End session.
6. When the scan is complete, tap a mood to reflect on how you feel, or tap Skip.
7. Swipe up to see the summary of your scan, including your number of EDA
responses, heart rate at the start and end of the session, and reflection if you
logged a reflection.
8. Tap Done to close the summary screen.
9. To see more details about your session, open the Fitbit app on your phone.
From the Today tab, tap the Mindfulness tile Your Journey.
35
For more information, see the related help article.
Check your stress management score
Based on your heart rate, exercise, and sleep data, your stress management score
helps you see if your body is showing signs of stress on a daily basis. The score
ranges from 1 to 100, where a higher number means your body is showing fewer
signs of physical stress. To see your daily stress management score, wear your
tracker to sleep, and open the Fitbit app on your phone the next morning. From the
Today tab, tap the Stress Management tile.
Log how you feel throughout the day to get a clearer picture of how your mind and
body respond to stress. With a Fitbit Premium subscription, see details about your
score breakdown.
For more information, see the related help article.
Advanced health metrics
Know your body better with health metrics in the Fitbit app. This feature helps you
view key metrics tracked by your Fitbit device over time so that you can see trends
and assess what’s changed.
Metrics include:
36

l
Oxygen saturation (SpO2)
l
Skin temperature variation
l
Heart-rate variability
l
Resting heart rate
l
Breathing rate
Note: This feature is not intended to diagnose or treat any medical condition and
should not be relied on for any medical purposes. It is intended to provide
information that can help you manage your well-being. If you have any concerns
about your health, please talk to a healthcare provider. If you believe you are
experiencing a medical emergency, call emergency services.
For more information, see the related help article.
37
Exercise and Heart Health
Automatically track exercise or track activity with the Exercise app to see real-
time stats and a post-workout summary.
Check the Fitbit app to share your activity with friends and family, see how your
overall fitness level compares to your peers, and more.
During a workout, you can control music playing on your phone using YouTube
Music controls on your tracker. Note that YouTube Music controls require a
compatible phone within Bluetooth range and a paid YouTube Music Premium
subscription.
1. Open the YouTube Music app on your phone.
2. Open the Exercise app on Charge 6 and start a workout. To access music
controls while you exercise, swipe down.
3. To return to your workout, swipe up or press the button.
For more information about YouTube Music controls, see the related help article.
Track your exercise automatically
Charge 6 automatically recognizes and records many high-movement activities
which are at least 15 minutes long. See basic stats about your activity in the Fitbit
app on your phone. From the Today tab, tap the Exercise tile. To manage which
activities are tracked automatically, tap the gear icon at the top. Tap the
activity you want to adjust Auto-recognize.
For more information, see the related help article.
38
Track and analyze exercise with the Exercise app
Track specific exercises with the Exercise app on Charge 6 to see real-time
stats, including heart-rate data, calories burned, elapsed time, and a post-workout
summary on your wrist. For complete workout stats, and a workout intensity map if
you used GPS, tap the Exercise tile in the Fitbit app.
For more information about tracking an exercise with GPS, see the related help
article.
Dynamic GPS on Charge 6 allows the tracker to set the GPS type at the start of the
exercise. Charge 6 attempts to connect to the GPS sensors on your phone to
preserve battery life. If your phone isn’t nearby or moving, Charge 6 uses built-in
GPS. Manage your GPS settings in the Settings app . For more information, see
the related help article.
PhoneGPS is available for all supported phones with GPSsensors. For more
information, see the related help article.
1. Turn on Bluetooth and GPS on your phone.
2. Make sure Charge 6 is paired to your phone.
3. Make sure the Fitbit app has permission to use GPS or location services.
4. Make sure the GPSmode on Charge 6 is set to Dynamic or Phone (open the
Settings app GPS GPSMode).
5. Keep your phone with you while you exercise.
Turn on walk, run, or bike ride detect to automatically start the Exercise app when
your tracker recognizes a walk, run, and bike ride. To turn this setting on:
1. Open the Exercise app.
2. Tap the walk, run, or bike option.
3. Swipe up and turn on Walk Detect, Run Detect, or Bike Detect. The next time
your tracker detects this workout type, the Exercise app automatically opens.
Note that if you leave this setting off, basic stats about your walks, runs, and bike
rides are still recorded in the Fitbit app.
39
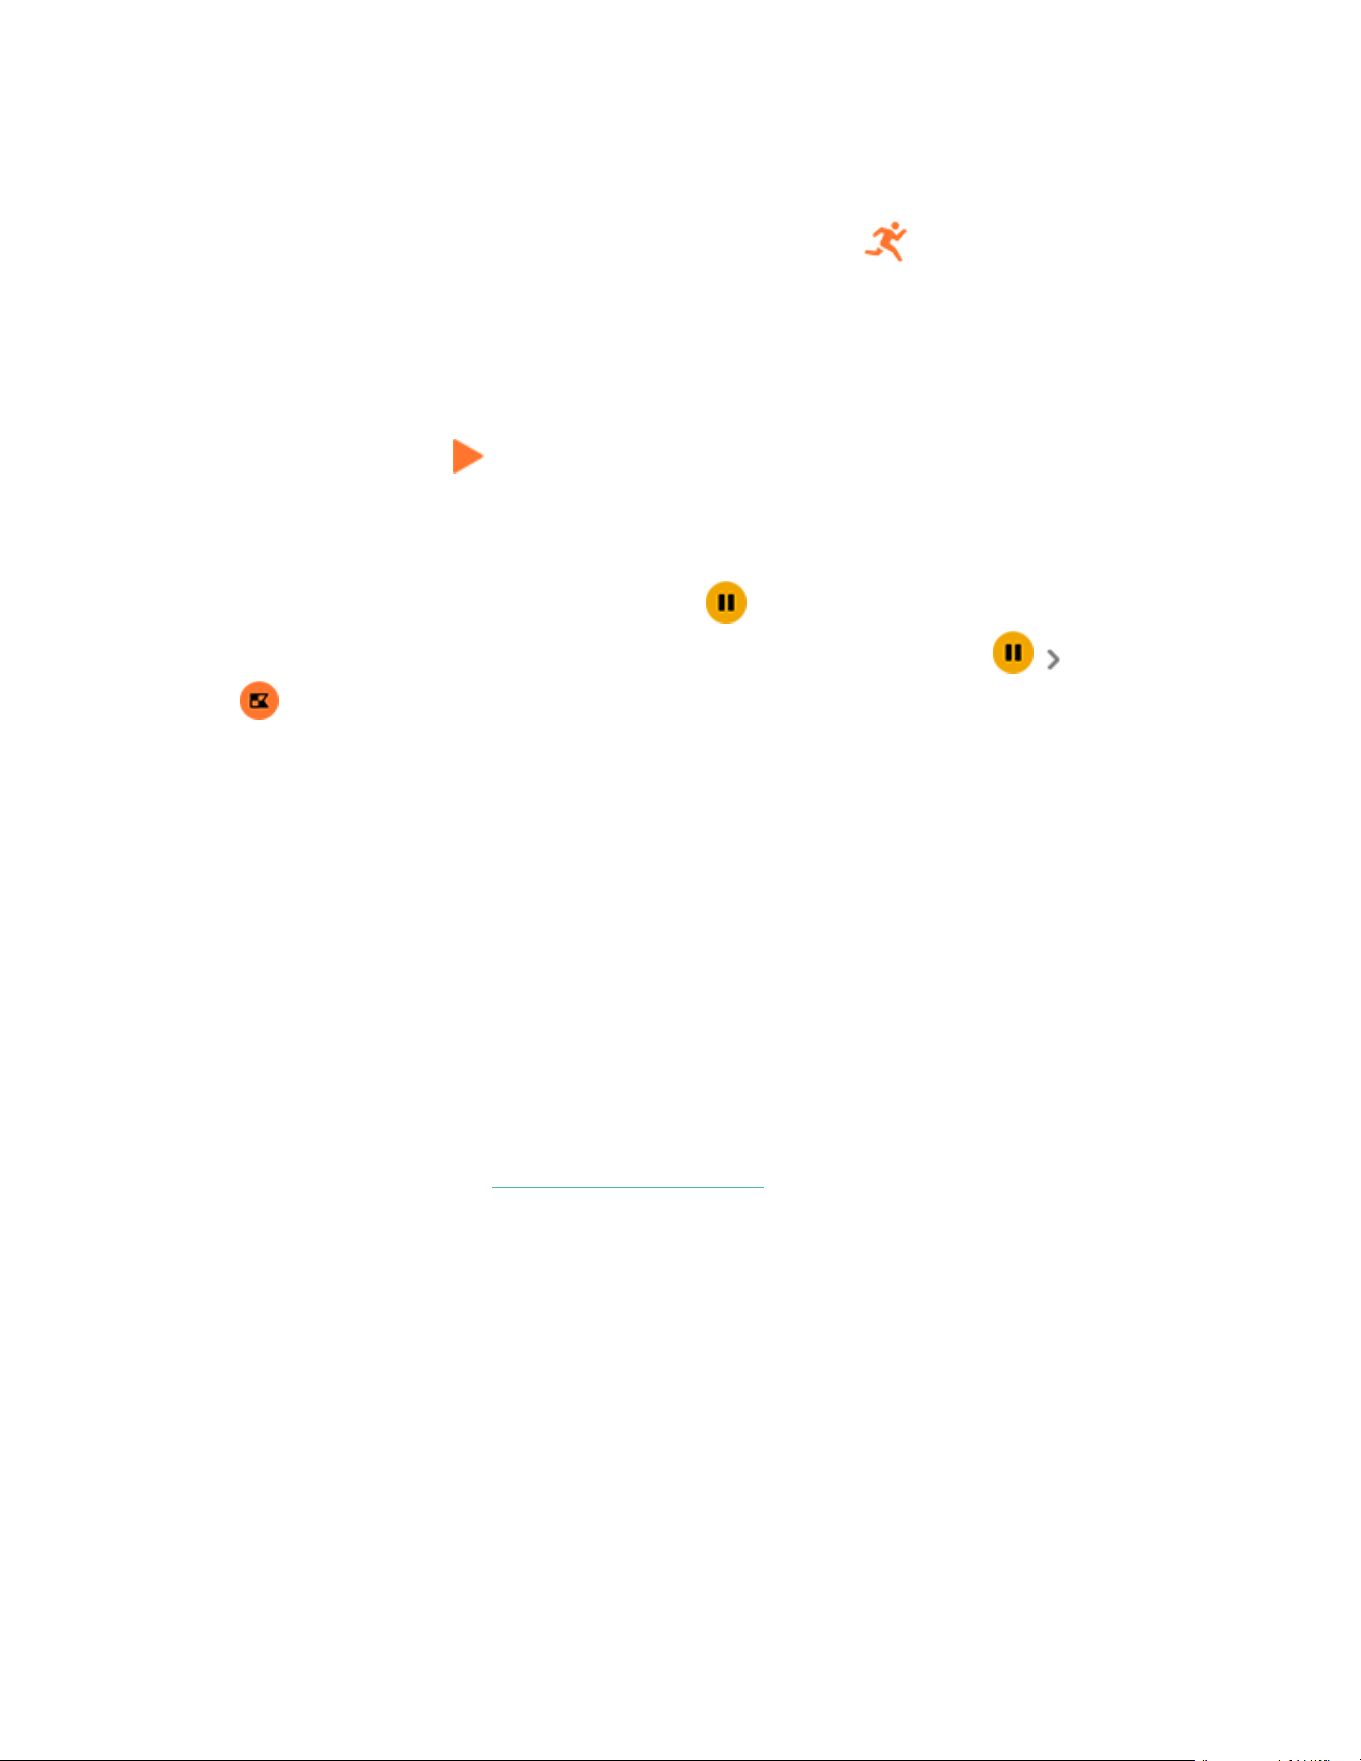
To manually start an exercise:
1.
On Charge 6, swipe left or right to the Exercise app , then swipe up to find
an exercise. Your most recently used exercises appear at the top. Tap More to
find a complete list of exercises.
2. Tap the exercise to choose it. If the exercise uses GPS, you can wait for the
signal to connect, or start the exercise and GPSwill connect when a signal is
available. Note that GPS can take a few minutes to connect.
3.
Tap the play icon to begin the exercise, or swipe up to choose an exercise
goal or adjust the settings. For more information on the settings, see
"Customize your exercise settings" on the facing page.
4. Tap the middle of the screen to scroll through your real-time stats. To pause
your workout, swipe up and tap Pause .
5.
When you're done with your workout, swipe up and tap Pause Finish
. Your workout summary appears.
6. Swipe up and tap Done to close the summary screen.
Notes:
l
If you set an exercise goal, your tracker alerts you when you’re halfway to your
goal and when you reach the goal.
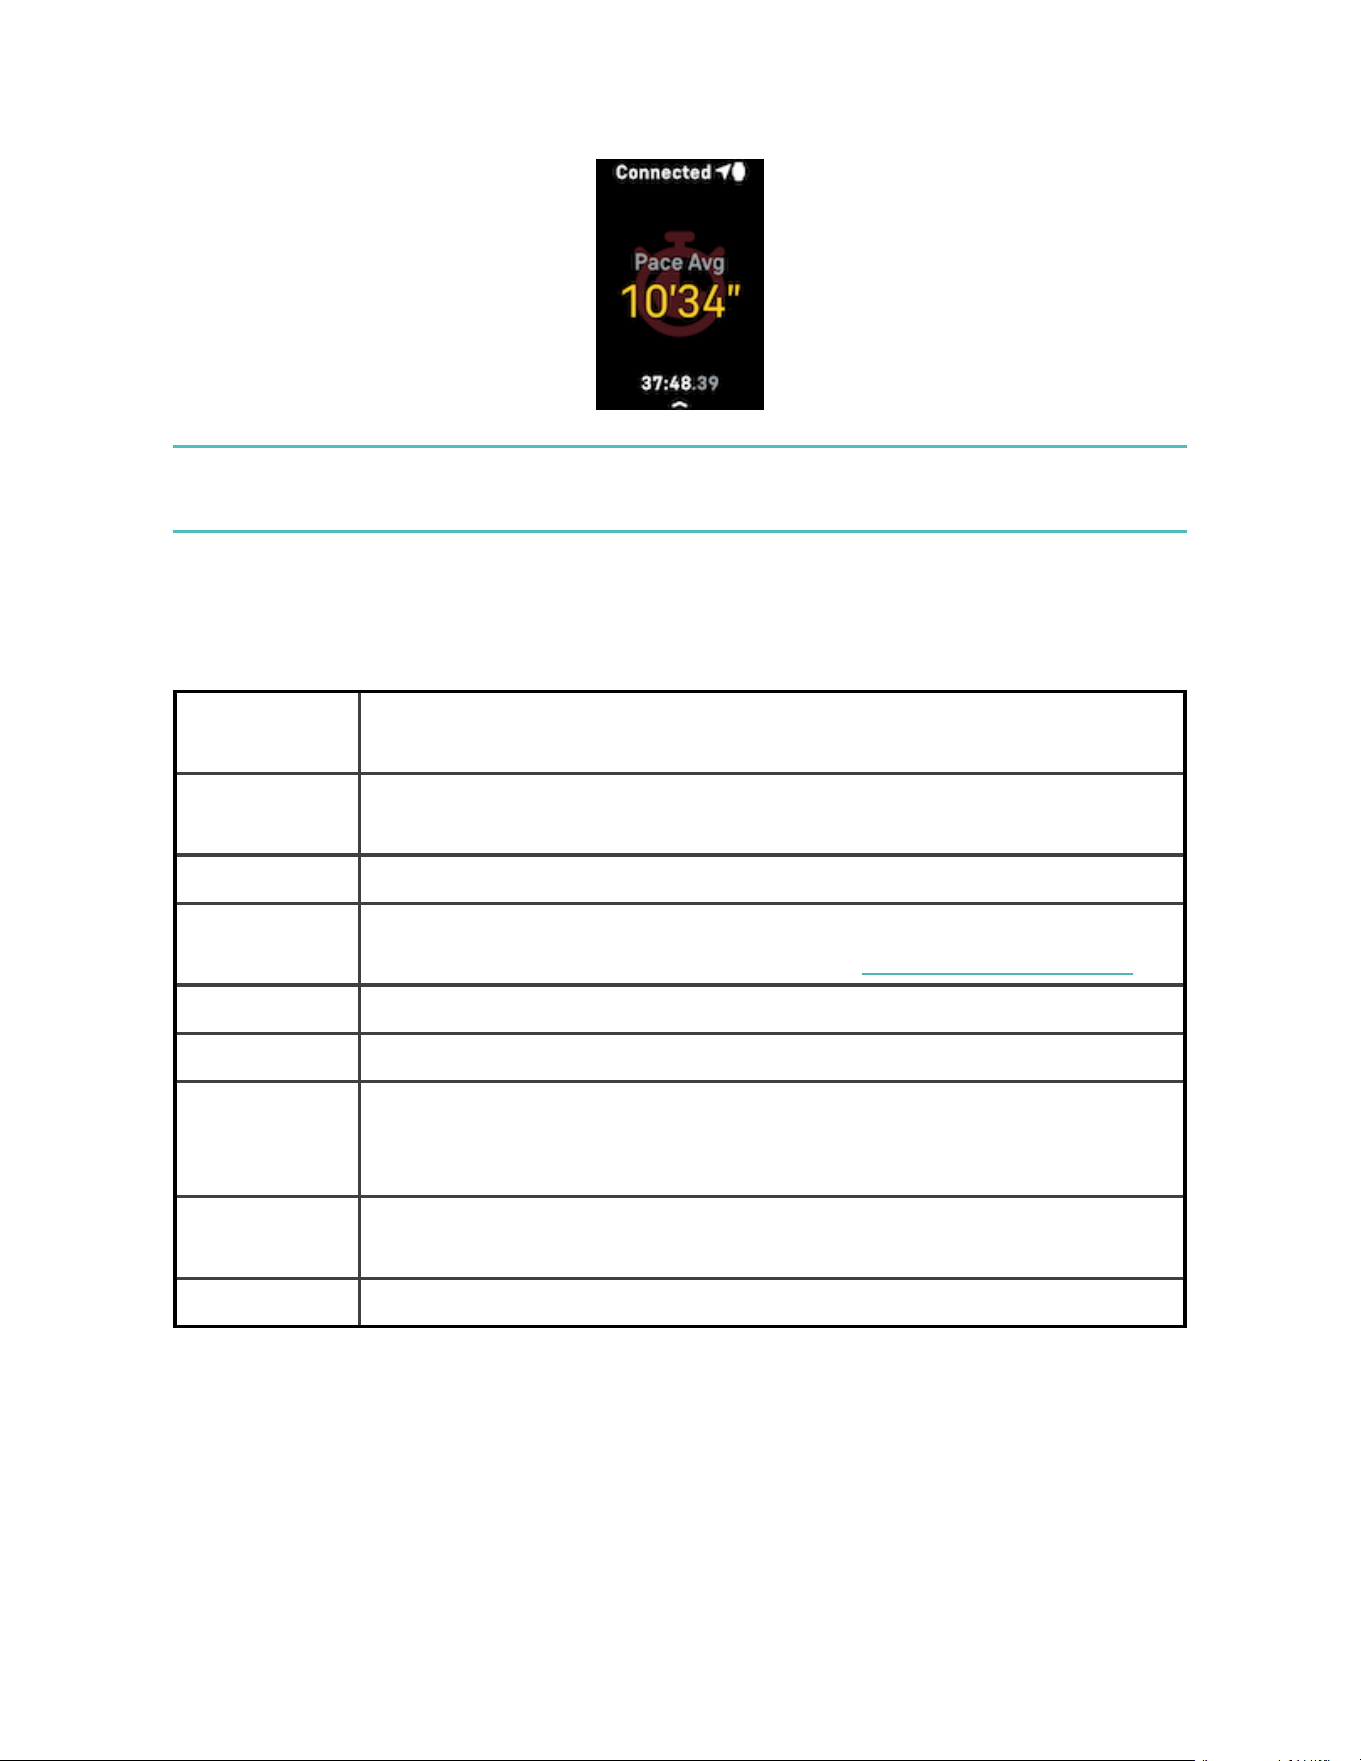
l
If the exercise uses GPS, "GPSconnecting..." appears at the top of the screen.
Charge 6 is connected when the screen says "GPSconnected."
l
Use connected GPS with your nearby phone for activities with a longer
duration, such as golf or a hike, to ensure your full workout is recorded with
GPS.
l
For best results, make sure your tracker's battery is above 80% before you
track an exercise longer than 2 hours with built-in GPS.
For more information, see the related help article.
40
Using built-in GPSimpacts your tracker's battery life. If you use GPStracking
regularly, Charge 6 requires more frequent charging.
Customize your exercise settings
Customize settings for each exercise type on your tracker. Settings include:
Always-on
Display
Keep the screen on during exercise
Auto-Stop Automatically pause a run, walk, or bike ride when you stop
moving
GPS Track your route using GPS
Heart Zone
Notifications
Receive notifications when you hit target heart-rate zones during
your workout.For more information, see the related help article
Set Interval Adjust the move and rest intervals used during interval training
Pool Length Set the length of your pool
Run
/Walk/Bike
Detect
Automatically open the exercise app when your tracker detects a
run, walk, or bike ride.
Set Laps Receive notifications when you reach certain milestones during
your workout
Unit Change the unit of measurement you use for pool length
41

Settings vary based on the exercise. To customize the settings for each exercise
type on your tracker:
1.
Swipe to the Exercise app , then swipe up to find an exercise.
2. Tap the exercise to choose it.
3. Swipe up through the exercise settings. Tap a setting to adjust it.
4.
When you're done, swipe down until you see the play icon .
Check your workout summary
After you complete a workout, Charge 6 shows a summary of your stats.
Check the Exercise tile in the Fitbit app to see additional stats and a workout
intensity map if you used GPS.
Check your heart rate
Charge 6 personalizes your heart-rate zones using your heart rate reserve, which is
the difference between your maximum heart rate and your resting heart rate. To
help you target the training intensity of your choice, check your heart rate and
heart-rate zone on your tracker during exercise. Charge 6 notifies you when you
enter a heart-rate zone.
For more information, see the related help article.
42
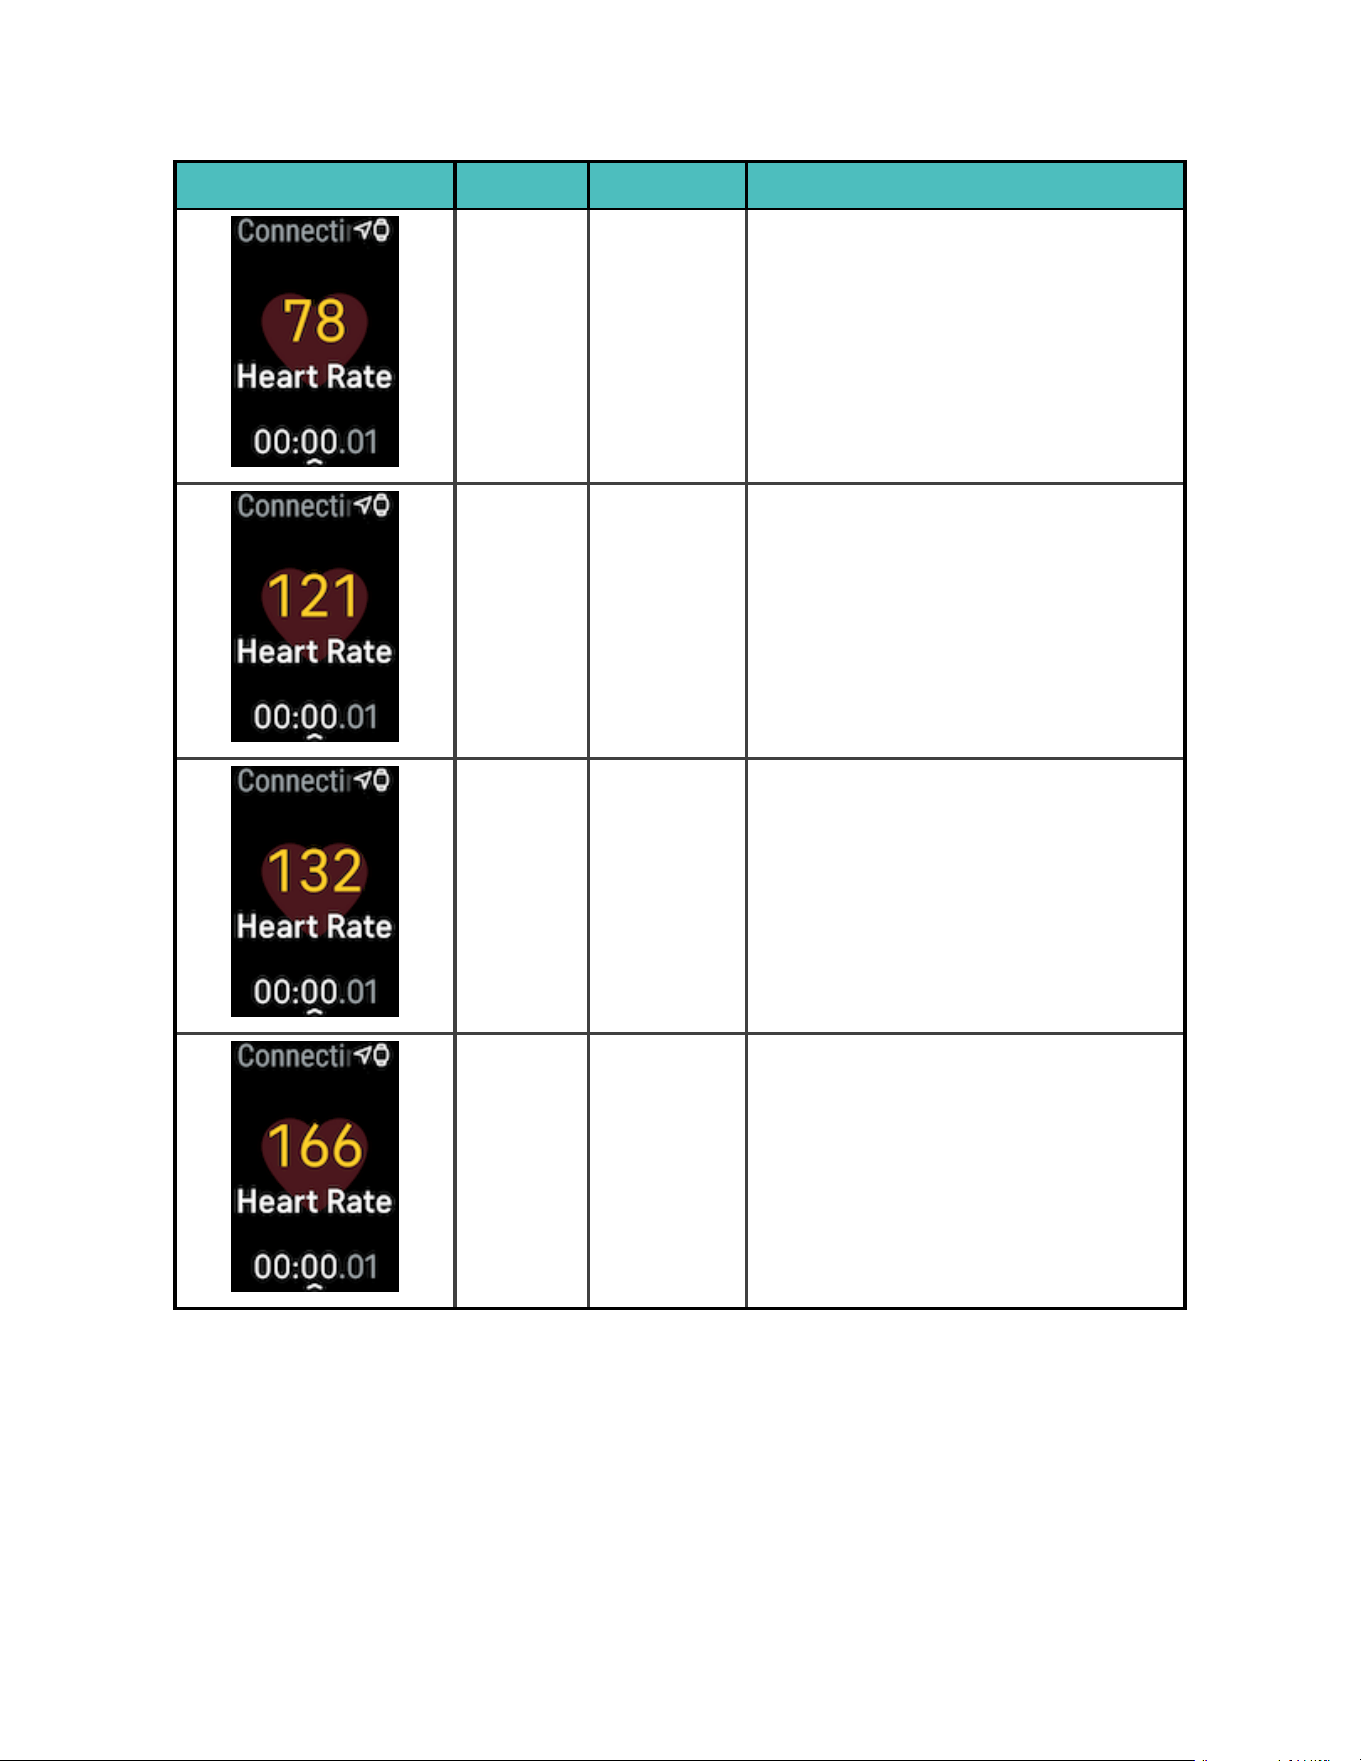
Icon Zone Calculation Description
Below
Zone
Below
40%of
your heart
rate
reserve
Below the fat burn zone, your
heart beats at a slower pace.
Fat Burn
Zone
Between
40% and
59% of
your heart
rate
reserve
In the fat burn zone, you’re likely in
a moderate activity such as a brisk
walk. Your heart rate and
breathing might be elevated, but
you can still carry on a
conversation.
Cardio
Zone
Between
60% and
84% of
your heart
rate
reserve
In the cardio zone, you’re likely
doing a vigorous activity such as
running or spinning.
Peak
Zone
Greater
than 85% of
your heart
rate
reserve
In the peak zone, you’re likely
doing a short, intense activity that
improves performance and speed,
such as sprinting or high-intensity
interval training.
43
Custom heart-rate zones
Instead of using these heart-rate zones, you can create a custom zone in the Fitbit
app to target a specific heart-rate range.
For more information, see the related help article.
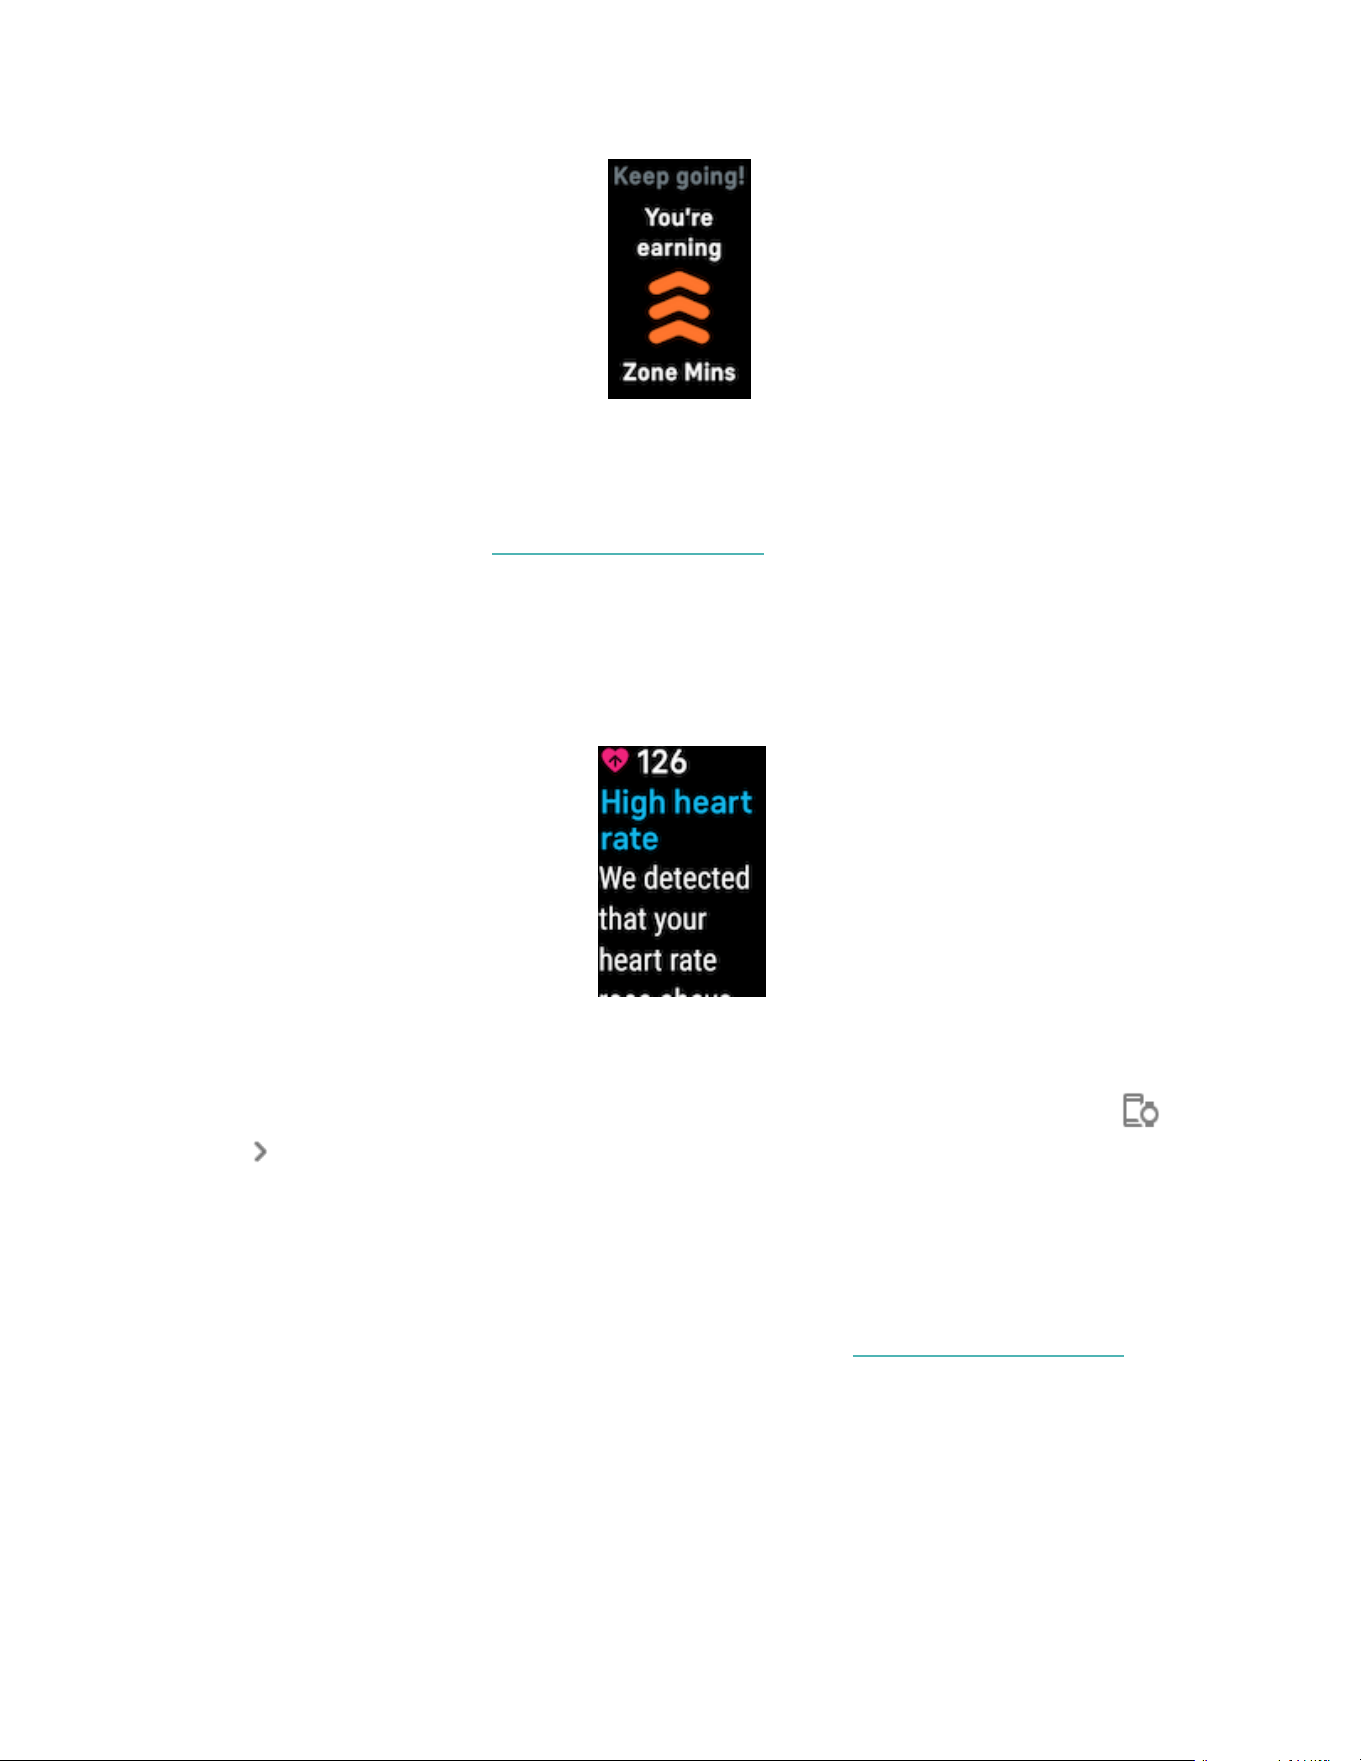
Earn Active Zone Minutes
Earn Active Zone Minutes for time spent in the fat burn, cardio, or peak heart-rate
zones. To help you maximize your time, you earn 2 Active Zone Minutes for each
minute you’re in the cardio or peak zones.
1 minute in the fat burn zone = 1 Active Zone Minute
1 minute in the cardio or peak zones = 2 Active Zone Minutes
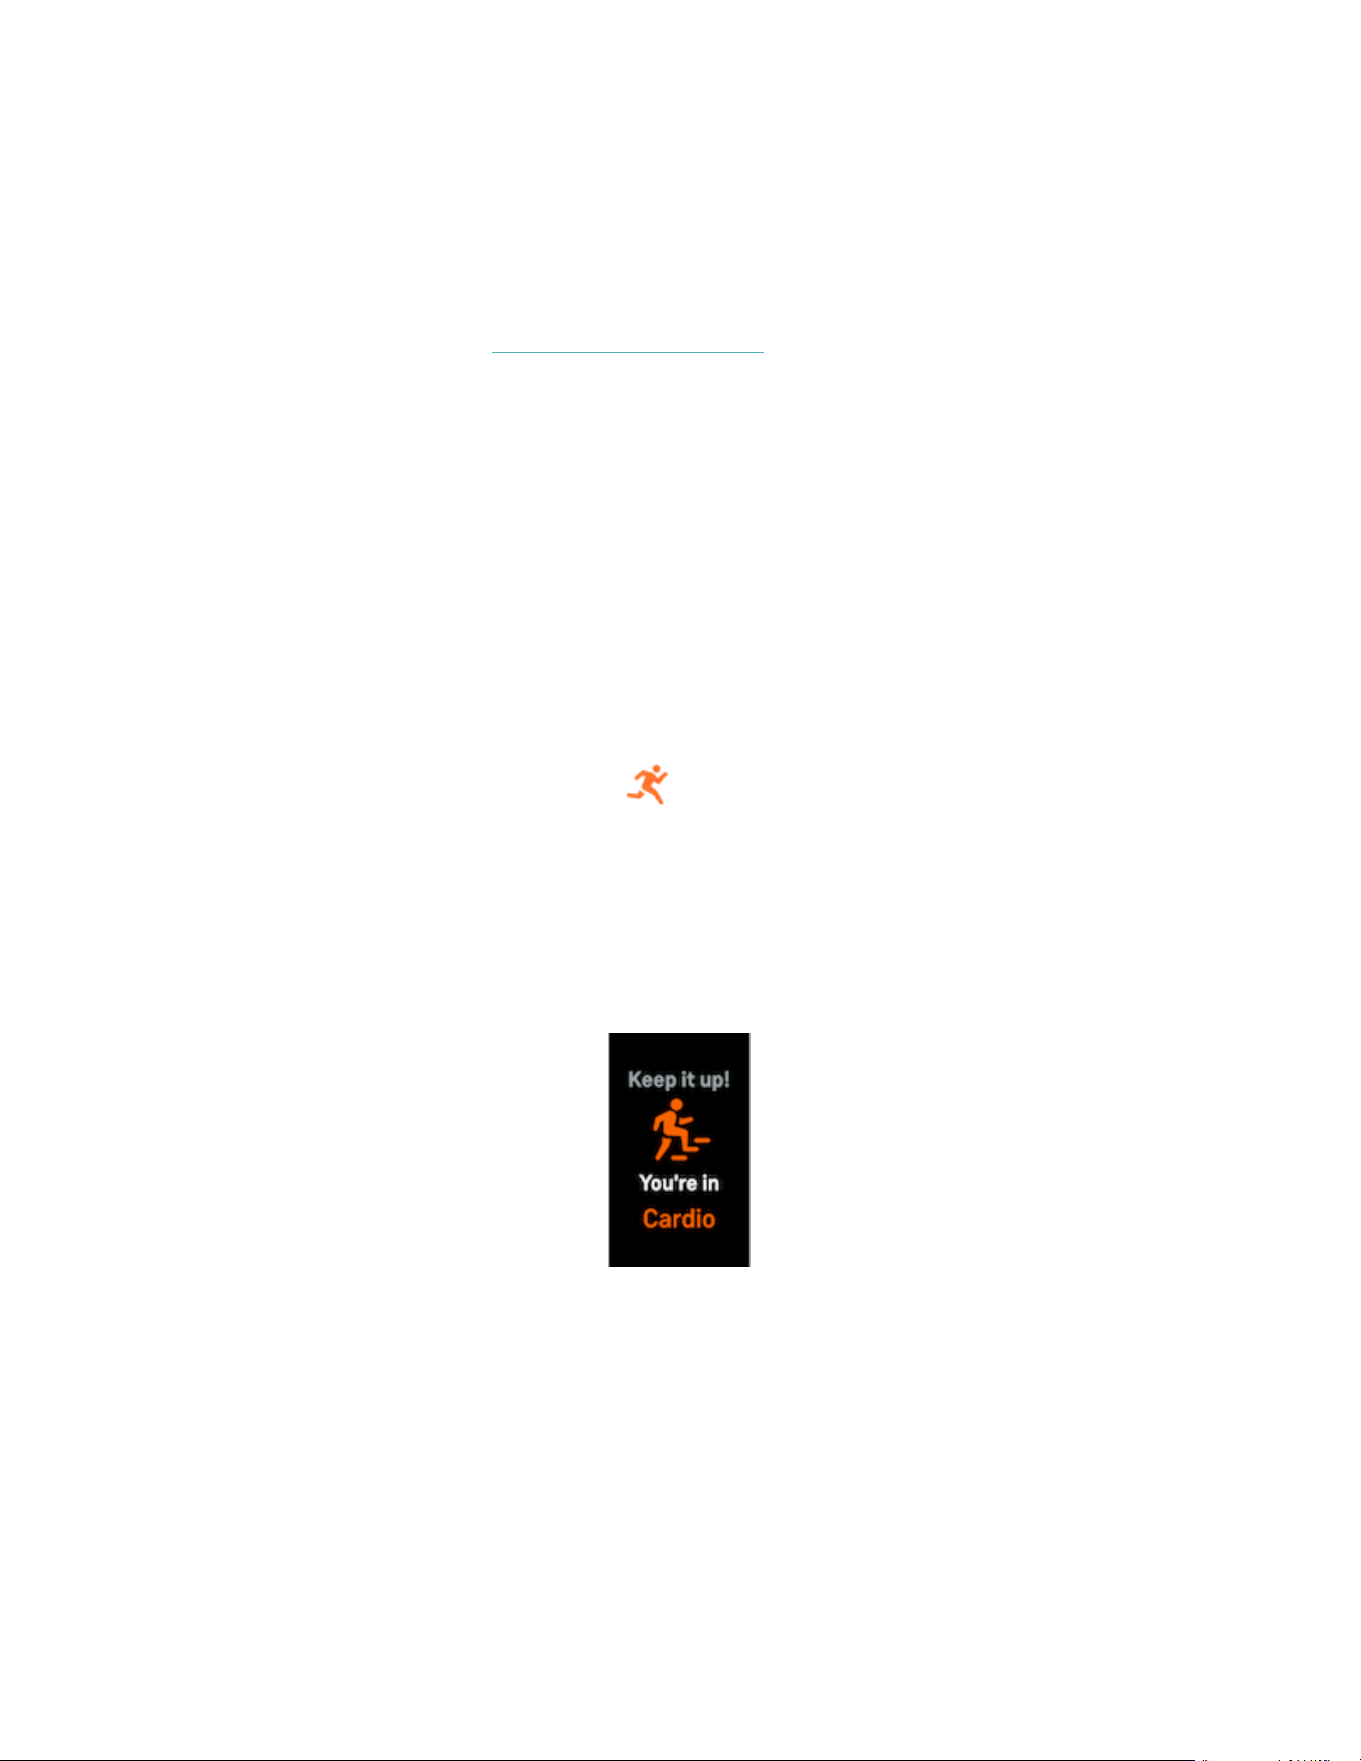
There are 2 ways Charge 6 notifies you about Active Zone Minutes:
l
A few moments after you enter a different heart-rate zone during your
exercise using the Exercise app , so that you know how hard you’re
working. The number of times your tracker vibrates indicates which zone
you’re in:
1 buzz = fat burn zone
2 buzzes = cardio zone
3 buzzes = peak zone
l
7 minutes after you enter a heart-rate zone throughout the day (for example,
during a brisk walk).
44
To start, your weekly goal is set to 150 Active Zone Minutes. You’ll receive
notifications as you reach your goal.
For more information, see the related help article.
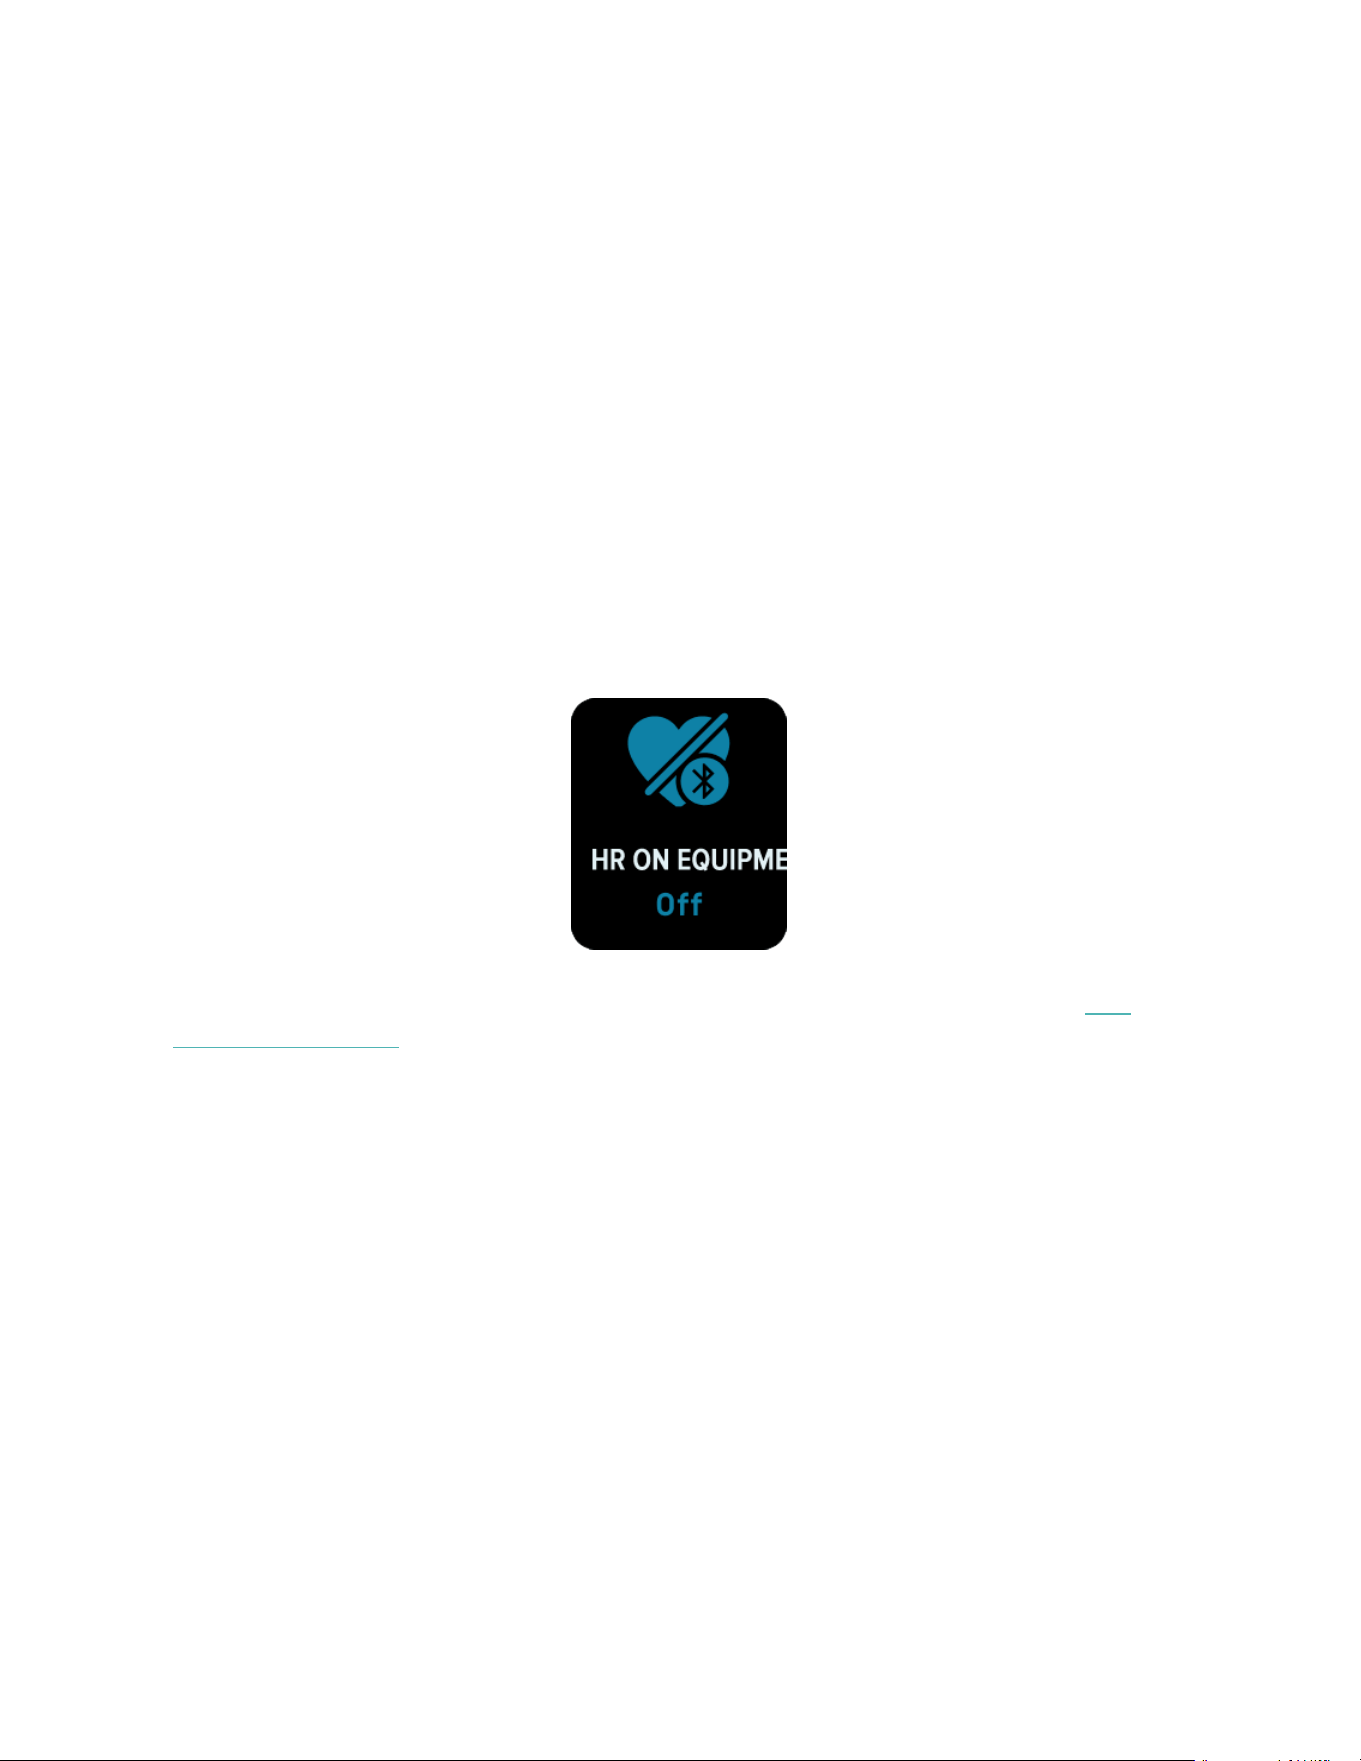
Receive heart-rate notifications
Stay informed when Charge 6 detects that your heart rate is outside of your high or
low thresholds when you appear to be inactive for at least 10 minutes.
To turn this feature off or adjust the thresholds:
1.
From the Today tab in the Fitbit app on your phone, tap the devices icon
Charge 6.
2. TapHigh &low heart rate.
3. Turn High heart rate notification or Low heart rate notification on or off, or tap
Custom to adjust the threshold.
View past heart-rate notifications, log possible symptoms and causes, or delete
notifications in the Fitbit app. For more information, see the related help article.
45
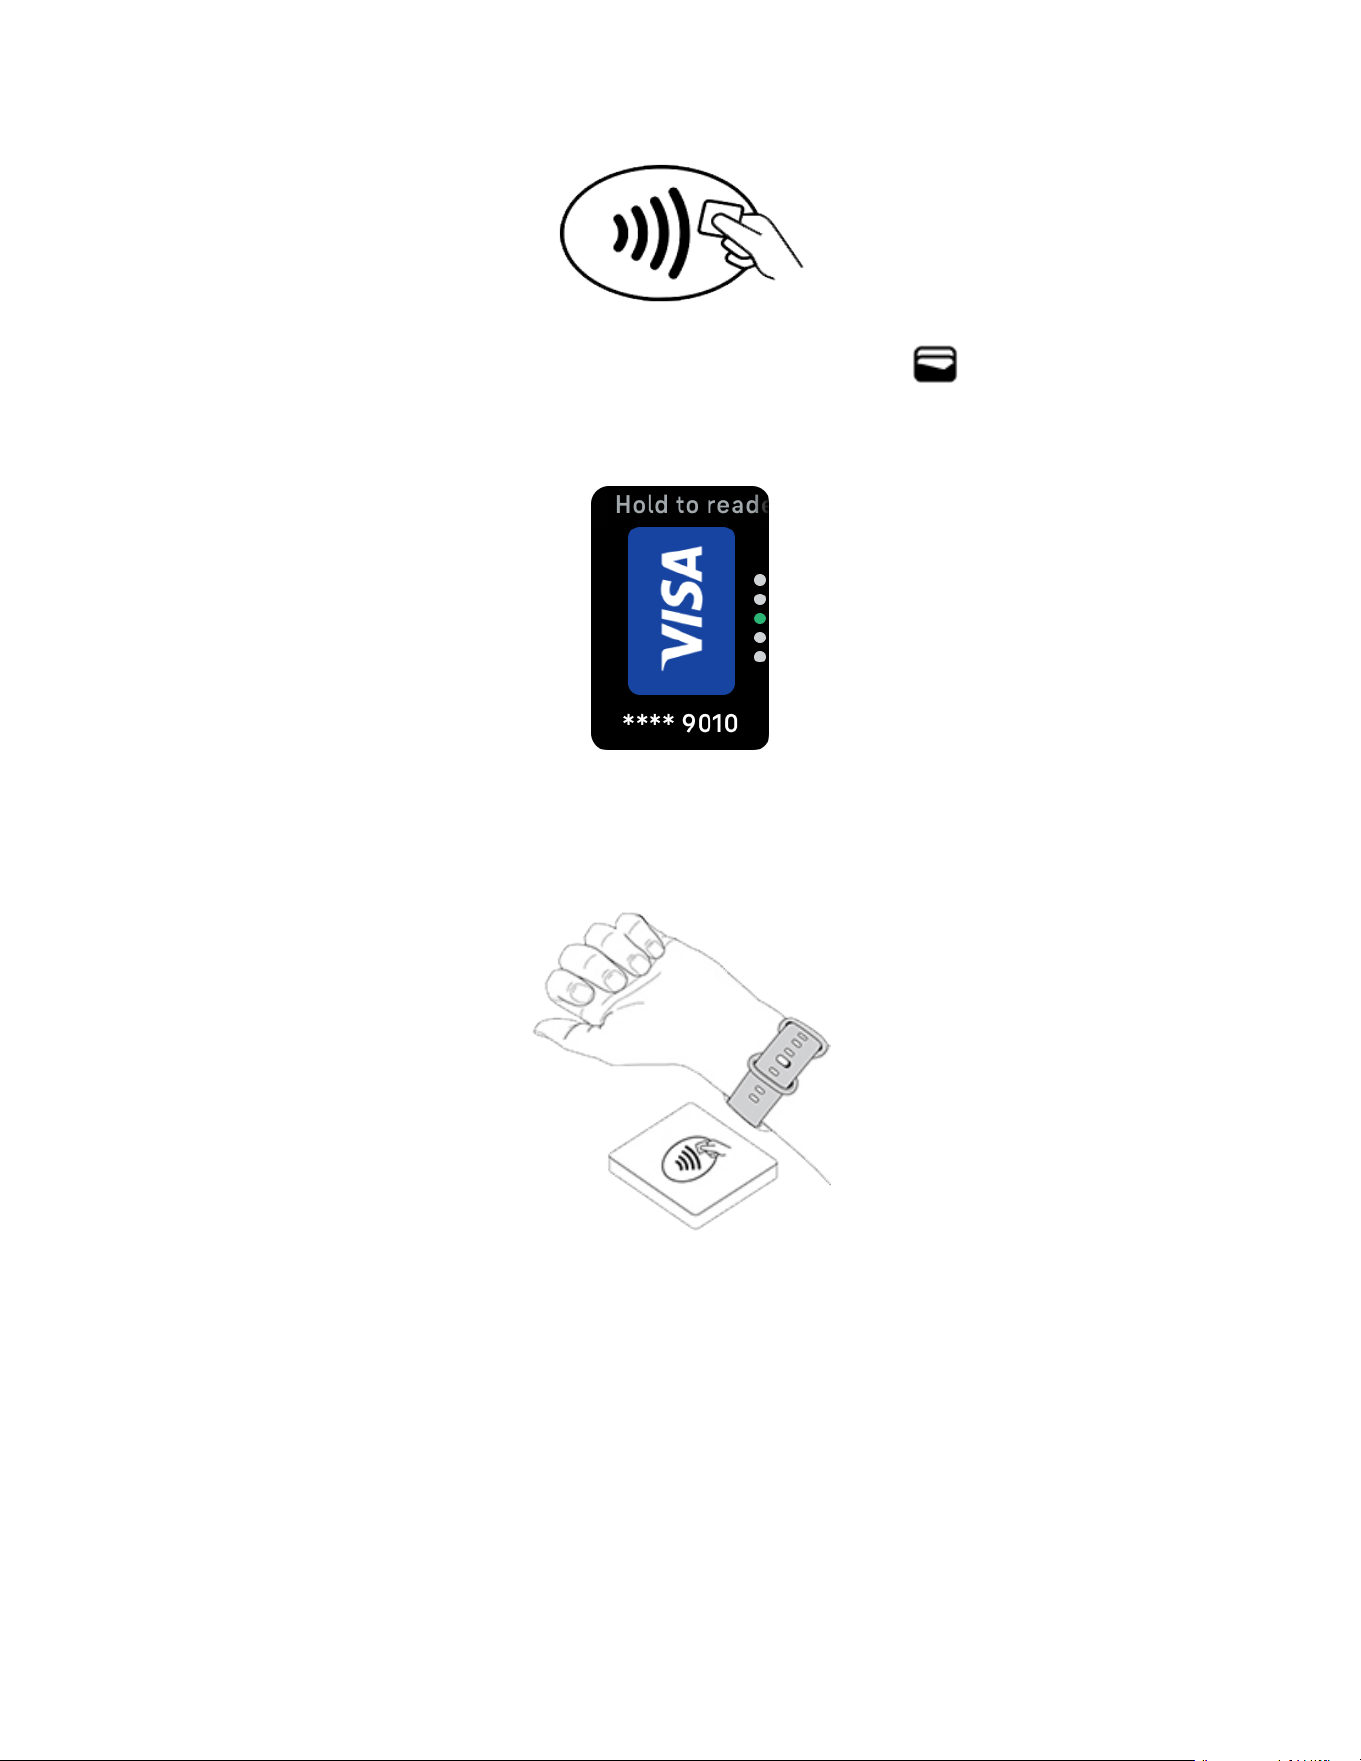
See your heart rate on equipment and apps
Connect Charge 6 to compatible exercise machines and apps and see your real-
time heart rate directly on the display. This feature is compatible with workout
machines and apps that support the Bluetooth Heart Rate Profile, such as the latest
models of iFit, Nordictrack, Peloton, Concept2, and Strava. However, not all
Bluetooth-compatible devices and apps behave similarly.
1. Swipe down from the clock face and tap HR on equipment.
2. Follow the instructions on your workout machine to connect a Bluetooth heart
rate monitor.
3. When Charge 6 connects, a screen appears on your tracker, asking to share
your heart rate. Tap Share.
4. Tap Start on your tracker to start your exercise.
End the exercise on Charge 6 to stop sharing your heart rate.
For more information on equipment compatibility and troubleshooting, see the
related help article.
Check your daily readiness score
Understand what’s best for your body with the daily readiness score, available with
a Fitbit Premium subscription. Your score ranges from 1 to 100, based on your
activity, sleep, and heart-rate variability. A high score means you’re ready to
exercise, while a low score suggests you should focus on recovery.
46

When you check your score, you also see a breakdown of what impacted your
score, a personalized activity goal for the day, and recommended workouts or
recovery sessions.
Wear your tracker for a full day (at least 14 hours), including to sleep at night, and
then swipe up from the clock face to find your readiness score in your daily stats.
For more information, see the related help article.
View your cardio fitness score
View your overall cardiovascular fitness in the Fitbit app. See your cardio fitness
score and cardio fitness level, which shows how you compare to your peers.
In the Fitbit app, tap the Heart-rate tile and swipe left on your heart-rate graph to
see your detailed cardio fitness stats.
For more information, see the related help article.
Share your activity
After you complete a workout, open the Fitbit app to share your stats with friends
and family.
For more information, see the related help article.
47

Contactless Payments
Charge 6 includes a built-in NFC chip, which lets you use your credit and debit cards
on your tracker.
Use credit and debit cards
Set up Google Wallet in the Fitbit app, and use your tracker to make purchases in
stores that accept contactless payments.
We’re always adding new locations and card issuers to our list of partners. To see if
your payment card works on your Fitbit device, see fitbit.com.
Set up contactless payments
To use contactless payments, add at least 1 credit or debit card from a participating
bank to the Fitbit app. The Fitbit app is where you add and remove payment cards,
set a default card for your tracker, edit a payment method, and review recent
purchases.
1.
From the Today tab in the Fitbit app, tap the devices icon Charge 6.
2. Tap the Google Wallet tile.
3. Follow the on-screen instructions to add a payment card. In some cases, your
bank might require additional verification. If you're adding a card for the first
time, you might be prompted to set a 4-digit PIN code for your tracker. Note
that you also need passcode protection enabled for your phone.
4. After you add a card, follow the on-screen instructions to turn on notifications
for your phone (if you haven't already done so)to complete the setup.
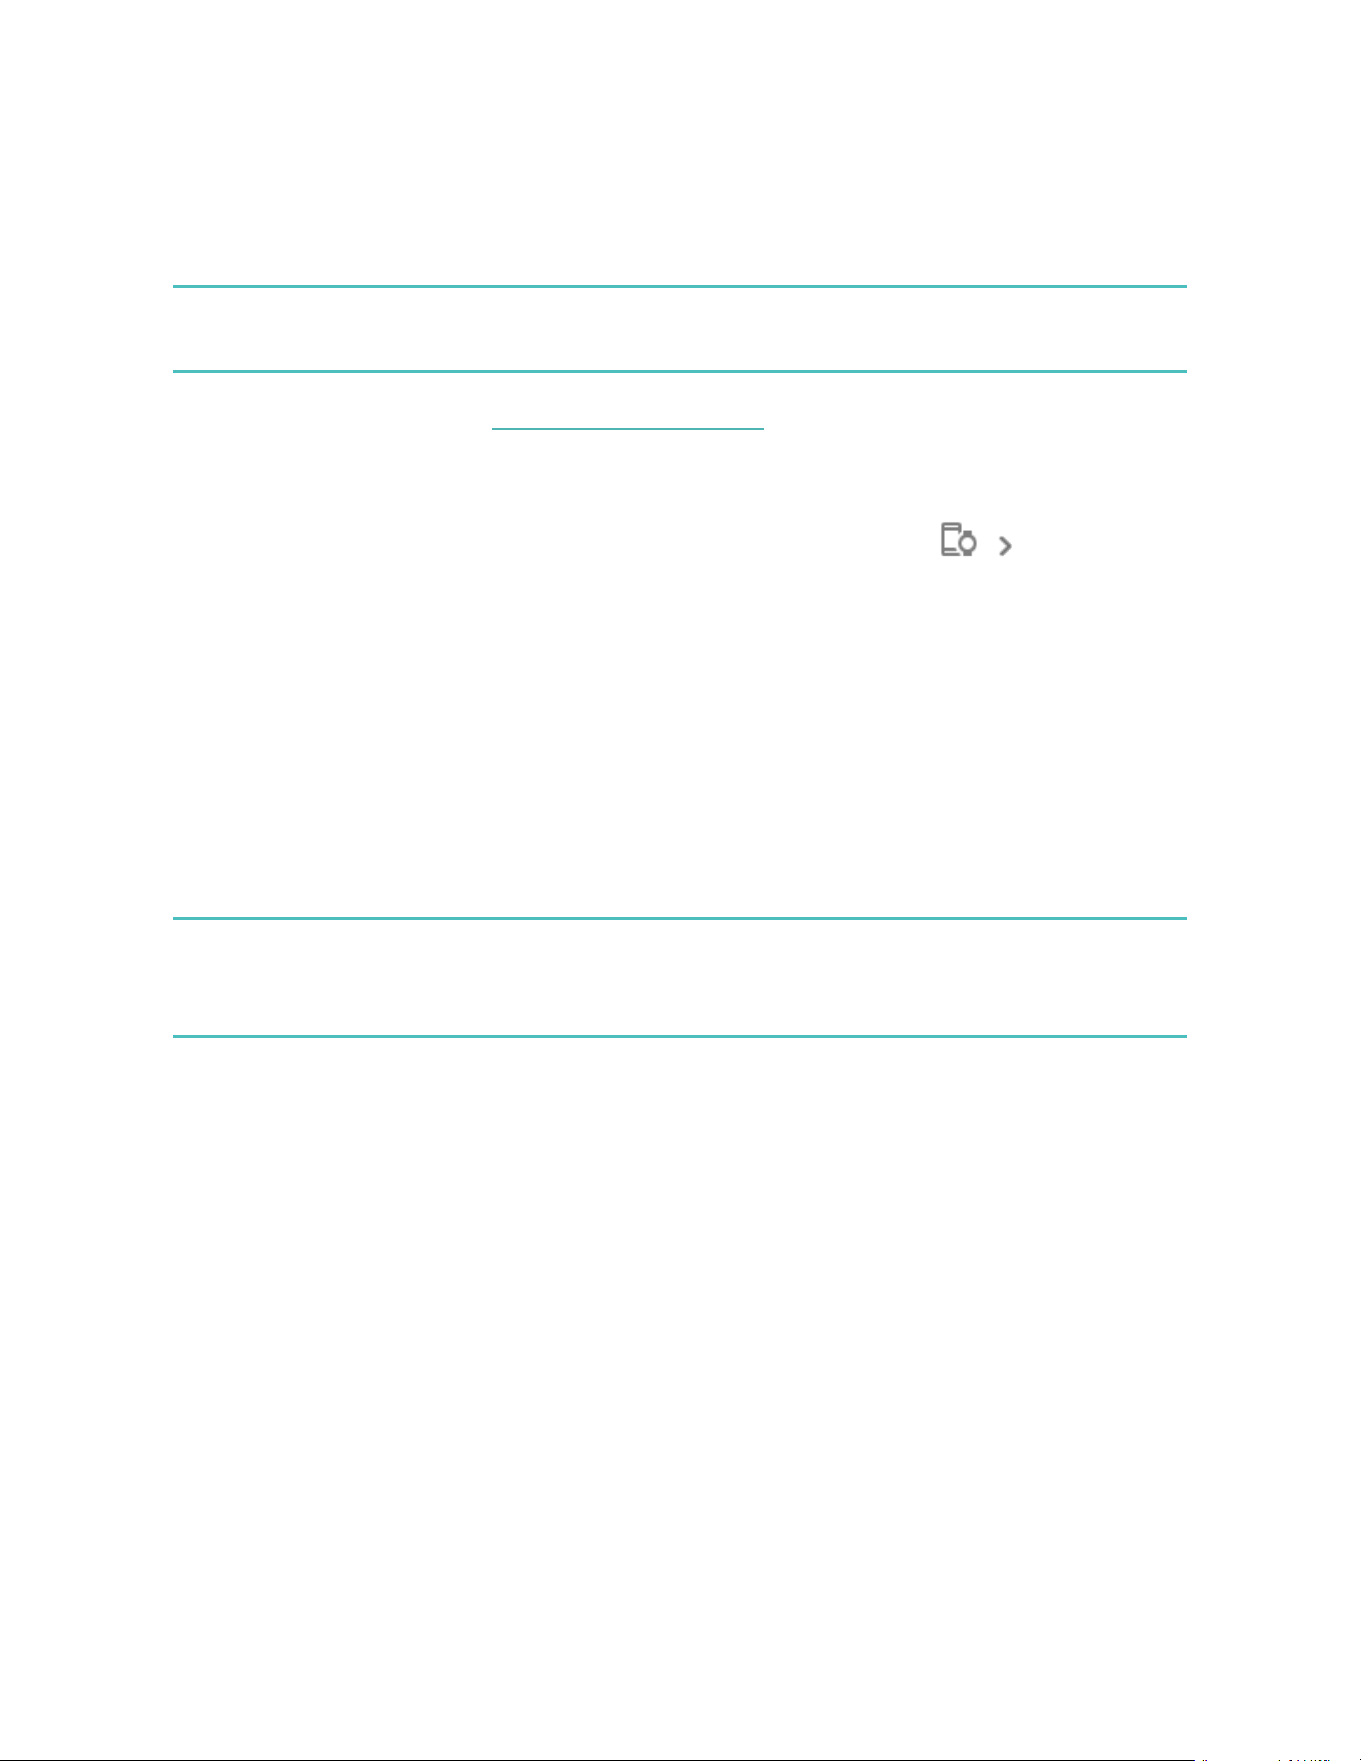
Make purchases
Make purchases using your Fitbit device at any store that accepts contactless
payments. To determine if the store accepts contactless payments, look for the
symbol below on the payment terminal:
48
1.
Swipe down from the clock face and tap Google Wallet .
2. If prompted, enter your 4-digit tracker PINcode. Your default card appears on
the screen.
3. To pay with your default card, hold your wrist near the payment terminal. To
pay with a different card, swipe to find the card you want to use, and hold
your wrist near the payment terminal.
When the payment succeeds, your tracker vibrates and you see a confirmation on
the screen.
49
If the payment terminal doesn't recognize your Fitbit device, make sure the tracker
face is near the reader and that the cashier knows you're using a contactless
payment.
For added security, you must wear Charge 6 on your wrist to use contactless
payments.
For more information, see the related help article.
Change your default card
1.
From the Today tab in the Fitbit app, tap the devices icon Charge 6.
2. Tap the Google Wallet tile.
3. Tap the card you want to set as the default option.
4. Tap Make default for tap to pay.
Pay for transit
Use contactless payments to tap on and off at transit readers that accept
contactless credit or debit card payments. To pay with your tracker, follow the
steps listed in "Use credit and debit cards" on page48.
Pay with the same card on your Fitbit tracker when you tap the transit reader at the
start and end of your trip. Make sure your device is charged before beginning your
trip.
50
Lifestyle
Use apps to stay connected to what you care about most.
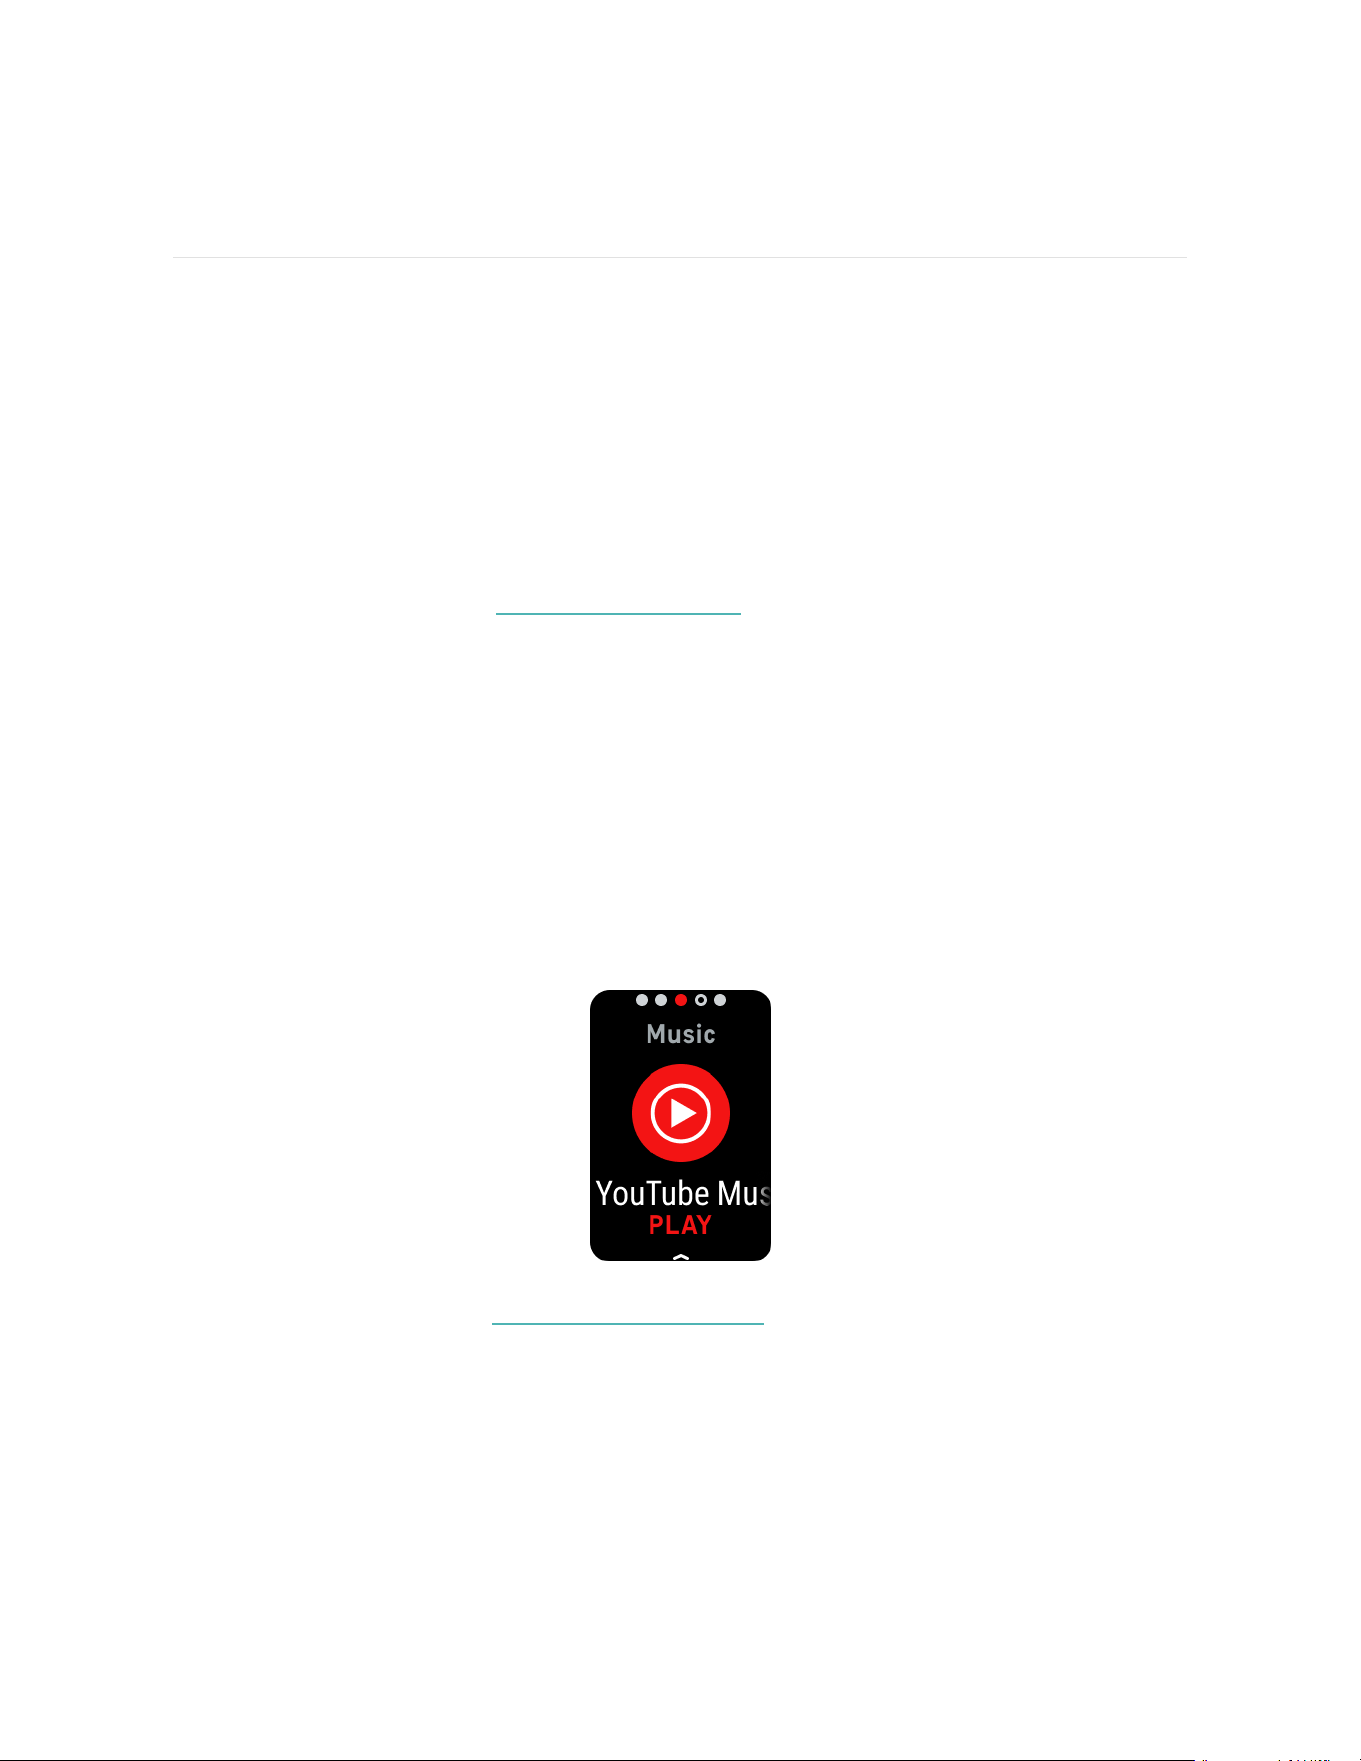
Control music with YouTube Music controls
Use YouTube Music controls on Charge 6 to control YouTube Music on your phone.
Navigate between playlists, skip or replay songs, and adjust the volume from your
tracker. Note that YouTube Music controls require a compatible phone within
Bluetooth range and a YouTube Music Premium subscription. For more information
about YouTube Music, see support.google.com.
1. Open the YouTube Music app on your phone. Note that the Fitbit app must be
running in the background.
2. Swipe to the YouTube Music controls app on your tracker and tap to open it.
l
On the main screen, see the current song and artist. Tap to pause or play
the current song.
l
Swipe down to browse through the available music, including your most
recent playlists, songs, and albums. Tap a selection to switch to it.
l
Swipe left to access controls to skip to the next track, restart the current
song, or return to the previous track.
l
Swipe left again to access volume controls.
For more information, see the related help article.
51
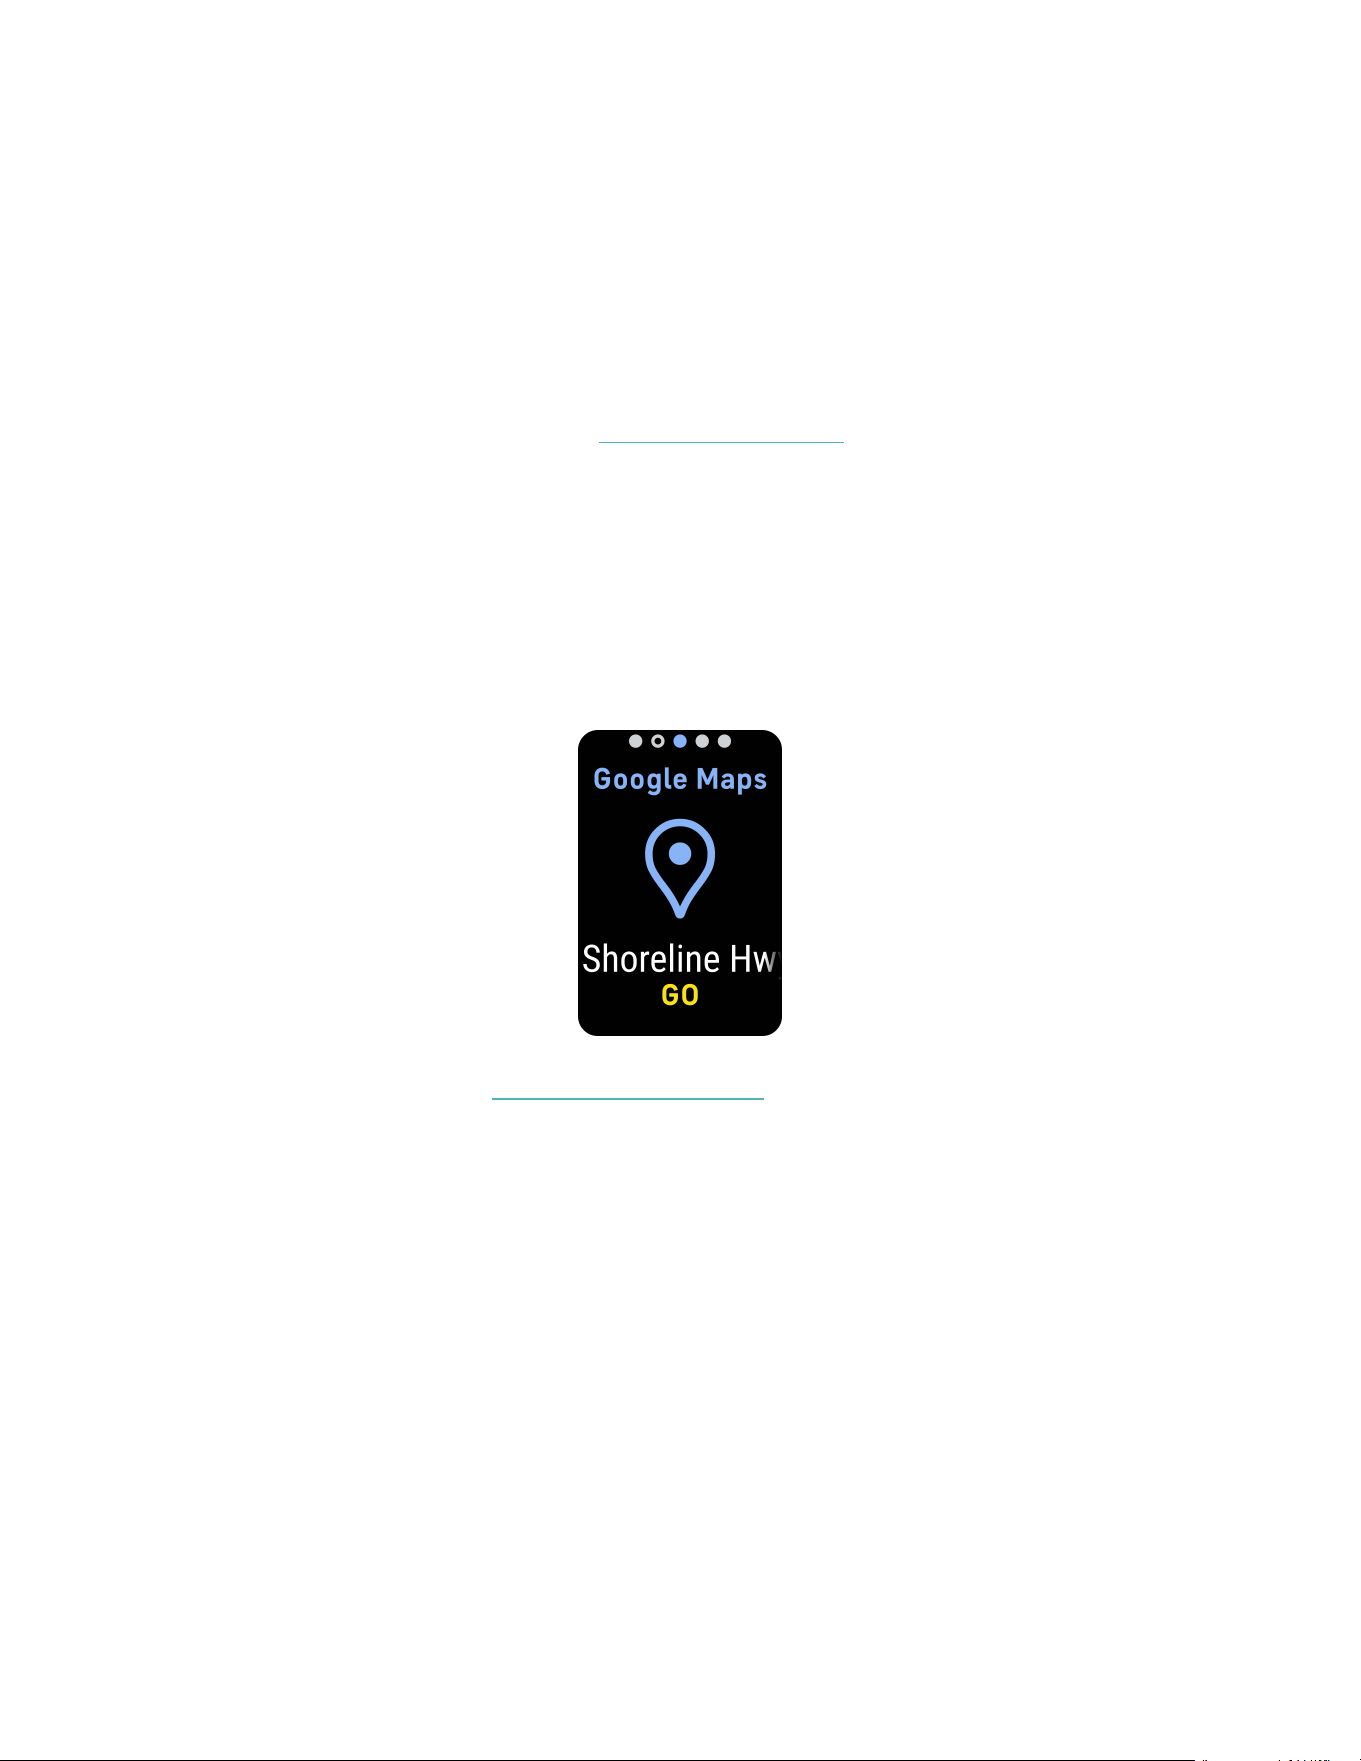
GoogleMaps
Get turn-by-turn directions on your wrist with the Google Maps app on your tracker.
1. Open the Google Maps app on your phone, search for the location you want to
navigate to, choose your mode of transportation, select a route, and tap Start
to begin navigation. For more detailed instructions on how to use the Google
Maps app on your phone, see support.google.com. Note that the Fitbit app
must be running in the background.
2. Swipe to the Google Maps app on your tracker and tap to open it.
3. During navigation, swipe up and tap the pause button to pause navigation.
Tap the resume button to resume navigation or the finish button to end
navigation.
4. When you reach your destination using cycling or walking navigation, your
watch shows a summary of your activity. Tap Done to close the Google Maps
app.
For more information, see the related help article.
52
Update, Restart, and Erase
Some troubleshooting steps may require you to restart your tracker, while erasing it
is useful if you want to give Charge 6 to another person. Update your tracker to
receive the latest firmware.
Update Charge 6
Update your tracker to get the latest feature enhancements and product updates.
When an update is available, a notification appears in the Fitbit app. After you start
the update, follow the progress bars on Charge 6 and in the Fitbit app until the
update is complete. Keep your tracker and phone close to each other during the
update.
To update Charge 6, your tracker's battery must be at least 20% charged. Updating
Charge 6 may be demanding on the battery. We recommend plugging your tracker
into the charger before starting an update.
For more information, see the related help article.
Restart Charge 6
If you can’t sync Charge 6 or you have trouble with tracking your stats or receiving
notifications, restart your tracker from your wrist:
1.
Swipe down from the clock screen to find the Settings app .
2.
Open the Settings app Restart Device Restart.
If Charge 6 is unresponsive:
1. Connect your device to the charging cable.
2. Press the button located on the flat end of the charger 3 times within 8
53
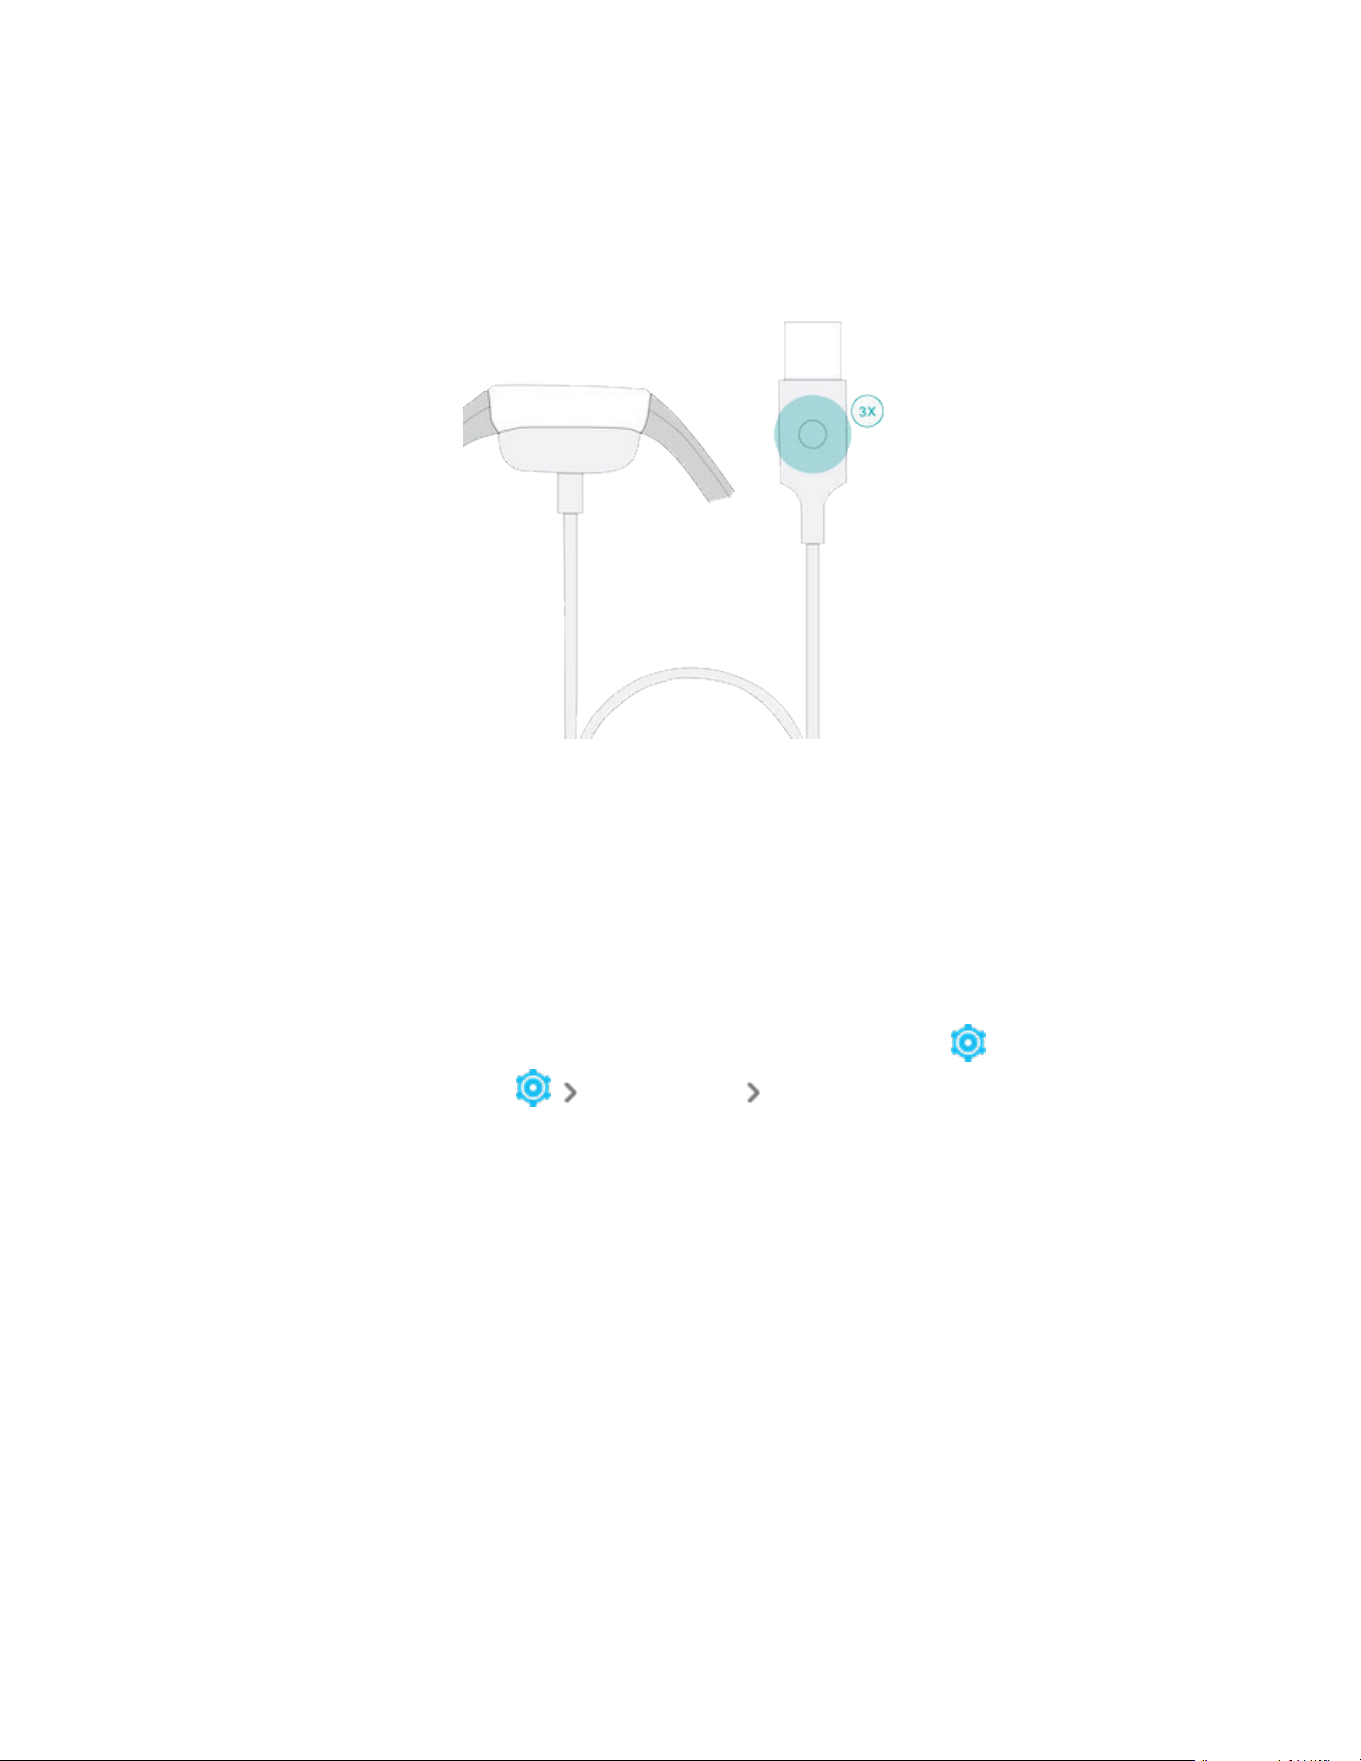
seconds, holding each press for about 1 second.
3. Wait 10 seconds or until the Fitbit logo appears.
Note: If the device doesn’t restart, wait 15 seconds and try again.
Restarting your tracker doesn't delete any data.
Erase Charge 6
If you want to give Charge 6 to another person or wish to return it, first clear your
personal data:
1.
Swipe down from the clock screen to find the Settings app .
2.
Open the Settings app Device Info Clear User Data.
3. Swipe up, then press Hold 3 Sec for 3 seconds and release.
4. When you see the Fitbit logo and Charge 6 vibrates, your data is erased.
54
Troubleshooting
If Charge 6 isn't working properly, see our troubleshooting steps below.
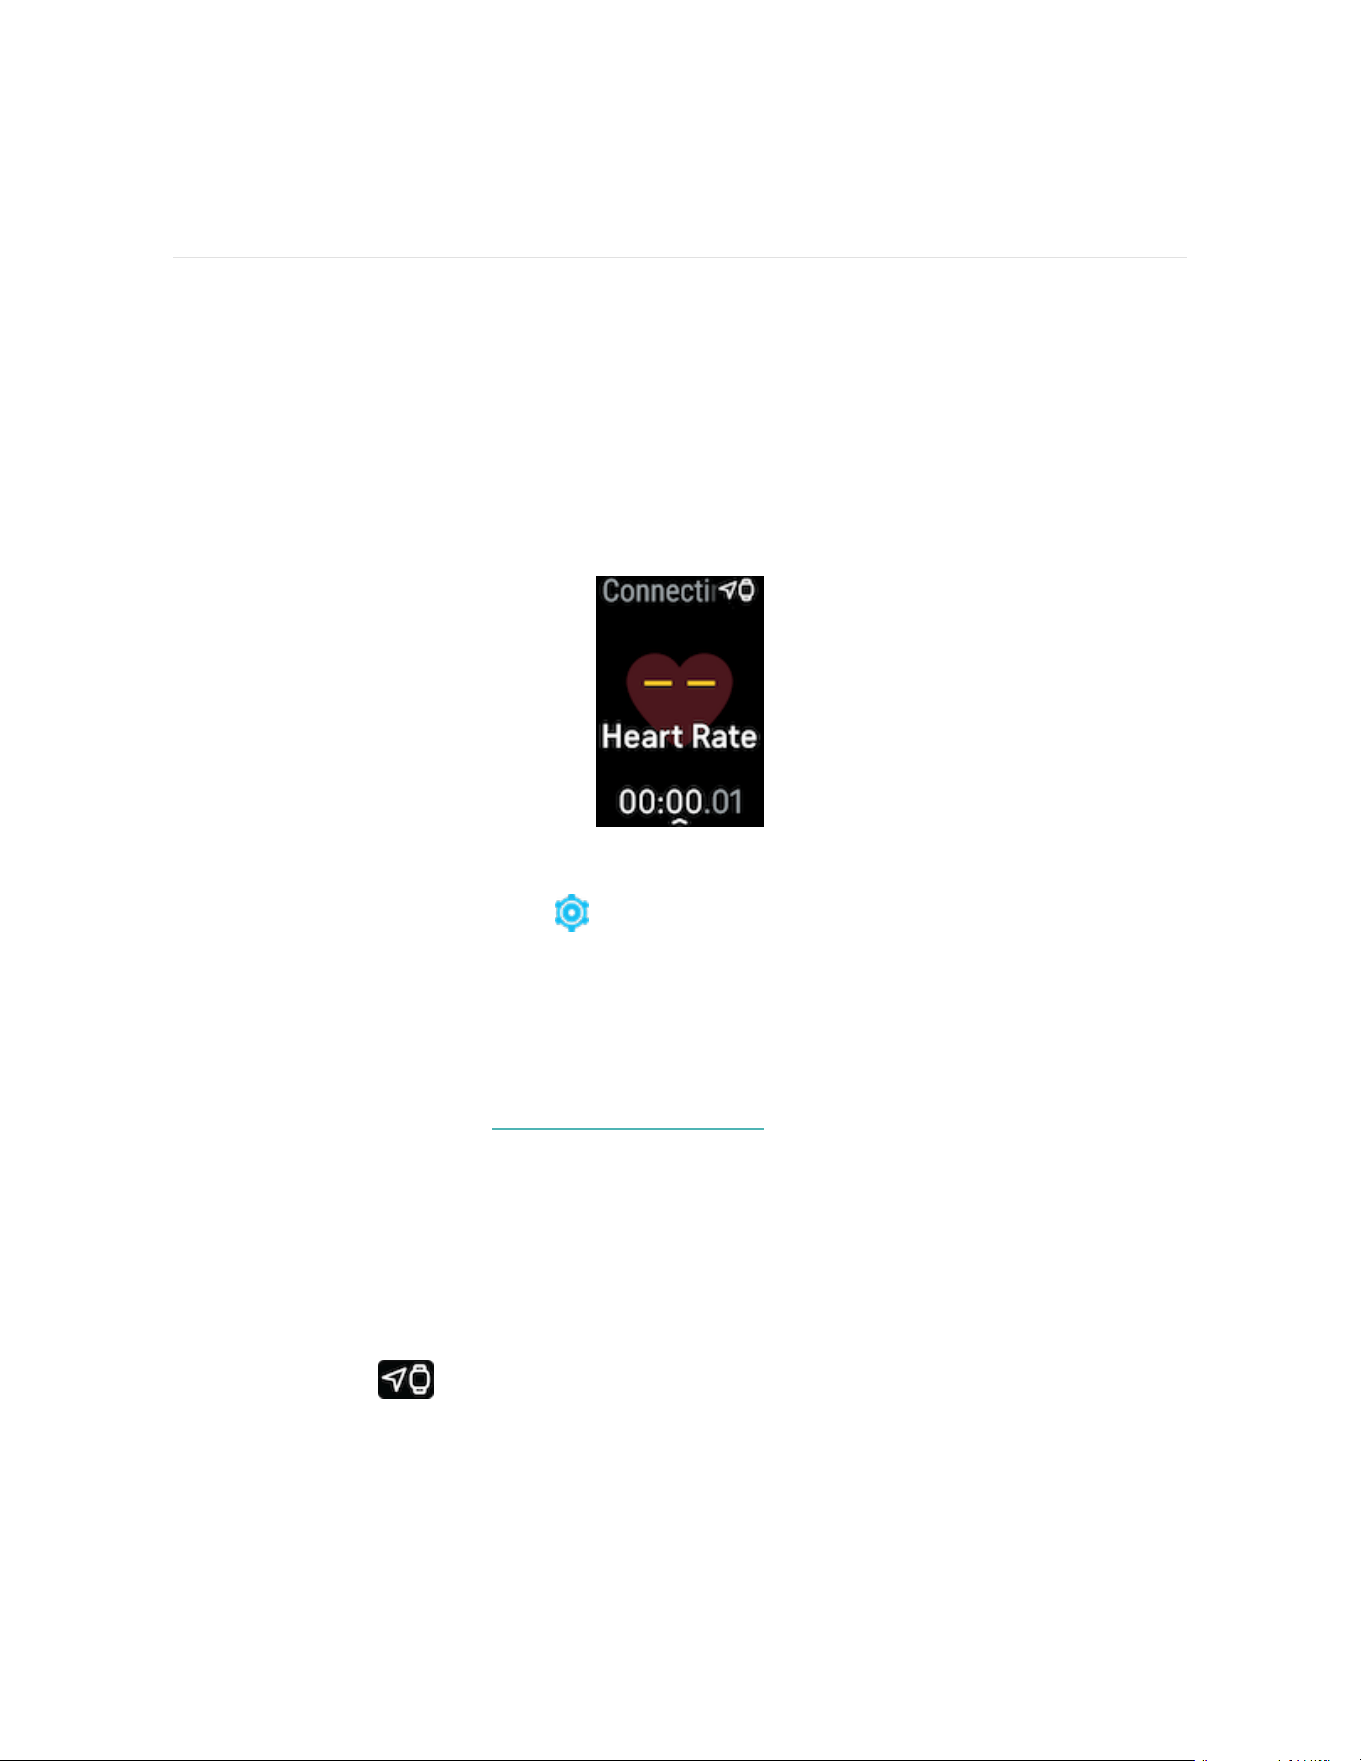
Heart-rate signal missing
Charge 6 continuously tracks your heart rate while you're exercising and
throughout the day. If the heart-rate sensor on your tracker has difficulty detecting
a signal, dashed lines appear.
If your tracker doesn't detect a heart-rate signal, first make sure heart-rate tracking
is turned on in the Settings app on your tracker. Next, make sure you're wearing
your tracker correctly, either by moving it higher or lower on your wrist or by
tightening or loosening the band. Charge 6 should be in contact with your skin.
After holding your arm still and straight for a short time, you should see your heart
rate again.
For more information, see the related help article.
GPS signal missing
Environmental factors including tall buildings, dense forest, steep hills, and thick
cloud cover can interfere with your tracker's ability to connect to GPS satellites. If
your tracker is searching for a GPS signal during an exercise, you’ll see
GPSconnecting appear at the top of the screen. If Charge 6 can't connect to a
55
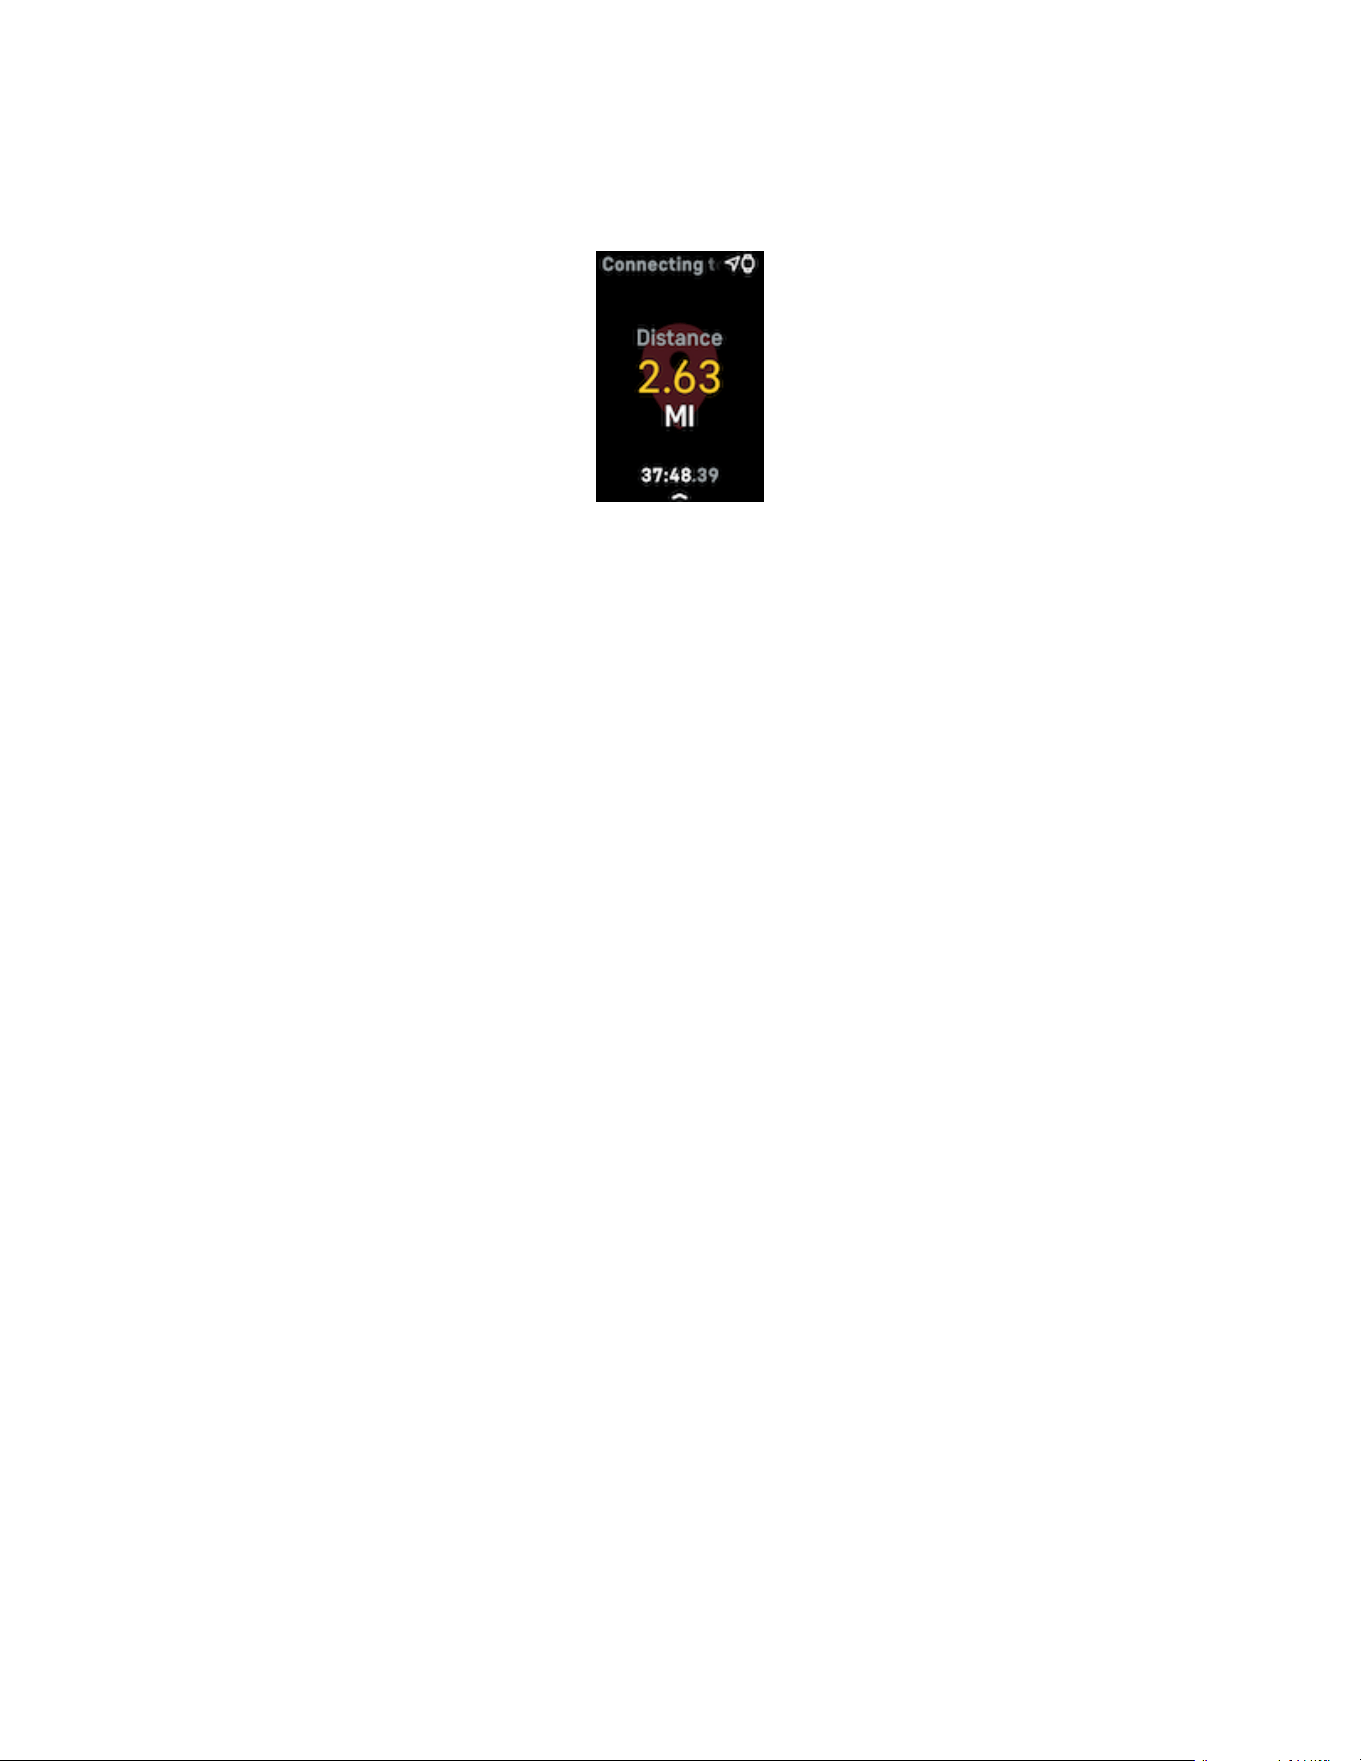
GPSsatellite, the tracker stops trying to connect until the next time you start a
GPSexercise.
For best results, wait for Charge 6 to find the signal before you start your workout.
Other issues
If you experience any of the following issues, restart your tracker:
l
Won't sync
l
Won't respond to taps, swipes, or button press
l
Won't track steps or other data
l
Won't show notifications
For instructions, see "Restart Charge 6" on page53.
56

General Info and Specifications
Sensors andComponents
Fitbit Charge 6 contains the following sensors and motors:
l Optical heart-rate tracker
l Multipurpose electrical sensors compatible with the ECGapp and EDA Scan
app
l Red and infrared sensors for oxygen saturation (SpO2) monitoring
l 3-axis accelerometer, which tracks motion patterns
l Ambient light sensor
l Built-in GPSreceiver + GLONASS + Galileo, which tracks your location during
a workout
l Vibration motor
Materials
The housing on Charge 6 is made of anodized aluminum and surgical-grade
stainless steel. The band that comes with Charge 6 is made of a flexible, durable
silicone similar to that used in many sports watches. While all stainless steel and
anodized aluminum can contain traces of nickel, which can cause an allergic
reaction in someone with nickel sensitivity, the amount of nickel in all Fitbit
products meets the European Union's stringent Nickel Directive.
Wireless technology
Charge 6 contains a Bluetooth 5.0 radio transceiver and NFCchip.
Haptic feedback
Charge 6 contains a vibration motor for alarms, goals, notifications, reminders, and
apps.
57
Battery
Charge 6 contains a rechargeable lithium-polymer battery.
Memory
Charge 6 stores your data, including daily stats, sleep information, and exercise
history, for 7 days. See your historical data in the Fitbit app.
Display
Charge 6 has a color AMOLED display.
Band size
Small band Fits a wrist between 5.5 - 7.1 inches (140 mm - 180 mm)in
circumference
Large
band
Fits a wrist between 7.1 - 8.7 inches (180 mm - 220 mm)in
circumference
Environmental conditions
Operating temperature 14° to 113° F
(-10° to 45° C)
Charging temperature 32° to 104° F
(0° to 40° C)
Storage temperature -4° to 113° F
(-20° to 45° C)
Water resistance Water resistant up to 50 meters
Maximum operating altitude 16,404 feet
(5,000 m)
58

Learn more
To learn more about your tracker, how to track your progress in the Fitbit app, and
how to build healthy habits with Fitbit Premium, visit help.fitbit.com.
Return policy and warranty
Find warranty information and our return policy in the Google Hardware Warranty
Center.
Regulatory and Safety Notices
Visit support.google.com for our full safety and regulatory information.
59

©2023 Fitbit LLC. All rights reserved. Fitbit and the Fitbit logo are trademarks or registered
trademarks of Fitbit in the US and other countries. A more complete list of Fitbit trademarks
can be found at the Fitbit Trademark List. Third-party trademarks mentioned are the property
of their respective owners.

